


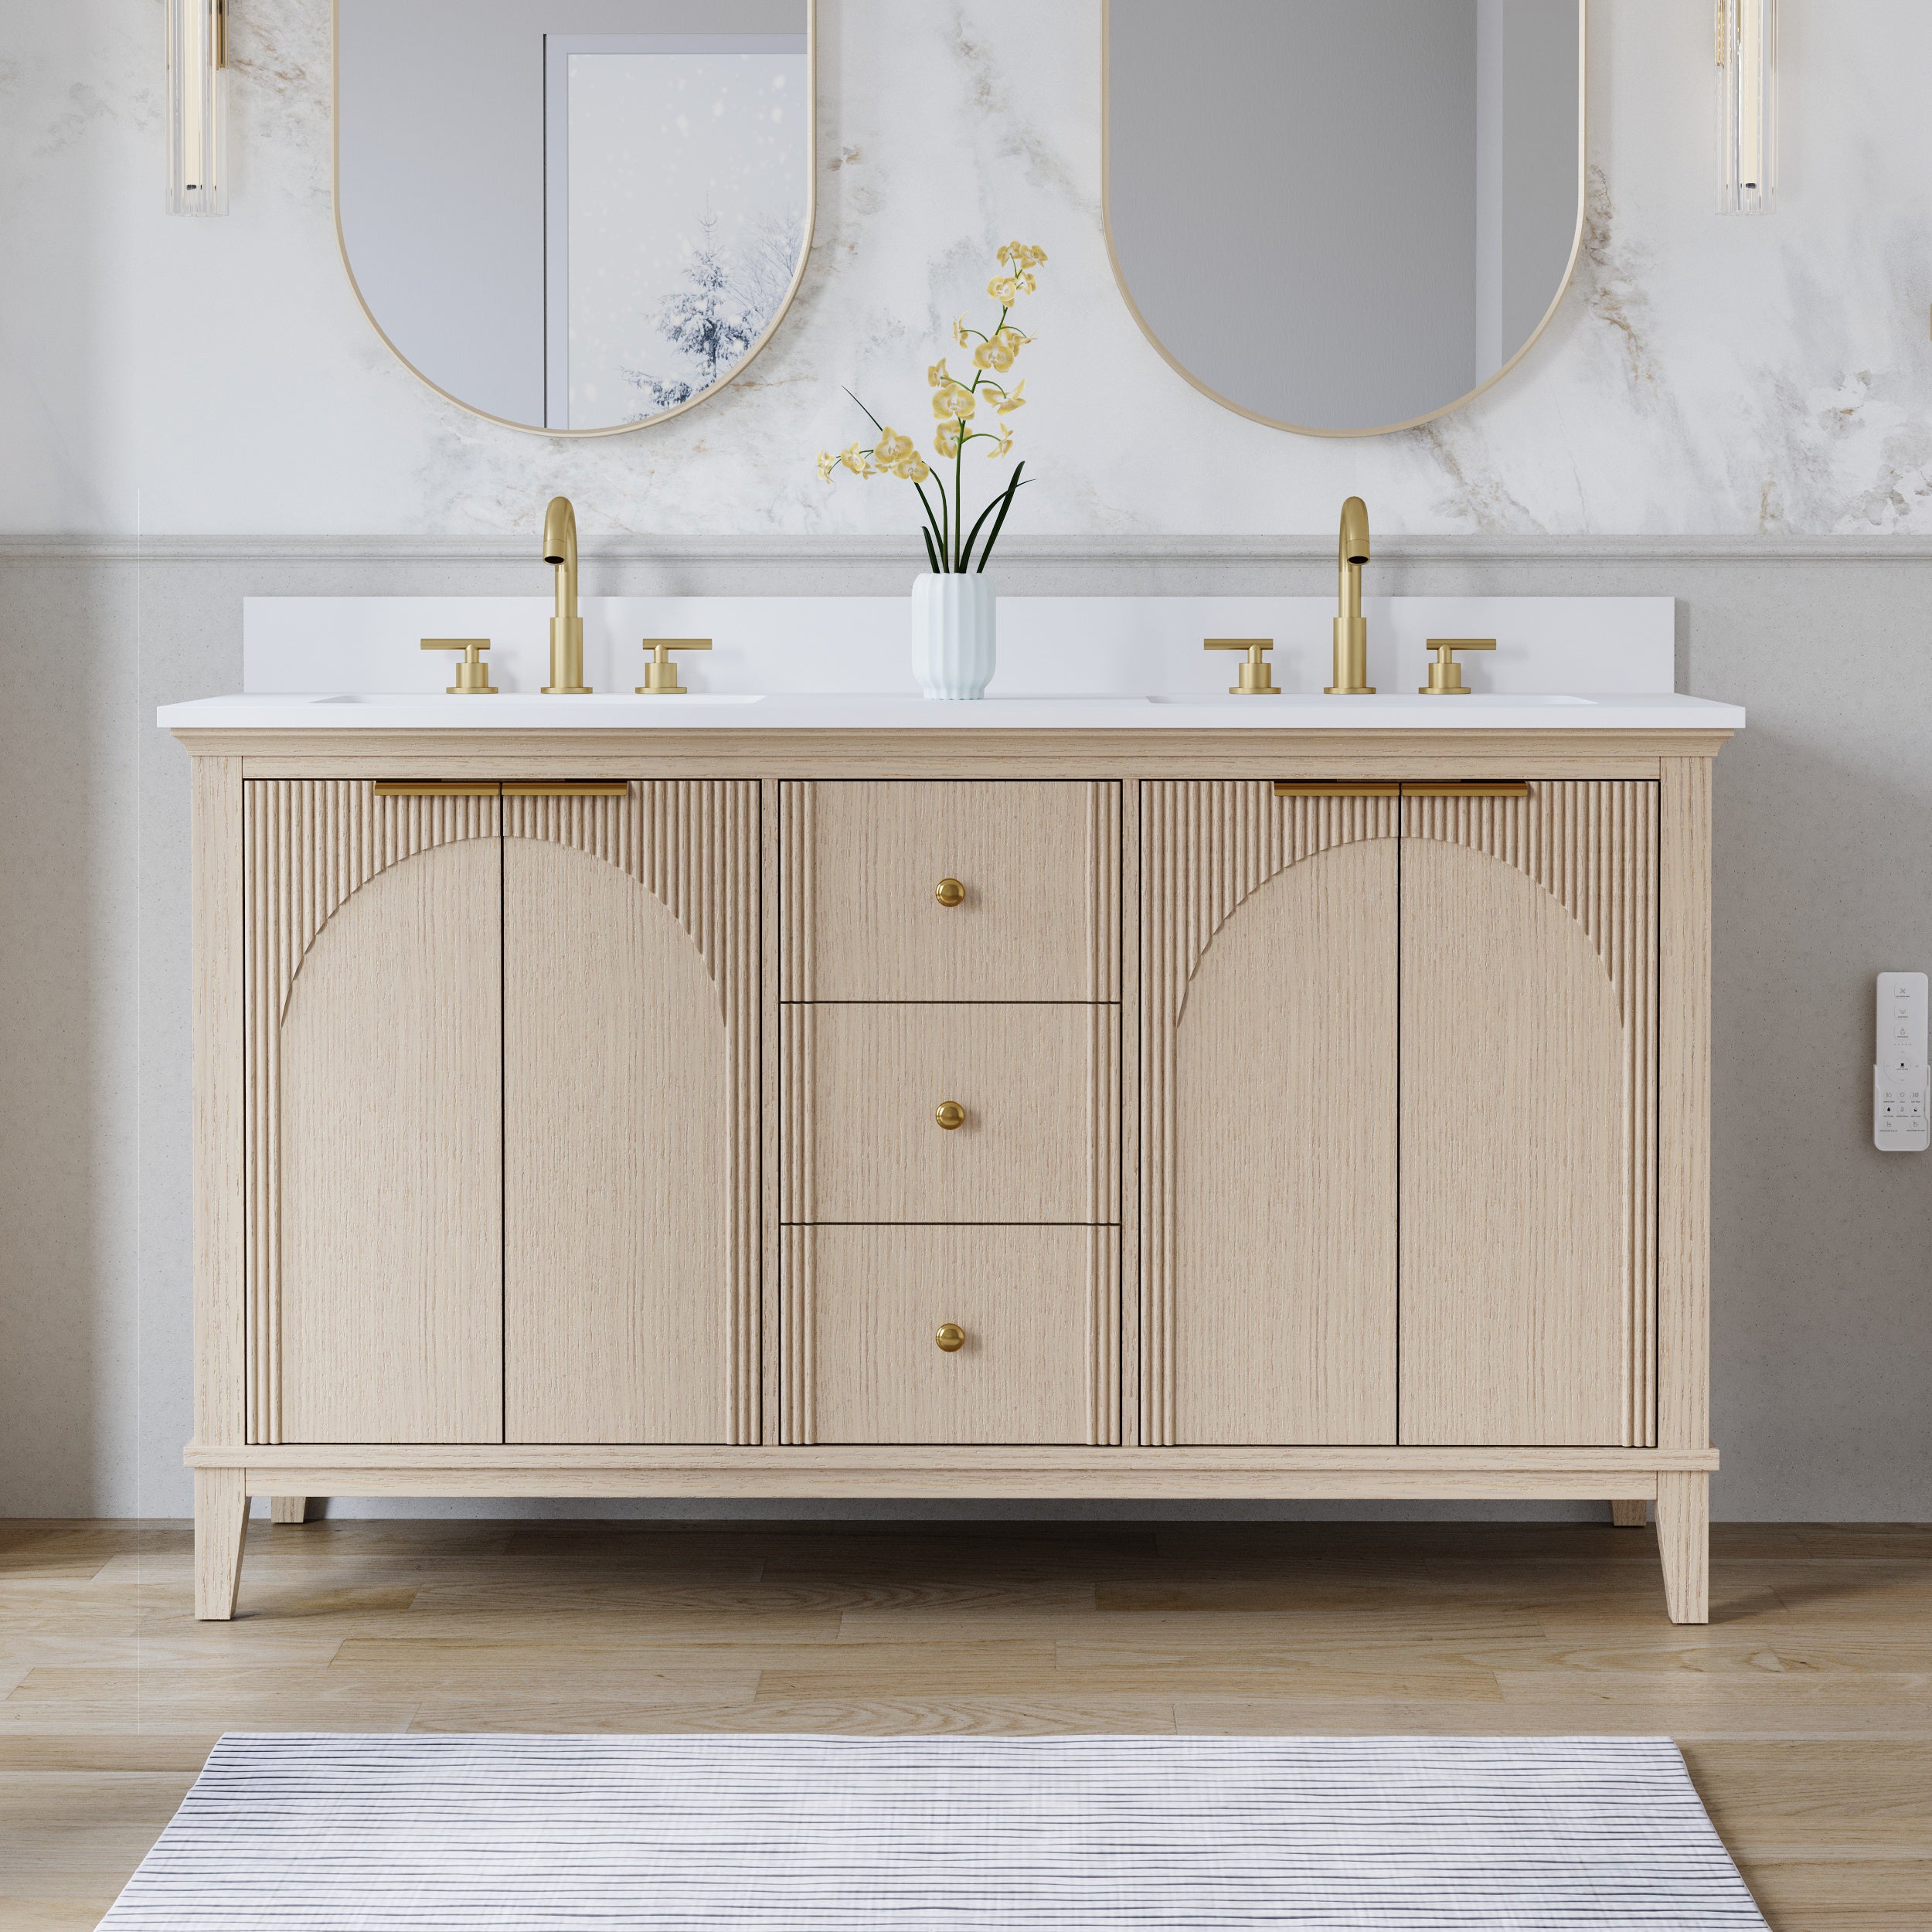
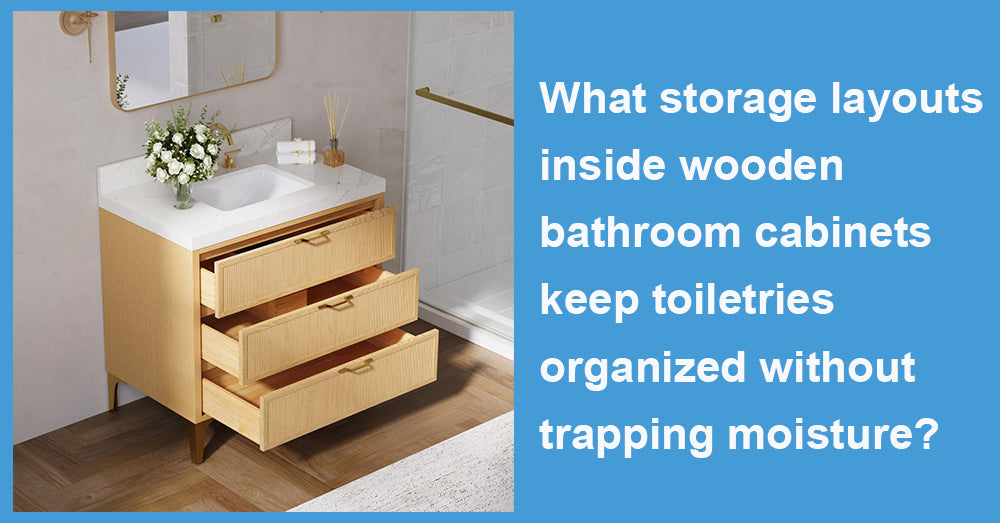
A wooden bathroom cabinet is one of the hardest-working storage zones in the home: it holds daily toiletries, sits next to splashing water, and lives in a room that can swing from dry to steamy in minutes. If your layout stacks products tightly or seals damp air inside, you get familiar problems—musty smells, sticky residue, warped packaging, and shelves that never feel truly clean. The best storage layouts do two things at once: they separate items by how “wet” they are, and they leave airflow paths so humidity doesn’t linger against wood panels and corners.
1. Set the moisture target first, or the storage won’t stay fresh
No organizer can beat persistent humidity. A practical baseline is to keep bathroom relative humidity below 60%, and when possible, in the 30%–50% range. (Source: U.S. EPA)
If you use an exhaust fan, a common guideline is to keep it running for about 20 minutes after showering to clear steam. (Source: Home Ventilating Institute)
A small humidity meter makes this easy to monitor and helps you adjust habits before moisture turns into cabinet odor or peeling labels. (Source: U.S. EPA)
Once the room dries faster, your vanity layout becomes far more forgiving—and wood surfaces stay cleaner with less effort.
2. Divide the vanity into a “wet lane” and a “dry lane.”
Inside wooden bathroom cabinets, the biggest moisture trap is mixing damp-use products with dry storage in one tight cluster. Instead, create two lanes:
· Wet lane (closest to the sink / easiest to wipe): face wash, shaving items, contact solution, anything that’s used with water daily.
· Dry lane (farther from splashes / higher shelf or back zone): backups, first-aid, unopened toiletries, electric grooming accessories.
Then use a simple spacing rule: keep roughly 1 inch of breathing room behind bins and bottles so air can move along the back panel. That one inch prevents the “condensation shelf” effect, where humid air sits against the cabinet wall and never fully dries.
3. Treat the plumbing area like a storage design problem, not dead space
Under-sink plumbing is usually what ruins organization. The fix is choosing layouts that work around the drain line while still allowing air circulation.
Best layouts for most vanities:
· U-shaped pull-out shelf (or U-cut drawer): storage on both sides of the trap, with the center open. This avoids a sealed, damp “middle pocket.”
· Split bins left/right: two shallow, vented bins you can lift out for quick cleaning.
· Front “daily tray” + rear “backup zone”: daily items up front, where you can wipe spills; backups in the rear, elevated on a small riser so the cabinet floor stays open for airflow.
Avoid pushing products all the way to the back wall under the sink. That’s where splashes drip, condensation collects, and leaks are discovered late.
4. Build vertical layers instead of stacks
Stacking is the enemy of airflow. In a vanity base cabinet, vertical layers let you store more without trapping dampness.
A strong moisture-friendly structure looks like this:
· Bottom layer: removable drip tray for wet lane items (more on trays below).
· Middle layer: pull-out basket or sliding shelf for daily toiletries.
· Top layer or side pocket: backups and rarely used items.
If you have drawers, use long front-to-back dividers instead of small cups. Dividers prevent “product piles” and keep items from forming a dense block that stays humid after a steamy shower.
5. Choose breathable organizers, and avoid sealed tubs in the wet lane
Closed plastic boxes look tidy, but they hold humidity—especially if you drop in a damp razor, a wet cap, or a bottle with a little water on it. In the wet lane, prioritize airflow:
· Wire baskets for bottles and tubes
· Slotted trays for smaller items
· Perforated bins for hair tools and accessories (only if dry before storage)
If you love solid bins, keep them in the dry lane and skip lids. The goal is to prevent microclimates: small sealed spaces that stay damp longer than the room itself.

6. Add “drip control” so moisture never sits on wood
Even well-ventilated bathrooms still have splashes, drips, and condensation. Drip control is what keeps a wood vanity from feeling perpetually sticky or musty.
Use these three upgrades:
1. Removable drip tray for wet lane items (shaving, face wash, contact supplies). Choose a shallow tray that you can wash weekly.
2. Raised stands for razors or toothbrush covers (keeping metal and plastic off the shelf surface).
3. Wipeable liner only where needed: If you use a liner, choose a thin, wipeable style and leave the back edge slightly open so moisture doesn’t get sealed underneath.
Skip thick fabric liners in a vanity base cabinet. They can hold water against wood surfaces and dry slowly, especially under a sink.
7. Size the ventilation to protect what’s inside the vanity
If your vanity keeps smelling damp even with a good layout, your fan may be undersized or underused. A common reference is 50 CFM minimum for bathrooms around 50 sq ft and smaller, and a basic sizing rule often used is about 1 CFM per sq ft of bathroom area. (Source: Home Ventilating Institute)
That ventilation support matters because it reduces the time your vanity interior sits in humid air after showers.
A simple upkeep routine keeps the layout working:
· Weekly: wipe the drip tray and the cabinet floor near the sink.
· Monthly: pull out baskets, wipe corners and shelf edges, toss near-empty products that create clutter.
· Seasonally: check humidity levels and adjust fan run time (a timer switch helps consistency). (Source: U.S. EPA; Home Ventilating Institute)
A “copy-and-use” vanity layout template
If you want a ready blueprint, start here:
· Wet lane (front-left or front-right): removable drip tray + razor stand + daily wash items.
· Dry lane (opposite side): vented bin for backups and first-aid.
· Under-sink center: keep open (or use a U-shaped pull-out) for airflow and easier leak checks.
· Drawer system (if present): front drawer = daily items with dividers; lower drawer = backups and towels (fully dry only).
When your wood bathroom vanity is organized by wet/dry zones, built in layers, and supported by good ventilation, it stays neat without becoming a moisture trap—and it’s much easier to keep clean long-term.


Leave a comment
This site is protected by hCaptcha and the hCaptcha Privacy Policy and Terms of Service apply.