


A lighted vanity mirror can be one of the most satisfying bathroom upgrades—if it’s planned like a fixture, not a décor item. Installation affects everything people care about later: how flattering the light feels, whether the mirror sits at a comfortable height, how safe the electrical connection is in a humid room, and whether the unit stays level and secure for years. Before you drill holes or close up a wall, it’s worth understanding a few practical basics: placement, power, moisture ratings, mounting structure, and light quality.
1. Confirm the Right Height Before You Touch Wiring
The most common installation regret is mounting the mirror too high. It may look “centered” on the wall, but it can feel awkward during daily grooming and create glare angles.
A useful reference point comes from ADA mirror guidance: mirrors above lavatories or countertops should have the bottom edge of the reflecting surface 40 inches max above the finished floor; mirrors not above lavatories/countertops should have the bottom edge 35 inches max (Source: 2010 ADA Standards, Section 603.3).
You don’t need to design for compliance to benefit from the logic—these numbers help prevent “neck craning” and keep the reflective area usable for more people.
Practical tip: Stand at the sink and mark eye level. You generally want your eyes to land around the upper-middle of the reflective area, not near the bottom edge.
2. Treat Bathroom Power as a Safety System, Not a Convenience
A lighted mirror is an electrical product installed in a moisture-prone environment. Plan power and protection early—especially in a renovation.
GFCI protection matters
In bathrooms, GFCI protection is widely required for receptacles. One NEC-focused reference summarizes that all 125-volt, 15- or 20-amp receptacles installed in a bathroom require GFCI protection under NEC 210.8(A)(1) (Source: electricallicenserenewal.com NEC commentary).
What this means for installation:
· If your mirror plugs into an outlet, that outlet should be GFCI-protected.
· If it’s hardwired, follow local electrical requirements and use a qualified electrician if you’re not experienced. (Local codes and permitting rules can vary.)
Pick a sensible control plan
Decide whether the mirror will be controlled by:
· a wall switch (simple and intuitive),
· touch controls on the mirror (clean look, but you may still want a master wall switch),
· or both (often ideal: wall switch for power + mirror for dimming).
3. Confirm Damp-Location Suitability (Bathrooms Are Not “Dry” Spaces)
Many failures in lighted mirrors come from electronics stressed by humidity and condensation. Look for a product that is clearly suitable for bathroom conditions.
A commonly used definition describes a damp location as an interior or exterior location “normally or periodically subject to condensation of moisture in, on, or adjacent to electrical equipment” (Source: DMF Lighting technical bulletin).
Shopping checklist language:
· “Suitable for damp locations” is a strong minimum for most bathrooms.
· If the mirror is close to direct spray zones, make sure the manufacturer explicitly allows that placement.
4. Plan Ventilation and Humidity—It Protects the Mirror and the Electronics
Even a good product can age badly if moisture lingers every day. The EPA advises indoor relative humidity should be kept below 60%, ideally between 30% and 50%, to reduce mold risk (Source: EPA Mold Course, Chapter 2).
That guidance is not “just about mold.” It also affects:
· mirror edge durability,
· corrosion on brackets and screws,
· and longevity of LED drivers and controls.
Simple habit that pays off: run the exhaust fan during showers and for a period after, so condensation doesn’t sit on the mirror and wall for hours.
5. Understand Brightness the Way Lighting Pros Do
Many buyers focus on lumens, but what you feel at the vanity is illuminance at face level.
Foot-candles are a common professional unit, and a foot-candle is defined as the illuminance on a one-square-foot surface from a uniform light source (Source: Lighting Design Lab “Footcandle Light Guide” PDF).
Another IES-based reference notes that one foot-candle equals one lumen per square foot (Source: IES Recommended Light Levels PDF).
Why it matters: two mirrors can list similar lumens, yet one feels far better because it distributes light smoothly onto your face rather than producing glare hotspots.
6. Choose Light Quality: Color Temperature, Color Rendering, and Dimming
A lighted vanity mirror can be “bright” and still unflattering if color and diffusion are wrong.
Dimming is not optional for comfort
Dimming reduces glare at night and helps you match lighting to tasks (quick check vs. detailed grooming). If possible, choose a mirror with smooth dimming rather than step-only presets.
Color quality affects how skin tones look
Some brands list CRI; others publish more advanced metrics. The Department of Energy highlights ANSI/IES TM-30 as a modern method for evaluating light source color rendition (Source: DOE TM-30 tutorial PDF).
You don’t need to demand TM-30 on every product, but any credible color-quality information is better than none—especially if makeup, shaving, or skincare precision matters.
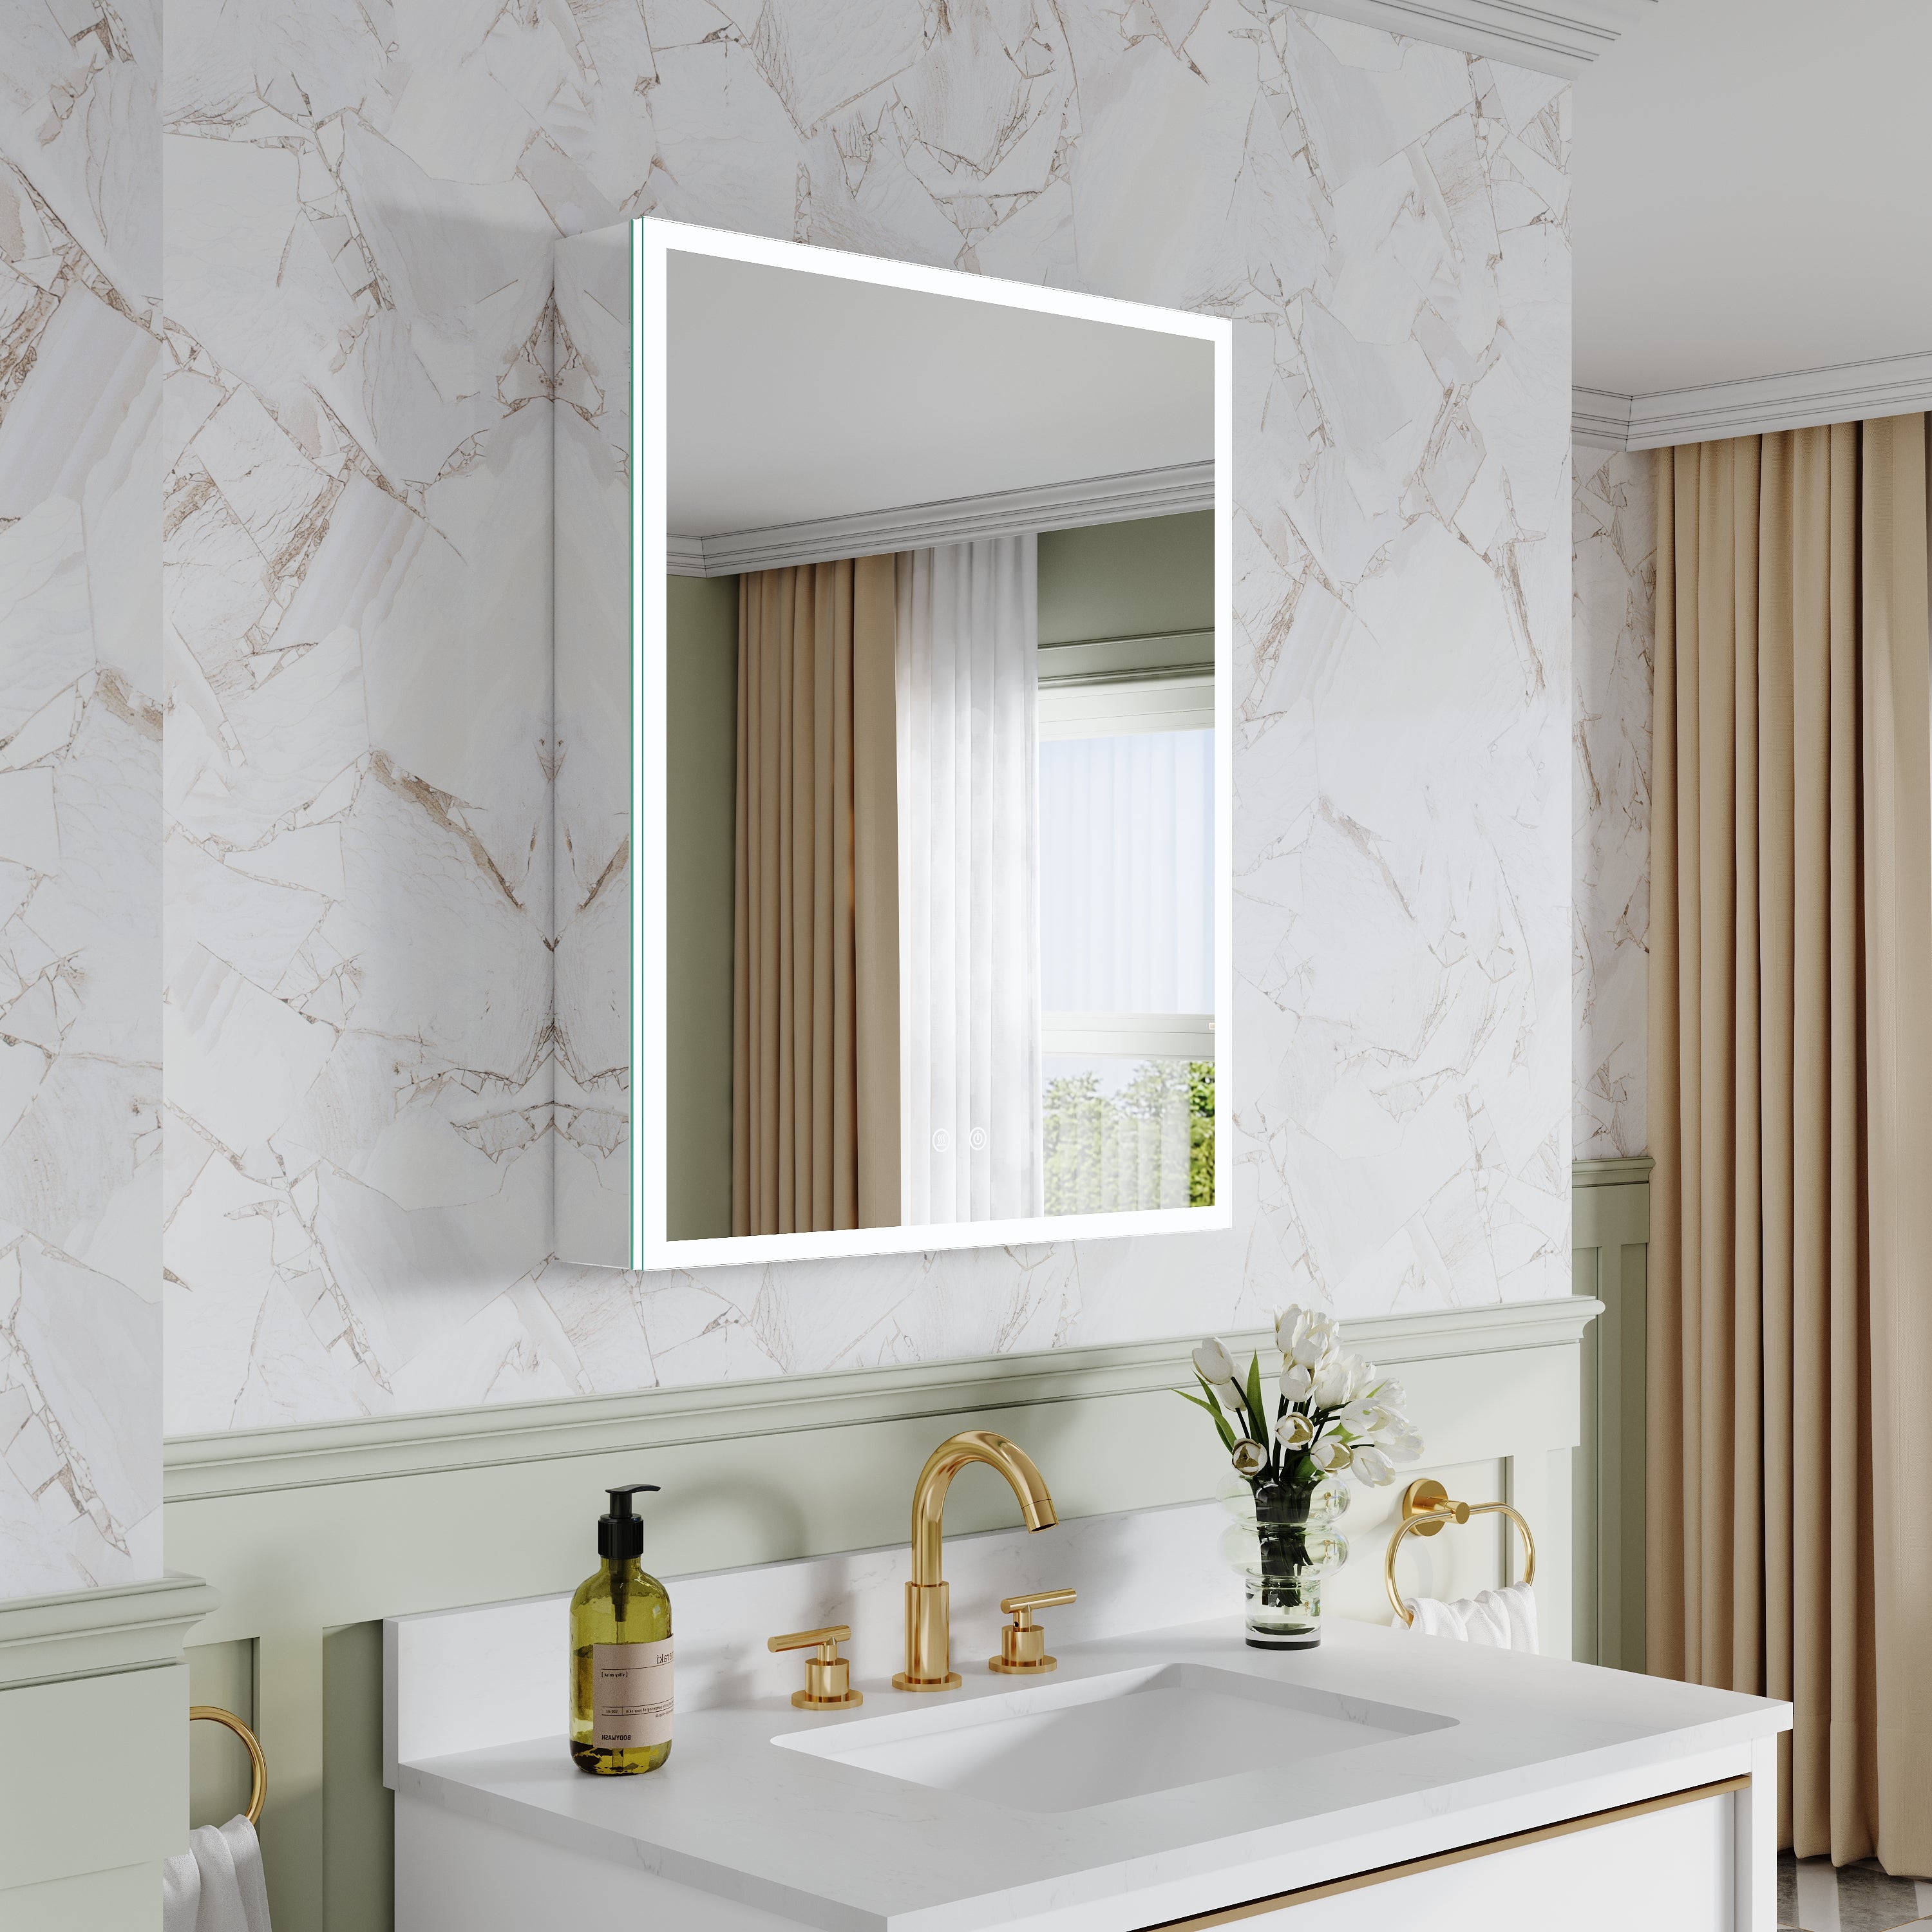
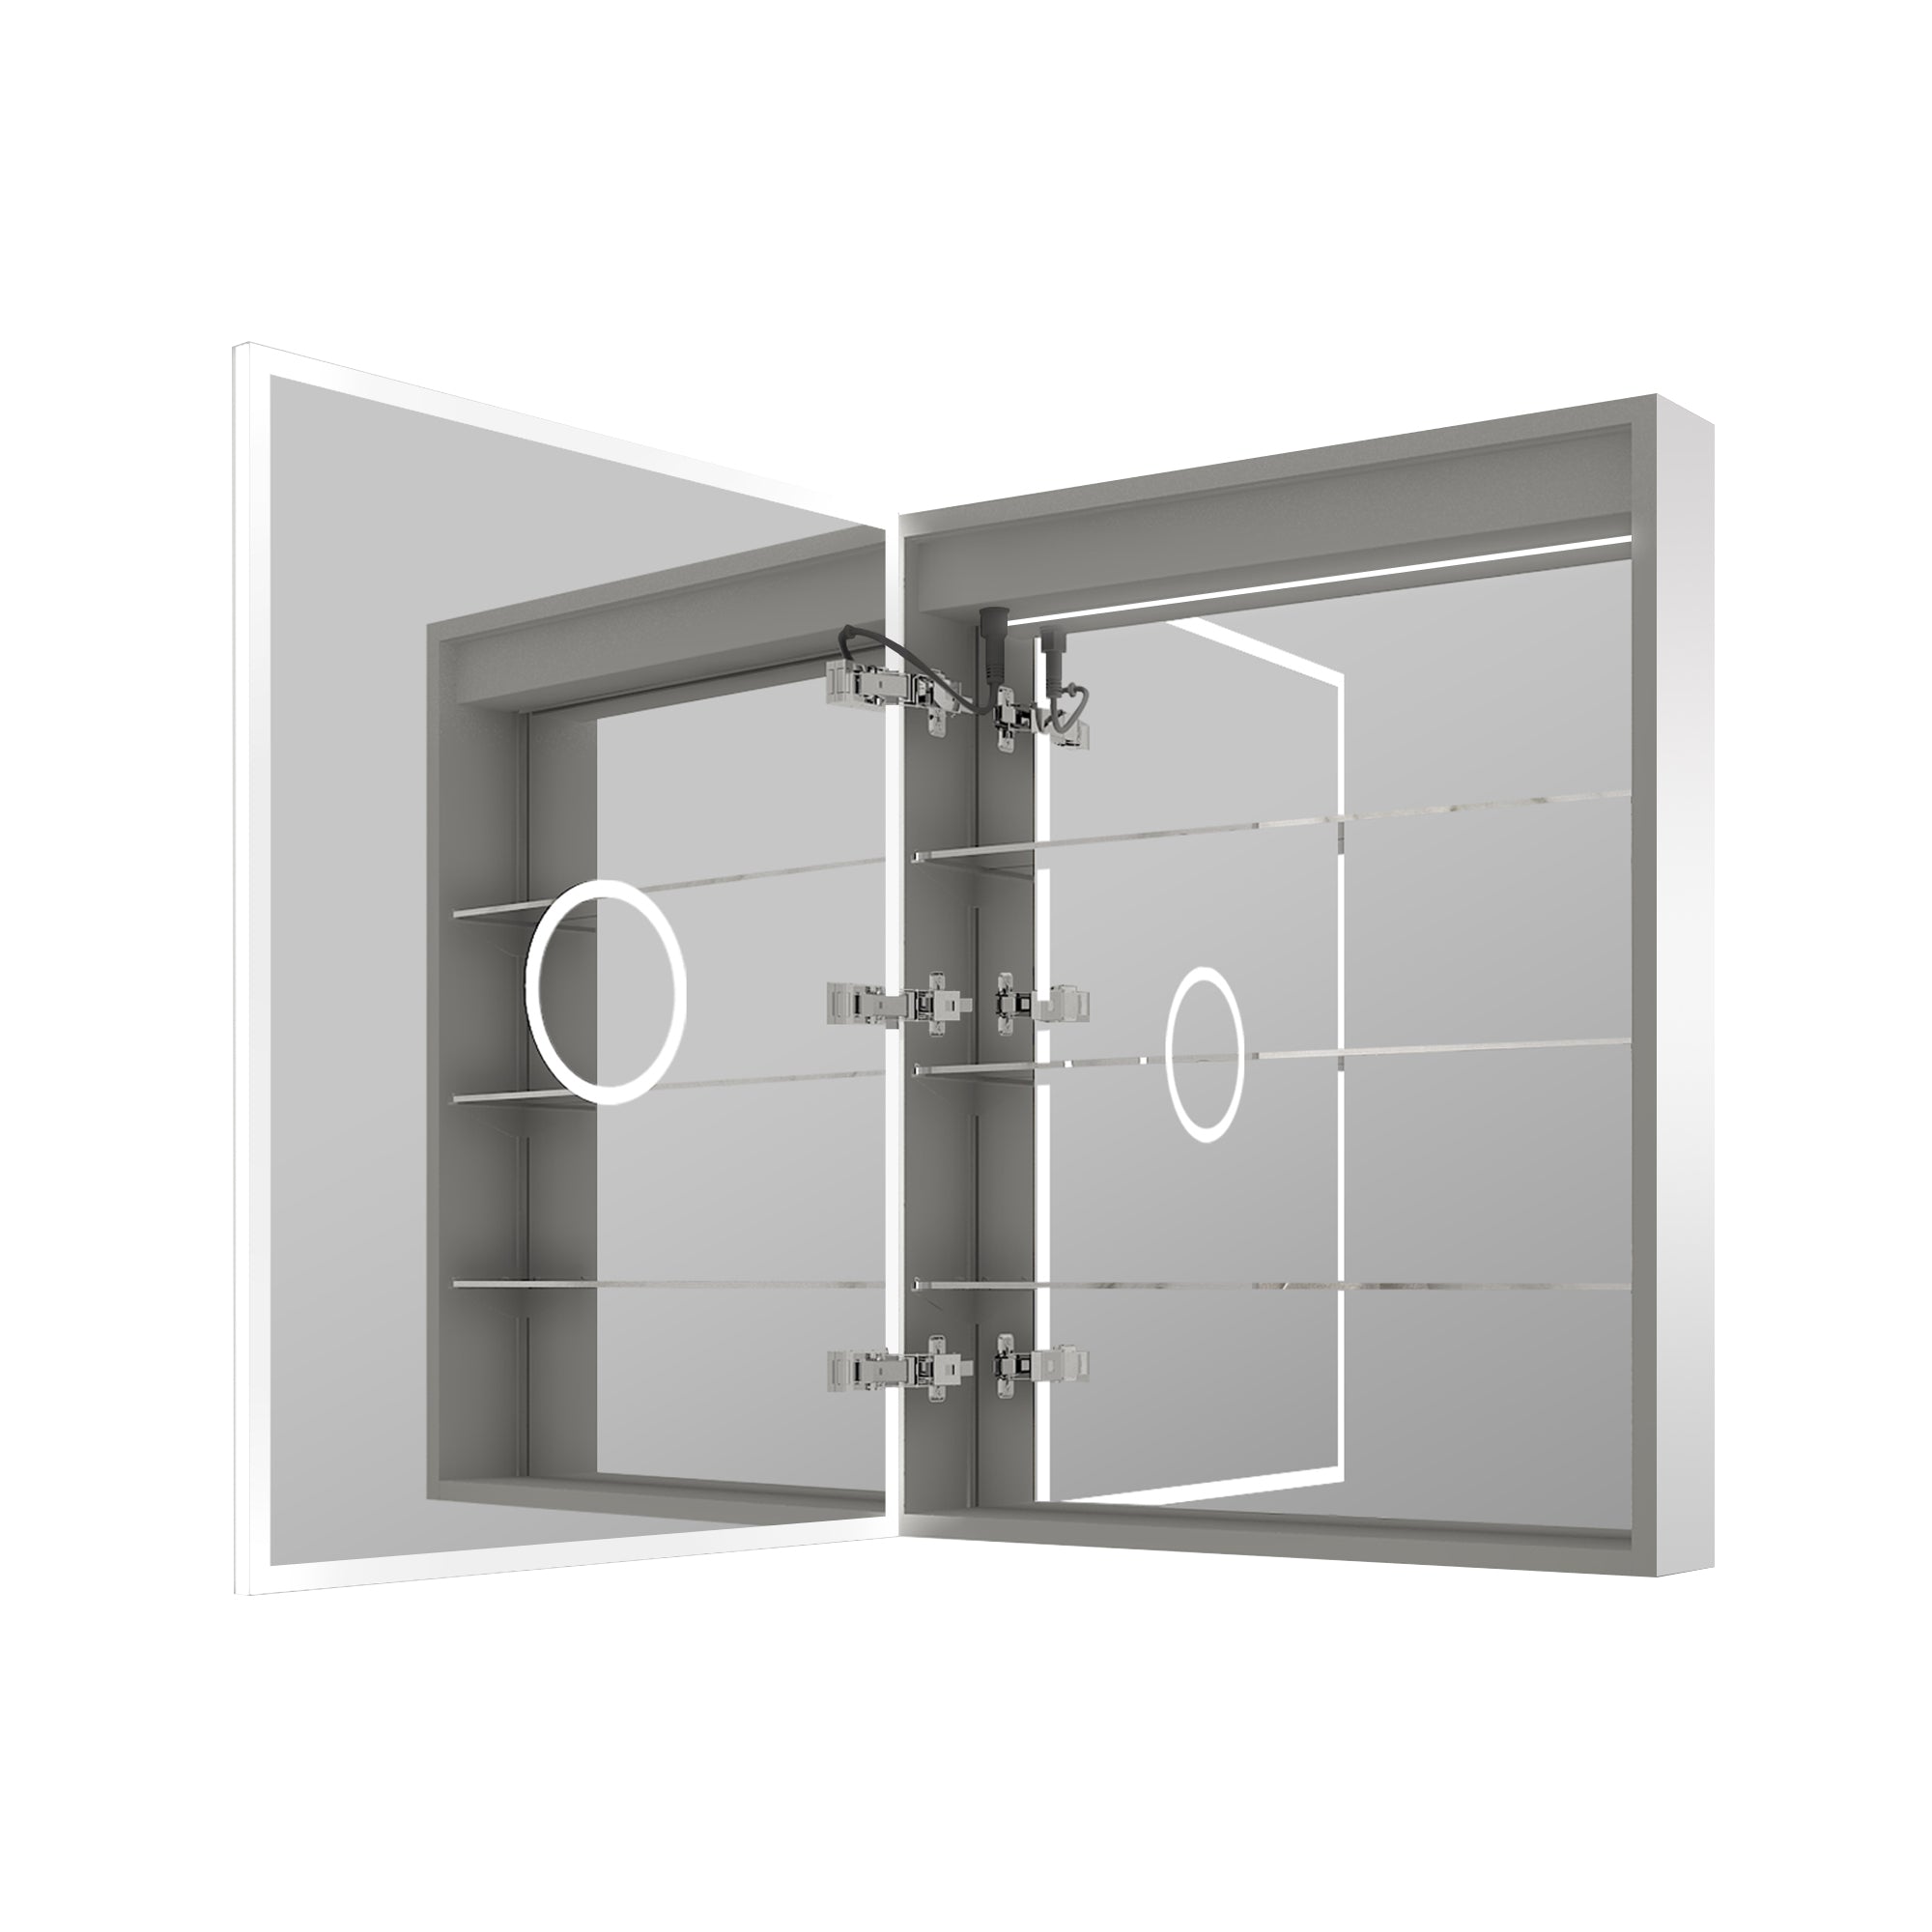
7. Mounting: Make It Structurally Secure and Visually Perfect
A lighted mirror is heavier than a basic mirror, and it may include a driver box, bracket system, or internal frame.
Best practices for a stable install:
· Locate studs and use them where possible (especially for wide or heavy mirrors).
· Use manufacturer-approved brackets and fasteners.
· Keep the unit level and square—tiny misalignment is very noticeable when you have straight LED lines.
If the mirror is large, consider mechanical support (mounting rail/bracket system) instead of relying on adhesive-only methods.
8. Energy Efficiency: A Real Advantage of LED Mirrors
LED mirrors are usually LED-based for a reason: efficiency and longevity.
DOE states that residential LEDs—especially ENERGY STAR rated products—use at least 75% less energy and last up to 25 times longer than incandescent lighting (Source: DOE “LED Lighting”).
DOE also notes LEDs can use up to 90% less energy and last up to 25 times longer than traditional incandescent bulbs (Source: DOE “Lighting Choices to Save You Money”).
For a fixture used daily, that combination (lower energy + fewer replacements) is one of the most practical long-term benefits.
Quick Pre-Install Checklist
· Height: Use the 40-inch bottom-of-reflective-surface reference above countertops as a comfort guardrail (Source: ADA 603.3).
· Power: Confirm wiring method, switching plan, and bathroom GFCI requirements for any receptacles involved (Source: NEC commentary summary).
· Moisture: Choose “damp location” suitability at minimum (Source: DMF Lighting definition).
· Humidity: Aim to keep RH below 60%, ideally 30–50% with ventilation habits (Source: EPA).
· Light quality: Prefer smooth diffusion + dimming; value credible color-quality metrics (Source: DOE TM-30).
· Mounting: Use studs/brackets appropriate to the mirror’s weight and width.

Conclusion
Before installing a lighted vanity mirror, focus on the fundamentals that drive long-term satisfaction: correct height, safe bathroom-appropriate power, damp-location suitability, solid mounting, and light quality that’s controllable and flattering. Pair that with humidity control—below 60% RH, ideally 30–50% (Source: EPA).
Done right, you get a mirror that not only looks modern but performs like a daily tool—efficient, comfortable, and reliable for years (Source: DOE LED efficiency and longevity).


Leave a comment
This site is protected by hCaptcha and the hCaptcha Privacy Policy and Terms of Service apply.