


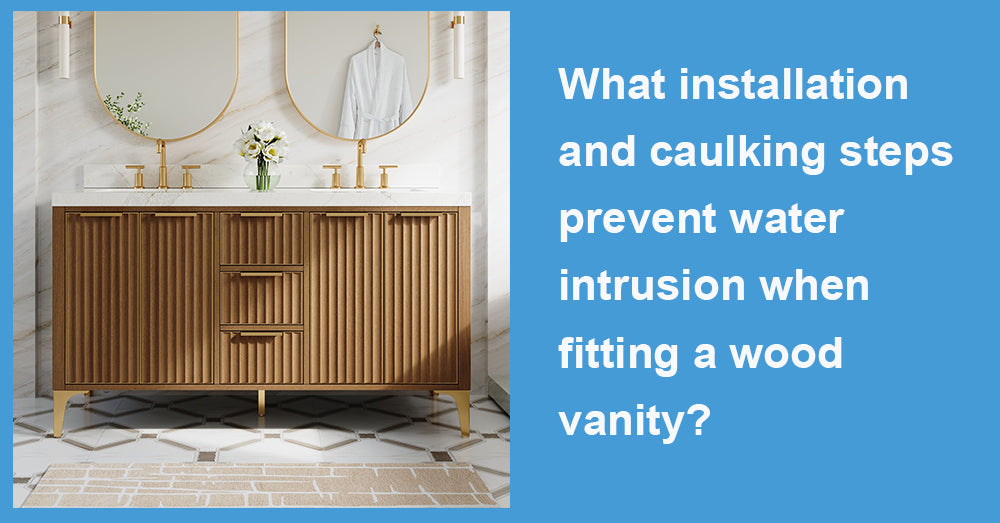
Water intrusion is one of the fastest ways to shorten the life of a wood vanity, because repeated wetting can swell panels, loosen joints, and create hidden mold risk behind the cabinet. Insurance industry data shows water damage is not a rare “edge case”: in the 2018–2022 period, water damage and freezing losses affected about 1.6% of insured homes. At the same time, EPA's mold guidance is blunt about the root cause: control moisture, and you reduce the conditions that allow mold to grow. The practical takeaway for installers is simple: most vanity failures start at seams, penetrations, and out-of-level installations, where caulk cracks over time.
Prep the site so joints don’t crack later
Most caulk failures are actually due to movement. If the wall is bowed, the floor is out of level, or the vanity rocks even slightly, the joints you seal today will split tomorrow.
A good manufacturer example is Kohler’s vanity installation guidance, which calls out site conditions up front: the finished wall should be straight and plumb, and the floor should be flat and perpendicular to the wall. It also recommends adding 2x6 support behind the wall when needed and references a common support height of 34-1/2 inches from the finished floor to the top of the support. Even if your vanity is a different brand, that logic holds: solid backing reduces flex, and less flex means less seam movement and fewer cracks.
“Dry fit” the vanity and lock it to the structure, not just the drywall
Before sealing anything, place the vanity, level it, and confirm it sits tight to the wall without rocking. If you can slip a finger behind the back rail in spots, you’re creating a future gap that caulk has to “bridge” instead of simply “seal.”
Kohler’s instructions emphasize securing the vanity into framing and take a typical heavy-duty approach: install into studs or blocking, use 5/16-inch lag bolts, drill 1/4-inch pilot holes, and ensure proper engagement. The point is not the exact fastener size for every cabinet. The point is to eliminate micro-movement so your sealed joints stay intact when drawers slam, floors flex, or someone leans on the countertop.
Seal penetrations and vulnerable edges before the countertop goes on
The highest-risk water points are usually not subject to dramatic floods. They are small, repeated exposures: faucet splash, wet hands, hair-tool heat and humidity, and slow drips inside the cabinet.
Do these steps before you set the top:
l Confirm supply stops and drain stub-outs are positioned so they won’t rub the cabinet.
l If you have raw cutouts in wood panels (for plumbing), seal the exposed edges with an appropriate finish or sealer to prevent incidental moisture from soaking into the end grain.
l Test-fit the countertop and backsplash (if included) to confirm the seam lines you’ll be sealing.
Then set the countertop using the correct bead where the cabinet meets the top. Kohler’s method is straightforward: apply a bead of siliconized acrylic caulk around the top of the vanity, set the countertop/sink, press until level, and wipe away excess.
Install the backsplash like a “water break,” not a decoration
Backsplashes fail when they’re treated like trim. In reality, they’re a water-management detail: they stop splash from reaching the wall and protect the seam behind the sink.
Kohler’s instructions describe a practical sequence that works across many vanity styles: set the backsplash tight to the wall, secure it with a bead of caulk on the back surface, then run a bead along the wall-to-backsplash and backsplash-to-vanity-top seams. Those two seams are where water most often sneaks behind the installation during everyday use.

Choose the right sealant for “wet + movement” seams
A common mistake is using “whatever caulk is in the garage.” Bathrooms are wet areas, and changes of plane move. Tile and building standards consistently treat these joints as sealant joints rather than grout joints.
A helpful industry reminder comes from the Ceramic Tile Education Foundation: ANSI/TCNA guidance for movement joints lists silicone, urethane, and polysulfide as suitable sealants (and specifically notes this is about using the correct “sealant,” not generic caulking). If you want a performance benchmark, ASTM C920 is the well-known specification that covers elastomeric joint sealants used for sealing and caulking in building construction.
Practical selection rules that prevent water intrusion:
l Use a high-quality kitchen-and-bath silicone (or equivalent elastomeric sealant) where the joint is subject to direct wetting or repeated movement.
l Use the exact product type your vanity manufacturer specifies for vanity-top and backsplash seams (some specify siliconized acrylic caulk for certain joints).
Use silicone where water exposure is direct and frequent
For vanity installs, the most “direct water” locations usually include:
l Sink rim to countertop (if top-mount).
l Faucet base to countertop.
l Drain trim penetrations (where applicable).
l Countertop seam areas that catch standing water.
General product guidance aimed at DIY and pro users commonly highlights silicone as highly water-resistant and flexible for bathrooms and notes long service life when properly applied. If you want an example of what manufacturers market for wet-area sealing, GE’s Advanced Silicone 2 Kitchen & Bath technical data describes 100% waterproof performance and being ready for water exposure in as little as 30 minutes (product-specific).
The bigger point: in high-splash zones, prioritize a true wet-area sealant over convenience.
Apply caulk like a pro: clean, tape, continuous bead, tool it
Water intrusion usually starts at pinholes, skips, and edges that weren’t bonded well. The technique matters as much as the product.
A reliable workflow:
l Remove old caulk completely (new caulk does not bond well to failing caulk).
l Clean and dry both surfaces. Any dust, soap film, or moisture reduces adhesion.
l Use painter’s tape to define clean lines (especially visible wall seams).
l Run a continuous bead without stops, maintaining steady pressure to avoid voids.
l Tool the bead (smooth it) to press sealant into the joint and form a slightly concave shape that sheds water.
l Pull the tape before a skin forms so you don’t tear the edge.
Also, don’t try to “fill a canyon” with caulk. If the gap is large or inconsistent because the wall is bowed, fix the substrate first (scribe, shim, straighten) so the sealant works as a seal, not as structural filler.
Don’t skip cure time and moisture control after install
Early water exposure is a common reason fresh beads fail. Follow the label for cure and water-ready timing, even when the product advertises quick water resistance.
Then protect the installation in the long term by controlling moisture. EPA’s mold guidance emphasizes that moisture control is the key to preventing mold growth. In practice, that means using ventilation during and after showers, wiping standing water from the countertop seam, and fixing drips quickly instead of “letting it ride.”
Final checks that catch leaks before they become damage
Before you leave the job:
l Run water, fill the basin, and drain it while watching the supply connections and the trap.
l Check the vanity interior corners for any sign of seepage.
l Inspect every sealed seam with a flashlight for skips or bubbles.
l Confirm the vanity is still level after the countertop is installed (weight can reveal a leveling issue).


Leave a comment
This site is protected by hCaptcha and the hCaptcha Privacy Policy and Terms of Service apply.