


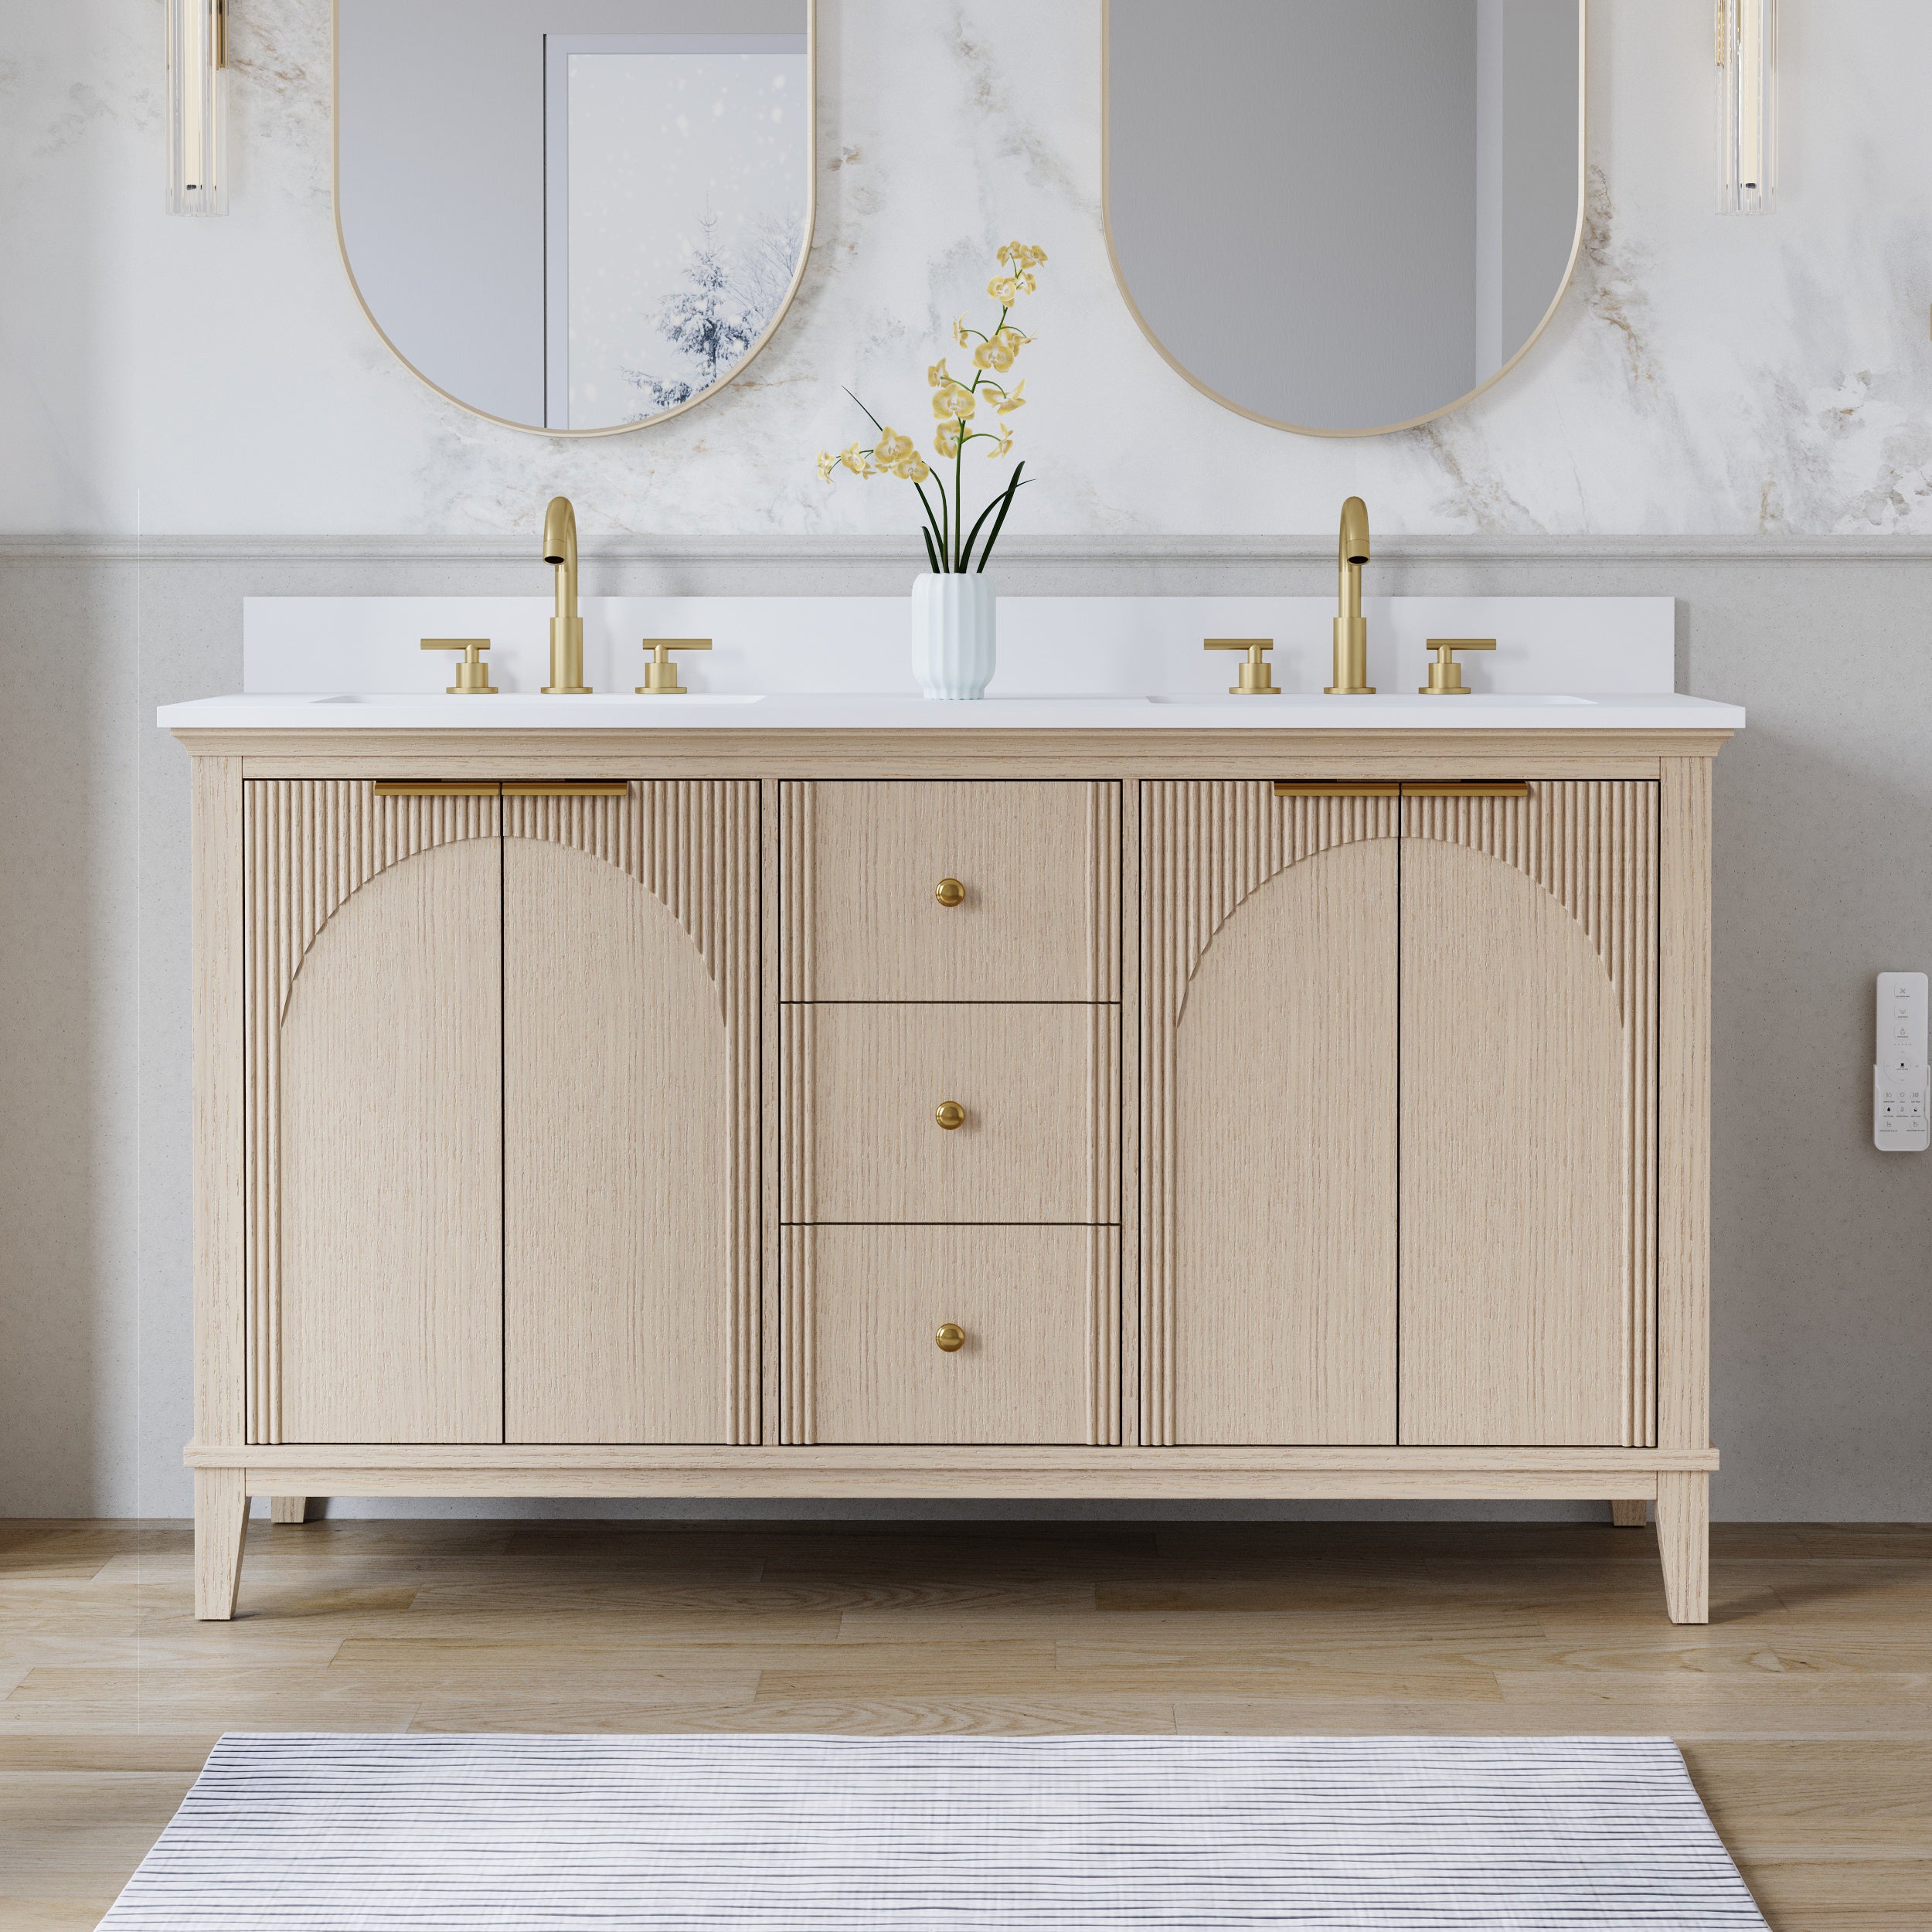
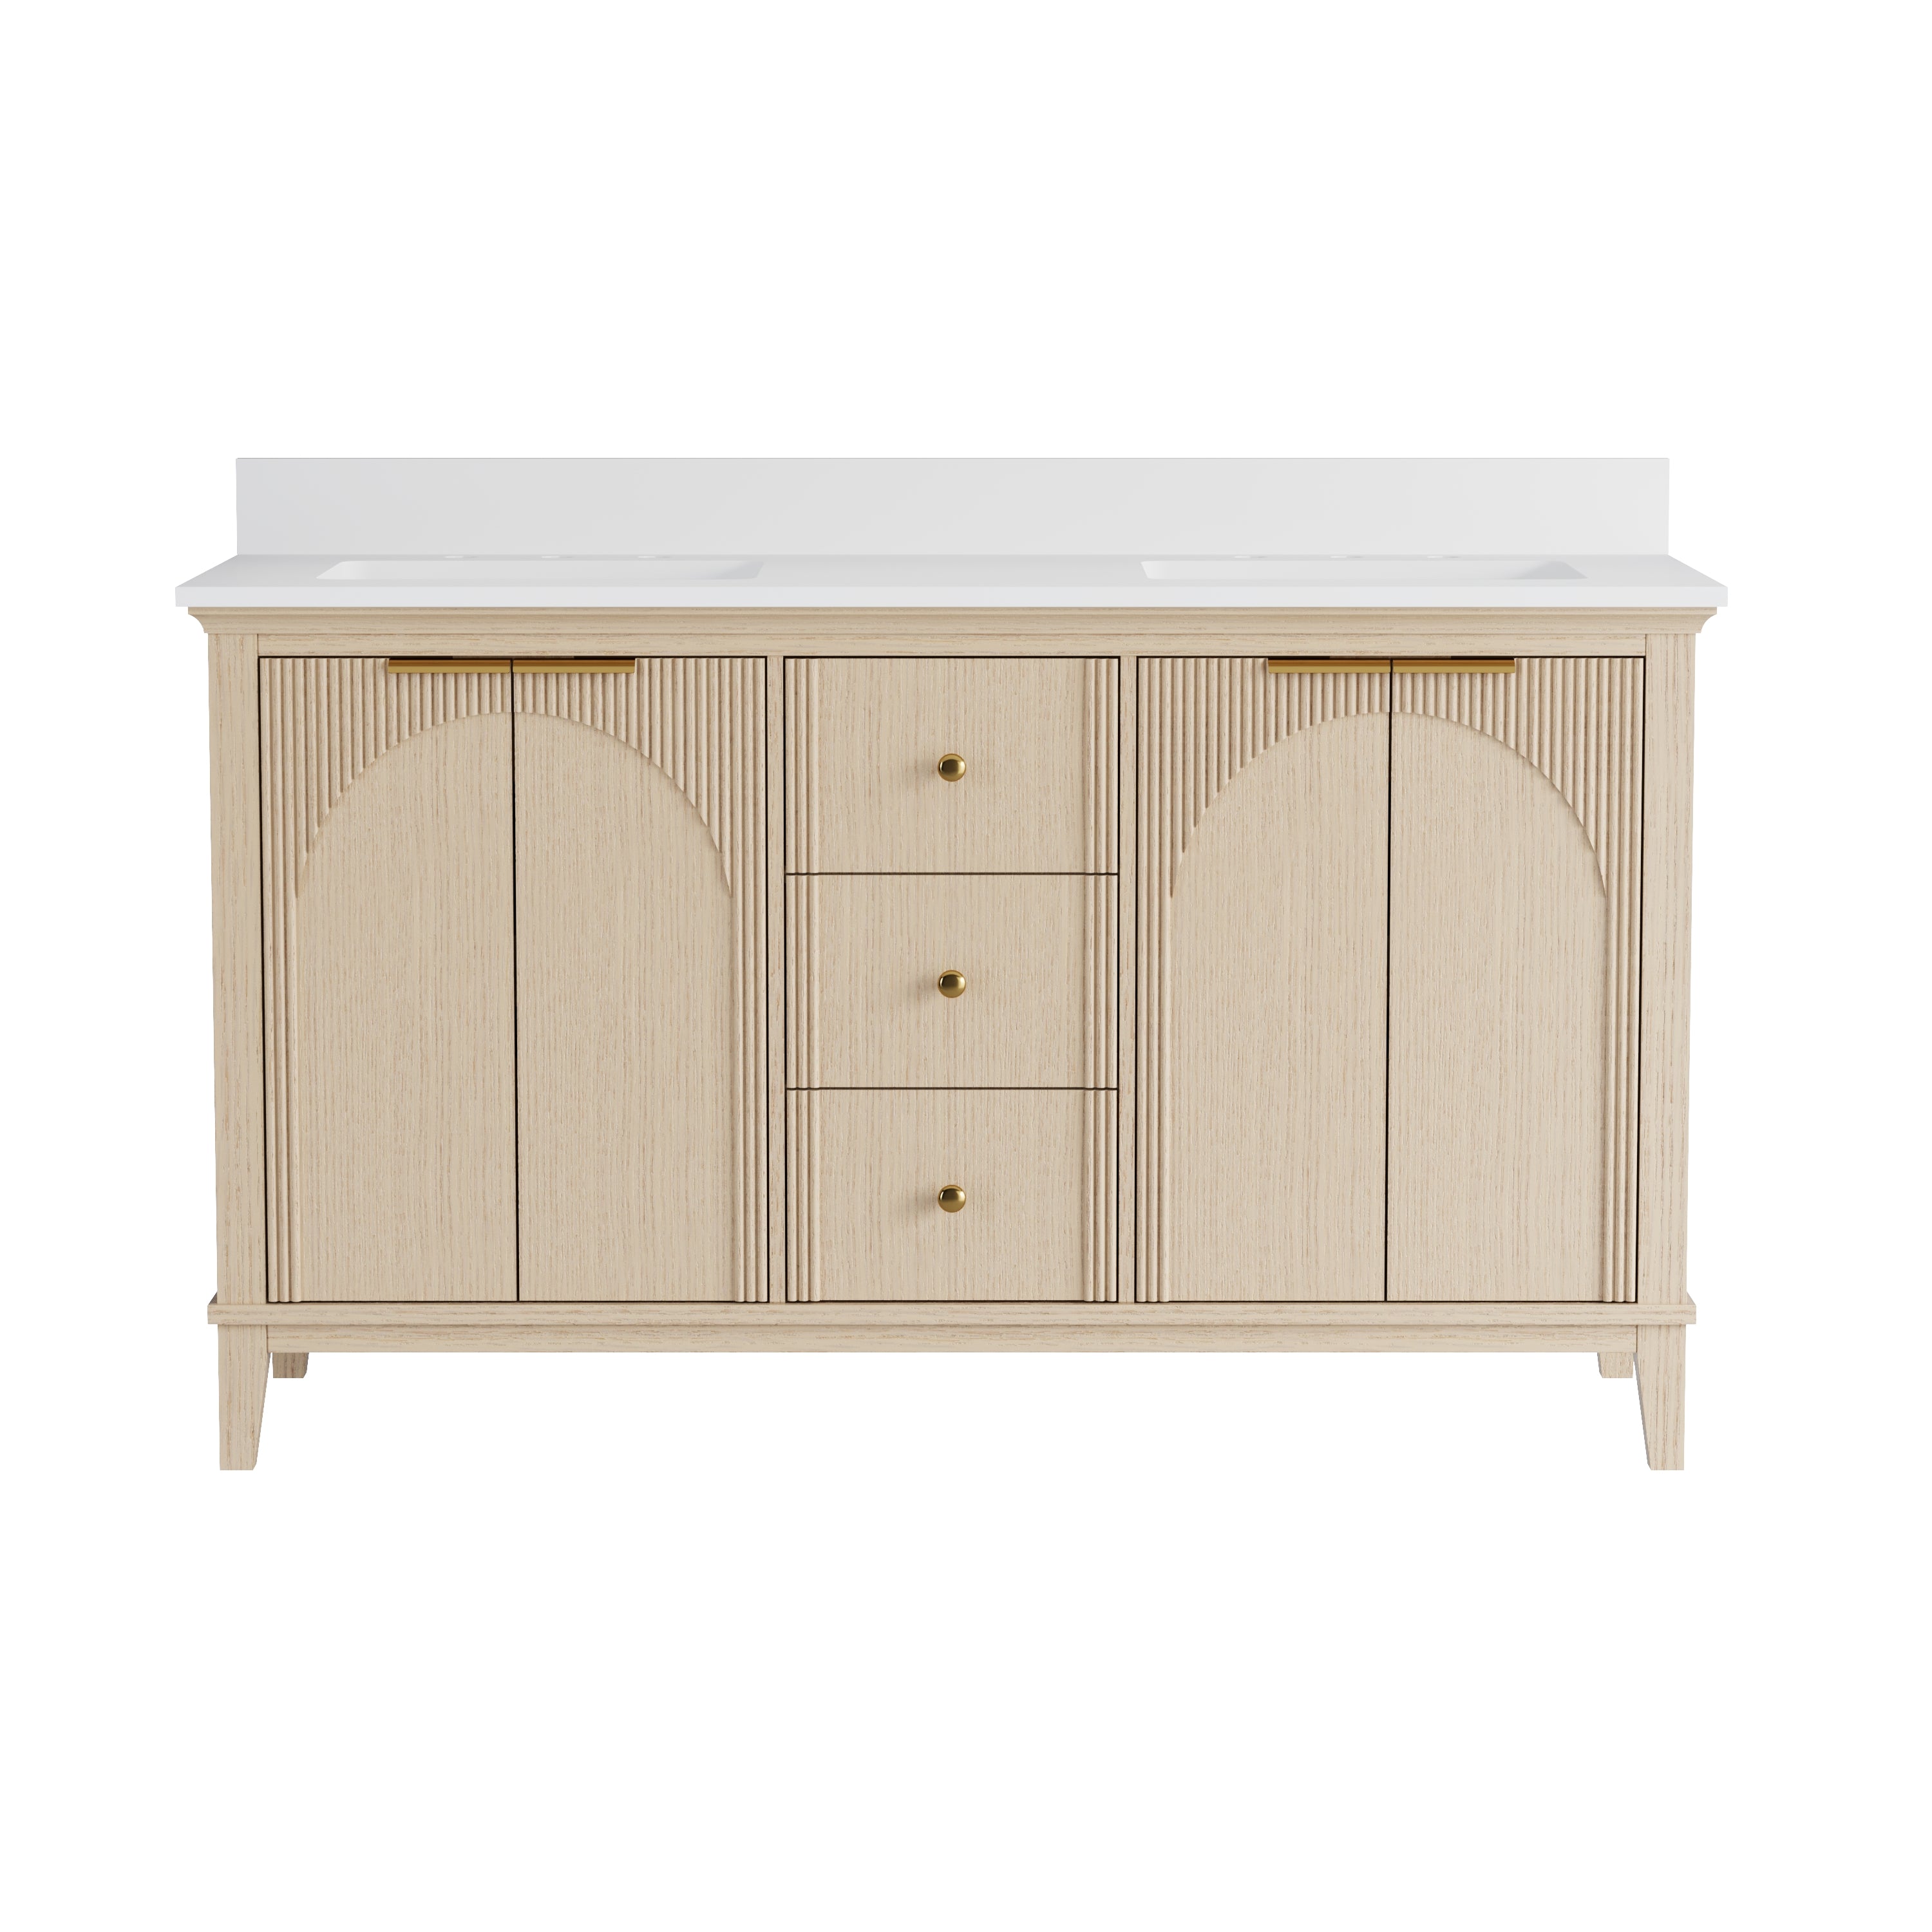
Solid wood vanities look substantial, but they also make measurement mistakes more expensive—because real wood cabinets are heavy, often fully assembled, and harder to “cheat” into a tight corner once they arrive. The good news is you can avoid the most common fit issues (blocked doors, cramped walkways, and awkward countertop edges) with a simple measuring process that treats the vanity like a moving object, not a static box.
1. Start with an “as-built” sketch you can trust
Before you measure the vanity, measure the room. A quick sketch on paper is fine, but make it accurate:
· Measure wall-to-wall dimensions at floor level and again at about 36 inches high (walls aren’t always perfectly parallel).
· Mark the location of the toilet, tub/shower curb, door openings, and any protrusions (baseboard heaters, trim, towel bars, radiators).
· Note where plumbing and electrical come out of the wall—especially if you’re switching from a pedestal sink to a cabinet vanity.
This is also the moment to decide what your “reference plane” is. In most bathrooms, it’s the finished wall surface (tile or drywall), not the stud line. If you measure to studs and then add tile later, your clearances shrink fast.
2. Measure front clearance where your body actually stands
The most useful clearance measurement is the space in front of the vanity—because that’s where you stand to use it, and where doors and drawers will occupy space when opened.
A widely used benchmark comes from NKBA Bath Planning Guidelines: plan at least 30 inches of clear floor space from the front edge of fixtures (including a lavatory/vanity) to any opposite wall or obstacle, and note that 21 inches is the minimum often referenced as a code requirement. (Source: NKBA Bath Planning Guidelines)
How to measure it correctly:
1. Identify the frontmost point of your finished vanity installation (usually the countertop front edge, not the cabinet face).
2. Measure straight out to the nearest opposite obstacle (wall, tub apron, toilet front, door, or another cabinet).
3. If your bathroom door swings into that zone, measure with the door opened to the position it will naturally sit in.
If your number is close to 21 inches, be careful: it may “fit,” but it won’t feel comfortable, especially in shared bathrooms.
3. Confirm side clearance and elbow room, not just “can it fit”
Many vanity installations fail on the sides: the cabinet fits, but your shoulders don’t.
NKBA guidance includes a recommended distance from the centerline of the lavatory to a side wall or tall obstacle of at least 20 inches, with 15 inches commonly noted as a minimum distance to a wall. (Source: NKBA Bath Planning Guidelines)
Practical way to use this:
· Mark the sink centerline on your sketch.
· Check the distance to the nearest side wall, linen tower, or tall cabinet.
· If you’re choosing a vanity with a wide sink or a raised vessel sink, consider even more elbow room because your posture shifts forward.
This is where solid wood vanities can surprise you: thicker face frames, deeper doors, and chunkier pulls all “steal” usable inches.
4. Measure door swing using the clear opening and the swing arc
Bathroom doors create two different problems: whether you can get through the doorway comfortably, and whether the door swing collides with your vanity zone.
For accessibility and comfortable passage, a key reference is the ADA clear width requirement: door openings should provide a 32-inch minimum clear width, measured from the face of the door to the stop with the door open 90 degrees. (Source: 2010 ADA Standards §404.2.3)
How to map door swing accurately:
1. Measure the door width (commonly 24, 28, 30, or 32 inches).
2. On your sketch, draw a quarter-circle arc from the hinge point to represent the door’s path.
3. Check whether that arc overlaps the “standing zone” in front of the vanity (the area you want to keep open).
The Access Board’s ADA guide also notes that doors can swing into certain clear floor spaces in some locations, but keeping the swing outside key clearances is generally advisable for usability. (Source: U.S. Access Board ADA Guide, Clear Floor Space)
If your bathroom is tight, consider a pocket door or an out-swing door where allowed—those choices can “buy back” the most usable space.
5. Don’t forget the vanity’s own door and drawer swing
Even if the room door clears, the vanity must still function day-to-day.
Here’s the quick method:
· Door swing: assume you’ll want at least a 90-degree open position to access shelves comfortably. Draw an arc from the cabinet hinge side equal to the door width plus handle projection.
· Drawer pull-out: measure the drawer extension. Full-extension drawers can project close to the cabinet depth when open. Mark that line on the floor with painter’s tape.
Then check collisions:
· Will an open vanity door hit the toilet tank, towel bar, or wall trim?
· Will an open drawer block the bathroom door path or pinch the walkway below comfortable clearance?
This is where “looks fine on paper” turns into “annoying every morning.” If space is tight, look for vanities with sliding doors, recessed pulls, or shallower depth.
6. Measure countertop overhang from the cabinet face, not the box depth

Countertop overhang is a small dimension with big consequences: too little overhang can expose cabinet faces to drips; too much overhang can tighten your front clearance and feel bulky.
A solid reference for workmanship expectations comes from ANSI/AWI 1236-2022 (Countertops). It specifies that overhangs should be consistent, extending a minimum of 0.500 inch and a maximum of 1.250 inches beyond the outermost cabinet face/finished end (with exceptions near appliance openings). (Source: ANSI/AWI 1236-2022, Section 3.3.2 Overhangs)
How to measure it in the field:
1. Find the outermost cabinet face plane (door/drawer face plane, not the cabinet box behind it).
2. Measure to the finished countertop edge at several points (left, center, right).
3. If your wall is out of square, decide whether you’ll keep the overhang consistent at the front (preferred for appearance) and scribe the backsplash/wall edge to compensate.
If you’re ordering a top separately, give fabricators two numbers: the cabinet face plane and the target overhang. That avoids misunderstandings like measuring from the cabinet box and ending up short at the doors.
7. Do a full-size mock-up before you buy
This step sounds simple, but it saves the most money: mock the vanity footprint on the floor and “test-drive” the space.
· Tape the vanity footprint to the floor (width × depth).
· Add an extra strip of tape to represent the countertop overhang.
· Tape the door swing arc and open-drawer projection.
· Walk through the motions: entering, turning, standing at the sink, opening drawers, reaching for storage.
If you’re planning for accessibility or just want a bathroom that feels easy to use, it helps to know the common clearance “building blocks.” NKBA’s guideline references a minimum clear floor space of 30 inches × 48 inches at fixtures and a wheelchair turning space diameter of at least 60 inches under certain access standards. (Source: NKBA Bath Planning Guidelines)
The Access Board ADA guide also reiterates the 30 inches × 48 inches minimum clear floor space concept for accessible approach. (Source: U.S. Access Board ADA Guide)
You don’t need to design a fully accessible bath to benefit from these measurements—many bathrooms simply feel better when you avoid pinched clearances.


Leave a comment
This site is protected by hCaptcha and the hCaptcha Privacy Policy and Terms of Service apply.