


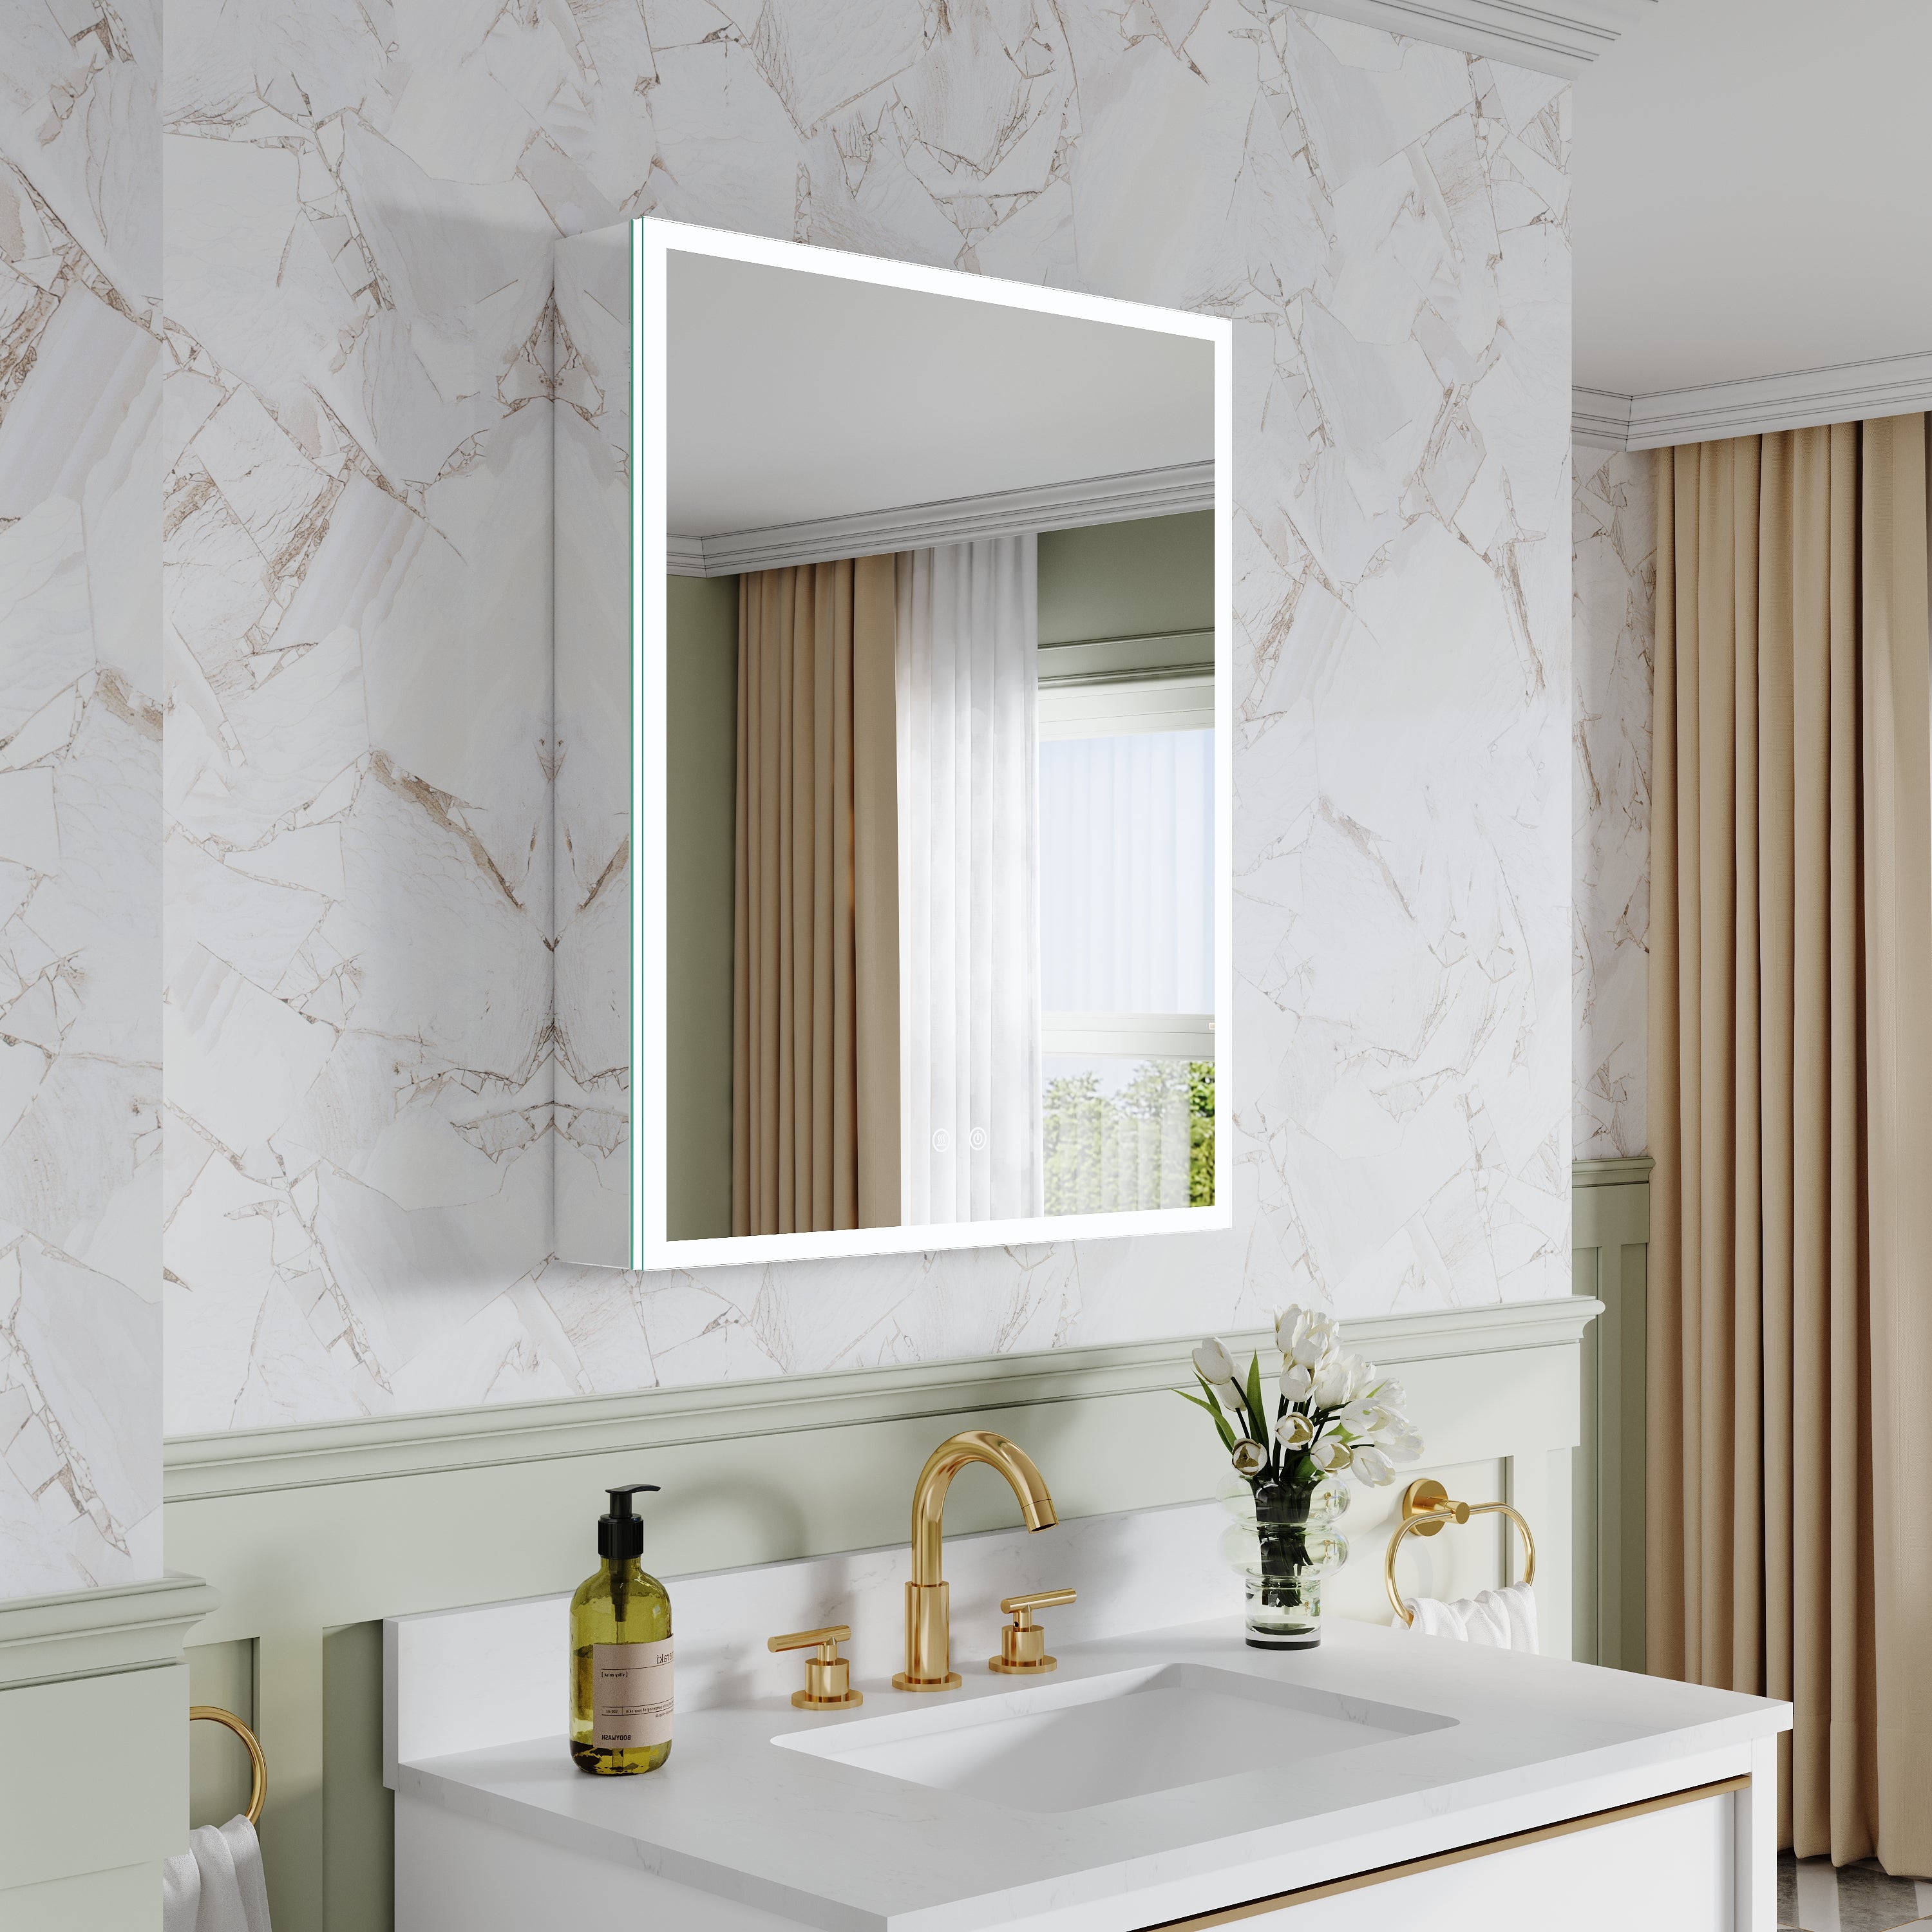
A wall-mounted vanity mirror with lights has quickly moved from “nice-to-have” to a common line item in bathroom upgrade plans, largely because better lighting is now tied to daily routines and comfort. In the Houzz 2025 Bathroom Trends Study, 36% of renovated bathrooms include wellness-oriented features, and upgraded lighting leads at 30%. In a separate Houzz feature, " How Heavy Are Lighted Wall Mirrors Usually?
When people ask how heavy lighted wall mirrors usually are, the most accurate answer is that most standard residential models fall into a broad middle range of about 20 lb to 55 lb. At the same time, larger or more feature-heavy versions can move well beyond that. Current retail listings show how wide the spread can be. A 24-inch x 36-inch frameless LED mirror from ExBrite is listed at 20.83 lb, while a 24-inch x 36-inch framed model from Keonjinn is listed at 22.66 lb. At the larger end, a 60-inch x 36-inch framed LED mirror from Bayfeve is listed at 47 lb, a 60-inch x 36-inch frameless Lexora mirror at 49 lb, and a 60-inch x 36-inch frameless Elegant Lighting model at 53 lb. One 60-inch x 36-inch frameless tilting mirror from Vacolite is listed at 85 lb, showing that construction details can dramatically change the number.
1. Why Mirror Weight Matters More Than It Used To
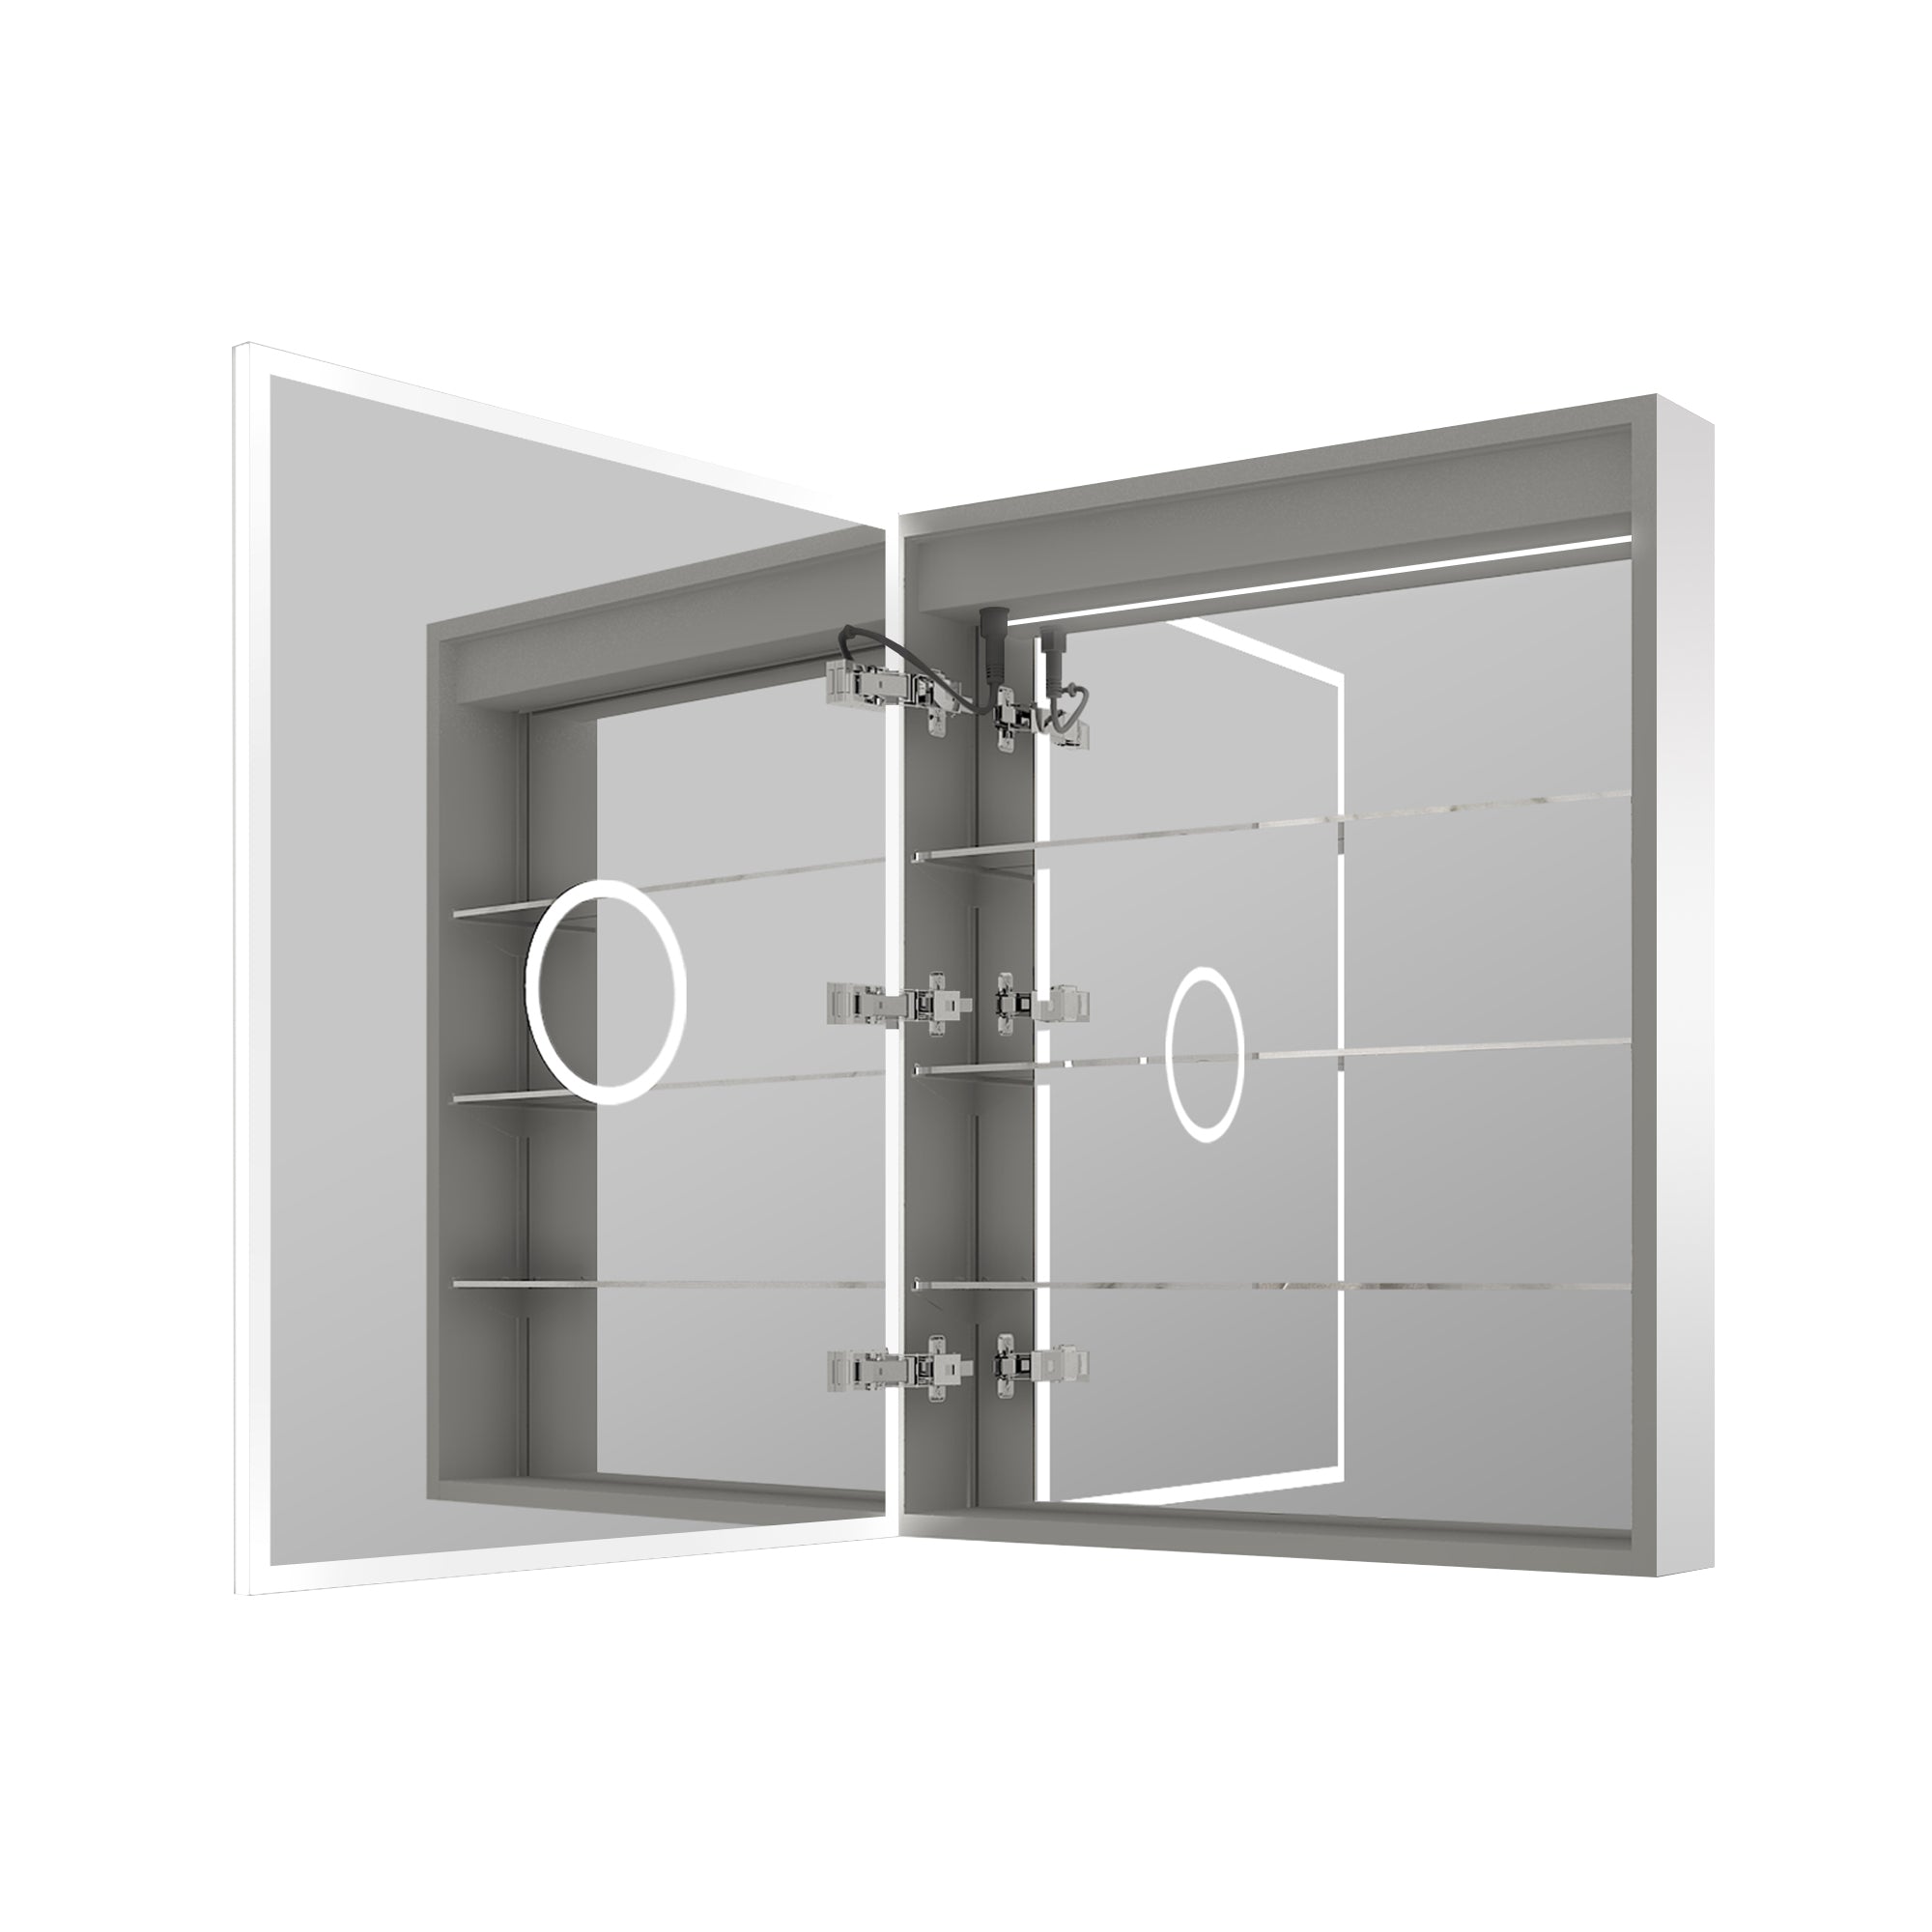
Lighted mirrors are no longer treated as simple wall accents. They now sit at the intersection of lighting, décor, and daily grooming, which means the product often includes more than just a sheet of reflective glass. Depending on the model, buyers may get integrated LED strips, defogging pads, touch controls, dimming electronics, color temperature adjustment, aluminum framing, and safety backing. That growing feature set is one reason mirror weight has become a more practical buying question. Industry trend reports also show that lighting is now a major design priority. NKBA reported that 91% of respondents see lighting quality as a top priority in bath design, 92% believe task lighting should always be included in the primary bath, and 47% favor integrated lighting in mirrors over the next three years.
2. Small and Mid-Size Lighted Mirrors Usually Stay in a Manageable Range
For common single-vanity sizes, lighted mirrors are often heavy enough to feel substantial, but not so heavy that the number becomes shocking. A 24-inch x 36-inch ExBrite LED mirror at Lowe’s is listed at 20.83 lb. A similarly sized 24-inch x 36-inch Keonjinn framed LED mirror is listed at 22.66 lb. At Home Depot, a 36-inch x 24-inch HOMLUX frameless LED mirror is listed at 19.65 lb, while another 36-inch x 24-inch TOOLKISS anti-fog LED mirror is listed at 36 lb. That range shows that even mirrors with nearly identical face dimensions can differ sharply in weight depending on glass thickness, lighting layout, electrical components, and whether the product uses a frame or a heavier backing system.
3. Once You Reach 48 Inch and 60 Inch Widths, Weight Climbs Fast
The weight jump becomes much more noticeable as the mirror width increases. A 48-inch x 36-inch Electric Mirror model sold through Ferguson Home is listed at 42.55 lb, while a 48-inch x 36-inch Craftmade LED mirror is listed at 54.01 lb. Another 48-inch x 36-inch LED mirror on Wayfair is listed at 36.19 lb, which again shows that product architecture can make a major difference even at the same size. Move up to 60 inches by 36 inches, and the category clearly shifts into heavier wall-mounted territory. Current examples range from 47 lb to 53 lb, with one 60-inch x 36-inch tilting model reaching 85 lb. That makes oversized mirrors much closer to a mounted fixture than a simple decorative mirror.
4. Why Two Mirrors of the Same Size Can Weigh So Differently
The size printed on the carton never tells the whole story. Weight varies with the type of glass, the presence or absence of a metal frame, the backing thickness, the LED system used, and whether the mirror includes extras such as anti-fog pads or tilt hardware. Current product listings reflect that. The ExBrite 24-inch x 36-inch model is frameless and weighs 20.83 lb, while the Keonjinn 24-inch x 36-inch framed model weighs 22.66 lb. On the larger side, Bayfeve’s 60-inch x 36-inch framed aluminum model is listed at 47 lb, while a frameless 60-inch x 36-inch Vacolite mirror with a tilting design is listed at 85 lb. In plain terms, width and height matter, but the build method matters almost as much.
5. The Category Is Growing, and That Usually Means More Weight Options
The reason shoppers now see such a wide spread is simple: the category itself is expanding. Houzz reported that lighted mirrors appeared in 22% of renovated bathroom projects in 2025, up 3 percentage points from the year before. As more homeowners and designers treat the mirror as both a lighting source and a design element, sellers respond with more shapes, more electronics, and more size options. Some buyers want a slim 24-inch or 30-inch mirror for a compact powder room. Others want a large 48-inch or 60-inch statement mirror with front and back lighting, dimming, memory, and anti-fog controls. As a product moves up the function ladder, it often increases in weight, too.
6. So, How Heavy Are They Usually?
In practical buying terms, most lighted wall mirrors sold for everyday residential bathrooms usually weigh 20 to 55 lb, with small and mid-size models often in the low 20s to low 40s, and larger 48-inch to 60-inch models commonly in the upper 40s or low 50s. Once extra-thick construction, tilt hardware, or a more robust backing is factored in, the weight can go much higher. That is why product specs matter so much. The category looks sleek on the wall, but behind that clean appearance is a product that often behaves more like an installed lighting fixture than a standard mirror.
undup, lighted mirrors are also rising, reaching 22% of projects.

1. WhyABingDefault Choice
Installers and remodelers are seeing more requests for integrated lighting at the vanity because it solves real problems: shadows on the face, uneven overhead light, and clutter from extra fixtures. NKBA trend reporting reinforces that lighting quality remains a top priority in bathroom design, with 91% citing keying context as a matter because a lighted mirror is both a finish element and a tool.
2. Verify the Mirror’s Safety Markings Before You Touch a Stud Finder
Before planning the mount, confirm the mirror is listed or certified for its intended use. Lighted mirrors are electrical products, and reputable models are evaluated to luminaire standards such as UL 1598, which covers safety requirements intended to reduce risks like shock, fire, and mechanical hazards. UL also references related standards (for example, UL 8750 for LED equipment used in lighting products).
Practical takeaway: if the label, spec sheet, or instructions do not clearly state a recognized safety listing and location suitability (dry or damp), treat it as a red flag, especially in a high-moisture room.
3. Plan Placement, Height, and Sightlines in Inches
Good-looking installs start with layout, not hardware. Center the mirror on the sink and align it with the vanity width and lighting plan. If you are replacing an older mirror, mark the new mirror’s top and bottom edges with painter’s tape before drilling anything.
A useful reference point for mirror usability comes from accessibility guidance: mirrors above lavatories or countertops can be installed so the bottom edge of the reflecting surface is no higher than 40 inches above the finished floor. Even when you are not designing to an accessibility standard, this measurement is a solid reality check for “too high” placements that frustrate everyday use.
4. Choose the Mounting Method That Matches the Weight and Wall Type
Most wall-mounted lighted mirrors use one of these systems:
· Z-bar or French cleat: a wall rail supports the mirror, spreads we, and makes leveling easier.
· Keyhole slots: screws set into the wall, and the mirror drops onto them.
· Bracket-and-screws: direct fastening through specific points.
In industry practice, a cleat-style system is often preferred for larger mirrors because it helps distribute the load and gives you adjustment during leveling. Regardless of method, the beam is still solid framing, not drywall alone.
5. Find Structure: Studs, Blocking, and What to Do If Studs Don’t Line Up
Use a stud fin to confirm with a small pilot hole in the marked zone. If the mi’mount points do not land on studs, you have three common options:
1. Use a mounting rail that spans studs. This is the cleanest solution when the mirror includes a cleat.
2. Add blocking behind the wall. This is ideal during remodeling when the wall is open.
3. Use heavy-duty anchors for the load and wall type. This is common in finished bathrooms, but the anchor choice must match the drywall thickness and the mirror weight.
If the mirror includes a rail, treat that rail like structural hardware: level it carefully and hit studs whenever necessary.
6. Electrical Planning: Plug-In vs Hardwired Is the Fork in the Road
Lighted vanity mirrors usually come as either:
· Plug-in: simplest install, but cord management and outlet placement matter.
· Hardwired: cleaner look, but electrical work must follow local code and manufacturer instructions.
Bathrooms are wet environments, and electrical protection is not optional. Guidance based on NEC requirements commonly emphasizes GFCI protection for bathroom receptacles, and code education sources highlight that bathrooms fall under the required GFCI protection rules for dwelling units.
If your plan involves opening a junction box, altering wiring, or adding a new circuit, use a licensed electrician. That is not just a formality. Fire agencies consistently report significant losses from electrical problems. For example, USFA estimates for 2023 list 23,700 residential building electrical malfunction fires, with 305 fatalities, 800 injuries, and about $1.5 billion in loss. NFPA also reports an annual average of 46,652 home structure fires (2020 to 2024) involving electrical failure or malfunction.
7. The Installation Workflow Pros Follow (Without the Guesswork)
Here is the typical sequence used on job sites for a clean, repeatable result:
1. Stage and measure. Confirm mirror size, mounting points, and cord or wiring exit location. Tape the outline on the wall.
2. Locate studs and mark level lines. Use a laser level if available. Mark the centerline of the sinnd.
3. Install the wall rail or screws. Hit studs where you can. If using anchors, install them exactly per the instructions.
4. Dry-fit the mirror. Lift and test engagement on the rail or keyholes before final tightening.
5. Make power connections. For a plug-in, route the cord to the plug-inch points. For hardwired, follow the wiring diagram and secure strain relief.
6. Final level and safety check. Confirm the mirror is seated, stable, and that the lighting controls work as intended.
In practice, the “dry-fit” step is what prevents most mistakes. Many cracked mirrors and wall repairs come from skipping that test fit.
8. Moisture, Steam, and Long-Term Reliability Details That Matter
A bathroom mirror with integrated LEDs includes drivers, connections, and controls that can fail early if moisture management is ignored. After mounting:
· Seal any wall penetrations according to the manufacturer’s guidance.
· Keep ventilation realistic. Steam is the enemy of electronics over time.
· Avoid placing the mirror where it can take direct spray, unless it is specifically rated for that exposure.
Also, do not over-tighten fasteners. Over-torquing is a common cause of glass stress and hairline cracking during installation.
9. What “Best Practice” Looks Like in 2026
The industry direction is clear: homeowners are prioritizing better lighting and more functional vanity zones, which is why lighted mirrors are showing up more often in renovation specs. The best installs combine three things: a safety-listed product, solid wall structure (studs or a spanning raft), and code-aligned electrical protection.
If you want one rule to keep you out of trouble, it is this: mount to structure first, then solve power safely. That approach delivers a mirror that looks premium on day one and stays reliable through years of humidity and daily use


Leave a comment
This site is protected by hCaptcha and the hCaptcha Privacy Policy and Terms of Service apply.