


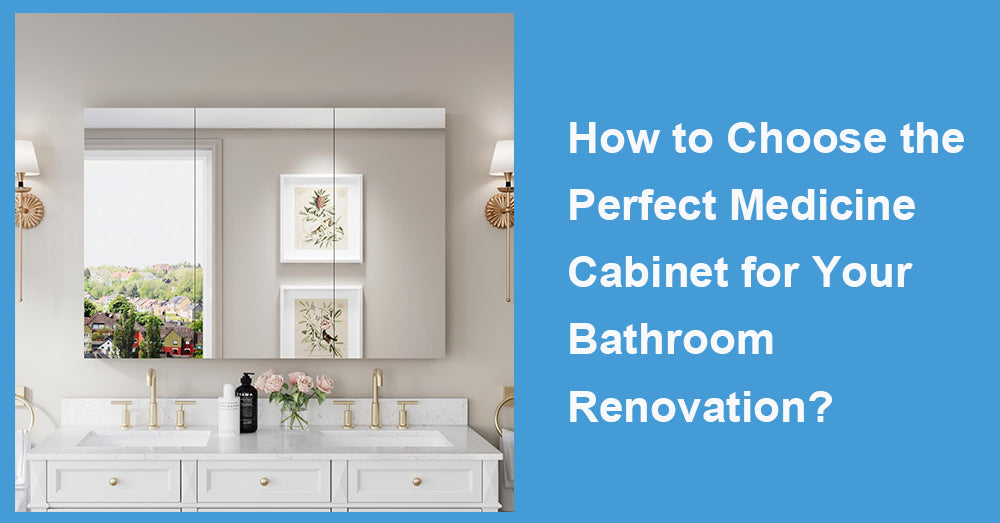
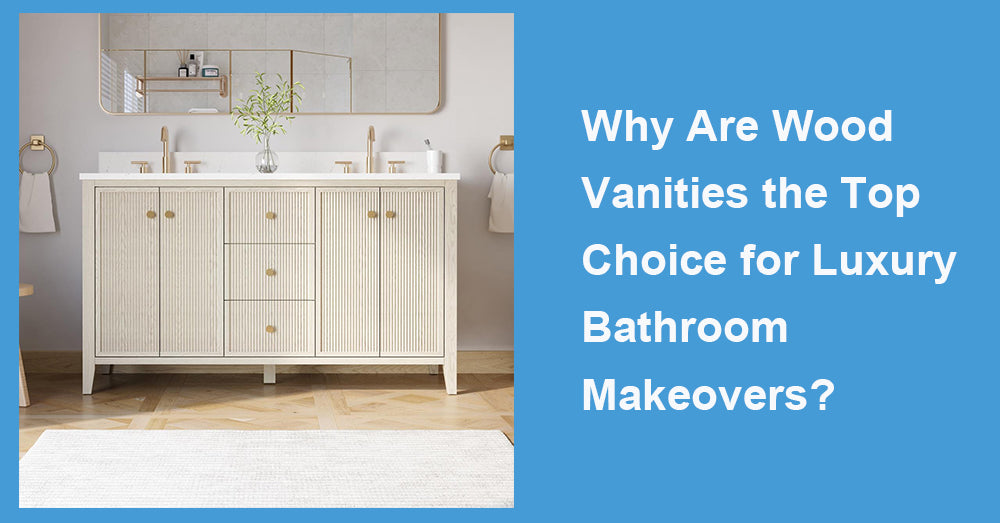
During a renovation, medicine cabinets are one of the smartest “small decisions” you can make early, because they affect storage, lighting, mirror comfort, and even how clean the vanity looks day to day. The perfect cabinet isn’t just a mirror box—it’s a wall-mounted system that needs to fit your layout, your routines, and the realities inside your wall. If you choose the right type and size now, you avoid the common renovation regrets later: doors that hit sconces, shelves that don’t fit real bottles, and cabinets that feel bulky or sit too high.
1. Choose the Installation Type First: Recessed vs. Surface-Mount
This is the decision that drives everything else.
Recessed (in-wall) medicine cabinets
A recessed cabinet sits inside the wall cavity, so it looks built-in and keeps a clean, low-profile silhouette. It’s often the best choice for a “finished” renovation look—especially in smaller bathrooms where every inch matters. The downside is that the wall decides what’s possible: studs, wiring, and plumbing vents can block your ideal location.
Surface-mount medicine cabinets
Surface-mount models install on top of the wall, which can be easier during a renovation if you don’t want to open tile or you’re working around a difficult stud/wiring layout. The tradeoff is projection into the room, which can feel bulky if the cabinet is too deep.
Renovation tip: If you’re already opening walls, recessed installation is usually worth considering. If you’re keeping walls intact or want the simplest install, surface-mount is often the safer path.
2. Measure the Wall Like an Installer (Not Like a Decorator)
A medicine cabinet is only as good as its mounting.
Many wall framing layouts use studs commonly spaced 16 inches apart (Source: The Home Depot, “How to Install a Medicine Cabinet”). If your cabinet width and mounting points don’t line up with studs, you may need reframing (for recessed) or heavy-duty anchors/toggles (for surface-mount). Planning around stud spacing early prevents last-minute compromises.
What to check before you buy:
· Stud location and spacing behind the vanity wall
· Any electrical runs (sconces, outlets, GFCI lines)
· Plumbing vents or supply lines that might block recessed placement
· Whether you can add blocking (wood reinforcement) during renovation for a stronger mount
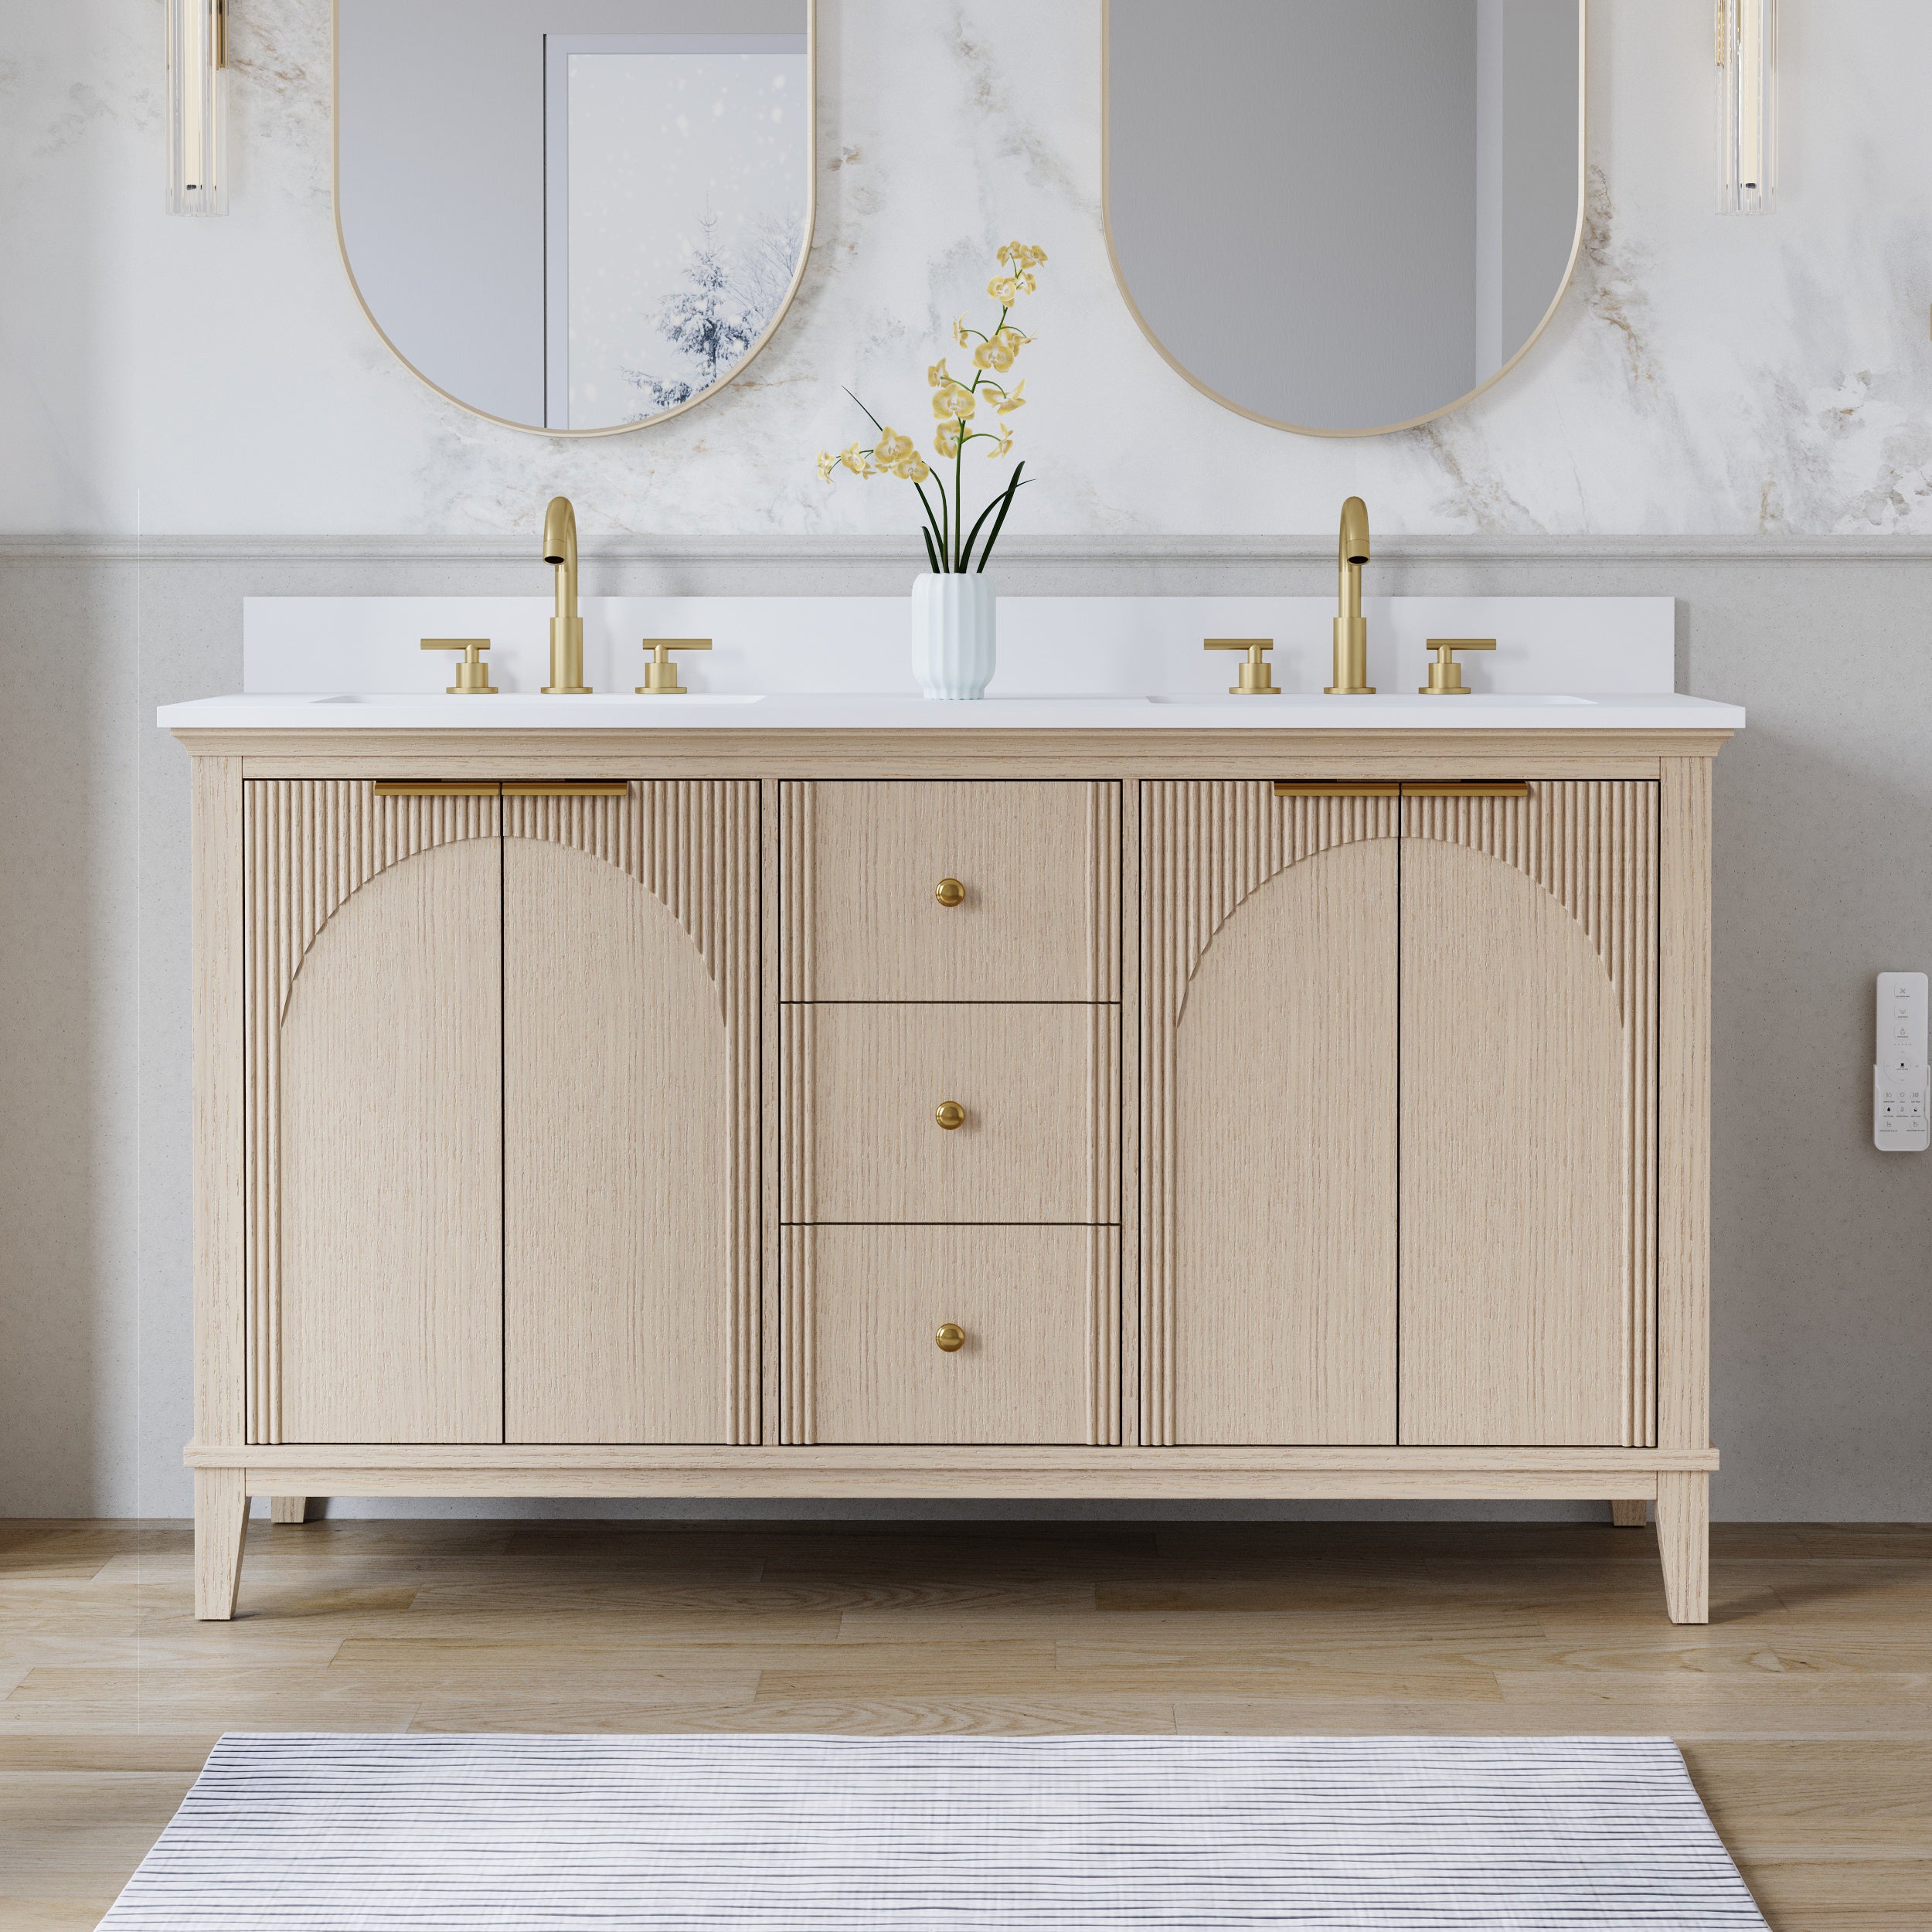
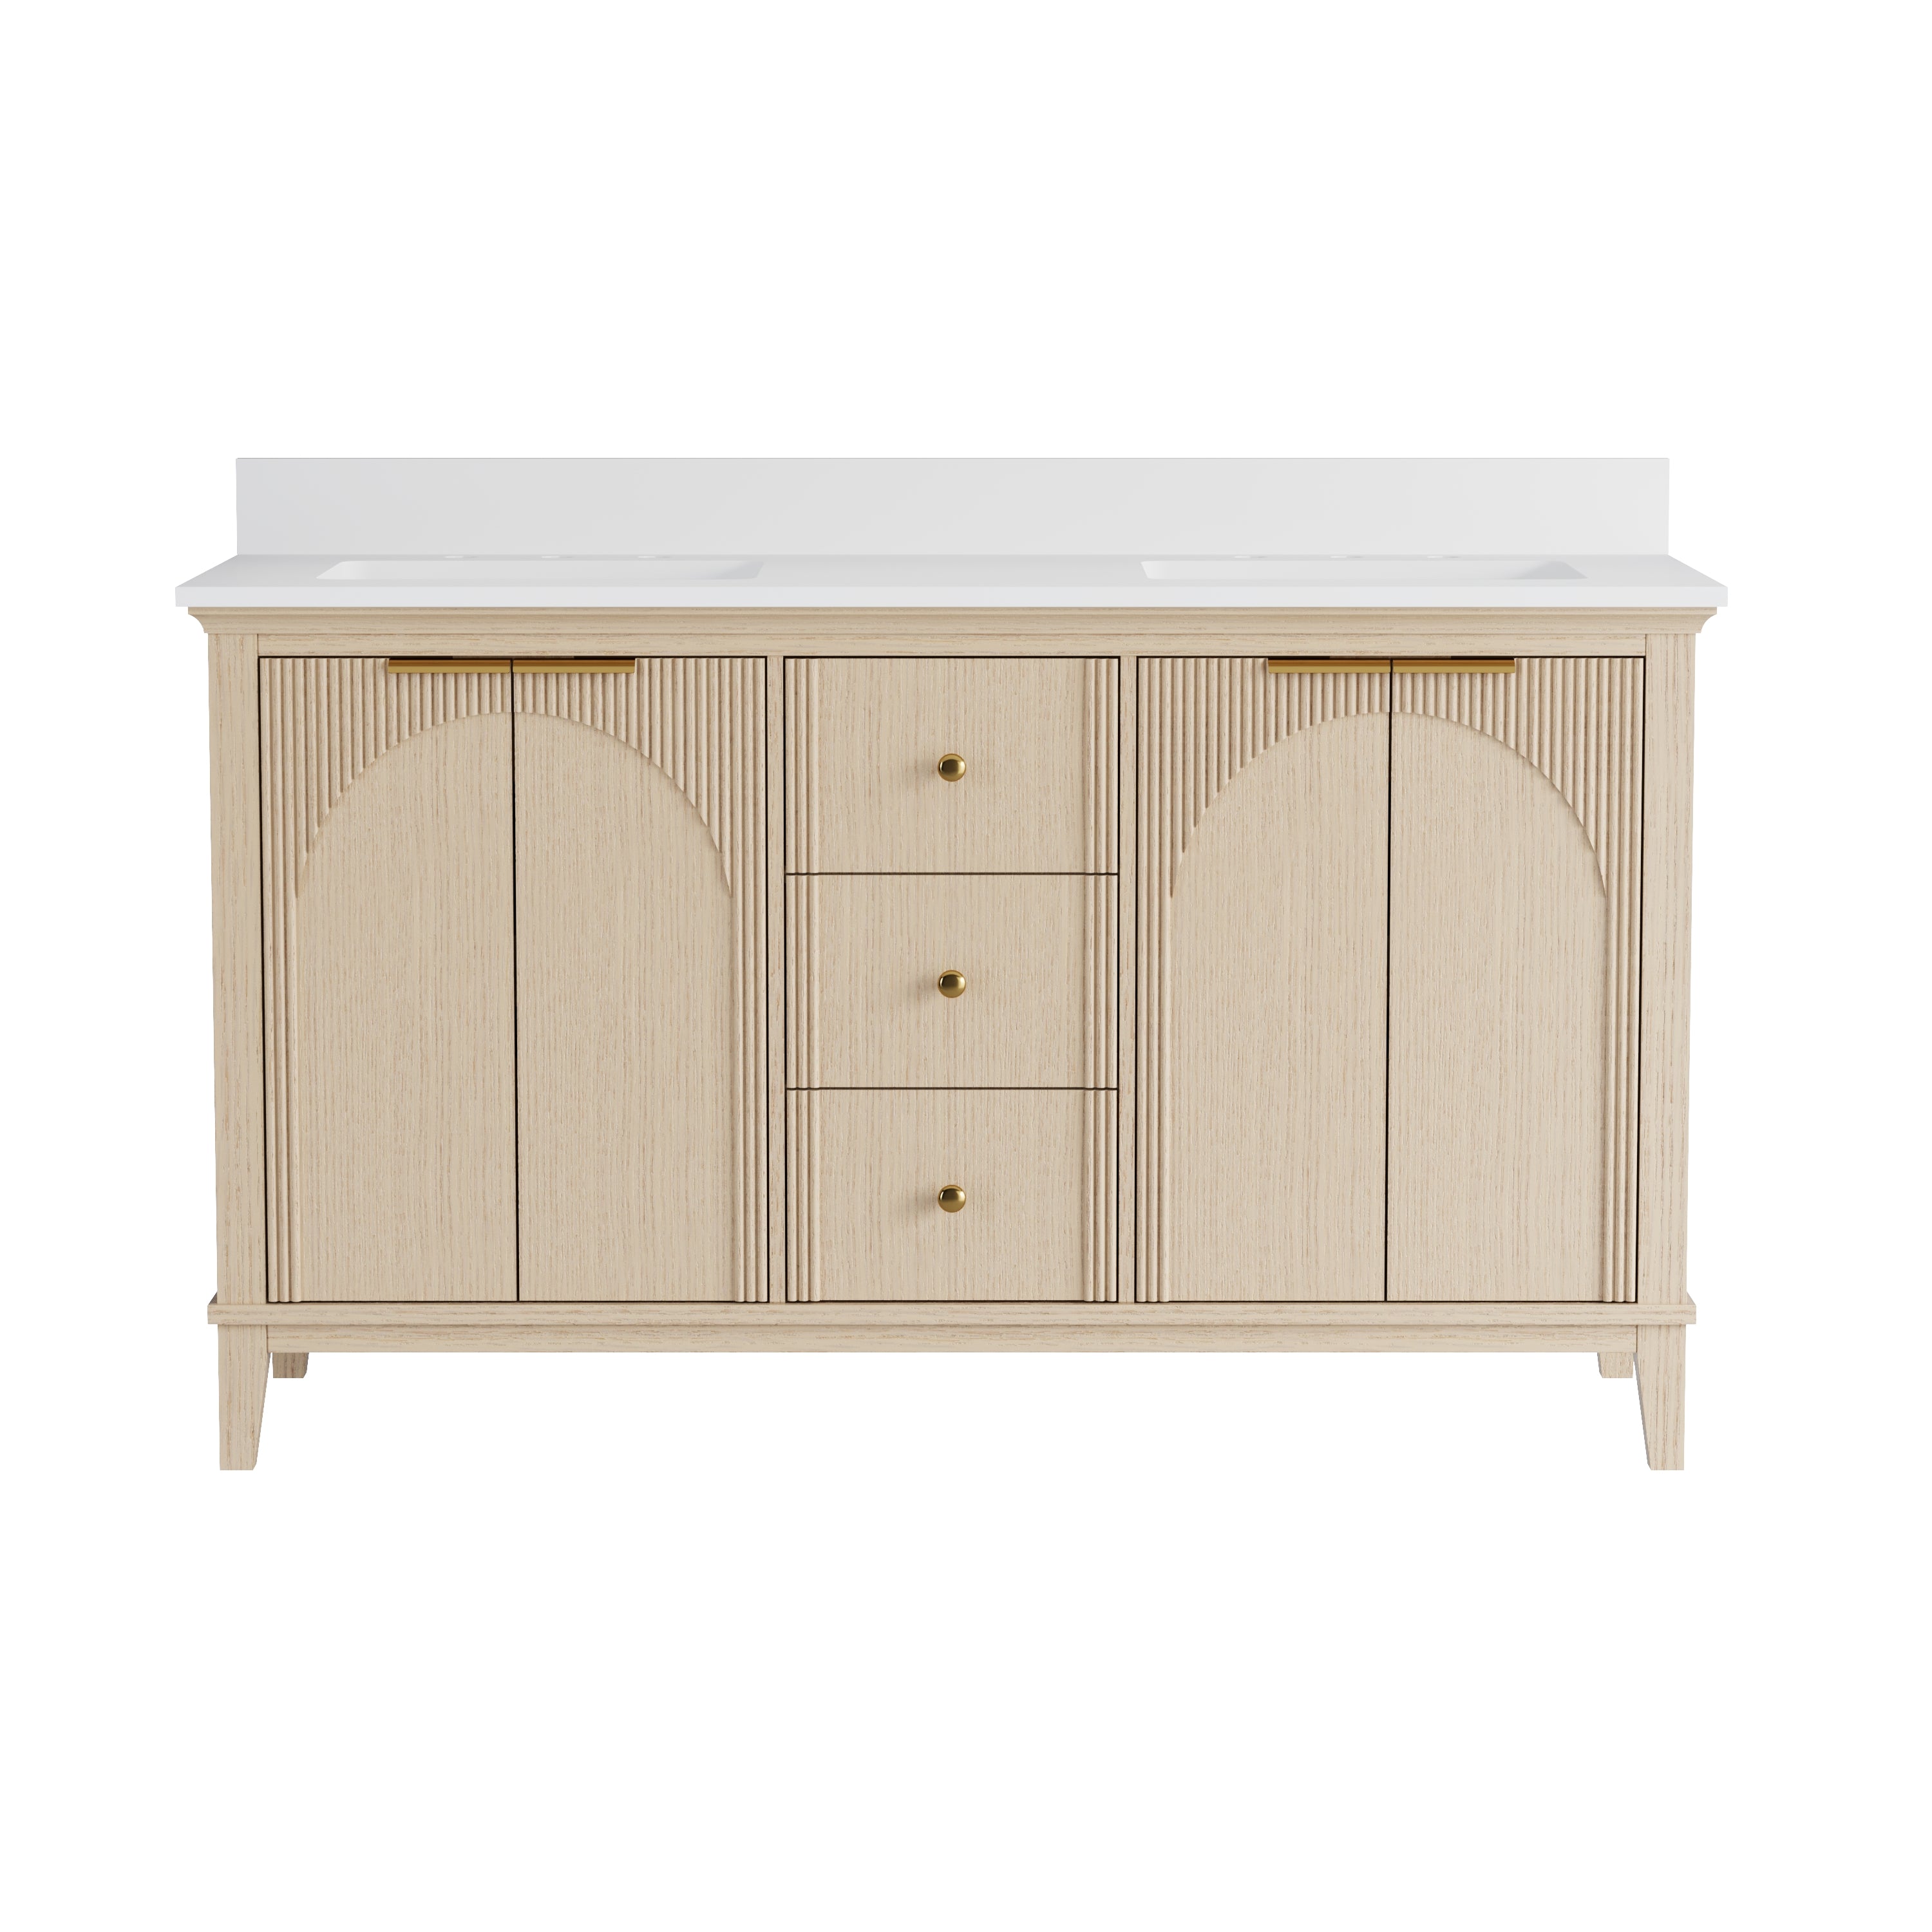
3. Get the Size Right: Width, Height, and Depth That Actually Work
Width: match the vanity zone
A cabinet looks intentional when it relates to the vanity width and sink placement. For a single sink, center the cabinet over the basin. For double vanities, consider two cabinets (better personal storage and symmetry) or one wide cabinet if the wall is clear and lighting is planned.
Height: prioritize comfort (avoid “mounted too high”)
A useful reference for mirror usability comes from accessibility standards:
· Mirrors above a lavatory/countertop: the bottom edge of the reflecting surface should be 40 inches max above the finished floor.
· Mirrors not above a lavatory/countertop: 35 inches max.
(Source: 2010 ADA Standards for Accessible Design, Section 603.3—published via Corada.)
Even if you’re not designing to accessibility requirements, these numbers help prevent the most common comfort mistake: placing the mirror too high because it looks “centered” on the wall.
Depth: the hidden factor behind daily satisfaction
Depth controls what you can store without frustration. Many sizing references describe common medicine cabinet depths around 4–5 inches, with roughly 3–4 inches of usable interior space depending on construction (Source: Simple Project US, “What Is the Standard Medicine Cabinet Size?”).
Practical test: measure your tallest must-fit item (often a skincare bottle, hair product, or electric toothbrush attachment) and make sure it fits upright with the shelf layout you want.
4. Pick a Door Style That Fits Your Bathroom Traffic
Cabinet doors are where “beautiful on paper” can become “annoying in real life.”
Single door
· Cleanest visual seam
· Needs the most swing clearance
Best when the cabinet has open space on the hinge side.
Tri-view (three doors)
· Smaller door swings (often easier in tight bathrooms)
· More hinges and alignment points over time
Best when space is tight or you want flexible viewing angles.
Sliding door
· Minimal clearance needed
· Tracks can require more cleaning
Best when the cabinet sits close to a doorway or wall return.
Rule of thumb: If there’s a sconce, towel ring, or wall corner within a few inches of the cabinet edge, tri-view or sliding usually causes fewer daily collisions.
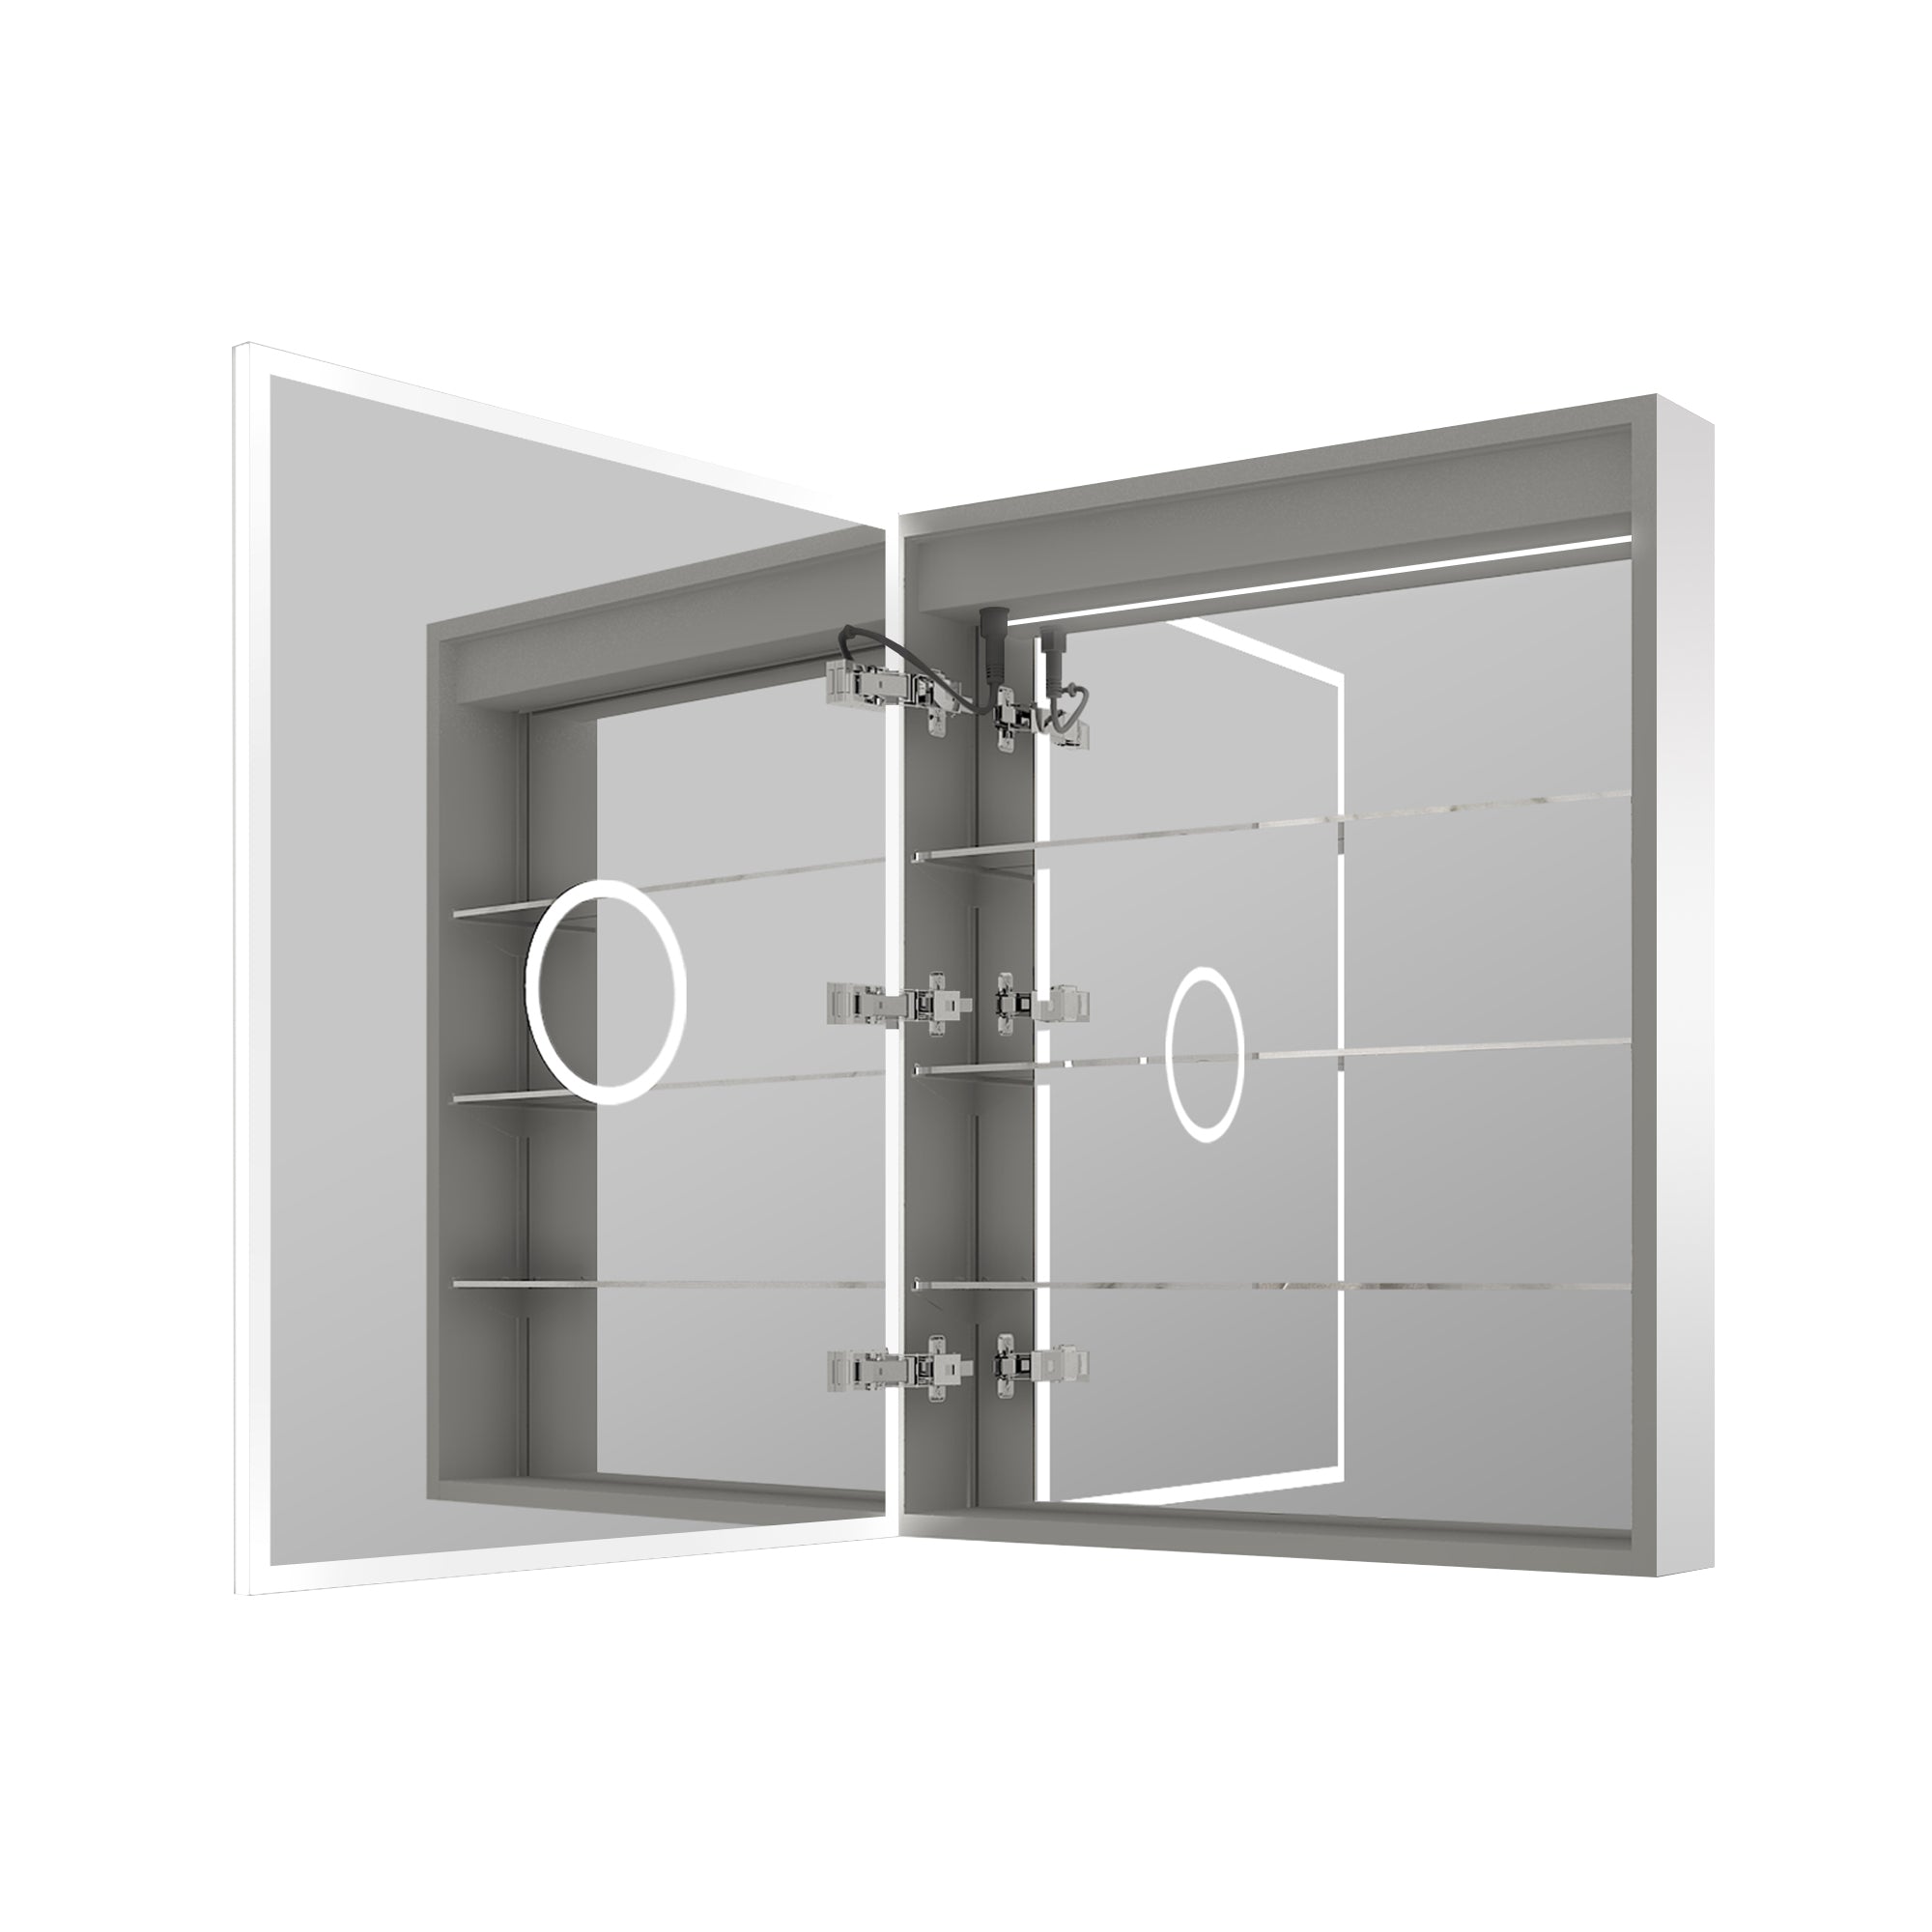
5. Make the Storage “Real”: Shelves, Dividers, and Interior Layout
A renovation is a chance to design for routine, not just looks. The most useful medicine cabinets typically include adjustable shelves so you can adapt the interior to real items.
Look for:
· Adjustable shelves (most important feature for usability)
· Stable shelf supports that don’t wobble
· Interior height that supports categories: daily items at eye level, backups higher, rarely used items lower
A simple way to plan capacity: group items into “daily,” “weekly,” and “backup,” then choose a cabinet that can store the daily group without stacking (stacking is what creates clutter and wasted time).
6. Plan for Humidity and Long-Term Durability
Bathrooms are humid environments, and a cabinet’s lifespan depends on both materials and ventilation. The EPA recommends keeping indoor relative humidity below 60%, ideally between 30% and 50%, to reduce moisture-related issues (Source: U.S. EPA Mold Course, Chapter 2).
What to prioritize:
· Corrosion-resistant hinges and fasteners
· Sealed finishes and moisture-tolerant materials
· Mirror edges and backing that won’t deteriorate quickly under condensation
Renovation win: If you’re upgrading the exhaust fan, you’re also protecting your cabinet’s hinges, finish, and mirror surface.
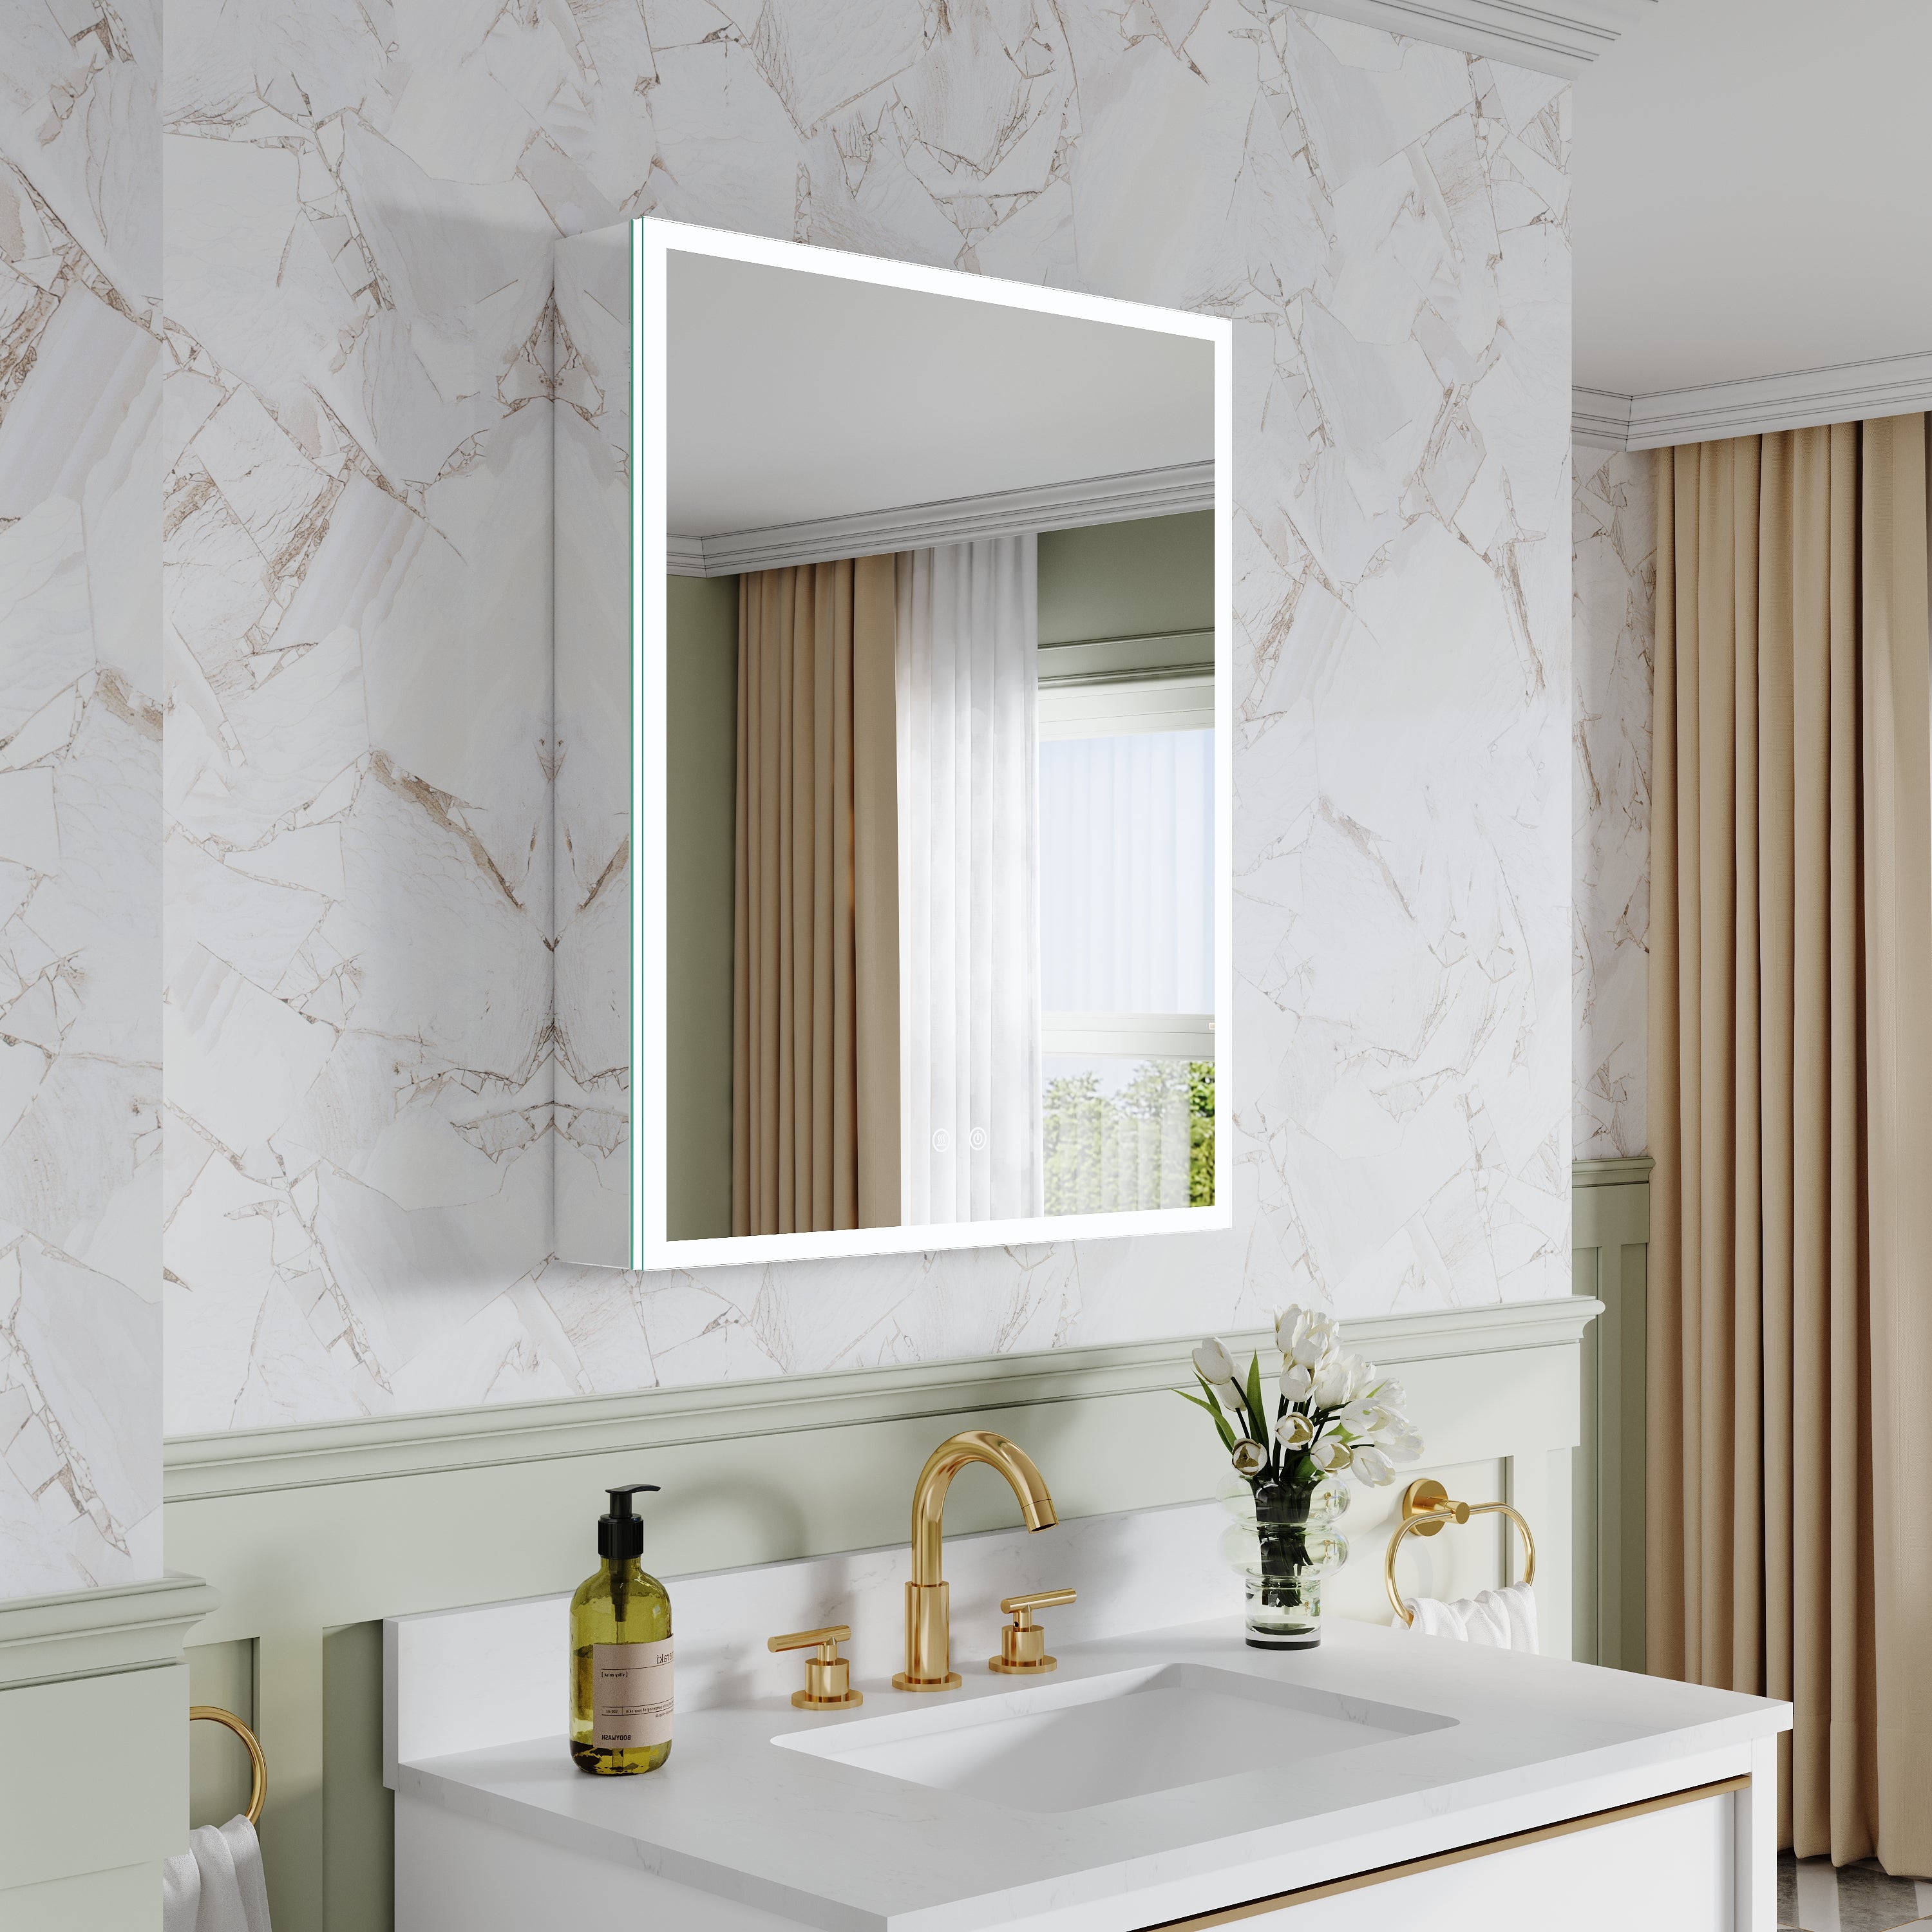
7. Consider Lighting and Power Only If It Improves the Plan
Many renovated bathrooms add lighted medicine cabinets or integrated outlets. These can be extremely convenient—if the build quality is solid and the controls match your routine.
LED benefits are well documented. DOE notes that ENERGY STAR–rated LEDs use at least 75% less energy and can last up to 25 times longer than incandescent lighting (Source: U.S. Department of Energy, “LED Lighting”). That long life matters in a built-in product you don’t want to replace frequently.
If you choose a lighted cabinet, look for:
· Dimming (for comfort and night use)
· Clear warranty coverage for the driver/electronics
· Serviceable parts and documentation
8. A Renovation-Friendly Checklist (Copy/Paste)
Use this before you finalize your purchase:
· Installation type: recessed for the cleanest profile; surface-mount for simplest install.
· Wall reality: studs commonly 16 inches apart; plan mounting and location accordingly (Source: The Home Depot).
· Comfortable mirror height: use the 40-inch / 35-inch reflecting-surface reference as a sanity check (Source: ADA 603.3 via Corada).
· Depth that fits real items: common cabinet depths 4–5 inches with 3–4 inches usable interior (Source: Simple Project US).
· Door clearance: single vs. tri-view vs. sliding based on nearby fixtures and traffic.
· Humidity durability: aim for RH below 60%, ideally 30–50% with ventilation habits (Source: U.S. EPA).
· If lighting is included: prefer LED systems with clear warranties; LEDs can be 75%+ more energy efficient and last far longer than incandescents (Source: U.S. DOE).

Conclusion
The perfect medicine cabinet for a bathroom renovation is the one that looks built-in, stores what you actually use, opens without fighting the room, and stays stable in humidity over time. Start with installation type and wall constraints, size it for comfort and proportion, prioritize adjustable storage, and treat ventilation as part of the cabinet’s long-term performance. When the fundamentals are right, the cabinet becomes one of the most functional parts of the renovation—quiet, clean, and genuinely useful every day.


Leave a comment
This site is protected by hCaptcha and the hCaptcha Privacy Policy and Terms of Service apply.