


For builders, factories, and installers, planning plumbing cutouts for a real wood vanity with sink has become less of a “carpentry detail” and more of a risk-management step. Water damage and freezing remain one of the most common homeowner claim categories, with ISO/Verisk data summarized by the Insurance Information Institute showing a claim frequency of about 1.99% and an average claim severity of about $9,633 in its archived tables. Even small leaks under a vanity can escalate quickly, because damp materials left wet for too long create secondary problems. The EPA notes that if wet areas are dried within 24–48 hours, mold will not grow in most cases.
1. Treat cutouts as “high-risk edges,” not just holes
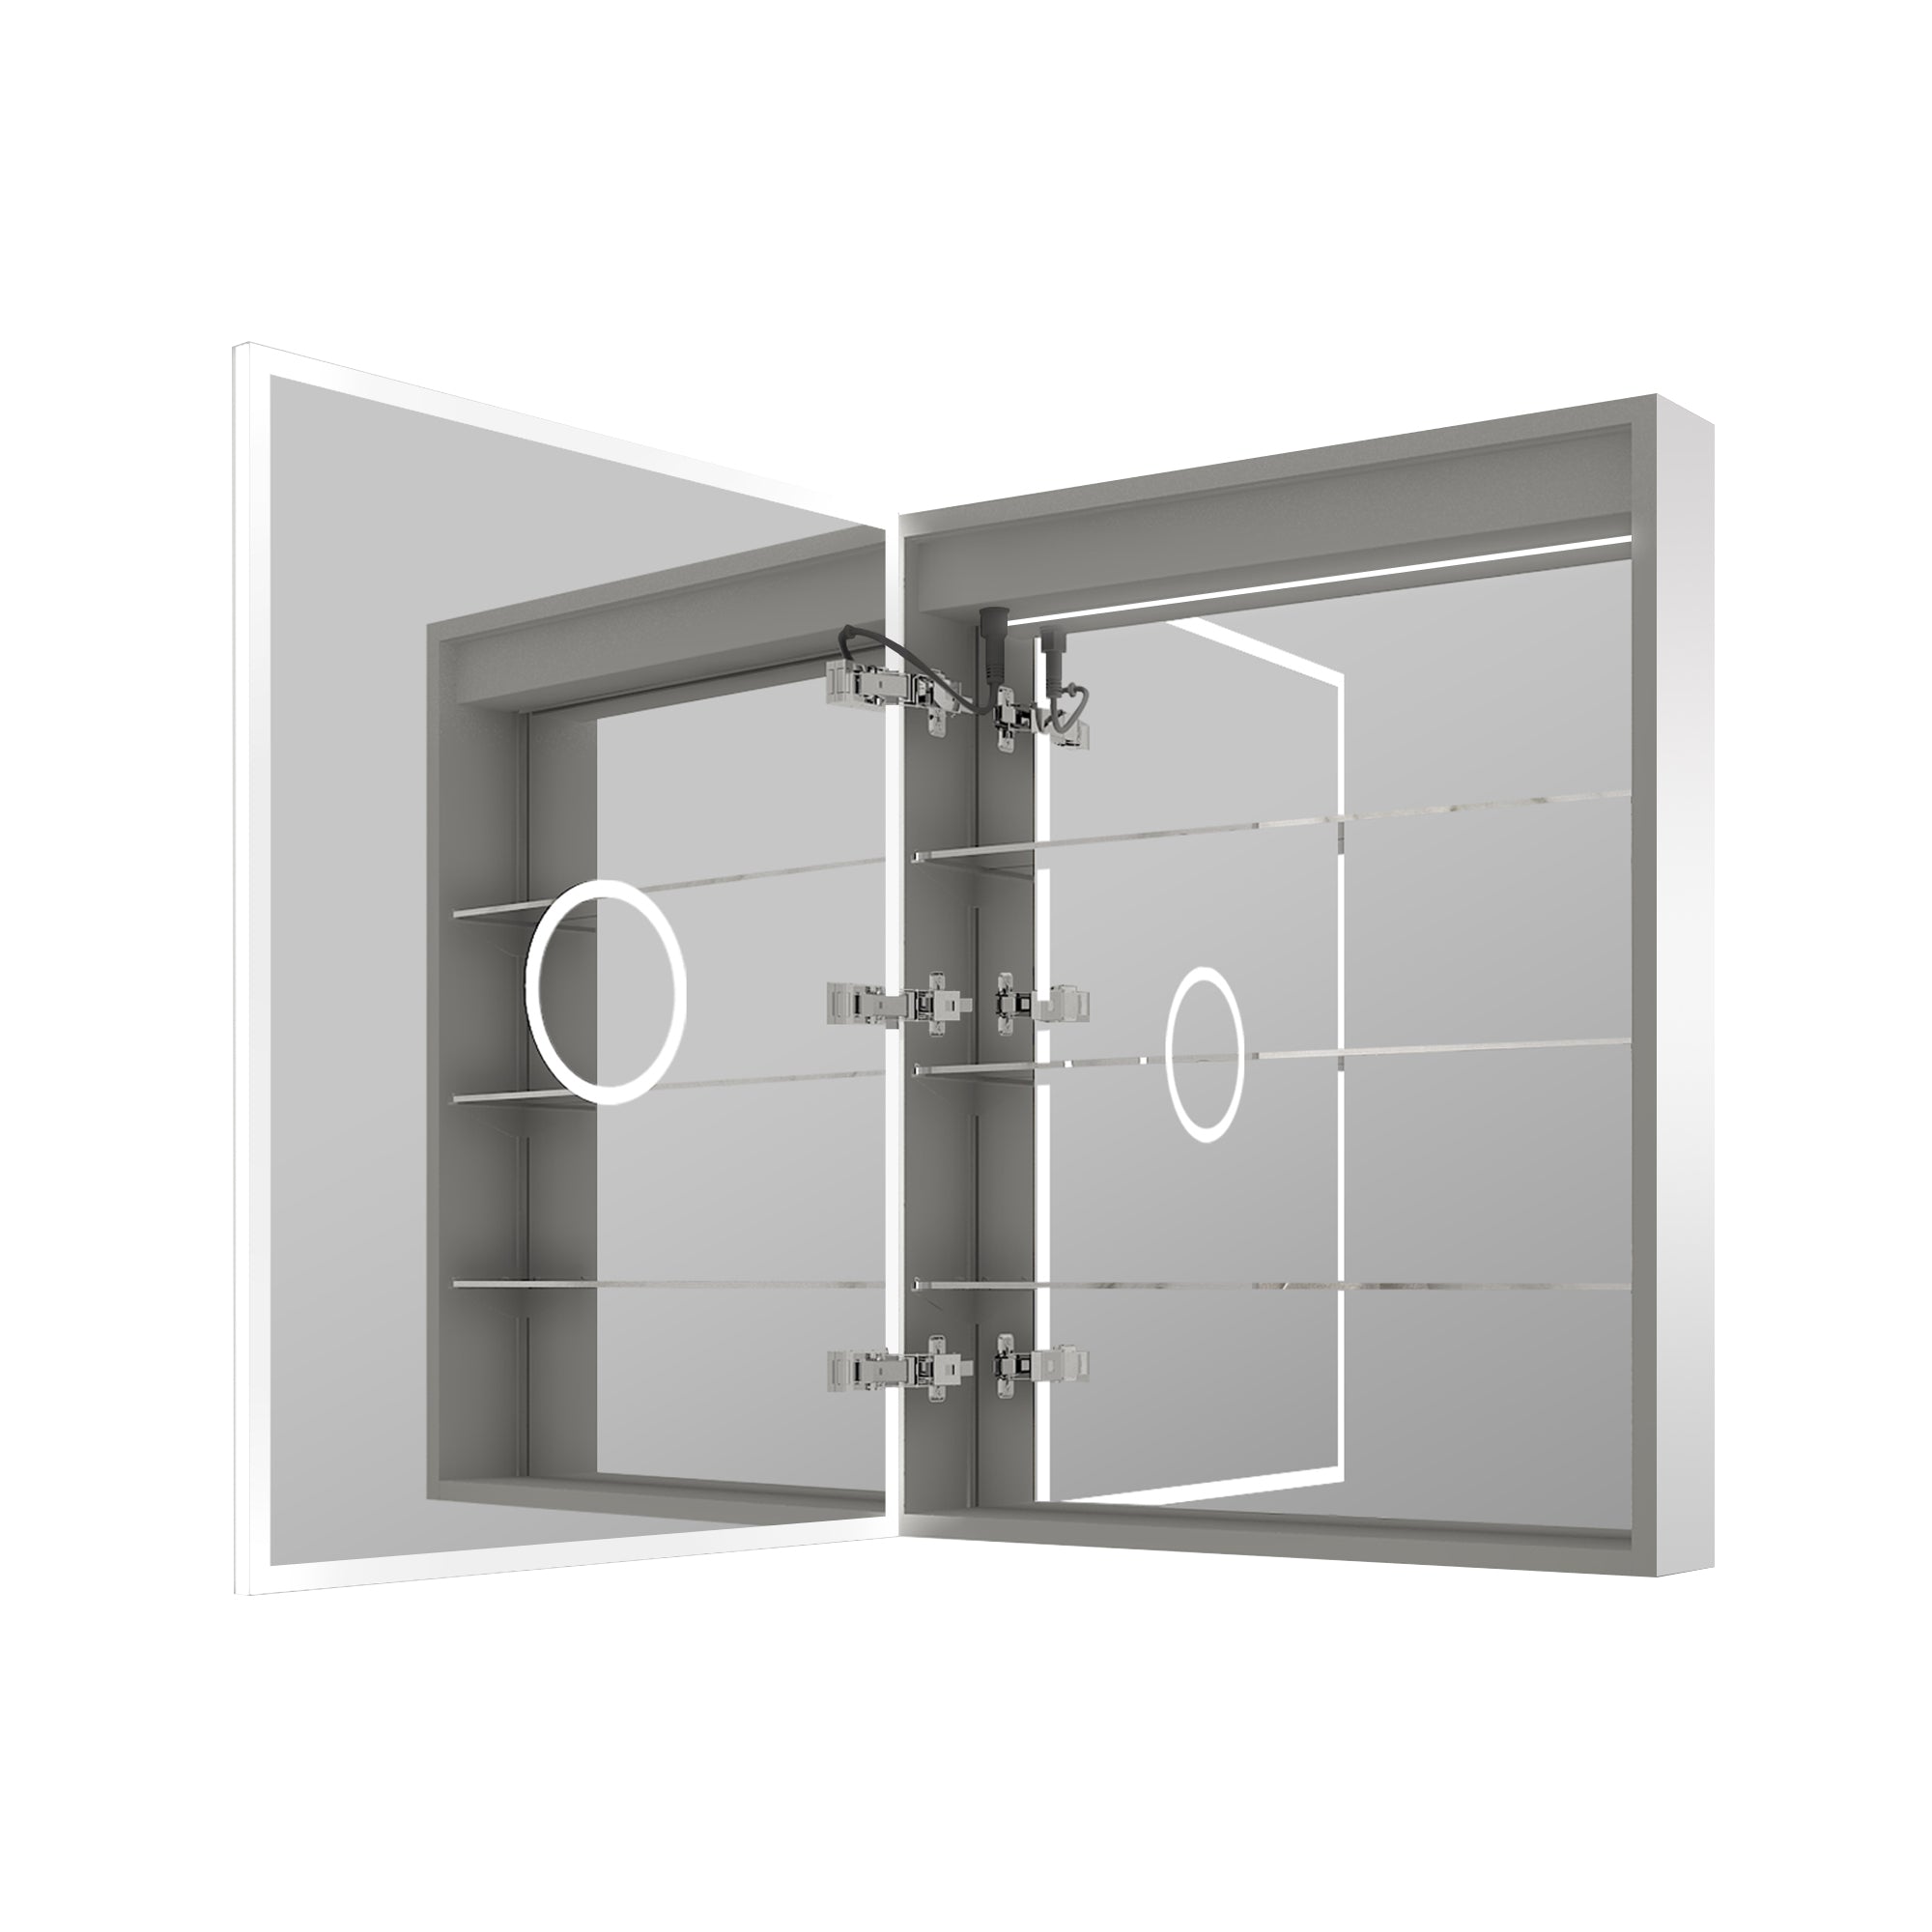
Real wood is hygroscopic, meaning it takes on and releases moisture in response to surrounding conditions. The USDA Forest Products Laboratory explains that moisture exchange depends on relative humidity and temperature, and wood’s physical properties change as moisture content changes. That matters because every plumbing cutout exposes end grain, veneer edges, or joint lines where moisture can enter faster than it can on a factory-finished face panel. In the field, many “mystery leaks” are not failed pipes at all, but slow seepage that wicks through unsealed cut edges around supply lines, drain penetrations, or sink cutouts.
2. Plan for shutoff access first, then draw the cutout map
One of the most overlooked leak-prevention moves is designing for fast shutoff. Model codes emphasize shutoff valves and access: the International Residential Code requires shutoff valves at fixtures and includes access language for fixture valves. In practice, that means your vanity layout should guarantee that angle stops and connections remain reachable without removing permanent panels or cutting the cabinet later.
A reliable planning sequence used in many shop drawings looks like this:
1. Lock the sink type and drain location (center, offset, or rear-set).
2. Place the P-trap and drain arm envelope so the cabinet still has room for drawers or a tilt-out.
3. Place shutoffs where they are reachable and visible during service checks.
4. Only then, finalize the cutout sizes and locations for supply lines, drain, and accessory hoses.
This approach reduces the temptation to oversize holes “just to be safe,” which weakens panels and creates larger unprotected edges that can wick moisture.
3. Make cutouts service-friendly without overcutting the cabinet
The industry trend is toward tighter, cleaner penetrations that stay maintainable:
· Use escutcheons or trim plates sized to cover the cut edge completely, so splashback never hits raw wood.
· Route holes cleanly (no tear-out), because ragged fibers absorb water faster and are harder to seal evenly.
· Keep cutouts as small as practical while allowing movement, installation, and future valve replacement.
In cabinet engineering terms, you want “controlled clearance,” not “giant openings.” Large openings can also allow cleaning water or a slow drip to reach concealed corners where leaks go unnoticed for weeks.

4. Seal the wood edge like a mini waterproofing detail
Factories that reduce leak callbacks usually adopt a two-step edge protection strategy:
1. Penetrating seal on raw edges: A thin, penetrating sealer (often a compatible clear coat or edge sealer used in the same finishing system) is applied to the exposed substrate. The goal is to slow liquid uptake at the end grain and cut fibers.
2. Flexible perimeter seal where water may sit: A flexible sealant is used where a sink rim, countertop seam, or penetration is likely to see standing water or repeated wetting.
This matters because wood movement never fully stops, and rigid fillers can crack at the edge as humidity changes. A flexible edge strategy “moves with the cabinet” instead of fighting it.
5. Choose sealants by performance standard, not just “kitchen and bath” labels
For wet-adjacent joints, the safest procurement language in commercial specs frequently references ASTM C920, a key performance standard for cured elastomeric joint sealants used for sealing and glazing applications. Many building specifications call for neutral-curing silicone meeting ASTM C920 classifications such as Type S, Grade NS, Class 25, often for interior non-traffic uses, which is a common way to screen for movement capability and durability.
How that translates to vanity leak prevention:
· Sink-to-counter joints (especially undermount): Use a high-quality silicone that stays elastic and maintains adhesion. Neutral-cure options are often preferred around sensitive materials because they are less likely to cause corrosion on certain metals and are more compatible with a wider range of substrates.
· Countertop seams and backsplashes near water: Use a flexible sealant rated for joint movement, not a brittle filler.
· Plumbing penetrations through cabinet panels: Favor a seal that remains flexible and does not shrink dramatically, while still allowing future disassembly when valves or hoses need replacement.
One important “industry reality” point: sealant is not structural support. Even the best sealant should not be asked to hold the sink’s weight or compensate for missing clips, brackets, or rails.
6. Build a leak-resistant assembly sequence that catches problems early
The most effective installers treat the vanity hookup like a checklist, not a single step:
1. Dry-fit the vanity, sink, and plumbing alignments before final fastening.
2. Apply edge sealing and allow proper cure time where required (especially at fresh cutouts).
3. Install shutoffs and supply lines with a clear visual inspection path.
4. Seal sink and countertop joints with continuous beads and proper tooling.
5. Perform a staged water test: fill, drain, and recheck under the sink after several minutes.
This last point is where leak prevention meets real-world risk. Since EPA notes that drying within 24–48 hours typically prevents mold growth, the goal is to detect drips immediately, not after repeated use.
7. The takeaway suppliers are adopting: protect edges, protect access, specify the sealant
The direction across cabinet shops and installation standards is clear: fewer oversized cutouts, more edge sealing, and more consistent sealant specs tied to performance standards like ASTM C920. Pair that with code-aligned shutoff access planning, and the vanity becomes easier to service and far less likely to hide a slow leak.
If you want, please tell me your sink type (undermount, drop-in, or integrated top) and whether the vanity has drawers or an open interior, and I’ll convert this into a factory-ready cutout template checklist (hole locations, minimum clearances, and exactly where to edge-seal and where to apply flexible sealant).


Leave a comment
This site is protected by hCaptcha and the hCaptcha Privacy Policy and Terms of Service apply.