


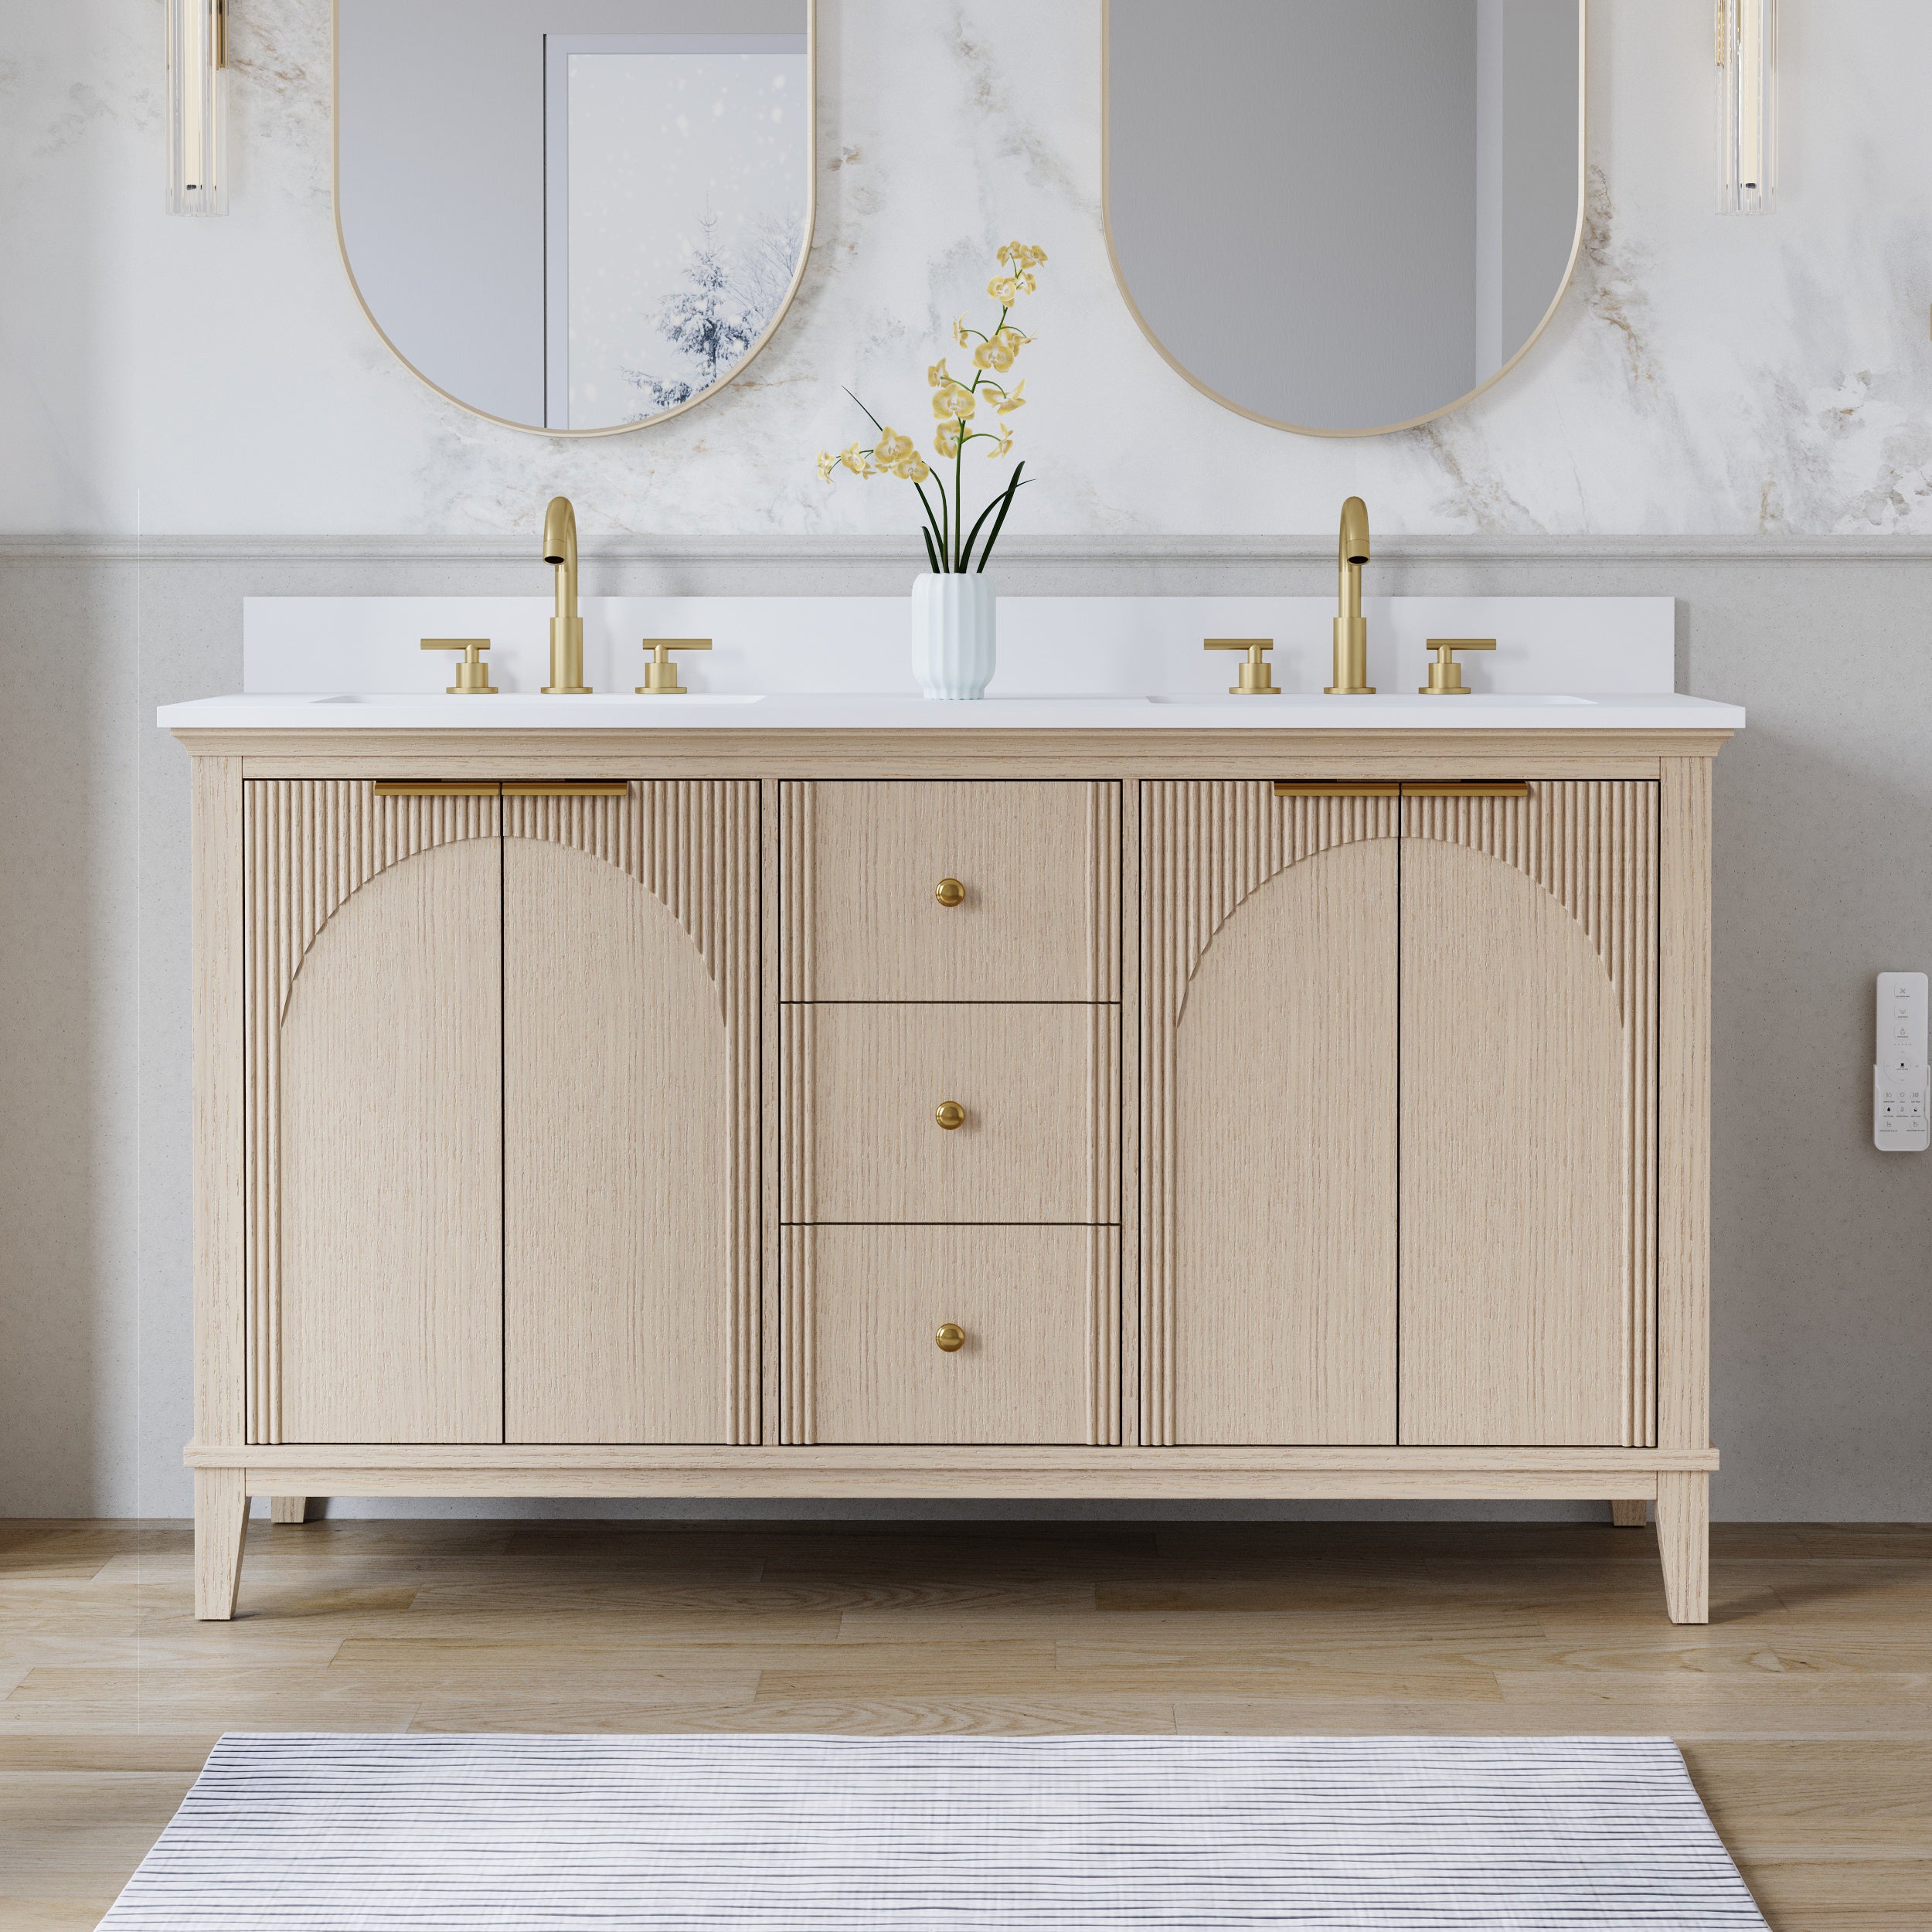
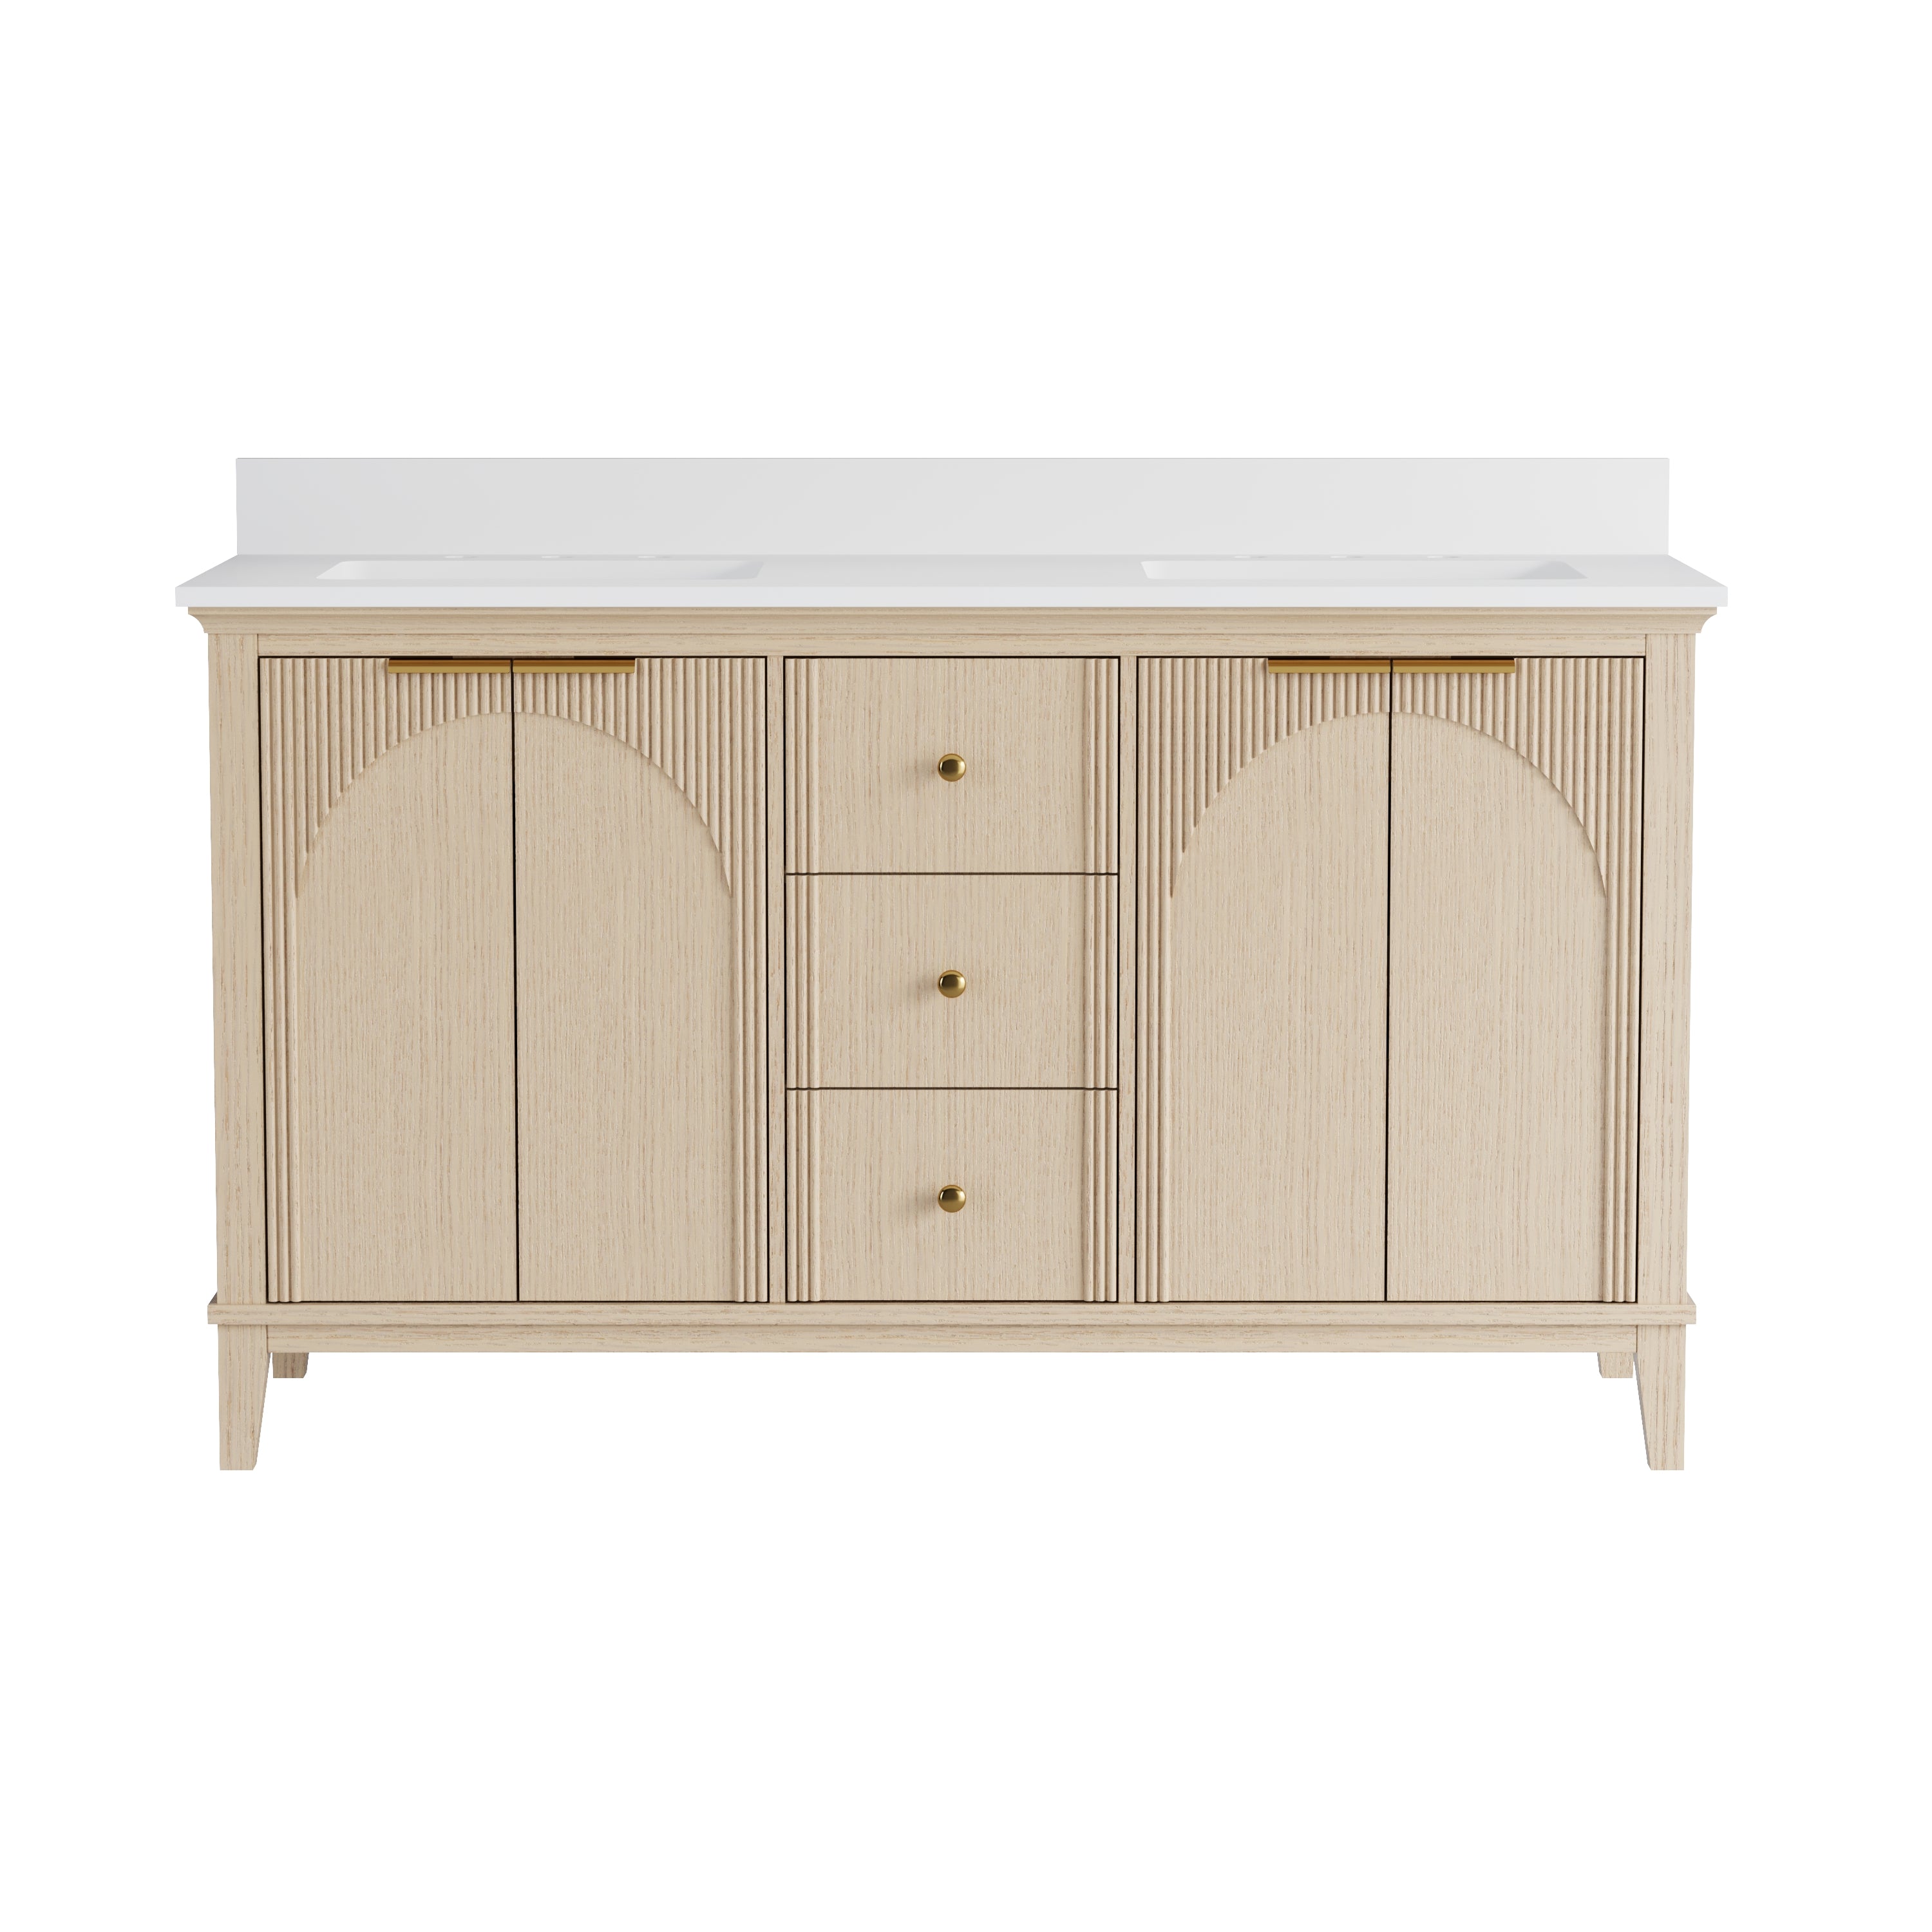
Installing a wooden vanity with sink is less about one “best” sink style and more about matching your countertop, daily splash habits, and sealing strategy so water never gets a repeated chance to creep into seams. Wood can perform beautifully in bathrooms, but the sink area is the highest-risk zone for leaks and finish damage. The smartest approach is to choose a sink type that fits your routine, then seal and support it exactly the way the sink and countertop instructions require, using bathroom-rated sealants and clean surface prep.
1. Pick the sink type based on your countertop and routine
A. Undermount sink
Best for: easy wipe-down, minimalist look, stone or engineered stone tops.
Risks: poor support under the counter, or sealant gaps that let drips migrate under the rim.
Undermount sinks rely on a continuous seal between the sink rim and underside of the countertop, plus mechanical mounting hardware. Many undermount install guides call for a continuous bead of 100% neutral-cure silicone around the sink edge before mounting. (Source: Sinkology undermount installation guidance.)
Choose undermount if you want to sweep water straight into the basin and prefer the cleanest countertop edge.
B. Drop-in sink (top-mount)
Best for: easier installation, more forgiving if the top is not perfectly flat, simpler replacement later.
Risks: grime at the rim, sealant breakdown at the edge over time.
Drop-in sinks seal on the top surface where the rim meets the countertop. They are often the easiest sink style to service.
C. Vessel sink
Best for: statement look and flexible placement.
Risks: more splash if faucet height and reach are wrong, water trails at the base if sealing is incomplete.
Vessel sinks change your “water behavior,” which usually means more wiping and more attention to base sealing.
D. Integrated sink top
Best for: fewer seams, easiest cleaning, lower leak risk.
Risks: if the top is damaged, replacement can be more involved.
If you want the simplest sealing situation, integrated tops remove the sink-to-counter seam entirely.
2. Match sink choice to “water behavior,” not just style
Before buying, answer:
· Do you wipe the counter after most uses, or do splashes sit?
· Is the bathroom shared or used by kids (more splash and clutter)?
· Do you store items that drip (soap pumps, bottles) on the counter?
If splashes often sit, prioritize undermount or integrated styles because they reduce grime-prone seams and make wipe-downs easier.
3. What “good sealing” actually means
Sealing is not just adding caulk. A reliable seal is a system:
1. Clean, dry bonding surfaces.
2. A sealant designed for wet areas.
3. A continuous bead in the correct location.
4. Proper mechanical support when required.
5. Enough cure time before heavy water exposure.
Many kitchen and bath silicone products are designed for constant moisture and marketed as waterproof for wet-area joints. (Source: GE Supreme Silicone Kitchen and Bath Sealant technical data sheet.)
4. Choose the right sealant
For sink-to-counter joints, 100% silicone is commonly preferred over acrylic or latex caulk because silicone stays flexible and water-resistant longer in wet conditions. Undermount guides often specify neutral-cure silicone for compatibility with certain surfaces. (Source: Sinkology undermount guidance.)
If you want a spec reference, ASTM C920 is a widely used building specification for elastomeric joint sealants. (Source: ASTM C920 summary page.) You do not need to memorize it, but it signals you are choosing a sealant made for real movement and moisture, not just cosmetic gaps.
5. Sealing steps by sink type
A. Undermount sealing checklist
1. Dry-fit first: confirm the cutout fit and reveal.
2. Clean surfaces: remove dust and oils from sink rim and countertop underside.
3. Apply continuous silicone bead: many guides specify 100% neutral-cure silicone around the sink edge. (Source: Sinkology undermount guidance.)
4. Mount with hardware: do not rely on silicone alone. Use approved clips or brackets.
5. Inspect for gaps: full contact, no missed corners.
6. Respect cure time: follow the sealant’s cure guidance before heavy water exposure. (Source: GE Supreme Silicone technical data sheet.)
B. Drop-in sealing checklist
1. Clean the countertop surface thoroughly.
2. Apply a continuous bead where the rim will sit (per sink instructions).
3. Tighten clips evenly.
4. Clean squeeze-out neatly and avoid thin smeared residue that attracts grime.
C. Vessel sealing checklist
1. Confirm faucet reach and height to reduce splash.
2. Seal the base as recommended so water cannot wick underneath.
3. Pay extra attention to drain assembly seals and rear splash zones.
D. Integrated top checklist
Your main sealing focus becomes the countertop-to-backsplash joint and any side splashes. Use bathroom-grade silicone and maintain it as it ages.
6. Protect the wood vanity: humidity and leak discipline
Even with perfect sealing, bathrooms create humidity swings. EPA guidance commonly recommends keeping indoor relative humidity below 60%, ideally 30% to 50% when possible, to reduce moisture problems. (Source: U.S. EPA mold and moisture guidance.)
Also, cabinet process quality matters. The ANSI/KCMA A161.1 standard states solid wood and composite wood materials used in cabinets shall be dried to a moisture content of 10% or less, which is a stability indicator. (Source: KCMA A161.1-2022.)
7. The “safe install” verification list
Before you call it done:
· Sink type matches countertop material and your cleaning habits.
· Sealant is bathroom-rated 100% silicone, applied as a continuous bead in the correct location. (Source: Sinkology; GE technical data sheet.)
· Undermount sinks have mechanical support, not adhesive-only reliance.
· Cure time is respected. (Source: GE technical data sheet.)
· You perform a leak check: wipe dry, run water for a few minutes, inspect underside and cabinet floor.

Bottom line
Choosing the right sink type for a wooden vanity with sink is about reducing seam risk and then sealing those seams correctly. Undermount and integrated sinks are usually easiest to keep clean, but undermount requires careful silicone sealing and mechanical support, often with 100% neutral-cure silicone called out by install guidance. (Source: Sinkology undermount guidance.) Pair that with a bathroom-rated, flexible sealant aligned with wet-area joint standards like ASTM C920, follow surface prep and cure instructions, and you eliminate the most common failure modes: slow leaks, edge swelling, and recurring mildew lines. (Source: ASTM C920 summary; GE technical data sheet.)


Leave a comment
This site is protected by hCaptcha and the hCaptcha Privacy Policy and Terms of Service apply.