


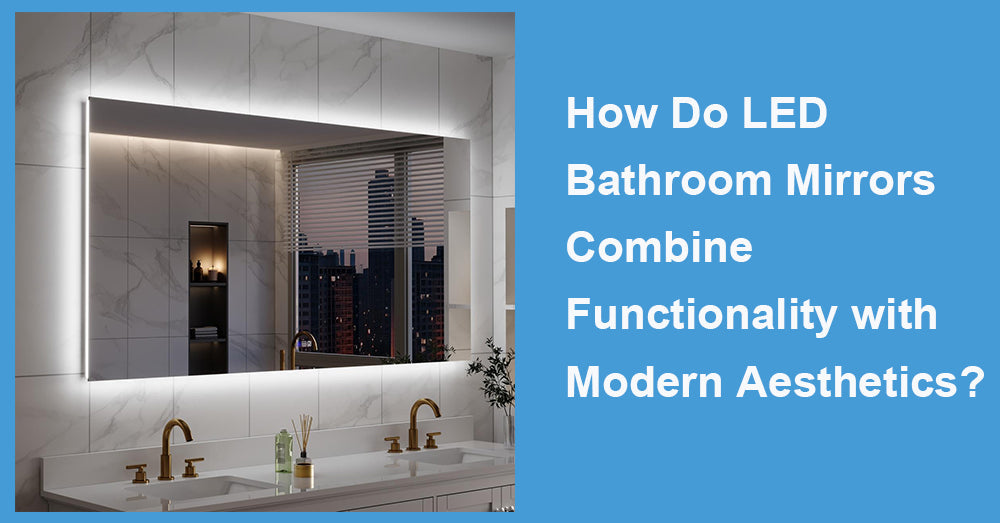
led bathroom mirrors do more than reflect your face—they add vanity-grade task light, reduce visual clutter, and help a bathroom feel intentionally finished. Adoption is rising: the 2025 Houzz Bathroom Trends Study reports that lighted mirrors reached 22% of renovated bathrooms, up 3 points from the prior year (Source: Houzz 2025 Bathroom Trends Study).
1. Treat the Mirror as Task Lighting First
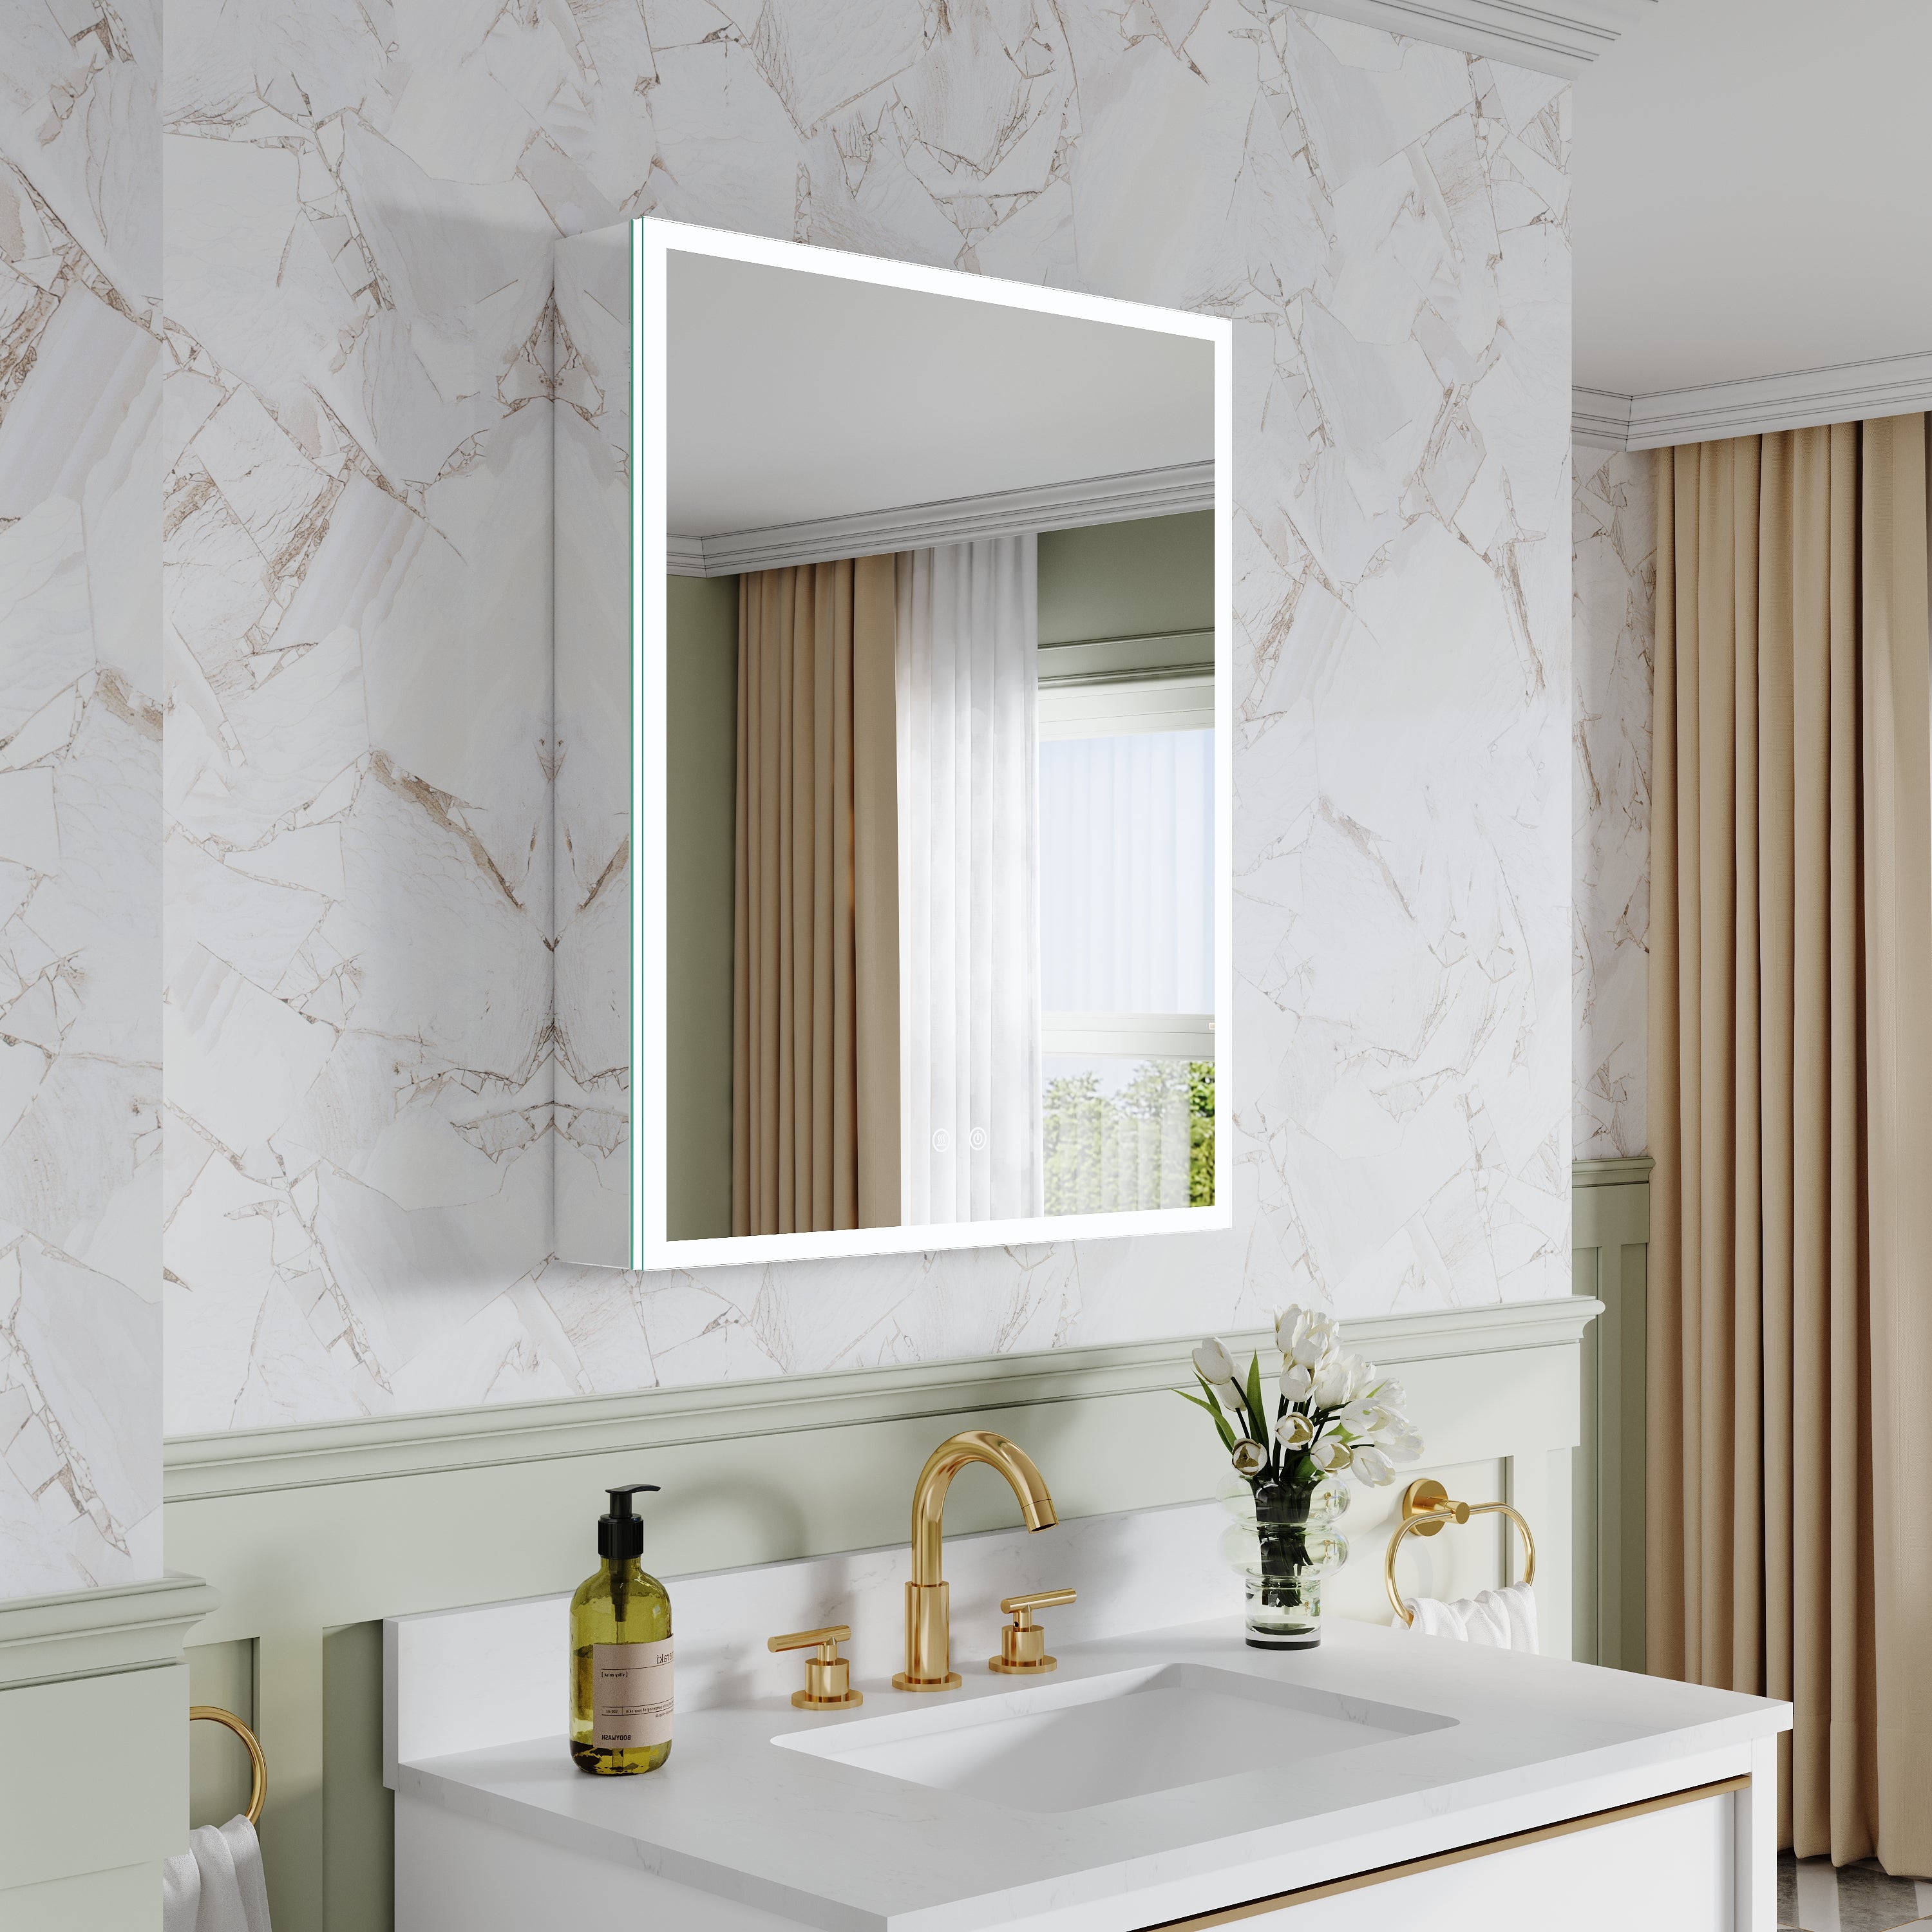
A good LED mirror should perform like a serious vanity light. For grooming, you want even illumination across the face so you’re not fighting shadows under the eyes and chin. Perimeter lighting or a balanced front/back combination typically beats a single narrow strip that creates hotspots. Dimming matters too: it lets one mirror serve two roles—bright morning clarity and softer evening ambience—without adding fixtures.
2. Mount for Real People: Height, Proportion, and Viewing Zones
A mirror looks luxurious when it’s sized and placed with purpose. NKBA guidance recommends vanity task lighting beside the mirror at eye level to reduce facial shadows (Source: NKBA Bathroom Planning Guidelines). A similar idea applies to LED mirrors: choose a size and mounting height that centers the lighted area on the user’s face, not on the upper wall. In shared bathrooms, a taller mirror (or a vertical orientation) usually works better across different heights than a short mirror mounted high.
If the vanity is wide, a larger mirror can calm the wall by reducing visual “chop.” If the wall is narrow, a clean edge and thin profile often reads more premium than a bulky frame.
3. Choose Light Quality: Color Temperature and Color Fidelity
Many mirrors offer adjustable color temperature (warm, neutral, cool). Warm settings can feel spa-like; neutral settings usually feel most accurate for daily routines; cooler settings can read crisp but may emphasize texture.
Color fidelity matters for skincare, makeup, and how tile and paint look in reflection. CRI is designed to measure how accurately a light source renders surface colors (Source: NEMA Lighting on CRI). Some brands also reference ANSI/IES TM-30, a method created to describe color rendition with more detail than older approaches (Source: Illuminating Engineering Society on TM-30). If a product publishes clear lighting specs, that transparency is a strong trust signal.
4. Make the Design Look Intentional, Not “Gadgety”
LED mirrors can disappear elegantly—or look like a tech panel. For an architectural look, prioritize a thin edge or minimal frame, a diffuser that looks uniform (no dotted LEDs or banding), and controls that don’t dominate the mirror face.
Layered lighting is also becoming a hallmark of premium bathrooms. NKBA’s 2025 trend reporting highlights lighting that layers natural light, task lighting, integrated mirror illumination, and mood lighting to support routines and relaxation (Source: NKBA Year in Review: Top Kitchen & Bath Trends of 2025). A mirror that dims smoothly and blends with other layers will look more polished than one that competes with harsh ceiling cans.
5. Efficiency and Longevity: Practical Benefits You Can Measure
When comparing mirrors, look for published wattage, estimated rated life, warranty length, and clear electrical documentation. Those basics separate a “pretty object” from a product built for daily use.
6. Safety and Installation: Moisture, Circuits, and Controls
Installation details are not optional in humid spaces. Many bathroom receptacle rules require GFCI protection, and major home-improvement guidance summarizes NEC-based requirements for GFCI use in bathrooms (Source: The Home Depot on GFCI requirements). If your mirror is hardwired—or if you’re relocating wiring—use a licensed electrician and confirm local requirements.
Also check location ratings. Damp-rated fixtures are designed for environments where condensation may build up (Source: Destination Lighting on damp-rated lights). For placement close to a shower or inside a wet-room zone, verify whether a wet-location rating is needed.
For usability, controls should be reachable. NKBA access guidance notes lighting controls should generally be within 15 inches to 48 inches above the floor and operable with minimal effort (Source: NKBA Bathroom Planning Guidelines). That small detail makes the whole setup feel easier over time.
7. Keep the “Luxury Look” by Planning for Cleaning and Reflection

Pick a smooth diffuser and simple edges that wipe clean quickly. If you want a defogger, treat it as a convenience feature (it often clears a central zone) rather than a substitute for ventilation.
Finally, design what the mirror reflects. Mirrors double whatever is in front of them—beautiful tile, a window, a pendant, or clutter. Editing the countertop and choosing one strong “hero” element for the reflection can make the room feel more expensive than adding extra features.
8. Choose Features That Add Function Without Adding Visual Noise
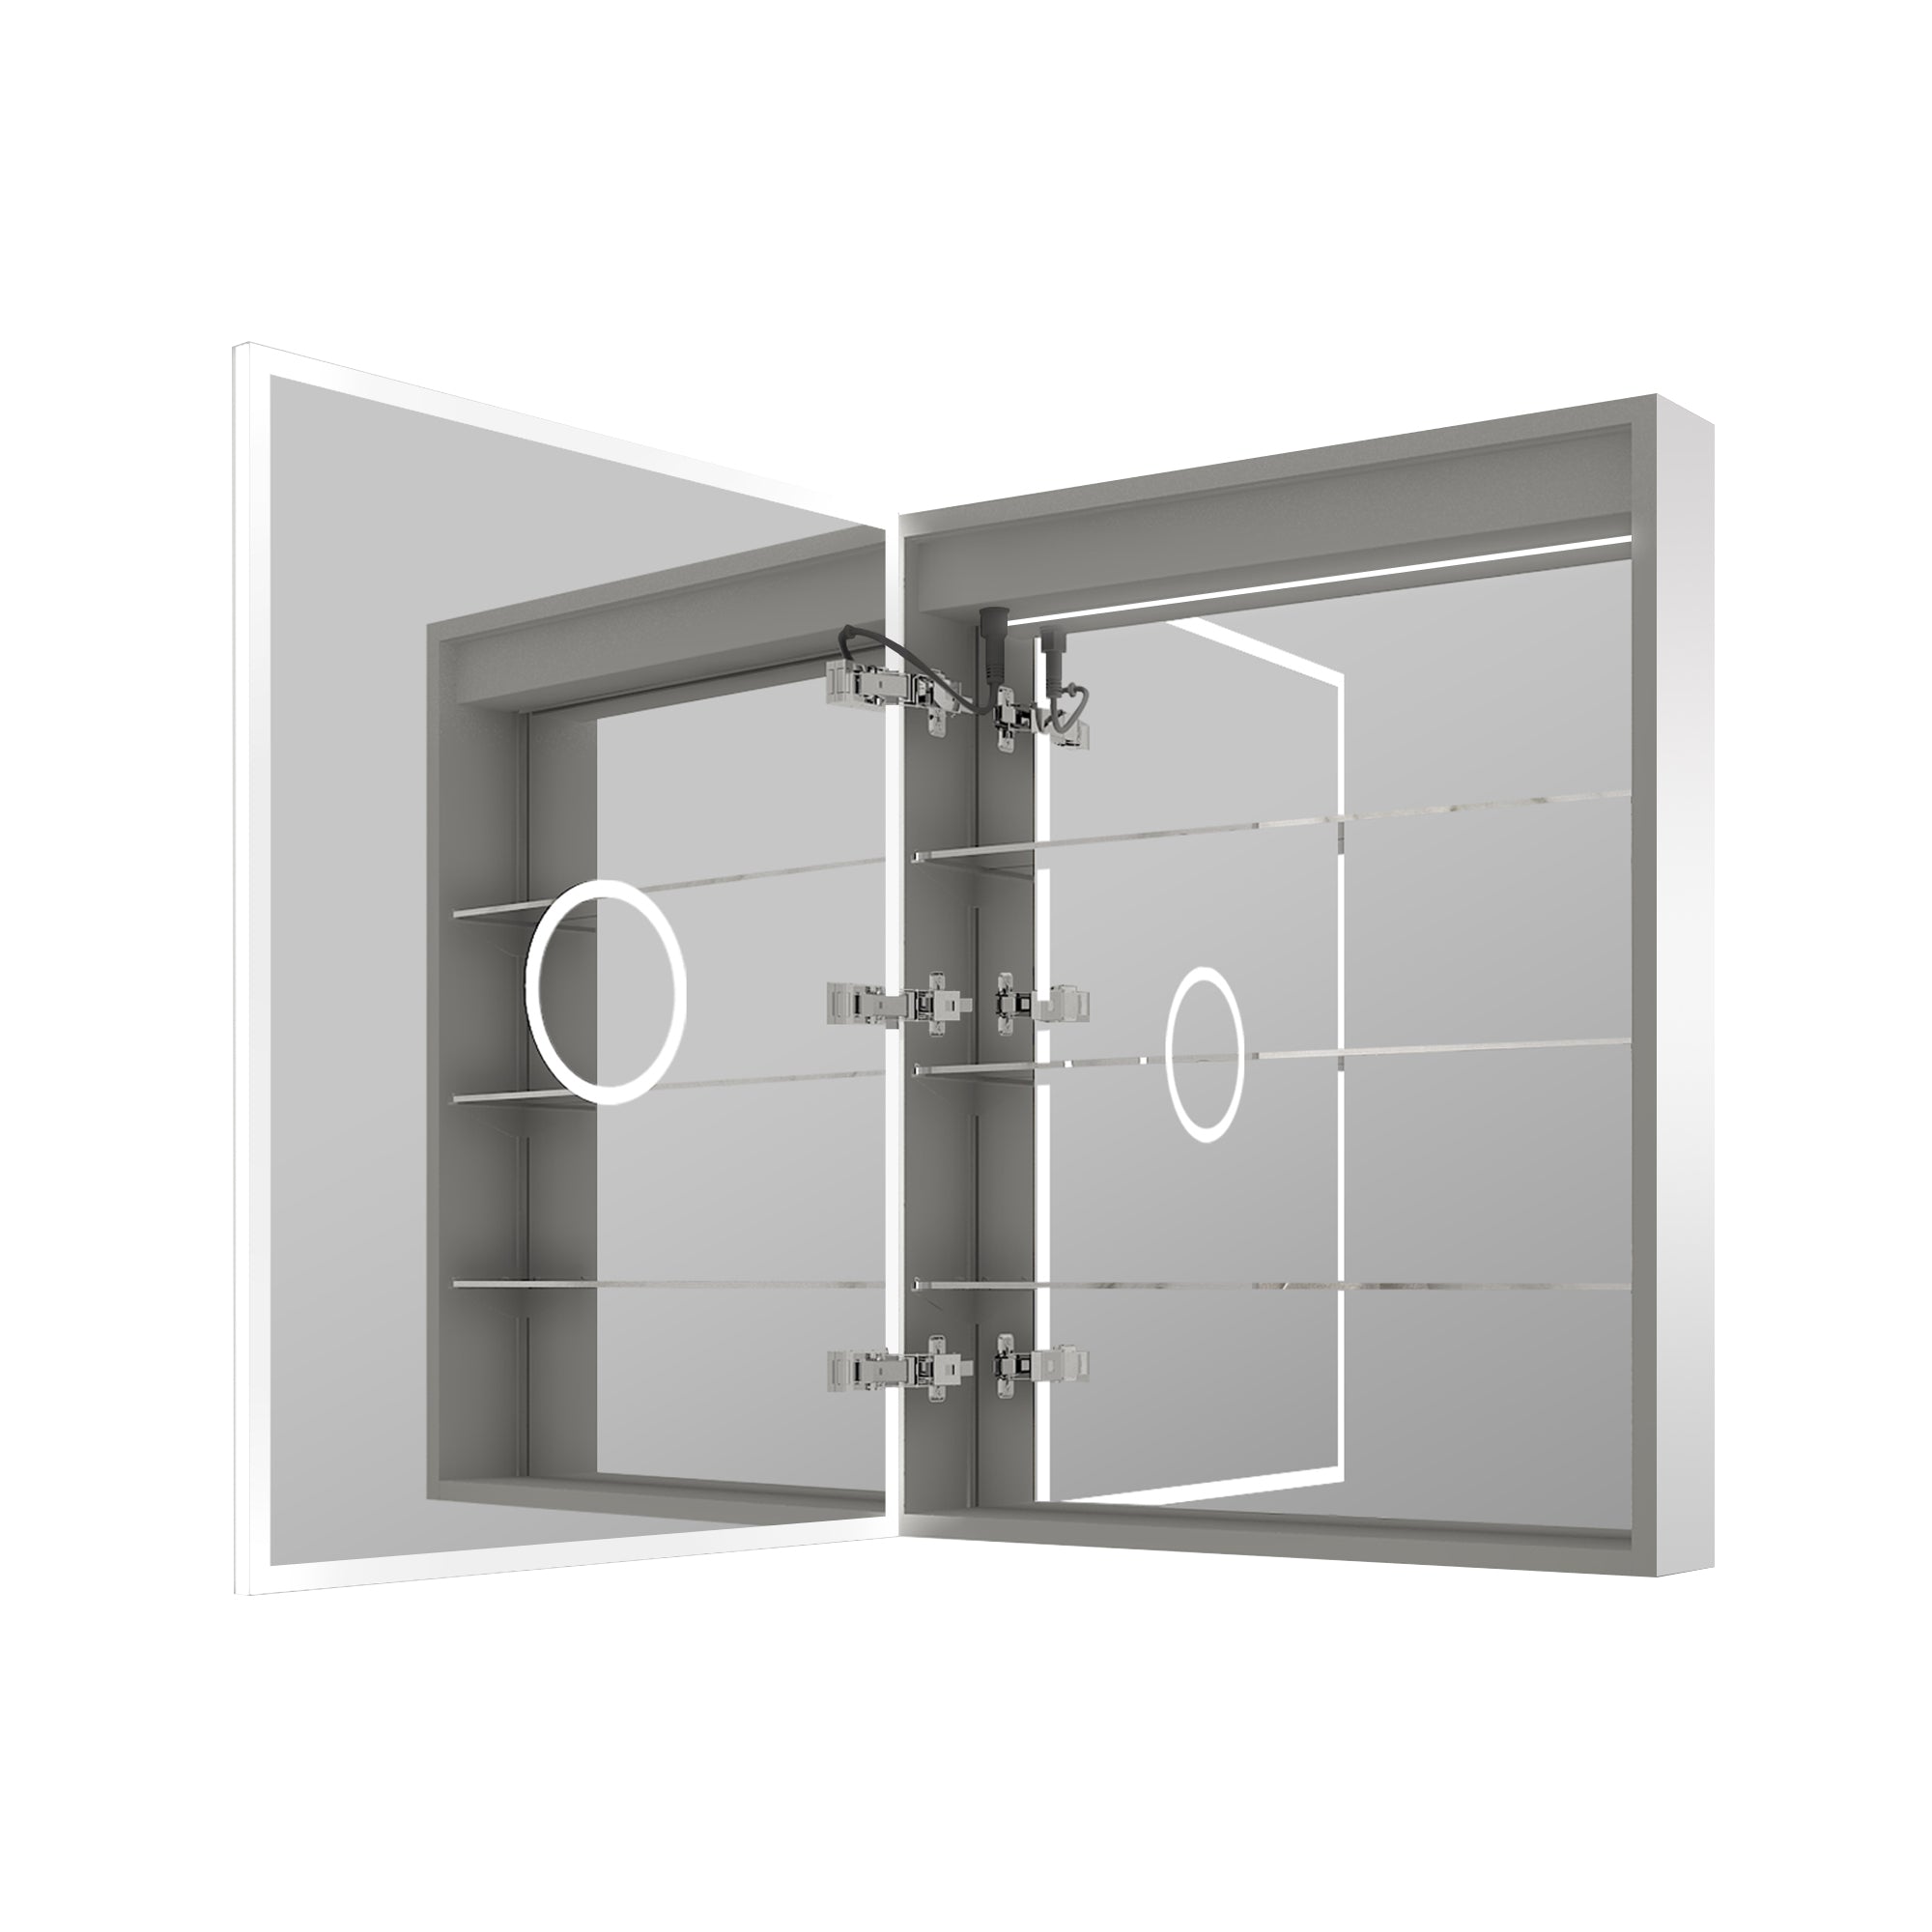
Extra features should solve real problems. An integrated defogger is useful if your mirror sits near a shower zone or your bathroom regularly steams up. A 5x magnifying insert can help with detail work, but only if it’s positioned where you’ll actually use it (and not blocking the main reflection). Integrated outlets or USB ports are convenient for grooming tools, but keep cords out of sight with a drawer outlet or a cable pass-through so the mirror wall stays clean.
If a mirror offers memory settings for brightness and color temperature, that can reduce daily fiddling and keep the room’s look consistent. The goal is simple: a mirror that works harder so the rest of the bathroom can look calmer.
A great LED bathroom mirror is one of the few upgrades that improves performance and aesthetics at the same time. When the light is even, the color is honest, the profile is quiet, and the installation is safe, the mirror reads like part of the architecture.


Leave a comment
This site is protected by hCaptcha and the hCaptcha Privacy Policy and Terms of Service apply.