


A good bathroom vanity plumbing rough-in is the part nobody sees and everybody notices once it goes wrong. If the drain lands too high, the drawer box hits it. If the supply stops sit too wide, the cabinet back needs ugly extra cuts. If the vanity height changes and the rough-in does not, a perfectly nice cabinet can turn into a frustrating install. After years of working around bathroom remodels, cabinetry, and fixture selection, I can tell you this is one of those stages where a few inches matter far more than people expect.
According to Houzz, 84% of homeowners hire professionals for bathroom renovations. That number makes sense. Rough-in work looks simple on paper, but it sits at the intersection of plumbing, finished dimensions, cabinet design, and local code.
What a Bathroom Vanity Plumbing Rough-In Actually Includes
A vanity rough-in is more than putting a drain somewhere near the sink. The Home Depot’s 2026 plumbing guide defines rough-in as locating fixture centerlines, marking the height and horizontal placement of supply lines, marking the drain location, and confirming required clearances before fixtures are installed. It also notes that the rough-in happens before sinks, faucets, and other finish elements are connected.
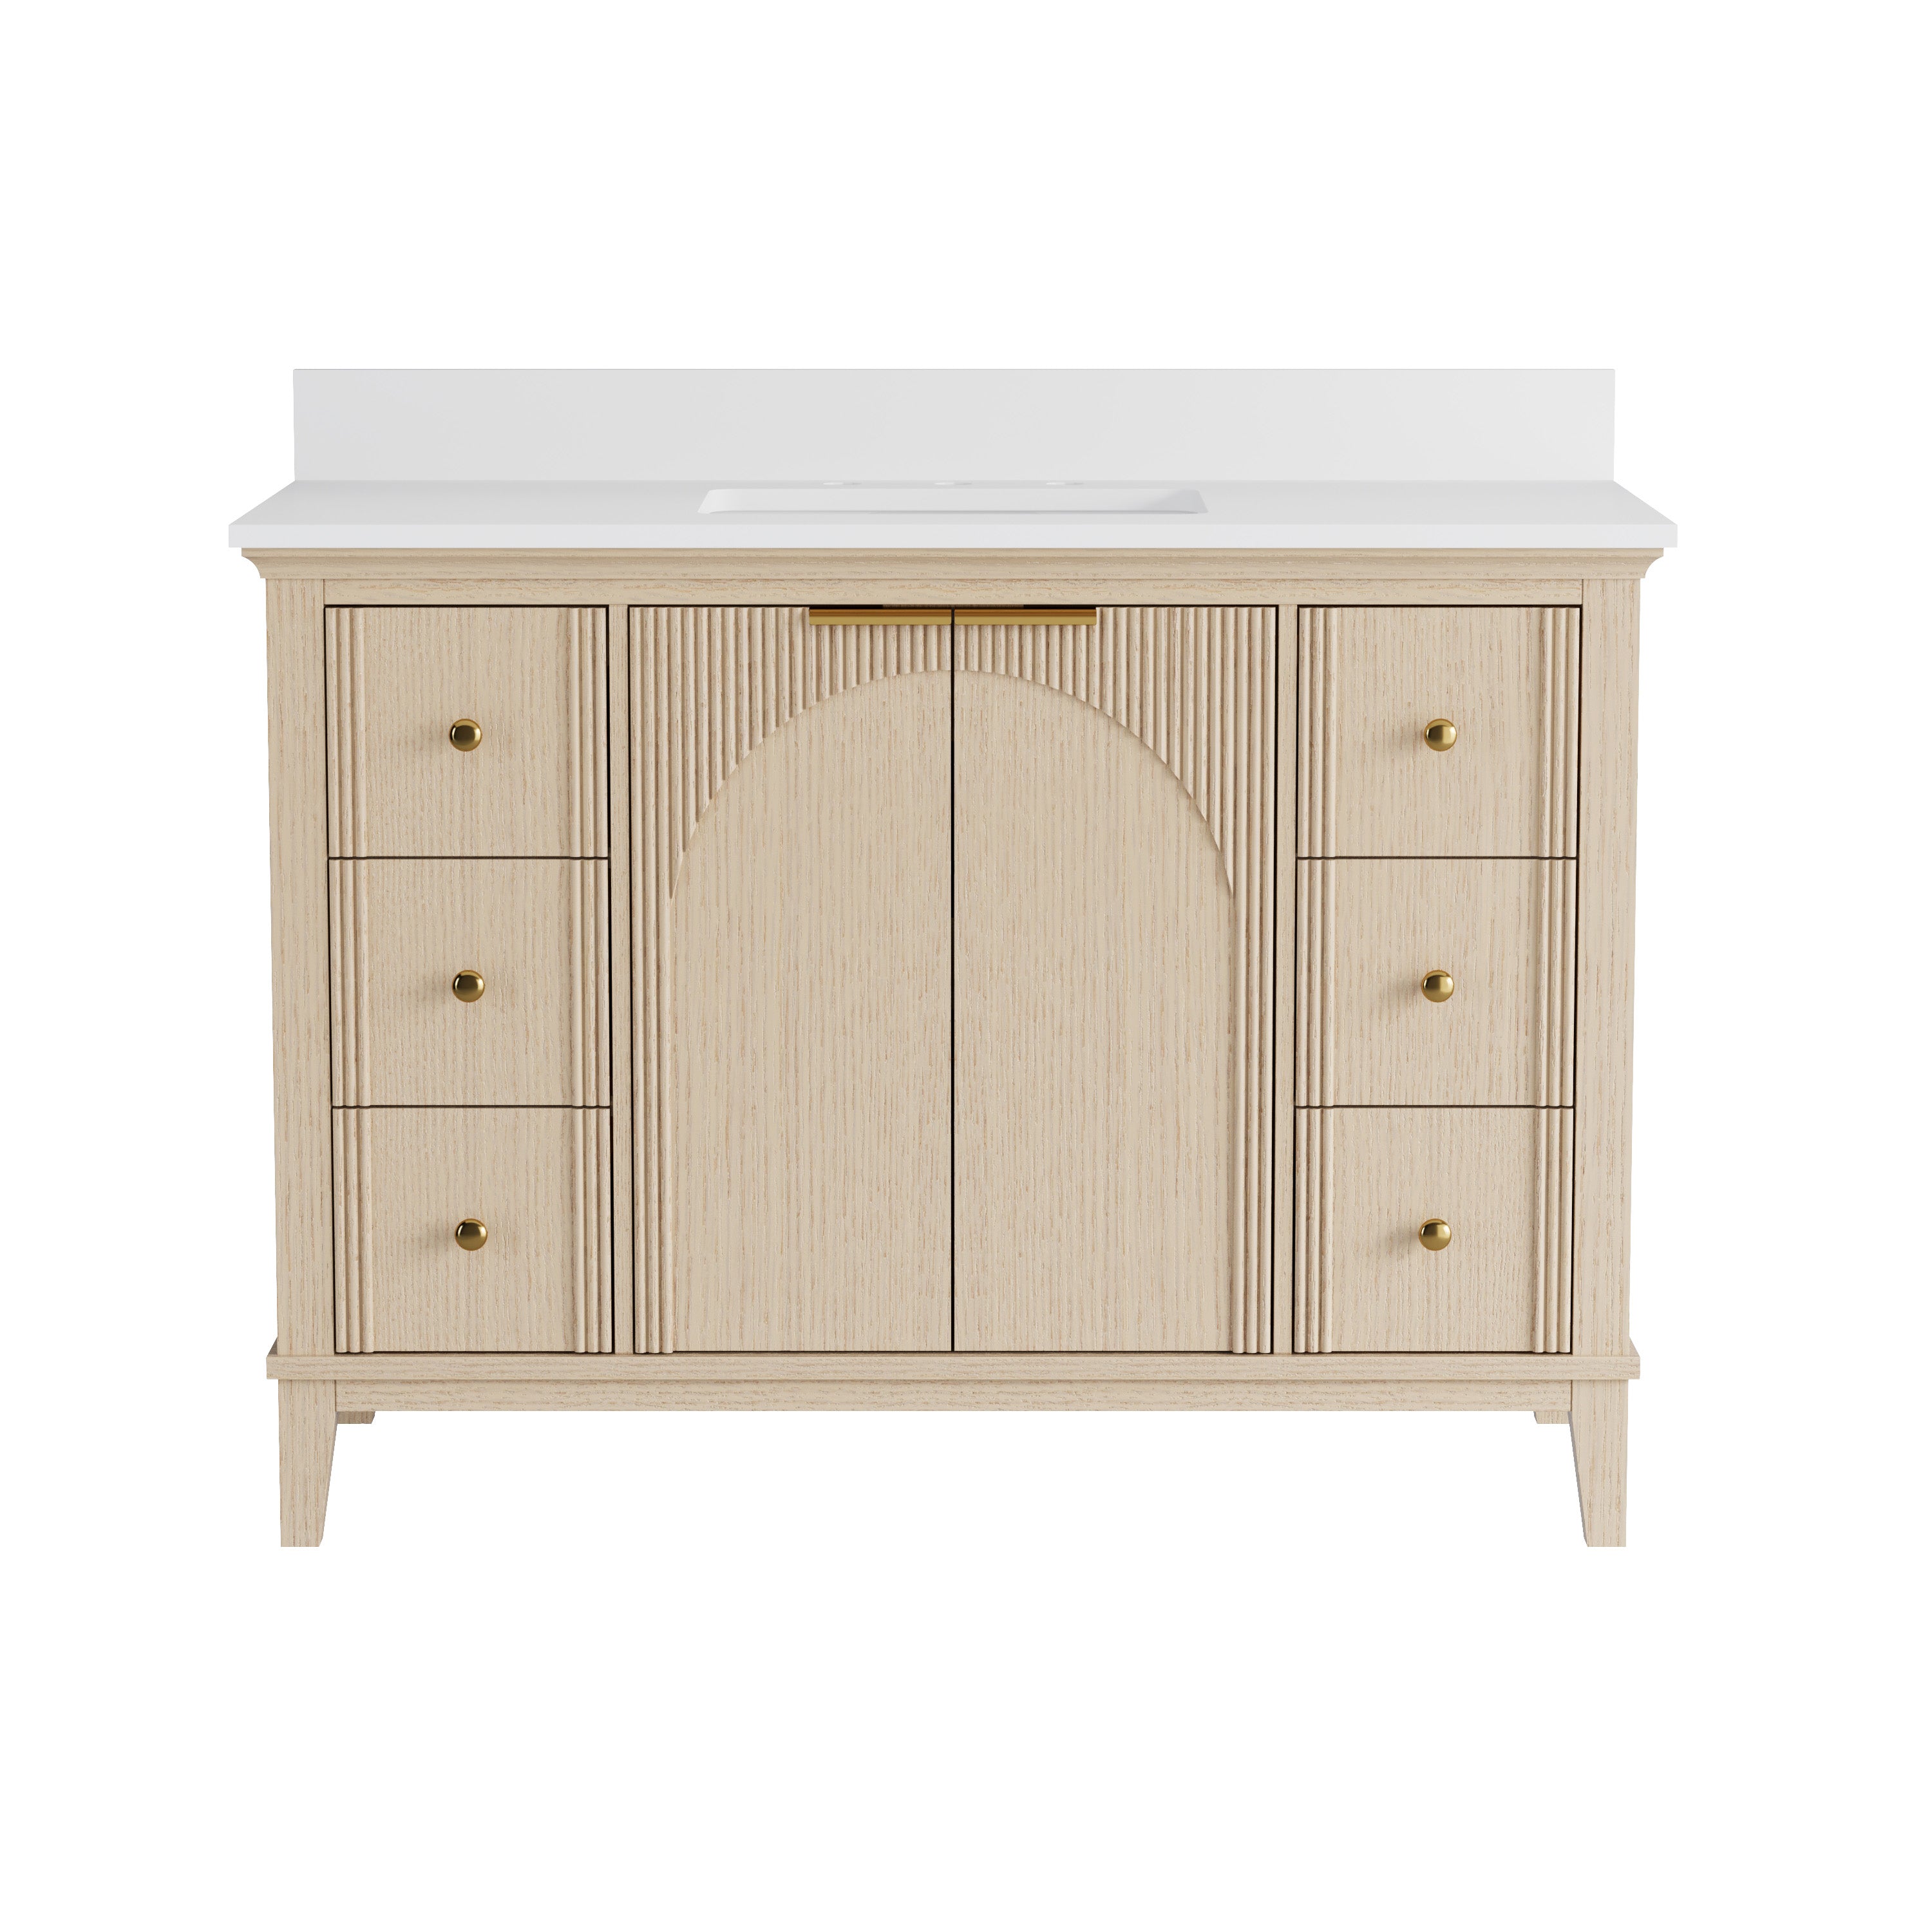
That is why I always start with the finished vanity and sink, not a generic rule of thumb. Manufacturer spec sheets repeatedly say the same thing in different ways: the plumbing must be roughed into the vanity’s plumbing cutout area, and the water supply and drain lines need to be installed before the vanity goes in. Kohler says this in its Revet and Traverse vanity documents, and Robern says it in its vanity specs as well.
For a typical residential bathroom sink, The Home Depot lists common starting points like these: about 31 inches from the floor to the rim of the sink, supply lines 2 to 3 inches above the drain line, hot and cold supplies placed 4 inches left and right of centerline, and the drain stub-out set roughly 16 to 20 inches above the finished floor. It also recommends at least 15 inches from the sink centerline to a side obstruction, with 20 inches preferred, plus at least 21 inches of front clearance. Those are good working dimensions for many standard vanity installations, but they are not universal.
The Measurements That Matter Most Before You Open the Wall
The first measurement is finished sink height. If you rough in the plumbing for a standard vanity and then switch to a vessel sink or a different countertop thickness, the drain and supplies may no longer fall where the cabinet needs them. The Home Depot guide puts standard residential sink rim height at 31 inches from the floor, while ADA-compliant sink rim height is 34 inches. That difference alone can change how comfortable the plumbing layout is inside the cabinet.
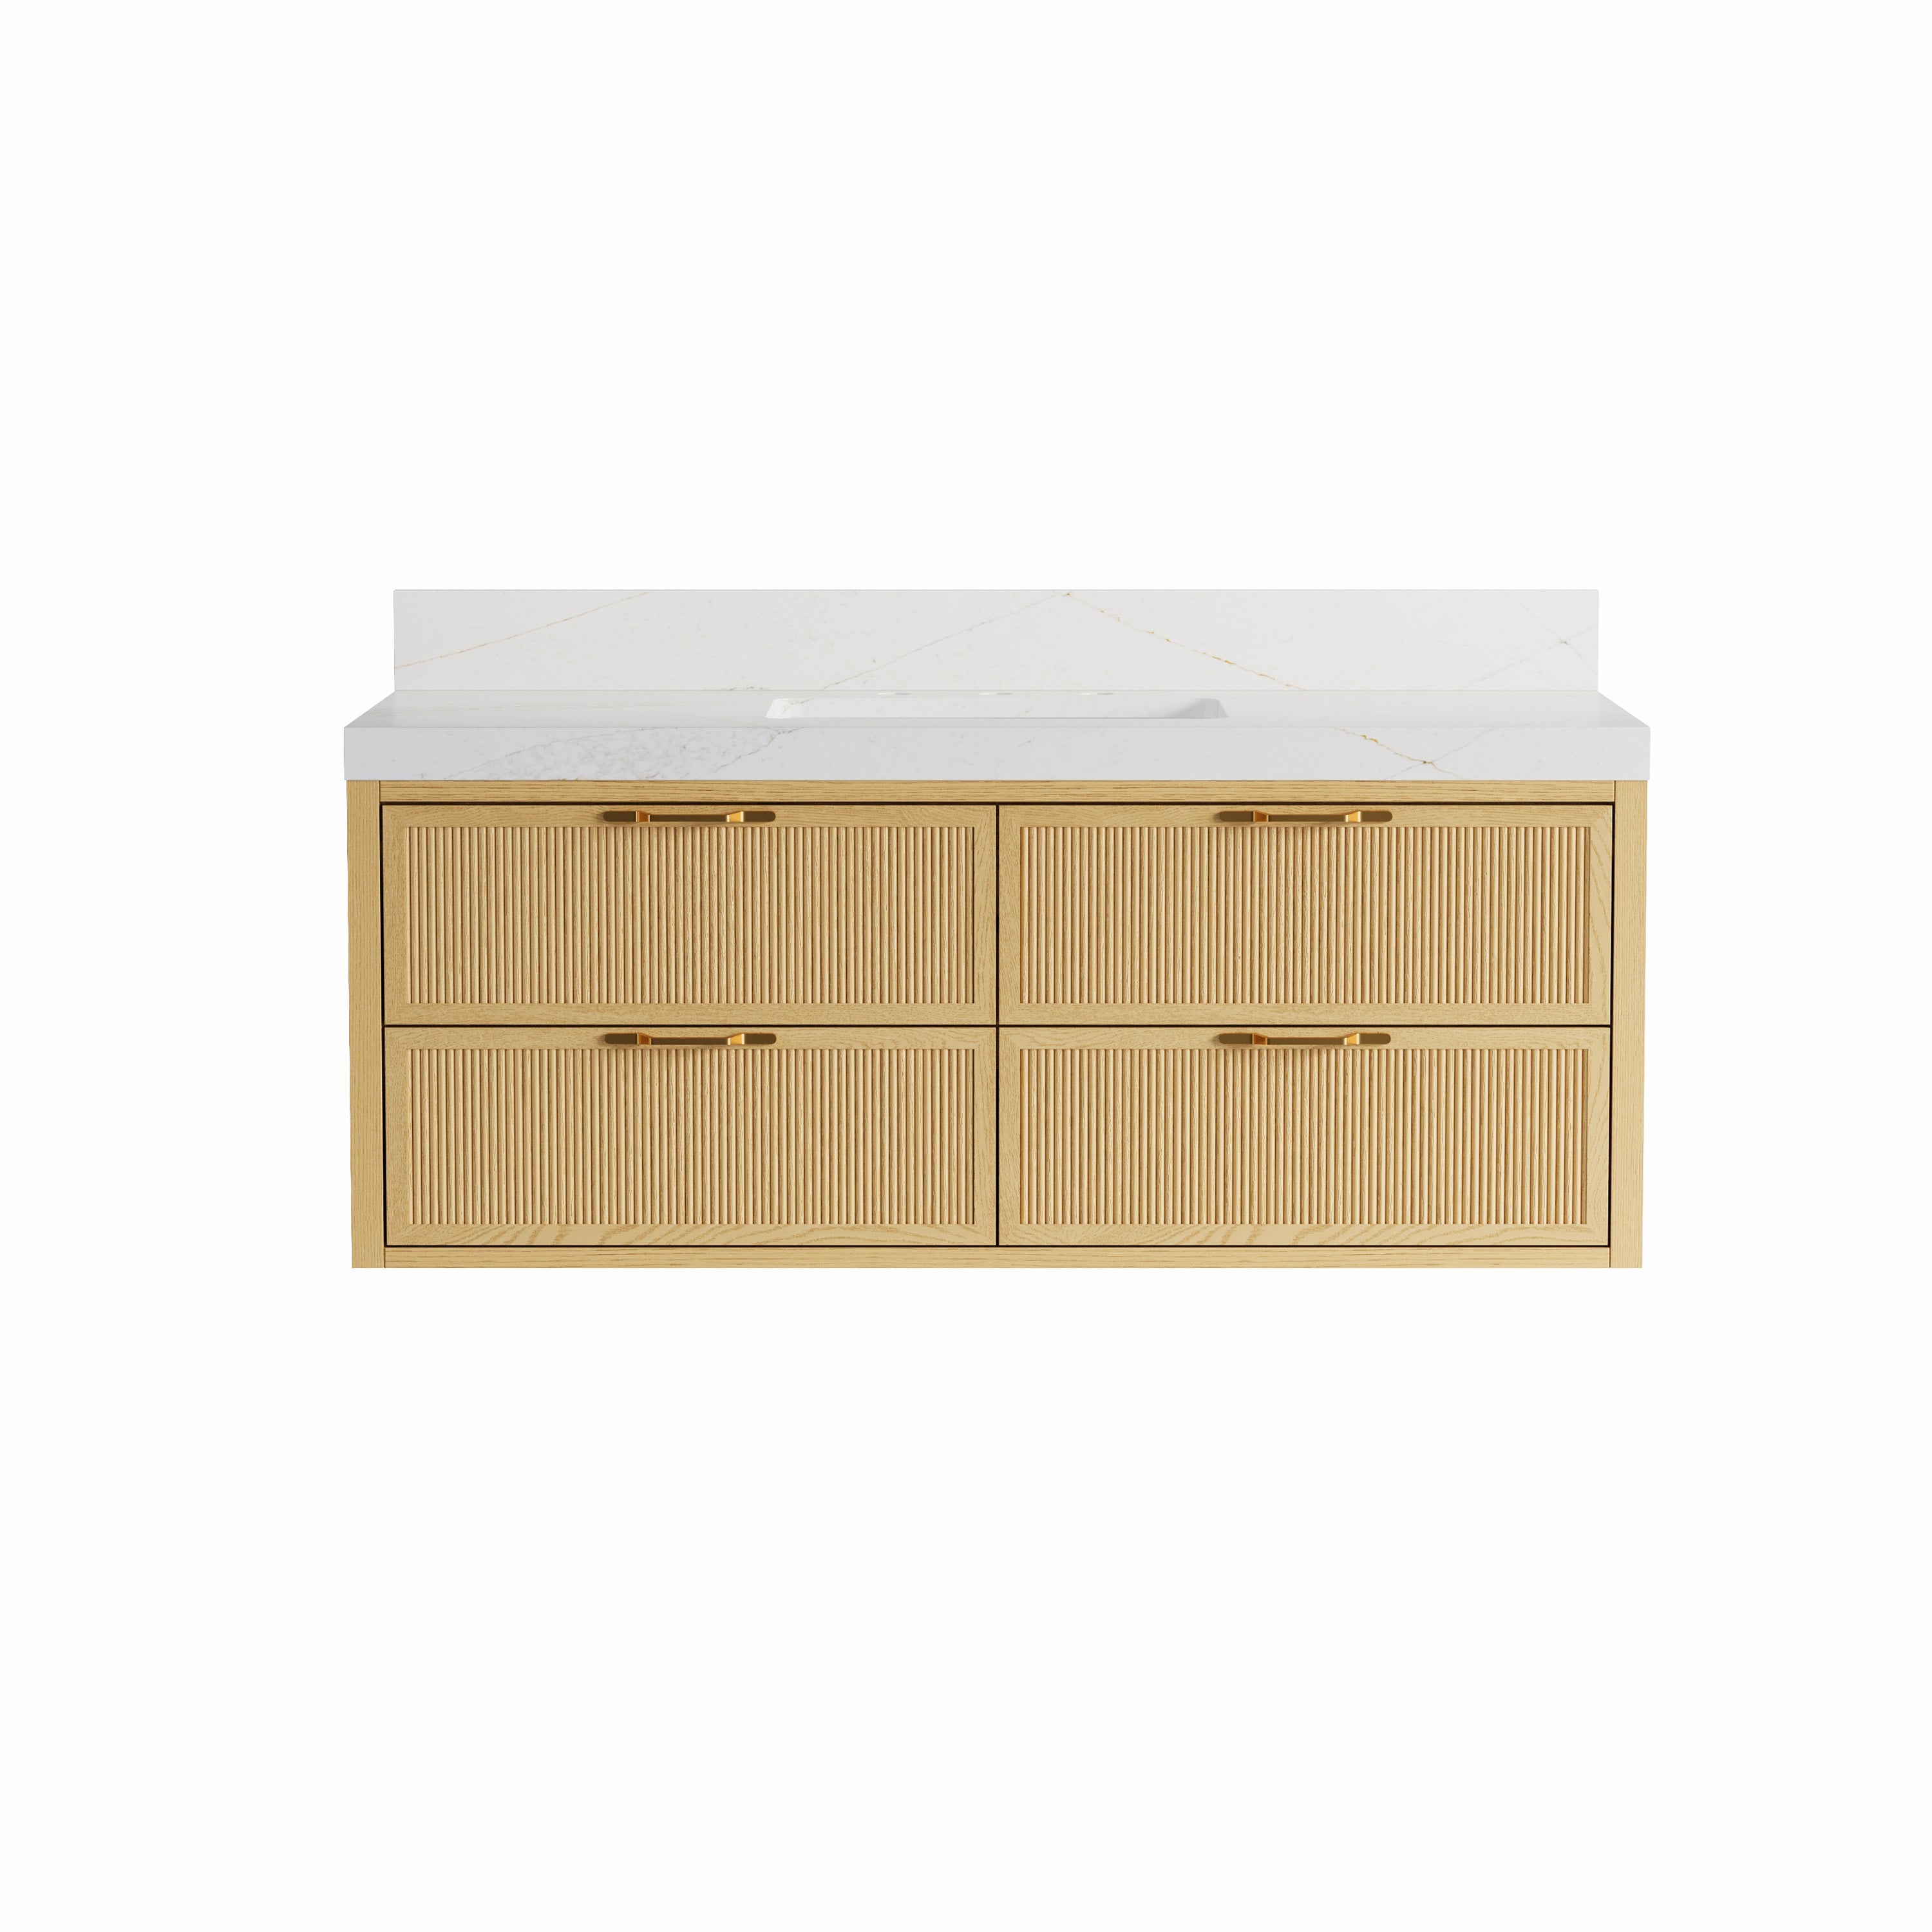
The second measurement is vertical drain height. In many ordinary vanity setups, the drain lands somewhere between 16 and 20 inches above the finished floor. That range is useful, but it is still only a starting point. A wall-hung vanity or a drawer-heavy cabinet may need something more precise. One Kohler Revet wall-mounted vanity spec, for example, places the rough-in P-trap location at about 20-5/8 inches above the finished floor and the supply stop location at about 21-7/8 inches above the finished floor. That is close to common practice, but not identical, which is exactly why rough-in by memory can backfire.
The third measurement is horizontal alignment. For many standard sink rough-ins, hot and cold supplies are centered 4 inches to either side of the sink centerline, which creates an 8-inch spread. Robern’s 60-inch vanity spec also shows an 8-inch supply spread within its model-specific plumbing zone. So the common rule and the product-specific sheet may agree, but you should still confirm that agreement before the wall closes.
Where Homeowners and Installers Usually Get Into Trouble
The biggest mistake is roughing in the plumbing before the exact vanity, sink, and top are selected. A generic sink rough-in may work for an open cabinet and fail completely for a vanity with drawers, integrated organizers, or a narrow plumbing chase. Kohler’s vanity documents repeatedly direct installers to compare the sink rough-in and the vanity rough-in together rather than relying on one drawing alone.
The second mistake is thinking only in floor-to-pipe measurements and ignoring the finished room. The Home Depot guide specifically reminds installers to include finished wall thickness in their measurements. That matters in vanity work too. Tile buildup, wainscot thickness, or even a slightly bowed wall can change how flush the cabinet sits and how much room is left for shutoff valves and traps.
The third mistake is forgetting that not every requirement is purely plumbing. Some vanity installs also need structure. Kohler installation documents for multiple vanities say the finished wall must be straight and plumb, the floor must be flat and perpendicular to the wall, and the cabinet must be secured to studs or 2x6 backing where required. One Kohler instruction sheet places the top of the 2x6 support at 34-1/2 inches above the finished floor for the vanity shown. That is not a universal number for every vanity, but it is a good example of how framing and plumbing rough-in often need to be planned together.
Requirements That Matter Beyond the Tape Measure
A vanity rough-in also has code and inspection implications. The Home Depot guide notes that rough-in plumbing should be pressure-tested before it is considered complete, and that it usually must be inspected before finish work proceeds. It also advises checking whether your jurisdiction follows the International Plumbing Code or the Uniform Plumbing Code, because local rules can differ. That is not glamorous advice, but it is the kind that saves rework.
This is also where buying advice becomes practical. If you are selecting a Wellfor vanity, choose the exact cabinet and sink configuration before the plumber commits to the rough-in. A floating vanity with a slim drawer stack, an integrated top, or electrical accessories is not as forgiving as a simple open-base cabinet. Robern’s vanity installation instructions even state that special site preparation may be required and recommend professional installation, while Kohler repeatedly warns against modifying the vanity because doing so can compromise structural stability.
When Standard Measurements Are Fine, and When They Are Not
Standard vanity rough-in measurements are perfectly useful for planning a conventional single-sink cabinet in a typical bathroom. They are less reliable when the project includes a wall-hung vanity, a double sink layout, deep drawers, hidden outlets, or a countertop and bowl combination that changes finished sink height. In those cases, I would treat the general rough-in guide as a draft and the manufacturer spec sheet as the final answer.
Maintenance should factor into the rough-in too. A drain and supply layout that preserves access makes future work easier. Kohler’s lavatory instructions and vanity specs both emphasize providing access to plumbing connections for service and maintenance. That matters more than many people realize, especially once drawers, doors, and trap assemblies all start sharing the same limited cabinet space.

Conclusion
A smart rough-in does not chase a generic number and hope the vanity adapts. It starts with the finished cabinet, sink, and top, then uses common sink rough-in measurements only as a baseline. After that, it checks the manufacturer’s plumbing zone, confirms wall and floor conditions, and makes sure the work will satisfy local code and inspection requirements.
That is the practical answer to bathroom vanity plumbing rough-in planning. Measure from the finished floor, measure from the true centerline, and measure against the actual vanity you are installing, not the one you almost bought. If the vanity is simple, the standard dimensions may get you close. If the vanity is specialized, get exact before the wall closes, because that is the moment when a careful rough-in stops being invisible and starts paying for itself.


Leave a comment
This site is protected by hCaptcha and the hCaptcha Privacy Policy and Terms of Service apply.