


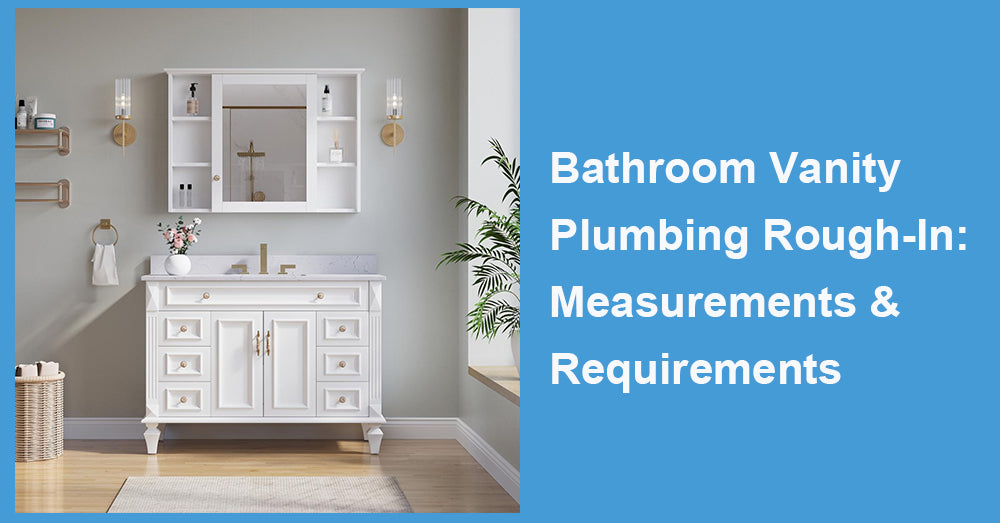
If you are learning how to install a floating bathroom vanity, the first thing to understand is that this job is less forgiving than installing a floor-mounted cabinet. A floating vanity looks clean, modern, and space-saving, but it depends on accurate wall support, careful plumbing alignment, and level installation. Get those three things right, and the vanity can transform the room. Miss one, and the problems tend to show up fast.
That is one reason many homeowners still bring in help for bathroom work. According to Houzz, 84% of renovating homeowners hire professionals for bathroom projects.
(Source: Houzz)
Floating vanities are still a meaningful design choice rather than a niche one. In Houzz bathroom trends reporting, floating vanities accounted for 12% of vanity mounting styles, behind built-in and freestanding options but still firmly in the mix.
(Source: Houzz)
Before You Start: Is a Floating Vanity Right for Your Bathroom?
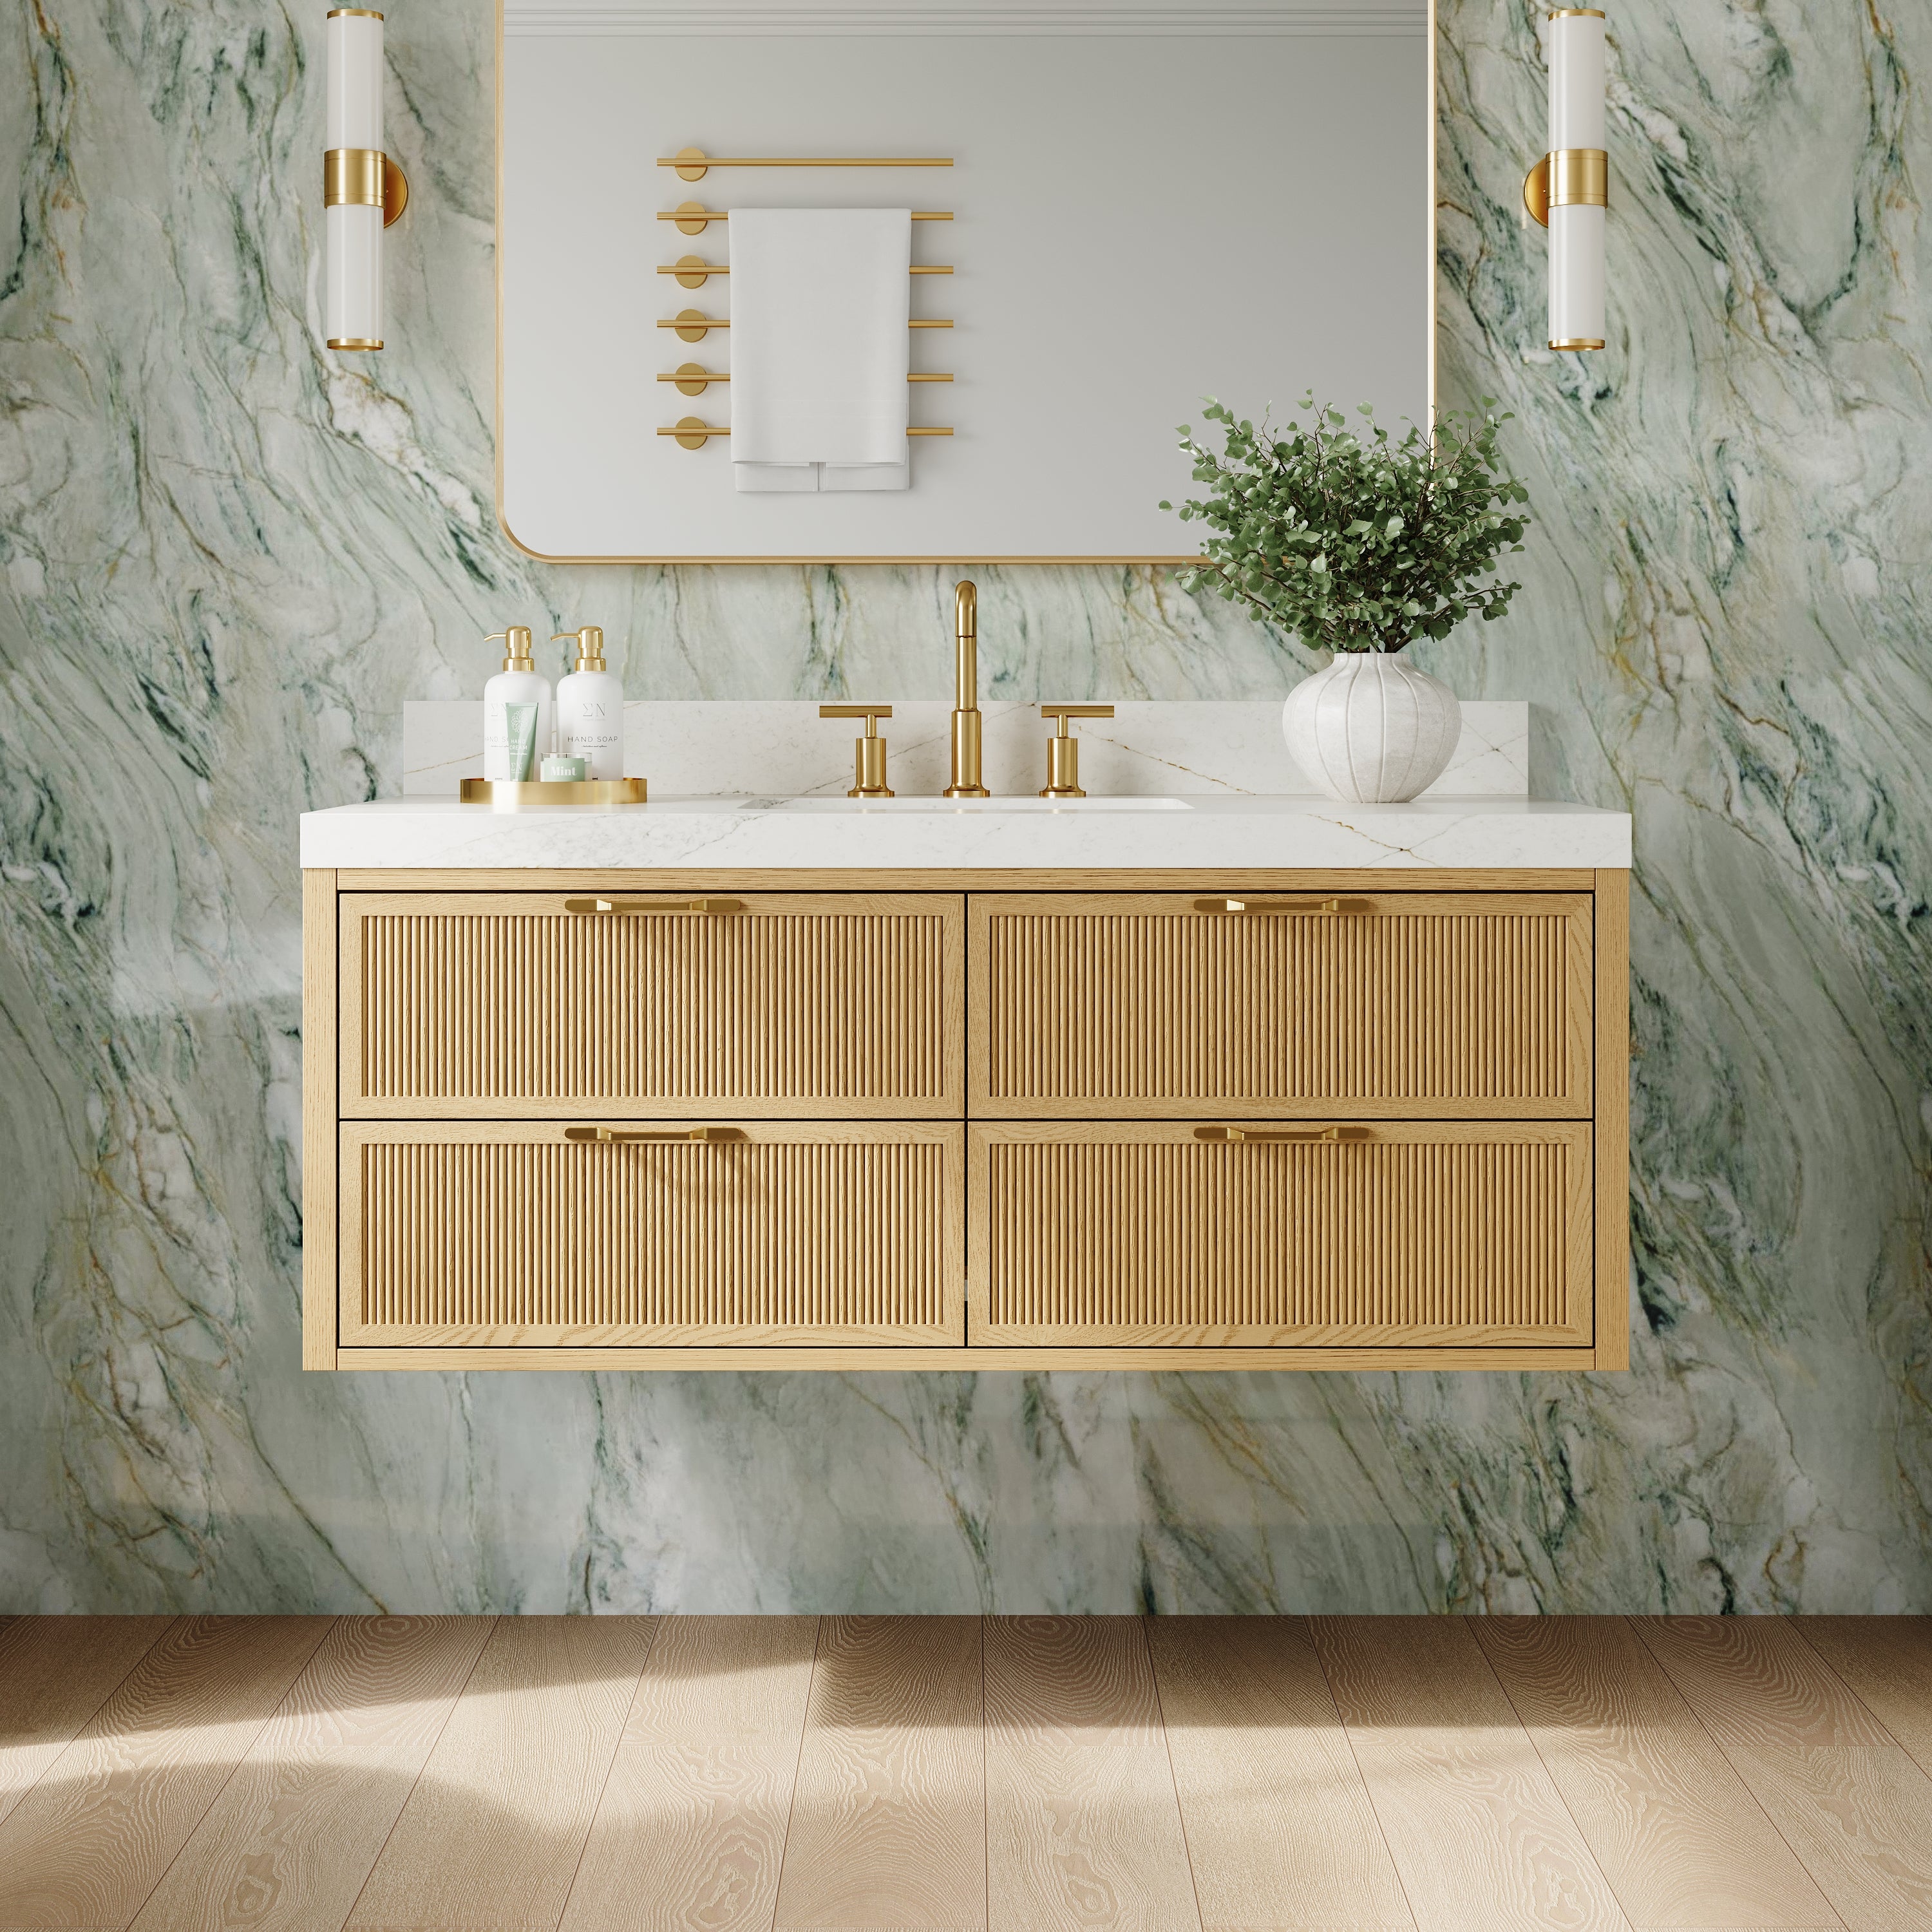
A floating vanity works best when you want a bathroom to feel lighter, cleaner, and a little more architectural. In a small bathroom, showing more floor can make the room look more open. In a primary bathroom, a floating vanity can create a more custom look and make cleaning underneath much easier.
Still, this style is not ideal for every room.
If the wall is weak, badly damaged, or difficult to reinforce, a floating vanity may not be the smartest choice. The same goes for bathrooms where plumbing is badly placed or the vanity will carry a very heavy top without proper backing. I also tell people to be realistic about storage. Some floating vanities look sleek but give up usable drawer depth.
Before installation, confirm the wall type. IKEA’s official bathroom installation guide says you need to identify the wall material first, find studs when they are present, and use fastening hardware that matches the wall construction, because screws and plugs vary by wall type and are not universally supplied.
(Source: IKEA)
You also want the plumbing ready before the cabinet goes on the wall. Kohler’s roughing-in guidance for vanity installation states that the water supply and drain lines should be installed before the vanity itself.
(Source: Kohler)
My practical advice is simple: if you are only replacing the vanity and the plumbing is already well located, this can be a manageable project for a confident DIY homeowner. If the wall needs opening, blocking, or plumbing relocation, the job gets more serious very quickly.
How to Install a Floating Bathroom Vanity, Step by Step
Start by shutting off the water and removing the old vanity if one is already in place. Patch the wall if needed, clean the floor area, and confirm the final location before you touch the new cabinet. This is where you should double-check width, depth, faucet-center placement, drain height, and door clearance. A floating vanity that is even slightly misplaced can make the room feel off.
Next, locate the studs and mark your mounting height. I prefer marking a clean level line across the wall first, then working from the manufacturer’s mounting dimensions rather than trusting rough visual placement. If the vanity uses a suspension rail or mounting bracket, install that exactly to level. IKEA’s guide specifically notes the importance of finding studs first and using the wall rail correctly to secure the cabinet safely.
(Source: IKEA)
After that, deal with reinforcement. This is the step people most often underestimate. If the vanity does not land where the studs should support it properly, add blocking behind the finished wall or within the wall cavity before the cabinet goes up. A floating vanity is not the place to hope anchors alone will solve everything.
Then lift and mount the cabinet. In real life, this is usually a two-person move, especially once cabinet size increases. Kohler’s installation instructions for its wall-mounted vanity note that two people should perform the installation.
(Source: Kohler)
Set the vanity onto the bracket or align it with the mounting points, then fasten it securely and check level again. Do this before tightening everything fully. A floating vanity can look straight at first glance and still be just off enough to create countertop or drawer issues later.
Once the cabinet is fixed in place, connect the sink top, faucet, drain, and water lines. I like dry-fitting the top before final adhesive or sealing steps, especially if the wall is not perfectly flat. If the vanity includes drawers, test them before the sink and trap connection are finalized. This is where you catch plumbing interference early.
Finish by sealing the back edge and sides where needed, then turn the water back on and test slowly. Watch the drain. Watch the supply lines. Then test again after a few minutes. Small drips have a way of hiding during the first check.
Common Mistakes That Cause Problems Later
The first mistake is skipping reinforcement because the vanity “feels light enough.” That logic fails once the countertop, sink, stored items, and daily use are added.
The second mistake is trusting nominal measurements instead of actual installation dimensions. A vanity can be sold as 36 inches wide and still install slightly differently once the top, bracket, and wall tolerance are considered.
The third mistake is ignoring the plumbing cutout area. Beautiful drawer storage does not mean much if the trap assembly collides with the back of the drawer box.
I also see people mount floating vanities too high or too low because they are following a visual idea instead of the users’ actual comfort. A floating vanity gives you more flexibility in height, but that does not mean every height feels natural in daily use.
Finishing Touches, Maintenance, and When to Call a Pro
Once installed properly, a floating vanity is easy to live with. The open space below makes sweeping and mopping simpler, and it gives the room a cleaner visual line. That is part of why this style continues to appeal in modern bathrooms and compact layouts. NKBA has described floating or freestanding vanities with drawers as a recognizable bath design direction in the current decade.
(Source: NKBA)
That said, a floating vanity is not maintenance-free. Wipe water from the underside edges if splashing is common. Do not let soaked bath mats stay pressed against the wall below the cabinet. Check the caulk line periodically. If the drawers start shifting, inspect the hardware early instead of waiting for the alignment to worsen.
I would call a professional if the wall needs structural reinforcement, if the plumbing has to move, if the vanity is unusually heavy, or if the room uses tile or stone surfaces that make adjustment difficult. There is no shame in that. According to Houzz, most homeowners already rely on pros for bathroom work, and floating vanity installation is one place where that decision often makes sense.
(Source: Houzz)
Buying Advice Before You Choose a Floating Vanity
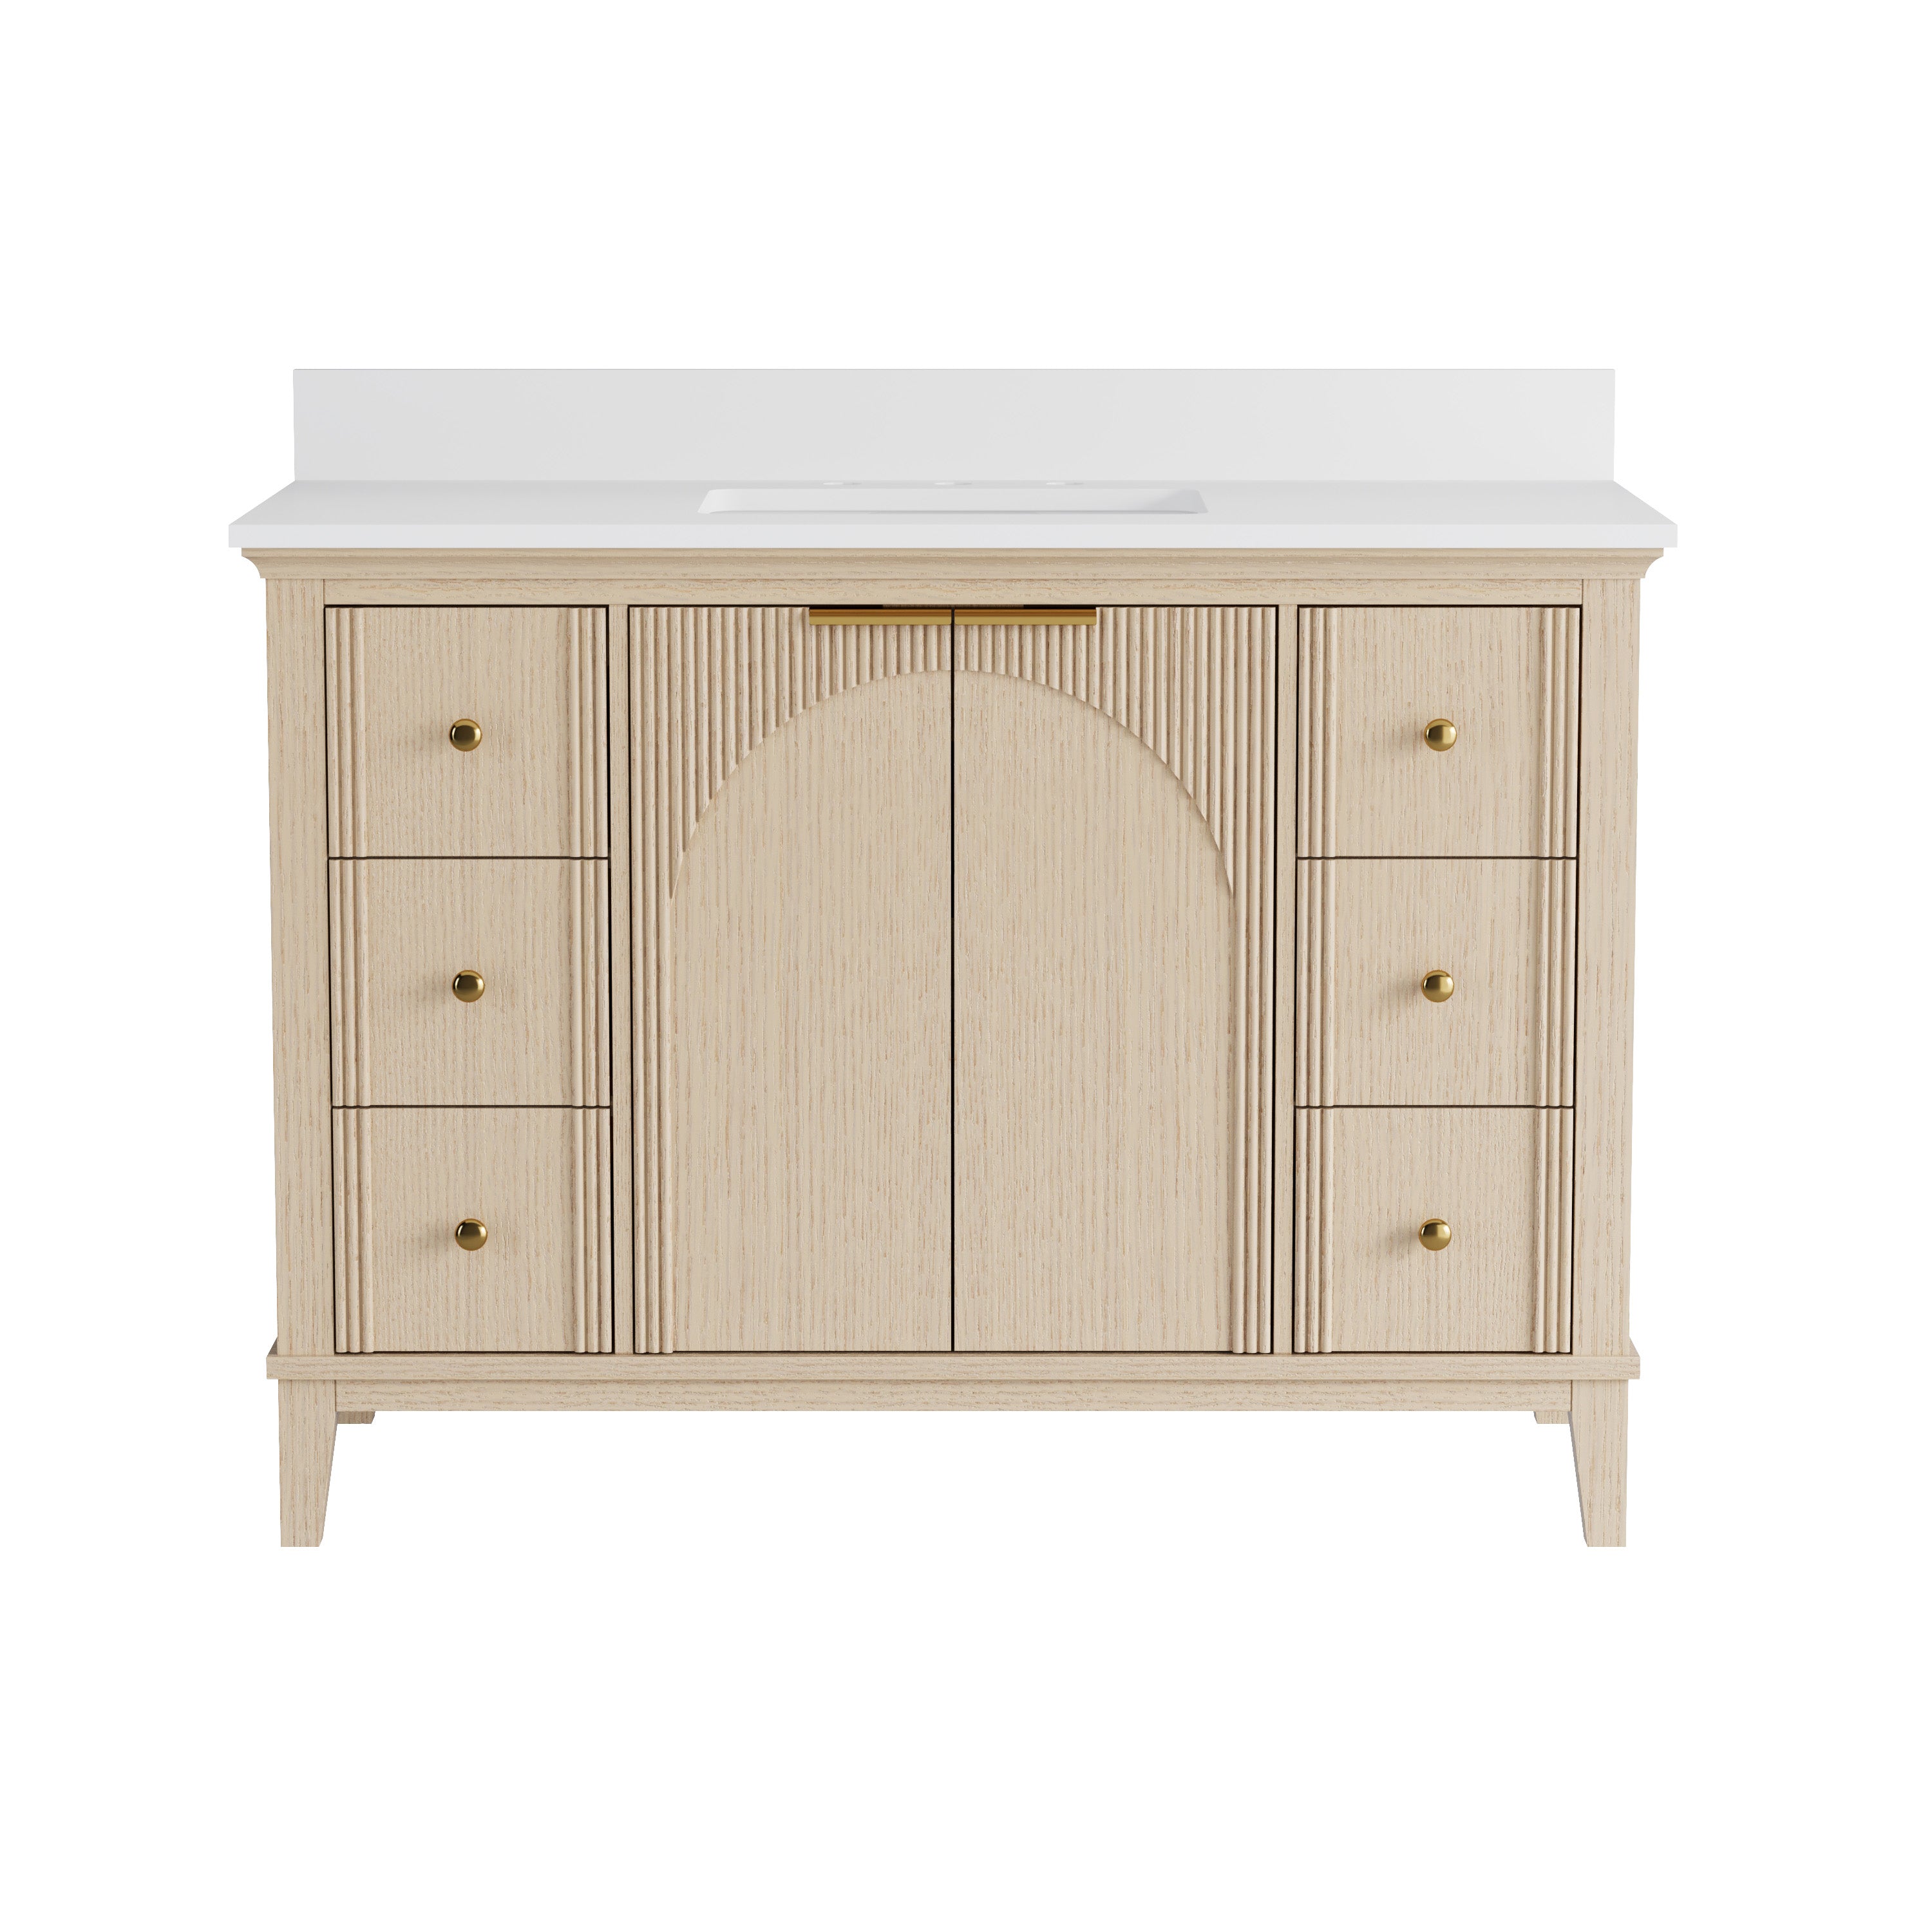
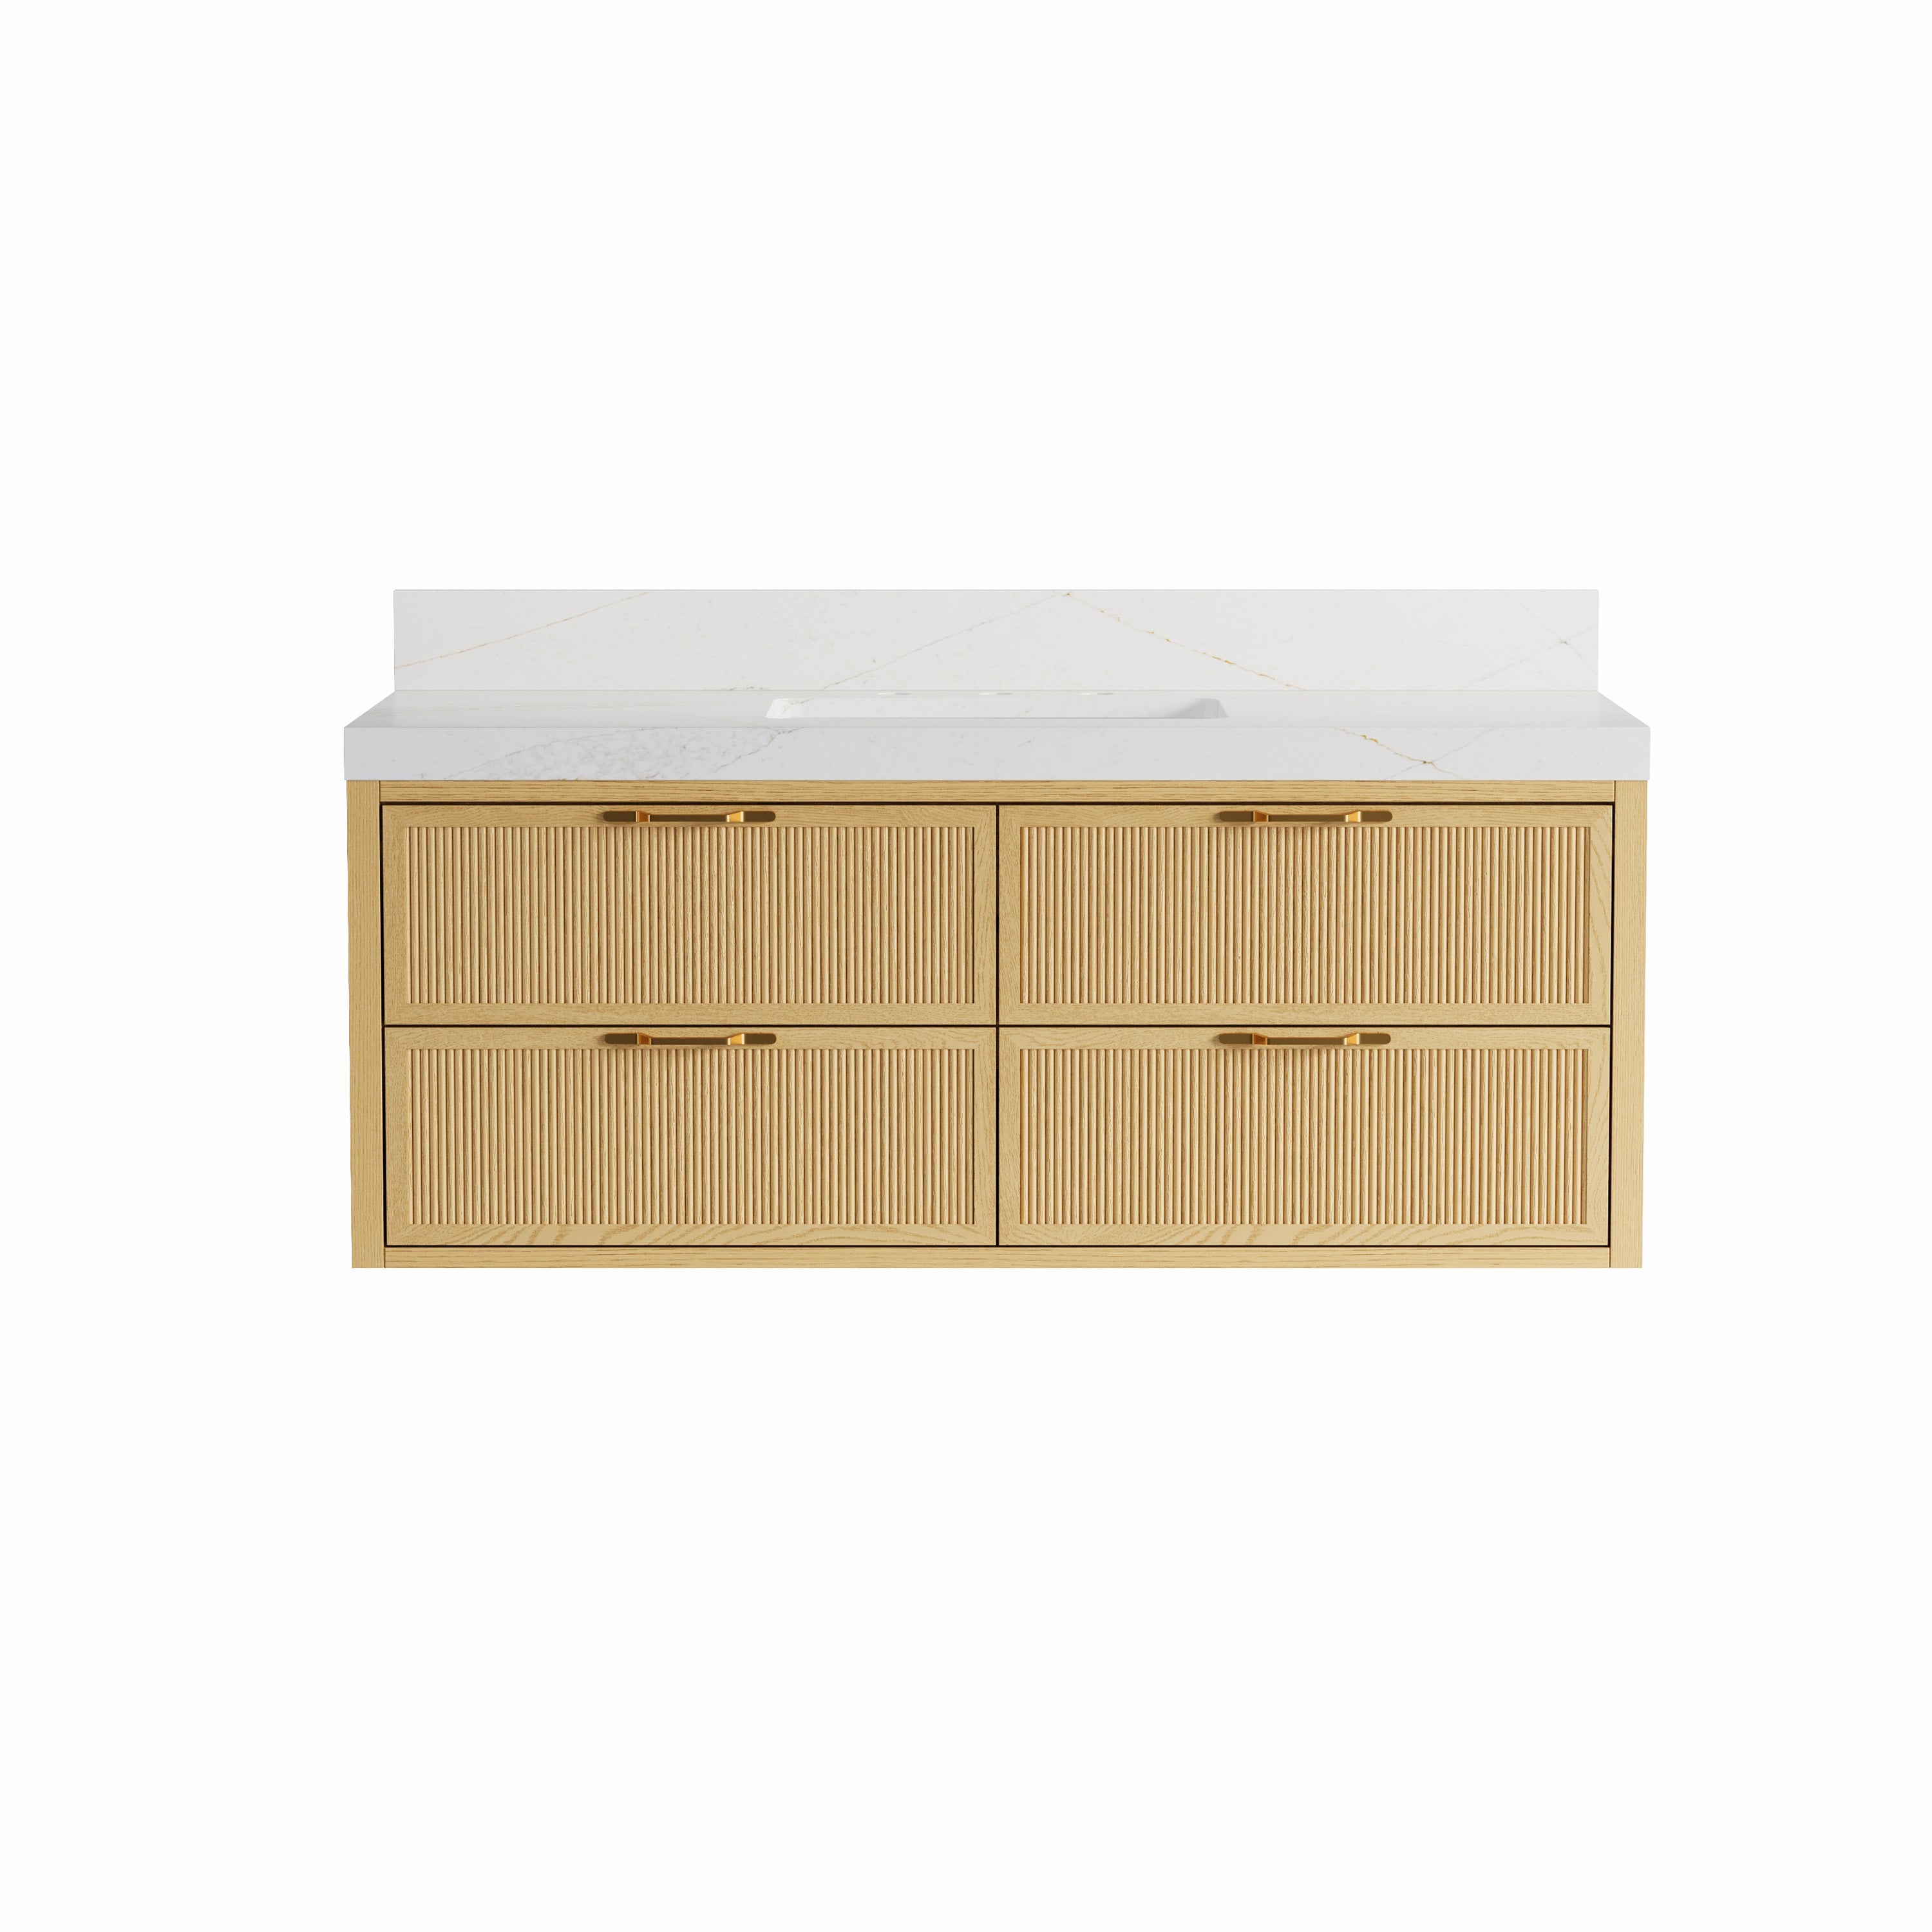
Choose a vanity that matches the room, not just the photo. In a small bathroom, a shallower floating model often works better than a bulky one, even if the larger one looks more luxurious online. Houzz has reported that nearly half of homeowners choose vanities 48 inches or smaller, which fits what I see in many real bathroom layouts.
(Source: Houzz)
Pay attention to wall-mounting hardware, drawer design, plumbing clearance, and countertop weight before you buy. Those details matter more than a trendy finish.
For Wellfor shoppers, I would focus on proportion first, then storage, then installation demands. A floating vanity should make the room feel easier, not harder.

Conclusion
The best floating vanity installations feel effortless once they are done, but they only get there through careful prep. Solid wall support, accurate level lines, well-planned plumbing, and patient fitting matter far more than speed.
That is the practical answer to how to install a floating bathroom vanity. If the wall is ready and the layout is sound, take your time and do each step cleanly. If the structure or plumbing is questionable, bring in help before the cabinet goes up. A floating vanity looks light, but the installation should never be casual.


Leave a comment
This site is protected by hCaptcha and the hCaptcha Privacy Policy and Terms of Service apply.