


A surface mount medicine cabinet is often the fastest way to add storage and a cleaner vanity area—without cutting into drywall or tile. But “easy installation” depends on a few practical choices: the cabinet’s depth and weight, how it will anchor to the wall, how the doors will swing in a tight bathroom, and whether the materials can handle humidity over time. This blog walks through the checkpoints that matter most so your cabinet installs smoothly, sits level, and stays solid for everyday use.
1. Confirm Your Wall Reality: Studs, Mounting Strips, and Why “16 Inches” Matters
Surface-mount cabinets typically hang from screws into studs, wall anchors, or both. Many walls are framed so that studs are commonly spaced 16 inches apart (Source: The Home Depot “How to Install a Medicine Cabinet”).
That number matters because a cabinet’s rear mounting points may or may not line up cleanly with studs. The same Home Depot guide notes that the distance between pre-drilled mounting strips on a cabinet is “usually 16 inches,” and that most wall studs are spaced 16 inches apart (Source: The Home Depot).
Practical takeaway:
· If you can catch at least one stud, installation becomes simpler and more secure.
· If mounting holes don’t align with studs, you’ll likely use a mix of studs + anchors, or add reinforcement (Source: The Home Depot).
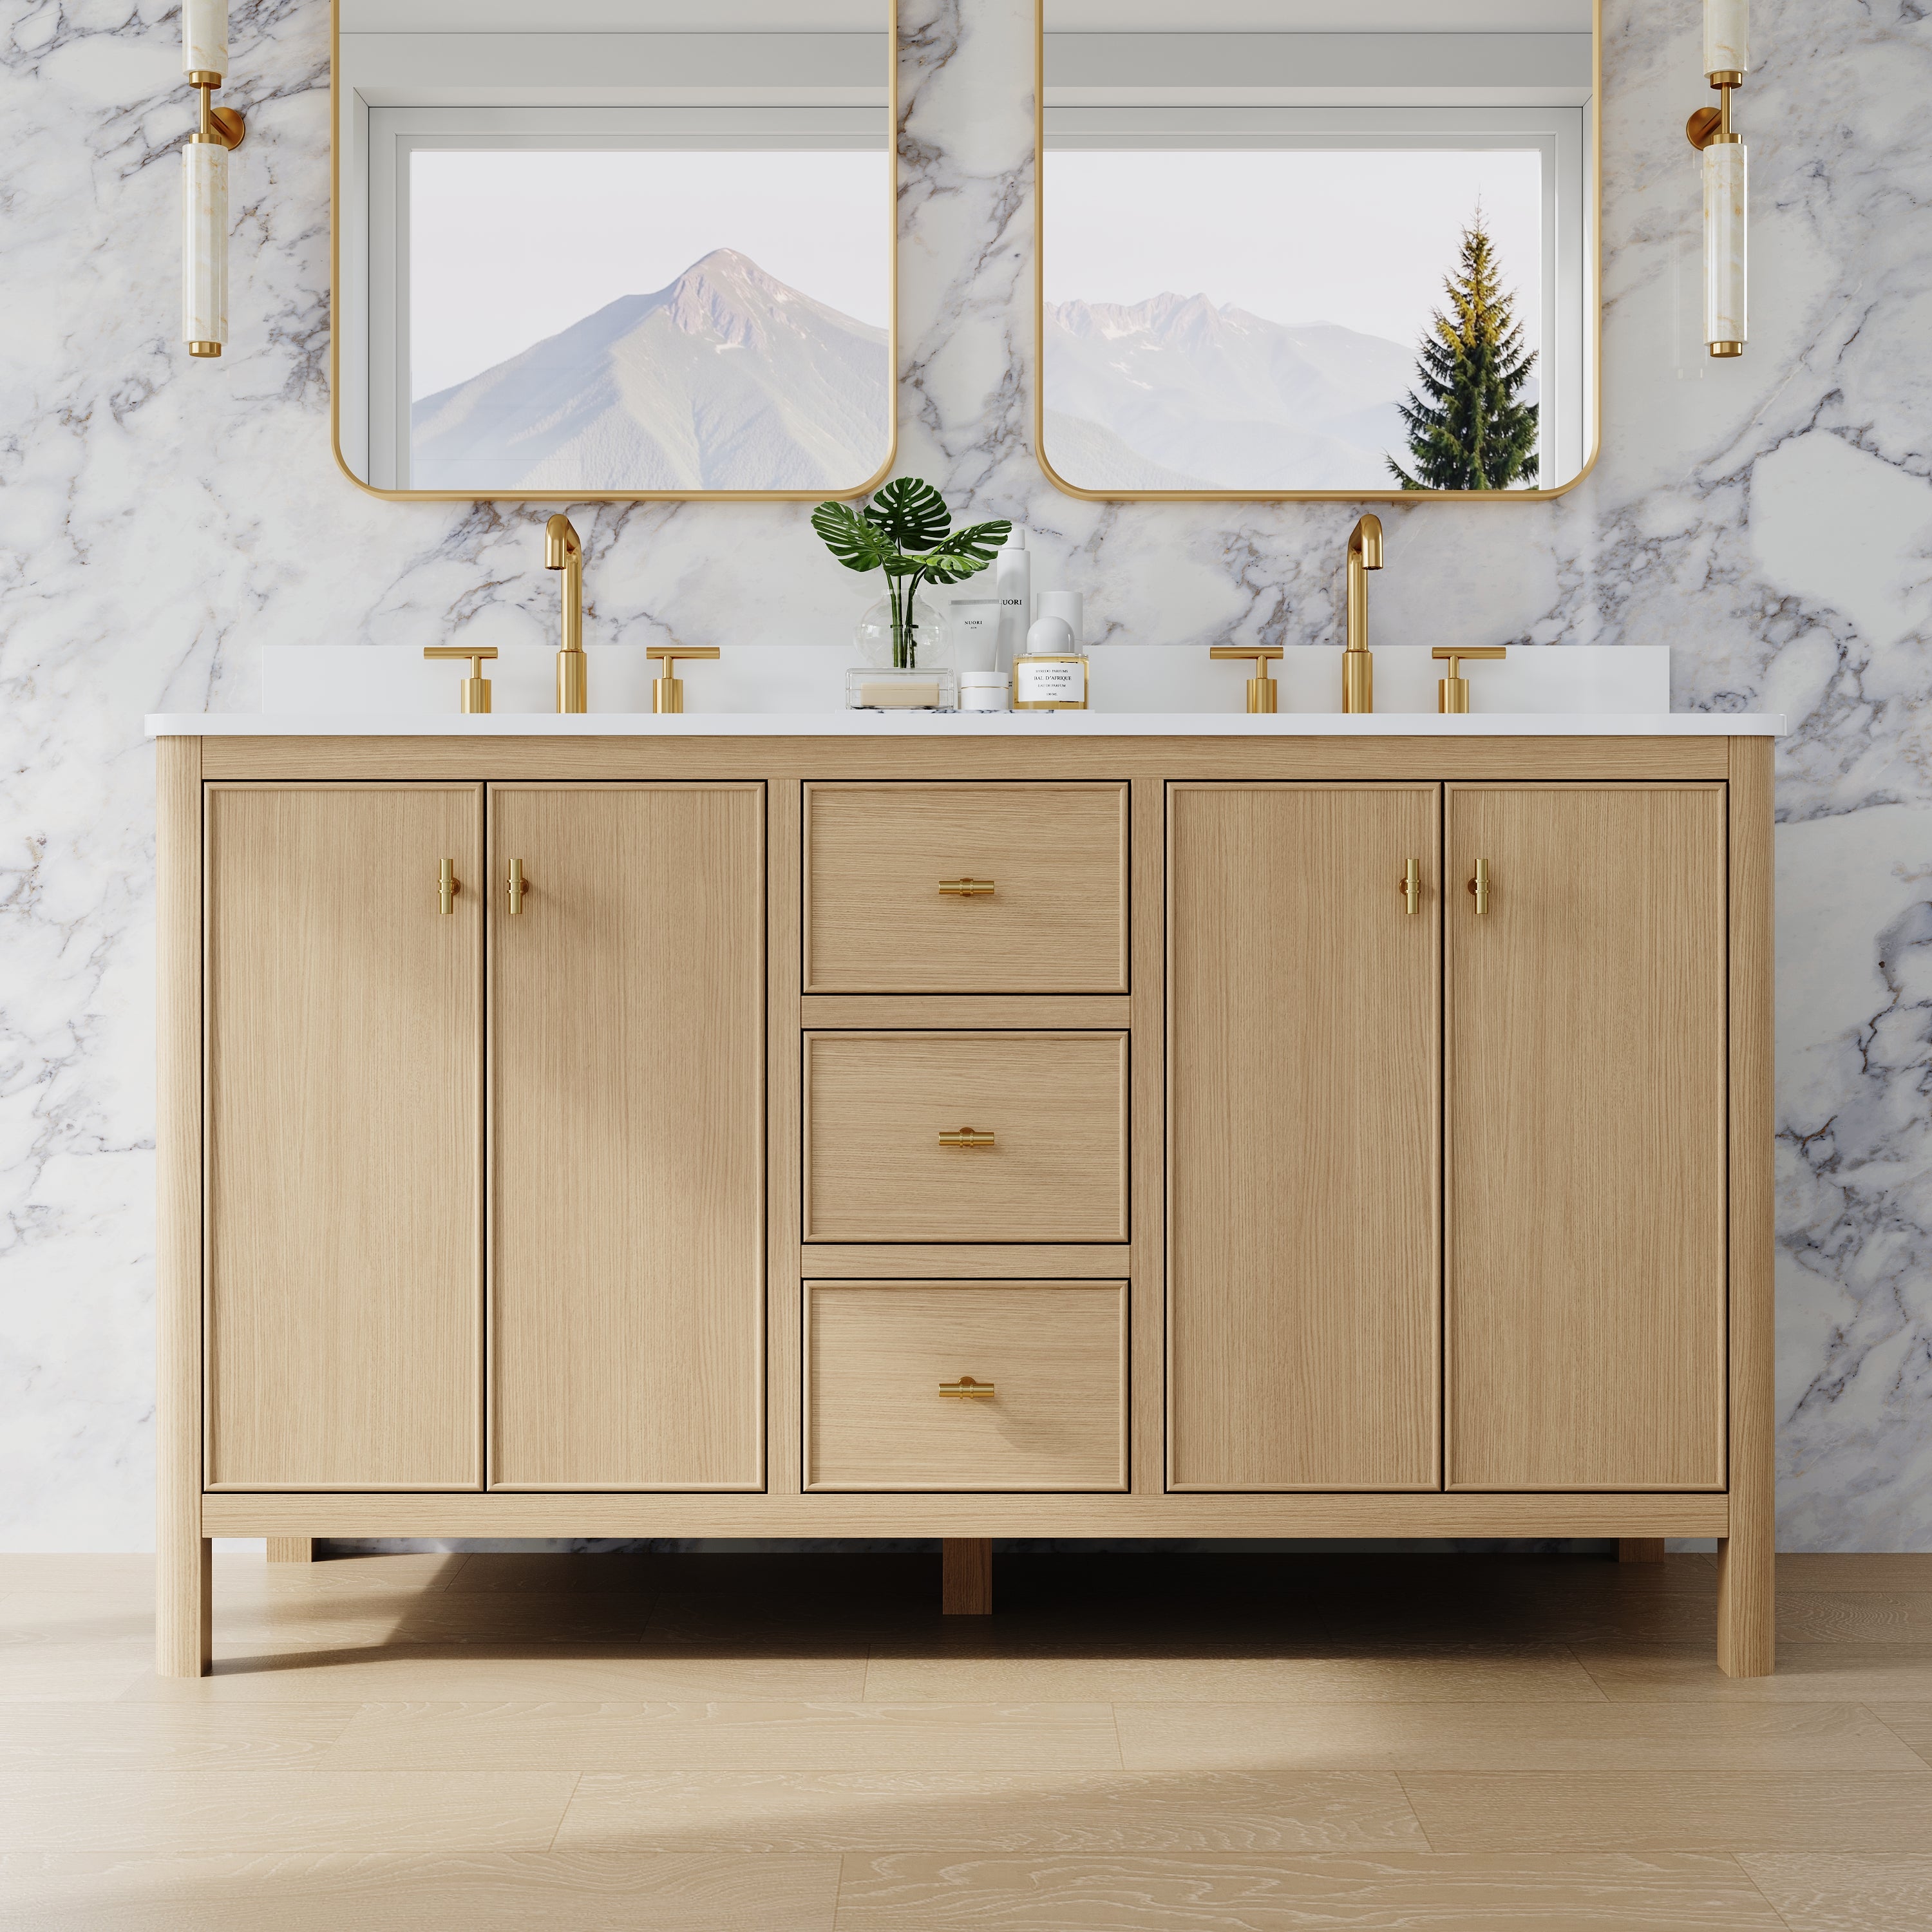
2. Choose a Depth That Feels Elegant, Not Bulky
Surface-mount cabinets project into the room, so depth affects both aesthetics and comfort at the sink.
A common depth range often cited for medicine cabinets is about 4 to 5 inches, with roughly 3 to 4 inches of usable internal storage (Source: Simple Project US, standard medicine cabinet size guide).
How to decide:
· If your bathroom is tight, a cabinet near the shallow end of that range can feel more “built-in.”
· If you store taller bottles (hair products, electric toothbrush bases), extra depth improves usability—just confirm it won’t feel intrusive.
Also consider the vanity depth and faucet reach: a cabinet that protrudes too far can make the sink zone feel cramped, especially if users lean in close.
3. Think Like an Installer: Weight, Wall Anchors, and Fasteners
Surface-mount cabinets are easiest when the wall can hold the load without flexing. If you’re not fully into studs, anchors matter.
Signature Hardware’s installation guidance explicitly recommends using drywall anchors or toggle bolts when mounting to drywall to distribute weight more safely (Source: Signature Hardware).
Practical approach for reliable mounting:
· Best-case: screws into studs at top and bottom.
· Next-best: at least one stud + high-quality anchors/toggles on the other side(s).
· Avoid: relying only on small, light-duty plastic anchors for a cabinet that will be opened and closed daily.
“Easy installation” is not just hanging the box—it’s keeping it stable after thousands of door swings.
4. Door Style and Swing: Prevent the “It Hits Everything” Problem
In real bathrooms, doors hit things. Before buying, check clearance for:
· nearby light fixtures or sconces
· towel rings and hooks
· adjacent walls (corner installs)
· your own shoulders in narrow walkways
Common door formats
· Single door: simplest, fewer alignment points, but needs more swing clearance.
· Tri-view (3-door): opens in smaller segments and can reduce clearance issues, but has more hinges and alignment points to maintain.
If the cabinet is near a doorway, pick a configuration that won’t conflict with traffic flow. This is one of the biggest “paper looks fine, real life annoys me” issues.
5. Mirror Height and Placement: Make It Comfortable for Daily Use
Even though surface-mount cabinets are often selected for “easy install,” placement still matters for comfort.
A widely used reference point from accessibility standards states:
· Mirrors located above lavatories/countertops should have the bottom edge of the reflecting surface 40 inches max above the finished floor, and
· mirrors not above a lavatory/countertop should have the bottom edge 35 inches max (Source: 2010 ADA Standards, Section 603.3).
You don’t need to design to compliance in a private home to benefit from the logic: these numbers are excellent guardrails to avoid mounting the cabinet too high for everyday grooming.
Simple placement method:
1. Stand at the sink.
2. Mark your eye level.
3. Aim for eye level to land around the upper-middle of the mirror area (not near the bottom edge).
6. Humidity Durability: Don’t Let Moisture Ruin the Finish
Bathrooms spike in humidity. If the cabinet materials and hardware aren’t moisture-tolerant, you’ll see issues like rusted hinges, swelling, and mirror edge deterioration sooner than you expect.
EPA guidance recommends keeping indoor relative humidity below 60%, ideally between 30% and 50%, to reduce moisture-related problems like mold growth (Source: EPA Mold Course Chapter 2).
What this means for your cabinet choice:
· Prioritize corrosion-resistant hinges and hardware.
· Prefer cabinets with clear material specs (aluminum, stainless components, sealed finishes).
· Ventilation habits matter: even a premium cabinet suffers if moisture lingers daily.
7. If Your Cabinet Has Lights or Outlets: Verify “Damp Location” Suitability
Some surface-mount medicine cabinets include integrated lighting, defoggers, or outlets. Bathrooms are humid environments, so it’s smart to confirm the product’s location rating.
A common definition used in lighting guidance describes a damp location as an interior or exterior location “normally or periodically subject to condensation of moisture” (Source: DMF Lighting technical bulletin).
Another industry guide similarly describes damp environments as those exposed to humidity/condensation but not direct water spray (Source: Green Creative location ratings).
Practical takeaway:
If a cabinet includes electrical components, look for clear language like “suitable for damp locations,” and avoid products that are vague about bathroom suitability.
8. Storage Design: Make “Hidden Storage” Actually Functional
A cabinet can be large and still store poorly if shelf spacing is wrong.
Look for:
· Adjustable shelves so tall bottles fit without going sideways
· A usable interior depth (not just an exterior spec)
· A shelf layout that matches your routine: daily items at eye level, backups higher, rarely used items lower
A simple pre-buy test: measure your tallest must-fit item (often a skincare bottle or electric toothbrush accessory) and compare it to shelf spacing.
9. A Copy-Friendly Buying Checklist
Use this checklist before ordering:
Wall + installation
· Studs can be found; many are commonly 16 inches apart (Source: The Home Depot).
· Plan to hit at least one stud, or use quality anchors/toggle bolts where studs don’t align (Source: Signature Hardware).
Size + comfort
· Depth is appropriate; many cabinets are around 4–5 inches deep (Source: Simple Project US).
· Door swing clears lights, walls, towel rings, and traffic flow.
Placement
· Mirror height won’t be uncomfortably high; consider the 40-inch bottom-of-reflective-surface reference above countertops (Source: 2010 ADA Standards 603.3).
Humidity durability
· Bathroom RH ideally stays 30–50% and below 60% (Source: EPA).
· Hardware is corrosion-resistant; finish is sealed and bathroom-appropriate.
If electrical features are included
· Product is suitable for damp environments (condensation/humidity) (Source: DMF Lighting; Green Creative).

Conclusion
Choosing a surface mount medicine cabinet for easy installation is mostly about planning for the wall you have and the routine you live. Start with stud alignment and smart anchoring, pick a depth that doesn’t crowd the sink zone, verify door clearance, and prioritize humidity-resistant materials. If the cabinet includes lighting or outlets, confirm damp-location suitability. Get those fundamentals right, and the cabinet will feel like a clean, high-function upgrade—not a DIY compromise.
If you tell me your vanity width (e.g., 30", 36", 48"), whether there are sconces beside the mirror, and the maximum depth you can tolerate, I can recommend an ideal cabinet size range and door configuration for that layout.


Leave a comment
This site is protected by hCaptcha and the hCaptcha Privacy Policy and Terms of Service apply.