


If you want to learn how to replace a bathroom vanity without damaging plumbing, the safest mindset is to treat the plumbing as the part you protect first and the cabinet as the part you change second. In real bathrooms, most vanity replacement problems do not start with the new cabinet. They start when someone rushes the disconnect, forces the old vanity loose, or assumes the new one will line up perfectly with the existing drain and shutoff valves. According to Houzz, 84% of homeowners hire professionals for bathroom renovations, which says a lot about how quickly bathroom work can become more technical than it looks.
A vanity swap is usually very manageable when the new unit goes in the same location, uses a similar sink position, and does not require moving supply lines or the drain. It gets harder when the vanity changes width, depth, height, or drawer layout. Manufacturer guidance follows that logic too: Kohler’s rough-in documentation assumes water supply and drain lines are already in place before the vanity is installed, and Signature Hardware’s installation guidance does the same.
How to Replace a Bathroom Vanity Without Damaging Plumbing: Start With the Right Setup
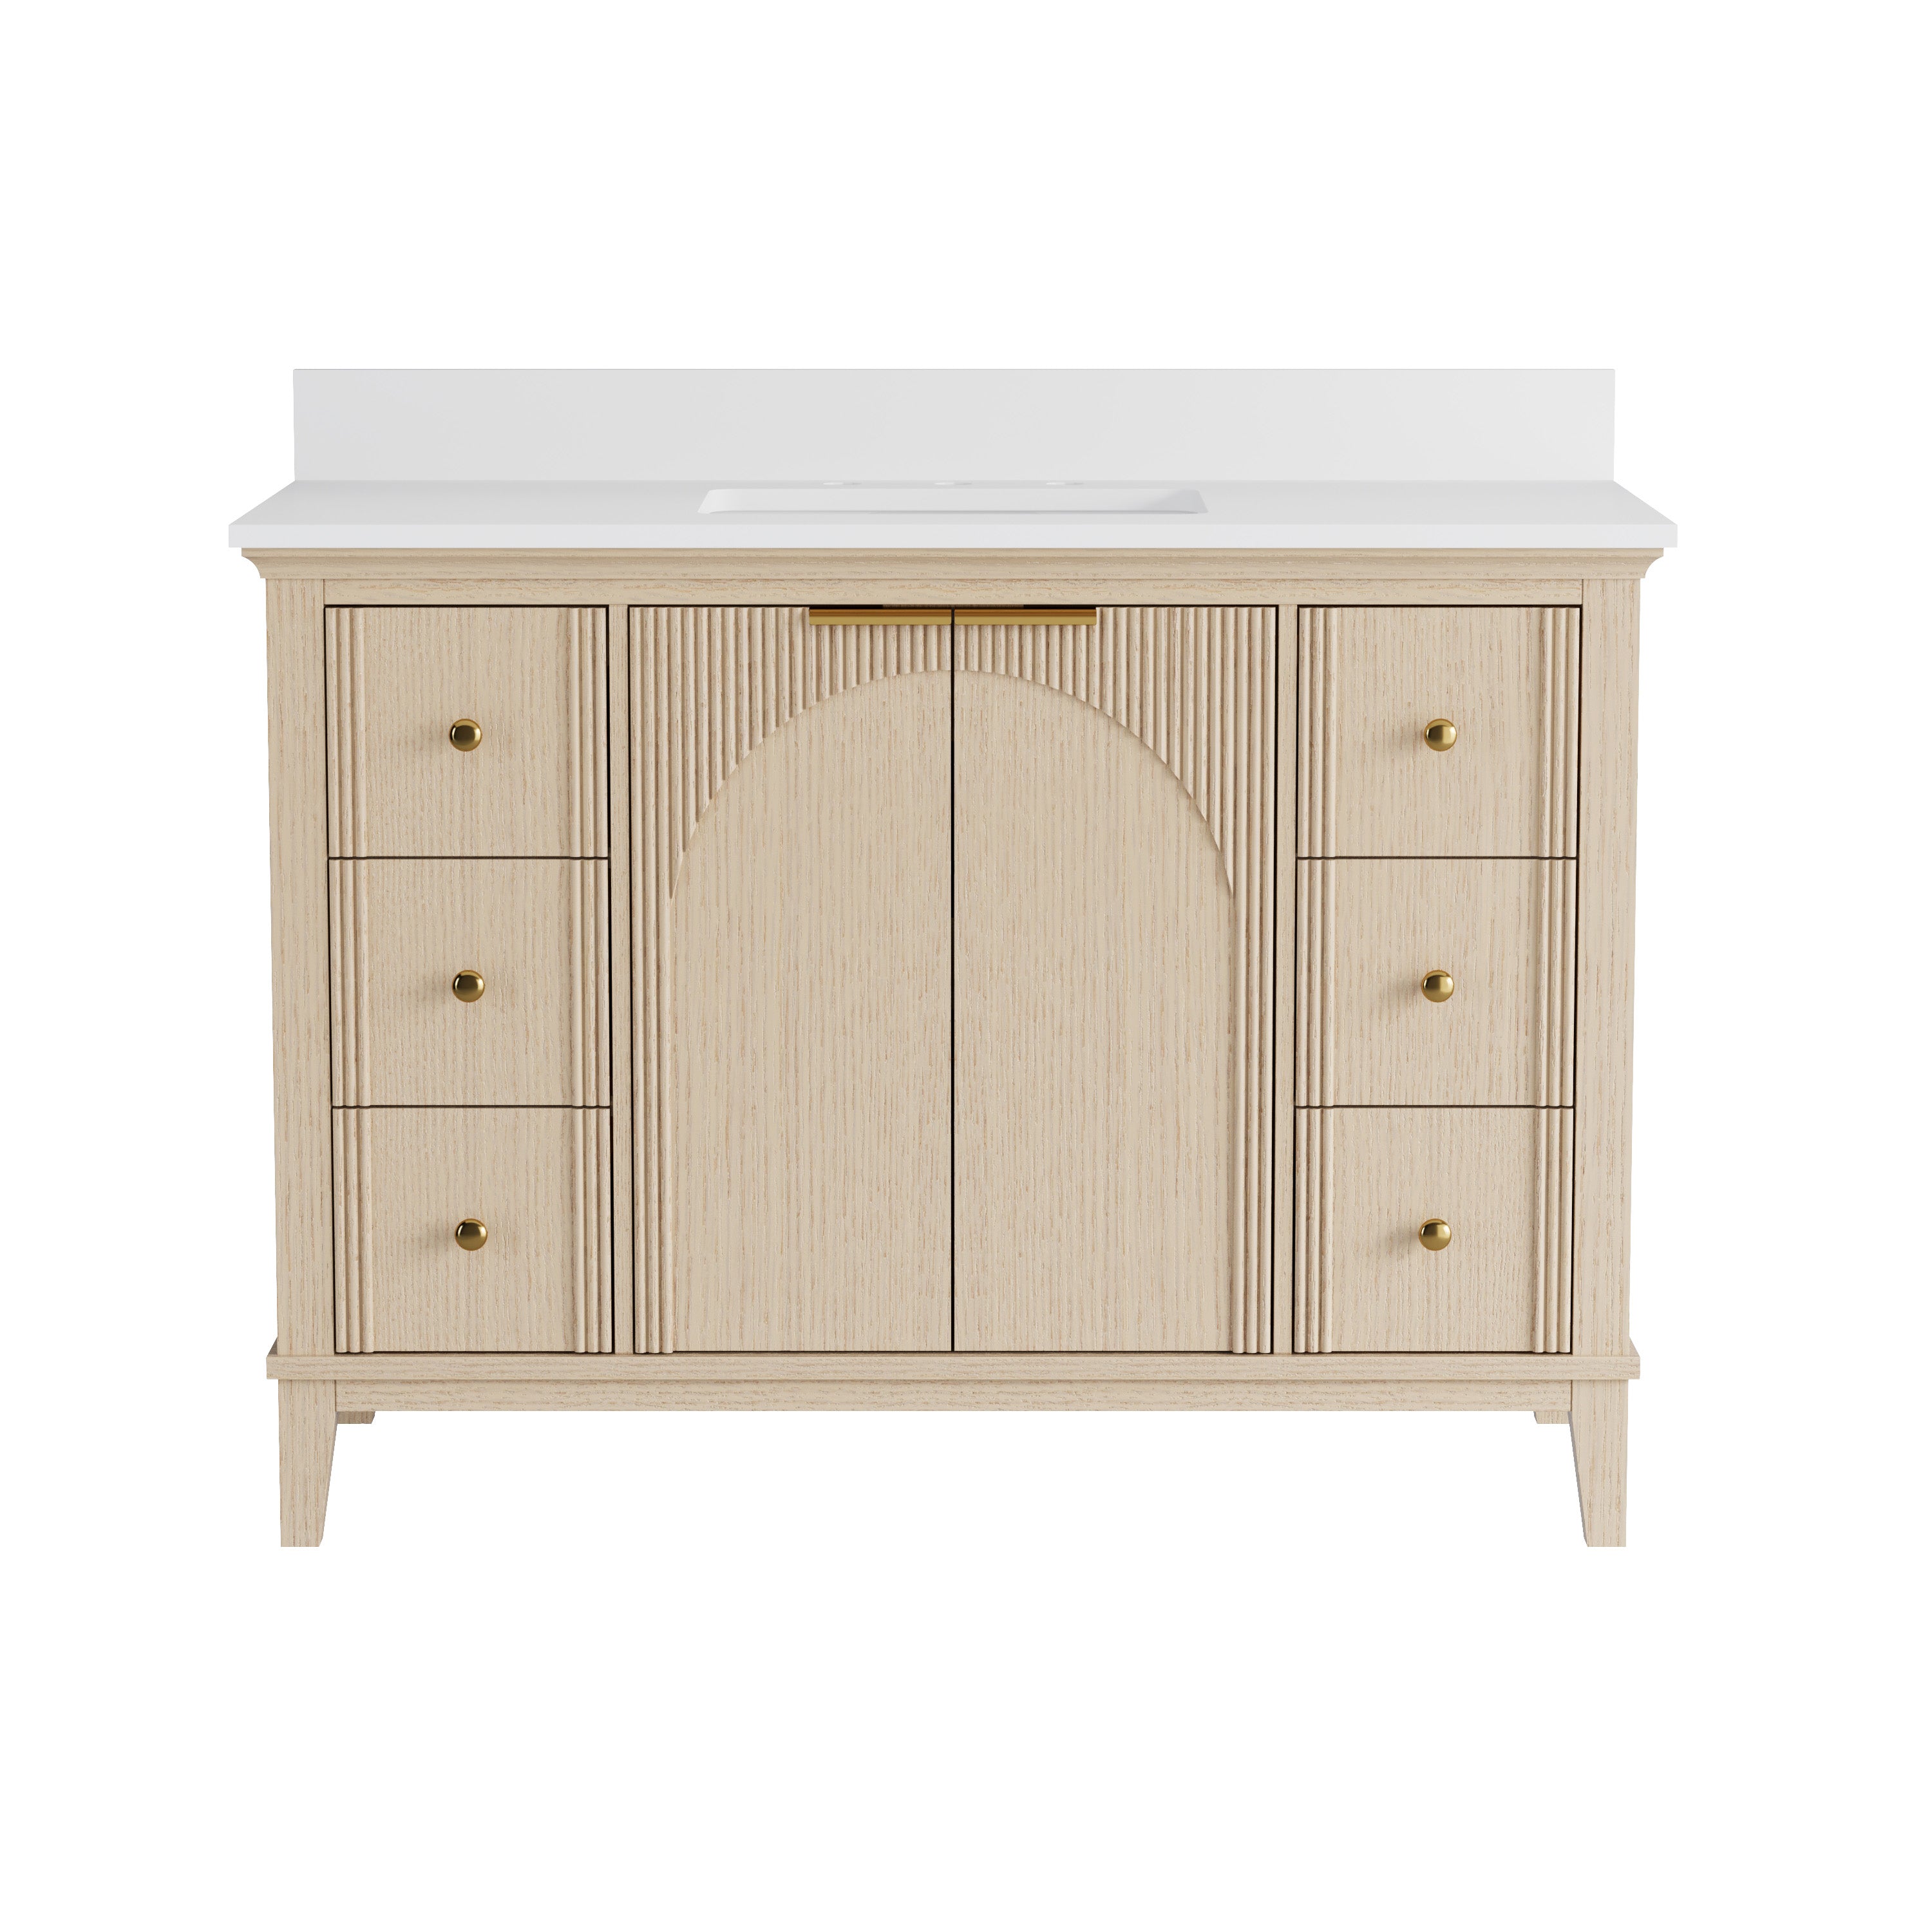
The easiest replacement is a freestanding vanity that closely matches the old one. Same rough size. Same drain location. Same faucet center. If you are trying to keep the plumbing untouched, that is the sweet spot. A bigger change can still work, but you need to think through the cabinet back, drawer box clearance, countertop overhang, and whether the shutoff valves will still be accessible once the new vanity is in place.
Before you touch anything, gather a tape measure, adjustable wrench, pliers, bucket, towels, utility knife, drill/driver, level, shims, caulk, and a stud finder. Lowe’s and other installation guides consistently treat vanity installation as an intermediate DIY project rather than a beginner one, which feels accurate to me. It is not complicated because the steps are mysterious. It is complicated because several small mistakes can stack up fast.
Shut off the water first. Then open the faucet to relieve pressure and place a bucket under the P-trap before disconnecting anything. I always suggest taking a quick photo of the plumbing setup before removal. It gives you a reference if the supply lines, trap orientation, or drain height start to feel less obvious halfway through the job. That is not in every guide, but it is one of those simple habits that saves time. The official steps are consistent: disconnect supply lines, disconnect the drain, and remove the old unit carefully rather than prying it loose blindly.
Step by Step: Remove, Test-Fit, and Reconnect Without Stressing the Pipes
Once the water is off, score the caulk line where the vanity top or backsplash meets the wall. If the old cabinet is screwed to the wall, back those screws out before trying to move anything. This is where people crack supply valves or strain the drain arm: they tug the cabinet forward while some part of it is still fastened or sealed in place. Move slowly. If the vanity feels stuck, it usually is.
(Source: The Home Depot)
After the old vanity is out, stop and inspect the plumbing before bringing the new one in. Look for corrosion at the shutoff valves, stress on the trap joints, stains inside the wall opening, and any evidence that the drain arm sits too high or too low for the new cabinet. If the new vanity has a solid back, Signature Hardware specifically advises marking and drilling holes for the drain and supply lines rather than forcing the cabinet around them. That single step prevents a lot of damaged pipes and ugly oversize cutouts.
Dry-fit the new vanity before cutting or fastening anything. Set it in place, check the plumbing alignment, and make sure the cabinet clears the shutoff valves and trap without pressure. Then check level side to side and front to back. Lowe’s vanity-top instructions and The Home Depot’s installation guide both emphasize leveling the vanity cabinet before securing it and before final top placement. That matters. If the cabinet sits twisted, the drain alignment can shift just enough to put strain on the plumbing once everything is tightened.
When the cabinet is sitting properly, find the studs and secure it to the wall through the designated mounting rail or back rail. Signature Hardware says to locate and mark studs before fastening the vanity, and IKEA’s wall guide makes the same broader point: fasteners need to match the wall type, and wall support should never be guessed.
Now trial-fit the vanity top. Do not glue it down yet. Lowe’s installation instructions specifically call for trial fitting the top after the cabinet is level and secured, and that sequence is the right one. If the top is not sitting flat or the faucet holes do not line up the way you expected, you want to know before sealant is involved. It is also usually easier to install the faucet and drain assembly before the top is permanently set.
Common Mistakes That Damage Plumbing During a Vanity Replacement
The first is pulling the old vanity out before the drain and supply lines are fully disconnected. The second is cutting giant holes in the back panel because the measurements were rushed. The third is forcing the new cabinet against plumbing that does not quite line up instead of stopping to trim the back properly or reassess the fit.
Another common mistake is overtightening drain and supply connections during reassembly. Lowe’s vanity-top instructions warn against overtightening drain components because it can damage the finish, and the general lesson applies broadly: plumbing connections should be snug and leak-free, not cranked down out of anxiety. Slow, staged tightening and repeated leak checks are much safer than brute force.
Final Fitting, Leak Checks, and Keeping the New Vanity Healthy
Once the top is installed and sealed, reconnect the drain and water lines carefully. Turn the shutoff valves back on slowly, then watch every connection while the faucet runs and the sink drains. Do not do one quick glance and declare victory. I like to run the water, stop it, drain the basin, and then check again a few minutes later. Slow drips hide well.
This kind of replacement is a strong DIY project when the room is in good shape and the new vanity is close to the old one in configuration. It is a weaker DIY candidate when the wall needs repair, the shutoff valves are questionable, the drain must move, or the new vanity is wall-hung and demands structural reinforcement. That is where a “simple replacement” quietly becomes plumbing or carpentry work.
Buying Advice Before You Choose the Replacement Vanity
If your main goal is replacing the vanity without disturbing the plumbing, buy for alignment first. Match the sink position as closely as possible. Check the cabinet interior, not just the exterior dimensions. Make sure the new back panel and drawer layout leave room for the existing drain and shutoff valves. A vanity that looks better but fights the plumbing is not the smarter choice.
After installation, maintenance is simple: keep the caulk line clean, wipe standing water, and do not let a small drip go uninvestigated. Most vanity damage starts quietly. The plumbing survives best when it is left unstressed, accessible, and dry.

Conclusion
The cleanest vanity replacements are the ones where the plumbing barely knows a remodel happened. That usually comes down to shutting the water off early, disconnecting carefully, removing the old cabinet without force, dry-fitting the new vanity before cutting, and reconnecting everything with patience instead of pressure.
(Source: The Home Depot)
(Source: Signature Hardware)
That is the practical answer to how to replace a bathroom vanity without damaging plumbing. If you choose a Wellfor vanity that respects the existing layout and you treat the supply lines and drain assembly like finished components rather than rough framing, the project can go smoothly. If the plumbing starts asking for more than a careful reconnect, that is usually the moment to stop treating it like a vanity swap and start treating it like real plumbing work.


Leave a comment
This site is protected by hCaptcha and the hCaptcha Privacy Policy and Terms of Service apply.