


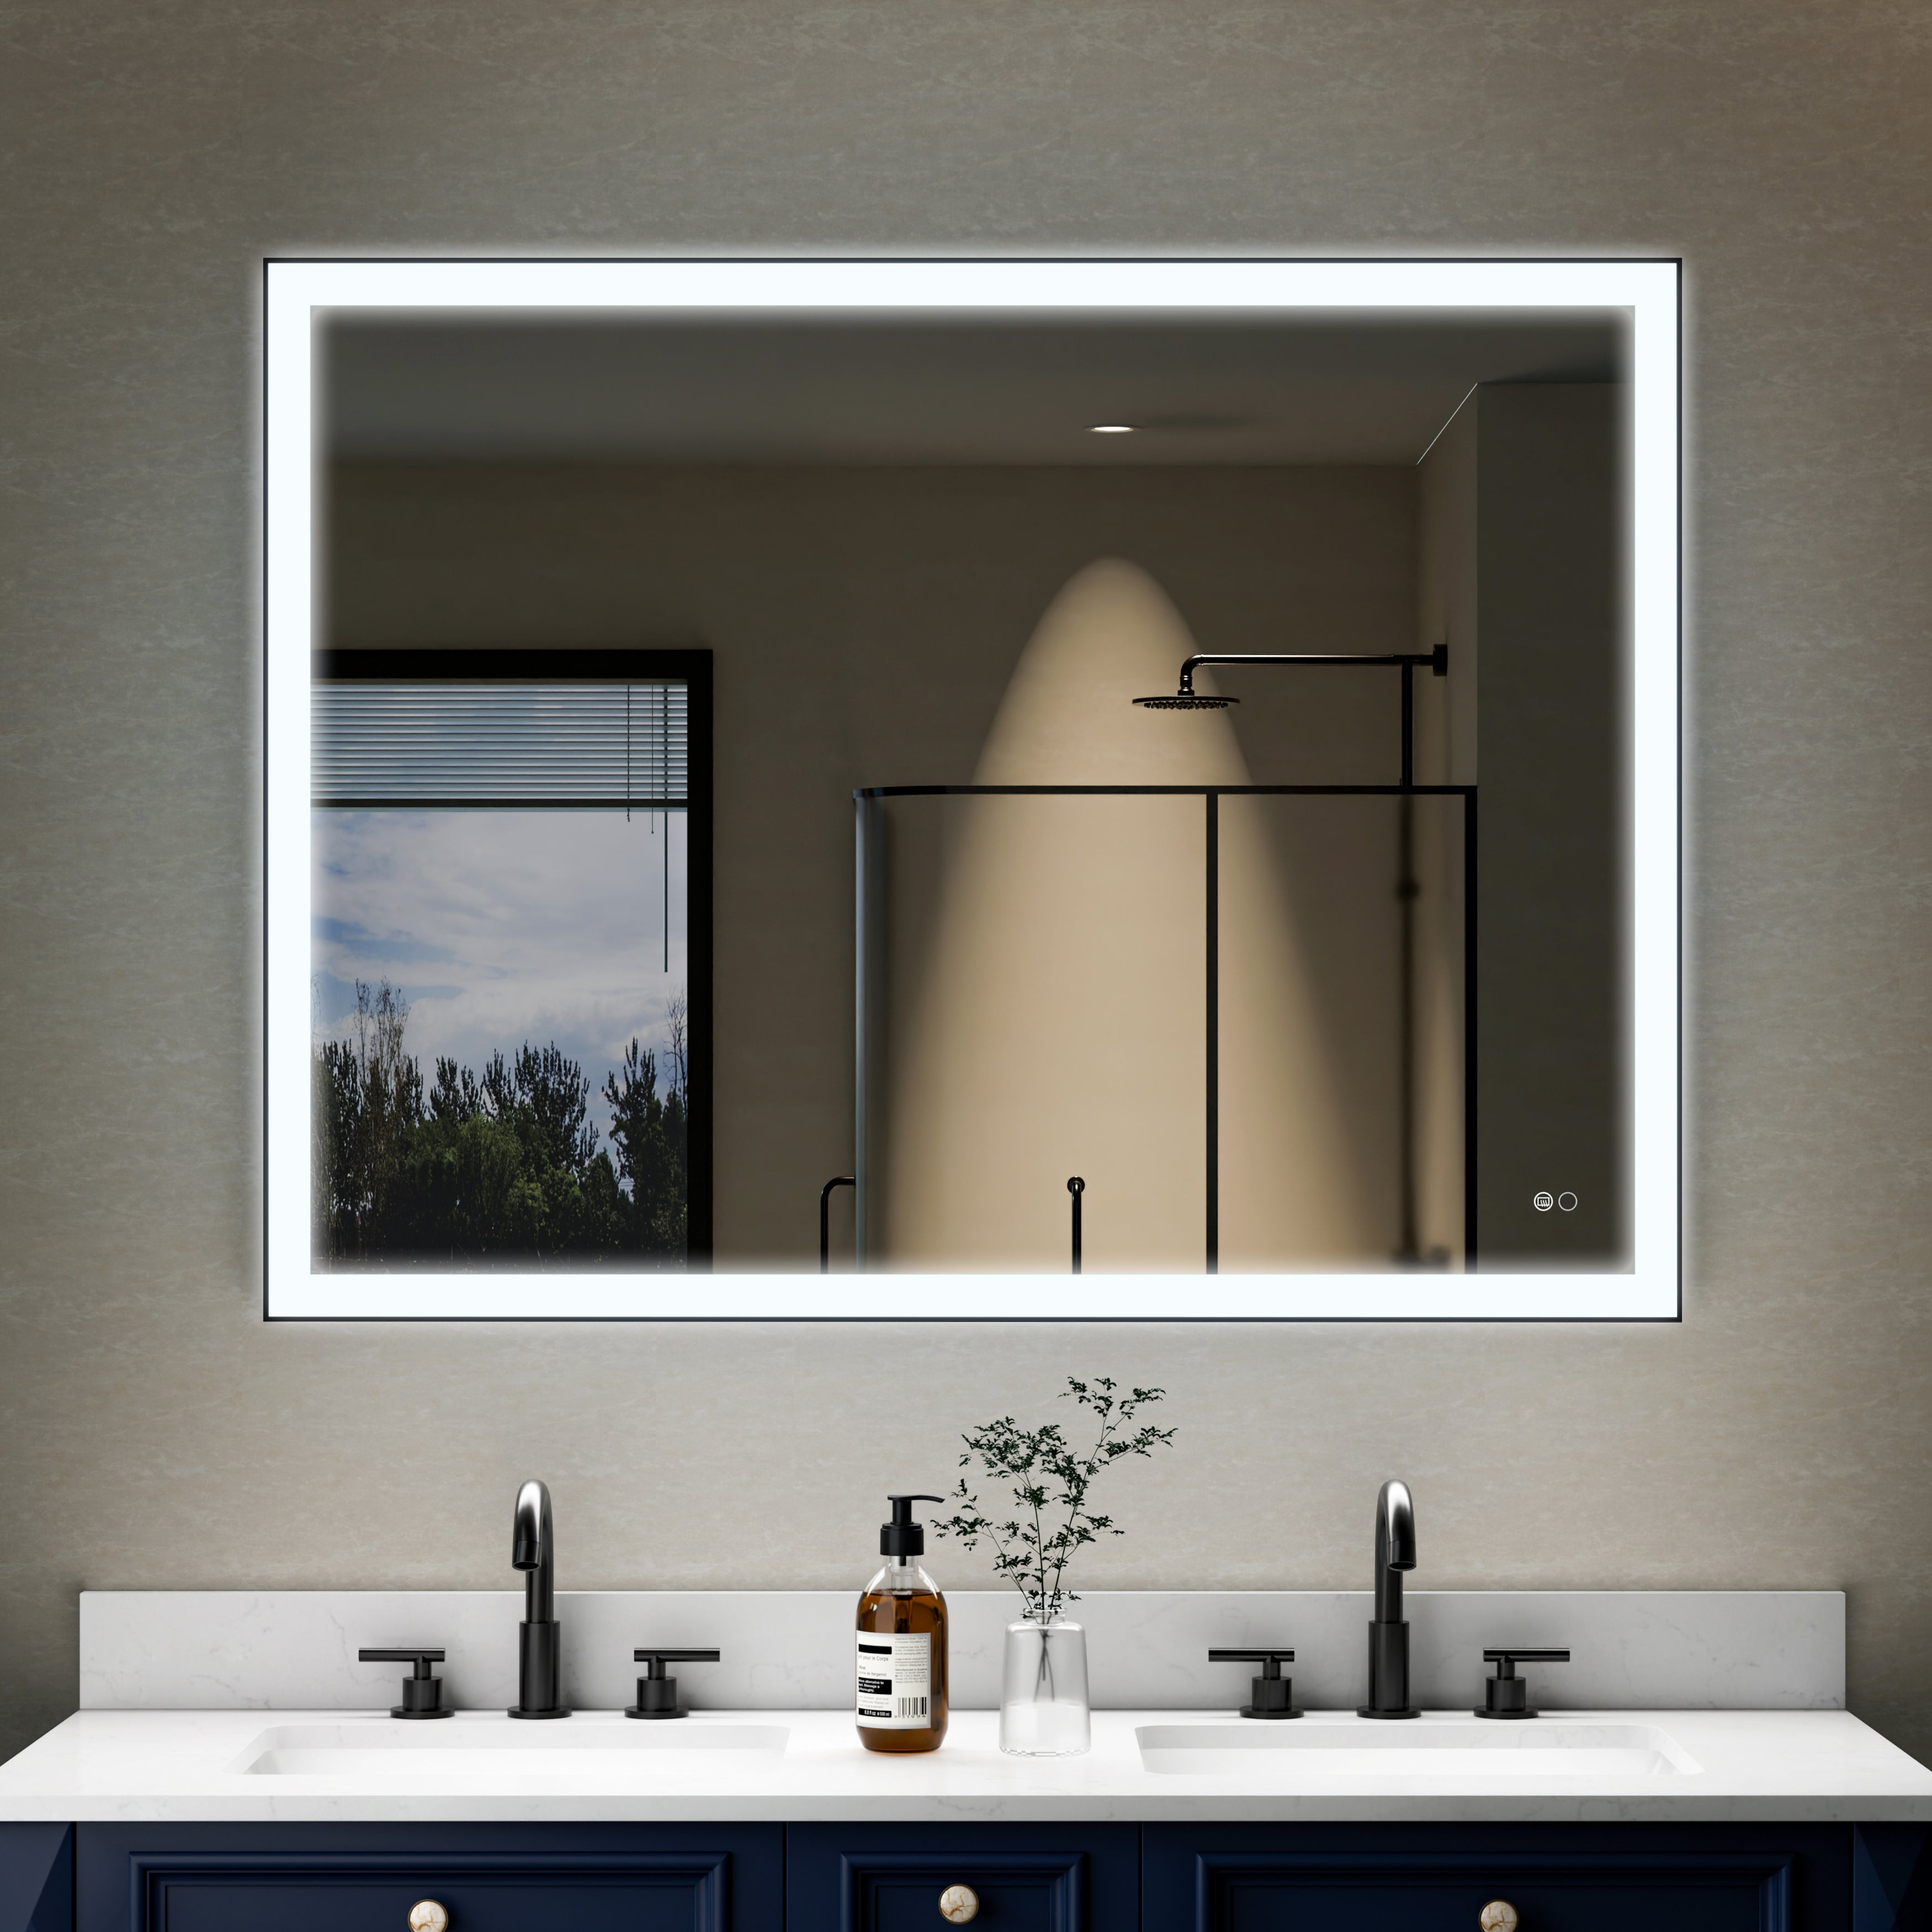
In modern bathroom decoration, shower sliding doors have become the first choice for many families due to their space-saving design, simple appearance, and strong practicality. Compared with traditional opening and closing shower doors, sliding doors are not only beautiful but also more suitable for small bathroom environments. However, many people often feel at a loss when faced with installation problems. As long as you master the correct methods and processes, installing shower sliding doors is not complicated, and you can even do it yourself. This article will guide you through the process of quickly and cleanly installing sliding shower doors, from preparation work to installation steps and precautions.
1. Preparation before installation
Before installation, adequate preparation is the first step to ensure a smooth construction process. You need to prepare the following tools and materials:
- Tape measure, level, marker
- Electric drill (with appropriate drill bit)
- Screwdriver, rubber hammer
- Glassdoor slide and door body
- Waterproof glue, sealing strip
Installation instructions (usually included in the product packaging)
At the same time, you must first confirm the following points:
- Wall material and load-bearing capacity: The sliding shower door must be securely fixed to both the wall and the floor. Ensure that the installation area is a solid tile or concrete wall to prevent hollowing or looseness.
- Opening size: Use a tape measure to accurately measure the width and height of the shower room and confirm that the slide size matches the glass door size.
- Clean the installation area: Ensure the floor and walls are clean, dry, and oil-free, allowing the sealing strip and waterproof glue to adhere more firmly.

2. Installation steps of the sliding shower door
1) Install the bottom rail
First, mark the bottom of the shower area according to the measurement data and install the lower slide rail. It should be noted that the horizontality of the bottom rail is very critical. A slight tilt will directly affect the smoothness of the glass door's sliding motion. After making precise adjustments with a level, use waterproof glue to secure the bottom rail to the ground.
2) Fix the side wall rails
Next, install the vertical rails on the left and right walls. First, place the rails against the wall and use a marker to mark the screw hole positions on the wall. Use an electric drill to drill holes, insert expansion tubes, and then fix the side rails with screws.
This step also requires accurate verticality; otherwise, the glass door will become loose or stuck.
3) Install the upper rail
Align the upper rail with the top of the vertical rails on both sides and fix them. This rail will bear part of the weight of the door body, so it must be tightened securely. Before installation, you can test and assemble it to ensure that it is correct before proceeding with the formal installation.
4) Install the glass door leaf
Place the glass door on the lower slide rail and hang it in the pulley groove of the upper slide rail. Depending on the product, it may be divided into two parts: a fixed glass panel and a movable door. Please distinguish between the left and right directions according to the instructions, and adjust the pulleys to ensure the door slides smoothly.
Some pulleys also have a spring buffering function; at this time, the door body can be slightly lifted up and then stuck into the track.
5) Install limiters and anti-collision strips
To prevent the glass door from sliding too far, it is necessary to install limiters in the upper track to ensure that the door body slides within the specified range. At the same time, anti-collision strips and magnetic strips are installed at the joints of the door body to enhance the sealing and stability when closing.
6) Sealing treatment
Finally, use transparent, waterproof silicone to seal the area around the track and the contact between the glass and the wall, preventing water vapour from penetrating the gaps in the wall or floor. It is recommended to let the glue stand for 24 hours after application and wait for it to dry completely before use.
3. Common problems and solutions during installation
1) The door body does not slide smoothly
Reason: The track is not level, or the pulley is loose.
Solution: Re-adjust the height of the bottom track or pulley to ensure that the track is smooth and unobstructed.
2) Water leakage occurs
Reason: The sealing strip is not tight, or the waterproof glue is not in place.
Solution: Check whether the sealing position is close to the wall, and re-glue if necessary.
3) The glass door is not installed flat
Reason: The upper or lower rails are not aligned.
Solution: Use a level to check whether the rails are skewed, and reposition and adjust them as needed.
4.Advantages of sliding shower door installation
Compared with traditional open-door shower rooms, sliding doors show the following advantages after installation:
Space-saving: Sliding doors do not require extra space, making them especially suitable for narrow bathrooms.
- Visual beauty: No redundant structure, smooth lines, and enhance the overall beauty.
- Strong safety: Tempered glass and explosion-proof film are used, ensuring a safer product.
- Easy to clean: The slide rails and glass are straightforward, with no hard-to-reach areas for cleaning.
5. Summary
The installation process of the sliding shower door may seem complicated. Still, as long as you follow the steps and pay attention to the details, the actual operation is not complex. It not only enhances the modernity and practicality of the bathroom but is also loved by more and more families because of its advantages, such as saving space and easy cleaning.
If you are considering installing a sliding shower door yourself, please refer to this guide to ensure a high-quality installation in the simplest way possible. Not only will you save on high labour costs, but you will also experience the sense of accomplishment that comes with doing it yourself and giving your bathroom a brand-new look.


Leave a comment
This site is protected by hCaptcha and the hCaptcha Privacy Policy and Terms of Service apply.