


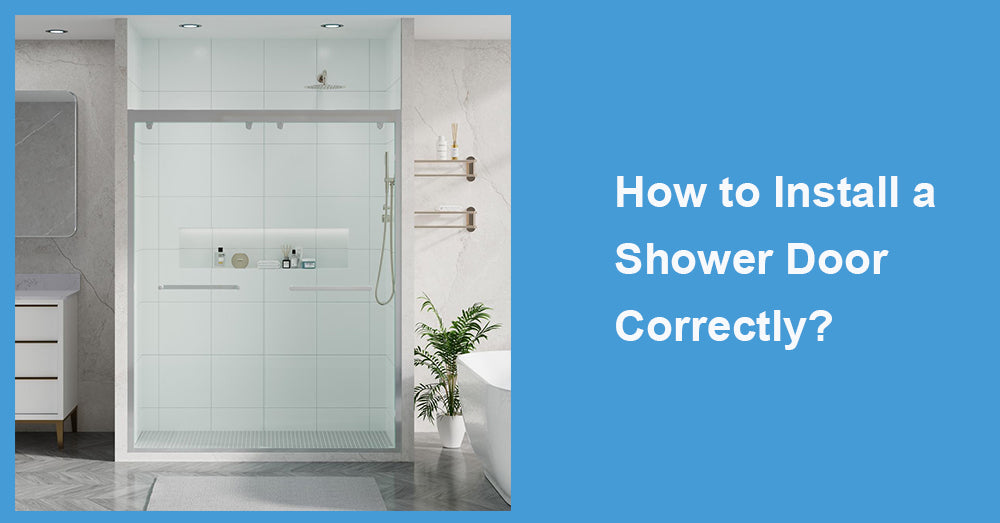
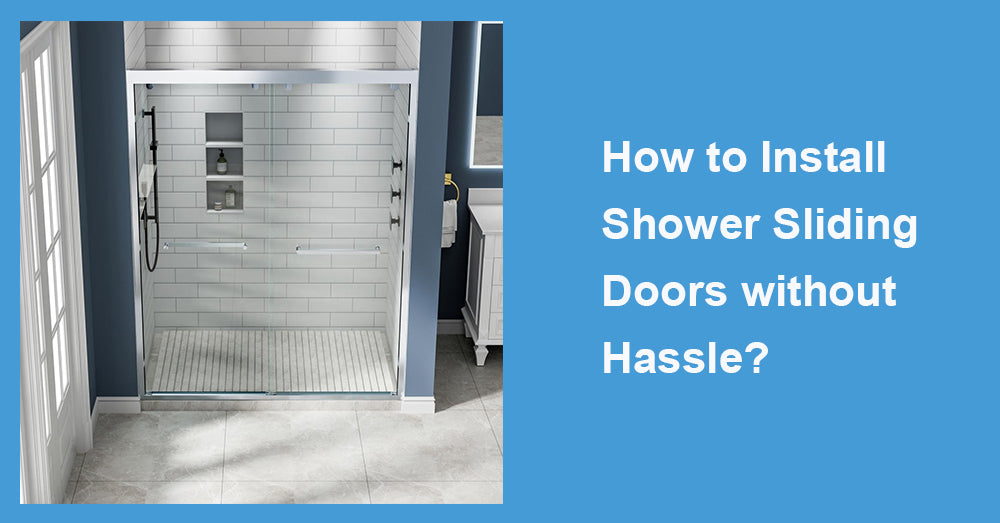
In modern bathroom spaces, the shower door serves not only as a functional partition but also as an essential element that reflects the overall design style and the level of construction technology. Whether it is a sliding door, a hinged door, or a frameless glass door, the accuracy of installation directly affects its service life, safety, and aesthetics. Therefore, mastering the correct shower door installation method is crucial for decoration companies, construction personnel and users with DIY needs.
This article will share a set of professional and practical shower door installation suggestions, covering five key aspects: preliminary preparation, material selection points, installation process, precautions and solutions to common problems to help you achieve high-quality and flawless shower door effects.
1. Preliminary preparation: lay a good foundation for installation
1) Accurately measure the space size.
Before installation, use a level and tape measure to accurately measure the installation position. Key dimensions include:
- Wall-to-wall width (error must not exceed ±2mm)
- Verticality between floor and ceiling
- Verticality and flatness of the wall
For custom shower doors, the measurement accuracy directly determines whether the door size matches, which in turn affects the sealing effect and smoothness of sliding.
2) Evaluate the material of the installation wall
If the wall is a tile or stone surface, a glass-specific drill bit must be used to drill holes to avoid cracking. If it is a gypsum board or a hollow wall, a keel support structure must be installed first to ensure installation strength.
2. Material selection suggestions: Use the right material to get twice the result with half the effort
1) Choose high-quality tempered glass.
High-quality shower doors should utilise tempered glass with a thickness of more than 6mm and pass safety certifications, such as CCC, with a low self-explosion rate, explosion-proof film support, and other safety guarantees.
2) The quality of hardware should be reliable.
It is recommended to choose hardware made of 304 stainless steel or aviation-grade aluminium, which has the characteristics of rust prevention, corrosion resistance, and a strong load-bearing capacity. Rollers and guide rails should be designed to be both silent and wear-resistant, thereby extending their service life.
3) Give priority to products with waterproof structures.
Details such as sealing strips, splash-proof design, and lower guide rail drains also need to be paid attention to, which are directly related to the dry-wet separation effect in later use.
3. Detailed explanation of the standard installation process
1) Marking and positioning
According to the design drawings or product instructions, accurately mark the installation holes on the wall. It is recommended to use a level to calibrate the horizontal and vertical to avoid tilting the door body.
2) Punching and installing the bottom rail/frame
After drilling with an impact drill, insert expansion screws to fix the bottom rail or frame to the wall and the ground. Note that the waterproof glue should be evenly applied before installation to prevent water leakage.
3) Install the door glass
Place the glass door vertically into the track, ensuring the lower rail is inserted into the slot, and verify that the door body is perpendicular to the ground. If it is a hinged door, you need to fix the hinge first and then install the glass.
4) Install hardware and sealing strips
Install handles, pulls, pulley systems, buffer devices, and other components in sequence. The sealing strips must fit tightly to ensure that there is no water leakage between opening and closing.
5) Debugging and inspection
Open the sliding door several times to check whether it runs smoothly and whether there is any jamming or shaking. At the same time, check whether the edges of the glass fit the frame evenly to ensure a seamless aesthetic.
4. Key points
- The glass cannot directly contact the hard ground: rubber pads or foam should be placed to prevent corners from bursting.
- Be sure to use waterproof glue to seal the holes: prevent water vapor from penetrating the wall and causing mold and looseness.
- Avoid using within 24 hours after installation: give the waterproof glue and structural glue sufficient curing time.
- The center of gravity of the door is symmetrical to prevent displacement: if one side is found to be heavy, the hanging wheel or support component should be adjusted.

5. Common Issues and Solutions
|
Problem |
Likely Cause |
Solution |
|
Door is wobbly or uneven |
Uneven walls or improper leveling |
Recheck wall alignment and relevel the track |
|
Door doesn't slide smoothly |
Debris in track or worn rollers |
Clean the track or replace faulty hardware |
|
Water leakage |
Seals not fully attached |
Reinstall or replace sealing strips, check silicone application |
|
Glass breakage |
Poor quality glass or physical impact |
Use certified tempered glass with safety film |
6. Final Recommendations from the Pros
To achieve a truly flawless shower door installation, follow these three essential principles:
- Precision is everything: Even a few millimeters of error can lead to performance issues.
- Design with the layout in mind: Choose sliding, pivot, or frameless doors according to the space.
- Never ignore the details: Waterproofing, sealing, alignment, and finishing touches matter.
In today’s high-end bathroom design trends, a well-installed shower door not only enhances function but also elevates the ambience and resale value of your home. Whether you're working with a contractor or handling it yourself, these professional tips will help ensure that your shower door is as flawless as it is functional.


Leave a comment
This site is protected by hCaptcha and the hCaptcha Privacy Policy and Terms of Service apply.