


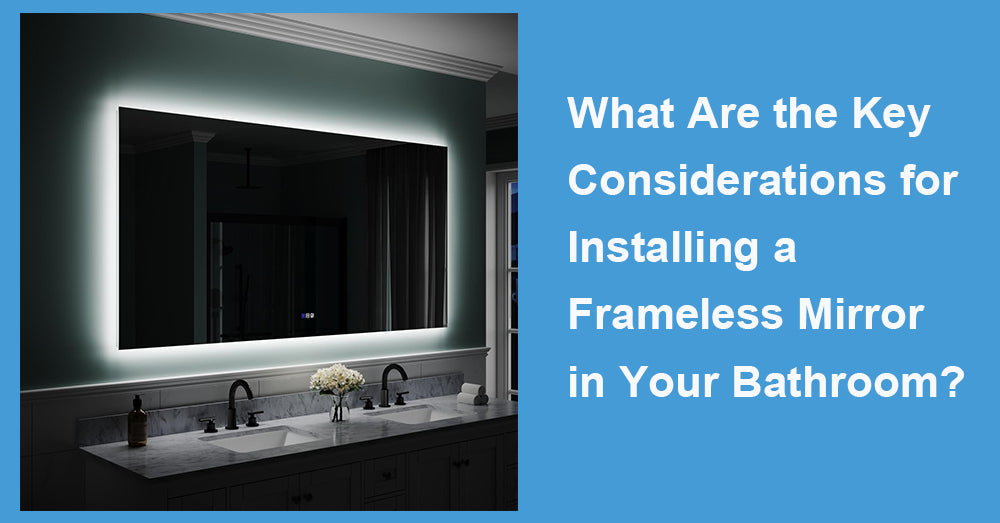
1. Introduction
A mirror is not only a practical component of any bathroom but also one of its key visual highlights. With its ability to reflect light and expand spatial perception, a well-placed mirror can completely transform a room’s ambience. Frameless mirrors—thanks to their clean, modern aesthetics—stand out as a superior alternative to traditional framed designs. Heavier in material, more refined at the edges, and more flexible in installation, frameless mirrors have become the go-to choice for upscale home renovations.
This guide will walk you through everything you need to know when installing a frameless mirror—from design planning and safety compliance to measurement, installation steps, cost analysis, and long-term care—helping you make informed decisions throughout your bathroom remodel.
2. Overview of Frameless Mirrors
Definition & Advantages
A frameless mirror is a mirror without a surrounding border or frame. Its edges are polished or bevelled for a smooth, seamless appearance that blends naturally with the wall. It eliminates visual clutter, making it ideal for a minimalist and contemporary design aesthetic.
Common Materials
· Standard glass mirror (1/4″ or ~6 mm thick): Weighs approx. 3.27 lb/ft². Ideal for small to medium-sized bathrooms.
· Thickened or ultra-clear glass (8–10 mm thick): Weighs up to 6.54 lb/ft². Provides sharper reflections and more premium appearance.
Custom Sizes & Shapes
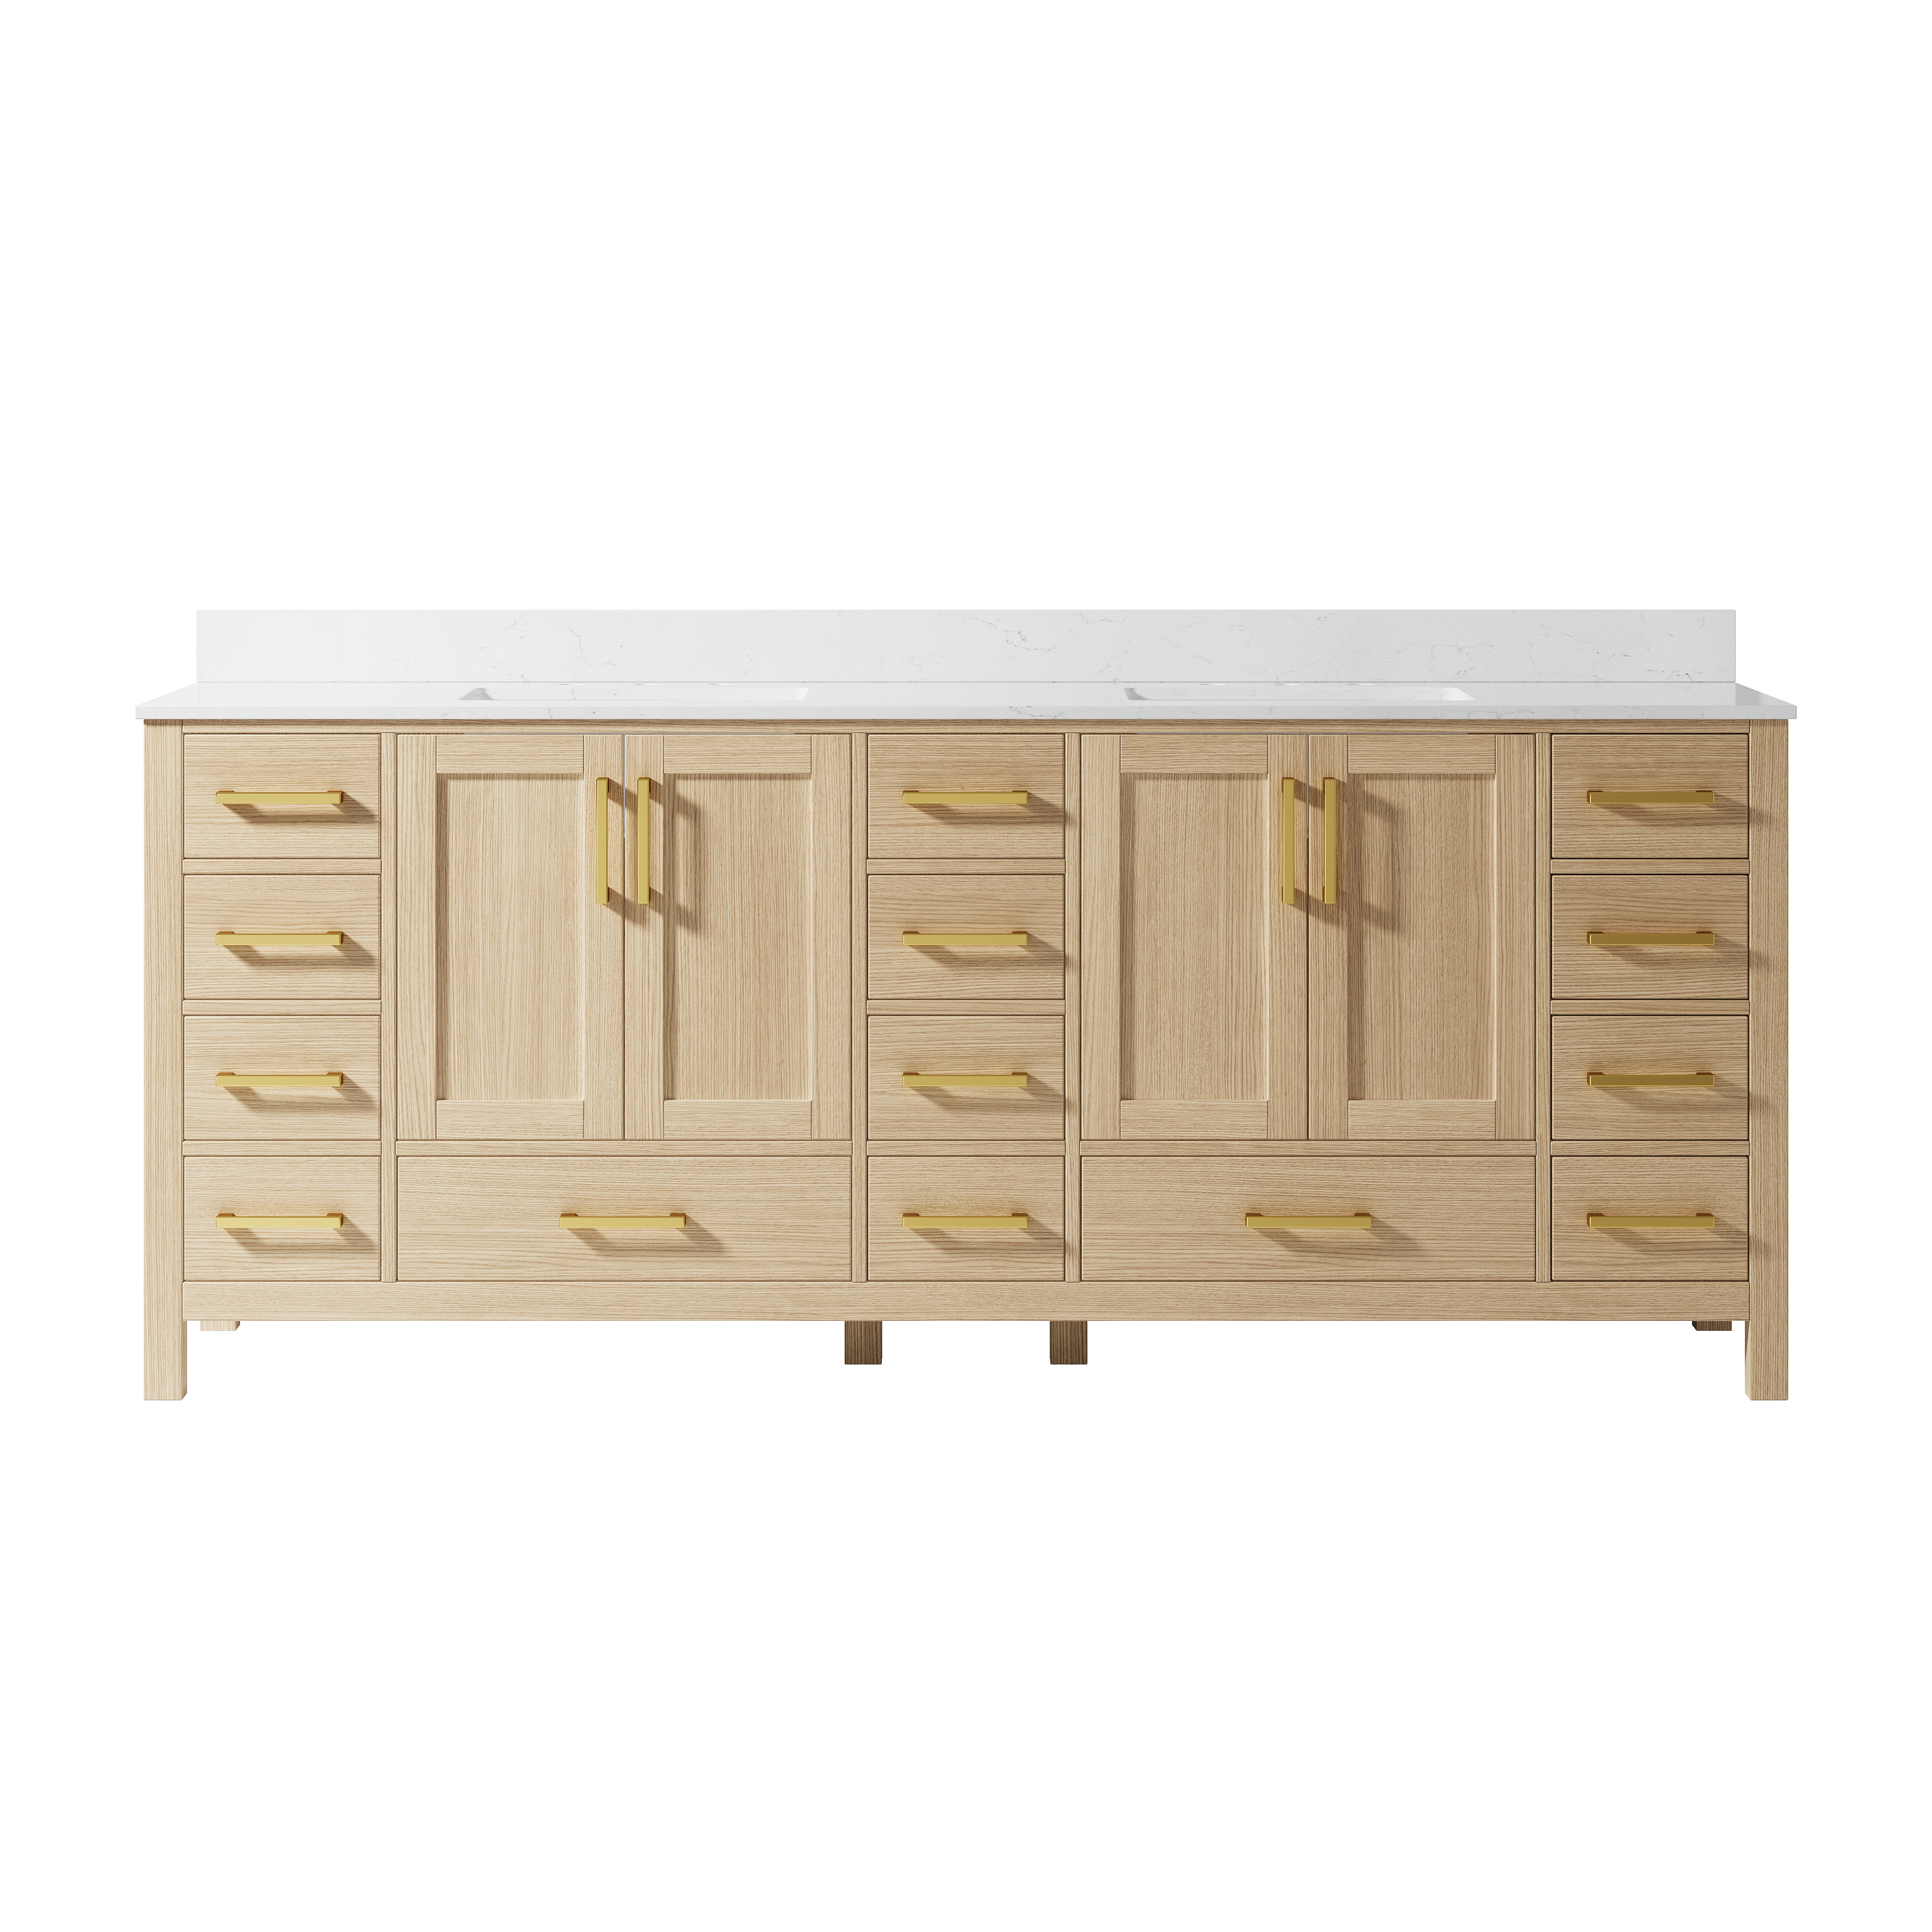
Standard sizes include 24″×30″ or 30″×36″, but mirrors can be custom-made to fit wall height or bathroom layout. Extra-wide options (up to 60″) can enhance the visual continuity across vanities.
Edge Finishes
· Flat polished edge: Clean and minimalistic
· Bevelled edge: Slightly angled cut for a more elegant touch
· Rounded/corner chamfering: Improves safety by reducing impact injury risk
3. Design & Functional Considerations
Space & Style Coordination
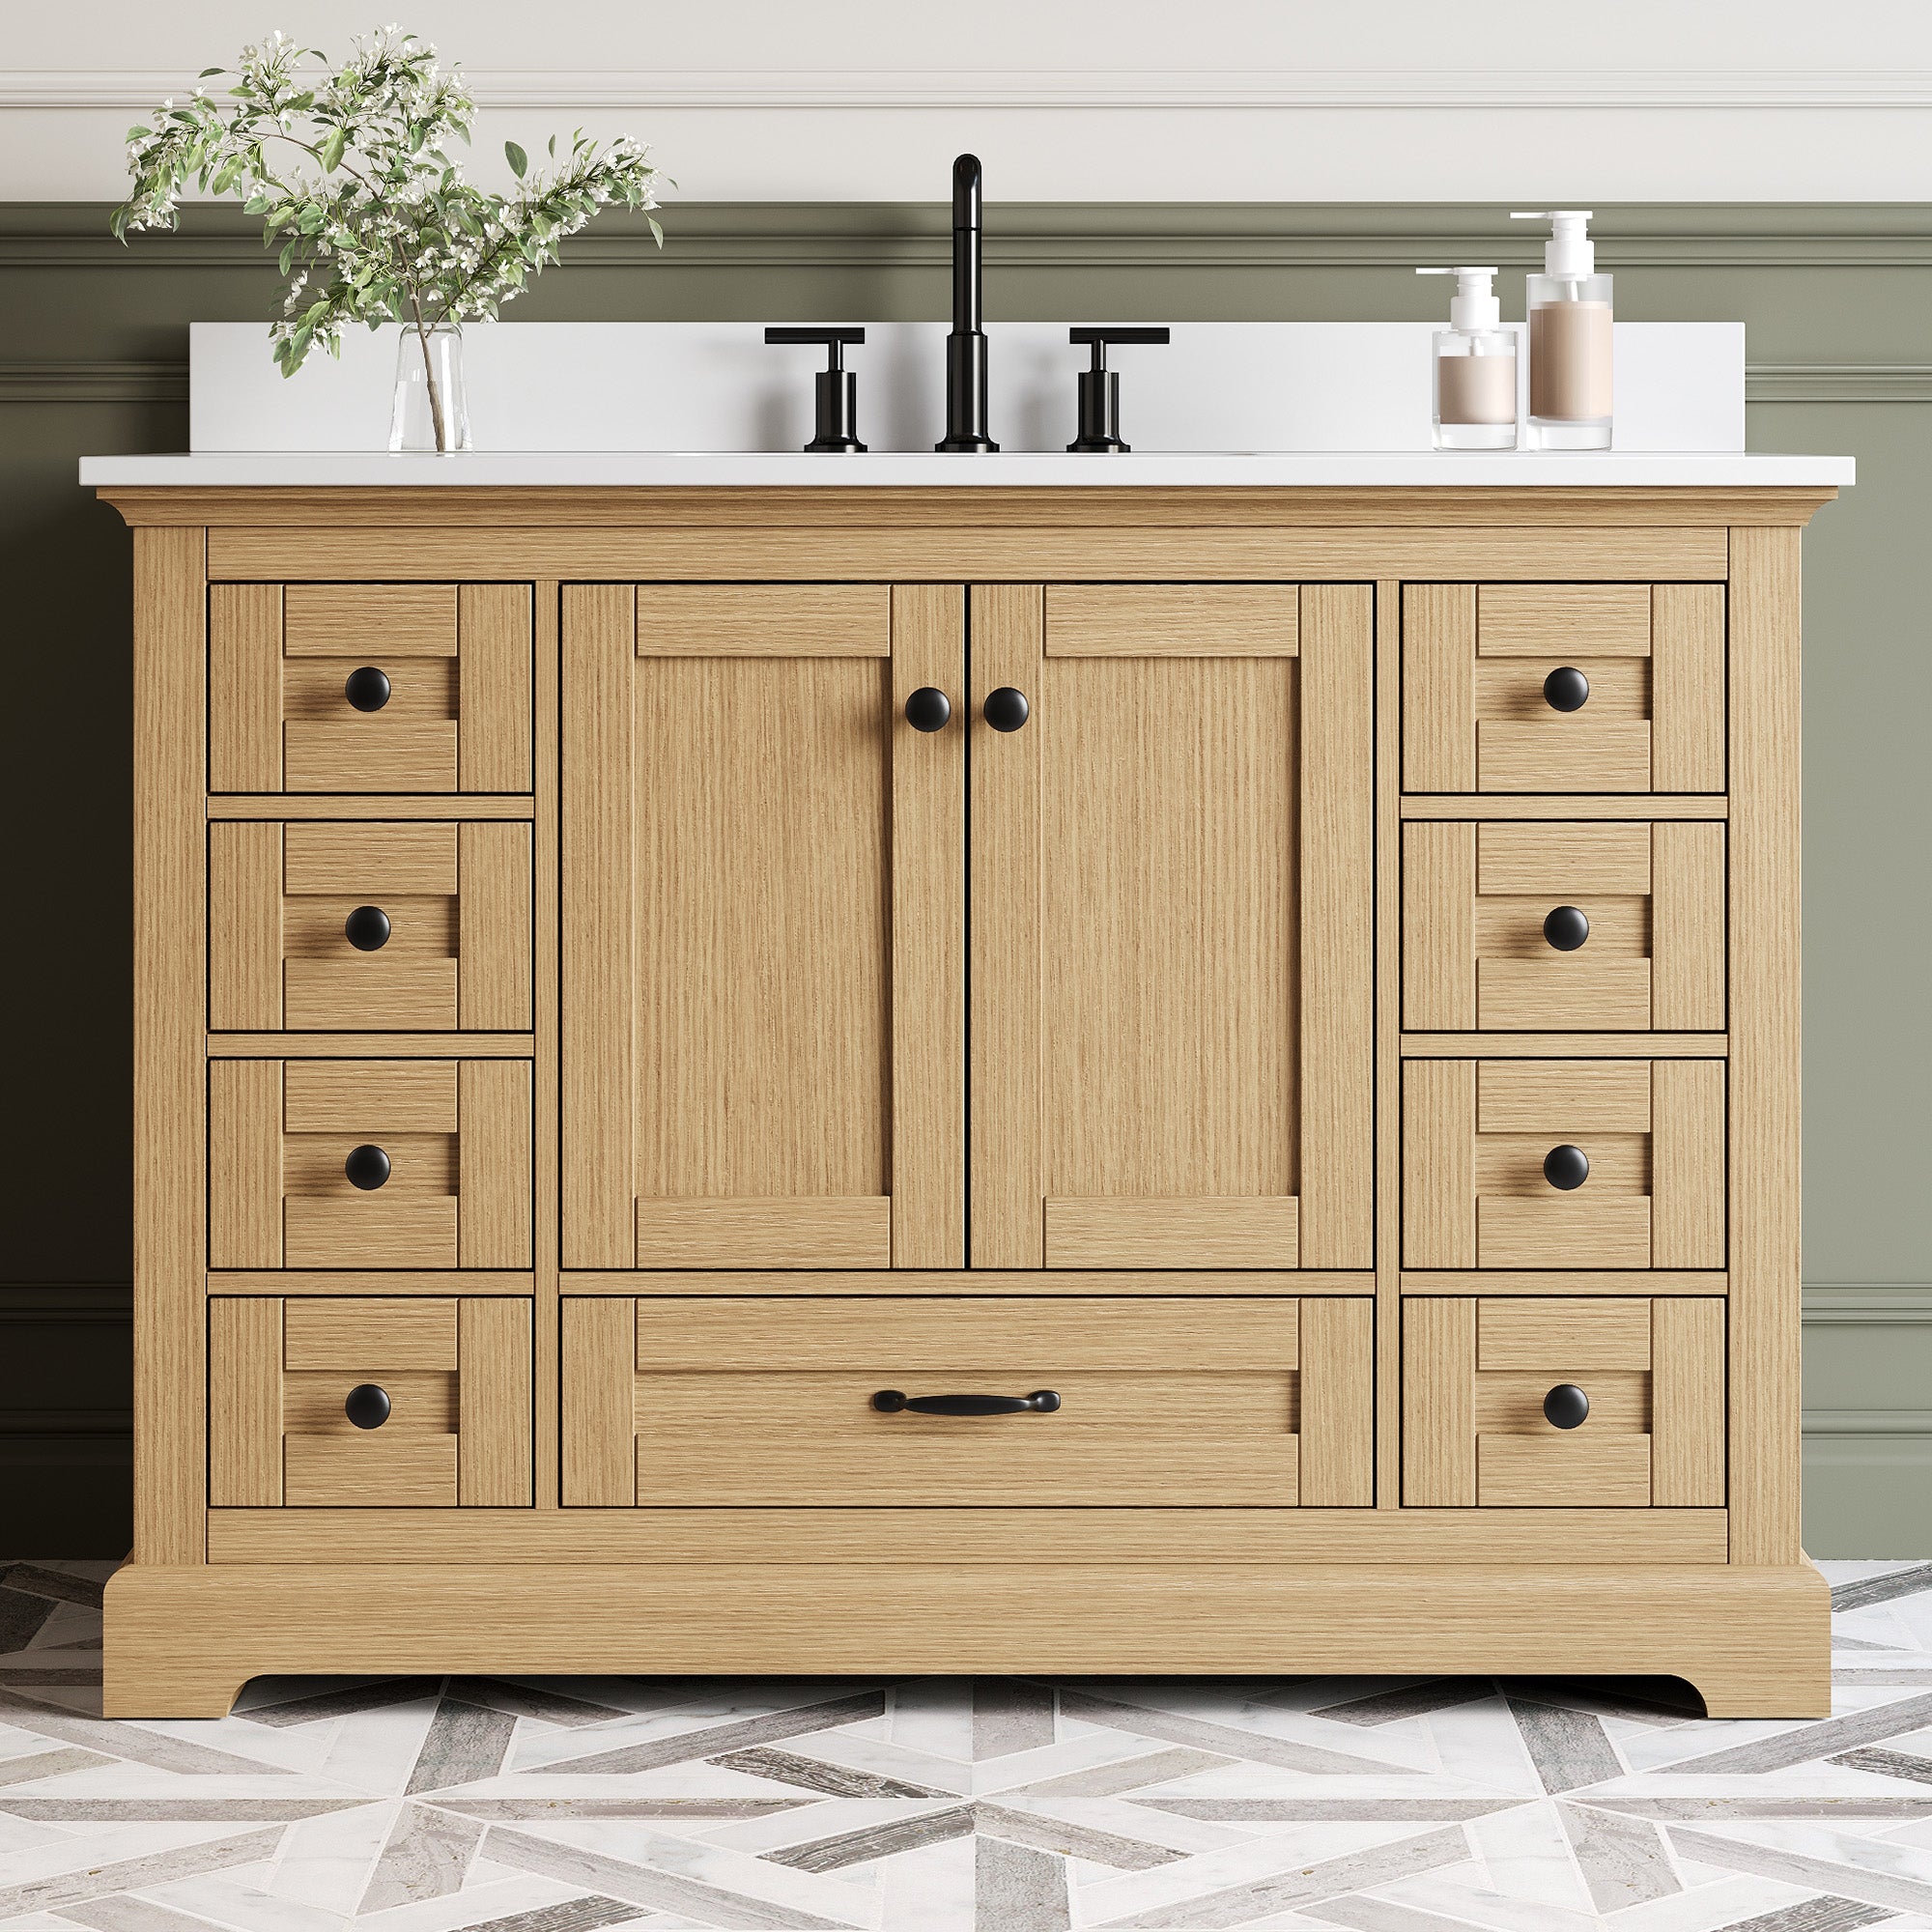
Place the mirror above the sink or along a vanity wall while maintaining alignment with nearby fixtures such as cabinets or sconces. Thin or borderless mirrors enhance openness and modern design by minimizing visual boundaries.
Height & User Comfort
The ideal centre height is typically 63–65 inches (160–165 cm) from the floor, accommodating users from 4′11″ to 6′2″. Leave about 4–6 inches (10–15 cm) between the bottom of the mirror and the vanity countertop for usability and aesthetics.
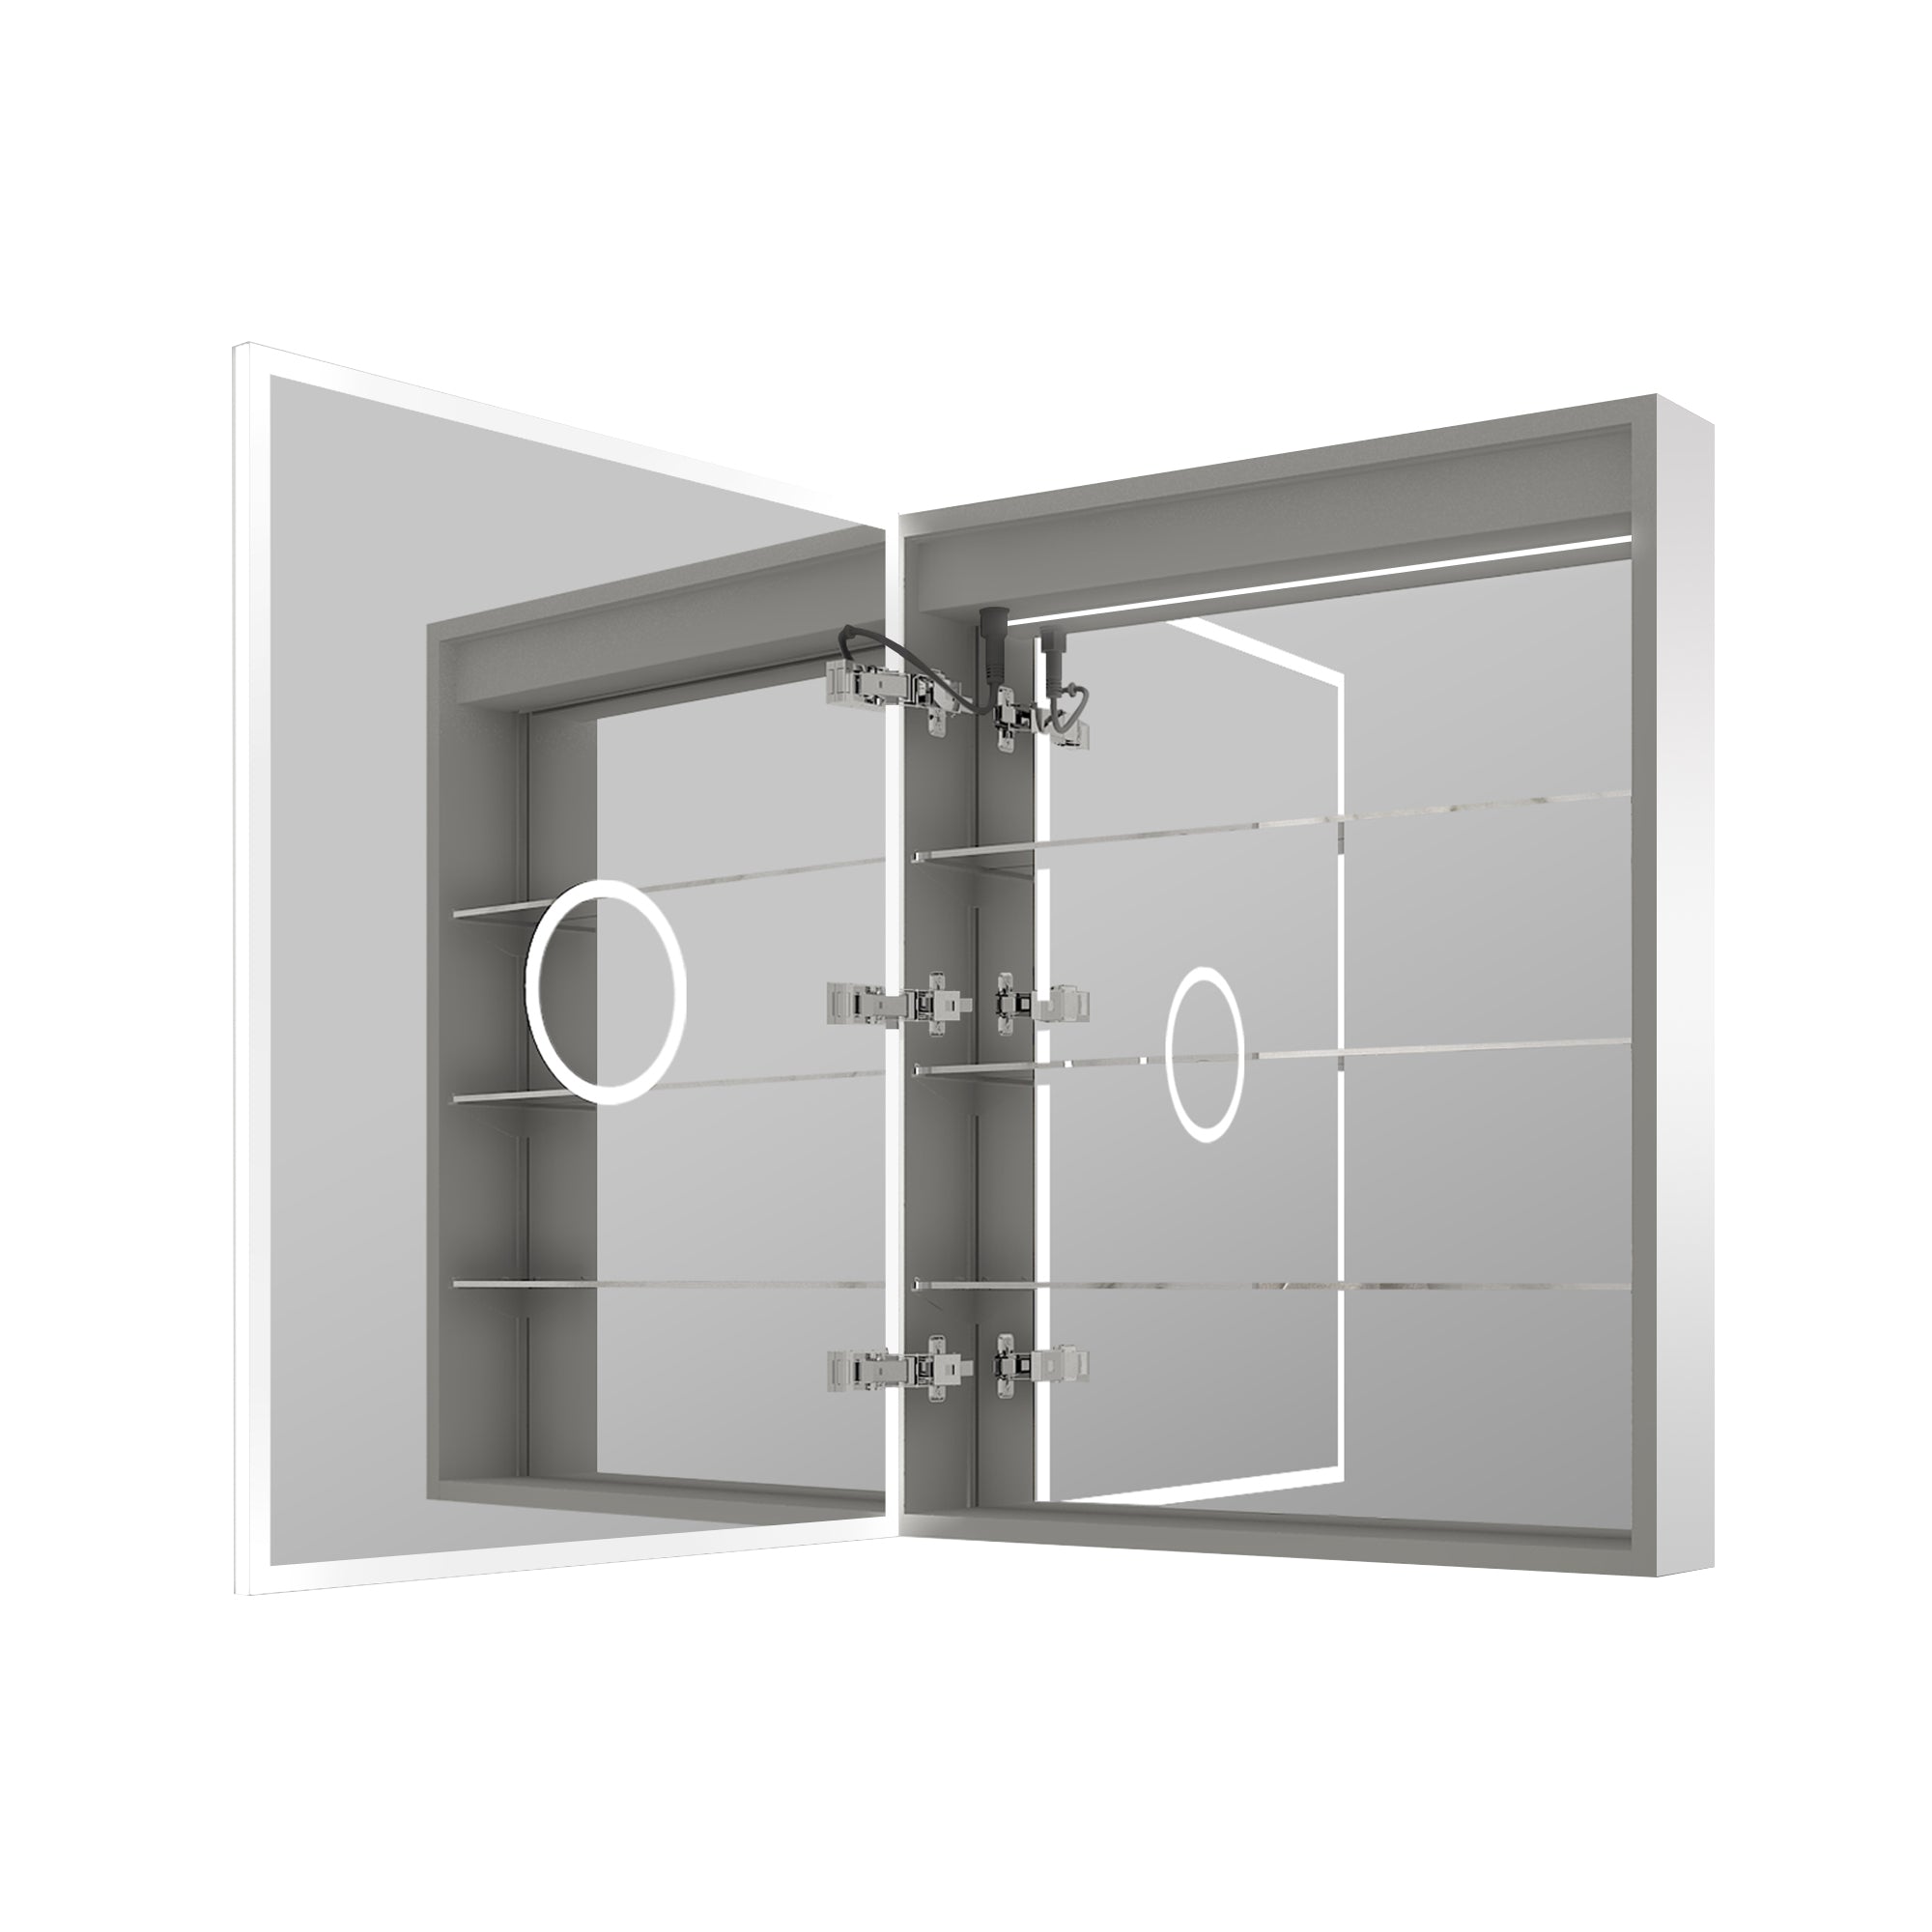
Functional Enhancements
· Anti-fog systems: Use a heating pad or anti-fog film for a consistently clear reflection.
· LED backlighting: Adjustable colour temperatures (2700K–6500K) improve shaving or makeup routines.
· Safety backing: Anti-shatter backing holds broken pieces together (often ANSI Z97.1 certified).
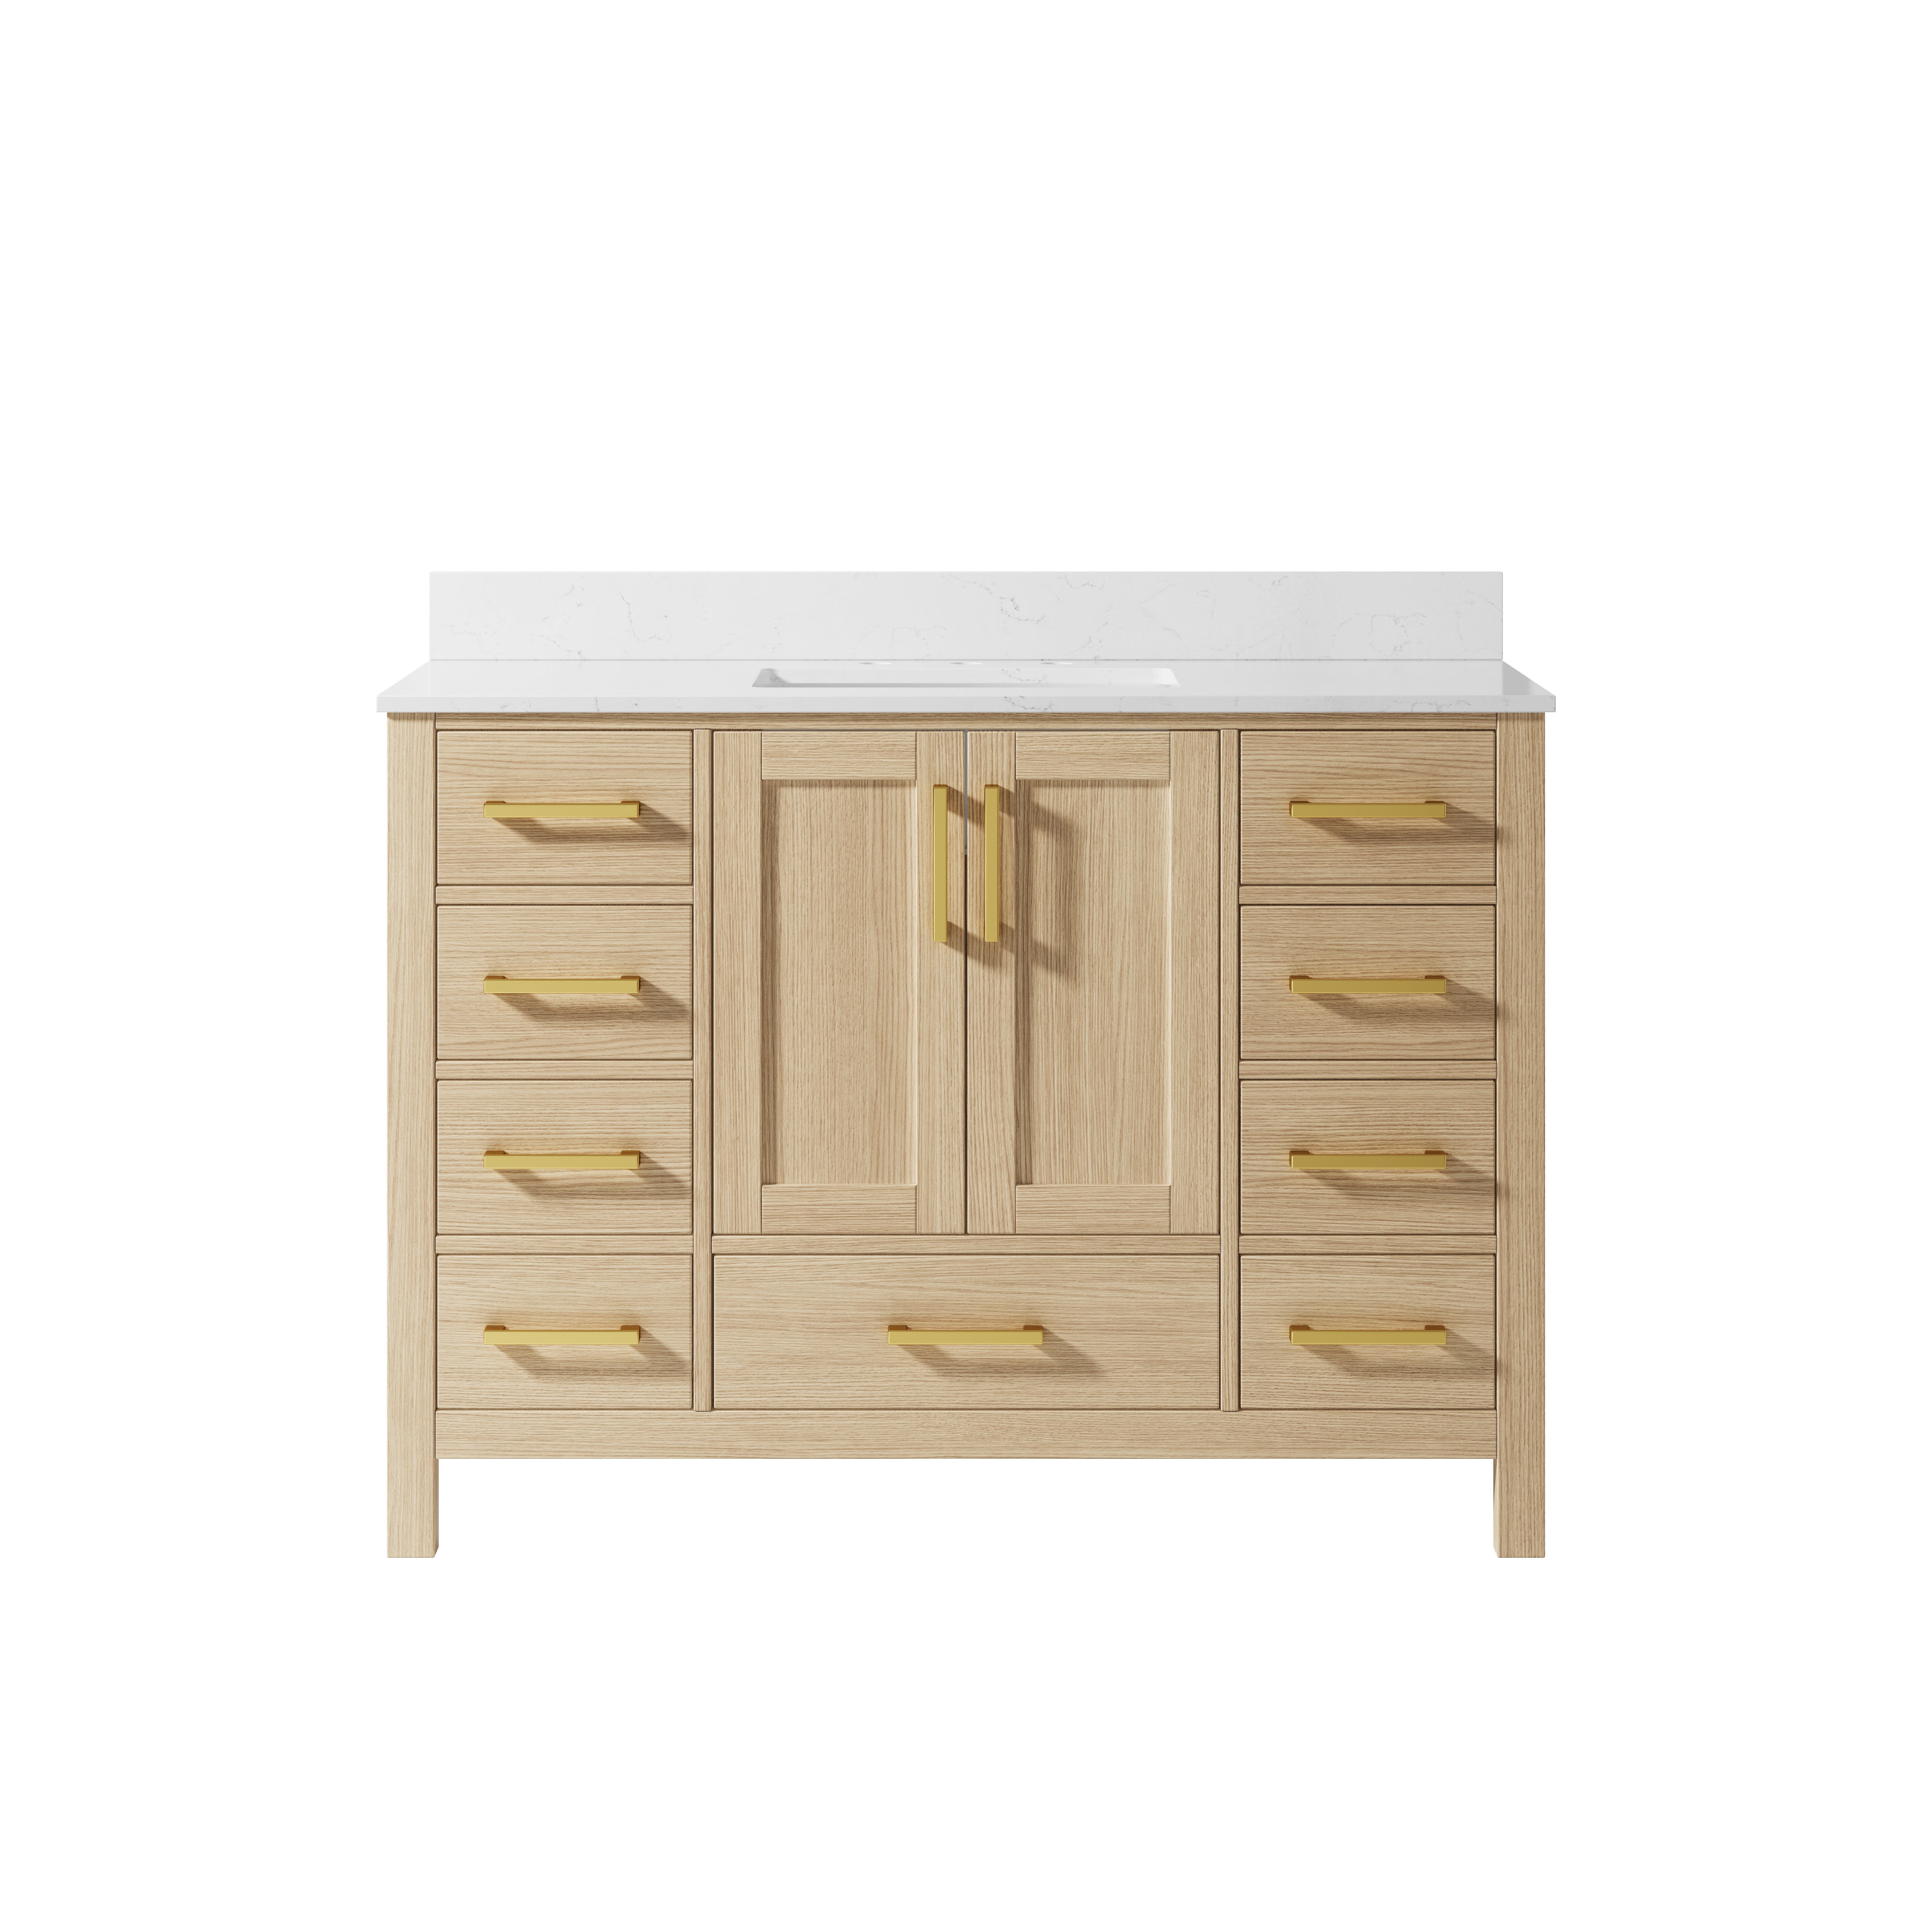
Vanity Width Compatibility
The mirror should ideally be slightly narrower than the vanity top or flush with it. Leave at least 4 inches (10 cm) between the mirror and backsplash to avoid steam damage.
4. Safety Compliance & Building Standards
ANSI Z97.1 Certification
ANSI Z97.1-2015 (R2020) is the U.S. safety glazing standard for architectural mirrors, testing for impact resistance and shatter safety. Compliant mirrors reduce injury risks by retaining large fragments upon breakage. Look for the “ANSI Z97.1-2015” mark on certified products.
Other Applicable Standards
· ASTM C1036: Float glass material standards
· ASTM C1048: Specifications for heat-treated (tempered) glass
· CGSB 12.1: Canada’s counterpart to ANSI, offering near-identical testing parameters
Load Capacity & Mounting
Large frameless mirrors (30–60 lb / 13–27 kg) require at least two bottom brackets and additional upper adhesive or clamps. Prefer installation into wall studs or pre-installed wood backer boards for maximum security.
Humidity & Electrical Safety
Ensure defogging pads and LED elements meet IP44 or higher waterproofing standards. Electrical wiring must follow code, with proper grounding and layout away from water exposure zones.
5. Measuring & Preparation
Measuring Techniques
Use a laser level or precision tape measure to determine mirror width, height from the countertop, and side clearances. Note wall flatness and plumb. Uneven surfaces should be levelled using waterproof filler.
Tools & Materials Checklist
· Precision level or laser level
· Drill, anchors, and screws
· Neutral-cure silicone adhesive or Liquid Nails
· Bottom mirror brackets (plastic or metal)
· Caulking gun, optional anti-fog pad, LED backlight kit
Recommended Brands
Liquid Nails for strong, construction-grade bonding; 3M for ANSI-certified defogging film and safety adhesives.
Error Margins
Allow ±1 mm margin for installation accuracy. Drill slightly higher than the final mirror height to allow gravity-assisted settling during mounting.
6. Installation Process (Step-by-Step)
6.1 Wall Preparation & Marking
· Clean the surface of grease, dust, and moisture.
· Use a level to mark bottom and side placement lines.
6.2 Mounting Brackets or Clamps
· Secure into wall studs if possible; for masonry walls, use expansion anchors
· Use at least two bottom brackets; add 2–3 top clips for balance
6.3 Adhesive Application & Tape Setup
· Apply silicone in parallel lines or dotted flower patterns
· Allow anti-shatter film or mounting tape to cure for 24 hours if used
6.4 Positioning the Mirror
· With two people, gently lower the mirror into the bottom clips
· Align and adjust using top brackets, tightening screws once level
6.5 Sealing & Cleanup
· Press adhesive lines with a plastic trowel
· Wipe excess glue and clean mirror edges thoroughly
6.6 Final Checks
· Use a level to confirm plumb and level alignment
· Adjust clamps if necessary
6.7 Curing & Final Removal
· Let adhesive cure 24–48 hours before exposing it to steam
· Remove any temporary supports after a full set

7. Cost Analysis & Budget Planning
ItemSize / TypeEstimated Cost
Standard frameless mirror (6 mm) 0.2 m² $100–300/m²
Ultra-clear or tempered glass 10 mm $200–500/m²
LED backlight + defog system Integrated or modular kits $300–600/set
Accessories + Installation Silicone, brackets, labor $150–300
(Basic Model)
30″×36″ mirror + adhesive + installation ≈ $250
(High-End Model)
40″×50″ ultra-clear mirror + LED + defog + installation ≈ $1,200
DIY Installation
Can save $150–300 in labor but requires complete toolset and precision adhesives.
8. Maintenance & Cleaning Guide
Daily Cleaning
Use a soft cloth with standard glass cleaner. Avoid abrasive materials like steel wool to prevent scratching.
Defogging System Care
Operate via touch or wall switch. Keep power components dry. If bubbles or delamination occur, remove and reinstall using standard mounting steps.
Moisture Protection
Inspect sealant annually. Reapply clear silicone around the perimeter to prevent mould growth.
Re-caulking Advice
Every 3–5 years, reapply adhesive to ensure structural stability.
9. Frequently Asked Questions (FAQ)
What if the mirror becomes loose?
Tighten the top or bottom bracket screws. Use washers or anchors if the wall material is too soft.
What if my wall can’t bear the weight?
Install a plywood backer panel for additional support before mounting the mirror.
What if the adhesive fails?
Replace with neutral-cure silicone. Ensure the surface is clean and dry and the adhesive hasn’t expired.
Why is the reflection wavy or distorted?
This is likely due to uneven wall or poor bracket alignment. Remove and reinstall on a levelled surface.
10. Summary & Buying Tips
Key Takeaways
· Determine the correct height and style
· Choose safe materials (tempered or ultra-clear glass)
· Use proper mounting systems
· Take precise measurements
· Follow the correct installation steps
· Perform routine maintenance
Budgeting Tips
· On a budget? Use 6 mm basic mirrors + DIY installation
· Looking for premium features? Go for ultra-clear, LED, defog and hire a professional installer.
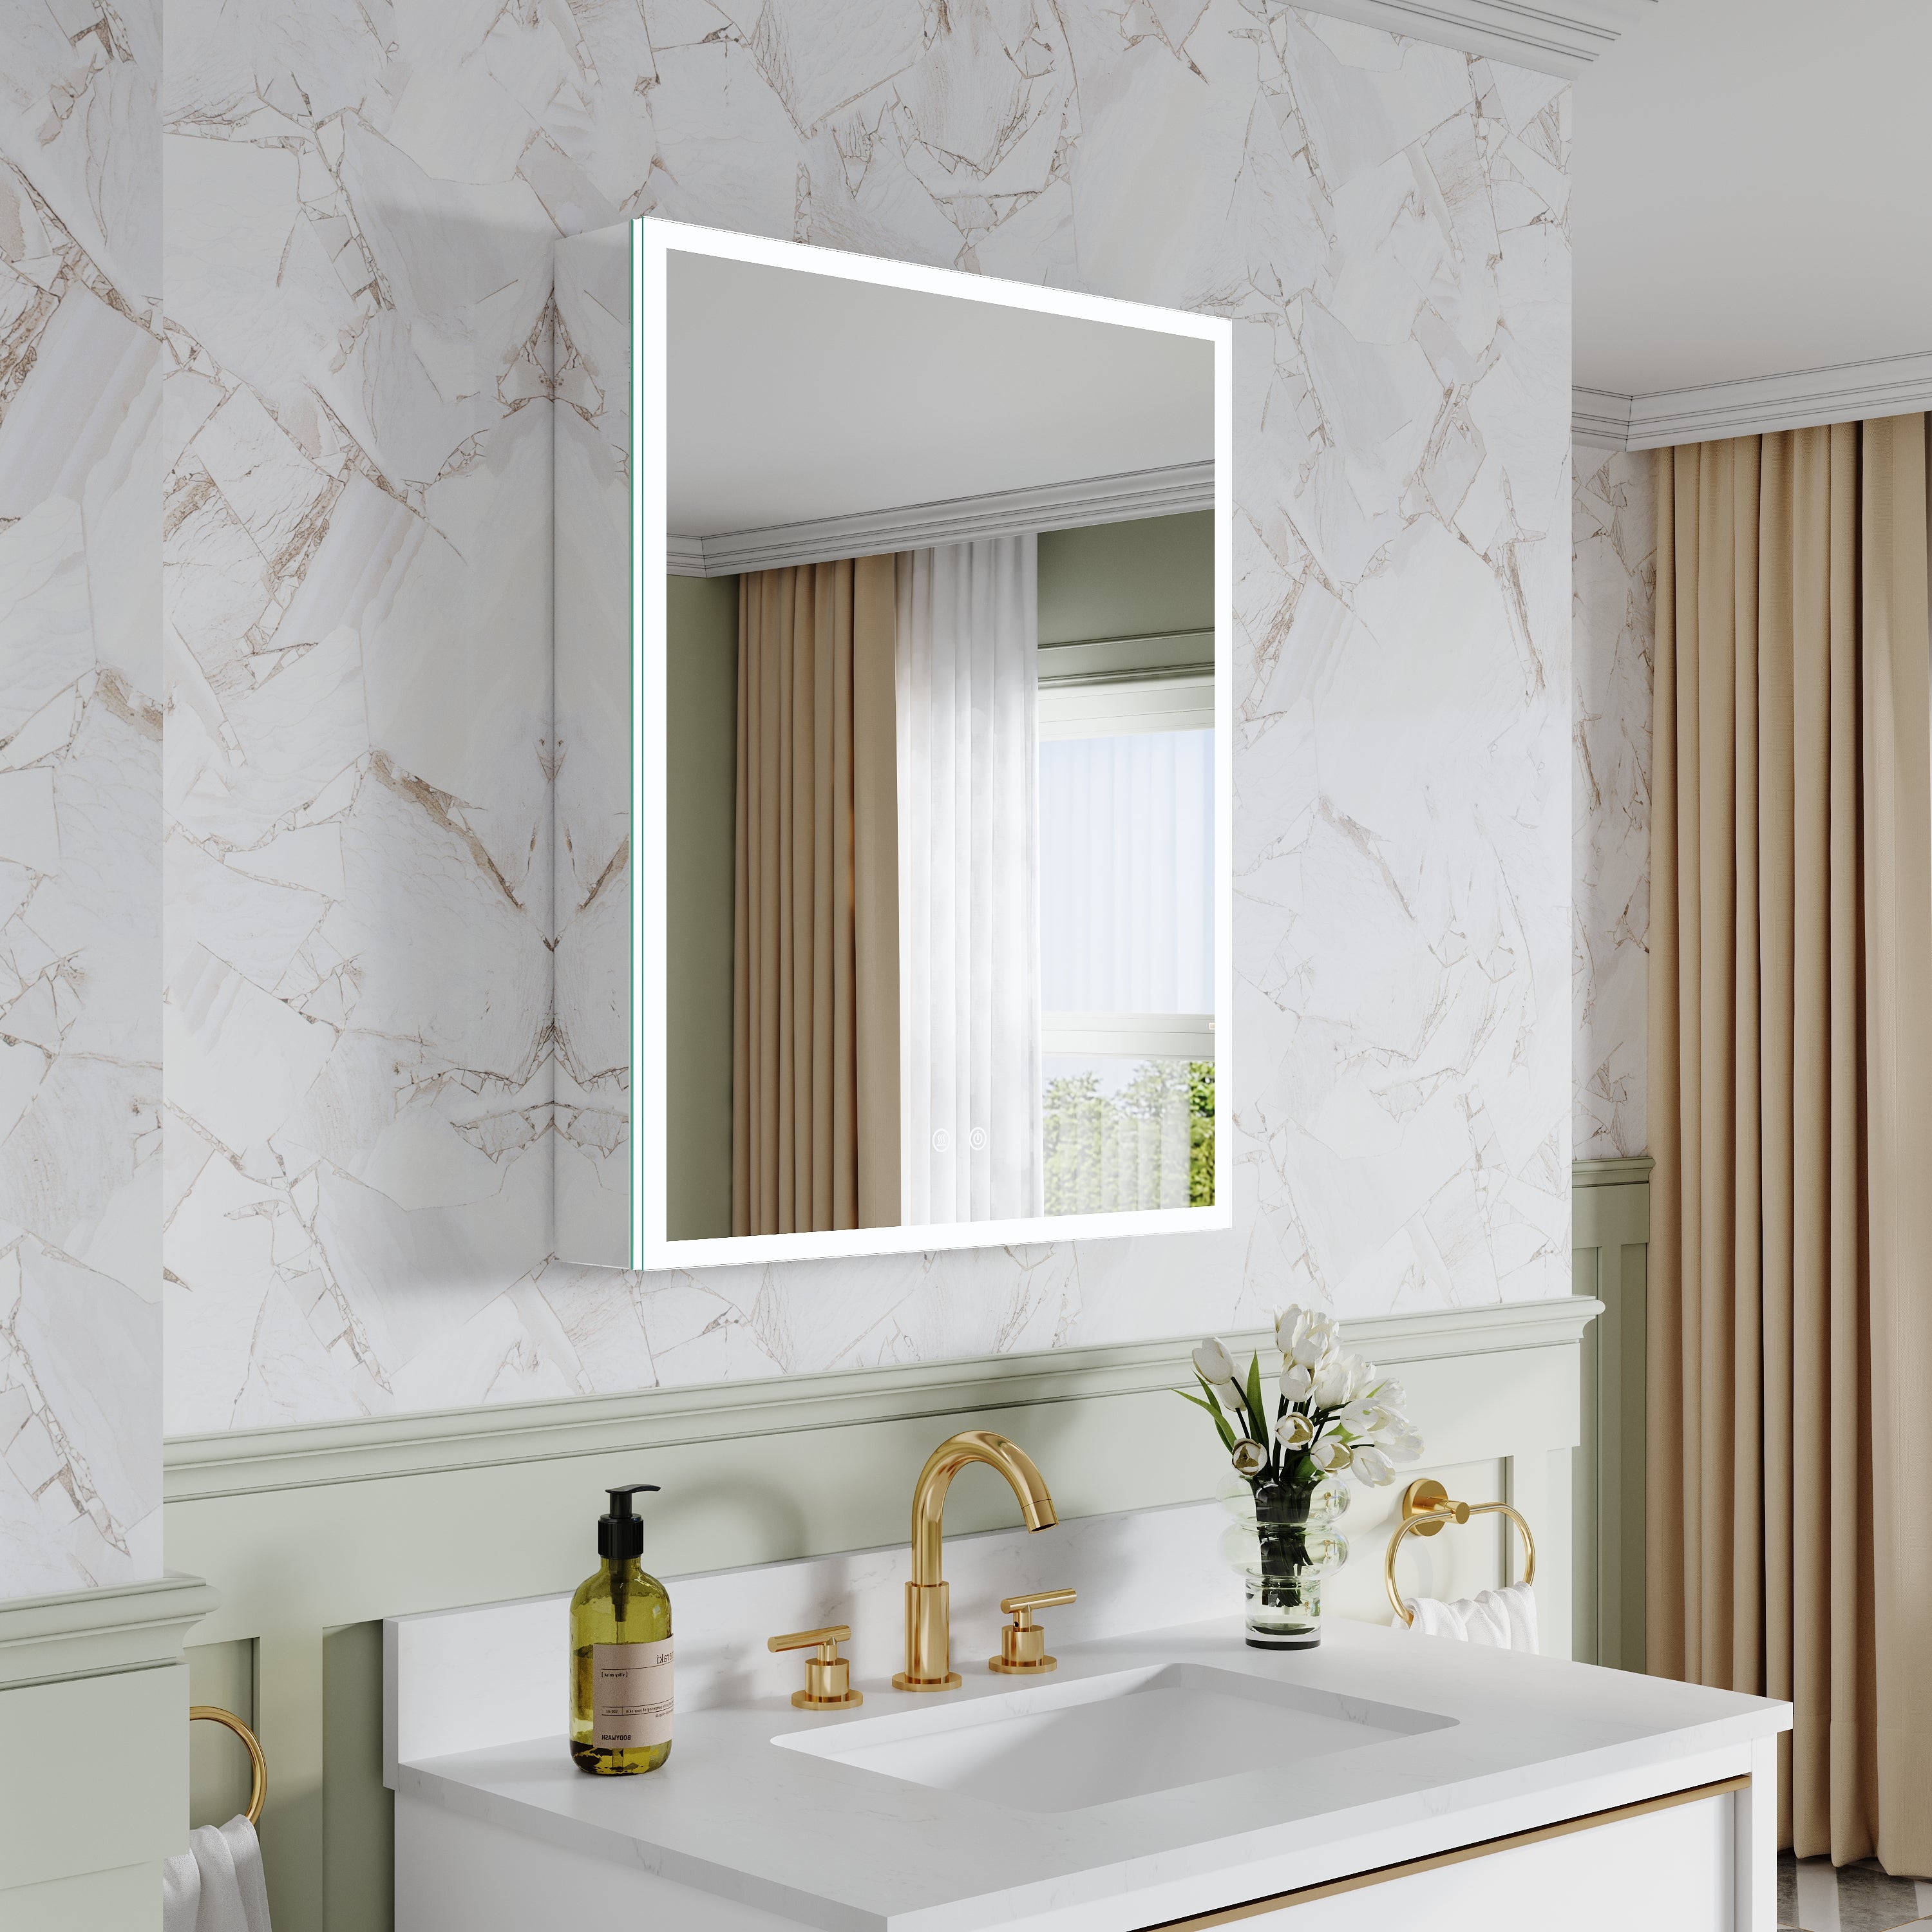
Product Recommendation
The Wellfor Frameless Mirror Series offers multiple size options, optional LED lighting, and anti-fog features. Custom sizes are available to suit most bathroom layouts—offering high quality at a competitive price point.


Leave a comment
This site is protected by hCaptcha and the hCaptcha Privacy Policy and Terms of Service apply.