


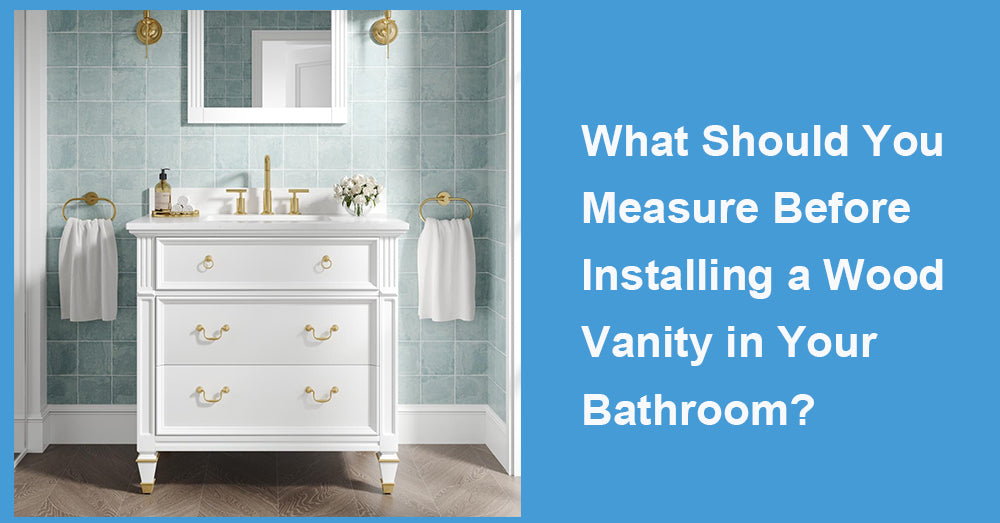
Installing a wood vanity can instantly add warmth, storage, and a more finished look to a bathroom. But the difference between a vanity that feels custom and one that feels cramped usually comes down to measurements taken before you buy or cut anything. The smartest approach is to measure the room like a small “system.” You are not only fitting a cabinet, you are protecting walking space, door swings, plumbing alignment, wall conditions, and daily routines like opening drawers and cleaning.
Below is a measurement checklist you can follow in a logical order, with common pitfalls to avoid.
1. Measure the Vanity Zone, Not Just the Wall
Start by defining the exact footprint where the vanity will live.
Measure and record:
· The full wall length where the vanity will sit.
· The maximum vanity width you can fit while keeping comfortable clearance to doors, toilets, and shower entry.
· Any baseboard thickness, trim, or tile that affects how the vanity sits against the wall.
Why this matters: A vanity that technically “fits” can still feel wrong if it crowds the walkway or blocks access to nearby fixtures.
2. Check Door Swings and Moving Clearances
Small bathrooms often fail at the “day one usability” test because doors and drawers collide.
Measure:
· The door swing path and how close it comes to the vanity front.
· The distance from the vanity front edge to the nearest obstacle, such as a toilet bowl, tub edge, or shower curb.
· The space needed to stand comfortably while brushing teeth, shaving, or helping a child wash hands.
Practical tip: Use painter’s tape on the floor to outline the vanity depth and width, then open the door and simulate daily use. If it feels tight while taped, it will feel worse once installed.
3. Confirm the Vanity Depth You Can Realistically Use
Many people choose vanity width first and forget depth. Depth affects walking space and drawer usability.
Measure:
· The available depth from the wall to the nearest obstruction.
· The distance you can spare without making the walkway feel narrow.
Common sizes to expect:
· Standard vanity depths are often around the high teens to low 20s in inches, but actual products vary.
· If the bathroom is narrow, a slightly shallower vanity can dramatically improve comfort.
Watch out for: Overhanging countertops. A top that projects beyond the cabinet can steal more walking space than you expect.
4. Measure Plumbing Rough-In Locations Precisely
Plumbing alignment is one of the most expensive surprises if you miss it.
Measure from fixed references:
· The center of the drain line from the side wall.
· The distance of the drain line from the finished wall.
· The hot and cold supply line positions from the side wall and from the finished wall.
· The height of supply lines and drain stub-out from the floor.
Why precision matters: Some vanities have drawers or shelves that conflict with plumbing. You may need a vanity with a plumbing cutout, an open back, or a modified drawer design.
Pro tip: Measure from the finished wall surface, not the studs. Tile, drywall, and backsplash thickness change everything.
5. Measure the Floor and Wall for Level and Square
Wood cabinetry looks best when it sits flush and level. Bathrooms, unfortunately, are often not perfectly level.
Check and measure:
· Floor level across the vanity location.
· Wall plumb and flatness.
· Corner squareness where the vanity will sit.
What to do with this information:
· If the floor slopes, plan on shims and adjustable legs.
· If the wall bows, you may need scribing or a small filler strip.
· If corners are out of square, a tight, built-in look may require trim solutions.
This step matters even more for a wood vanity because wood cabinetry is visually “honest.” Gaps and uneven lines stand out.
6. Measure for Countertop, Sink, and Faucet Compatibility
A vanity is not complete without confirming the top and fixtures.
Measure and confirm:
· Countertop depth and overhang.
· Sink type: undermount, drop-in, vessel, or integrated.
· Faucet hole configuration: single hole, widespread, or centerset.
· Faucet height and spout reach relative to the sink bowl.
Common mistake: Buying a tall vessel faucet, then realizing the mirror or medicine cabinet must be raised, which throws off the whole wall composition.
7. Plan Mirror and Lighting Placement While Measuring
Even if you are not installing the mirror on the same day, its placement affects the best vanity height and faucet choice.
Measure:
· Available mirror width and height on the wall.
· Space for sconces on each side if you plan to add them.
· Electrical box locations and whether wiring needs to move.
Why this matters: A new wood vanity often becomes the visual anchor. If the mirror is too small or hung too high because of lighting conflicts, the bathroom can look unbalanced.
8. Account for Ventilation and Moisture Exposure
A wood vanity can perform beautifully long-term, but only if you understand its moisture environment.
Measure and observe:
· Distance from the vanity to the shower spray zone.
· Whether the vanity is directly under a frequently fogged mirror area.
· Vent fan placement and effectiveness.
Practical note: This is not just comfort. It influences whether you should choose a more moisture-resistant finish, better sealing around the countertop, and hardware that tolerates humidity.
9. Measure Access for Delivery and Installation
It sounds basic, but it saves headaches.
Measure:
· Doorway width, hallway turns, stair clearance, and any tight corners.
· The space needed to tilt and maneuver the vanity into place.
· Whether the old vanity removal path is the same as the new vanity entry path.
Tip: If the vanity comes fully assembled, it may be wider than the tightest doorway by an inch or two. That is enough to stop the project.
10. Create a Simple Measurement Sheet Before You Shop
Before you browse options, write down these numbers in one place:
· Maximum vanity width.
· Comfortable vanity depth limit.
· Plumbing centerline measurements and heights.
· Door swing clearance.
· Mirror and lighting constraints.
· Floor level and wall flatness notes.
When you shop with a measurement sheet, you avoid emotional buying and reduce returns. It also makes it easier to talk with an installer, because you are speaking in specific dimensions rather than guesswork.

Conclusion
Before installing a wood vanity, measure the space like a complete working area, not just a wall segment. Start with width and depth constraints, then confirm door swings and walking clearance. Next, lock down plumbing rough-in locations, because that determines whether drawers, shelves, and cutouts will actually work. Finally, check floor level, wall flatness, and the fit of your countertop, sink, faucet, mirror, and lighting plan. When these measurements are done in the right order, the vanity you choose will feel intentional, function smoothly every day, and hold up better over time.


Leave a comment
This site is protected by hCaptcha and the hCaptcha Privacy Policy and Terms of Service apply.