


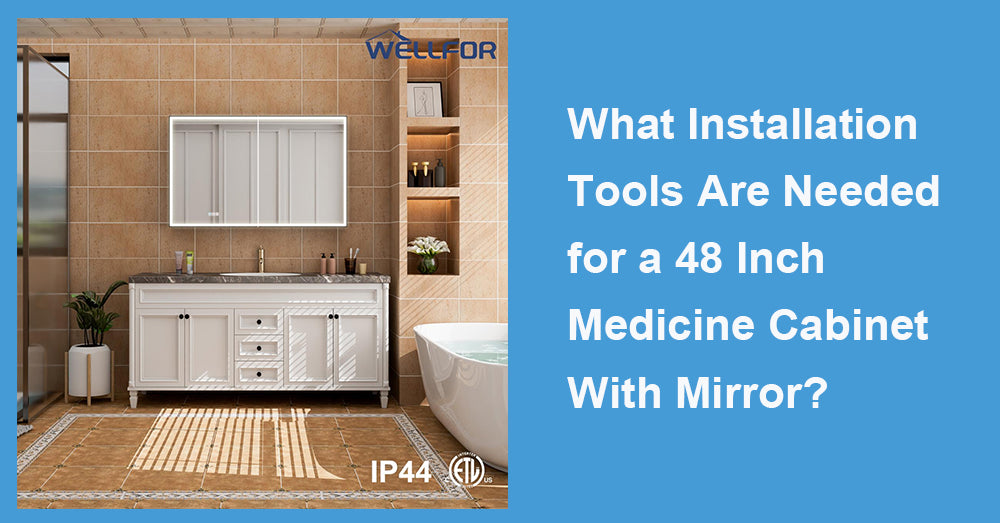
In modern bathroom design, a 48 inch medicine cabinet with mirror has become one of the key configurations for enhancing storage functionality and visual impact. Its spacious interior and mirrored appearance not only meet daily storage needs but also enhance lighting and spatial feel through integrated lighting and mirror reflections. However, installing such large mirror cabinets is not simply about hanging them on the wall; there are precise requirements for installation tools and on-site preparation. This article provides an in-depth analysis of the tool list, on-site measurements, and construction precautions required for installing a 48-inch mirror medicine cabinet, with detailed, professional references for industry practitioners and readers with decoration intentions.
1. The most basic measuring tool before installation
The first step in any installation project is measurement and marking. For a 48-inch medicine cabinet with a mirror, the position and a horizontal line will directly affect the installation.
Firstly, a measuring tape is essential for measuring the width and height of the available wall space and determining the center point and installation height of the mirror cabinet. The industry standard is to keep the bottom of the mirror cabinet at least 3 inches away from the sink edge to ensure a practical and visually appealing fit.
Secondly, ensuring the installation level is crucial. Using a level to calibrate wall markings and installation bracket positions can prevent tilting of the mirror cabinet after installation, which can affect functionality and appearance. Without horizontal verification, it is easy to cause door opening obstruction or an uneven mirror surface.
2. Wall perforation and fixing tools
For most wall installations, electric drills are the primary tool. Electric drills can be used with drill bits of different sizes to pre-drill, install expansion screws, and support components. Usually, installation instructions recommend using a 5/16 "(approximately 8mm) drill bit or a 1/8" drill bit for wall pre-drilling, depending on the wall material and expansion bolt specifications.
If it is an embedded installation, it may also be necessary to saw-cut the gypsum board or wall material to achieve the appropriate hole size. This type of work often uses a gypsum board saw (keyhole saw) or a utility knife. Choosing the proper cutting tool can ensure the opening is completed accurately without damaging the surrounding walls.
Wall installation often requires the cabinet to be firmly fixed to the wall. In this case, using expansion screws or wall anchors and screws in combination with calculated drilling holes can improve the stability of the fixation. For heavier 48-inch mirror cabinets, if there are horizontal wooden keels or steel structures inside the walls, it is recommended to use long screws that can penetrate the load-bearing structure. If the installation panel is made of brick or concrete, it must be matched with suitable expansion bolts.
3. Screws and tightening tools
The mirror cabinet usually comes with mounting brackets and fasteners, which require Phillips or electric screwdrivers for installation and tightening. Whether surface or embedded, the degree of screw reinforcement directly affects the cabinet's stability.
Generally, the installation manual will include matching screws and installation hardware with the cabinet. However, it is still recommended to have some commonly used size screws and screwdrivers as backup on site to ensure the original accessories fully adapt to wall differences.
4. Safety and protective tools
During installation, construction safety must be considered not only to protect the operator but also to prevent damage to the mirror surface and potential hazards for future use. Standard safety configurations include safety glasses and work gloves, which can effectively prevent dust, debris, or tool injuries. Especially important in electric drilling and cutting operations.
5. Auxiliary positioning and support tools
Large mirror cabinets have a large volume and high weight, and pose safety risks when operated by a single person. Industry installation recommendations typically indicate the need for at least two assistants to collaborate in completing positioning and hanging tasks. One person is responsible for maintaining the cabinet's stability, while the other is responsible for tightening screws and adjusting the level.
In addition, temporary support blocks or mounting brackets are also commonly used auxiliary tools. First, install the temporary support on the wall, and then hang and adjust the cabinet based on the support before fixing it. This will increase Safety and stability.
6. Electrical connection related tools (with lamp, mirror, cabinet)
For a 48-inch medicine cabinet with a mirror and integrated lighting, or a built-in power supply, the electrical installation must also be considered. According to the product description, the mirror cabinet may include LED light strips, sockets, or anti-fog features, which require understanding the wiring system in advance and using electrical tools such as wire connectors and insulating tape to complete the wiring. At the same time, electrical work must be performed only after the power supply is disconnected.
Traditional installation tools, such as cable testers or small electrician's screwdrivers, also come in handy when connecting light sources. Of course, it is recommended that qualified electricians complete the electrical part to ensure Safety and compliance.
7. On-site verification and fine-tuning tools
The final step after installation is inspection and fine-tuning. At this point, it may still be necessary to use a spirit level to verify whether the cabinet is vertical/horizontal, or to use a small wrench or Allen wrench to fine-tune the hinges or angles of the mirror cabinet to ensure smooth mirror switches and a tight fit between the door and the cabinet.
On-site, a marker pen is often used to record the final cable position and support centerline for future maintenance or renovation.

8. Summary. Full process considerations from preparation to implementation
Installing a 48-inch medicine cabinet with a mirror is not a simple wall-mounted cabinet operation; it is a systematic task that requires comprehensive measurements, installation, protection, Safety, and electrical wiring. The overall tool requirements can be summarized into the following categories:
Measurement and marking tools: tape measure, level ruler, pencil
Wall drilling and fixing tools: electric drill, drill bit, expansion screw, hammer
Tightening and auxiliary tools: screwdriver, screwdriver, electric screwdriver
Auxiliary safety tools: safety goggles, work gloves
Auxiliary positioning and support tools: support blocks, assistant strength
Properly preparing these tools can significantly improve installation efficiency and final results while reducing security risks from incorrect installations. For mirror cabinets with lighting and electrical modules, special attention must be paid to power safety and standardized construction.


Leave a comment
This site is protected by hCaptcha and the hCaptcha Privacy Policy and Terms of Service apply.