


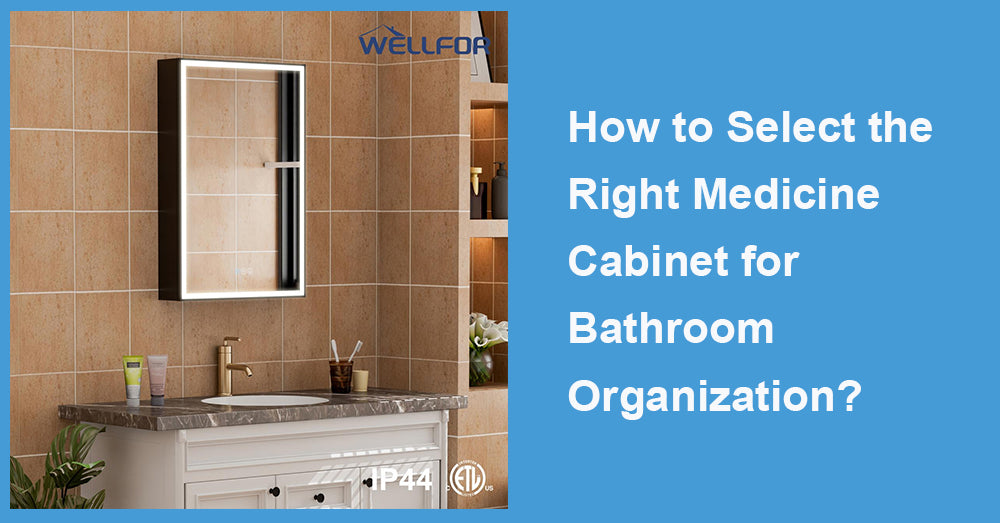
A medicine cabinet for bathroom organization is one of the highest-impact upgrades you can make because it combines a mirror with hidden, eye-level storage right where daily routines happen. The right cabinet reduces countertop clutter, speeds up grooming, and keeps the vanity wall looking clean and intentional. To choose well, focus on measurable factors like installation type, usable depth, shelf adjustability, door clearance, mounting stability, and humidity durability, rather than buying purely by style.
1. Choose Recessed or Surface-Mount Based on Your Wall and Your Goals
Recessed cabinets for the cleanest profile
Recessed cabinets sit inside the wall cavity, which usually means less projection into the room and a more built-in look. This can be ideal in tighter bathrooms where every inch of walkway matters. The main limitation is what is behind the wall: studs, wiring, and plumbing vents can restrict size and placement.
Stud spacing is a practical planning detail. Installation guidance commonly notes studs are typically spaced 16 inches apart, which affects cabinet width options and where mounting screws can land (Source: The Home Depot, “How to Install a Medicine Cabinet”).
Surface-mount cabinets for easier installation
Surface-mount cabinets attach on top of the wall. They are often easier when you do not want to open drywall or cut tile, and they are helpful if the wall cavity is blocked. The tradeoff is projection: if the cabinet is too deep, it can feel bulky. A slim cabinet with a smart door layout can still look modern and provide excellent organization.
Decision shortcut: choose recessed for the most streamlined look, choose surface-mount for the simplest install and fewer hidden-wall surprises.
2. Get Depth Right, Because Depth Determines Real Storage
Many cabinets look spacious online but fail in real life because bottles do not fit upright. A widely cited guideline for medicine cabinet depth is about 4 to 5 inches, often yielding roughly 3 to 4 inches of usable interior storage depending on construction (Source: Simple Project US, “What Is the Standard Medicine Cabinet Size?”).
How to use that data:
· If you store tall skincare bottles or electric toothbrush accessories, confirm they fit upright on a shelf.
· If your bathroom is narrow, avoid excessive depth that crowds the sink zone.
· If you want maximum organization, prioritize usable interior depth and shelf spacing, not just exterior dimensions.
A simple pre-buy test: measure your tallest must-fit item and compare it to the cabinet’s adjustable shelf range.
3. Prioritize Adjustable Shelves to Avoid Wasted Space
Adjustable shelves are the feature that most directly improves organization. Toiletries come in mixed heights. Fixed shelves create dead space above short items and force tall items to lie down or stack awkwardly.
A strong organization layout uses zones:
· Eye-level shelf for daily items (toothbrush, cleanser, moisturizer, razor).
· Upper shelf for weekly items (treatments, grooming tools).
· Lower shelf for backups and refills.
This zoning prevents stacking, and stacking is the fastest way a cabinet becomes messy. If you have to remove three items to reach one, the cabinet stops being a convenience tool and turns into a storage trap.
4. Choose a Door Style That Works With Your Clearances
A cabinet can only organize your bathroom if you can open it easily. Door collisions are common near sconces, towel rings, side walls, and inward-swinging bathroom doors.
Common door formats:
· Single door: clean look, but needs the most swing clearance.
· Tri-view doors: smaller swing arcs and multiple viewing angles, often practical in tight layouts.
· Sliding doors: minimal swing clearance, but tracks can require more cleaning.
If your vanity wall is tight or you have fixtures close to the cabinet edge, tri-view or sliding designs often improve access. Better access leads to better organization behavior because people actually put items back.
5. Place the Cabinet at a Comfortable Height So You Keep Using It
A cabinet mounted too high reduces mirror comfort and shelf usability, which pushes items back onto the countertop. A practical reference from accessibility standards states:
· For mirrors above lavatories or countertops, the bottom edge of the reflecting surface should be 40 inches max above the finished floor.
· For mirrors not above a lavatory or countertop, the bottom edge should be 35 inches max.
Even if you are not designing to formal accessibility requirements, this is a strong comfort guardrail. A simple method:
1. Stand at the sink and mark your eye level.
2. Position the cabinet so your eye level lands around the upper-middle of the mirror.
3. Confirm you can reach the shelves without stretching.
Comfortable placement is an organization feature. If the cabinet is easy to use, it stays used.
6. Mounting Stability Is Part of Organization
A medicine cabinet is opened and closed thousands of times. If it is not anchored well, it loosens, doors misalign, and shelves wobble. Once that happens, the cabinet becomes annoying and clutter returns.
Stud alignment matters. Many walls follow 16-inch stud spacing, and installation guides discuss planning around that spacing for mounting points (Source: The Home Depot). Best practice:
· Mount into studs where possible.
· If studs do not align, use appropriate heavy-duty anchors or add blocking during renovation.
A stable cabinet keeps doors aligned, shelves level, and daily access smooth, which is exactly what organization requires.
7. Humidity Control Protects Hardware, Mirror Edges, and Long-Term Usability
Bathrooms are humid environments. Over time, moisture can corrode hinges, degrade finishes, and contribute to mirror edge deterioration. EPA guidance recommends keeping indoor relative humidity below 60 percent, ideally between 30 percent and 50 percent, to reduce moisture-related problems (Source: U.S. EPA Mold Course, Chapter 2).
For cabinet longevity:
· Run the exhaust fan during showers and for a period after.
· Wipe standing water near the backsplash and cabinet bottom edge.
· Prefer corrosion-resistant hinges and fasteners when available.
Durability is not cosmetic. If hinges bind or doors sag, the cabinet stops functioning as an organization system.
8. Consider Lighting and Power Only If They Improve Your Routine
Some cabinets include integrated LED lighting, outlets, or defoggers. These can be valuable, but only if they match your habits and do not add unnecessary complexity.
LED lighting can be a practical upgrade. The U.S. Department of Energy notes that residential LEDs, especially ENERGY STAR-rated products, use at least 75 percent less energy and can last up to 25 times longer than incandescent lighting (Source: U.S. DOE, “LED Lighting”). If you choose a lighted cabinet, prioritize:
· Smooth diffusion (no harsh hotspots).
· Dimming for nighttime comfort.
· Clear warranty coverage for the driver and electronics.
If you will not use the light weekly, focus on storage fundamentals first. Organization improvements usually deliver more daily value than extra features.
9. A Copy-Friendly Selection Checklist
Use this shortlist to choose confidently:
· Recessed for a slim built-in look, surface-mount for easier installation.
· Depth around 4 to 5 inches is a common balance point for usable storage (Source: Simple Project US).
· Adjustable shelves to eliminate wasted space and stacking.
· Door style that avoids collisions in your layout.
· Comfortable mounting height using the 40-inch and 35-inch reference points as guardrails (Source: ADA 603.3).
· Secure anchoring, ideally into studs aligned to common 16-inch spacing (Source: The Home Depot).
· Humidity plan to keep RH below 60 percent when possible (Source: EPA).
· Optional LED lighting only if it improves your routine, with DOE-backed longevity and efficiency benefits (Source: DOE).

Conclusion
Selecting the right medicine cabinet for bathroom organization is about building a system that stays usable every day. Choose recessed or surface-mount based on wall constraints, select a practical depth that fits real items, insist on adjustable shelves, and pick a door style that opens cleanly in your space. Mount it at a comfortable height and anchor it securely so the cabinet stays stable over years of use. Finally, protect the cabinet’s hardware and mirror edges by managing humidity and ventilation. When these fundamentals are right, your countertop stays clearer, your routines stay faster, and your bathroom looks more organized with less effort.


Leave a comment
This site is protected by hCaptcha and the hCaptcha Privacy Policy and Terms of Service apply.