


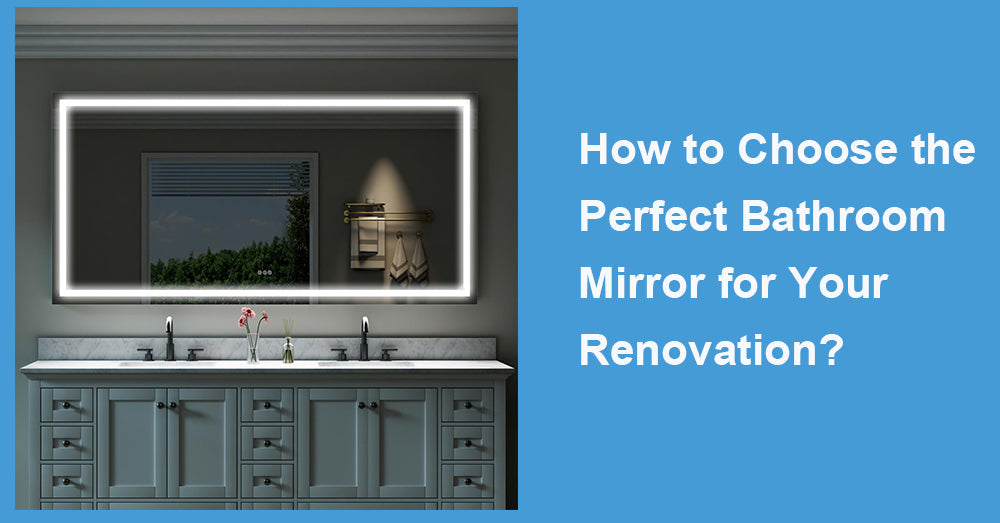
A bathroom mirror is one of the most-used fixtures in any home renovation: it shapes how the vanity wall looks, how bright the room feels, and how easy daily routines are—shaving, skincare, makeup, contact lenses, and quick checks before heading out. The “perfect” mirror is not simply the prettiest one on a product page. It’s the mirror that matches your vanity proportions, supports flattering lighting, mounts at a comfortable height, and holds up in humidity year after year.
1. Start With the Vanity: Get the Width Right First
Most mirror mistakes come from sizing, not style. If the mirror is too narrow, the vanity looks oversized and top-heavy. If the mirror is too wide, the wall looks crowded—especially when sconces, tile edges, or trim need breathing room.
Two practical sizing rules work well for most renovations:
· Proportion rule: A mirror that spans about 70% to 90% of the vanity width usually looks balanced and intentional.
· Margin rule: Many installers and designers recommend choosing a mirror 2–4 inches narrower than the vanity so you keep clean margins on both sides.
If your vanity is 36 inches wide, that often puts you in a mirror width range that feels neither too small nor wall-dominating. If you’re adding side sconces, lean slightly narrower so the lighting doesn’t feel squeezed.
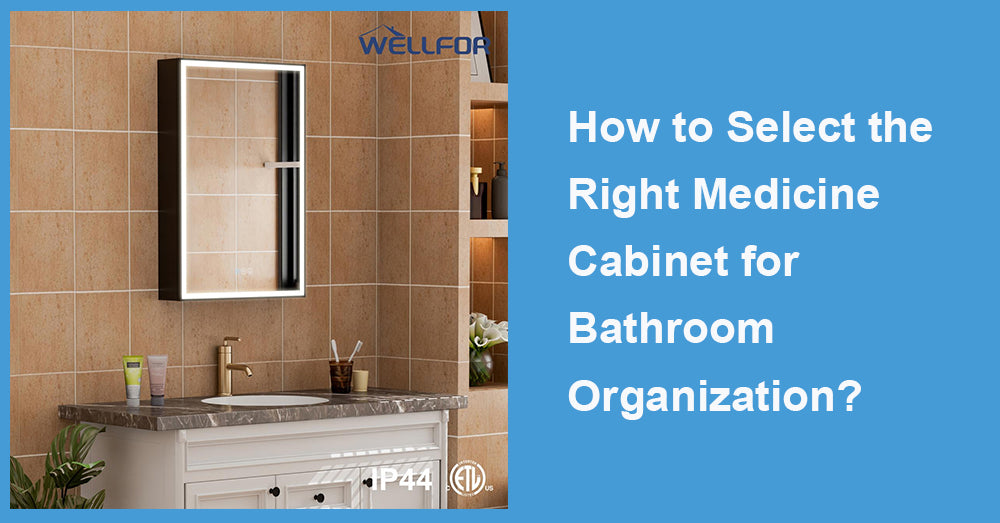
2. Decide Mirror Type Based on How You Use the Bathroom
During a renovation, ask one simple question: Is this mirror mostly for décor, or mostly for daily work?
· Decorative framed mirror: Great when the bathroom already has storage elsewhere and you want a focal point.
· Frameless mirror: Clean and modern; visually expands the wall because there’s no heavy border.
· Medicine cabinet / mirror cabinet: Best when counter clutter is your problem—because hidden storage keeps the vanity looking “finished” every day.
· Lighted mirror: Good when your current vanity lighting creates harsh shadows or the room is short on wall space for sconces.
You can absolutely mix function and style—many of the best renovations do. The key is choosing function first, then styling it.
3. Mounting Height: Comfort Beats “Centered on the Wall”
A mirror can be expensive and still feel wrong if it’s mounted too high. A widely used reference point from accessibility standards is useful even in private homes:
· If the mirror is above a lavatory/countertop, the bottom edge of the reflecting surface should be 40 inches max above the finished floor.
· If the mirror is not above a lavatory/countertop, the bottom edge should be 35 inches max.
You don’t need to design to a compliance checklist to benefit from this. Treat it as a reality check to avoid neck craning and awkward angles.
Practical method: stand at the sink and mark your eye height. Aim for your eyes to land around the upper-middle of the mirror, not near the bottom edge.
4. Lighting: Mirrors Don’t Create Light—They Multiply It
Renovations often focus on tile and hardware, but lighting is what makes a bathroom feel premium. Mirrors support lighting by reflecting it, so the right mirror can improve perceived brightness—especially when paired with good vanity lighting.
It helps to understand what lighting pros measure: foot-candles, a unit of illuminance used in IES-based guidance. In many bathrooms, the goal is not “maximum brightness,” but even, face-friendly light.
What tends to work best:
· Side lighting (sconces) near face height for fewer shadows.
· A lighted mirror when sconces aren’t practical, but only if the light is diffused (no harsh hotspots).
If you choose a lighted mirror, prioritize dimming and color options. You’ll use the mirror differently at 7 a.m. than at 11 p.m.
5. Choose Materials That Match Bathroom Reality (Humidity and Cleaning)
Bathrooms swing from dry to steamy. That affects mirror edges, backing, and hardware—especially over years.
EPA guidance on moisture control recommends keeping indoor relative humidity below 60%, ideally between 30% and 50% when possible. In a bathroom, humidity will spike during showers, but your goal is to bring it back down quickly using ventilation.
How this affects mirror choices:
· Frameless mirrors: edges are exposed, so good edge finishing and careful cleaning habits matter.
· Framed mirrors: choose finishes that resist corrosion if the bathroom is frequently humid.
· Mirror cabinets: hinges and fasteners should be corrosion-resistant, because they’re opened constantly.
Maintenance habit that protects any mirror: run the exhaust fan during showers and for a period after. It helps both mirror longevity and the overall bathroom finish.
6. Energy and Longevity: LED Mirrors Can Reduce Long-Term Hassle
If your renovation includes a lighted mirror, LED performance is a practical advantage—not just a modern feature.
The U.S. Department of Energy notes that residential LEDs—especially ENERGY STAR-rated products—use at least 75% less energy and can last up to 25 times longer than incandescent lighting. DOE also summarizes that LEDs can use up to 90% less energy and last up to 25 times longer than traditional incandescent bulbs.
That matters in a bathroom because lighting is used daily. Longer life means fewer failures, fewer replacements, and a more consistent vanity setup.
7. Match the Mirror to the “Value Logic” of Renovations
A bathroom mirror isn’t the most expensive renovation line item, but it’s a high-impact one. Bathroom updates also tend to perform well in resale benchmarks. In the 2025 Cost vs. Value report, a midrange bathroom remodel is shown with about 80% cost recouped in the published averages.
That doesn’t mean you should buy based on resale alone—but it supports a practical idea: choosing timeless, functional mirror decisions (right size, good lighting support, durable materials) is rarely wasted effort.
8. A Simple Step-by-Step Method to Choose Confidently
If you want a clean process:
1. Measure vanity width and choose a mirror width using the 70–90% guideline or the 2–4 inch margin rule.
2. Pick your mirror type based on your real problem: storage, lighting, or pure design.
3. Set the mounting height using the 40-inch/35-inch reference as a comfort guardrail.
4. Plan lighting as a system: mirror + vanity lighting should create even face illumination. Use dimming if possible.
5. Plan for humidity: ventilation habits matter; aim for below 60% RH and ideally 30–50% when possible.
6. If lighted, favor LED for longevity and efficiency.

Conclusion
The perfect bathroom mirror for your renovation is the one that fits the vanity with confident proportions, sits at a comfortable height, supports flattering lighting, and survives bathroom humidity without becoming a maintenance headache. Use proven sizing rules (70–90% of vanity width or 2–4 inches narrower), mount with comfort in mind (40-inch/35-inch reference), and treat lighting and ventilation as part of the mirror’s long-term performance. When those fundamentals are right, the mirror becomes a daily upgrade you feel—not just a décor choice you see.


Leave a comment
This site is protected by hCaptcha and the hCaptcha Privacy Policy and Terms of Service apply.