


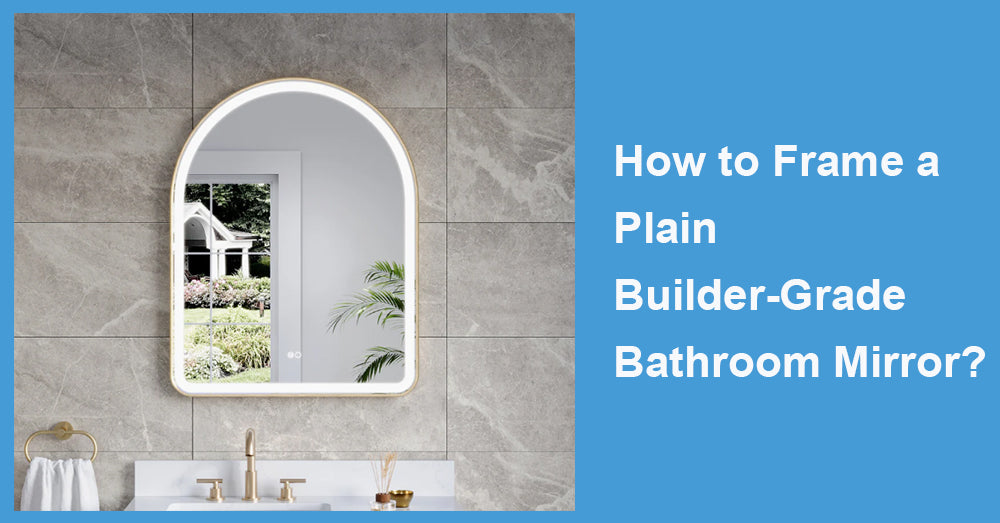
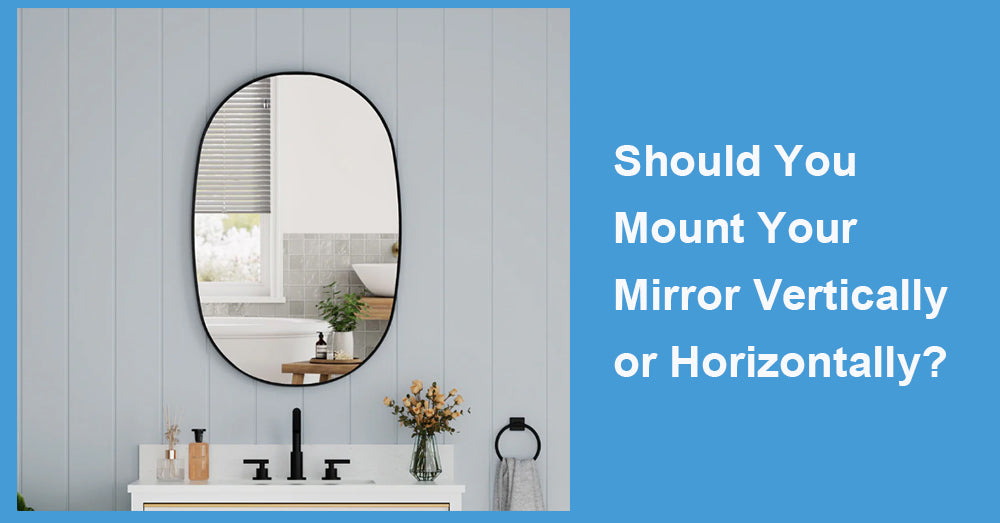
A plain bathroom mirror is something many homeowners stop noticing after a while. It usually comes with the house, stretches across the wall above the vanity, and does its job without adding much personality to the room. But once people update the lighting, replace faucets, or install a new vanity, that large frameless mirror suddenly starts to feel outdated. Instead of tearing it off the wall and buying a completely new one, more homeowners are choosing to frame the existing mirror. It is a relatively simple upgrade that can make the bathroom look warmer, cleaner, and more custom without the expense of a full remodel.
Bathroom remodel spending has remained strong over the past several years, and design experts continue to see high demand for affordable visual upgrades. According to remodeling industry reports, bathrooms consistently rank among the most frequently renovated rooms because smaller cosmetic improvements can noticeably improve the overall feel of the home.
1. Why Builder-Grade Mirrors Look So Plain
Most builder-grade mirrors are installed for function rather than style. Contractors typically use large sheets of glass because they are affordable, easy to install, and make smaller bathrooms appear larger. In many homes, these mirrors are glued directly to drywall and secured with plastic clips.
The problem is that frameless mirrors often lack detail. Once newer finishes are added to the bathroom, the mirror can start looking disconnected from the rest of the design. Even expensive vanities and upgraded tile can still feel unfinished when paired with a plain wall mirror.
Another common issue is aging around the mirror edges. Bathrooms experience constant humidity changes, and over time, the reflective backing near the edges may begin to darken or wear down. A frame helps hide those imperfections while giving the mirror a cleaner appearance.
2. Measuring the Mirror Correctly
Accurate measurements are one of the most important parts of the project. Start by measuring the full width and height of the mirror in inches. Then check the distance between the mirror and nearby fixtures such as wall lights, faucets, outlets, or side walls.
For example, a mirror measuring 60 inches wide by 36 inches high may not have enough space for oversized trim if vanity lights are mounted too close to the glass. In smaller bathrooms, narrow frames usually look more balanced.
Most homeowners choose frame widths between 2 inches and 3 inches because they add enough visual weight without making the mirror feel bulky. Larger bathrooms with double vanities sometimes look better with slightly wider trim.
Also, pay attention to the bottom edge of the mirror. Some builder-grade mirrors rest directly on the backsplash, leaving little room for a thicker bottom frame piece.
3. Checking the Existing Mirror Hardware
Before installing a frame, inspect how the mirror is attached to the wall. Some mirrors rely mainly on adhesive, while others use clips for additional support.
Plastic clips are especially common in older bathrooms. Sometimes they stick out enough to interfere with the frame installation. In those situations, homeowners may replace them with thinner clips or carefully notch the back of the frame to fit around them.
Removing clips without proper support is risky. Large mirrors can be surprisingly heavy. A 72-inch mirror made from 1/4-inch glass can weigh far more than most people expect, so keeping the mirror secure during the project is critical.

4. Choosing Materials That Can Handle Humidity
Bathrooms are humid spaces, so moisture resistance matters when selecting frame materials. Solid wood remains popular because it brings warmth and texture into the room, but it should always be sealed properly before installation.
Composite trim, PVC molding, and moisture-resistant MDF are also widely used because they hold up better in damp conditions. These materials are often easier to maintain over time, especially in bathrooms with limited ventilation.
Color selection usually depends on the style of the room. Matte black frames continue to work well with black shower doors and modern hardware. White frames are common in traditional bathrooms, while natural oak or walnut finishes create a softer, more relaxed look.
Current bathroom design trends continue leaning toward warmer finishes and more comfortable, spa-inspired spaces. Framed mirrors fit naturally in that direction because they soften the sharp look of large sheets of exposed glass.
5. Matching the Frame Style With the Vanity
The frame should feel connected to the rest of the bathroom rather than standing out on its own. A bathroom with shaker cabinets often works best with clean, square-edge trim. More decorative vanities may pair better with molding that includes subtle detail.
Thin modern frames are popular in contemporary bathrooms, while farmhouse and transitional styles usually use thicker wood profiles with visible texture or grain.
Scale matters too. A very thin frame around a large mirror can look unfinished, while oversized trim may overwhelm a compact bathroom. The goal is balance.
6. Using the Right Adhesive
One of the most common mistakes during mirror framing projects is choosing the wrong adhesive. Standard construction adhesives can damage the mirror backing over time, especially in humid environments.
Professionals recommend using mirror-safe adhesive products specifically designed for glass applications. These adhesives are made to protect reflective coatings while still providing strong, long-term bonding.
Most installers apply adhesive directly to the frame pieces instead of the mirror surface itself. Painter’s tape is then used to hold the trim in place while the adhesive cures. Depending on the product, curing time may range from 24 to 48 hours.
7. Installation Tips That Improve the Final Look
The order of installation makes a difference. Most people begin with the bottom frame piece first, followed by the sides, and then finish with the top section. This helps maintain alignment and creates cleaner seams at the corners.
Mitered corners cut at 45 degrees are the most common choice because they create a polished appearance. However, simpler butt-joint corners can also look attractive in modern bathrooms where cleaner lines are preferred.
Small gaps can usually be hidden with paintable caulk and light touch-up paint. Taking extra time during this step often makes the difference between a frame that looks professionally installed and one that feels obviously DIY.
8. Safety Should Always Come First
Even though framing a mirror is considered a relatively beginner-friendly project, safety still matters. Glass-related injuries remain common during handling and installation work, especially when large mirrors are involved.
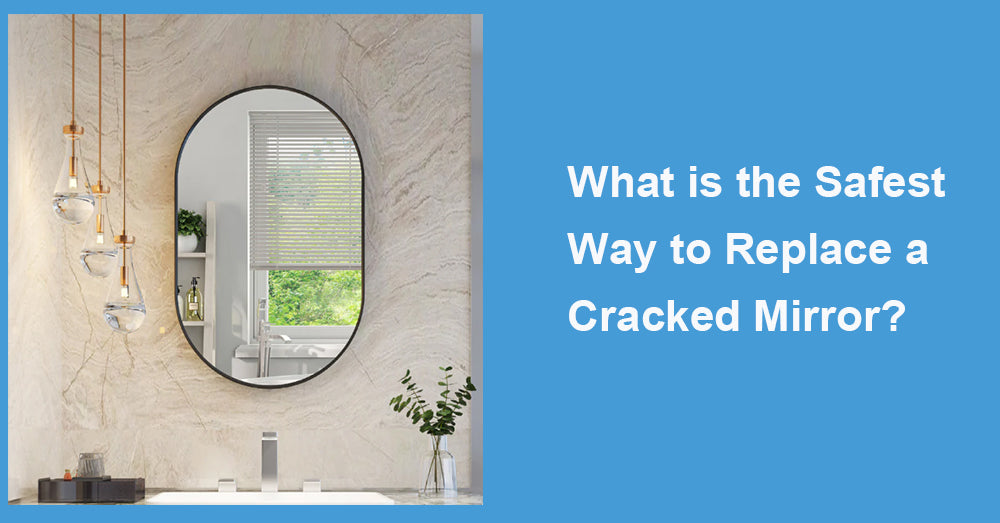
Protective gloves and safety glasses are strongly recommended. Avoid leaning heavily against the glass, particularly near corners or existing chips. If the mirror already has cracks, loose edges, or signs of separating from the wall, replacing it entirely is usually the safer option.
9. Why Framing Remains a Popular Bathroom Upgrade
One reason mirror framing remains so popular is that the visual improvement feels much larger than the actual project itself. A frame can instantly make a basic bathroom feel more finished without requiring major construction work.
Instead of removing a large wall mirror and repairing drywall, homeowners can upgrade the existing mirror with relatively little disruption. When measurements are accurate, materials are moisture-resistant, and installation is done carefully, a framed mirror can completely change the look of a builder-grade bathroom while keeping the original glass in place.


Leave a comment
This site is protected by hCaptcha and the hCaptcha Privacy Policy and Terms of Service apply.