


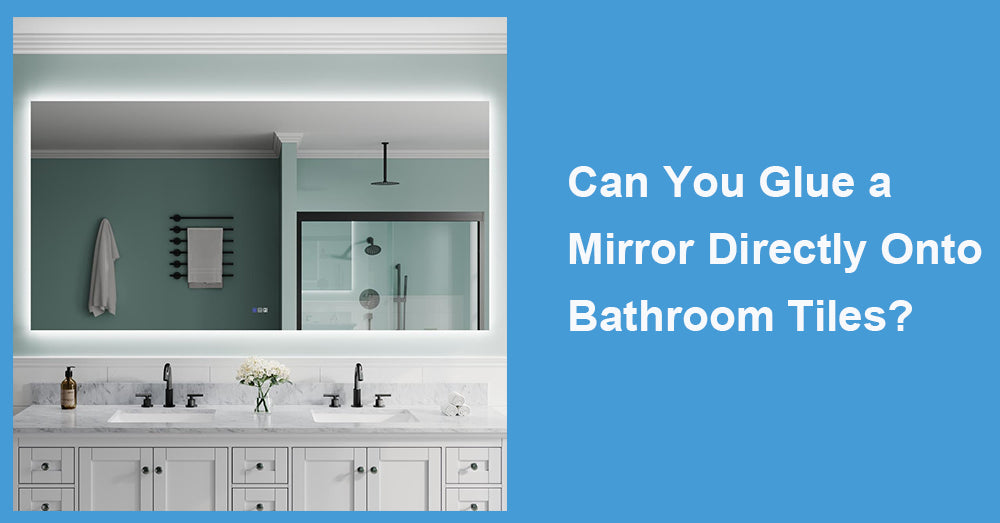
Yes, you can glue a bathroom mirror directly onto tile, and it is a common approach for clean, frameless installs. But it only works reliably when you use the right adhesive for mirrors, prep the tile correctly, and understand the tradeoffs: removal is usually destructive, and the wrong product can damage the mirror backing or fail in a humid room. If you treat this like a “stick it up and hope” project, you risk black spots behind the glass, edge squeeze-out, or a mirror that slowly loosens over time.
This guide explains when tile-bonding is a good idea, which adhesives are safest for mirror backings, how to prep and apply them, and what to do if your mirror is large or heavy.
1. When Gluing to Tile Is a Good Idea (and When It Is Not)
Gluing to tile works best when:
· The tile surface is flat, solid, and well-bonded to the wall.
· You want a frameless look with no visible clips.
· You are installing a mirror that will be “permanent” for many years.
Gluing to tile is risky when:
· The mirror is extremely large or heavy and you cannot safely brace it during cure.
· The tile is loose, cracked, or hollow-sounding when tapped.
· The wall is uneven, forcing the mirror to “bend” or rock.
· You may need to remove the mirror later without damaging tile.
Practical note: tile is nonporous, which is good for adhesive bonding, but bathrooms add humidity cycles. Good ventilation and correct adhesive selection matter.
2. The Biggest Risk: Damaging the Mirror Backing
Not all adhesives are mirror-safe. Some solvents and acids can attack the mirror backing and cause black edge creep, staining, or long-term failure. A glass industry article specifically warns to avoid adhesives containing strong solvents or acids such as acetone, toluene, methylene chloride, and acetic acid, and recommends using adhesives that are “neutral cure” and compatible with mirror backing. (Source: Glass Magazine, “Reflections on Mirror.”)
This is why “random construction adhesive” is not the same as “mirror adhesive.” Even if a construction adhesive is extremely strong in lab tests, it may be chemically incompatible with mirror coatings.
3. Adhesive Options, Ranked by Mirror-Friendliness
Option A: Mirror mastic (the most common mirror-specific choice)
Mirror mastics are formulated to bond mirrors while reducing the risk of backing damage. Instructions from Mirro-Mastic products emphasize applying adhesive in vertical beads and not too close to edges to prevent squeeze-out. One instruction set specifies vertical beads the length of the mirror about six inches apart. (Source: Palmer SuperSet Mirro-Mastic instructions.) Another Mirro-Mastic instruction sheet notes a “golf ball size mound for every square foot of mirror” as a guideline for application quantity. (Source: Palmer Mirro-Mastic document hosted by MG Specialty.)
Why mastics work well:
· Designed for mirrors, not just general bonding.
· Often provide strong hold with proper bead patterns.
Key watch-outs:
· Follow the exact product instructions for bead size, spacing, and cure time.
· Do not smear mastic across the entire back like frosting. Use beads or mounds.
Option B: Neutral-cure silicone (mirror-safe when specified)
Neutral-cure silicone is often recommended in mirror discussions because it avoids acetic acid off-gassing. The mirror industry guidance above emphasizes “neutral cure” and compatibility with mirror backing. (Source: Glass Magazine, “Reflections on Mirror.”)
Why it can work:
· Good flexibility and moisture resistance.
· Lower risk of backing attack when truly neutral-cure and labeled mirror-safe.
Key watch-outs:
· “Silicone” is not automatically neutral-cure. Some silicones release acetic acid (vinegar smell). Avoid those for mirror backings.
· Use mirror-safe labeling or manufacturer confirmation.
Option C: High-bond acrylic foam tape (VHB-style) for smaller mirrors or as a helper
High-bond tape can be useful for positioning or for moderate loads when you have enough surface area and excellent prep. A 3M VHB technical sheet frames long-term temperature tolerance as the maximum temperature where tape supports at least 250 g load per 0.5 in² in static shear for 10,000 minutes. (Source: 3M VHB tapes technical data.)
Why it can help:
· Clean, fast initial hold.
· Useful as temporary support combined with mastic or silicone.
Key watch-outs:
· Tape is strongest in shear and weaker in peel. Mirrors can generate peel forces at the top edge if the wall is uneven.
What about heavy construction adhesives?
Some construction adhesives publish very high shear strengths, such as 590 psi tensile shear strength in a plywood-to-stainless-steel lap shear example for Loctite PL Premium. (Source: Loctite PL Premium product data sheet.) That shows these products can be extremely strong, but strength is not the only issue for mirrors. Chemical compatibility with mirror backing is the deciding factor. If a product is not mirror-rated, do not assume it is safe for the mirror’s coating.
4. Tile Prep: Where Most DIY Installs Win or Lose
Adhesives do not bond well to soap film, silicone residue, wax, or dusty grout haze. Do this prep carefully:
1. Clean the tile with a degreaser that removes soap residue.
2. Rinse and dry thoroughly.
3. Wipe the bonding area with isopropyl alcohol and let it fully evaporate.
4. Confirm the tile is stable. If any tiles move, stop and fix the substrate first.
Do not bond to a surface that feels slick or contaminated. In bathrooms, “looks clean” is often not clean enough for adhesives.
5. Application Pattern: Beads, Not a Full Spread
Mirror mastic instructions commonly stress vertical beads or mounds and avoiding the edges. (Source: Palmer Mirro-Mastic instructions; Source: QwikSet Mirro-Mastic instructions.) Vertical beads help prevent moisture from being trapped behind the mirror and reduce squeeze-out. Keeping adhesive away from the edge prevents visible ooze and reduces chemical contact near vulnerable backing areas.
A practical, conservative approach:
· Use vertical beads or evenly spaced mounds.
· Keep adhesive at least 1"–2" away from the mirror edge.
· Avoid continuous perimeter beads that can trap moisture.
6. Bracing and Cure Time: The Step People Skip
Even strong adhesives need time to develop full strength. Many general adhesives reference full cure around 24 hours in typical conditions, though cure can vary with temperature and humidity. (Source: Loctite PL Premium product page notes full cure in 24 hours.) Mirror mastics also require proper set and cure time per the manufacturer’s instructions. (Source: Mirro-Mastic instruction sheets.)
For large mirrors, you should plan:
· Temporary bracing (support blocks at the bottom, painter’s tape straps, or a temporary ledger).
· No disturbance during cure.
· No shower steam during the first cure window if possible, because early moisture exposure can weaken bonding.
7. Safety and Realistic Limits
A glued mirror is not “adjustable.” If it is crooked, correcting it is difficult. For very heavy or oversized mirrors, consider combining adhesive with mechanical safety support such as clips, a bottom ledge, or a professional installation plan. This is especially important if you cannot brace securely or if the tile wall is not perfectly flat.

Conclusion
You can glue a mirror directly onto bathroom tiles, and it can look clean and modern when done correctly. The keys are using mirror-safe adhesive chemistry, preparing tile like a bonding surface (not just “clean enough”), applying beads or mounds instead of spreading adhesive everywhere, and bracing the mirror through the full cure period. Mirror-specific mastics and truly neutral-cure, mirror-safe silicones are the most common reliable choices, while high-bond tapes can help with positioning or moderate loads when used with proper design assumptions. (Source: Palmer Mirro-Mastic instruction sheets; Source: Glass Magazine mirror adhesive cautions; Source: 3M VHB technical data; Source: Loctite PL Premium data on strength as context.)


Leave a comment
This site is protected by hCaptcha and the hCaptcha Privacy Policy and Terms of Service apply.