


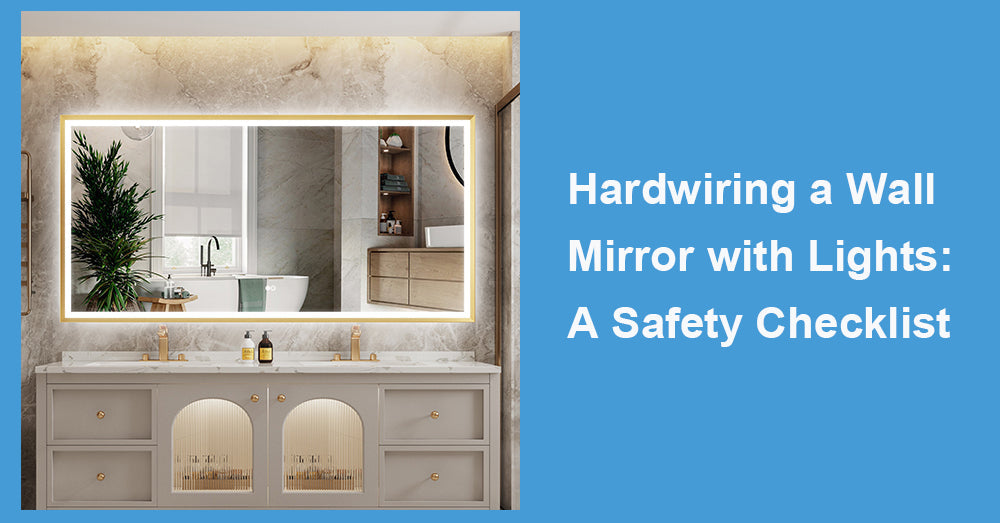
A wall mirror with lights can instantly upgrade a bathroom or vanity area—cleaner illumination, fewer shadows, and a more built-in look than plug-in options. But when you hardwire one, you’re moving from “decor” into “electrical work.” The difference is simple: the results look premium, but the safety standard has to be professional. Use this checklist to plan the job, avoid common mistakes, and protect your home (and your mirror).
Confirm the Mirror Is Designed for Hardwiring
Not every lighted mirror supports direct wiring. Before anything else, check the product documentation for:
Hardwire compatibility (some models are plug-in only).
Rated voltage (commonly 120V in North America).
Damp-location suitability if it will be installed in a bathroom.
Required wall switch compatibility (some mirrors allow switch control; others require constant power for touch controls).
If any of this is unclear, stop and verify. Guessing is how installations fail.
Turn Off Power the Right Way
“Switch off the light” is not enough. Do this instead:
Turn off the correct circuit breaker.
Use a non-contact voltage tester at the wall box to confirm power is truly off.
If others are home, label the breaker or tape it to prevent someone from turning it back on.
This one step prevents the worst-case scenario.
Check the Location and Moisture Risk
Bathrooms are damp environments, and placement matters. Make sure the mirror location:
Is not within direct shower spray range unless explicitly rated for it.
Has adequate ventilation nearby (fan or airflow helps prevent condensation).
Leaves enough clearance from sinks to reduce splash exposure.
A wall mirror with lights will last longer when moisture is managed, not ignored.
Verify the Wall Box and Wiring Are Suitable
Hardwired installations require proper support behind the wall:
Use an approved electrical box (correct size, secured firmly).
Confirm wire gauge matches the circuit (commonly 14 AWG for 15A or 12 AWG for 20A—never mix incorrectly).
Ensure grounding is present and continuous.
If the wall has no box and only a loose cable opening, don’t improvise—install the correct box.
Understand the Wires Before You Connect Anything
Most hardwire setups involve:
Hot (line) wire (often black)
Neutral wire (often white)
Ground wire (bare copper or green)
If your wall wiring colors don’t match expectations (older homes can vary), that’s a sign to pause and confirm with a multimeter or call a licensed electrician. Incorrect connections can damage electronics instantly or create a shock hazard.
Confirm How the Mirror Is Controlled
Some mirrors are meant to be controlled by:
A wall switch (simple, familiar, and often preferred)
Touch buttons on the mirror (which may require constant power)
Both, depending on design
If you want the wall switch to control power but also want the mirror to “remember” brightness or color temperature settings, check the manual—some models reset when power is cut.

Use Proper Connections and Strain Relief
A clean-looking install should still be mechanically safe:
Use listed wire connectors (wire nuts or push-in connectors rated for the application).
Secure wiring so no tension pulls on the connections.
Use strain relief where required—especially if wiring passes through metal openings.
Keep connections inside the electrical box, not floating in the wall cavity.
Loose splices are a top reason for flickering, intermittent power, and overheating.
Mounting: Don’t Let the Mirror Hang on Hope
Lighted mirrors can be heavy and must be supported correctly:
Use the provided mounting system (Z-bar, brackets, or anchors) exactly as instructed.
Anchor into studs when possible; if not, use wall anchors rated for the mirror’s weight.
Keep the mirror level before final tightening—an uneven mirror looks worse once the lights turn on.
Electrical safety is critical, but physical safety matters too. A falling mirror is not a small problem.
Do a Final Safety Check Before Power-On
Before restoring power:
Confirm all wires are fully seated and connectors are tight.
Ensure no copper is exposed outside connectors.
Verify the ground wire is connected.
Confirm the mirror is securely mounted and not pinching any wiring.
Replace the electrical box cover or ensure the mirror fully covers the box area per design.
Then turn the breaker on and test all functions: lighting, dimming, color temperature, defogger (if included), and any outlet features.
Know When to Call a Pro
If any of the following are true, hiring a licensed electrician is the smart move:
You find aluminum wiring, damaged insulation, or unknown wire colors.
The box is missing, loose, or overcrowded.
The circuit trips after installation.
You’re installing in a high-moisture zone and aren’t sure about code requirements.
A wall mirror with lights should feel like a luxury upgrade—not a lingering worry.
Final Thought
Hardwiring a wall mirror with lights is one of those upgrades that feels small on paper but makes a big difference every single day—cleaner lighting, a more built-in look, and less cord clutter around the vanity. The key is treating it like a complete system, not just a “quick install”: power shutoff and testing, moisture-aware placement, proper wall box and grounding, secure mounting, and the right control method (switch vs. touch). When each step is handled correctly, you get lighting that’s stable (no flicker), safe in a damp environment, and consistent for grooming, makeup, and everyday routines. And if anything about the wiring or location doesn’t match the manual—or doesn’t feel 100% certain—bringing in a licensed electrician is not a setback; it’s the fastest path to a clean finish and long-term peace of mind.


Leave a comment
This site is protected by hCaptcha and the hCaptcha Privacy Policy and Terms of Service apply.