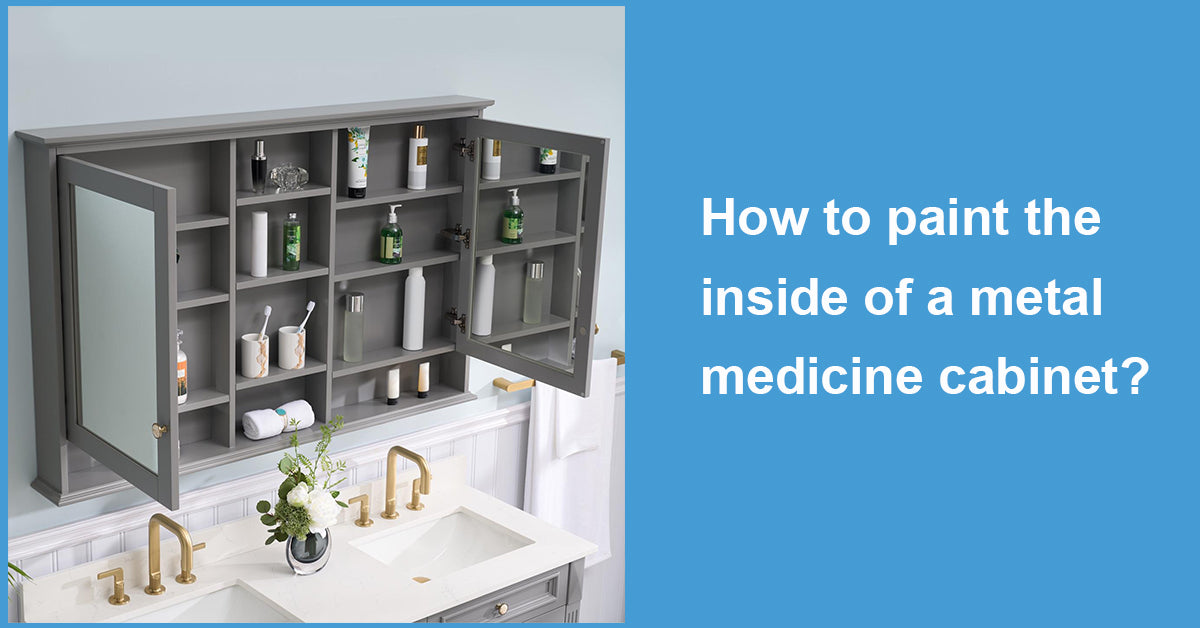
A metal medicine cabinet is a staple in many bathrooms. Over time, it can show signs of wear and tear.
Instead of replacing it, why not give it a fresh coat of paint? This simple DIY project can transform your bathroom.
In this guide, we'll walk you through the process of paint a medicine cabinet. We'll cover everything from preparation to the final touches.
Whether you're a seasoned DIY enthusiast or a beginner, you'll find this guide helpful. We've included tips and tricks to ensure a smooth, professional-looking finish.
So, are you ready to breathe new life into your old metal medicine cabinet? Let's get started.
Preparing Your Workspace
Before you start painting, it's crucial to prepare your workspace. A clean, well-ventilated area is key to a successful paint job.
Clear the area around your medicine cabinet. Remove any items that could get in the way or be damaged by paint splatters.
Ensure the room is well-ventilated. This is important for your safety, especially when working with paint and primer.
Lastly, protect your surfaces. Cover your sink, floor, and other fixtures with a drop cloth to prevent paint drips. Safety should always be your top priority.
Tools and Materials Needed
To paint your metal medicine cabinet, you'll need a few essential tools and materials.
First, you'll need sandpaper. A medium-grit sandpaper is ideal for preparing the metal surface for painting.
Next, you'll need a primer. Choose a primer specifically designed for metal surfaces.
You'll also need paint. An oil-based paint is often recommended for metal surfaces.
Finally, gather your painting tools. A foam roller or fine-bristle brush will help you achieve a smooth finish.
Here's a quick list of what you'll need:
- Medium-grit sandpaper
- Metal primer
- Oil-based paint
- Foam roller or fine-bristle brush
- Painter's tape
- Drop cloth
- Mask and gloves for safety
- Cleaning materials
- Screwdriver for disassembly and reassembly
Removing Cabinet Components
Before you start painting, you'll need to disassemble your cabinet.
Start by removing the door. This will make it easier to paint the inside of the cabinet.
Next, take out the shelves. Label them so you know where they go when you reassemble the cabinet.
Finally, remove any hardware. Keep screws and other small parts in a safe place. Labeling them can help you remember where they go during reassembly.
Cleaning and Degreasing
Cleaning is a crucial step in the painting process.
Start by wiping down the cabinet with a damp cloth. This will remove any dust or loose debris.
Next, use a degreaser to clean the metal surface. This will help the paint adhere better.
Finally, rinse the cabinet with warm water and let it dry completely. This will ensure that the surface is clean and ready for sanding.
Sanding the Surface
Sanding is key to a smooth paint job.
Start with a medium-grit sandpaper, like 120-grit. This will help remove any old paint or rust.
Then, switch to a fine-grit sandpaper, like 220-grit. This will smooth out the surface and prepare it for priming.
Remember to always sand in the direction of the grain. This will help avoid scratches and ensure an even finish.
Addressing Rust and Damage
Rust is a common issue with metal medicine cabinets.
To remove it, use a rust remover or a wire brush. Always follow the instructions on the rust remover label.
For small dents or scratches, use a metal filler. Apply it with a putty knife and let it dry.
Once dry, sand the area smooth. This will ensure a flawless paint job.
Priming for Paint Adhesion
Priming is a crucial step in painting metal medicine cabinets.
Choose a primer designed for metal surfaces. This ensures the paint adheres properly.
Apply the primer using a foam roller or fine-bristle brush. These tools help achieve a smooth, even coat.
Allow the primer to dry fully before painting. This can take several hours or overnight.
Remember, patience is key. Rushing this step can lead to a less-than-perfect finish.
Selecting the Right Paint
When it comes to painting metal medicine cabinets, the type of paint matters.
Oil-based paints are a popular choice. They offer durability and a smooth finish.
Water-based paints, on the other hand, are easier to clean up. They also dry faster.
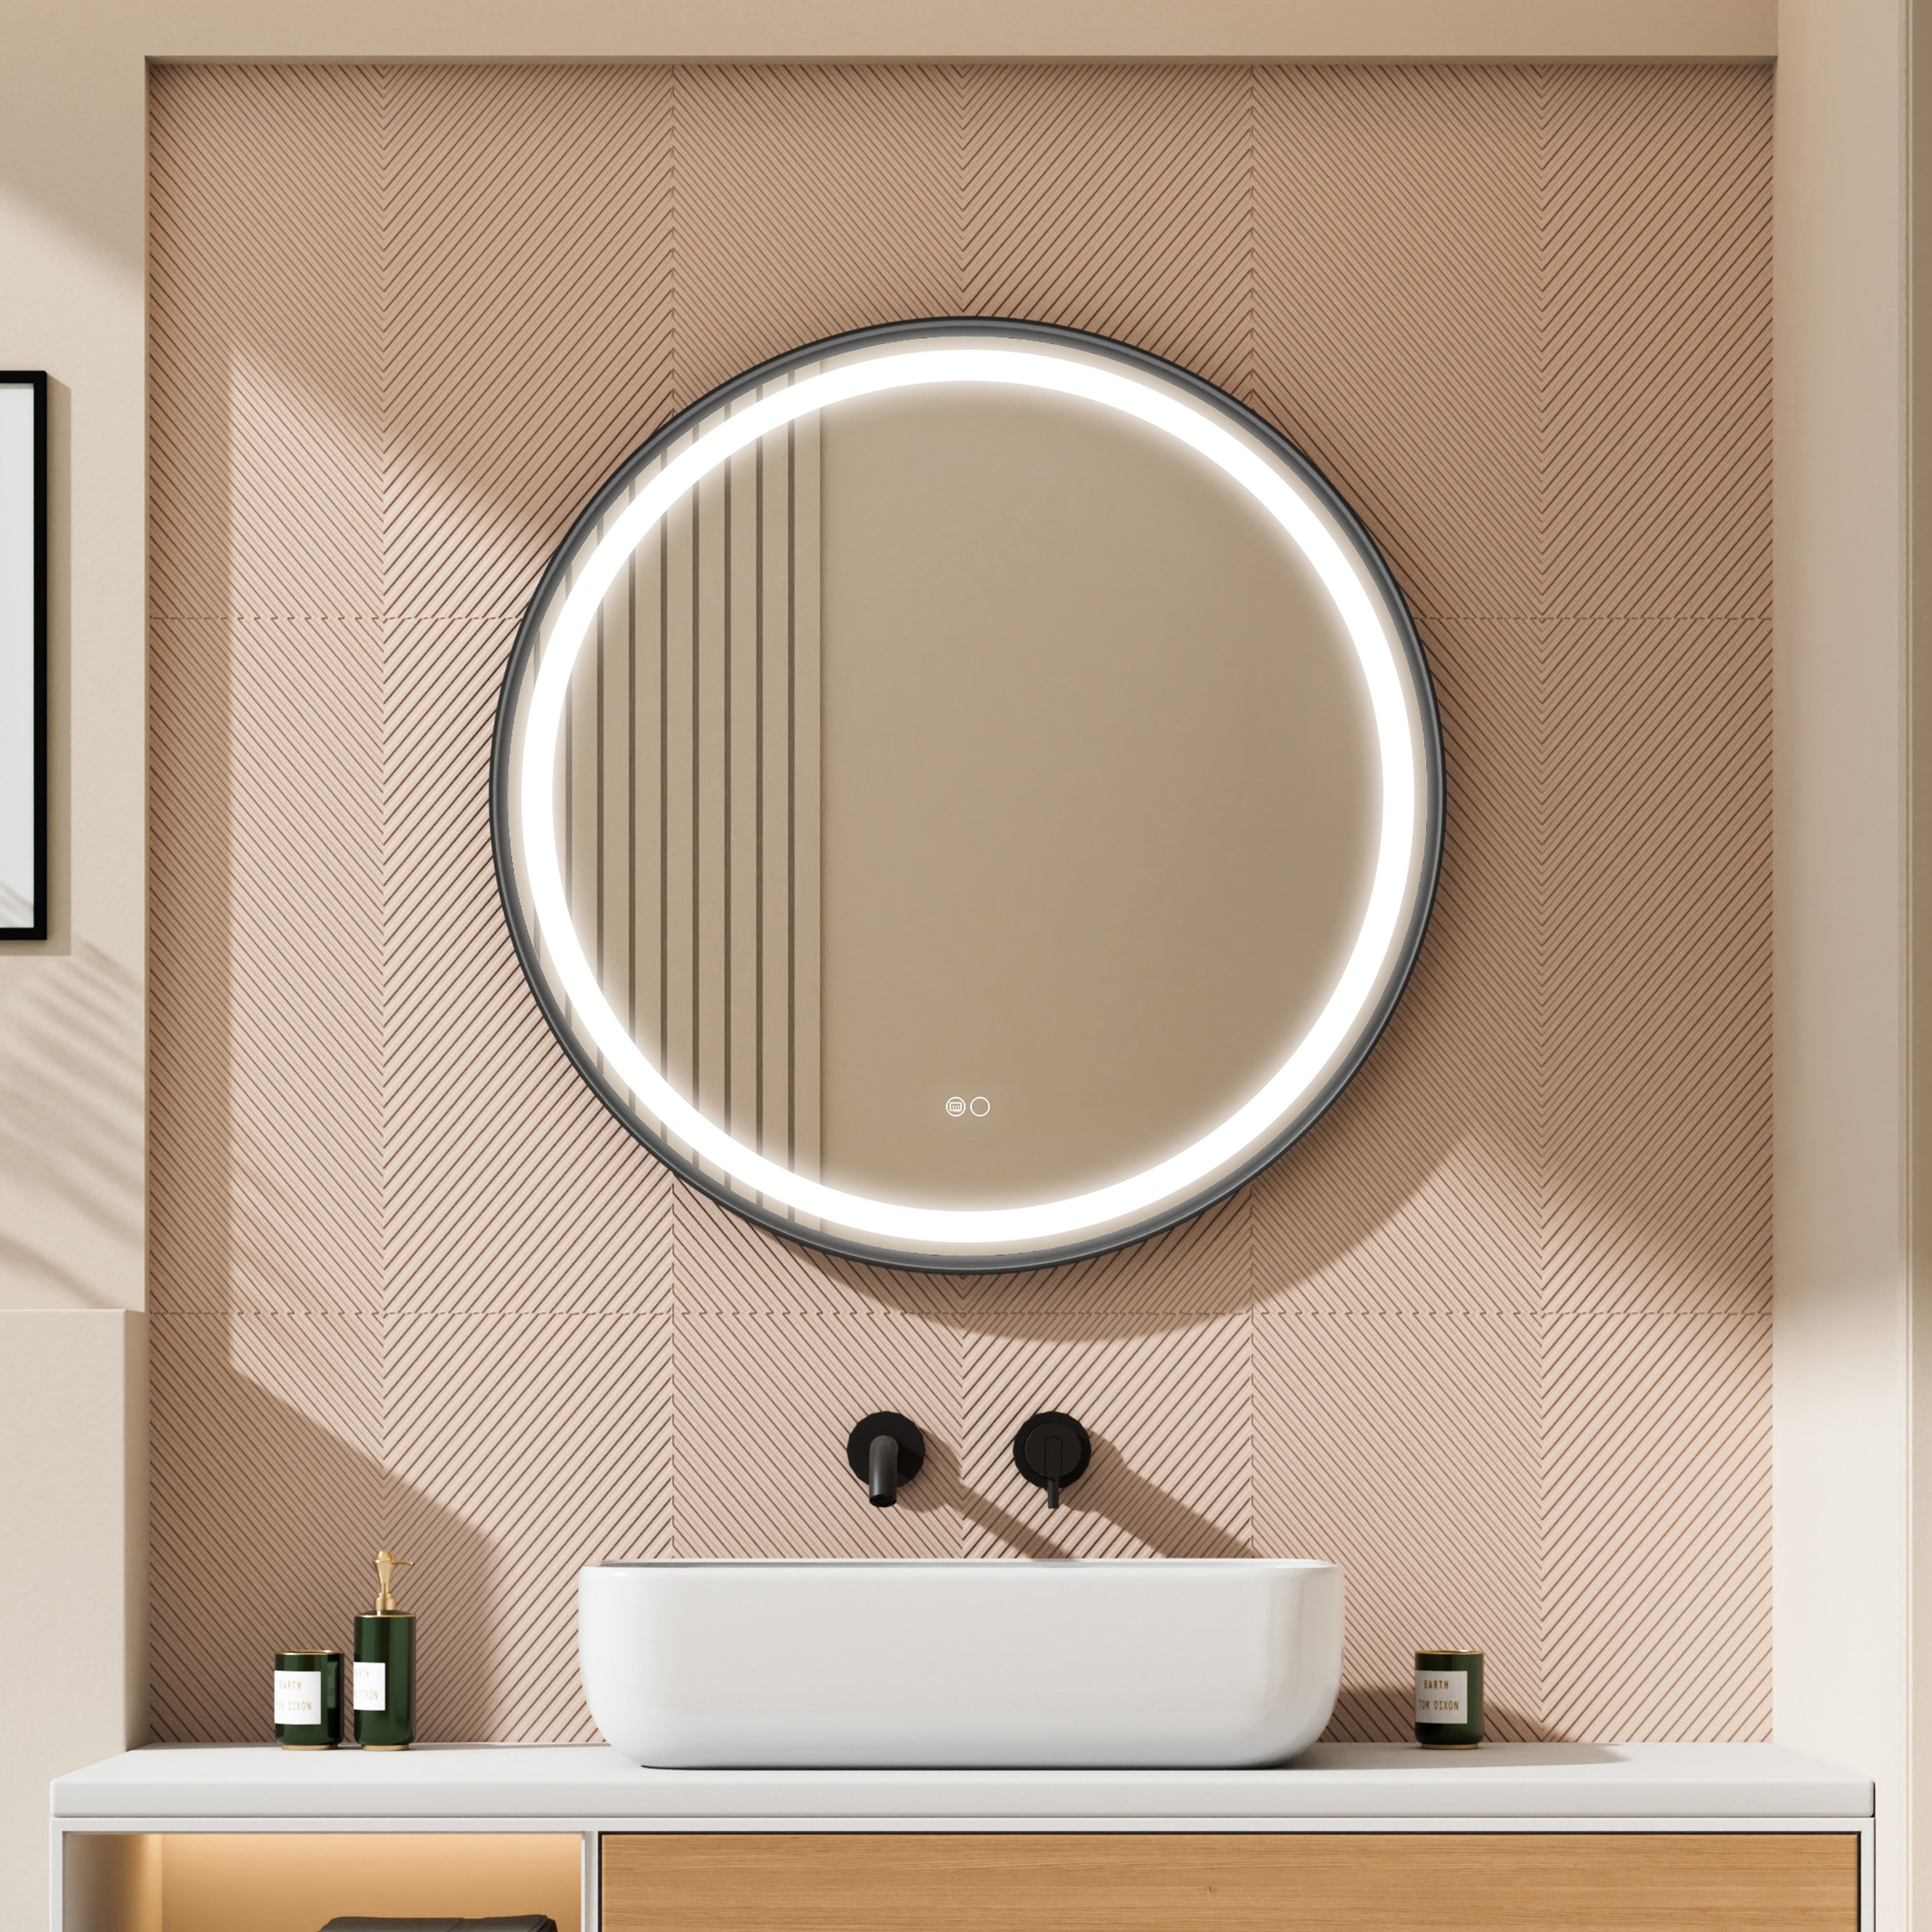
Consider the trend of black metal medicine cabinets. This color can add a modern touch to your bathroom.
Remember, the right paint can transform your cabinet and enhance your bathroom's overall aesthetic.
Painting Techniques for a Smooth Finish
Achieving a smooth finish requires the right technique.
Using a foam roller can help. It applies paint evenly, reducing the risk of drips.
For corners and edges, a fine-bristle brush is ideal. It allows for precision painting.
Remember to paint in one direction. This helps avoid streaks and gives a professional finish.
With patience and the right technique, you can achieve a smooth, streak-free finish on your metal medicine cabinet.
Reassembling and Caring for Your Cabinet
Once the paint is fully dry, it's time to reassemble.
Reattach the door and shelves using your labeled hardware.
Maintaining your newly painted cabinet is crucial. Regular cleaning with a soft cloth can keep it looking fresh.
Remember, touch-ups may be needed over time. Keep leftover paint for this purpose. Your metal medicine cabinet, with its new coat of paint, is now ready to serve you for many more years.
Final Thought: Enjoying Your Revamped Medicine Cabinet

Your metal medicine cabinet has been transformed. It's a testament to your DIY skills and creativity.
Don't stop here. There are countless other projects waiting for your touch. Enjoy the satisfaction of a job well done.
Quick Tips for a Successful Paint Job
- Always clean and sand the surface before painting.
- Use a primer designed for metal surfaces.
- Choose the right paint for durability and finish.
- Apply multiple thin coats for a smooth, even finish.
- Allow ample drying time between coats and before reassembly.












Leave a comment
This site is protected by hCaptcha and the hCaptcha Privacy Policy and Terms of Service apply.