


Installing a shower head may seem like a daunting task.
But with the right guidance, it's a task you can confidently tackle yourself.
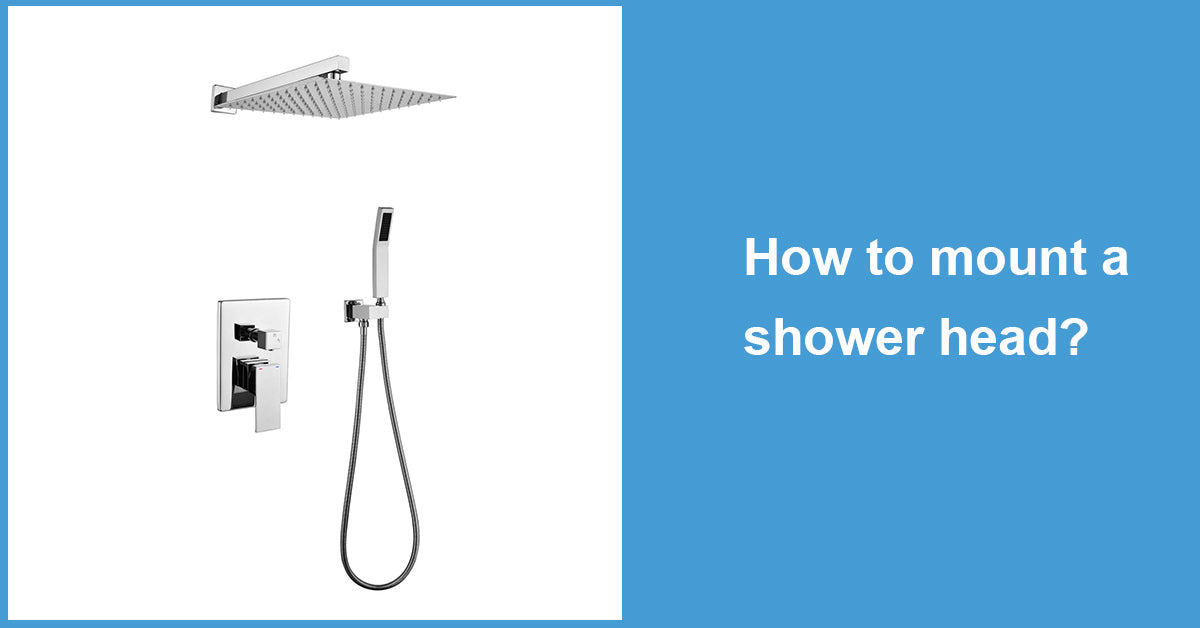
This article will provide you with a comprehensive, step-by-step guide on how high to mount a shower head. We'll focus on the correct mounting height and the benefits of a height adjustable shower head.
Whether you're a homeowner, a DIY enthusiast, or someone interested in home improvement, this guide is for you. We aim to equip you with practical advice to ensure your installation meets standard height requirements for optimal comfort and functionality.
By the end of this guide, you'll not only have a new shower head installed but also the satisfaction of having done it yourself.
Let's dive in and get started on your shower head installation journey.
Understanding the Basics of Shower Head Installation

Before you start the installation process, it's crucial to understand the basics.
Shower head installation involves removing the old shower head, preparing the shower arm, and attaching the new shower head.
Choosing the Right Shower Head for Your Bathroom
The first step in the process is choosing the right shower head for your bathroom.
Consider factors such as the size of your shower, the height of the users, and the desired spray pattern.
The Importance of Correct Mounting Height
Mounting height plays a significant role in the comfort and functionality of your shower.
The standard recommended height for mounting a shower head is 80 inches from the floor. However, this can be adjusted based on the height of the users and personal preference.
- For taller individuals, a higher mounting height may be more comfortable.
- For children or shorter individuals, a lower mounting height may be more suitable.
- A height adjustable shower head can cater to users of different heights, providing a more flexible solution.
by Zahra Amiri (https://unsplash.com/@zahraamiri_)
Tools and Materials You Will Need

Before you begin the installation process, gather all the necessary tools and materials.
Having everything at hand will make the process smoother and more efficient.
Here's a list of what you'll need:
- New shower head
- Adjustable wrench or pliers
- Teflon tape
- Rag or towel
- Optional: Plumber's tape or sealant
by Steven Ungermann (https://unsplash.com/@steveungermann)
Removing the Old Shower Head
The first step in your shower head installation is removing the old one.
This process is usually straightforward, but it can vary depending on the model.
Remember to be gentle to avoid damaging the shower arm.
Step 1: Unscrew the Old Shower Head
Start by using your hand to unscrew the shower head from the shower arm.
If it's too tight, use an adjustable wrench or pliers.
Step 2: Clean and Prepare the Shower Arm
Once the old shower head is removed, clean the shower arm.
Remove any old Teflon tape or sealant.
Ensure the threads are clean and ready for the new shower head.
Installing the New Shower Head
Now that the shower arm is prepared, it's time to install the new shower head.
This process will depend on the type of shower head you've chosen.
Whether it's a height adjustable shower head or a fixed model, the steps are similar.
Always follow the manufacturer's instructions for best results.
Step 3: Apply Teflon Tape
Before attaching the new shower head, apply Teflon tape to the shower arm threads.
This helps create a watertight seal and prevents leaks.
Step 4: Attach the New Shower Head
Now, screw the new shower head onto the shower arm.
Turn it clockwise until it's snug, but be careful not to over-tighten.
A secure fit ensures optimal performance and longevity of your shower head.
Final Steps and Testing
With the new shower head installed, it's time to test your work.
Turn on the water and observe the flow from the shower head.
Look for any leaks at the connection point.
If everything looks good, your shower head installation is complete.
Step 5: Check for Leaks and Perform Adjustments
If you notice any leaks, turn off the water and tighten the shower head a bit more.
Remember, it's important not to over-tighten as this can damage the threads.
Once the leaks are fixed, adjust the height and angle of the shower head as needed for a comfortable shower experience.
Troubleshooting Common Installation Issues
Sometimes, despite your best efforts, you may encounter issues during the installation process.
Common problems include persistent leaks, low water pressure, or the shower head not fitting properly.
In such cases, re-check your installation steps, ensure the Teflon tape is properly applied, and confirm that the shower head is compatible with your existing plumbing.
Maintaining Your New Shower Head
Once your shower head is installed, regular maintenance is key to its longevity.
This includes cleaning it periodically to prevent mineral buildup, especially in areas with hard water.
Also, inspect it for leaks or drips that could indicate a need for tightening or replacement of parts.


Leave a comment
This site is protected by hCaptcha and the hCaptcha Privacy Policy and Terms of Service apply.