


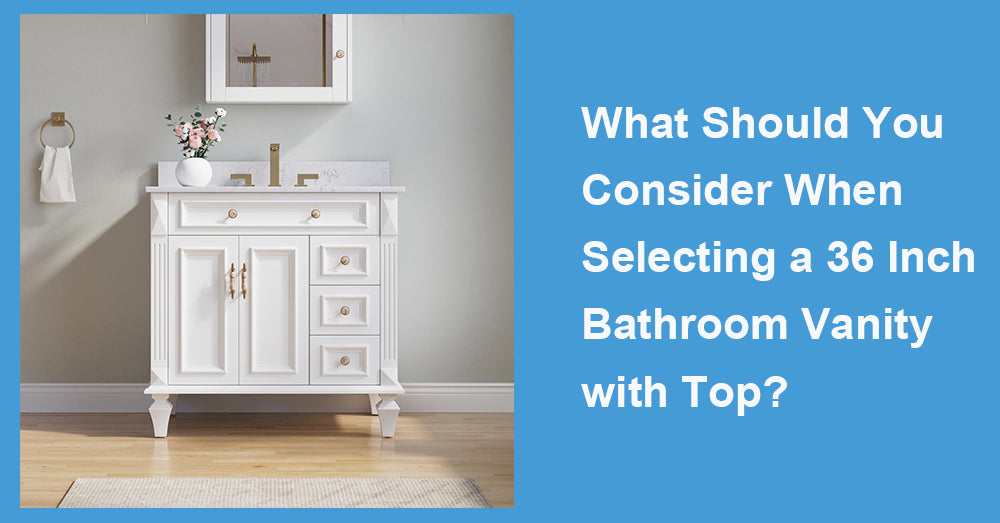
A 36 inch bathroom vanity with top is often the sweet spot for a single-sink bathroom: large enough to feel substantial and provide real storage, but compact enough to fit many standard layouts. The “right” choice, though, isn’t just about the cabinet color or countertop pattern—it’s about matching dimensions, plumbing realities, countertop material performance, and daily usability (drawer clearance, cleaning, lighting, and who uses the sink). Use the checkpoints below to choose a vanity that looks intentional on install day and still feels effortless years later.
1. Confirm the Fit: Measure the Room Like an Installer
Before comparing styles, take four measurements:
1. Wall width available (including trim and tile borders)
2. Depth you can tolerate without crowding the walkway
3. Plumbing location (drain centerline and supply valves)
4. Door and drawer clearance (especially if a bathroom door swings inward)
A 36" vanity can feel cramped if the room is narrow and the vanity is too deep. Many “standard” vanity depths fall around 20–21 inches, which is widely cited as a functional balance between storage and clearance. If your bathroom is tight, consider a shallower cabinet (often 18" depth is used in compact layouts), but recognize you may give up drawer capacity.
2. Height Matters More Than People Think
Vanity height affects comfort every day. Many bathroom vanities land in a 30–36 inch overall height range, with “comfort height” commonly described as 34–36 inches.
How to decide quickly:
· If most users are adults (especially taller adults), comfort height often feels better because it reduces bending.
· If the bathroom is used frequently by kids, a slightly lower height can be easier (but many households still prefer comfort height and add a step stool when needed).
Also verify whether the stated height includes the top and sink. Some listings show cabinet-only height, while others list finished counter height.
3. Decide Sink Type First (It Determines Top and Storage Choices)
A “vanity with top” usually comes with one of these sink setups:
Integrated sink top (cultured marble / solid surface style)
Pros: fewer seams, easy wipe-down, often cost-effective.
Cons: fewer customization options; sink shape is fixed.
Undermount sink (often paired with quartz or stone tops)
Pros: clean edge, easy to wipe crumbs/water into the bowl.
Cons: requires a separate countertop; installation quality matters.
Vessel sink
Pros: strong design statement.
Cons: often forces higher faucet/height decisions; can reduce usable counter space and increase splash if not planned carefully.
Storage note: If you want maximum usable storage in a 36" vanity, look for a layout with drawers (or a U-shaped drawer around plumbing). Doors-only configurations tend to waste vertical space.
4. Countertop Material: Choose for Real Bathroom Use, Not Just Looks
A vanity top lives in a wet, stain-prone zone (toothpaste, makeup, hair dye, cleaners). Pick a material that matches your tolerance for maintenance.
Quartz / engineered stone (low maintenance mindset)
Quartz is commonly promoted for stain resistance because it’s non-porous compared with many natural stones. Some suppliers cite extremely low absorption figures (often tested under ASTM C97).
Practical expectation: easier daily care, fewer “oops” moments from cosmetics and cleaners.
Marble and other natural stones (high-end look, higher care)
Natural stones vary widely. A Natural Stone Institute continuing-education module notes that absorption values can range significantly—for example, it cites about 0.20% for marble in one discussion of stone testing.
Practical expectation: beautiful, but more sensitive to acids/etching and staining depending on the specific stone and finish. If you love the look, plan to seal as recommended and wipe spills quickly.
Solid surface / cultured marble tops
Commonly used in vanity packages; tends to be practical and easy to clean with fewer seams, though it can scratch depending on use and cleaning habits.
Bottom line: For a “set it and forget it” bathroom, lean quartz/engineered tops; for a “spa-luxury” look, natural stone can be worth it if you accept the care routine.
5. Plan Clearances for Comfort and Accessibility
Even without designing to formal accessibility standards, the measurements are useful for comfort.
The ADA guide for lavatories and sinks shows common requirements such as 30 inches minimum width for knee/toe space and 17–25 inches maximum depth from the leading edge of clear floor space in certain configurations. It also illustrates how clear floor space and knee/toe clearance relate to usability.
How to use this as a homeowner/designer:
· Ensure you have enough standing space in front of the vanity so you’re not “pinched” between the vanity edge and a toilet or door.
· Avoid choosing an extra-deep top if the walkway is already tight.
6. Don’t Overlook Plumbing Compatibility
A 36" vanity swap often becomes expensive when plumbing doesn’t line up with the drawer layout or sink position.
Before buying, confirm:
· Drain location relative to sink center (especially if the vanity has drawers)
· Supply valve height and lateral position (so drawers don’t crash into valves)
· Whether you need an offset drain or modified trap to preserve drawer function
If you’re renovating anyway, shifting plumbing is possible—but it’s better to decide early rather than “discover” the conflict after delivery.
7. Storage Design: What Makes a 36" Vanity Feel Bigger Than It Is
A 36" vanity can either feel generous or cramped depending on internal design.
Look for:
· Full-extension drawer slides (so you can actually reach the back)
· Soft-close hardware (less wear, quieter daily use)
· A top drawer configuration that doesn’t waste space (U-cut or split drawers can be a win)
Also consider how you really store items:
· Daily essentials (toothbrush, skincare) should be reachable without digging.
· Cleaning supplies and backups can live behind doors.
If the top includes an integrated sink with limited counter area, prioritize drawers because counter “staging space” is smaller.
8. Style Choices That Make a 36" Vanity Look Custom
To make a standard size feel high-end:
· Choose hardware that matches your faucet finish.
· Add a backsplash (if the top doesn’t include one) to protect the wall and make the installation look finished.
· Pair with a mirror sized intentionally to the vanity width (too small makes the vanity look oversized; too large can look crowded).
Quick Checklist Before You Buy
· Depth: aim around 20–21 inches unless space is tight.
· Height: expect 30–36 inches, with 34–36 inches often described as comfort height.
· Top type: integrated vs. separate countertop + sink; decide based on seams, cleaning, and customization.
· Countertop performance: quartz/engineered options often cite very low absorption testing; natural stone absorption varies and can require more care.
· Clearances: keep comfortable space in front; ADA sink layout guidance is a useful reference for clear floor space and knee/toe concepts.
· Plumbing: confirm drain/supply alignment with drawers and sink location before ordering.

Conclusion
A 36-inch vanity with top can be the most efficient way to upgrade function and style in one step—if you choose based on real constraints: depth and walkway comfort, finished height, sink/top configuration, countertop durability, and plumbing alignment. Get those fundamentals right, and the vanity will feel “perfect” not because it’s trendy, but because it works smoothly every day.


Leave a comment
This site is protected by hCaptcha and the hCaptcha Privacy Policy and Terms of Service apply.