


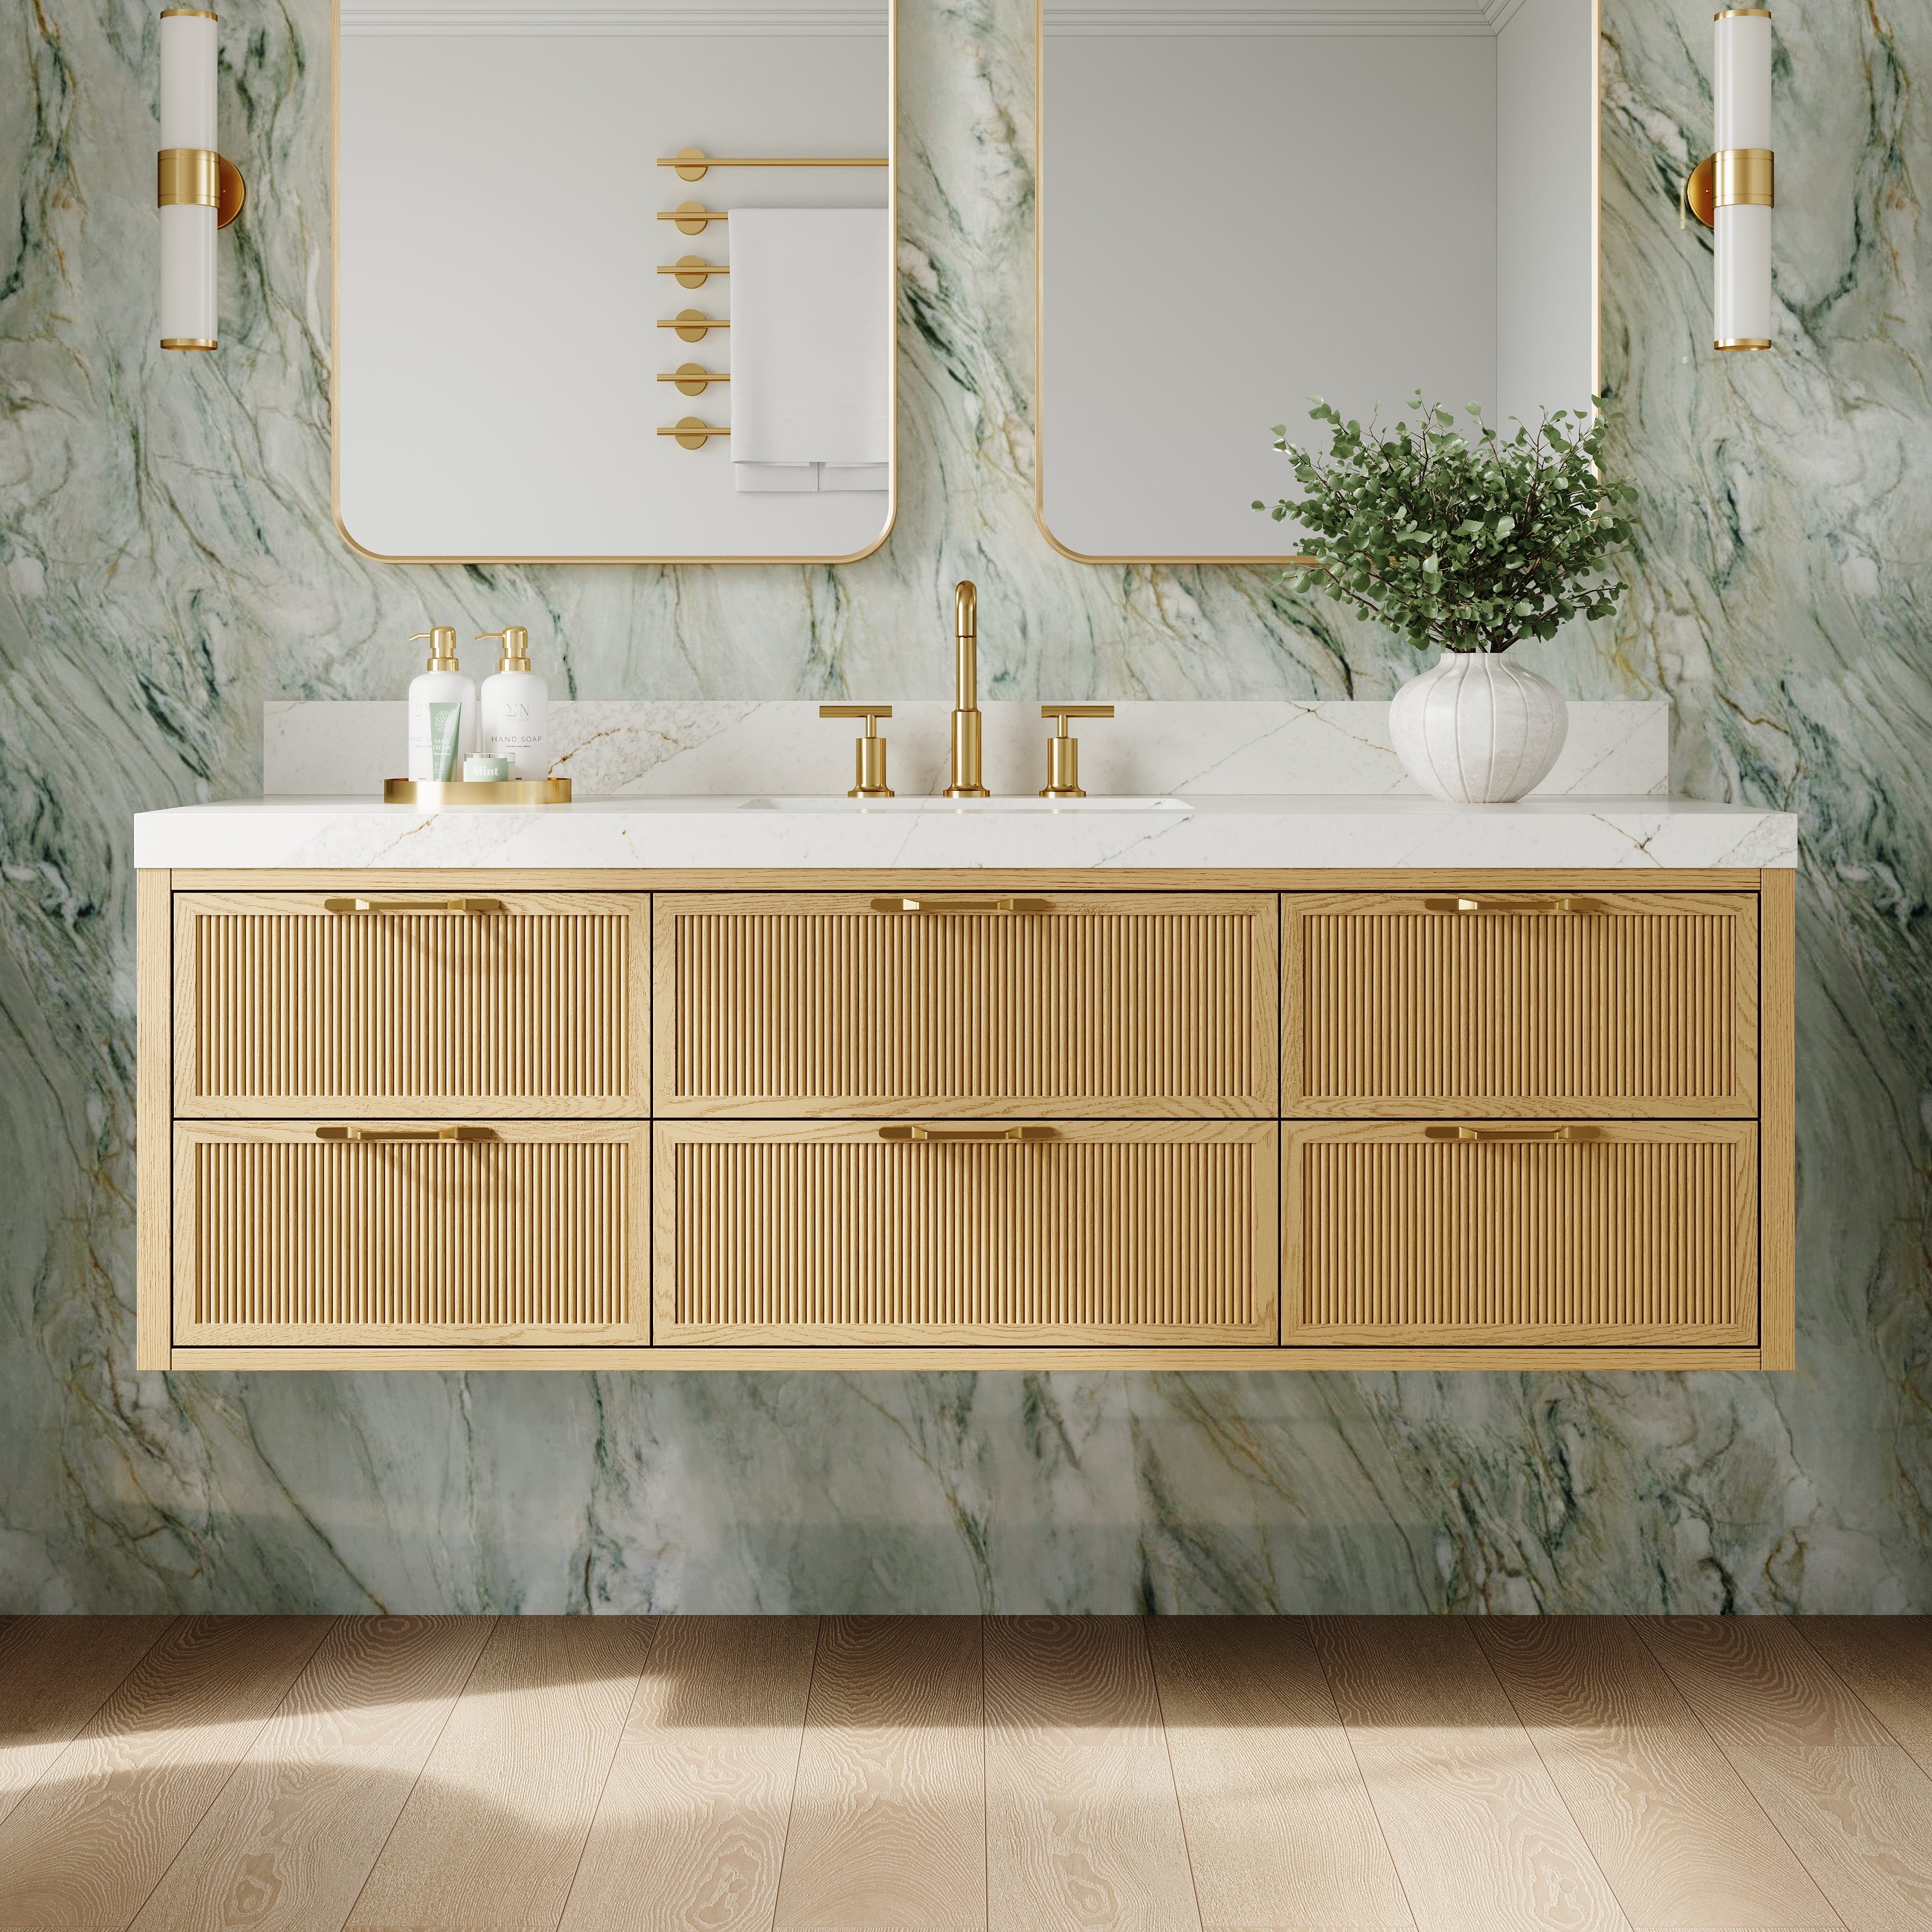

A real wood vanity can look showroom-clean for years if you treat daily splashes as a moisture-timing problem: reduce how long water sits on the surface, keep humidity swings from staying high, and use cleaning methods that do not slowly erode the finish. Wood is hygroscopic, meaning it absorbs and releases moisture in response to the surrounding air, and finishes only slow that exchange, they do not stop it completely. (Source: USDA Forest Products Laboratory, Wood Handbook: Wood as an Engineering Material, moisture relations.)
Below is a realistic routine designed for common factory-finished wood vanities (clear coated, stained and sealed, or painted with a protective topcoat). Always follow any care sheet provided by the manufacturer first, especially for specialty finishes.
1. The core idea: “Remove liquid water fast, reduce long damp time”
Most visible wear comes from repeated cycles of splash, wipe, and air-dry that leave minerals, toothpaste residue, and cleaner film near seams and edges. Over time, that buildup dulls the finish and can encourage water to creep into joints. Many cabinet-care guides stress that excessive moisture and prolonged water contact can damage finishes and that drying after cleaning matters. (Source: MasterBrand Cabinets, care and cleaning guidance.)
The goal is simple:
· No puddles.
· No damp seams.
· No harsh chemicals that soften or scratch the protective film.
2. Daily routine (30 to 60 seconds, actually doable)
Do this once at night or after peak bathroom use.
Step A: Wipe splash zones
· Front edge of the countertop overhang.
· Door and drawer edges closest to the sink.
· The toe-kick area where drips hide.
Step B: Dry the edges, not just the flat face
Use a soft microfiber cloth and give 5 seconds to the lower edges and seams. Water lingers there and that is where swelling and darkening often begins.
Step C: Quick leak check inside the sink base
Open the doors and look for dampness around the trap and supply lines. A slow drip causes more long-term damage than normal splashes.
Why this works: liquid water can enter wood and joints much faster than humidity changes alone, especially at exposed edges and end grain. (Source: USDA Forest Products Laboratory, Wood Handbook, liquid water absorption and moisture movement discussion.)
3. Humidity control (the “invisible” maintenance that prevents warping and haze)
Even a perfect cleaning routine struggles if the bathroom stays steamy for long periods. General indoor guidance often targets keeping relative humidity below about 60% to reduce mold and condensation risk. (Source: U.S. Environmental Protection Agency, indoor air quality and moisture guidance.)
Practical habit: run the exhaust fan during showers and keep it running afterward to clear humidity. Ventilation organizations commonly recommend continuing fan operation for about 20 minutes after showering to remove moisture. (Source: Home Ventilation Institute guidance widely cited in bathroom ventilation education materials.)
If you want a simple measurement target, aim for a bathroom humidity level that returns close to the rest of the home within 20 to 30 minutes after showering. If mirrors stay fogged and surfaces stay wet, the cabinet is living in a high-moisture microclimate.
4. Weekly cleaning (5 to 10 minutes)
This is where you remove buildup before it turns into dullness.
Best practice: minimal water, mild cleaner, immediate drying
· Dust first with a dry microfiber cloth.
· Wipe with a slightly damp cloth (warm water).
· If needed, add a small amount of mild dish soap to the water.
· Wipe again with a clean damp cloth to remove soap film.
· Dry immediately.
Cabinet manufacturers commonly advise gentle cleaning and warn against abrasive tools and harsh cleaners because they can scratch or degrade finishes. (Source: MasterBrand Cabinets, care guidance; similar guidance appears across multiple cabinet makers.)
5. What to avoid (these cause “mystery” dullness and finish failure)
These products can quietly shorten finish life, even if they look fine at first.
Avoid:
· Abrasive powders and scouring pads.
· Tub and tile cleaners and strong degreasers.
· Bleach- or ammonia-heavy cleaners used repeatedly.
· Solvent-heavy sprays that strip protective coatings over time.
· Magic-eraser style abrasives on finished wood (they can micro-scratch and create a permanent haze).
Many cabinet-care resources explicitly list abrasives and harsh cleaners as “do not use” items due to finish damage risk. (Source: MasterBrand Cabinets and other manufacturer care bulletins.)
6. Monthly inspection (10 to 15 minutes) to catch problems early
A vanity usually fails slowly at predictable spots. Once a month, look and touch-check these areas:
A. Sink base floor and corners
If you see staining or swelling, moisture is lingering. Add a simple removable liner or mat, but replace it if it stays damp.
B. Door bottoms and drawer lower edges
These are the most exposed “drip edges.” If the finish looks rough or dull there, your daily drying routine is not reaching the right spot.
C. Hardware bases (knobs, pulls, hinges)
Water can creep behind hardware and discolor the finish. Wipe and dry hardware, too.
D. Caulk and backsplash seams
If the caulk line is cracked, water migrates behind surfaces and stays there. Re-caulking is cheap insurance compared to cabinet repair.
7. Quarterly deep-clean (15 to 30 minutes) without harming the finish
Every 3 months, do a slightly more thorough clean to remove accumulated film.
· Use mild soap solution, not heavy sprays.
· Use a soft toothbrush for tight corners (light pressure).
· Wipe with clean water, then dry completely.
· Tighten loose hardware.
· Vacuum dust inside the cabinet and around hinge plates.
If you notice sticky residue, it is often cleaner buildup, not “bad finish.” The fix is usually less product and better rinse-and-dry, not stronger chemicals.
8. Seasonal routine (twice per year): keep wood movement gentle
Wood responds to seasonal humidity changes by moving toward equilibrium moisture content. (Source: USDA Forest Products Laboratory, Wood Handbook, EMC concepts.) You cannot stop that movement, but you can reduce stress by keeping indoor humidity in a moderate band and avoiding extreme steam accumulation.
Seasonal checklist:
· Confirm exhaust fan performance (airflow feels strong, grille is clean).
· Clean the fan grille and check that the room clears humidity faster.
· If the bathroom is frequently damp, consider longer fan runtime habits.
9. Quick “damage control” if something goes wrong
If water pooled or a leak happened:
1. Dry the surface and seams immediately.
2. Open doors and drawers to air out the box.
3. Run the exhaust fan to pull humidity down faster.
4. Do not scrub with harsh cleaner to “fix” the spot.
If you see a white haze ring:
This can happen when moisture temporarily disrupts the finish surface. Stop using chemicals on the area and consult the manufacturer’s touch-up method for that finish type. Some finishes recover as the moisture leaves; aggressive rubbing can make it worse.
10. The simple routine summary you can paste on a note
Daily: wipe splashes, dry seams and edges, quick leak check.
Weekly: mild wipe-down, rinse, dry.
Monthly: inspect sink base, edges, hardware, caulk lines.
Quarterly: gentle deep clean, tighten hardware, vacuum dust.
Seasonal: confirm ventilation habits and fan performance.

Bottom line
A real wood vanity stays premium-looking when you shorten “water time on surface,” avoid finish-damaging cleaners, and keep bathroom humidity from staying high after showers. With consistent wiping and drying, gentle weekly cleaning, and a monthly inspection of the sink base and edges, you prevent the common long-term issues: dull haze, dark seams, edge swelling, and finish breakdown.


Leave a comment
This site is protected by hCaptcha and the hCaptcha Privacy Policy and Terms of Service apply.