

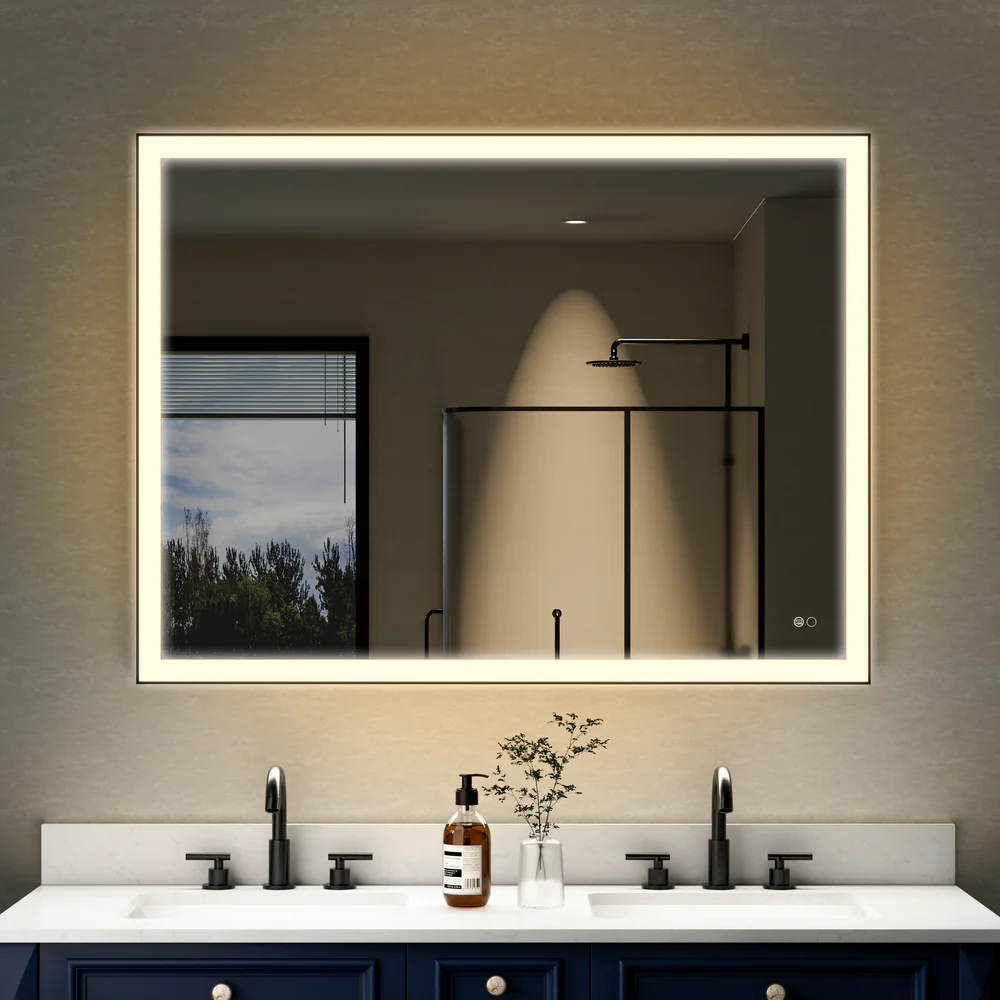
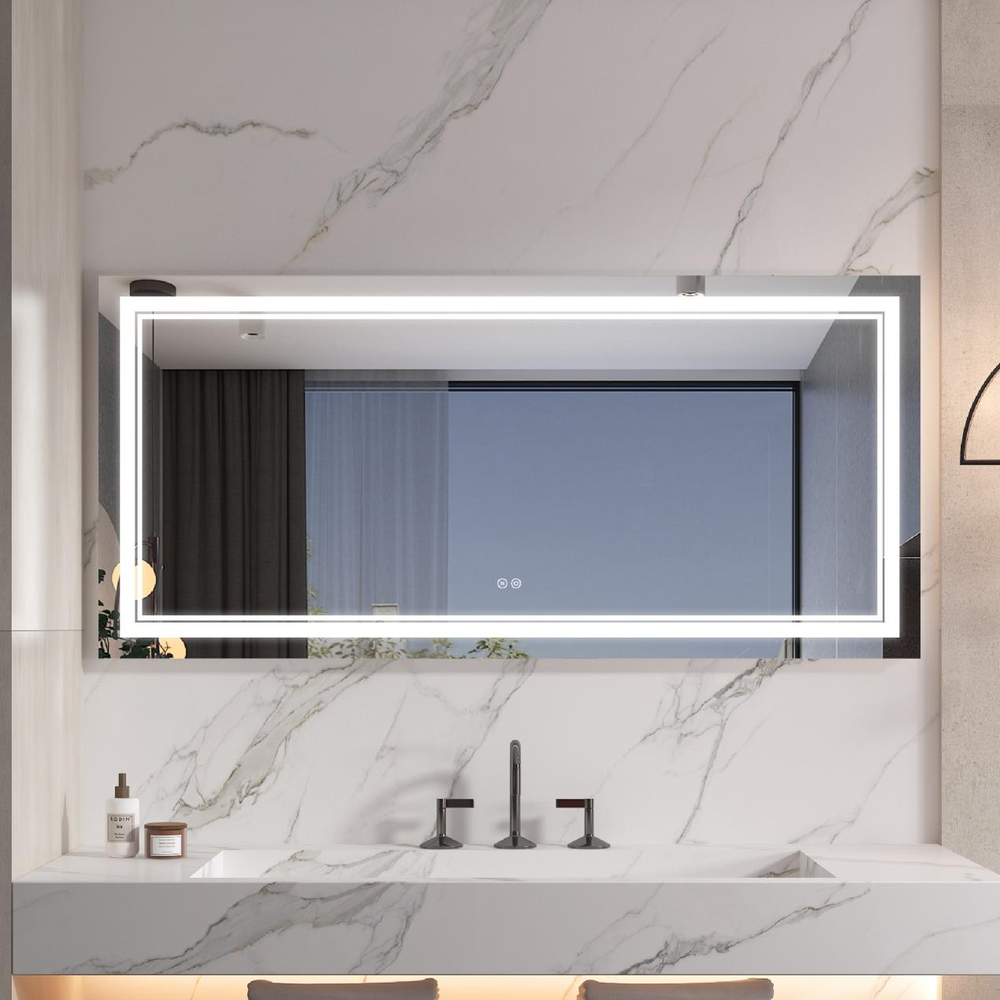
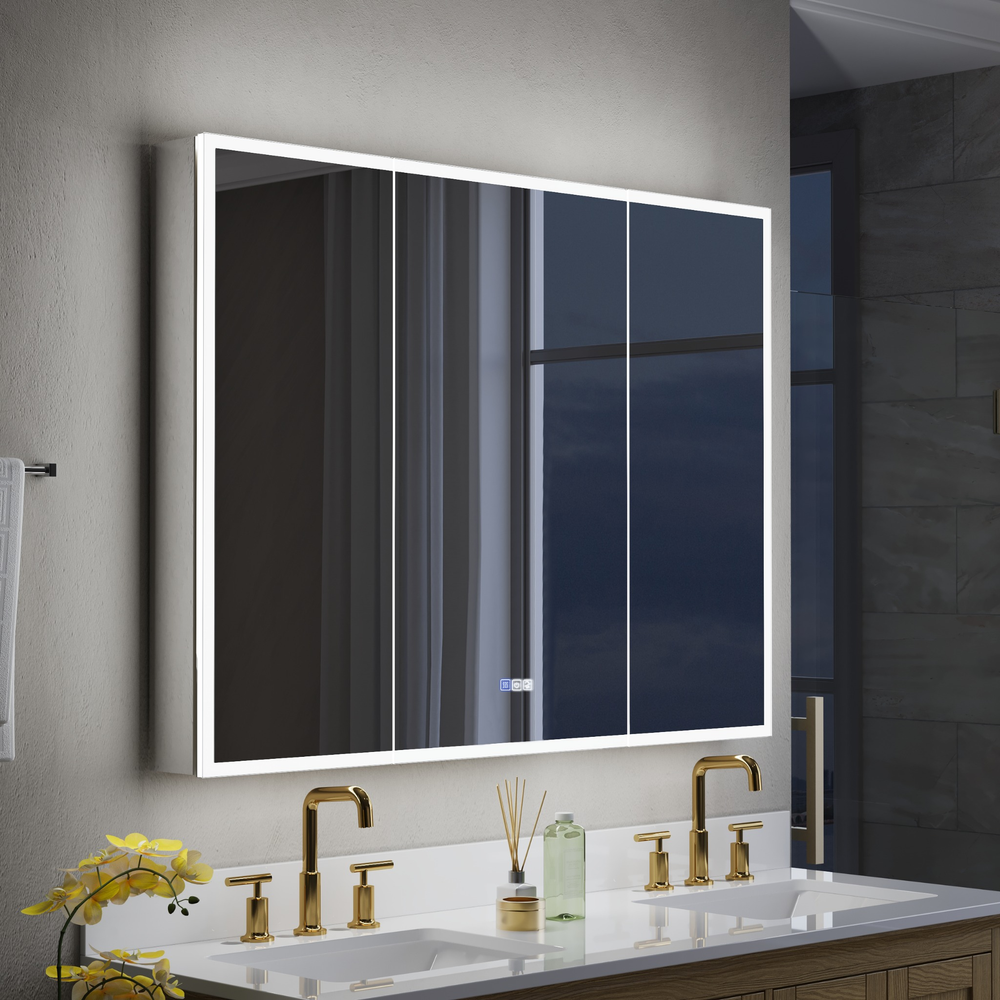
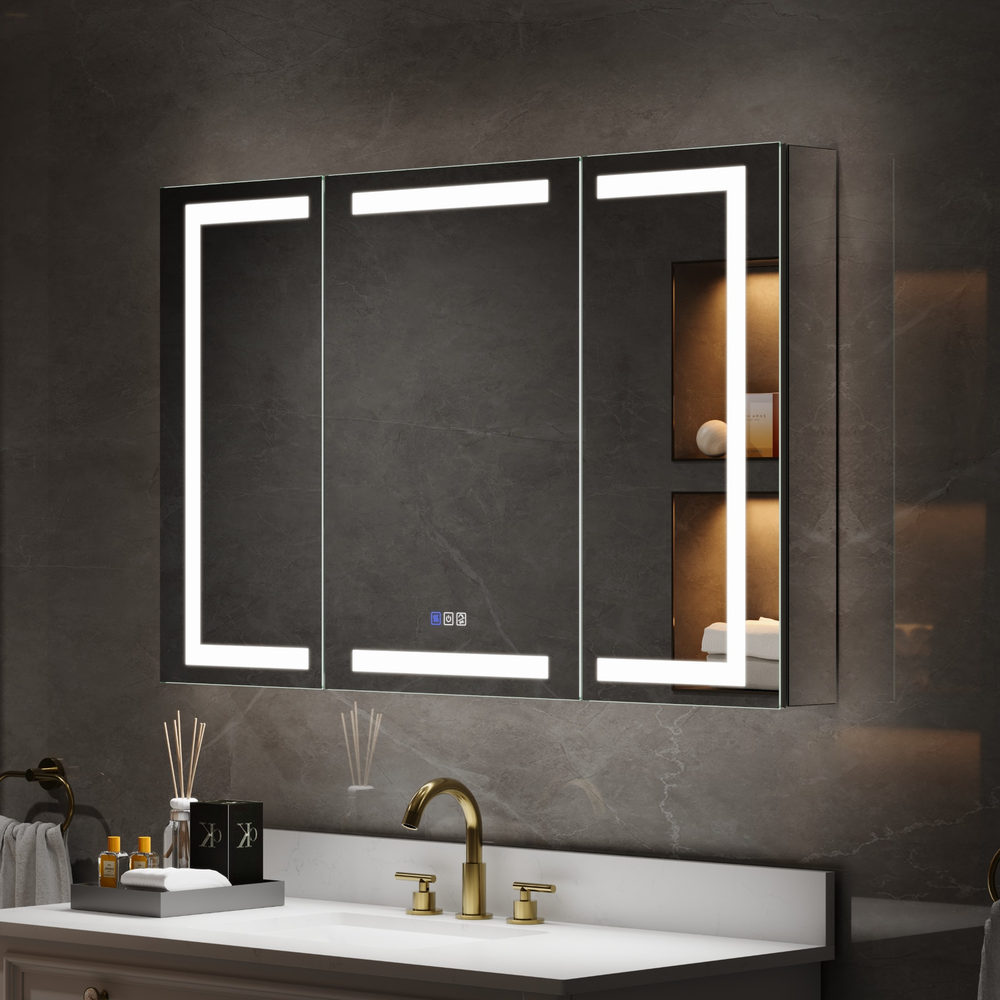


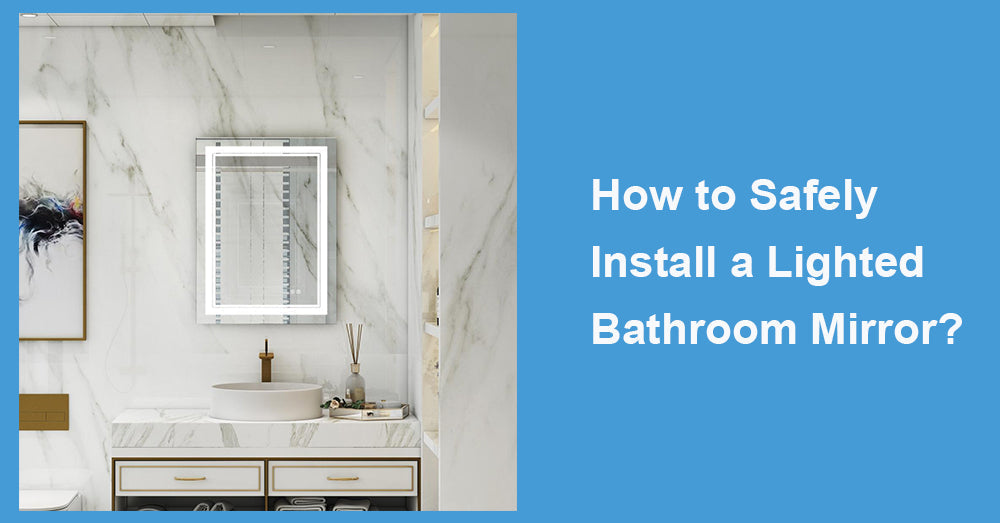
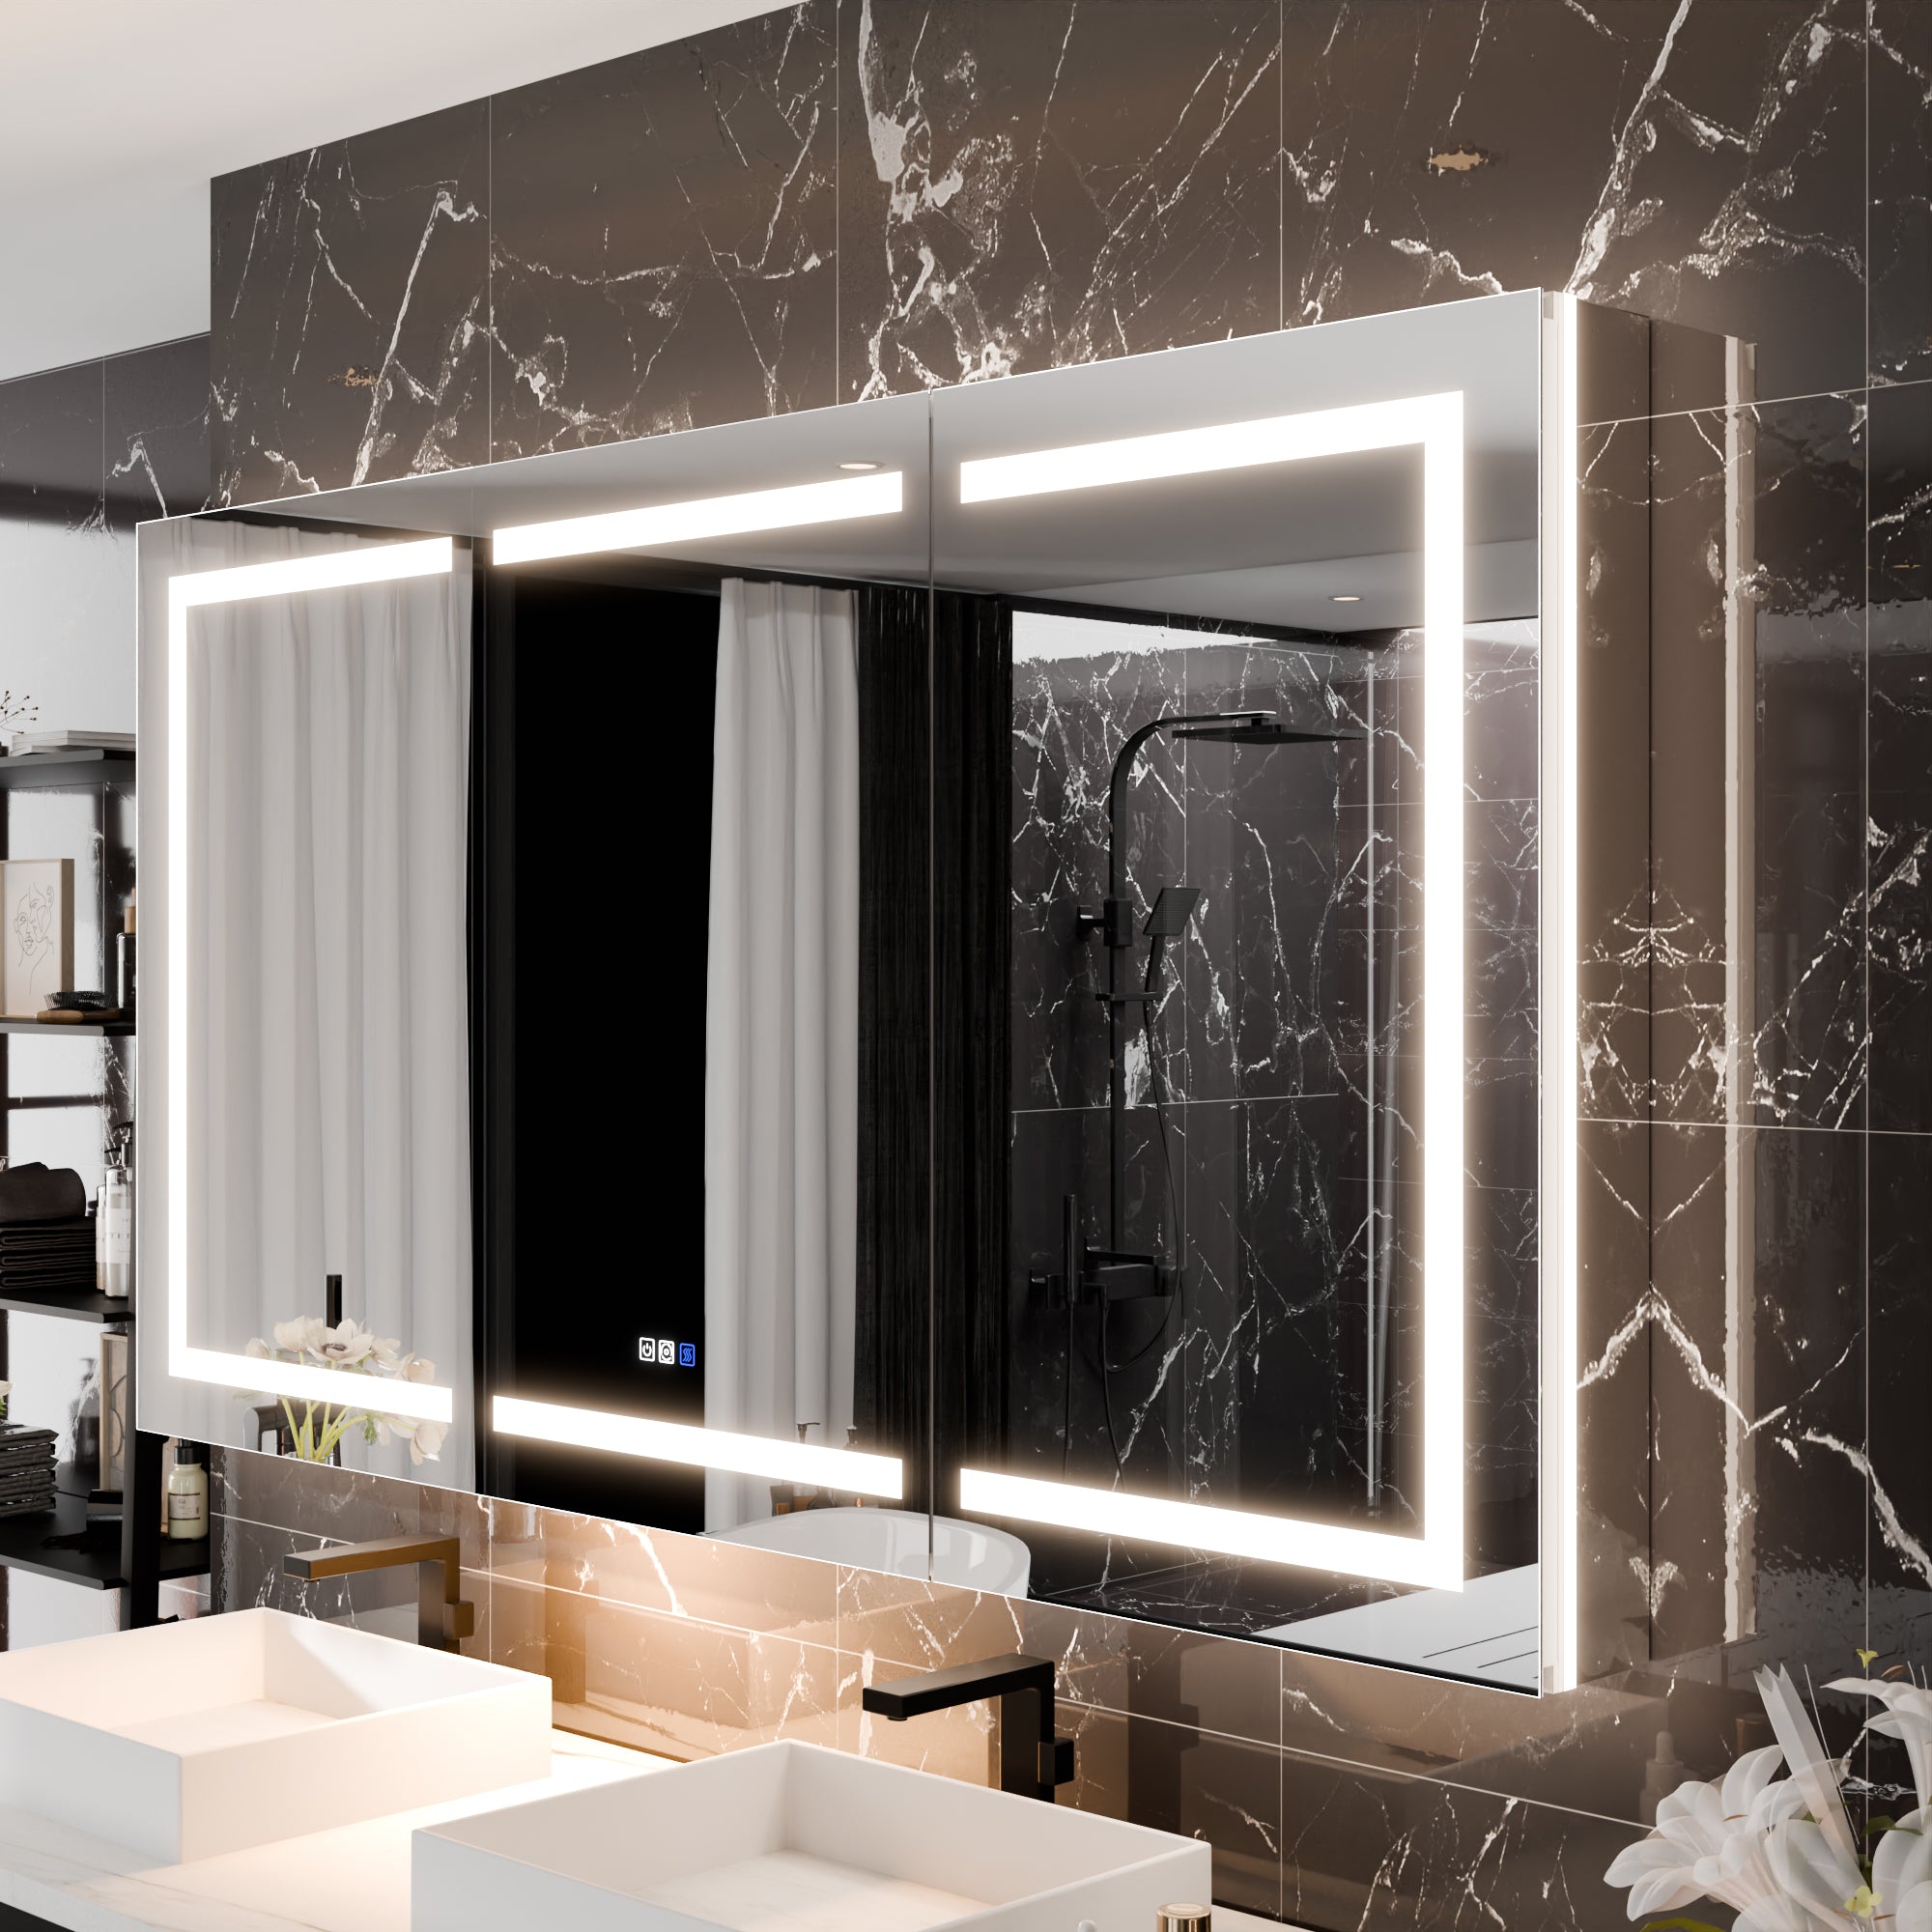
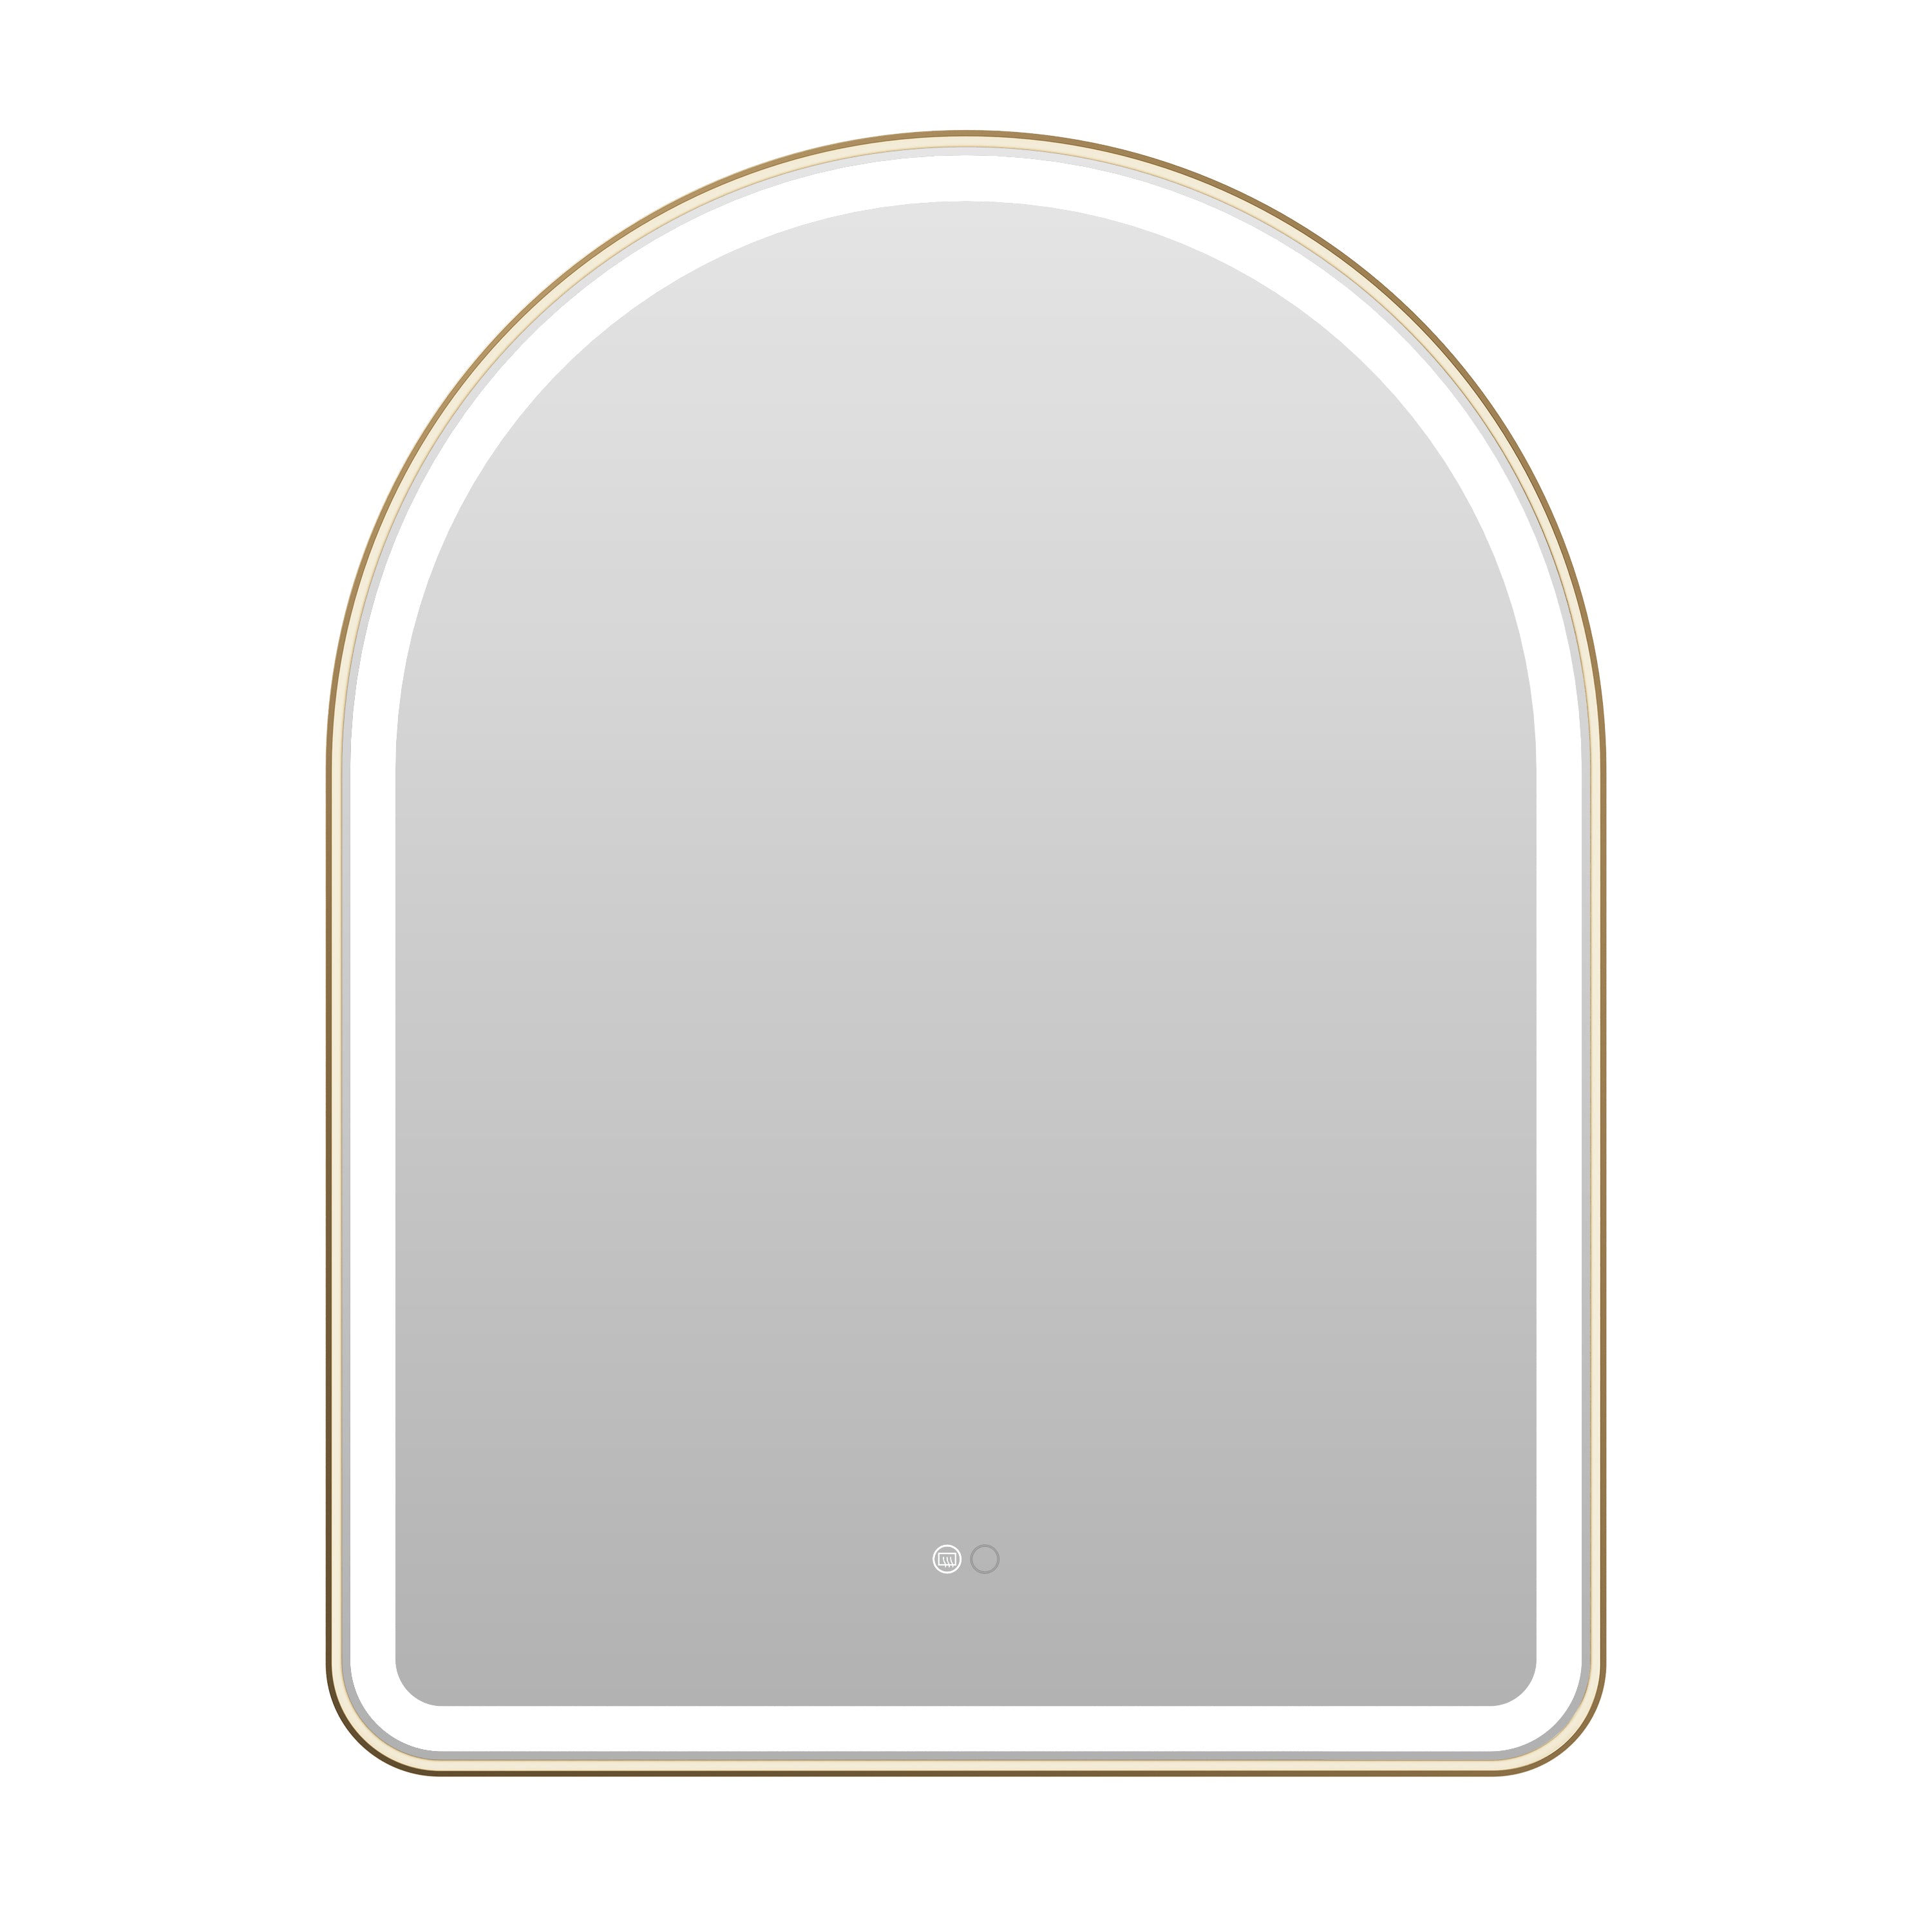
Installing a lighted bathroom mirror is not complicated in principle, but it does require careful planning around electrical safety, wall structure, and moisture conditions. After more than 20 years working with bathroom fixtures and renovation projects, I’ve seen most installation issues come from rushing the setup rather than the product itself.
A clean-looking mirror on the wall is the final result. What happens behind the wall matters just as much.
1. Before You Install: Check Power, Wall, and Layout
The first step is not tools—it is preparation.
Most lighted mirrors are either hardwired or plug-in models. Hardwired versions offer a cleaner appearance, but they must connect to a properly rated junction box. Plug-in models are easier for retrofit bathrooms, but outlet placement becomes critical.
Before anything is mounted, confirm:
There is a nearby GFCI-protected outlet (for plug-in models.
Or a properly installed junction box (for hardwired models)
The wall surface is flat and structurally solid.
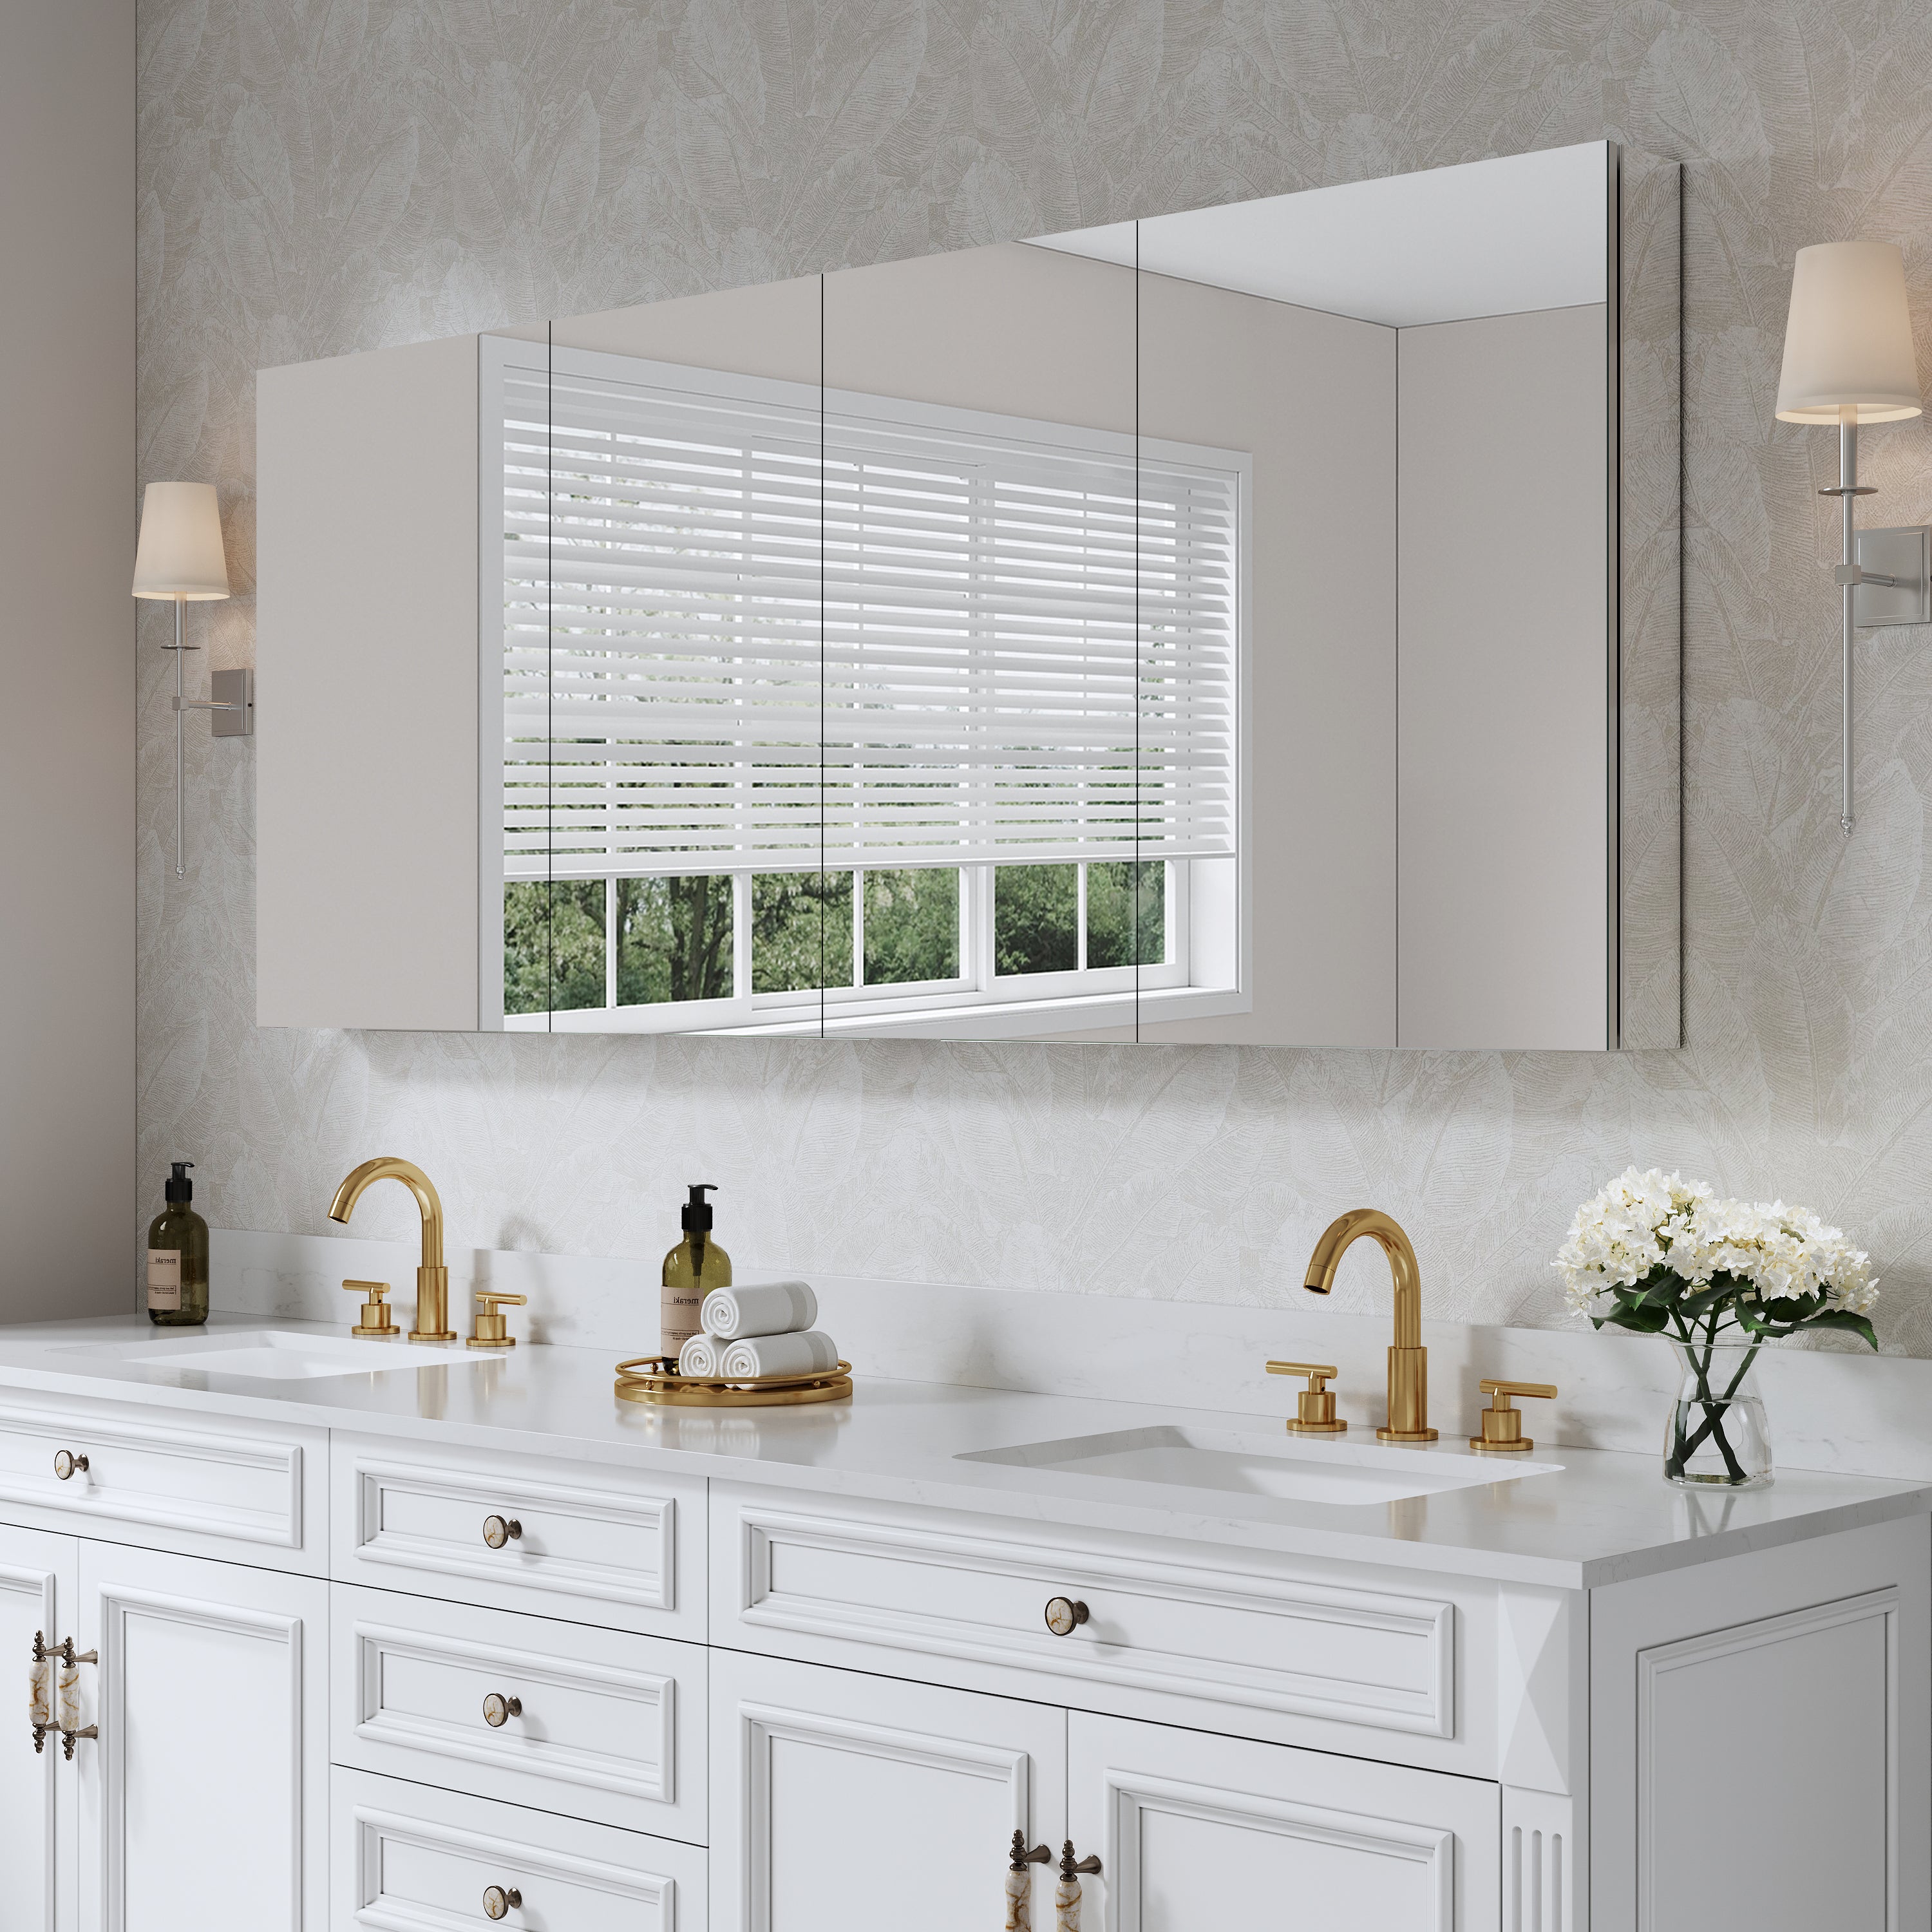
Mirror size matches vanity width and lighting coverage needs.
I always recommend dry-fitting the mirror first. Hold it in position or mark it with painter’s tape. This helps determine whether the light will evenly illuminate the face at a typical standing distance.
One mistake I often see is homeowners assuming the mirror position is flexible once the wiring is done. In reality, electrical location usually defines final placement.
2. Understanding Wiring: Safety Comes First
When dealing with any lighted bathroom mirror, electrical safety is not optional.
Hardwired installation should always follow the local electrical code. If there is any uncertainty, a licensed electrician should handle the connection. Bathroom environments combine electricity and moisture, which increases risk if connections are poorly sealed or improperly grounded.
A typical setup involves:
Turning off the power at the breaker
Confirming voltage compatibility (usually 110–120V in residential use)
Connecting line, neutral, and ground wires correctly
Securing all connections inside the junction box
Never leave exposed wiring behind the mirror cavity. Even if the mirror appears stable, exposure to hidden moisture can cause long-term issues.
Well, lighted mirror models are designed for standard residential wiring configurations, but the installation method still needs to follow safe electrical practice rather than assumptions.
3. Mounting the Mirror Correctly on the Wall
Once wiring is prepared, the physical mounting begins.
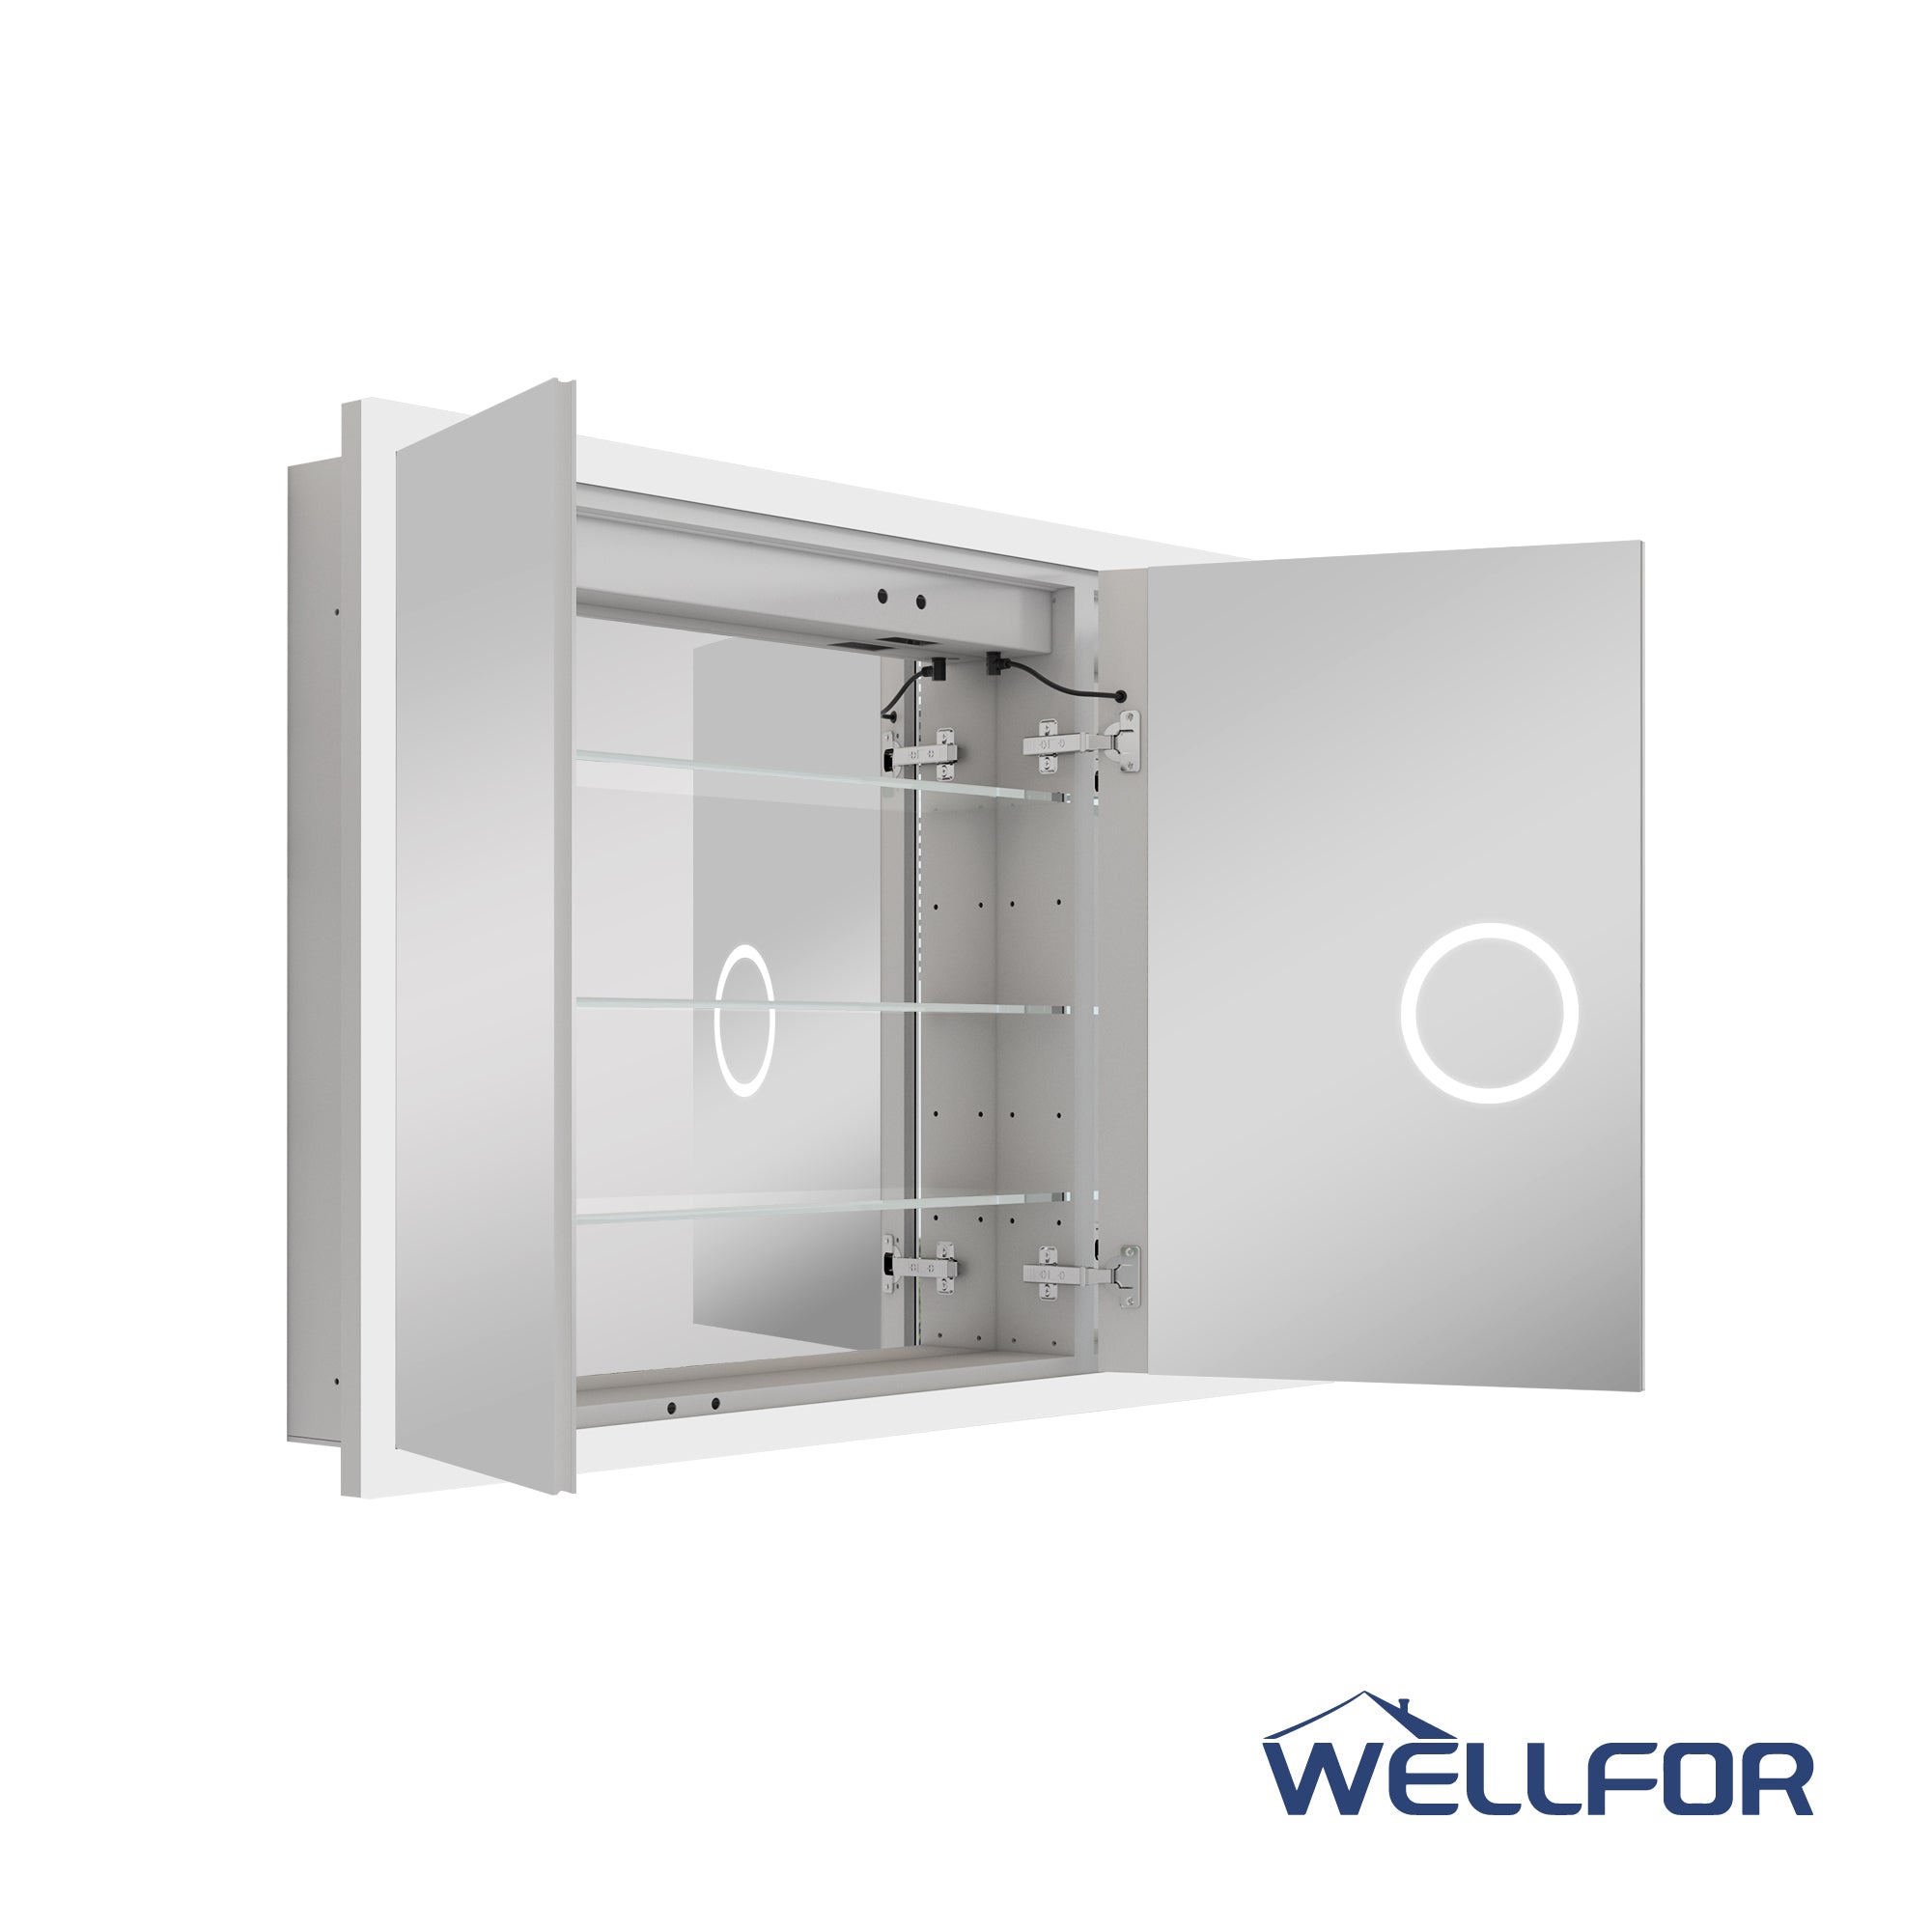
Most illuminated mirrors use a French cleat, a bracket system, or rear-mounting slots. The key is ensuring the wall can support both the weight and the installation pressure.
Steps that matter most:
Locate wall studs whenever possible.
Use appropriate anchors for drywall if studs are not available.
Ensure mounting hardware is level before final placement.
Avoid overtightening brackets, which can stress the glass frame.
A misaligned mount does not just look wrong—it can also affect internal LED distribution. Light diffusion systems depend on consistent positioning.
Another often-overlooked detail: bathroom walls are rarely perfectly square. Even a small tilt becomes noticeable once the mirror is illuminated.
4. Sealing, Moisture Protection, and Bathroom Conditions
Bathrooms are humid environments. Even a well-installed mirror will degrade if moisture control is ignored.
A proper installation should account for:
Distance from direct shower spray
Ventilation system performance
Silicone sealing around wall contact points (if applicable
Avoiding direct water exposure on the electrical housing
Lighted mirrors are not waterproof devices. They are moisture-resistant within defined limits.
One common mistake is installing the mirror too close to a steam-heavy shower area without considering airflow. Over time, condensation can affect LED drivers and touch sensors.
A well-functioning exhaust fan reduces long-term risk more than any product coating.
5. Setting Height and Lighting Position Correctly
Height is not just a design decision—it affects usability.
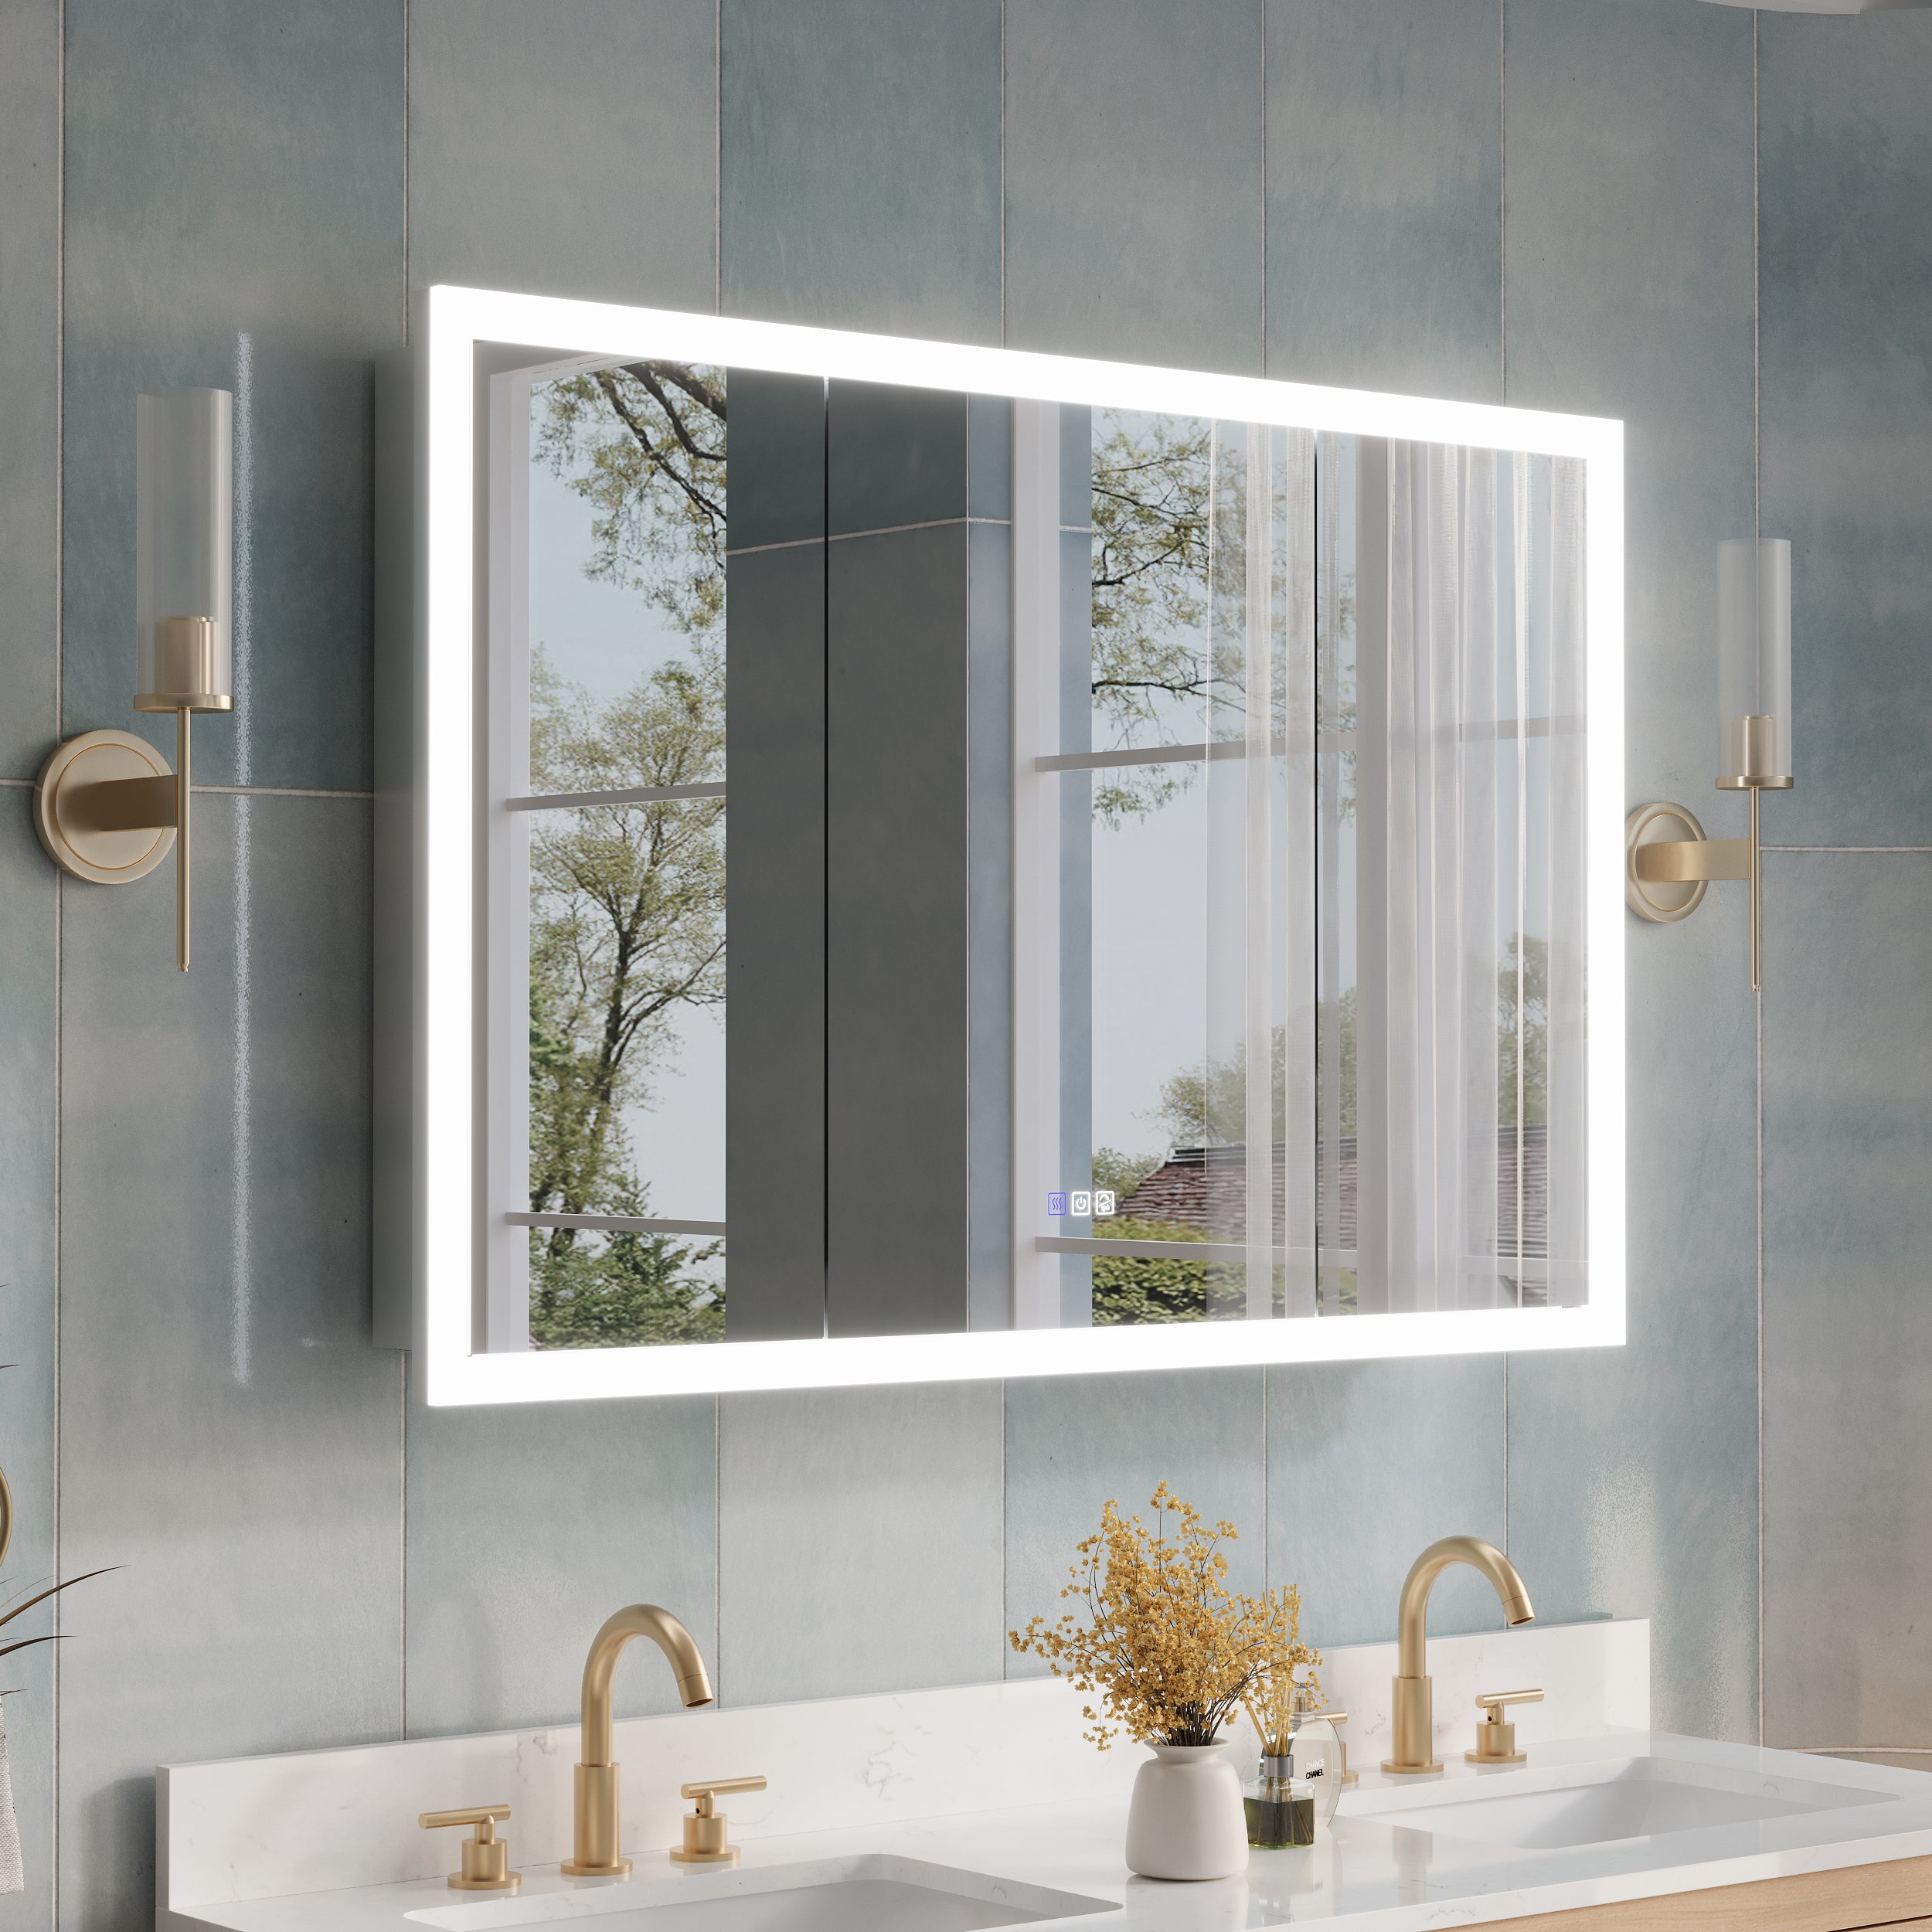
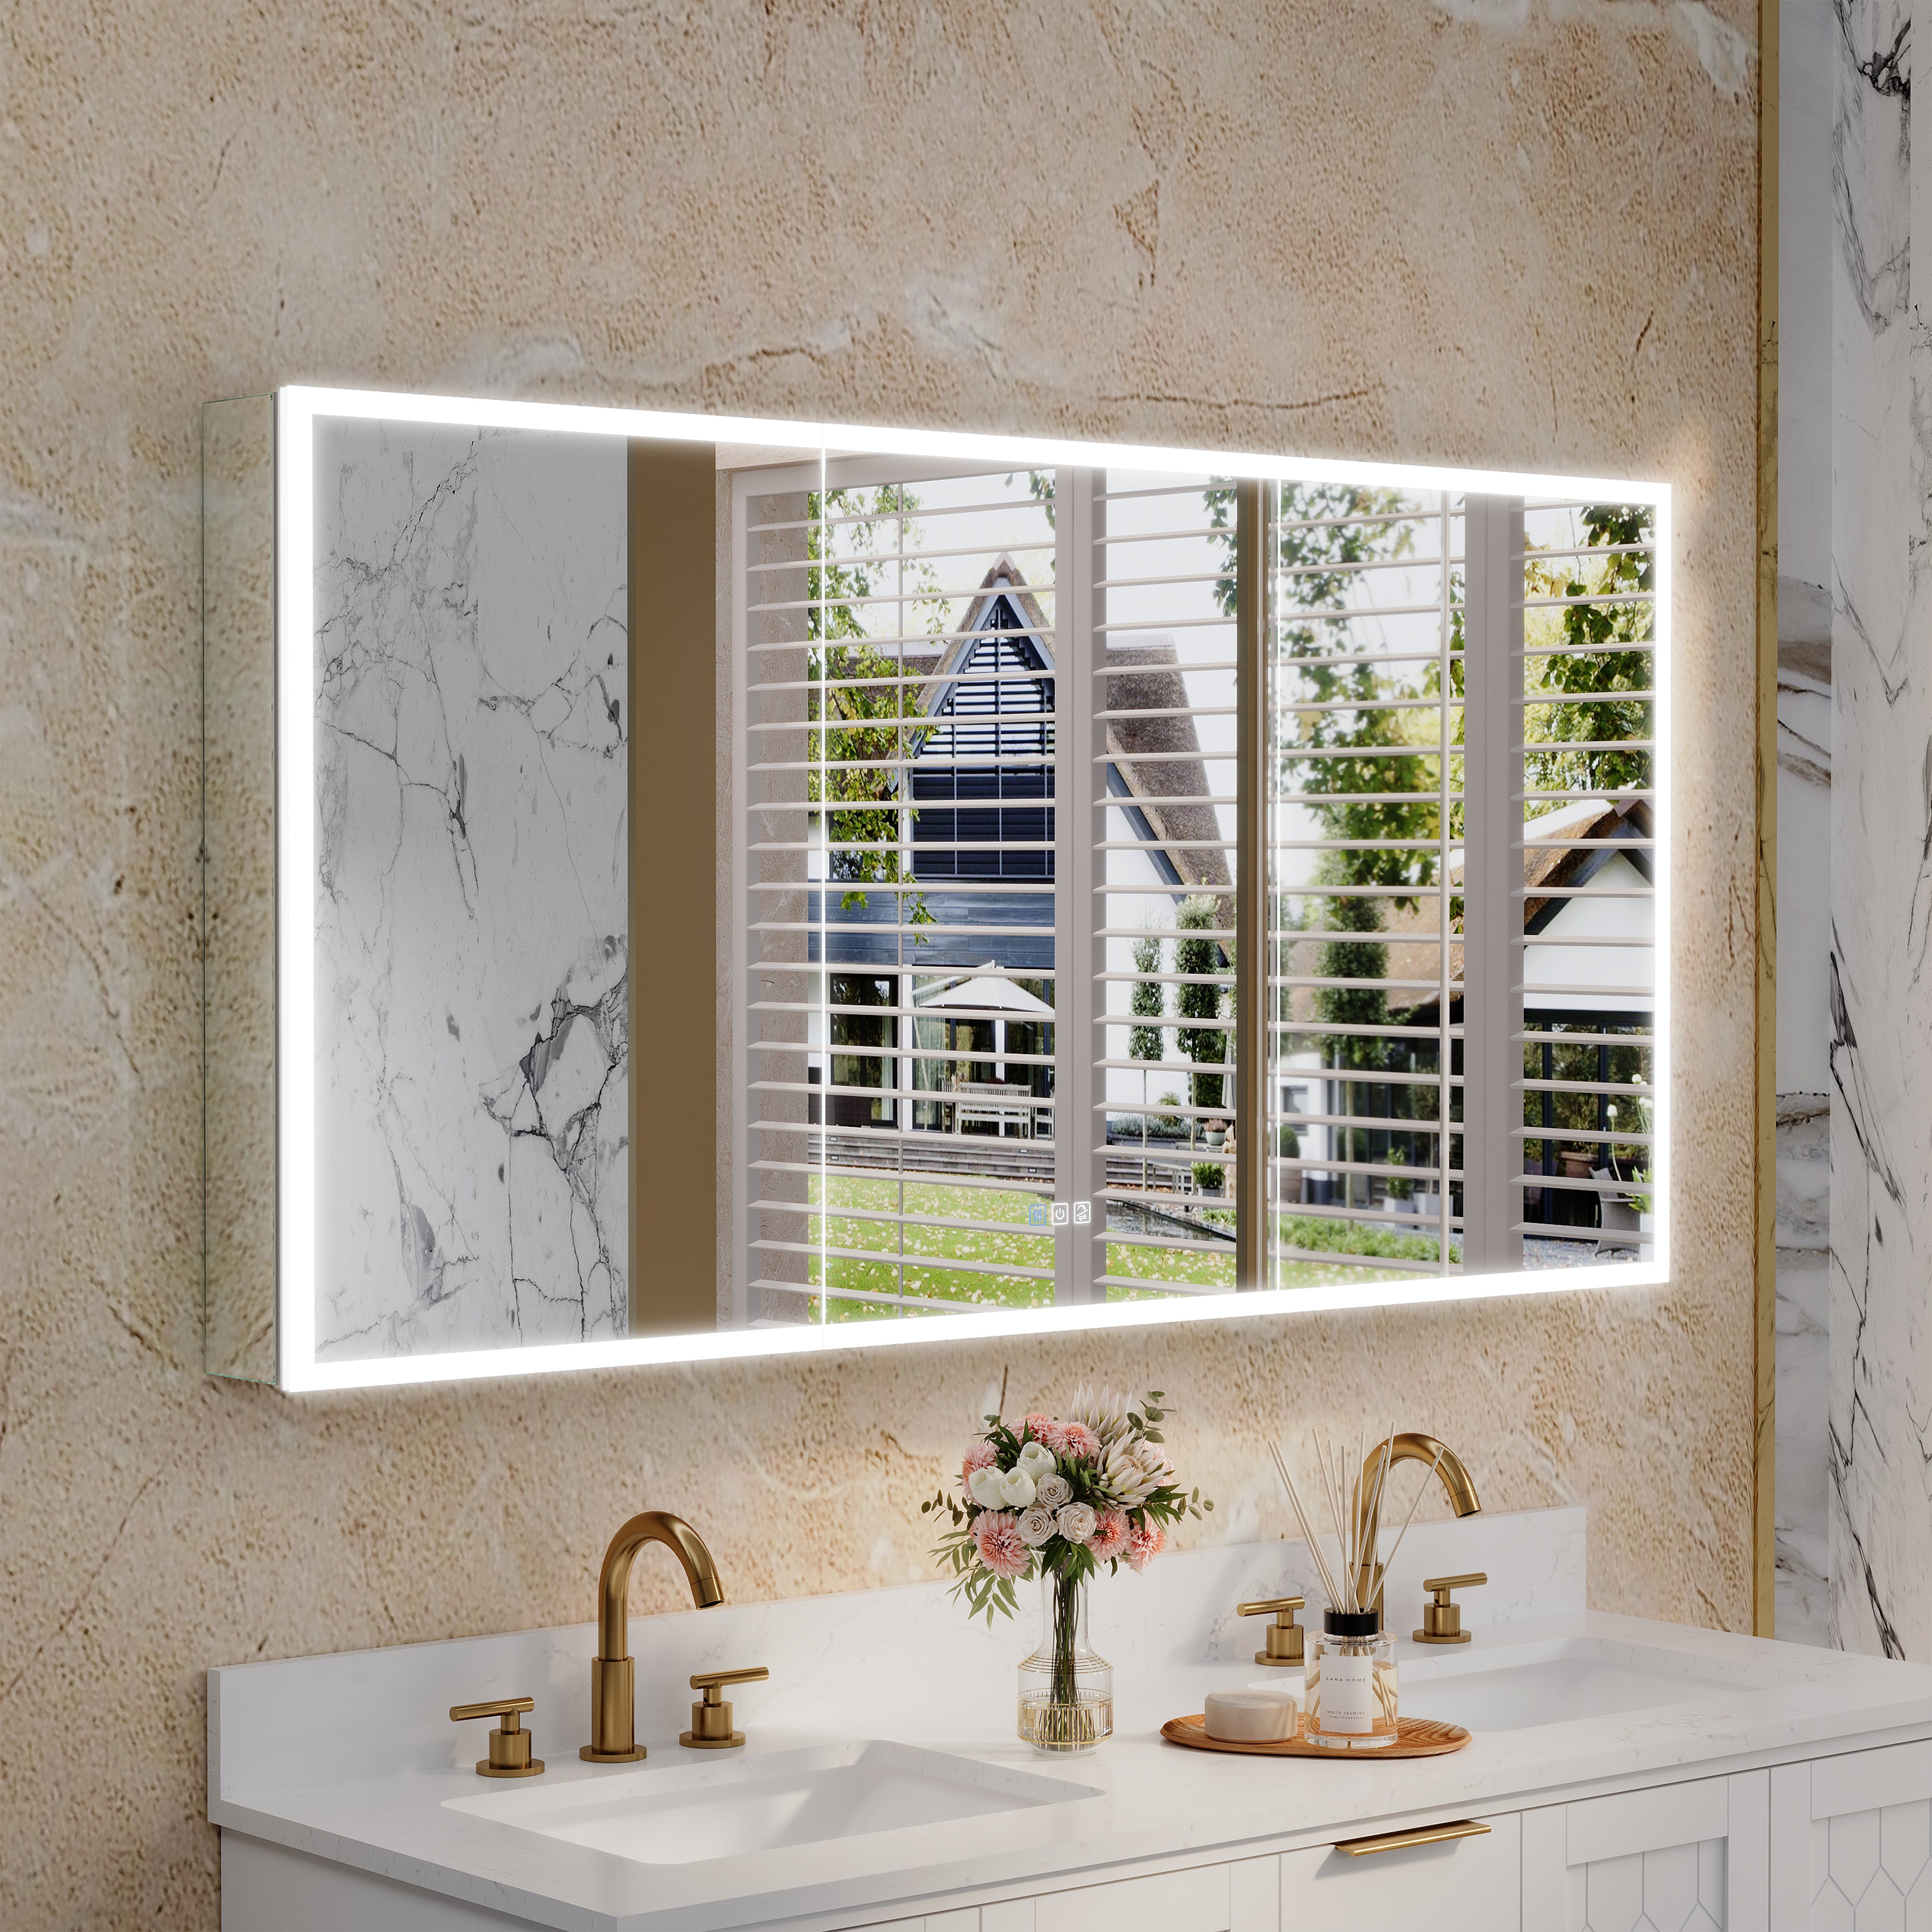
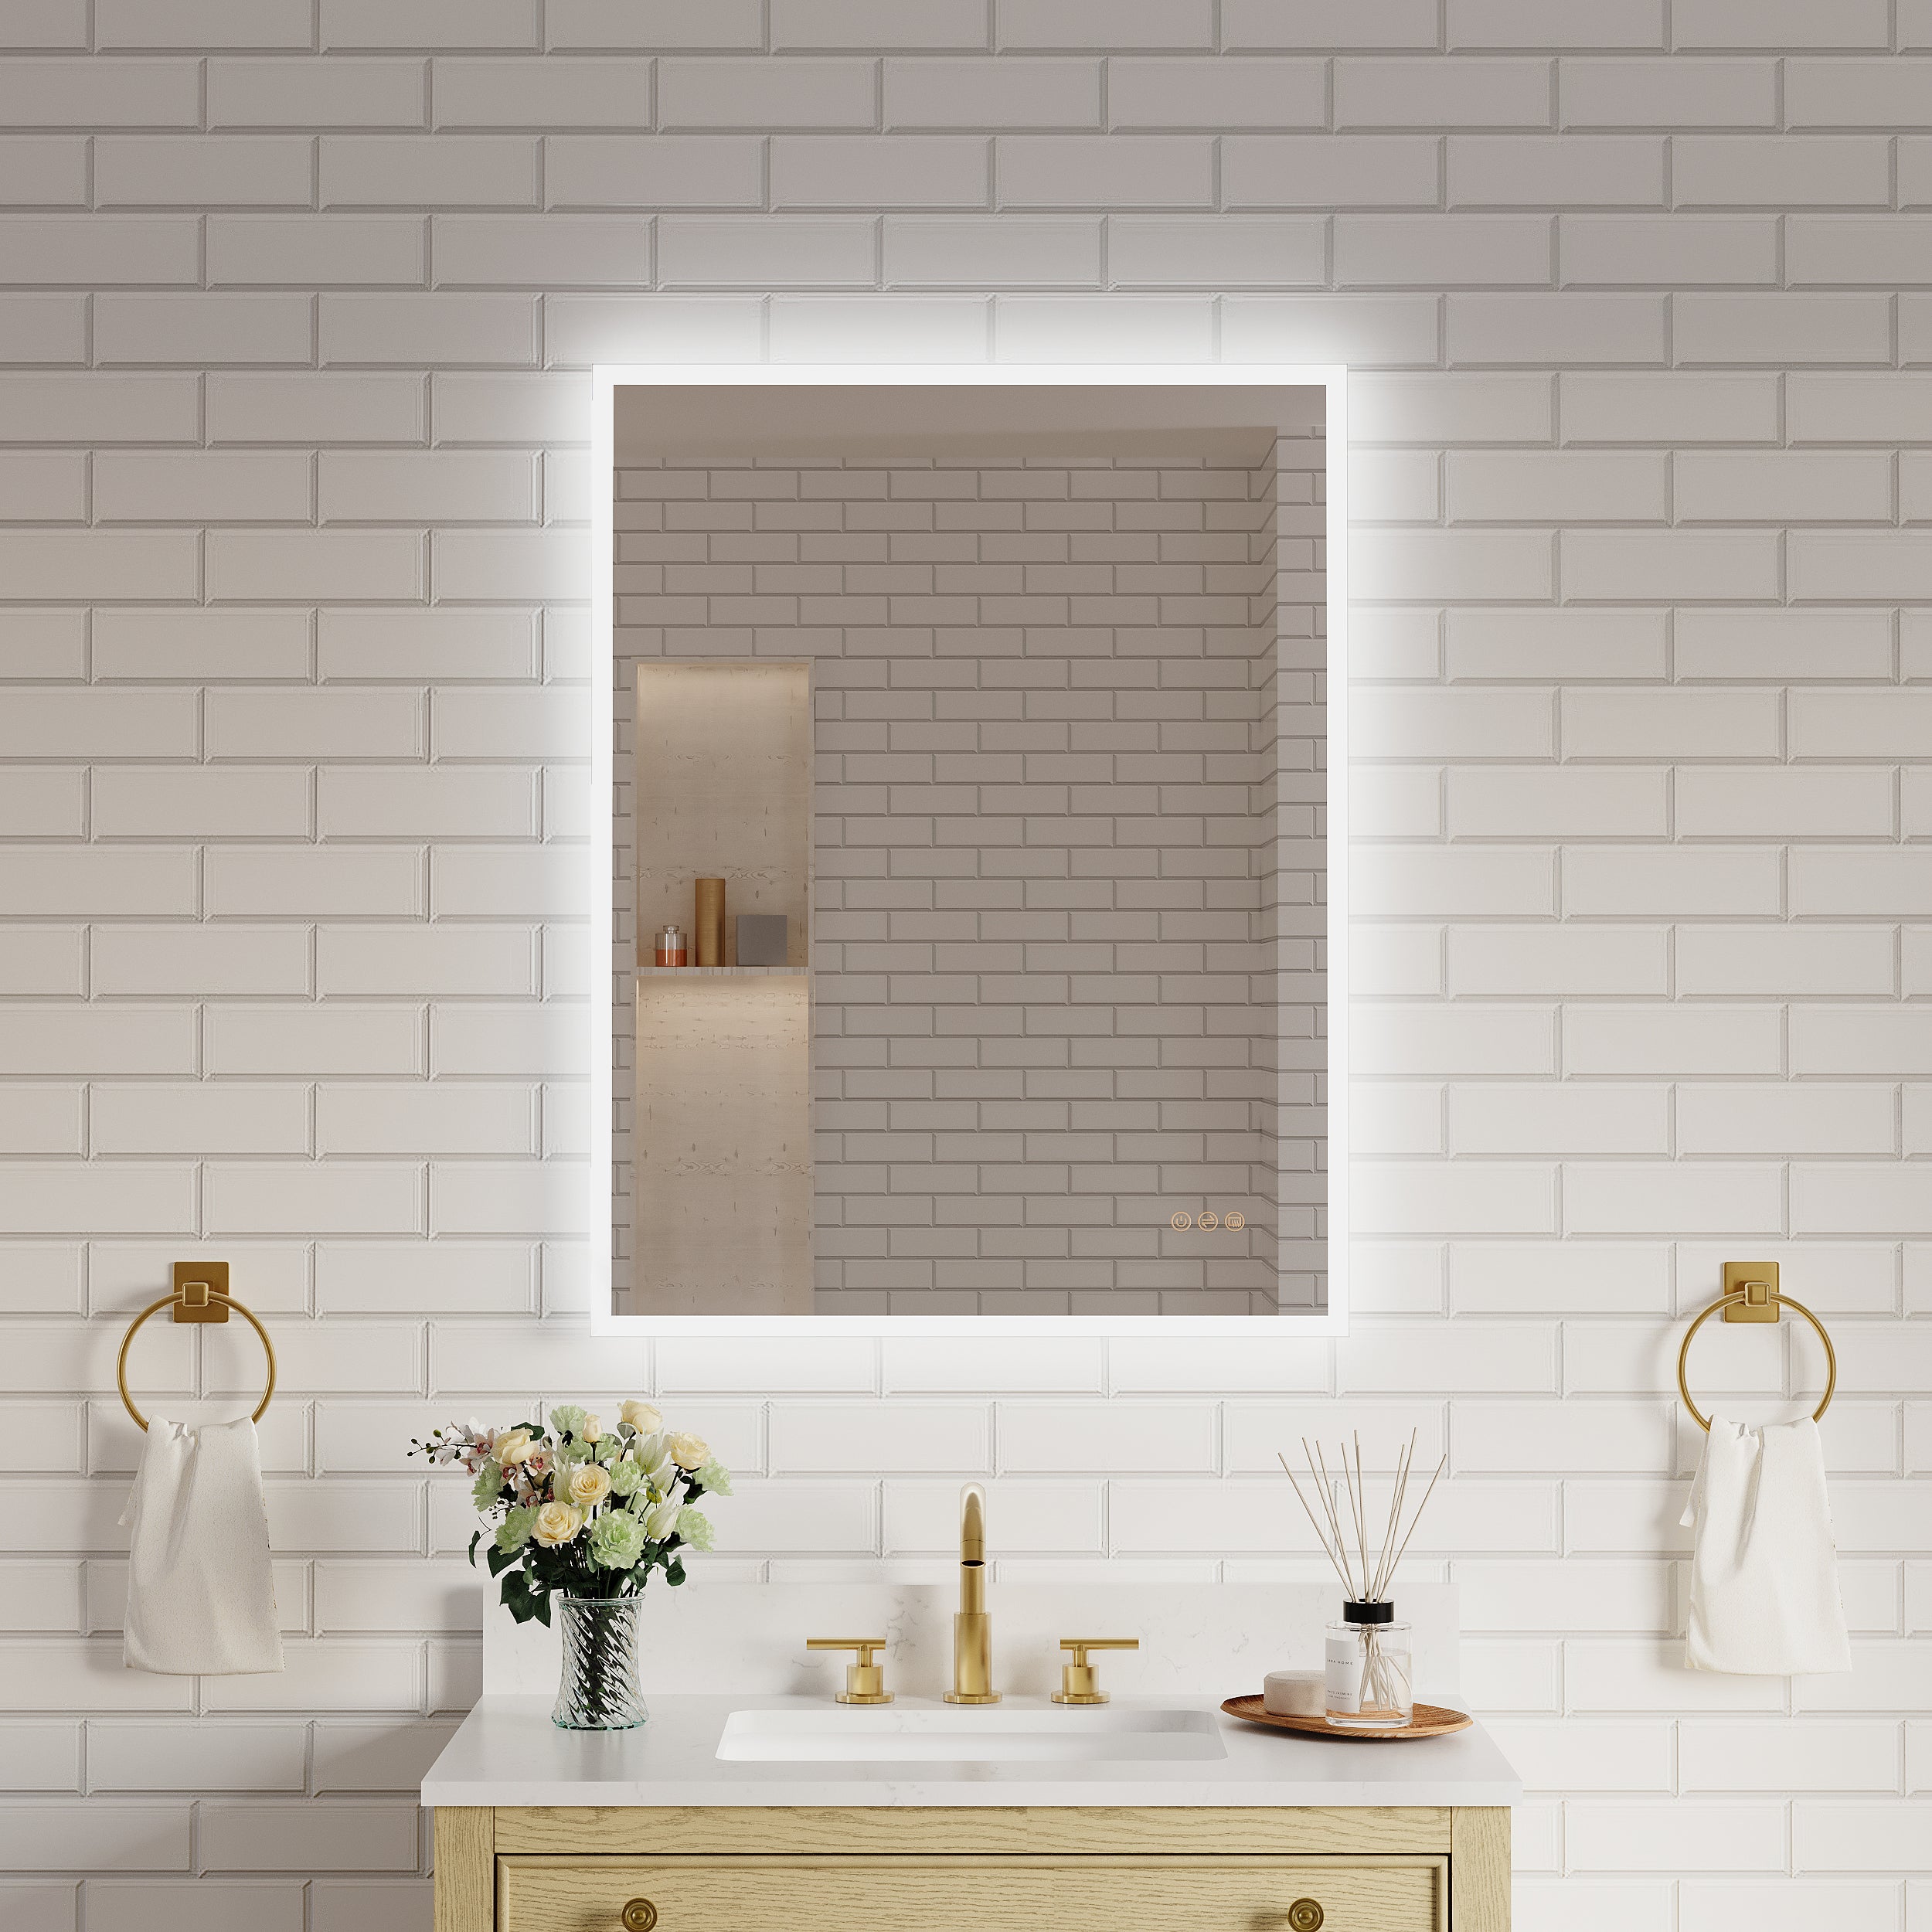
For most bathrooms, the center of the mirror should align roughly with the primary user's eye level. But lighting position matters just as much as mirror height.
If installed too high:
Facial lighting may angle downward too sharply.
Shadows under the chin become more visible.
If installed too low:
The user may lose the full reflection range.
Lighting feels concentrated and uneven.
A practical method is to test the standing distance before drilling. Mark the wall, simulate usage, and check lighting coverage at morning and evening lighting conditions.
LED mirrors behave differently depending on ambient light. What looks correct in daylight may feel too strong at night.
6. Electrical Testing and First Power-On
Once installation is complete, restore power carefully.
Before final use:
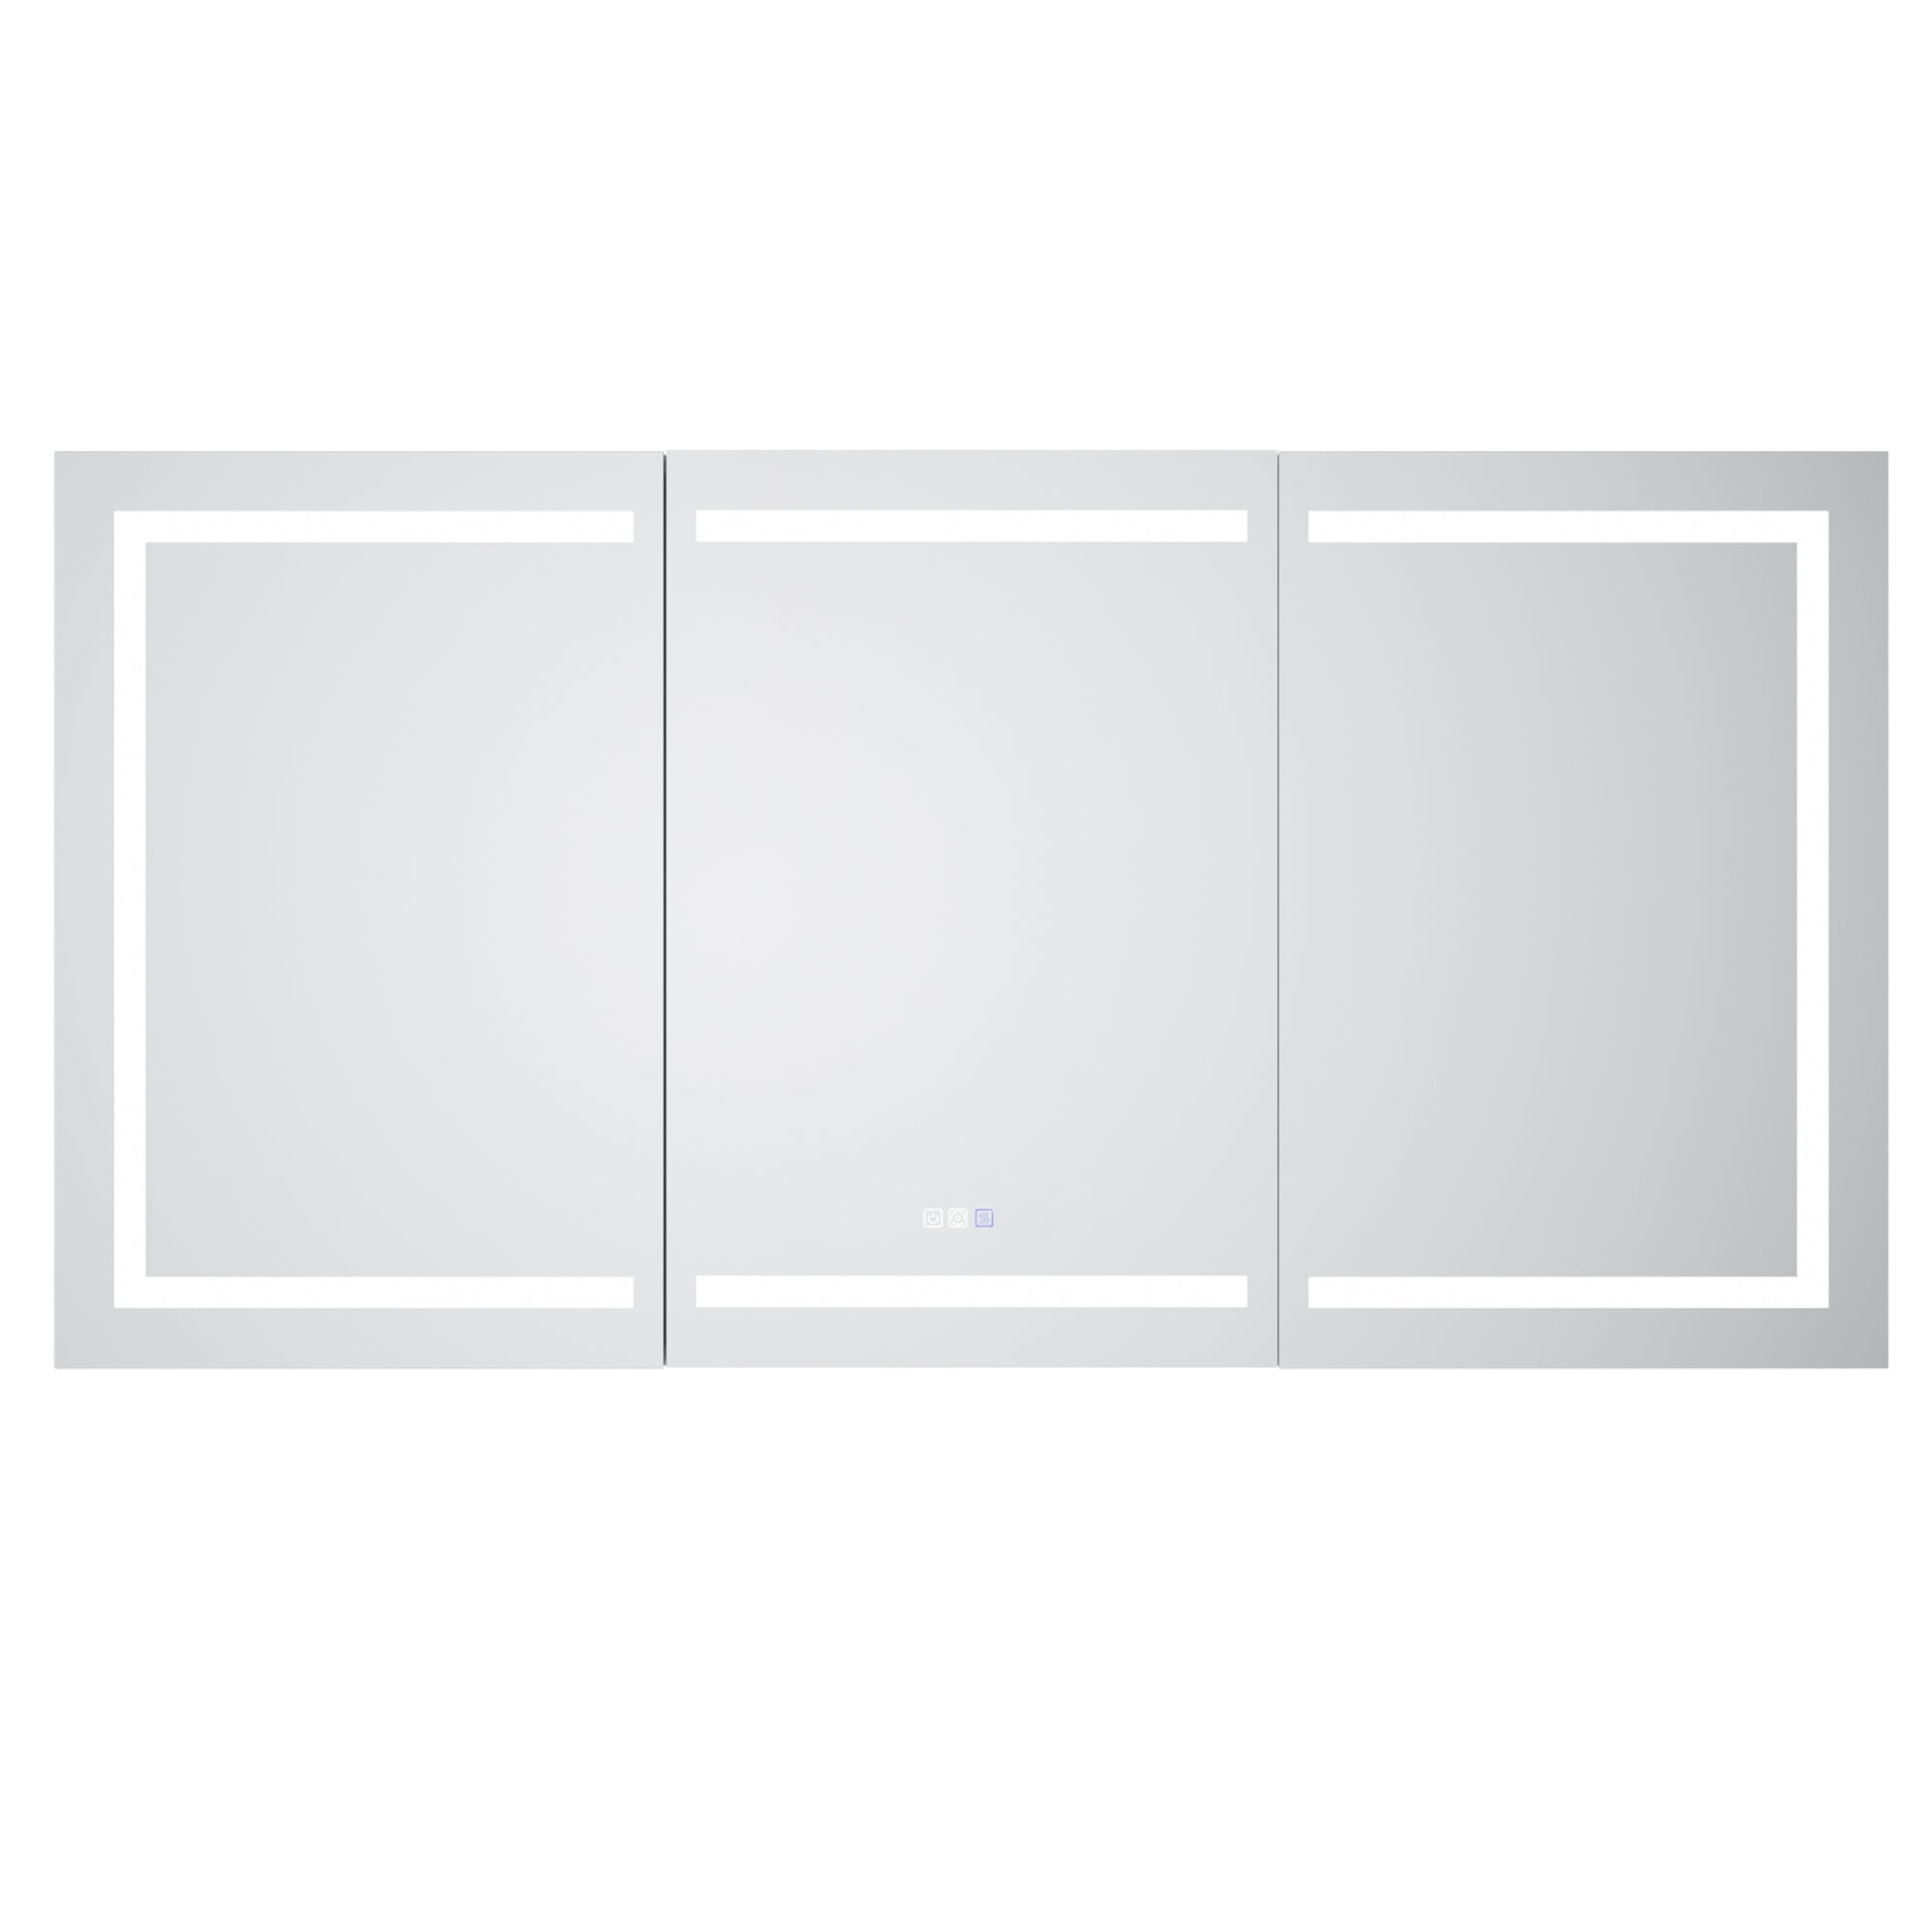
Check all lighting zones (top, sides, perimeter)
Test dimming functions if available
Confirm no flickering or startup delays.
Test defogging function separately (if included)
A properly installed mirror should power on smoothly without noise, delay, or inconsistent brightness.
If flickering occurs, it usually indicates either a loose connection or an incompatible dimmer switch—not a defect in the mirror itself.
7. Common Installation Mistakes I See Often
After years in the field, certain mistakes appear repeatedly:
Not separating mirror wiring from other high-load bathroom circuits
Mounting without checking the stud placement
Ignoring wall flatness
Using non-rated switches or dimmers
Installing too close to high-moisture zones
Rushing alignment before final tightening
Most issues are not product failures. They are installation oversights.
8. Maintenance After Installation
A correctly installed mirror requires minimal maintenance, but a few habits help extend its lifespan.
Use a soft microfiber cloth for cleaning. Spray cleaner onto the cloth, not directly onto the mirror edges or controls.
Check periodically:
Mounting stability
Signs of moisture behind edges
Button or touch sensor responsiveness
Consistent brightness output
LED systems are long-life components, but drivers and sensors benefit from dry, stable conditions.
Ventilation remains the most important long-term protective factor. Even the best-installed mirror performs better in a well-ventilated bathroom.
9. Choosing the Right Lighted Mirror for Installation
Not all mirrors are equally easy to install.
Look for:
Clear mounting instructions
Standard voltage compatibility
Accessible wiring compartment
Certified electrical components
Moisture-rated design for bathroom use
A well-designed product reduces installation risk before the first screw is even drilled.
Well, lighted bathroom mirror designs are built with standard residential installation in mind, but correct mounting and wiring are still what determine long-term performance.

Final Installation Guidance
A successful installation is less about speed and more about sequence. Electrical safety first, structural support second, alignment third.
If the bathroom is still under renovation, plan wiring early. If it is a retrofit, choose a mirror that fits the existing electrical conditions rather than forcing adjustments.
A properly installed lighted bathroom mirror should feel seamless once powered on—no visible wiring issues, no uneven lighting, and no vibration or movement on the wall. That result always comes from careful setup, not rushed installation.














Leave a comment
This site is protected by hCaptcha and the hCaptcha Privacy Policy and Terms of Service apply.