

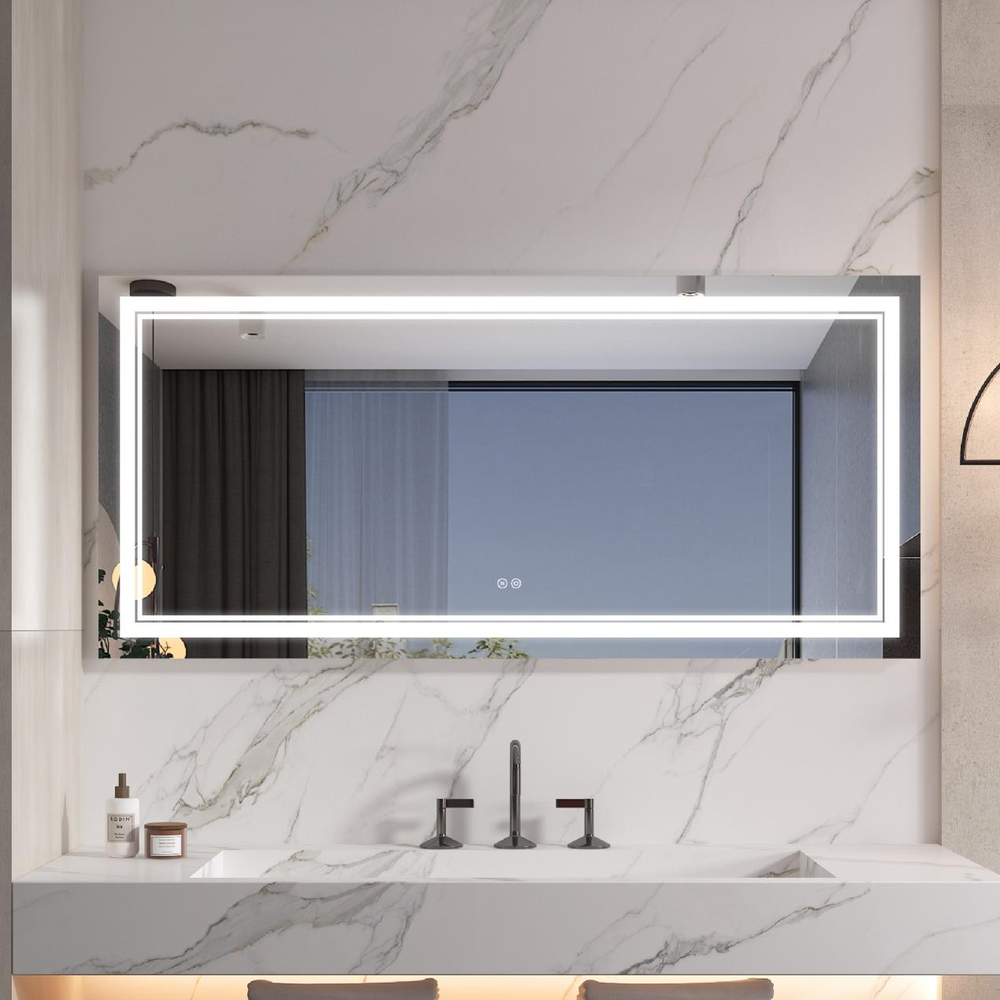
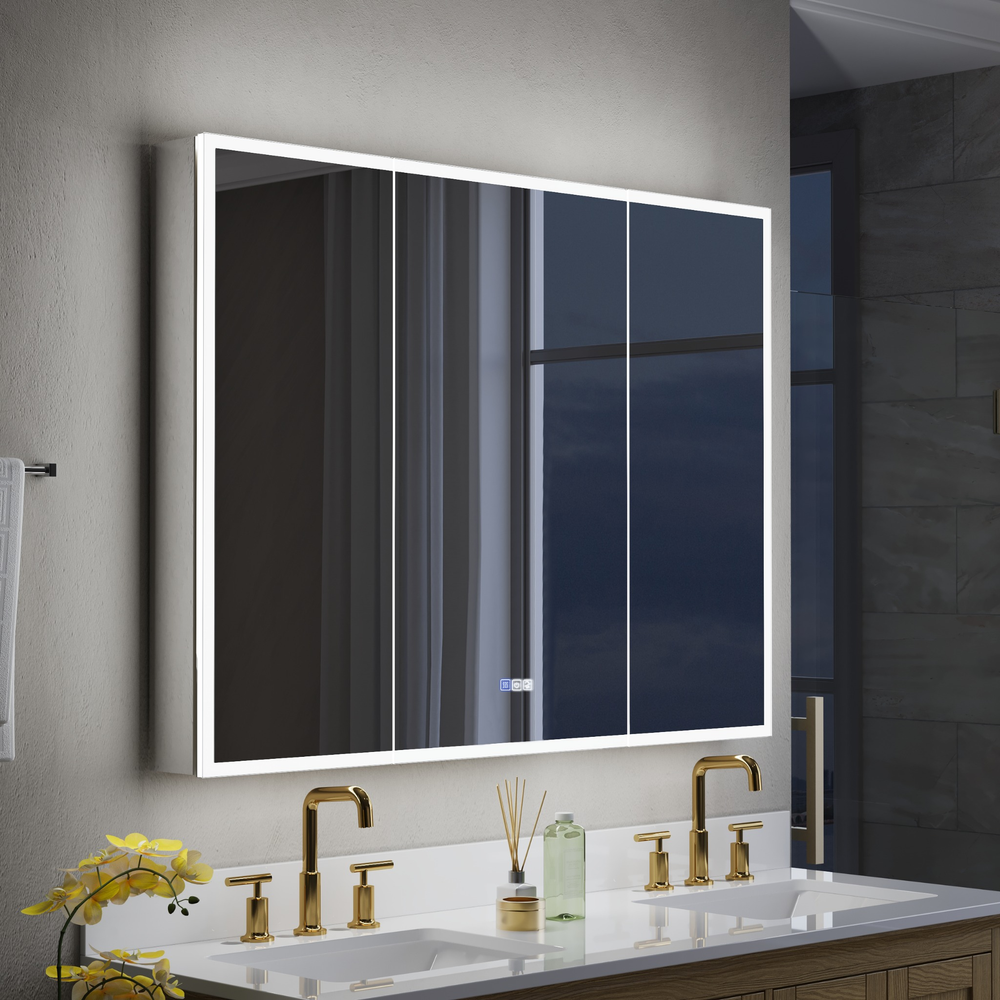
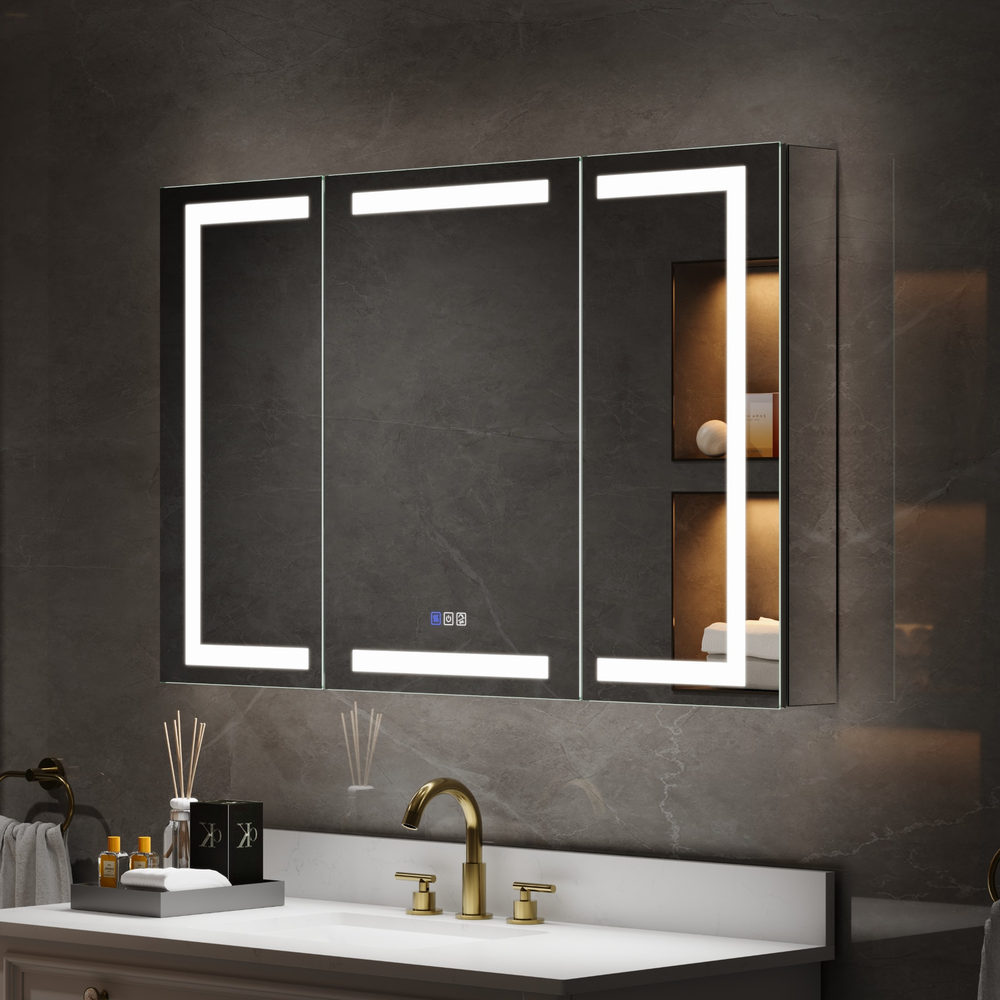


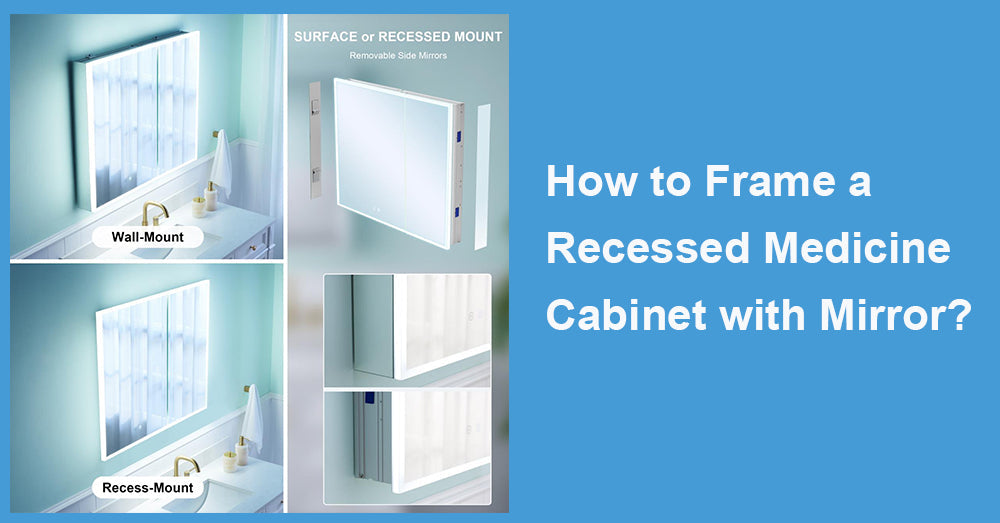
A recessed medicine cabinet with mirror is one of those bathroom upgrades that looks simple from the outside but depends heavily on what happens inside the wall. After more than 20 years working with bathroom remodeling and cabinetry installation, I can say framing is where most mistakes happen—not in the final mounting.
If the framing is off by even a small margin, the cabinet will never sit flush, the door alignment will feel wrong, and long-term stability becomes an issue.
This guide focuses on how to do it correctly in real renovation conditions, not just theory.
1. Before You Frame: Understand the Wall First
Framing starts long before any wood is cut.
The first step is identifying what type of wall you are working with:
Standard 2x4 interior wall
Load-bearing wall
Plumbing or electrical wall
This matters because a recessed cabinet needs a clean cavity between studs. If pipes or wiring are running through the section, you cannot simply cut and frame without rerouting.
I’ve seen many DIY attempts fail because the installer assumed the wall was empty. It rarely is in bathrooms.
Measure the available stud spacing carefully. Most recessed cabinets require a clear opening that fits within 14.5 inches or 22.5 inches depending on stud layout.
2. Planning the Rough Opening for a Recessed Medicine Cabinet with Mirror
The rough opening is the most critical part of the entire process.
A recessed medicine cabinet with mirror must sit perfectly flush with the finished wall surface. That means your framing has to account for both cabinet dimensions and wallboard thickness.
Start by checking the manufacturer’s specifications. Do not guess dimensions.
Then mark:
Width between studs
Height from finished floor
Depth clearance inside the wall
A common mistake is cutting the opening too large “for flexibility.” That creates problems later when the cabinet has to be shimmed or boxed in unevenly.
The rough opening should be tight, square, and structurally supported on all sides.
3. Framing the Opening Properly
Once the layout is marked, framing begins.
You will typically be modifying existing studs rather than building a new structure.
1. Cutting and Reinforcing Studs
If a stud falls within the cabinet opening, it must be cut and replaced with a header and footer system.
This is where structural integrity matters:
Use double horizontal supports (header and sill)
Tie them securely into adjacent studs
Maintain load distribution if the wall is structural
Even in non-load-bearing walls, reinforcement prevents long-term shifting.
2. Creating a Stable Box Frame
Inside the opening, you essentially build a box that supports the cabinet.
This frame should:
Be perfectly square (check diagonals)
Sit flush with finished drywall depth
Allow no lateral movement
A loose frame will translate into a shaky cabinet later, even if the mirror looks fine at first.
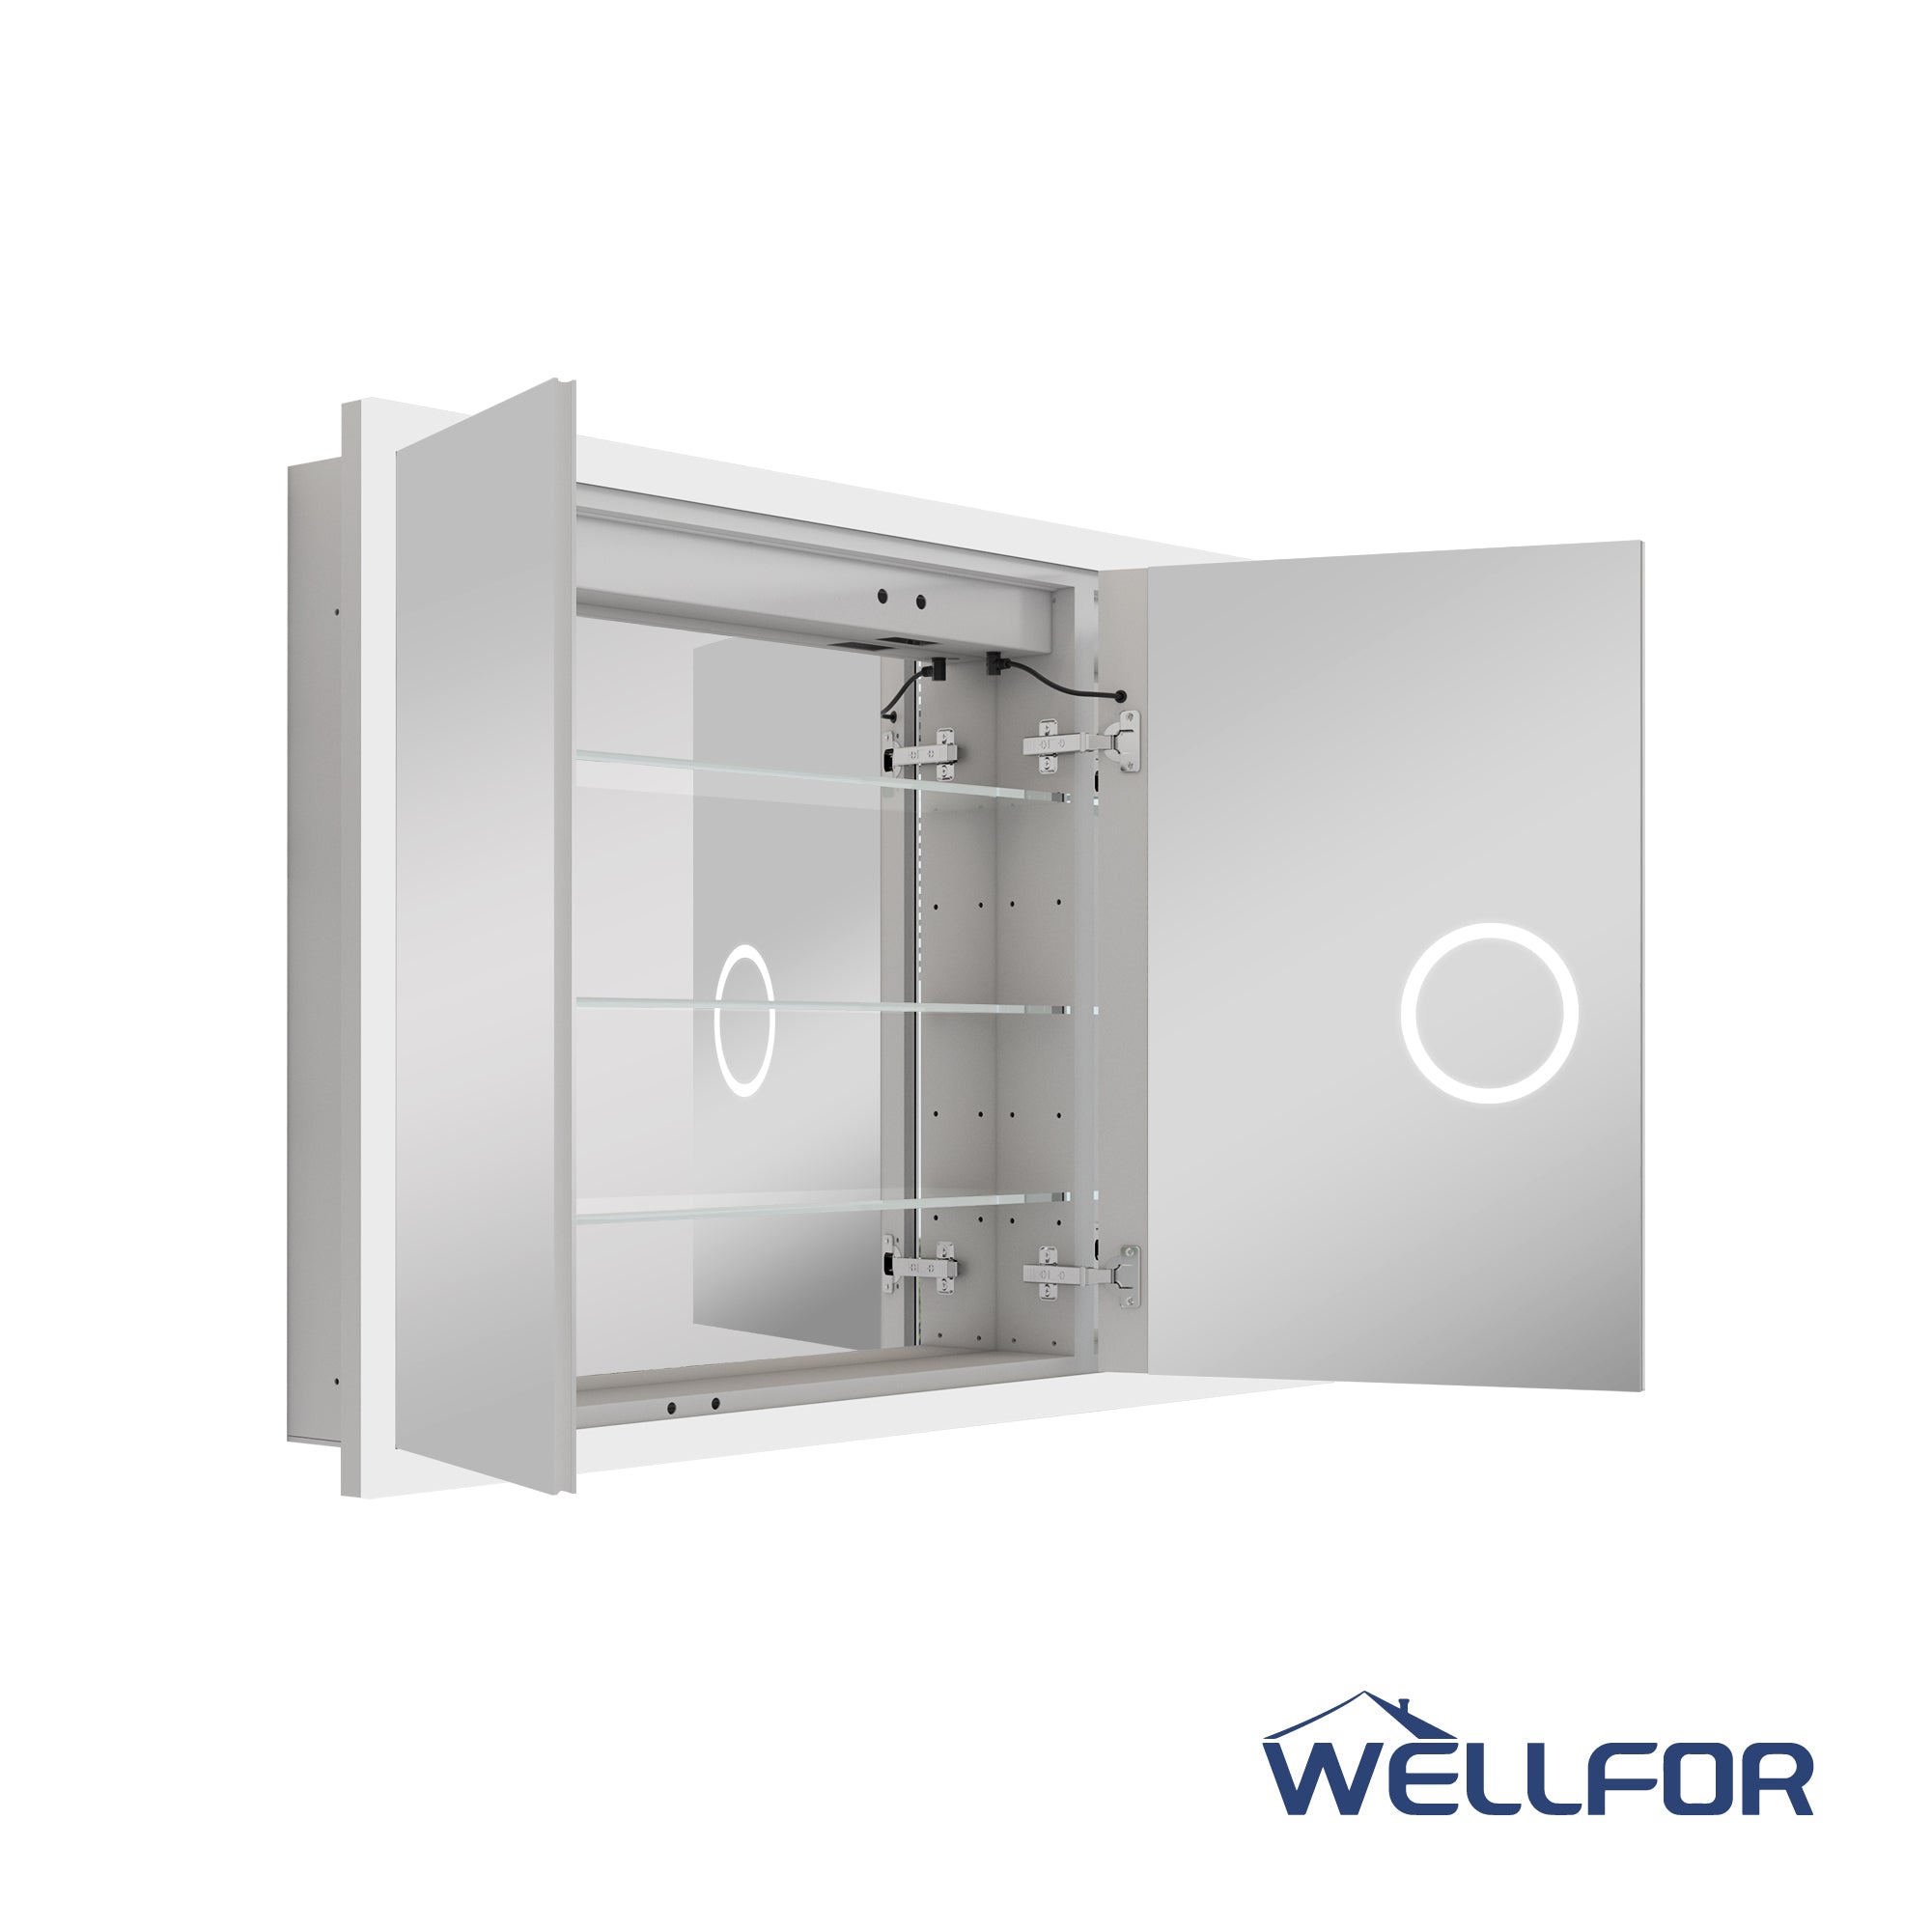
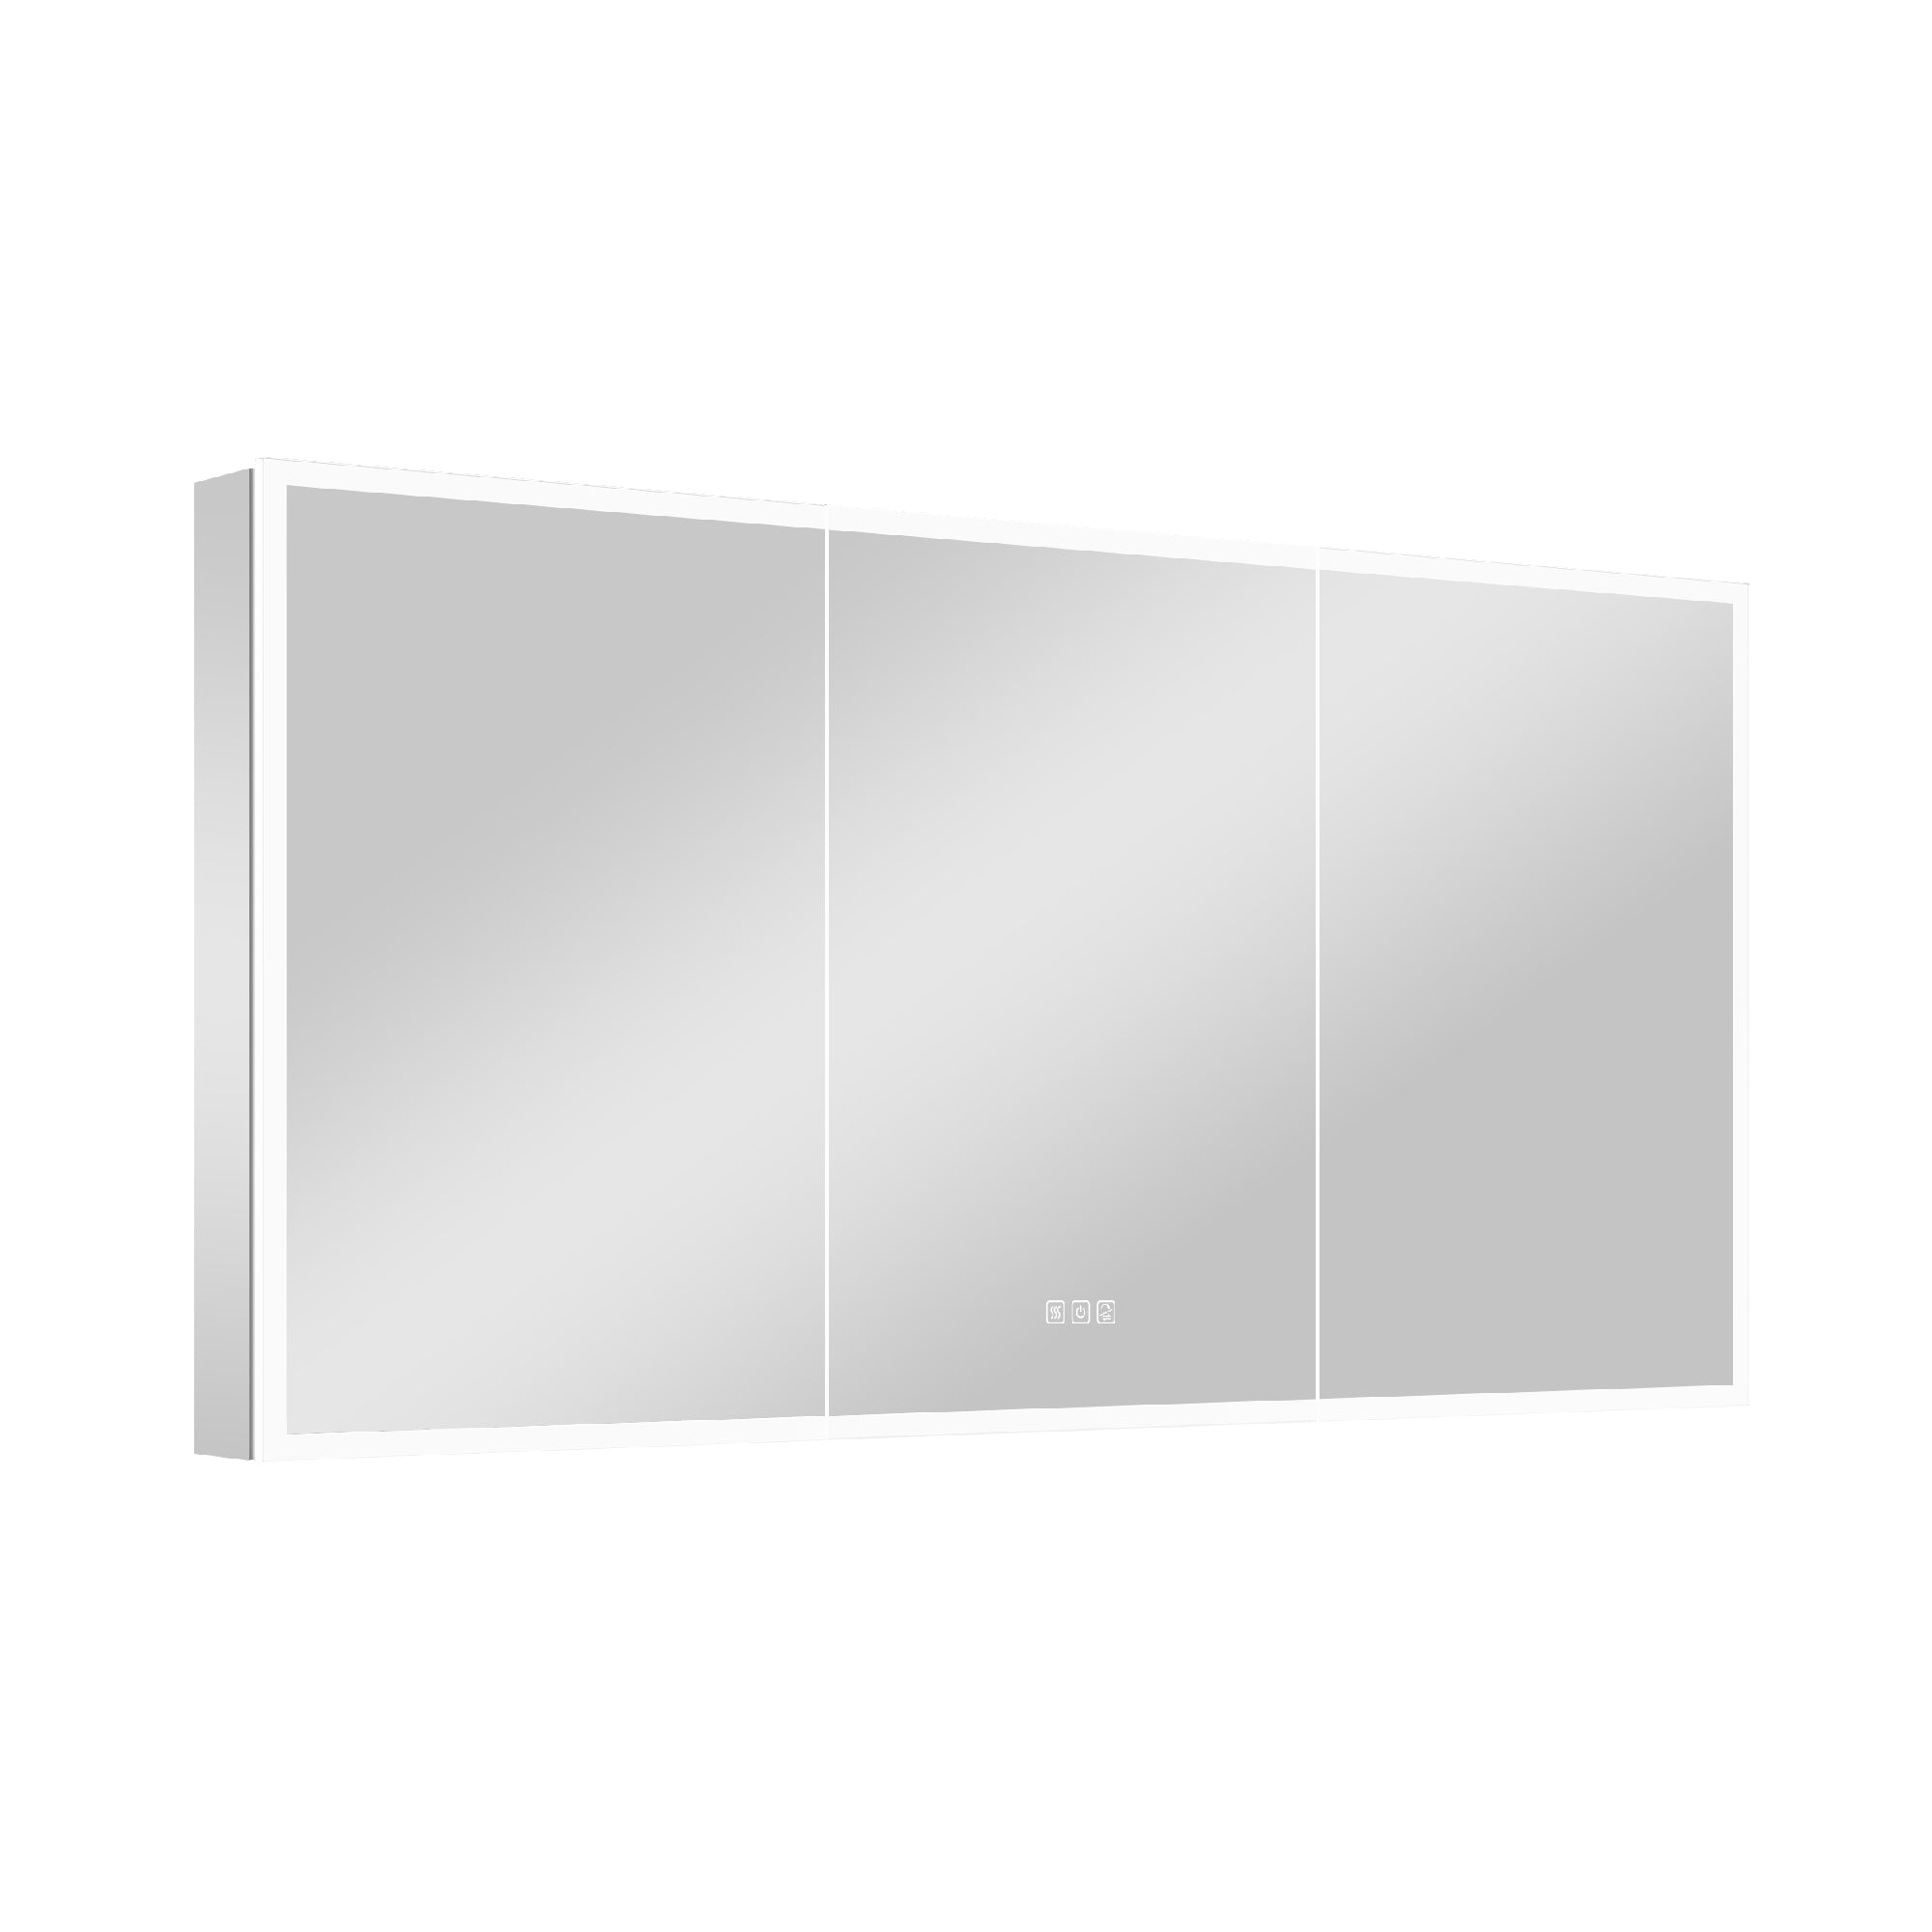
Wellfor recessed cabinet designs are typically engineered for standard wall cavities, but they still depend entirely on accurate framing for proper alignment.
4. Drywall and Depth Alignment
Depth is where many installations go wrong.
The cabinet must align exactly with the finished wall surface. That means accounting for drywall thickness—usually 1/2 inch or 5/8 inch.
If you frame without considering this, the cabinet will either:
Sit too deep (recessed too far)
Or protrude slightly beyond the wall
Neither looks acceptable in a finished bathroom.
Before closing the wall, always test-fit the cabinet inside the framed opening. This step saves a lot of rework later.
I’ve seen installers skip this and only discover misalignment after tile or paint is completed. At that point, correction becomes expensive.
5. Installing the Recessed Medicine Cabinet with Mirror
Once the frame is complete and drywall is prepared, installation becomes straightforward—but precision still matters.
Place the cabinet into the opening and check:
Level alignment
Flush contact with wall surface
Door swing clearance
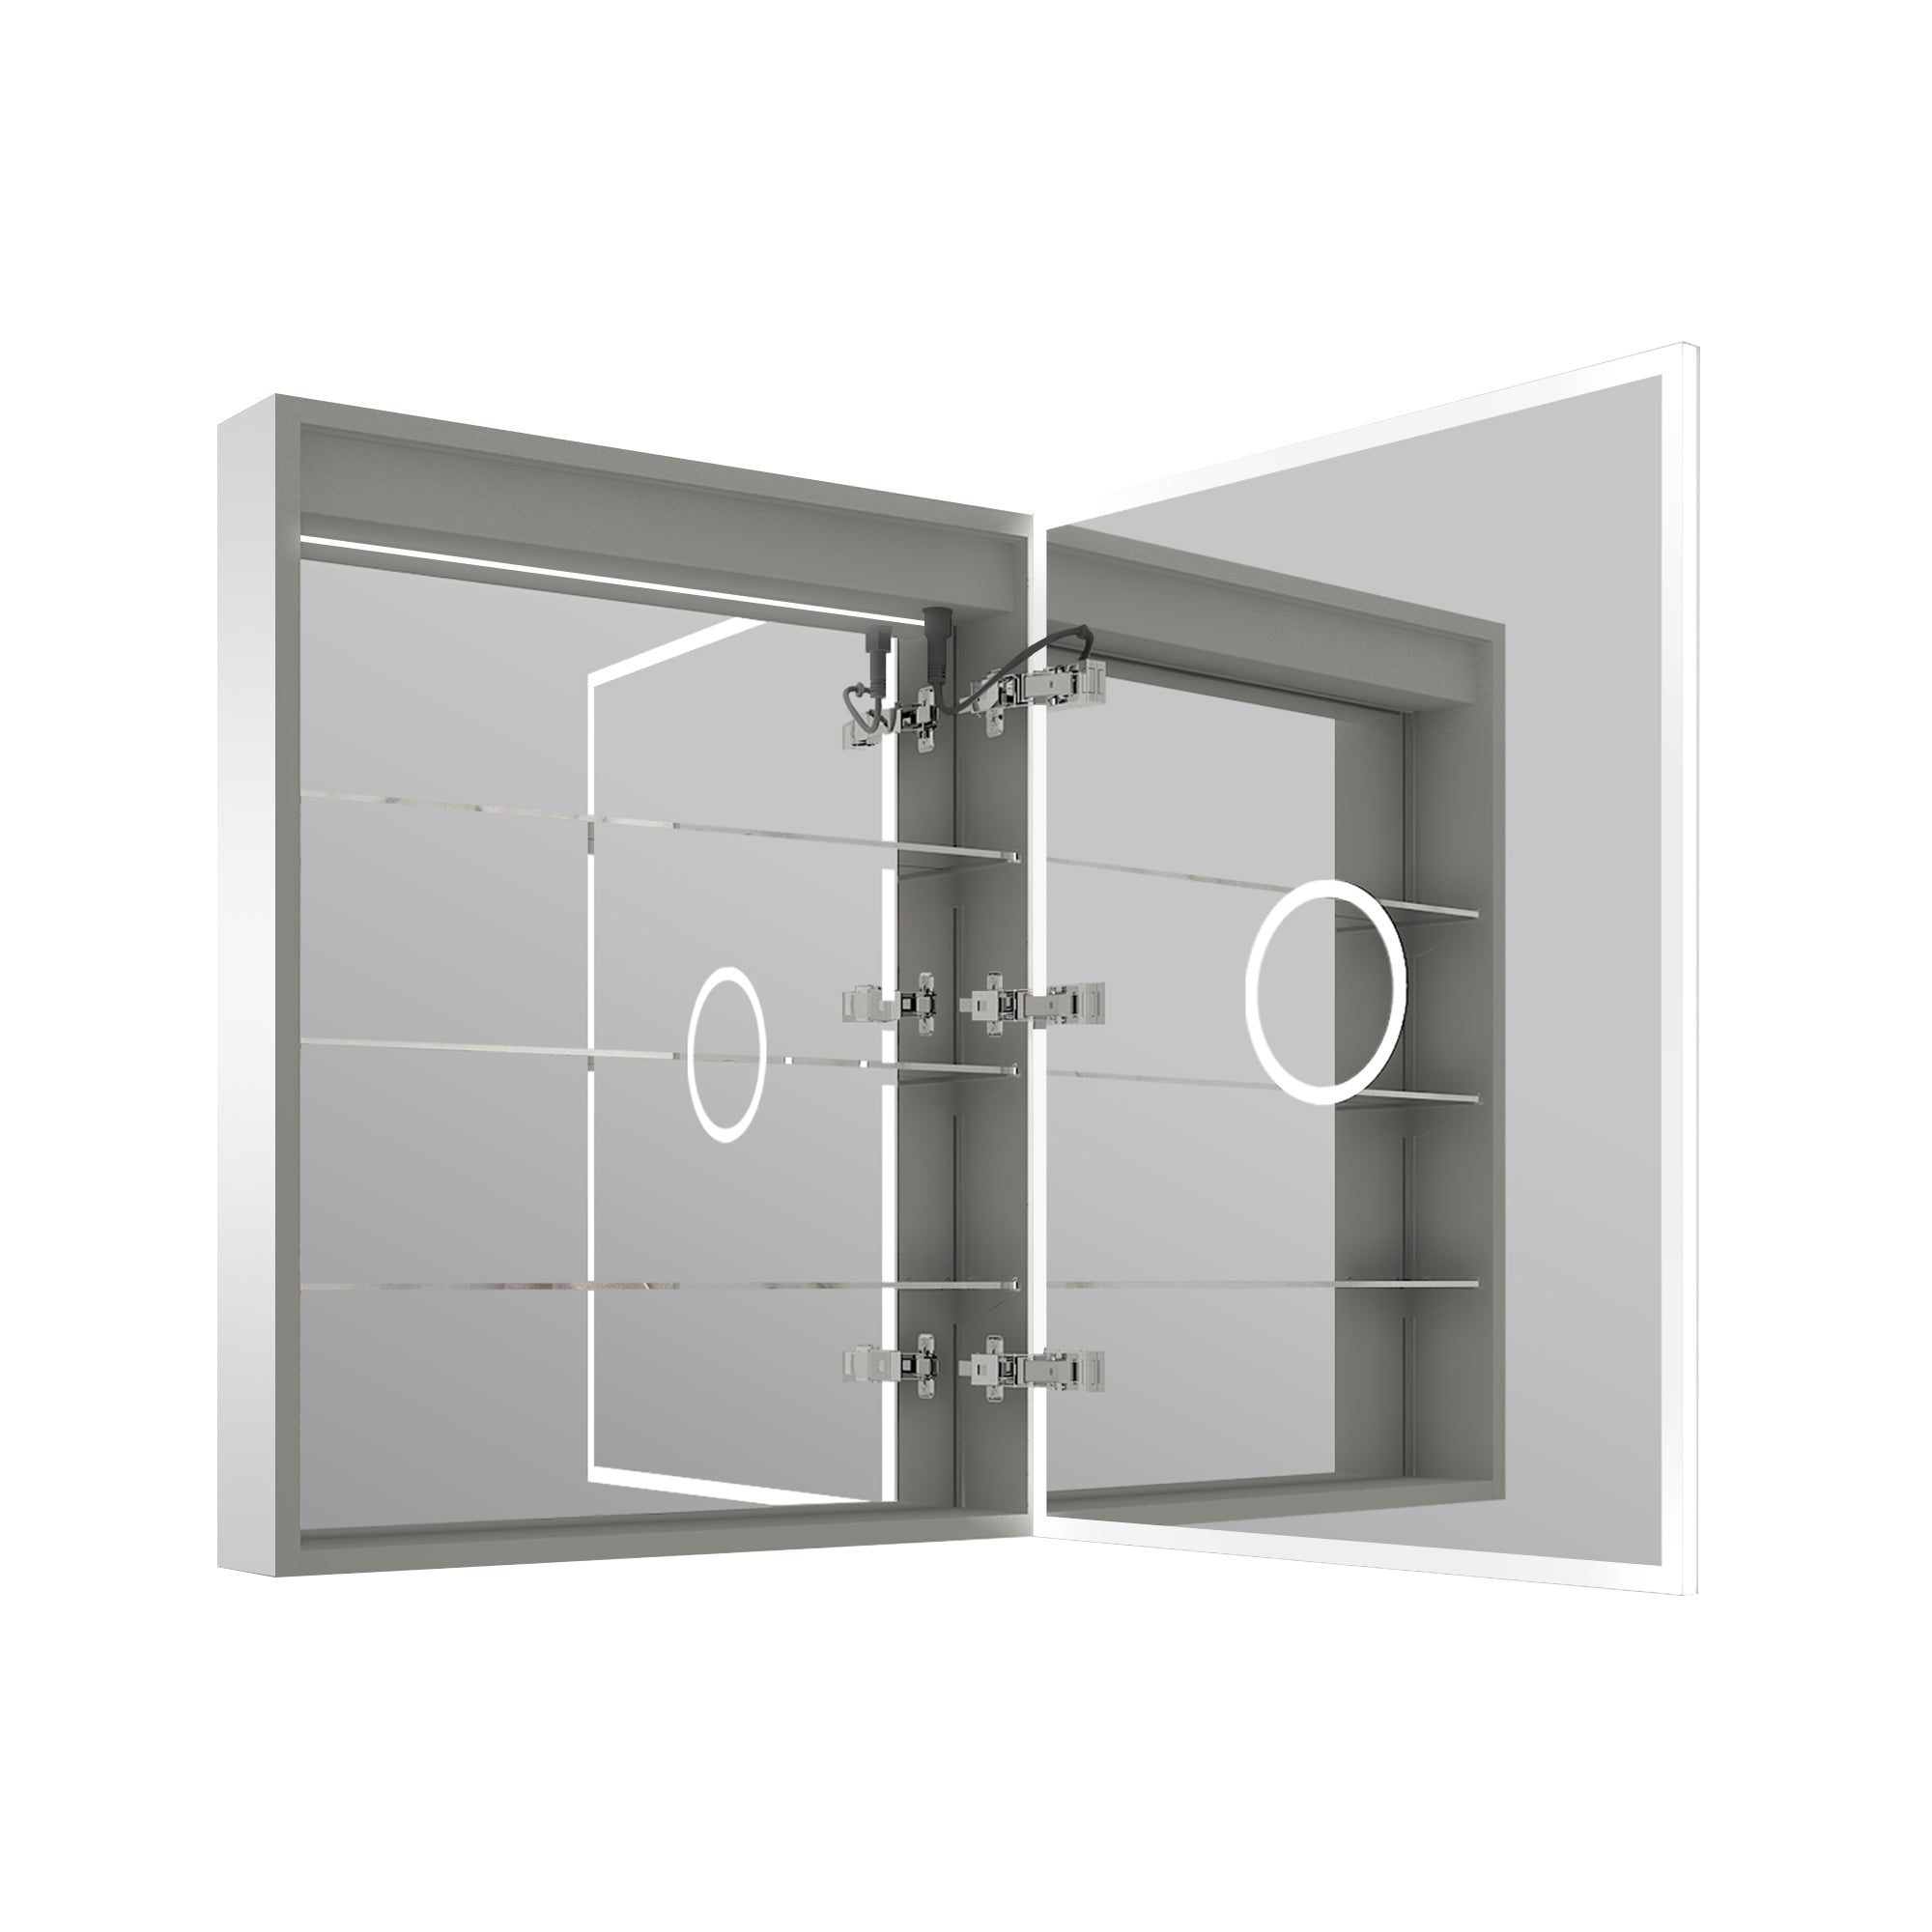
Internal shelf clearance
Secure it using manufacturer-recommended fasteners. Do not overtighten, especially on aluminum or pre-finished frames.
If the cabinet includes a mirrored door, check reflection alignment early. Slight tilt in framing becomes very noticeable once the mirror is installed.
6. Sealing and Moisture Protection
Bathrooms are high-humidity environments. Even a perfectly framed cabinet can degrade if moisture is not managed.
Apply a thin silicone bead around the perimeter where the cabinet meets the wall. This prevents steam from entering the cavity behind the unit.
Pay special attention to:
Upper corners (where steam rises)
Bottom edge near sink splash zone
Side joints if wall is uneven
This step is often ignored, but it significantly extends cabinet lifespan.
Wellfor medicine cabinet designs typically include moisture-resistant backing, but framing gaps still need sealing.
7. Common Framing Mistakes to Avoid
After years of field work, a few mistakes appear repeatedly:
1. Ignoring stud spacing
Trying to force a cabinet into a mismatched cavity leads to warped framing.
2. Skipping reinforcement
Cutting studs without adding headers weakens wall structure.
3. Improper depth calculation
Even a 1/4 inch mistake becomes visible after installation.
4. Not checking square alignment
If the frame is not square, the mirror will reveal it immediately.
5. Installing before drywall is ready
Cabinets should only be installed after the wall surface is confirmed flat.
These issues are avoidable, but only if the framing stage is treated seriously.
8. Finishing the Wall Around the Cabinet
Once the cabinet is installed or test-fitted, drywall finishing completes the look.
Joints around the frame should be taped and mudded carefully to create a seamless transition. Sanding must be smooth enough that no edge is visible around the mirror.
Paint or tile selection also affects final appearance. High-gloss finishes reflect light differently and can highlight slight imperfections in framing.
This is where craftsmanship shows.

9. Long-Term Maintenance and Stability
A properly framed recessed cabinet should not shift over time. But bathrooms are dynamic environments, so periodic checks are useful.
Every year or so:
Check door alignment
Inspect sealant condition
Look for moisture buildup inside cavity edges
Ensure no wall movement or cracking
If installed correctly, maintenance is minimal.
Final Thoughts on Framing a Recessed Medicine Cabinet with Mirror
Framing is not the visible part of the project, but it determines everything the user sees every day.
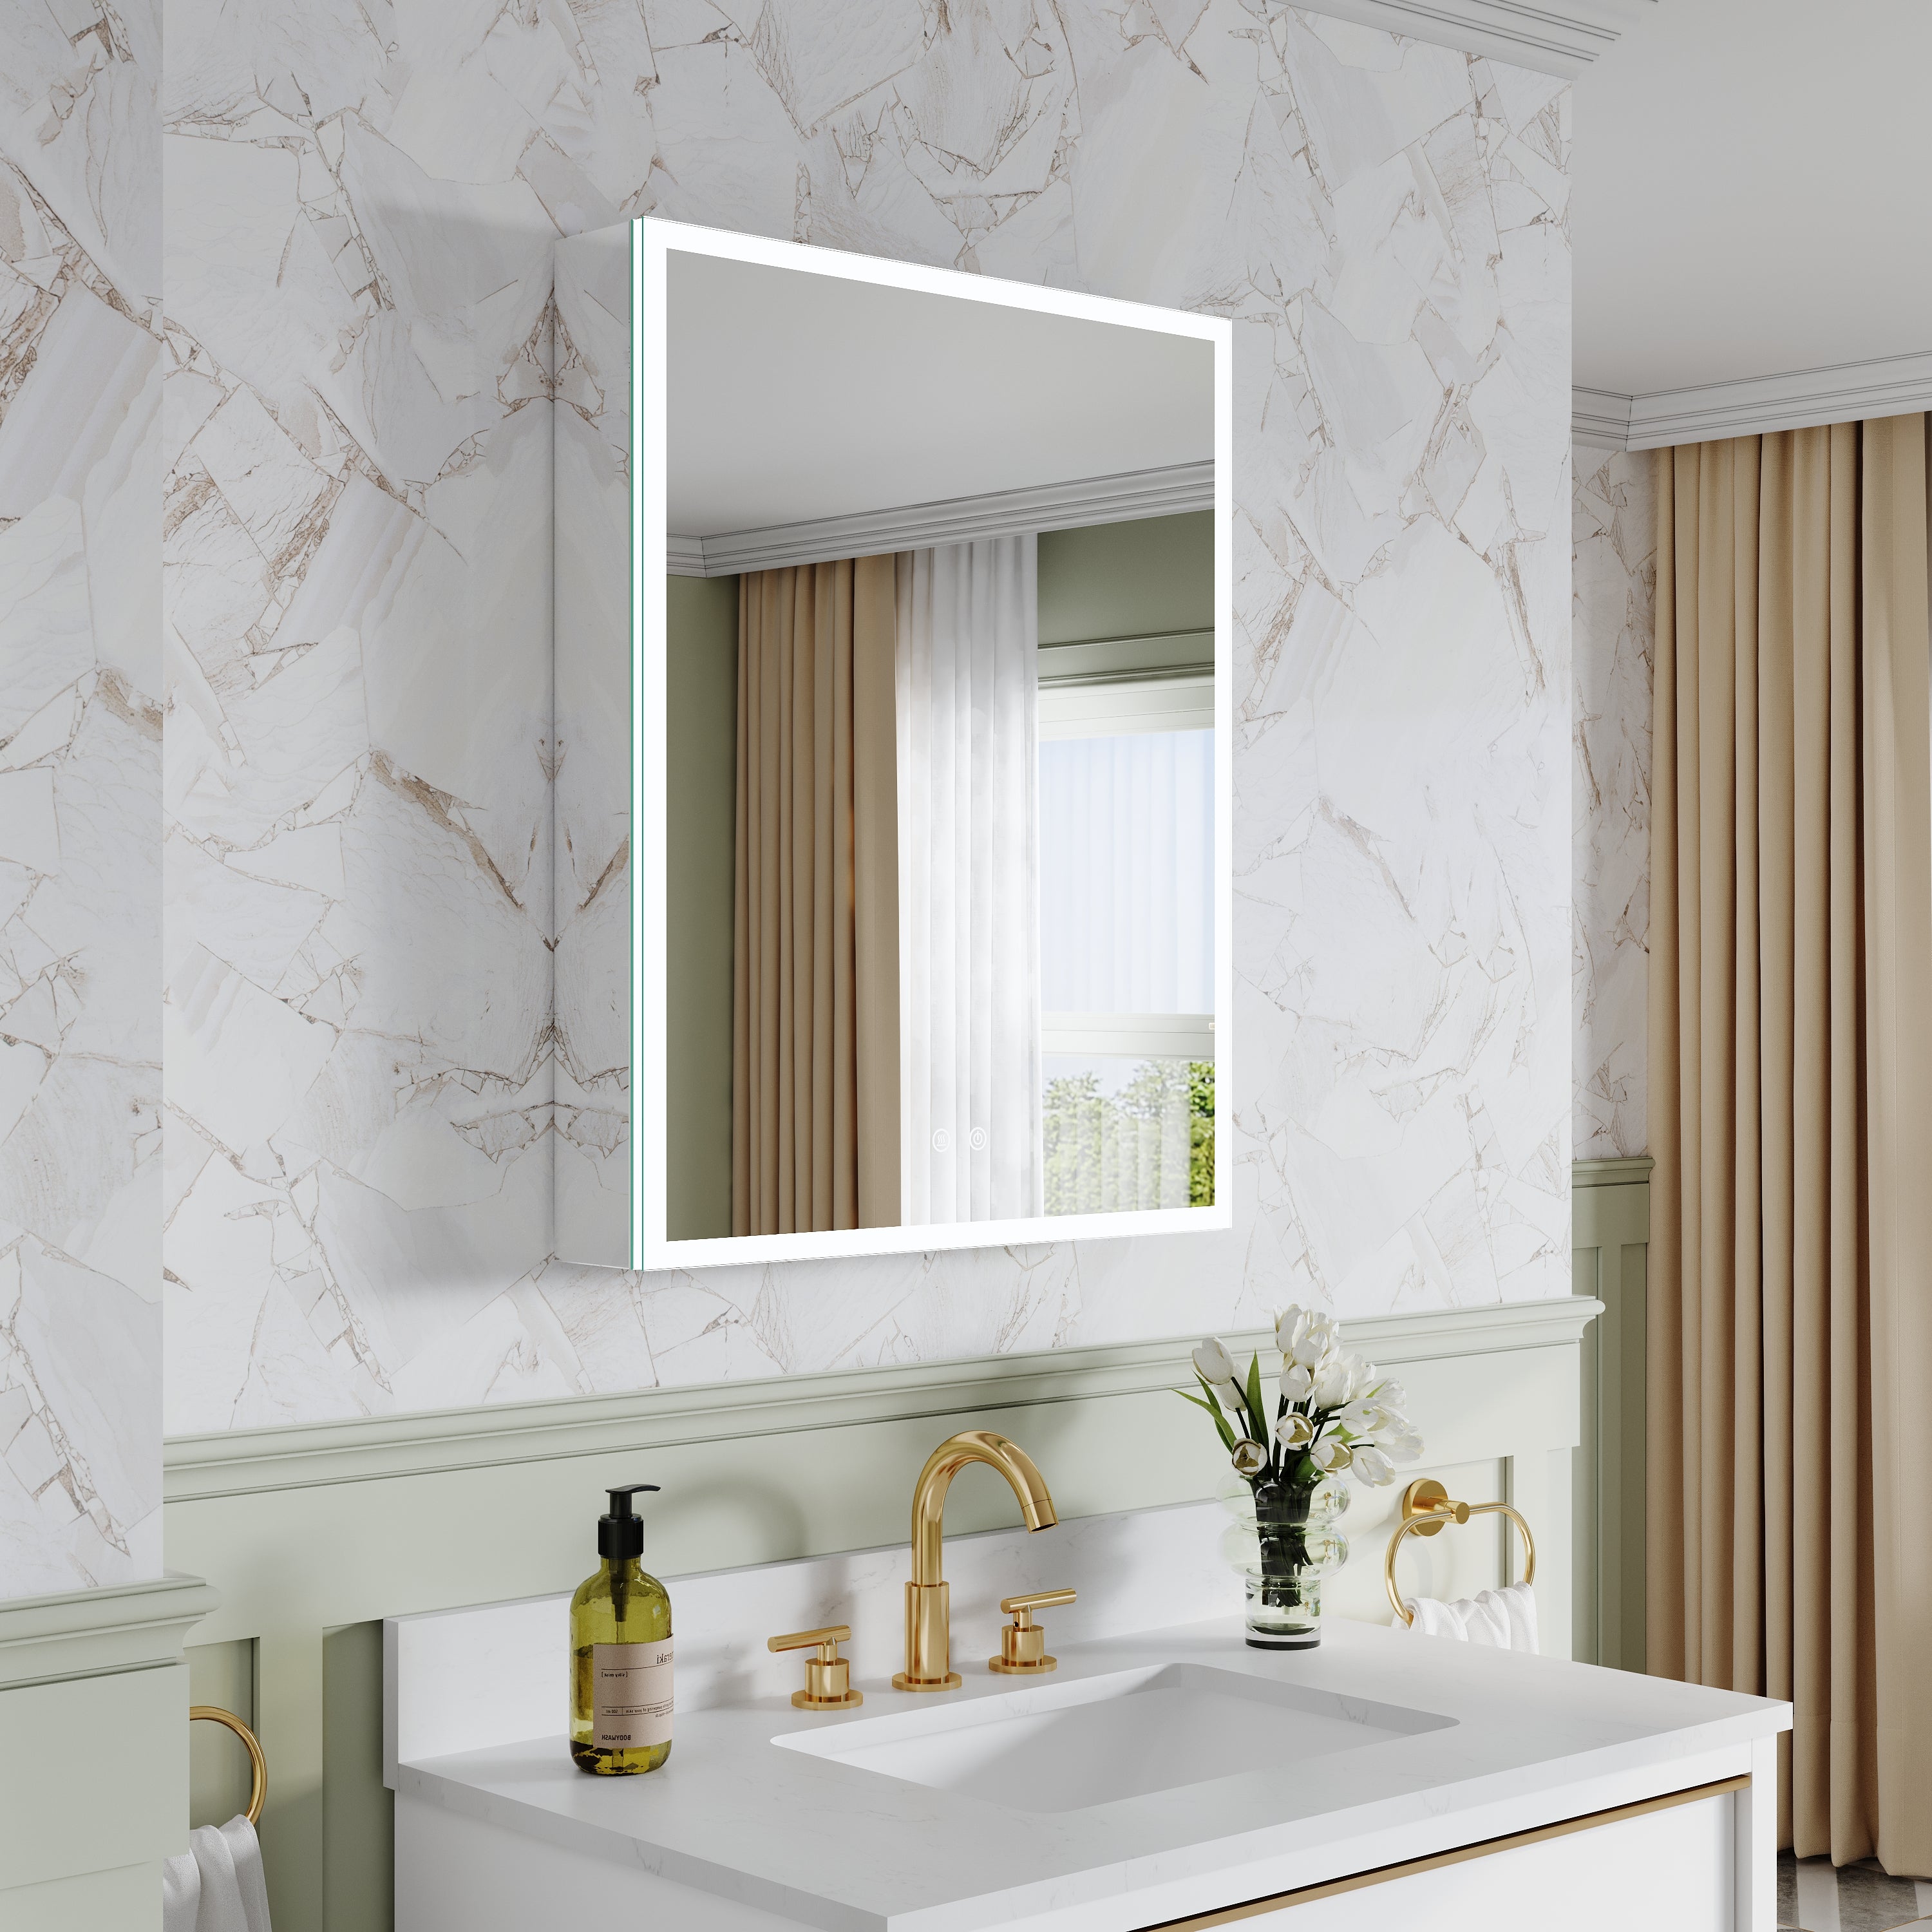
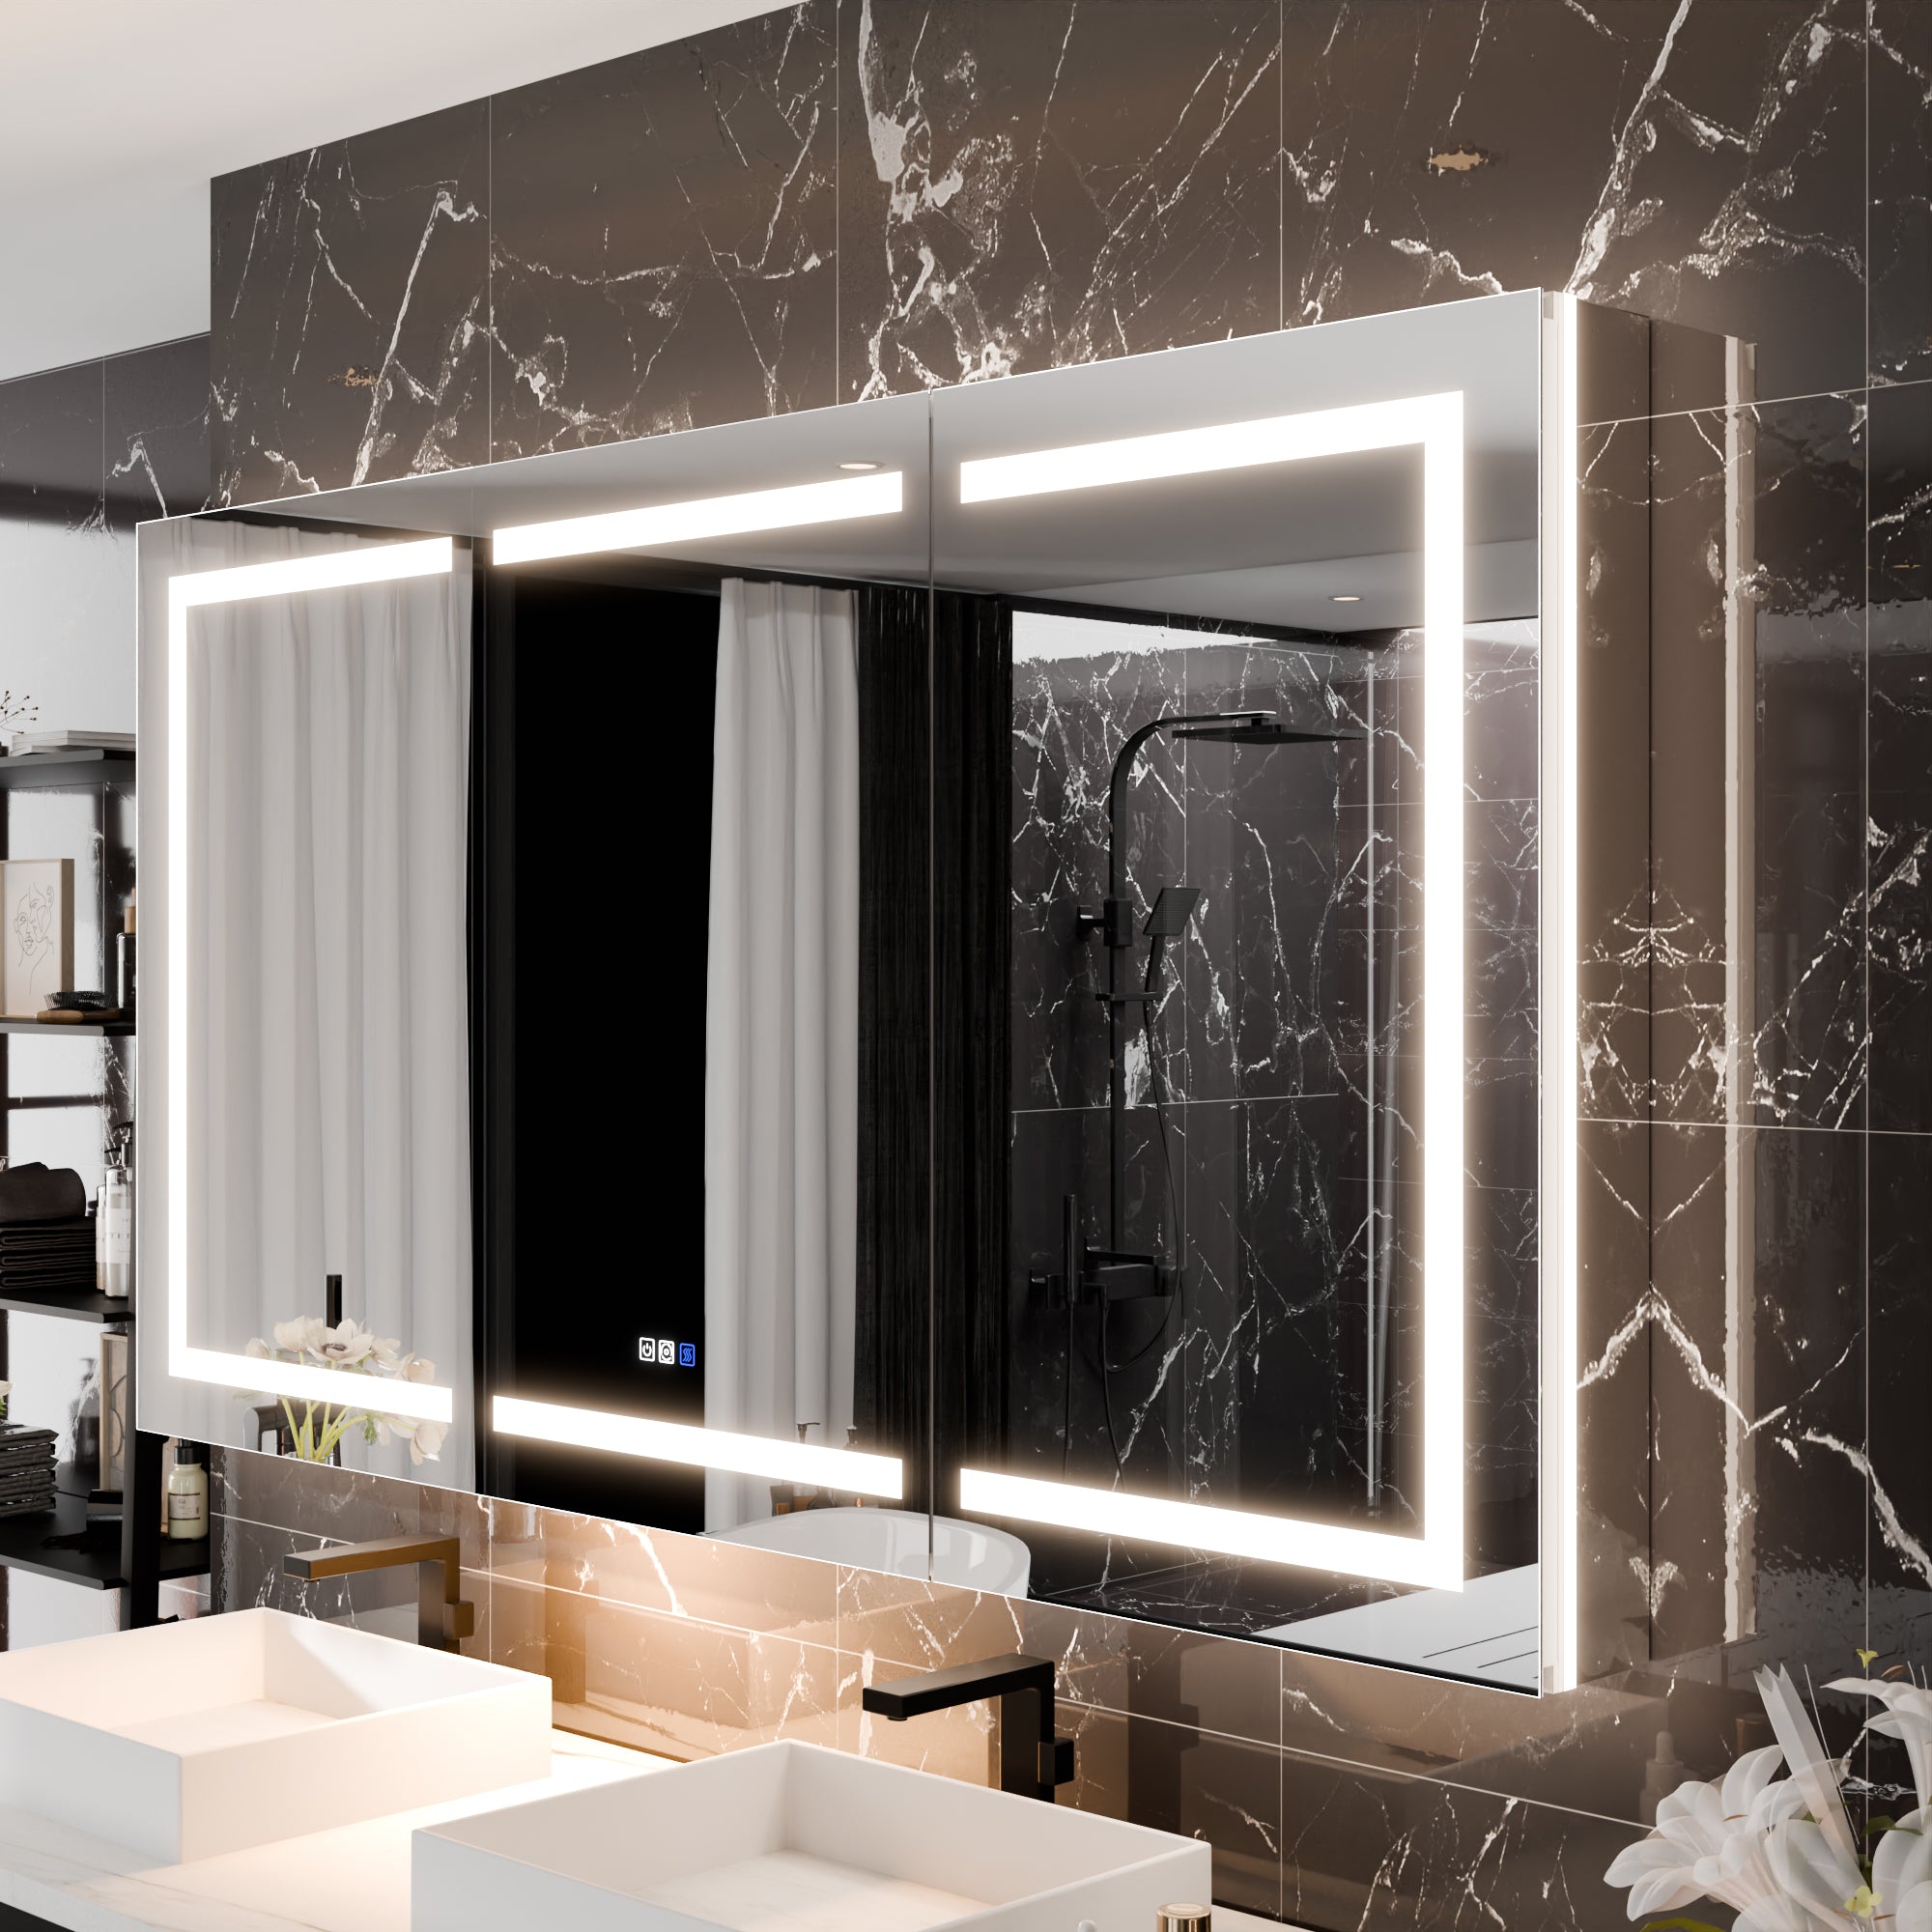
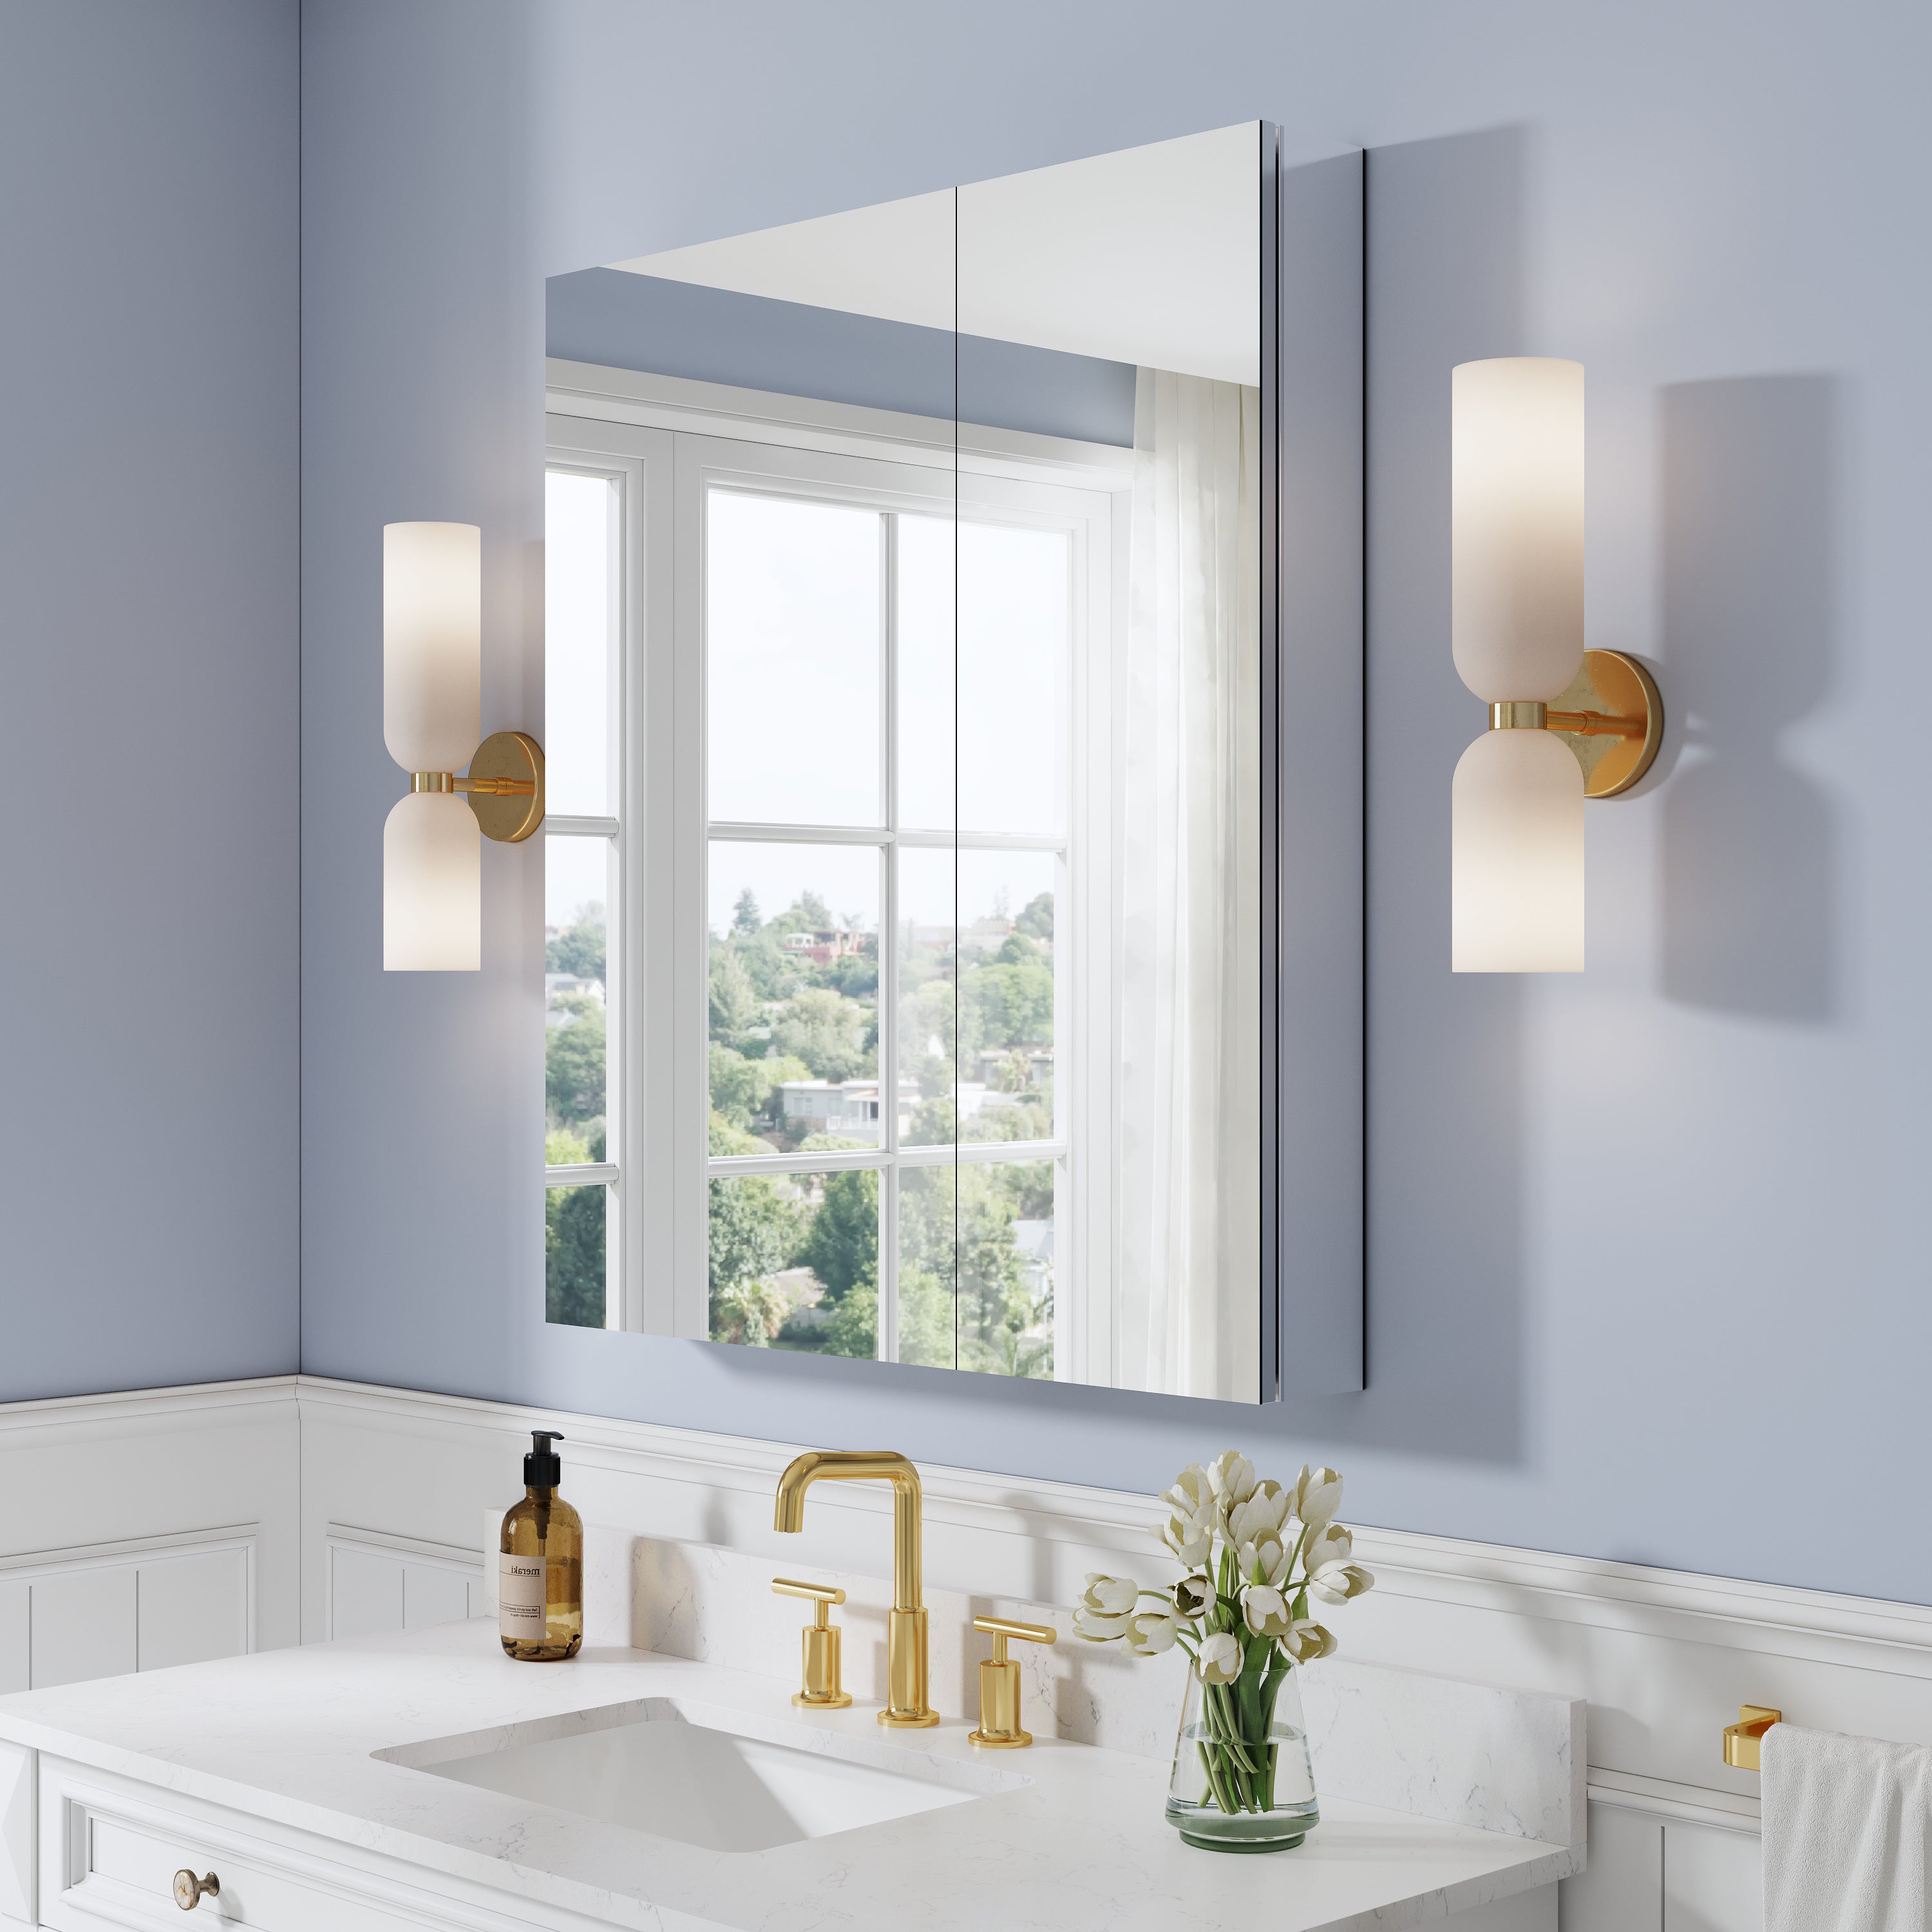
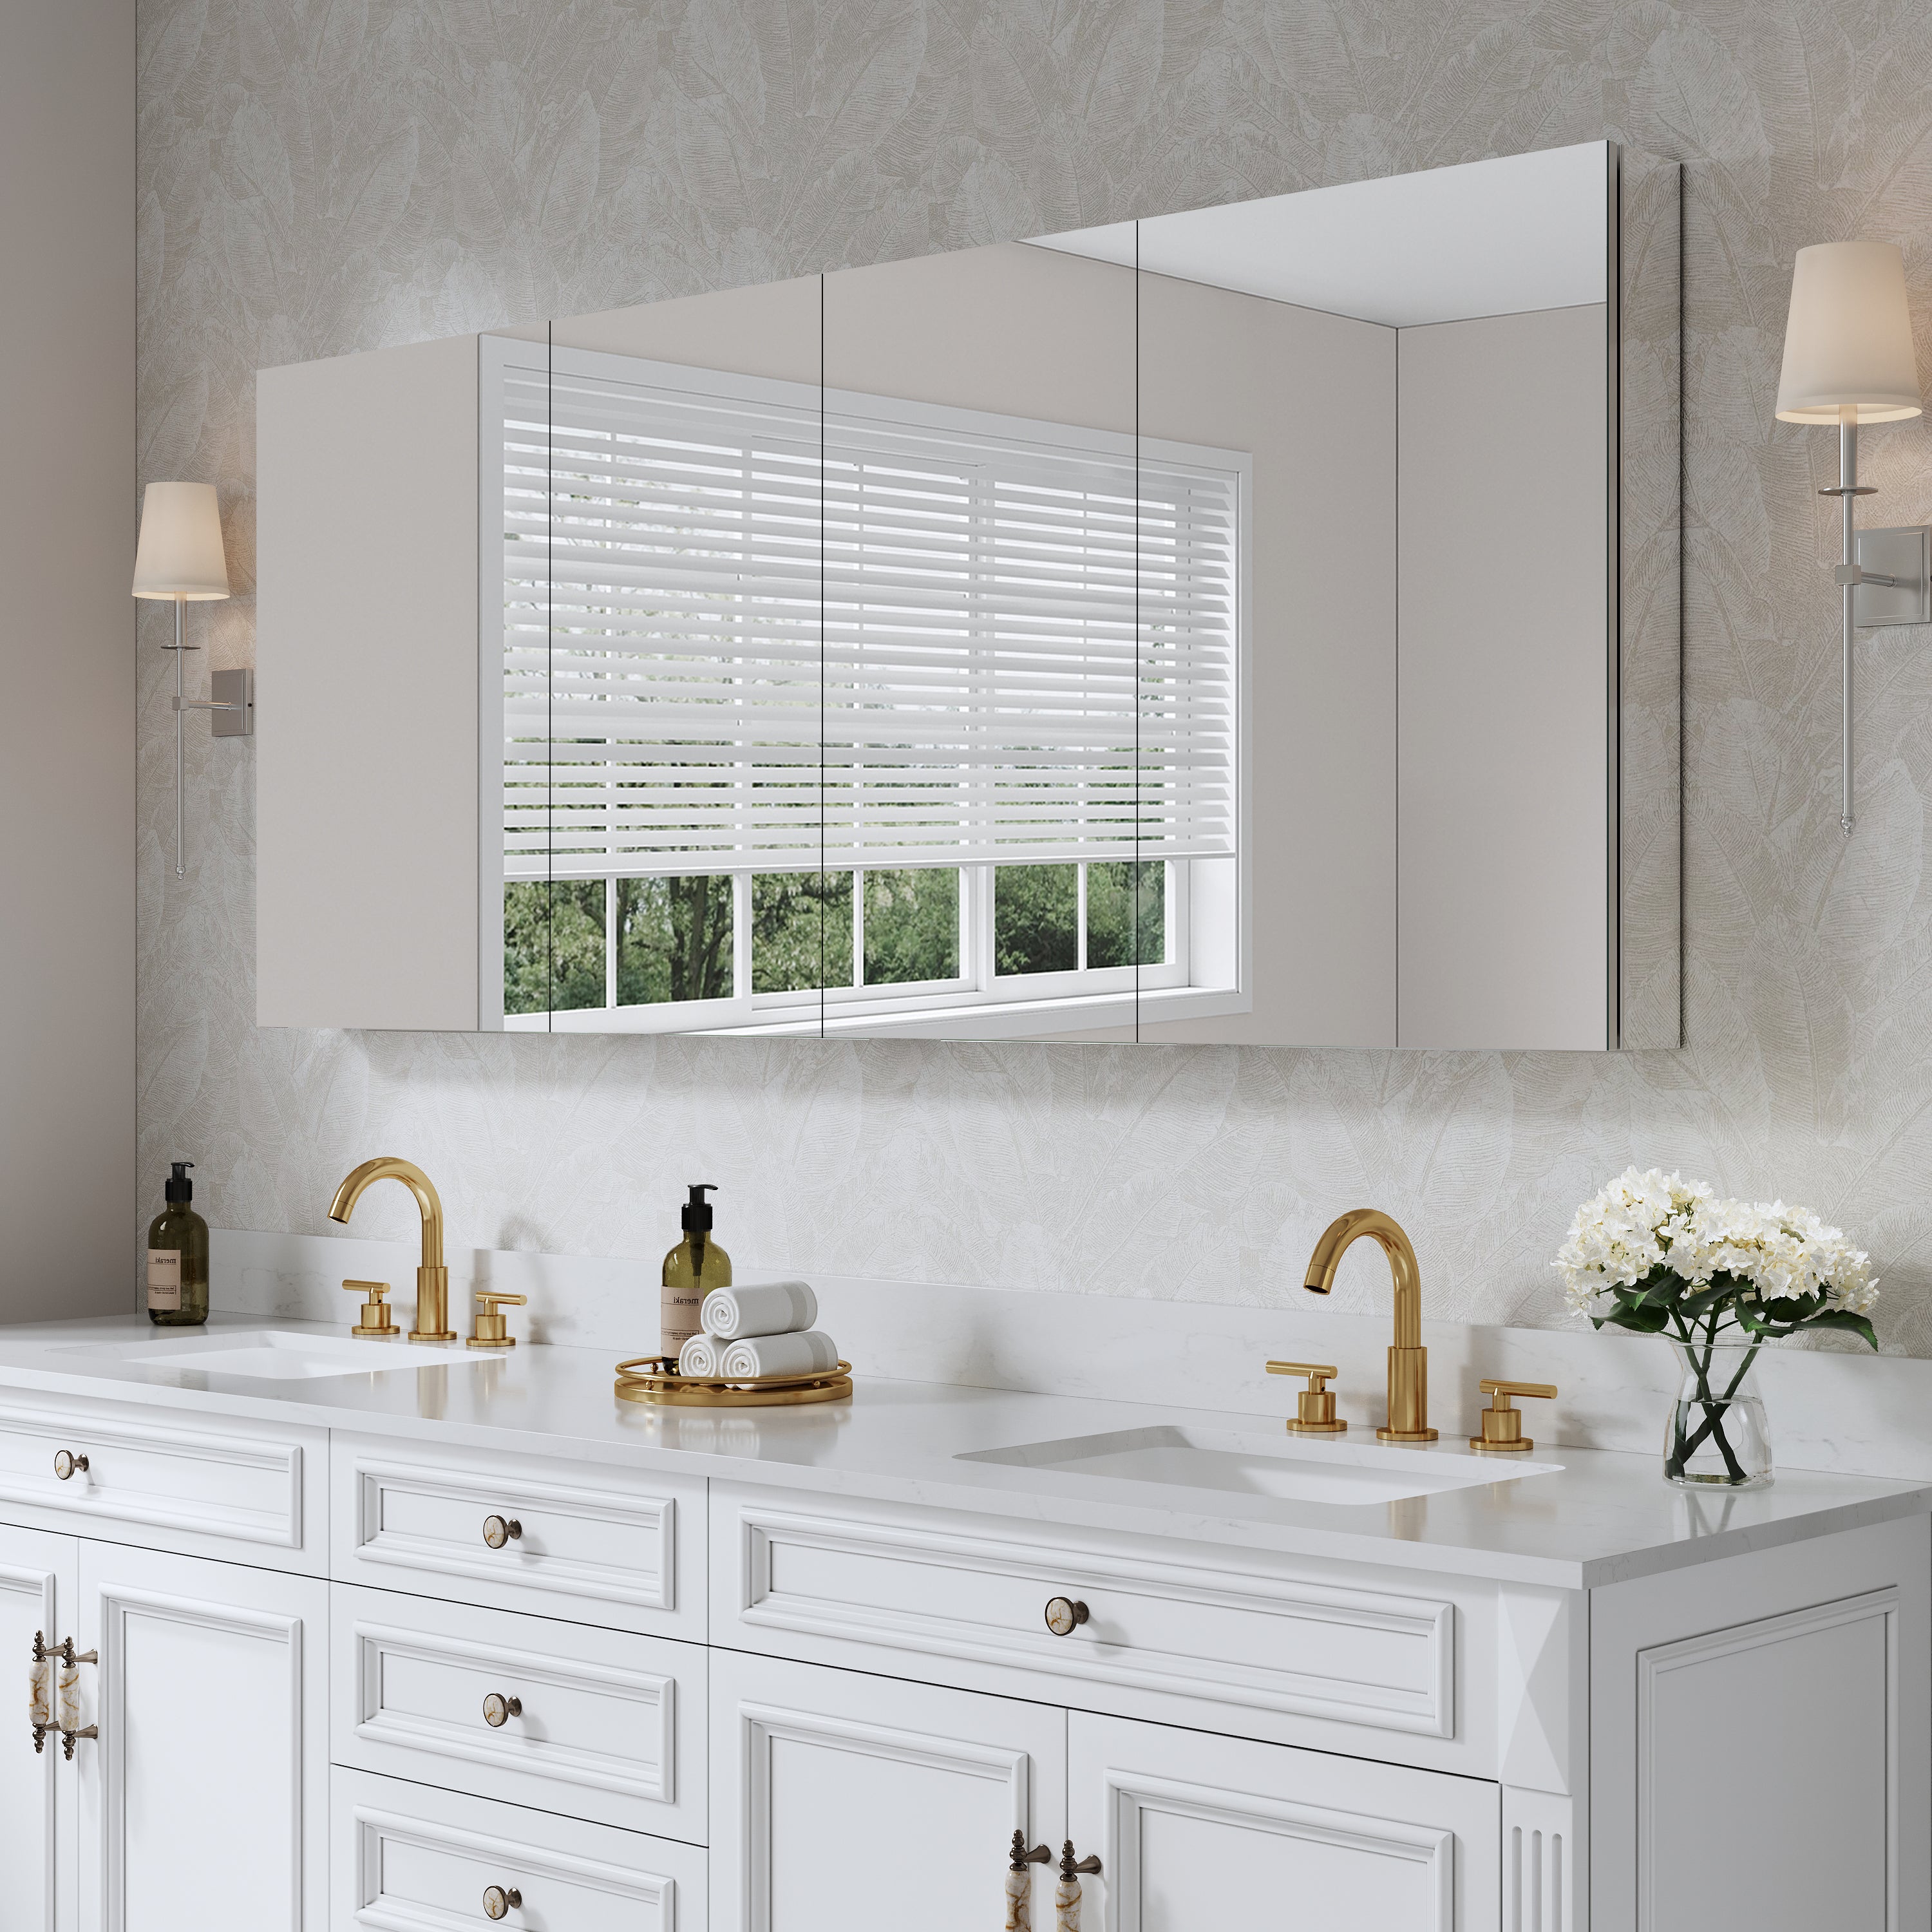
A well-executed recessed medicine cabinet with mirror installation feels effortless—flush surfaces, smooth door movement, and no visual distortion. A poorly framed one always shows its flaws, even if the cabinet itself is high quality.
Take time on measurements, reinforce correctly, and always test fit before finishing the wall. That is what separates a clean professional installation from a frustrating redo later.
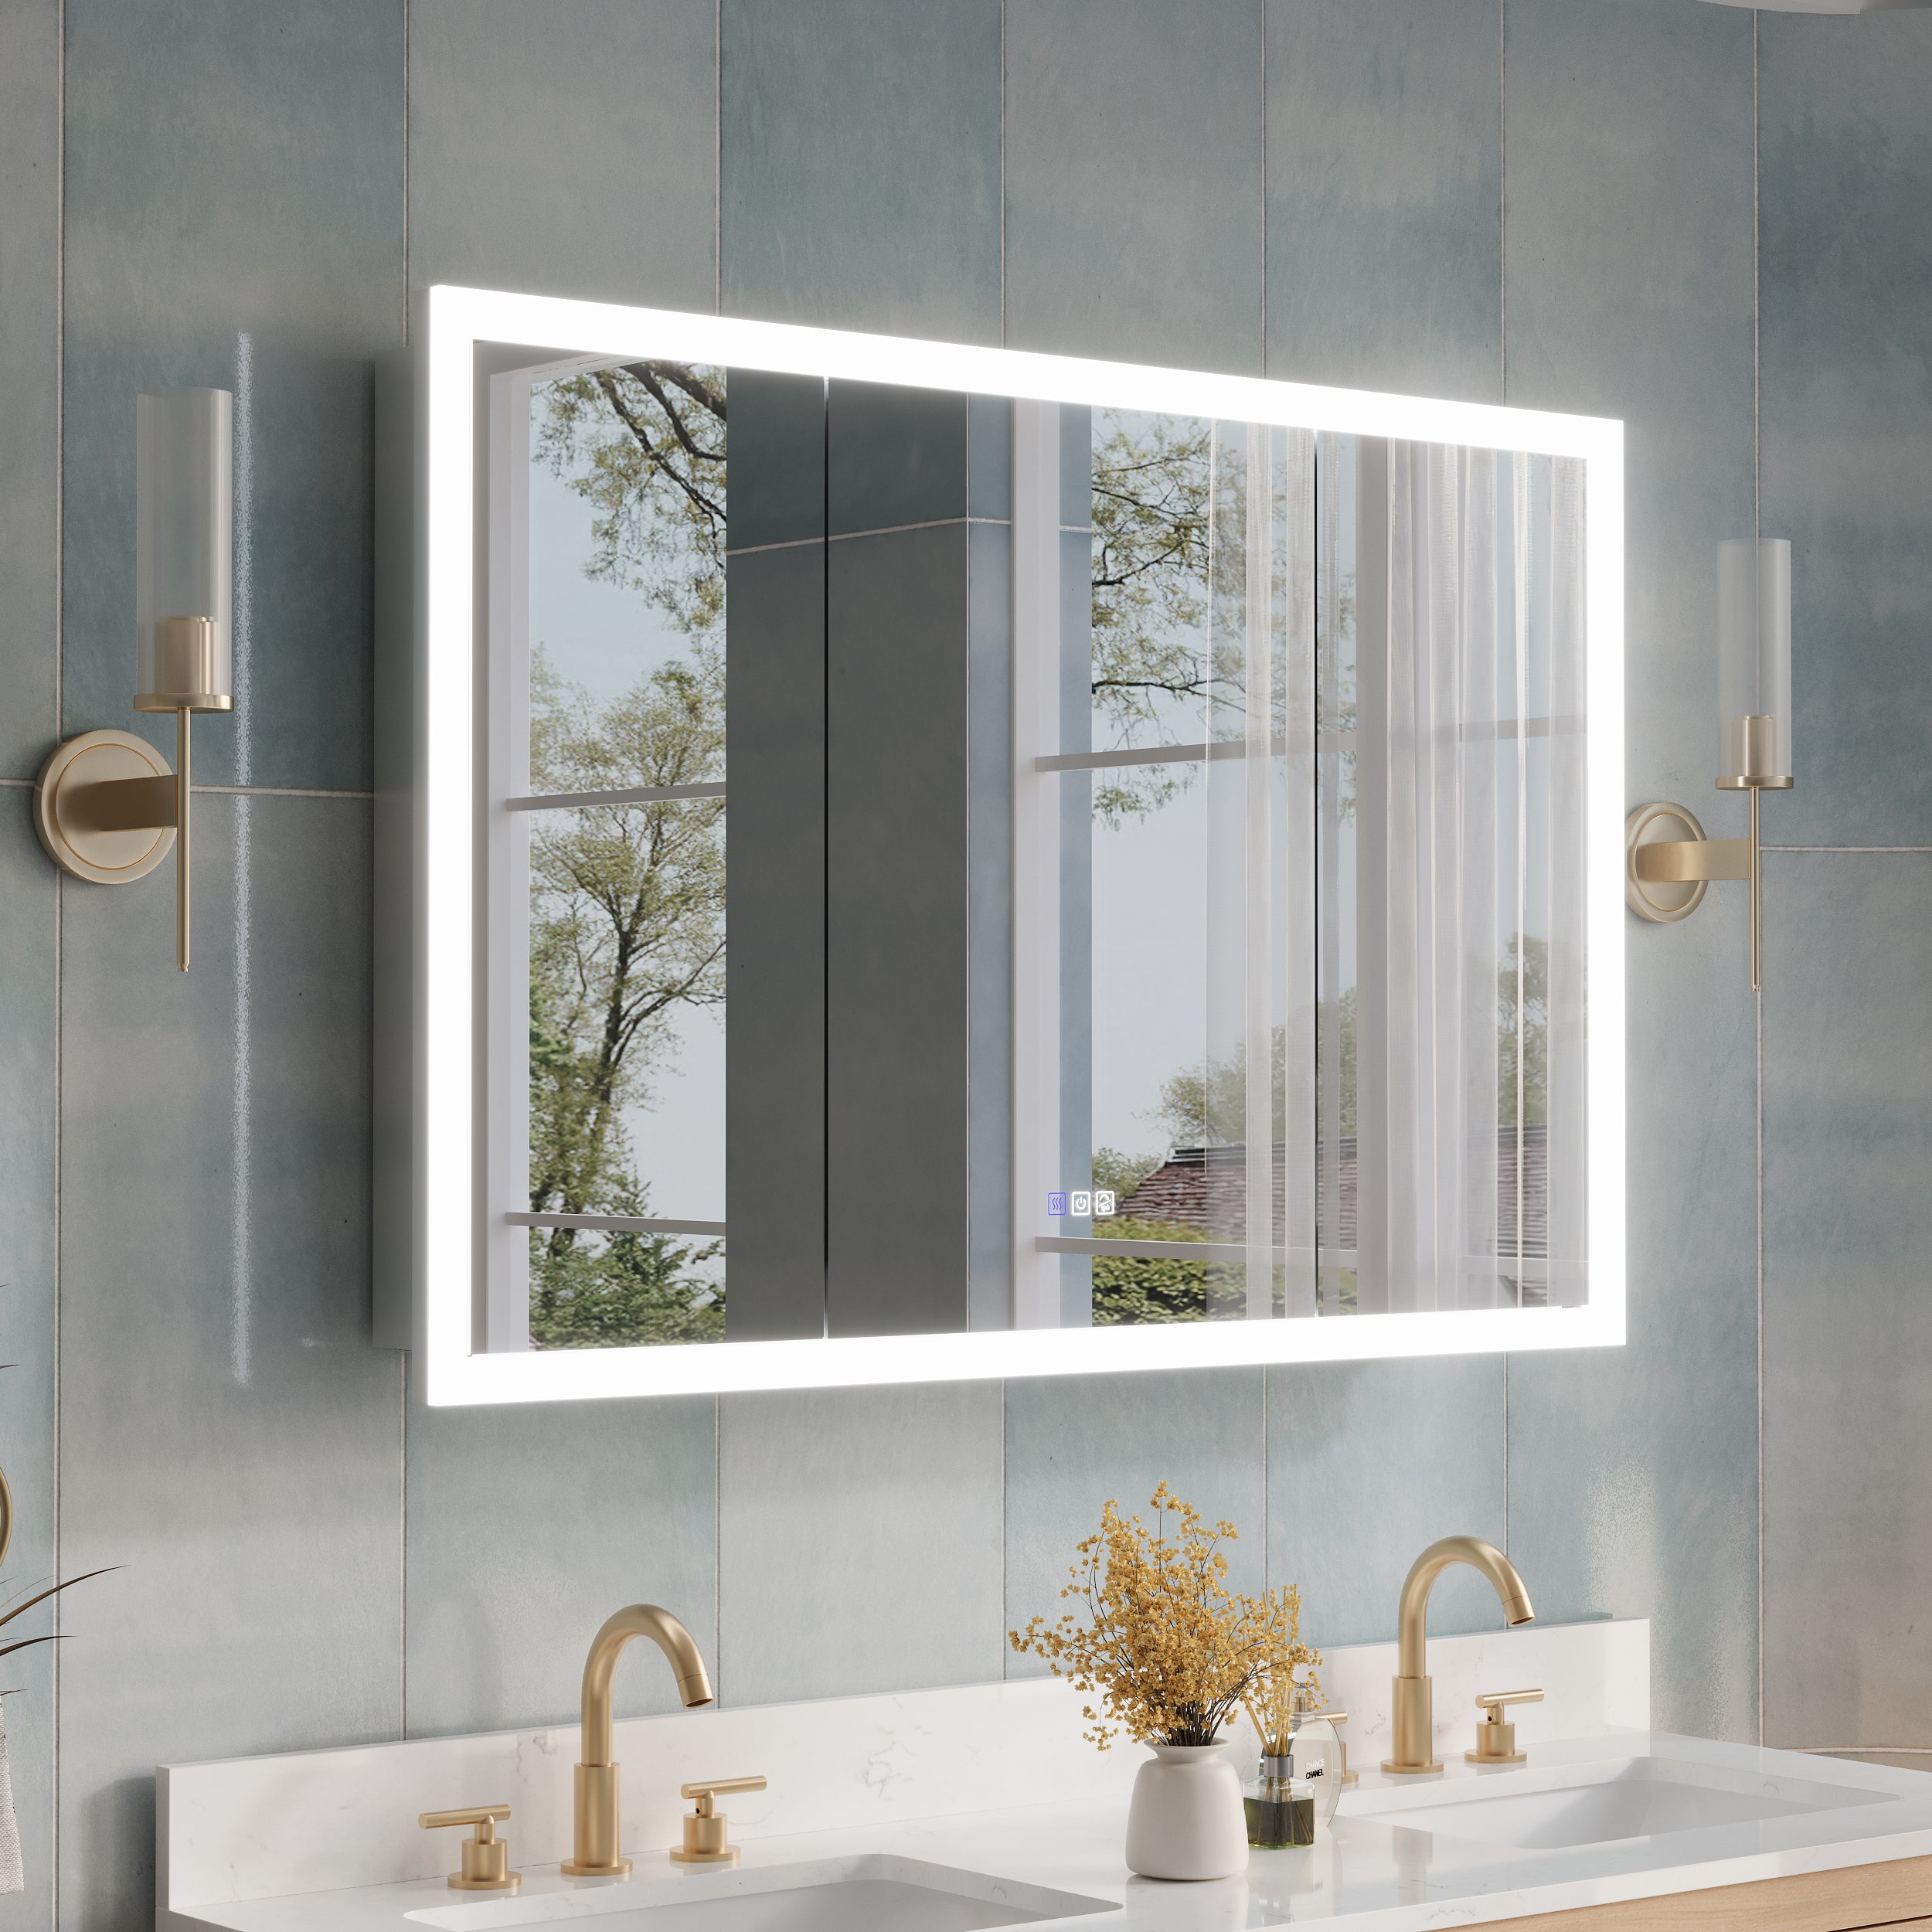
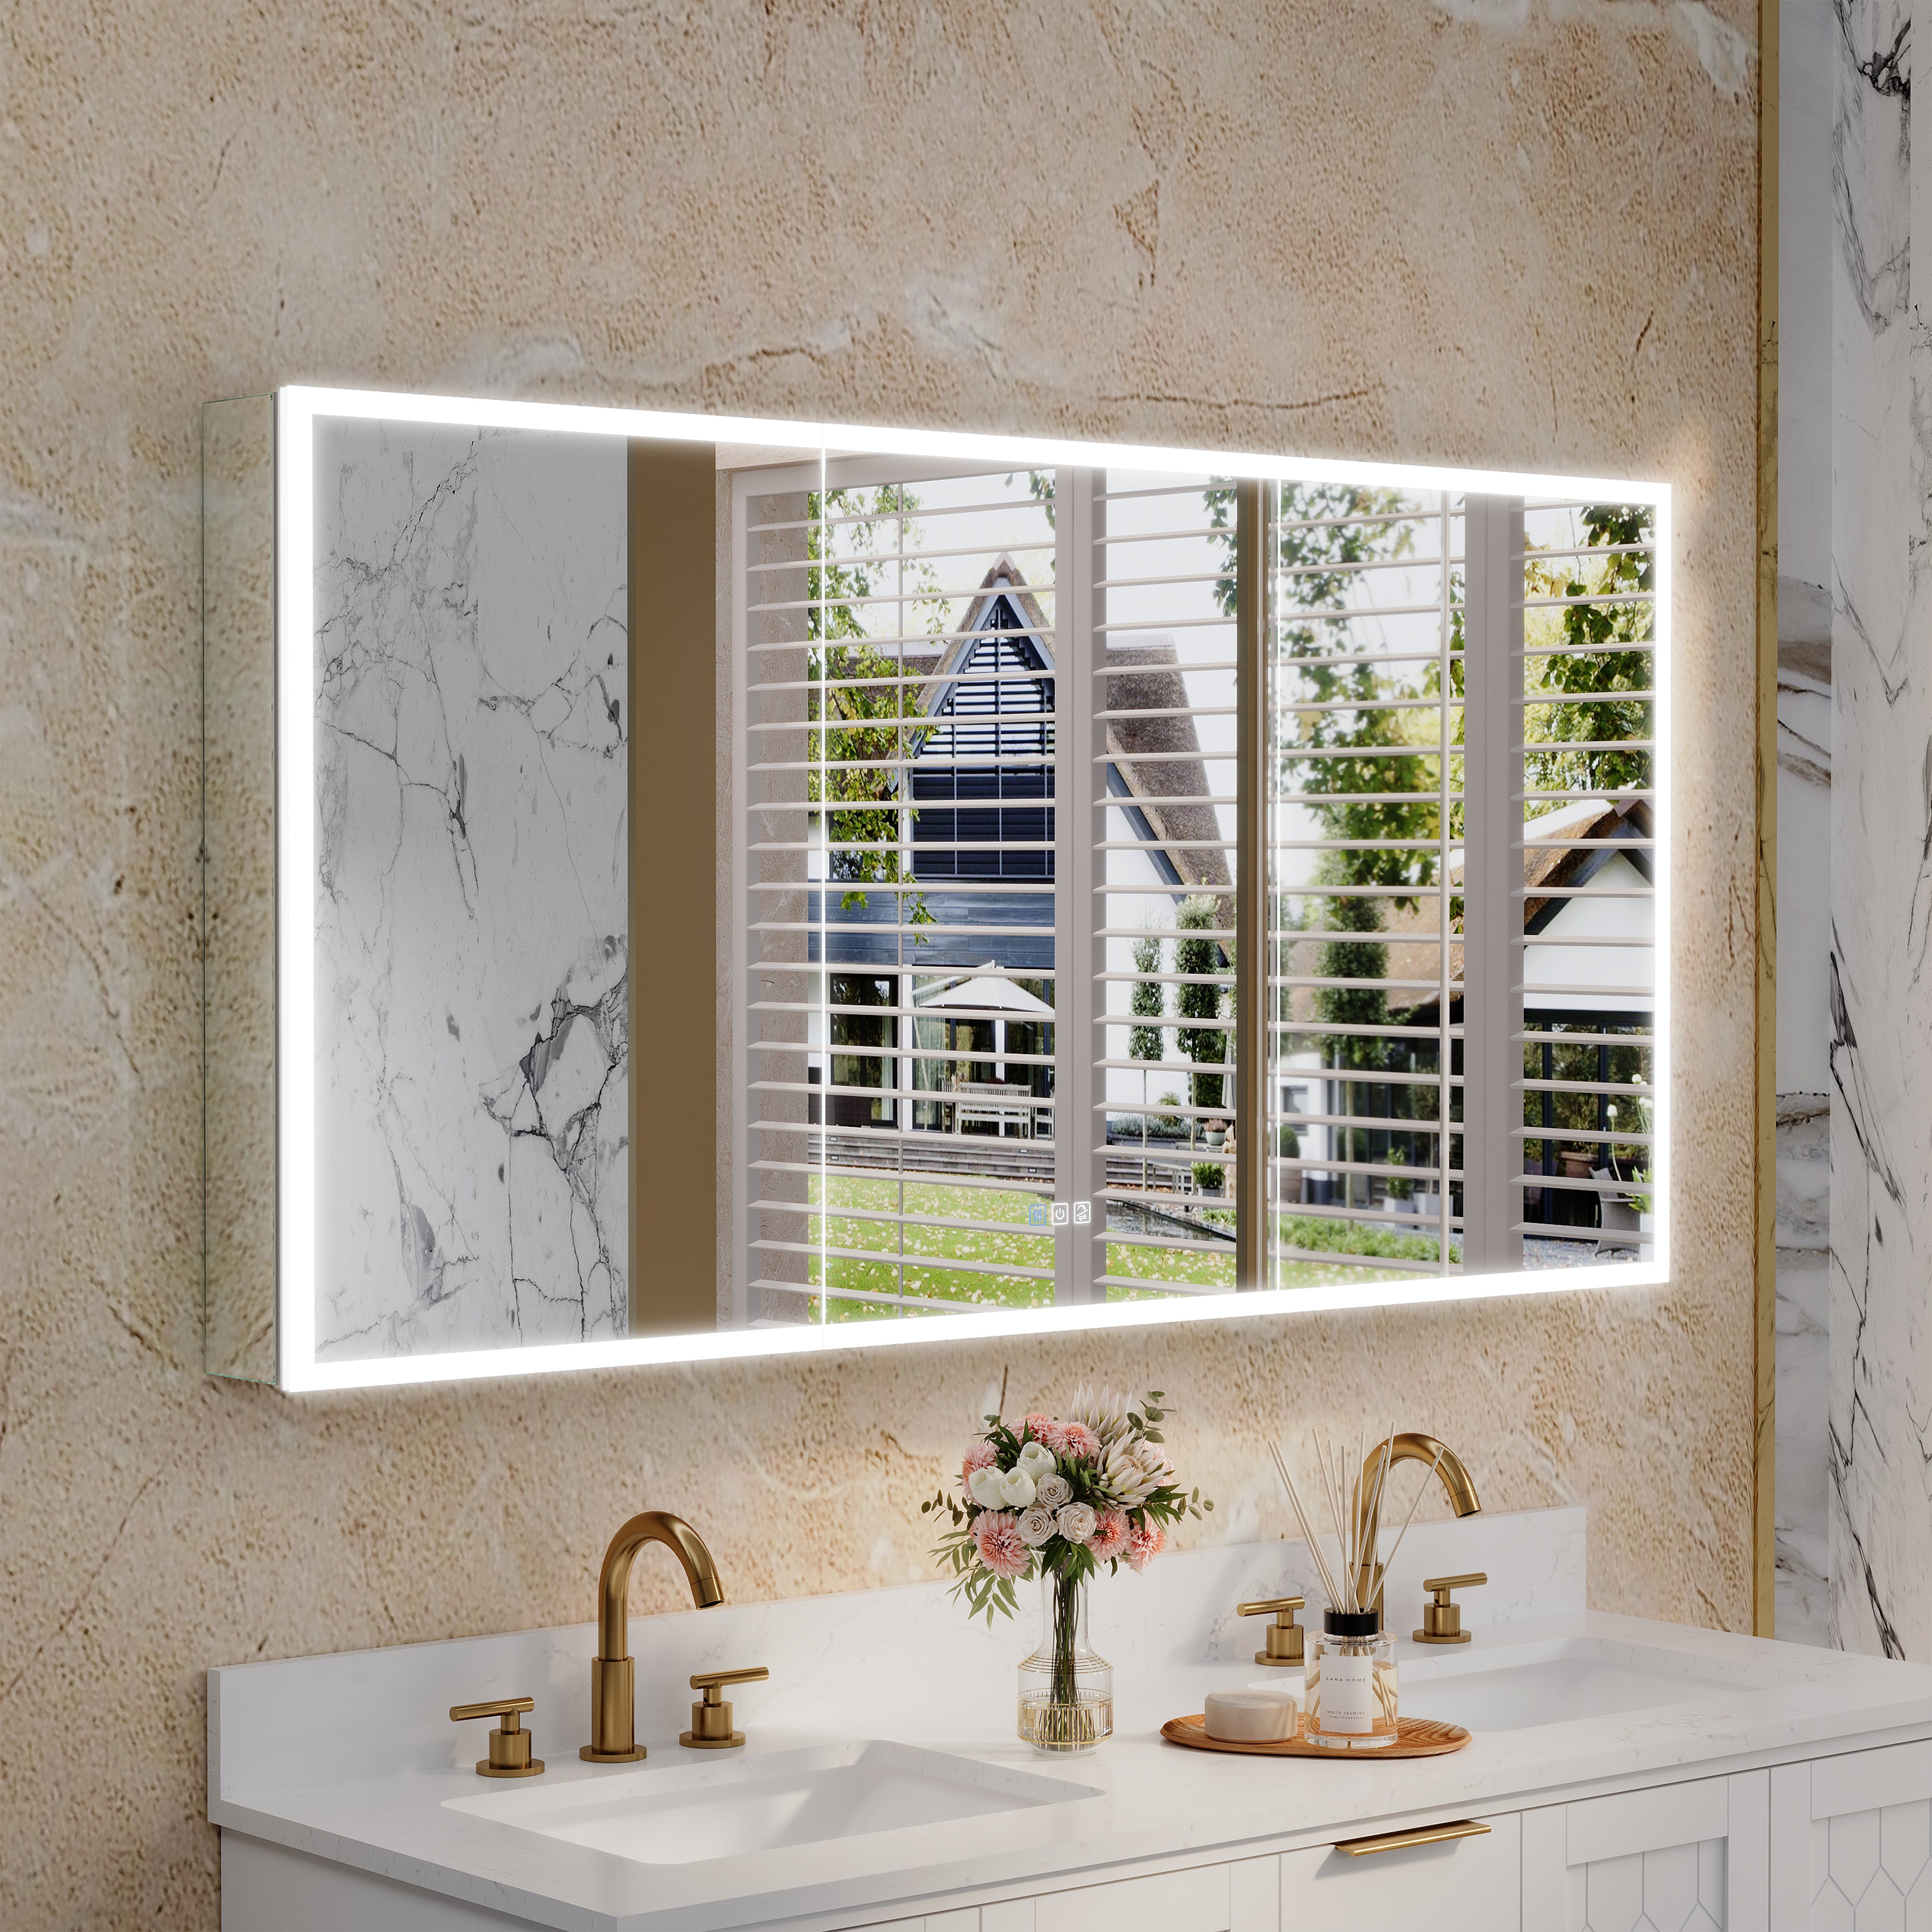
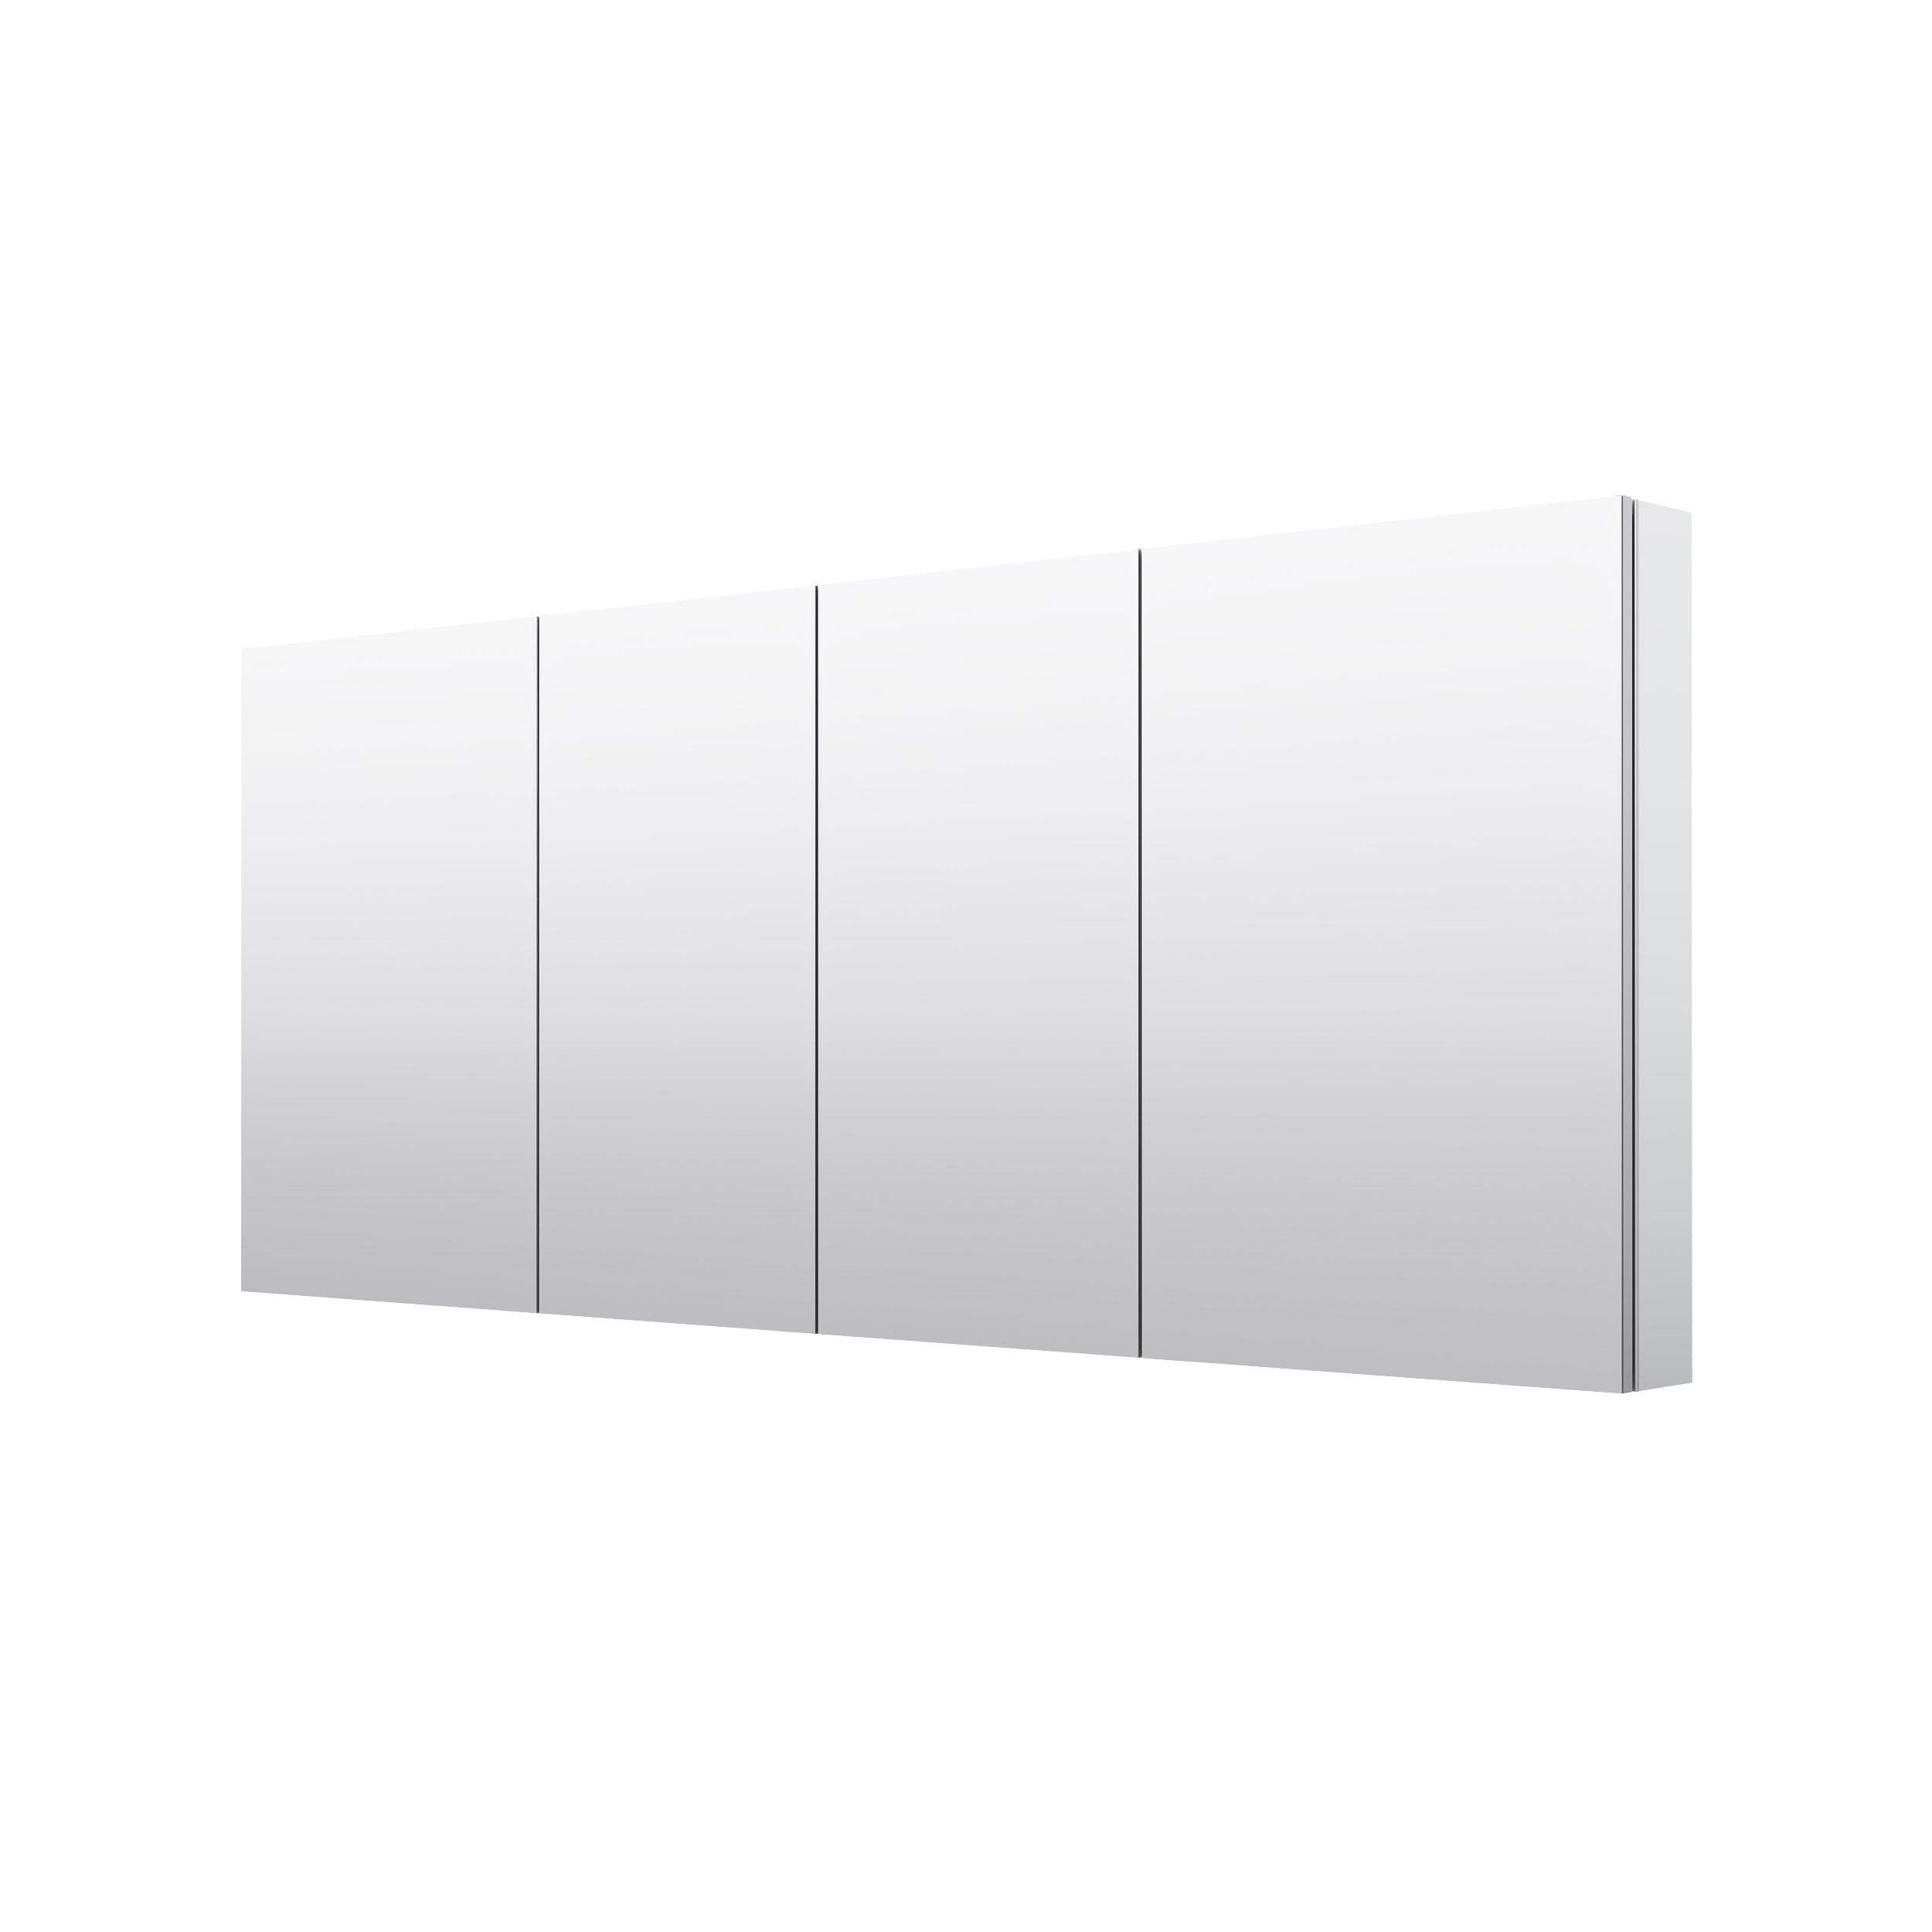
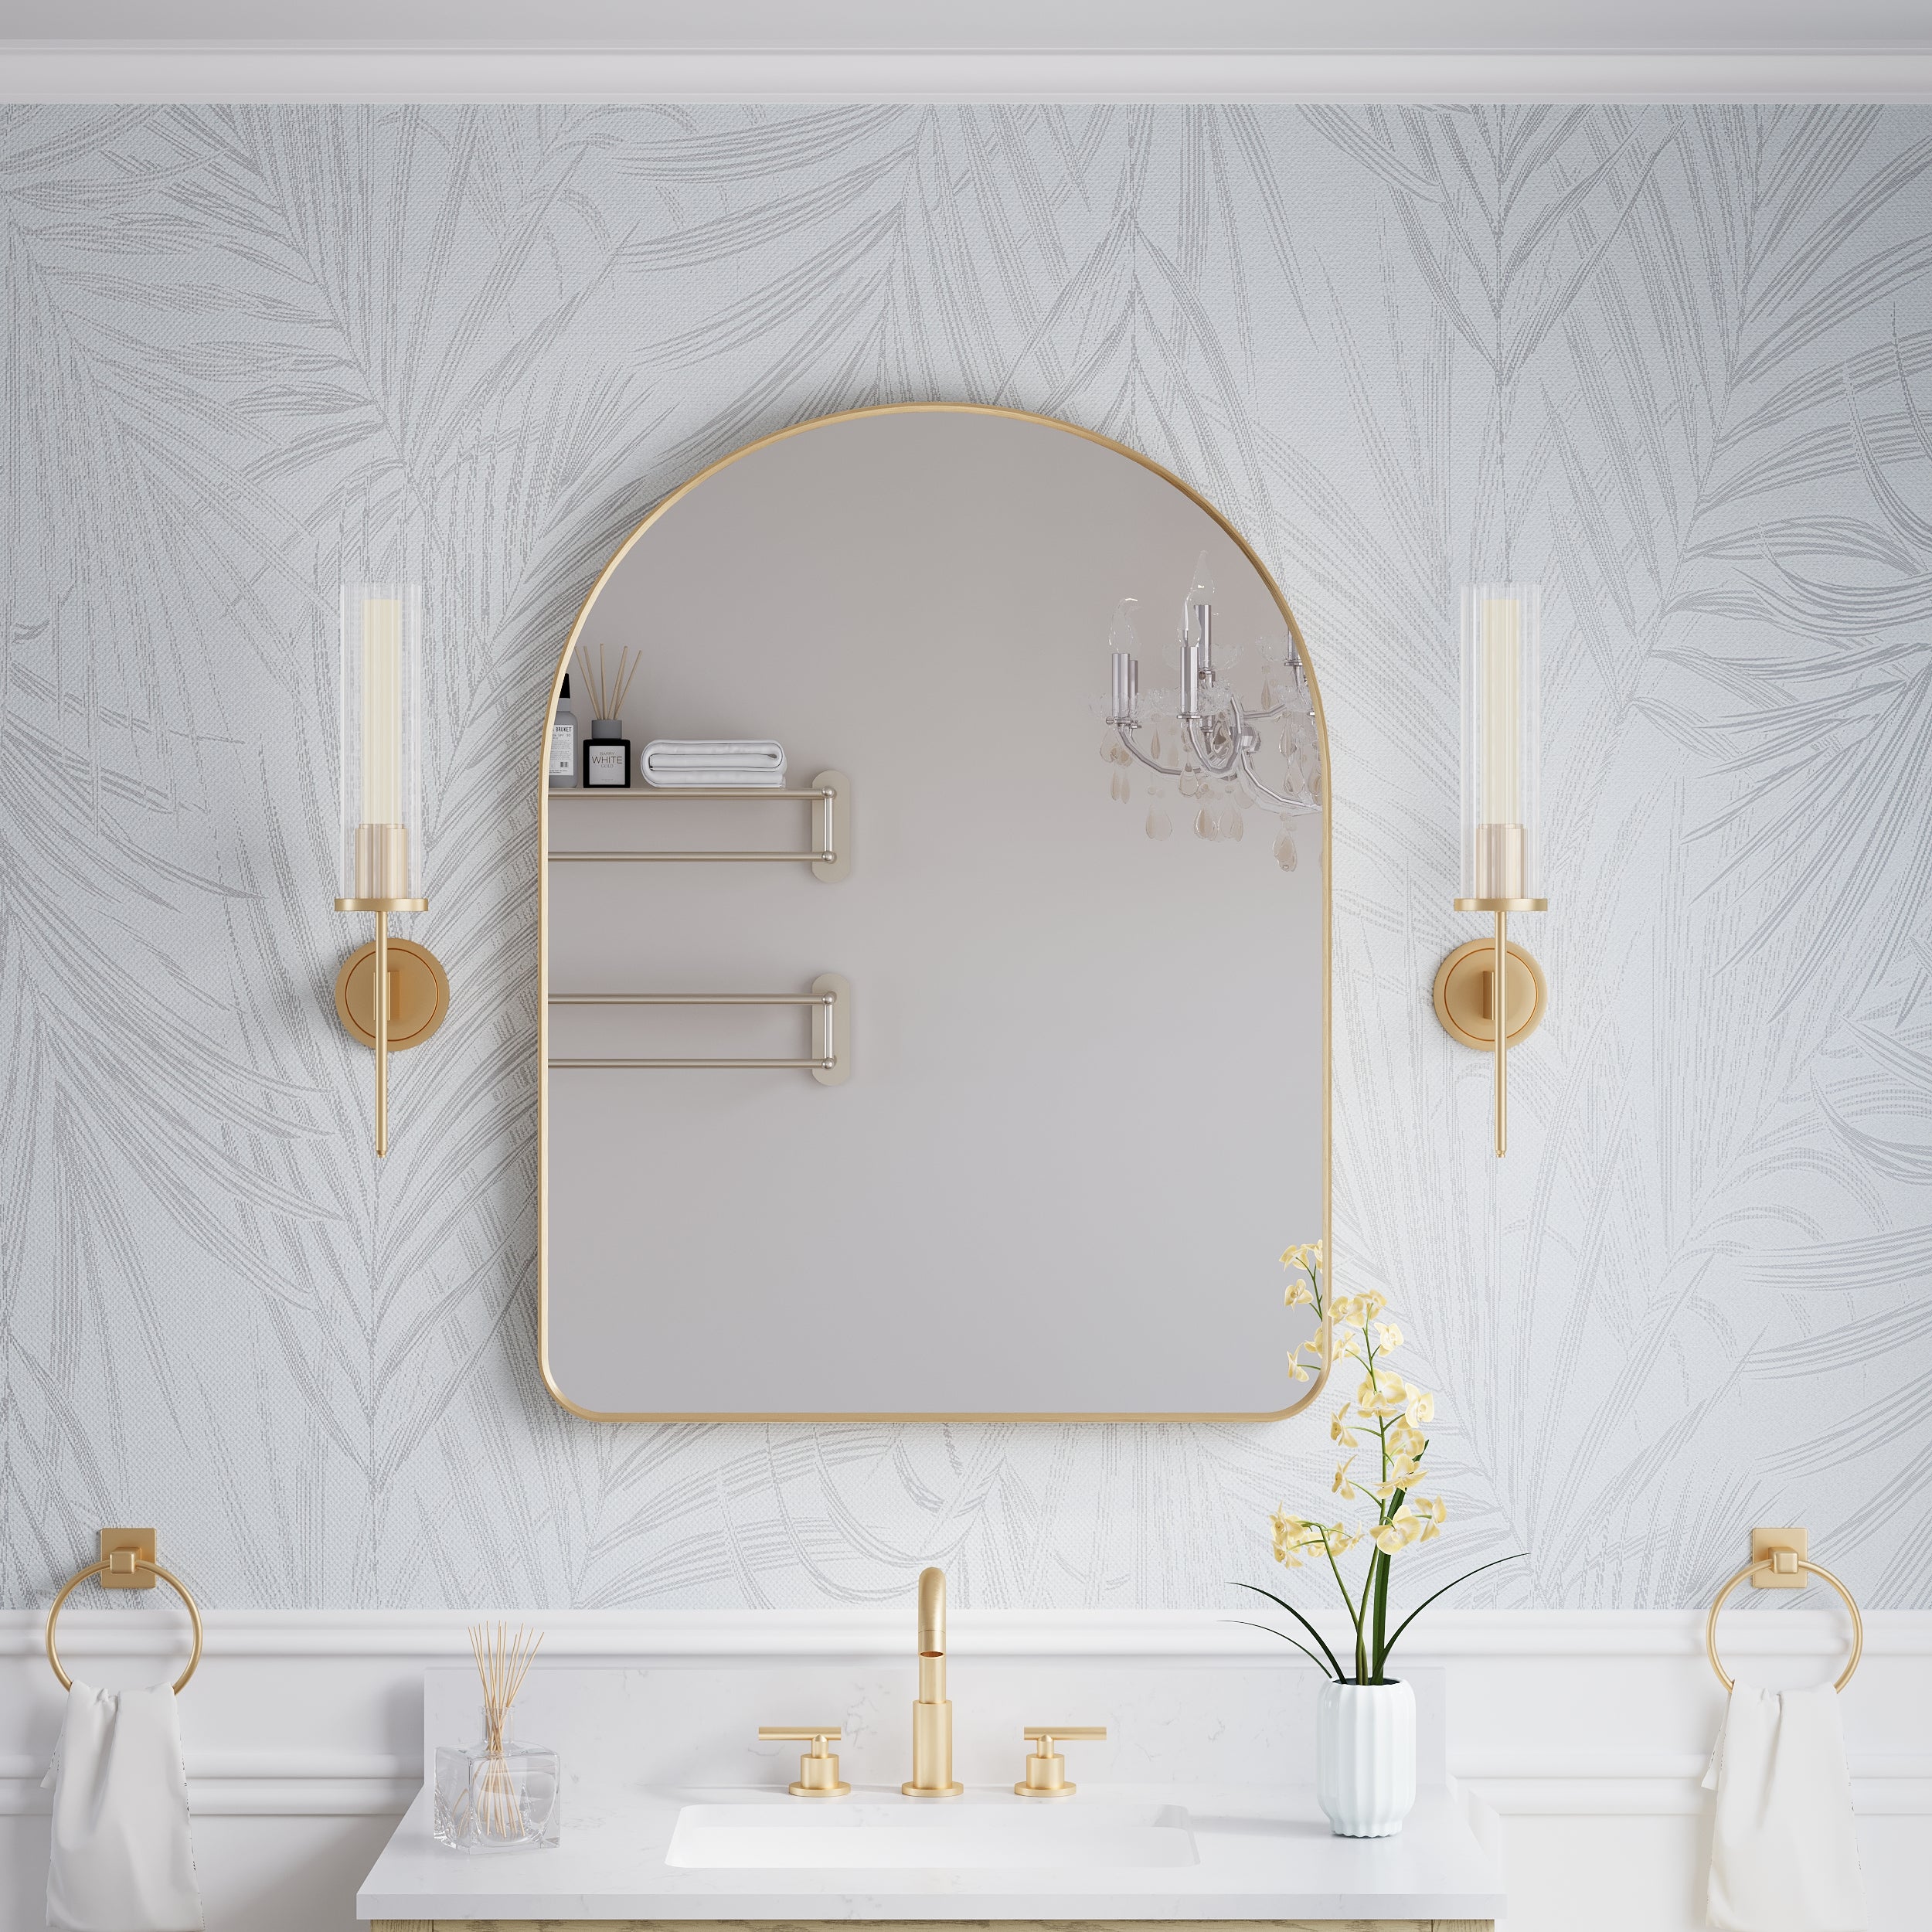
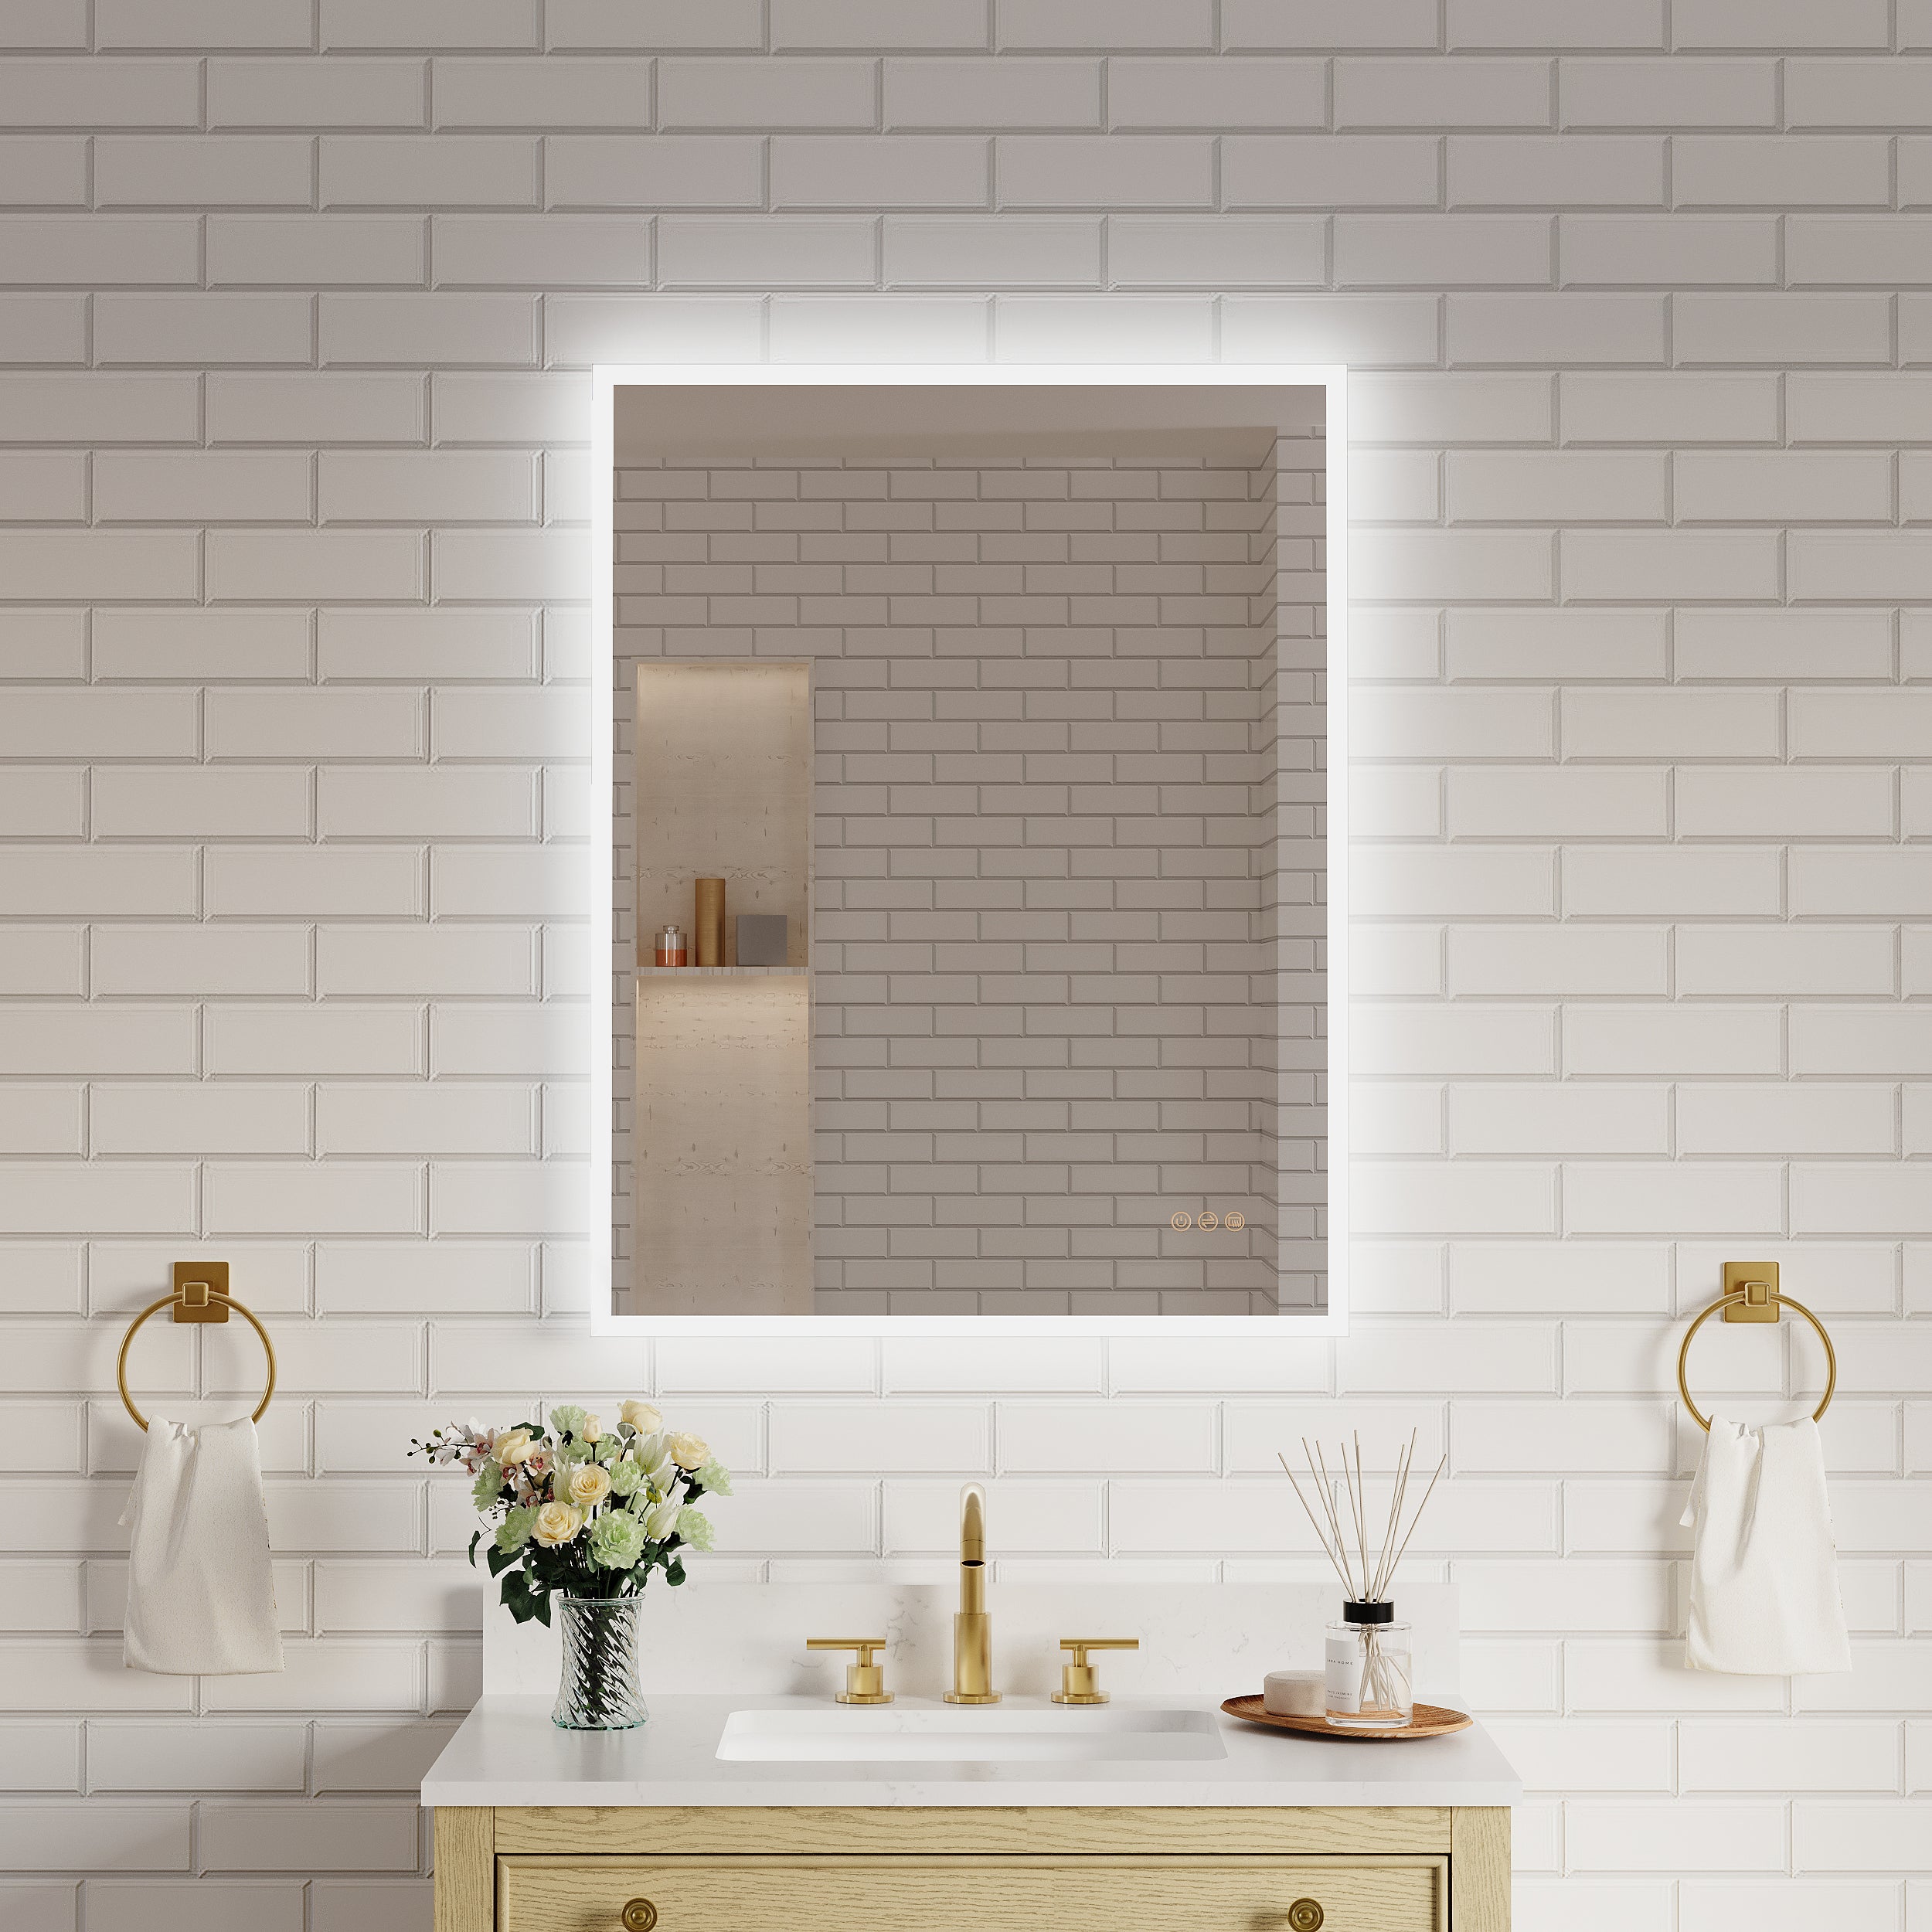
When done right, a Wellfor recessed medicine cabinet with mirror becomes part of the wall, not just mounted onto it.










Leave a comment
This site is protected by hCaptcha and the hCaptcha Privacy Policy and Terms of Service apply.