


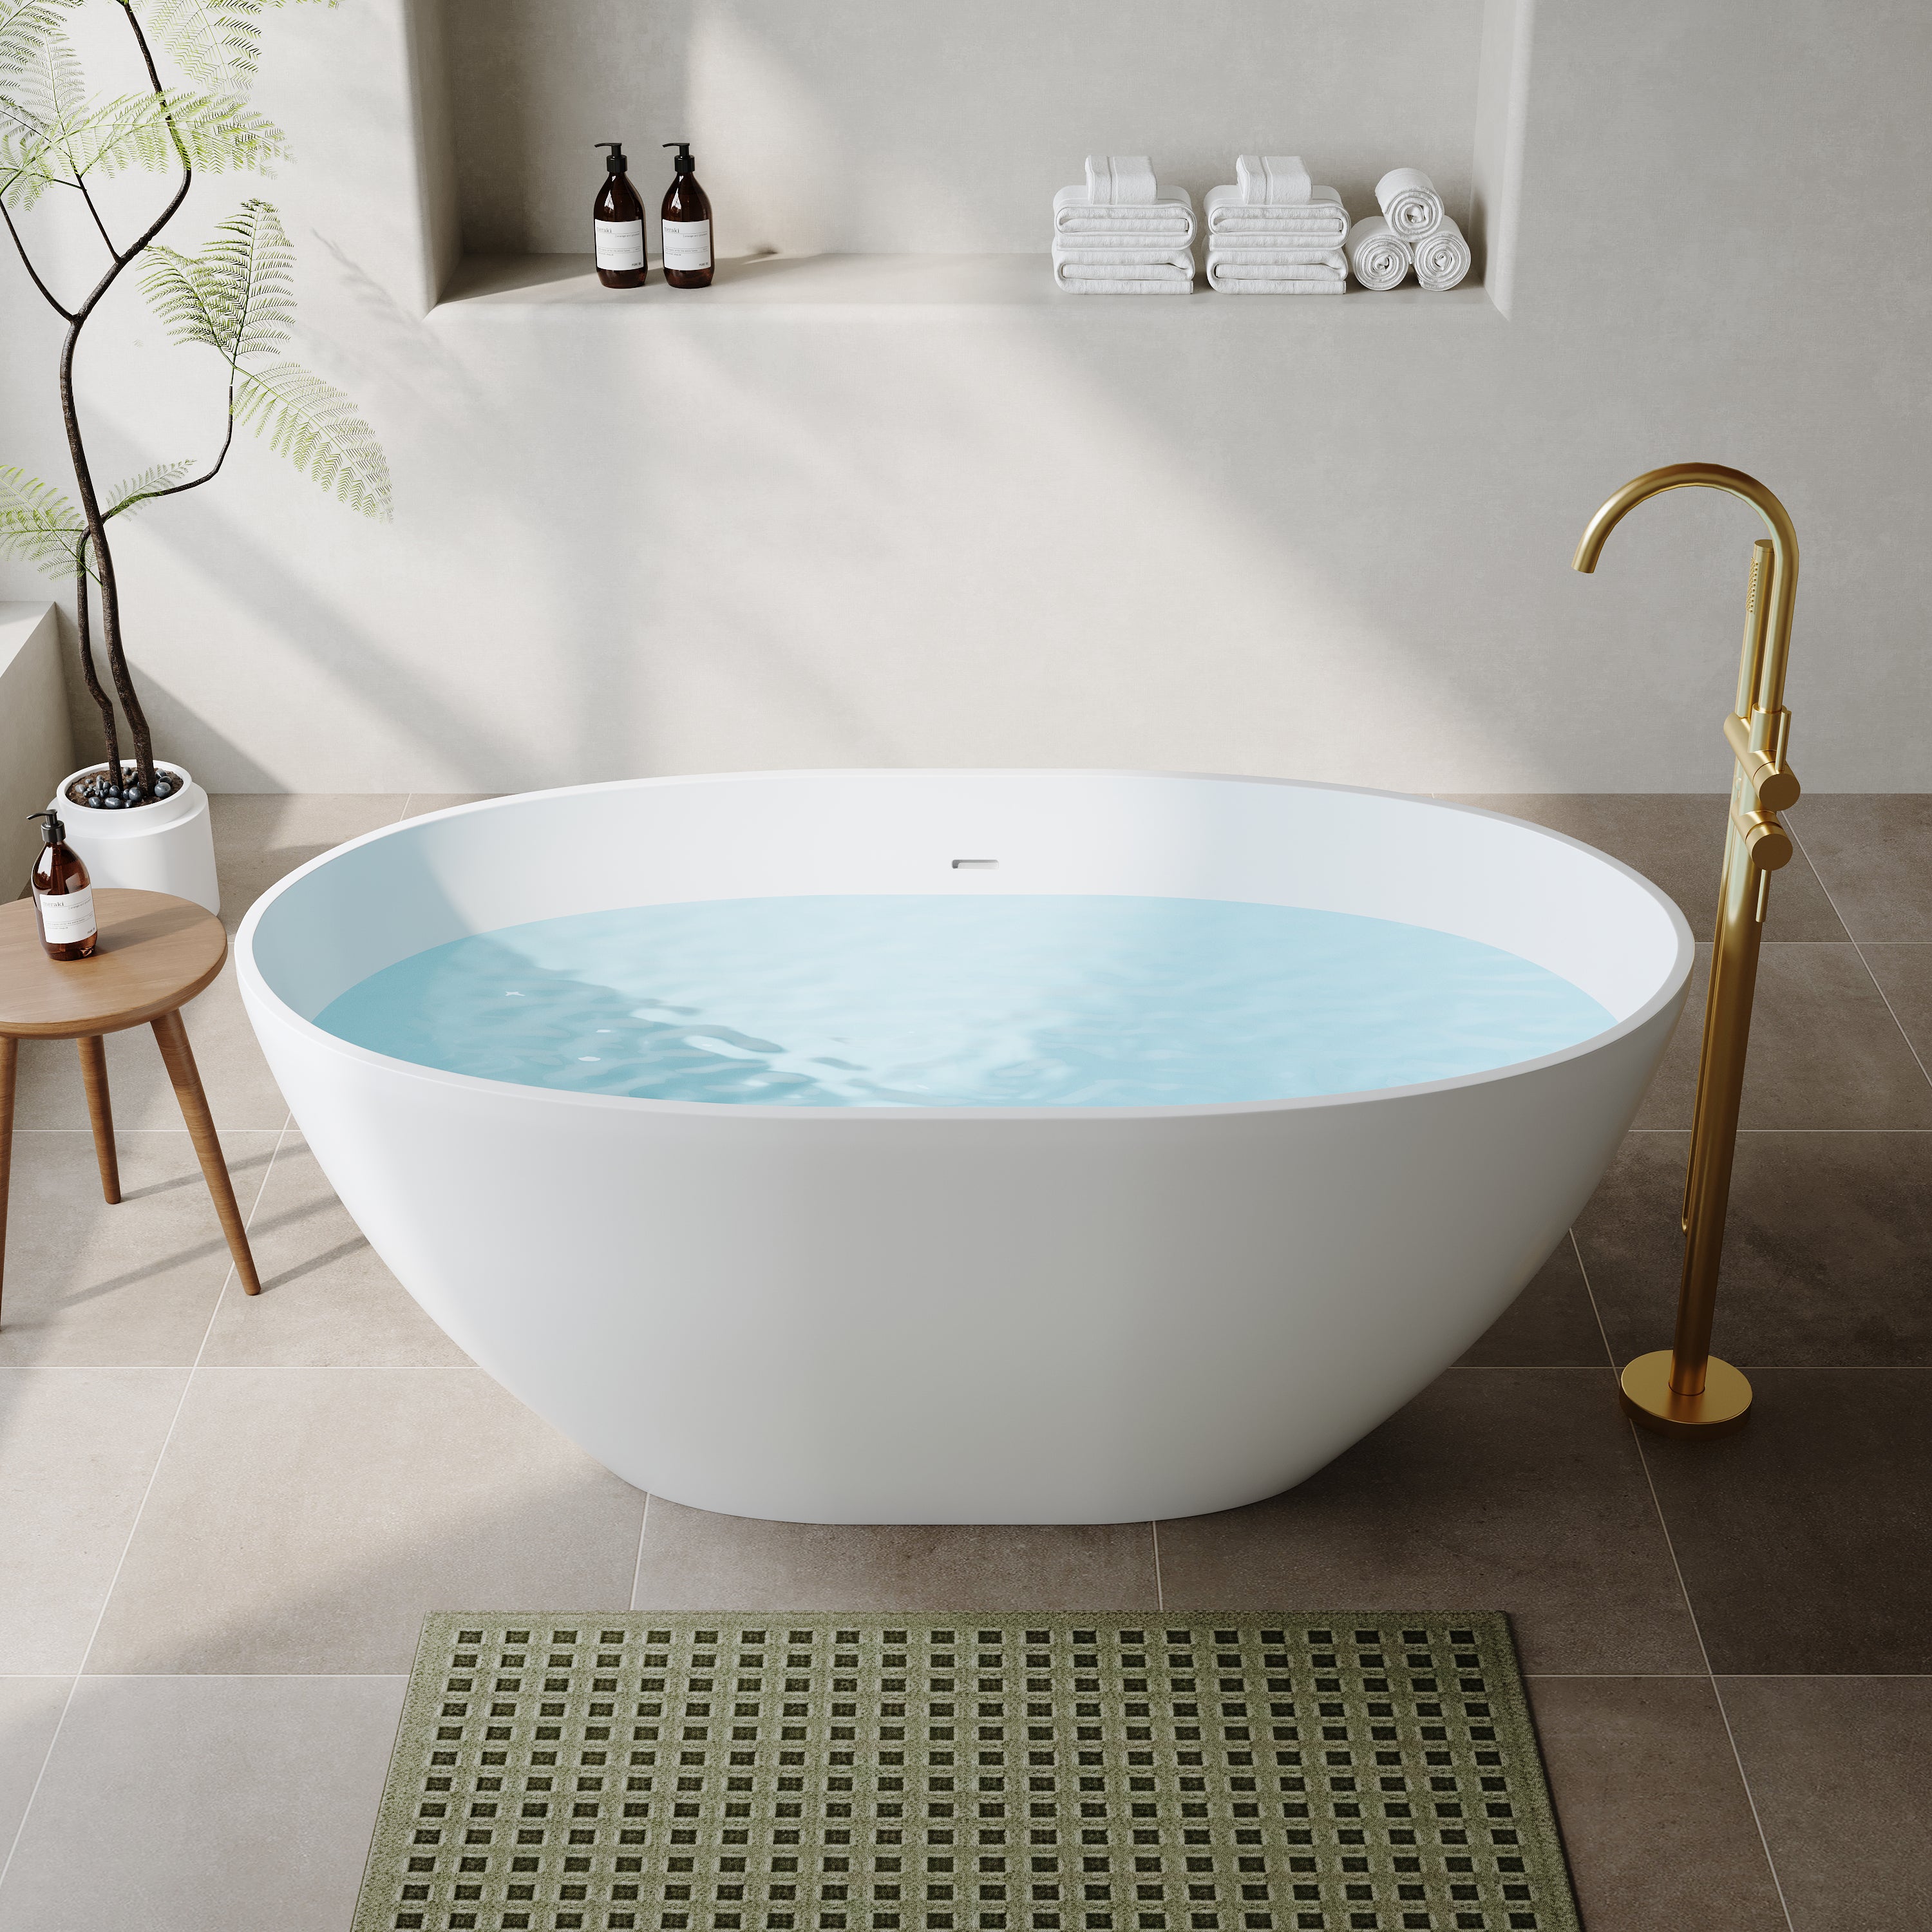
Acrylic tubs are now a standard option for bathrooms, as they have a modern look, retain heat well, have a warm touch, and are considerably lighter than cast iron or stone. However, handover day is not the finish line; it's only the beginning. The way you maintain an acrylic tub will affect how long it remains shiny, clean, and crack-free in the months and years following its purchase. This guide presents a simple industry primer or playbook in plain language to establish the care level they require.
Why Acrylic Needs “Gentle Strength”
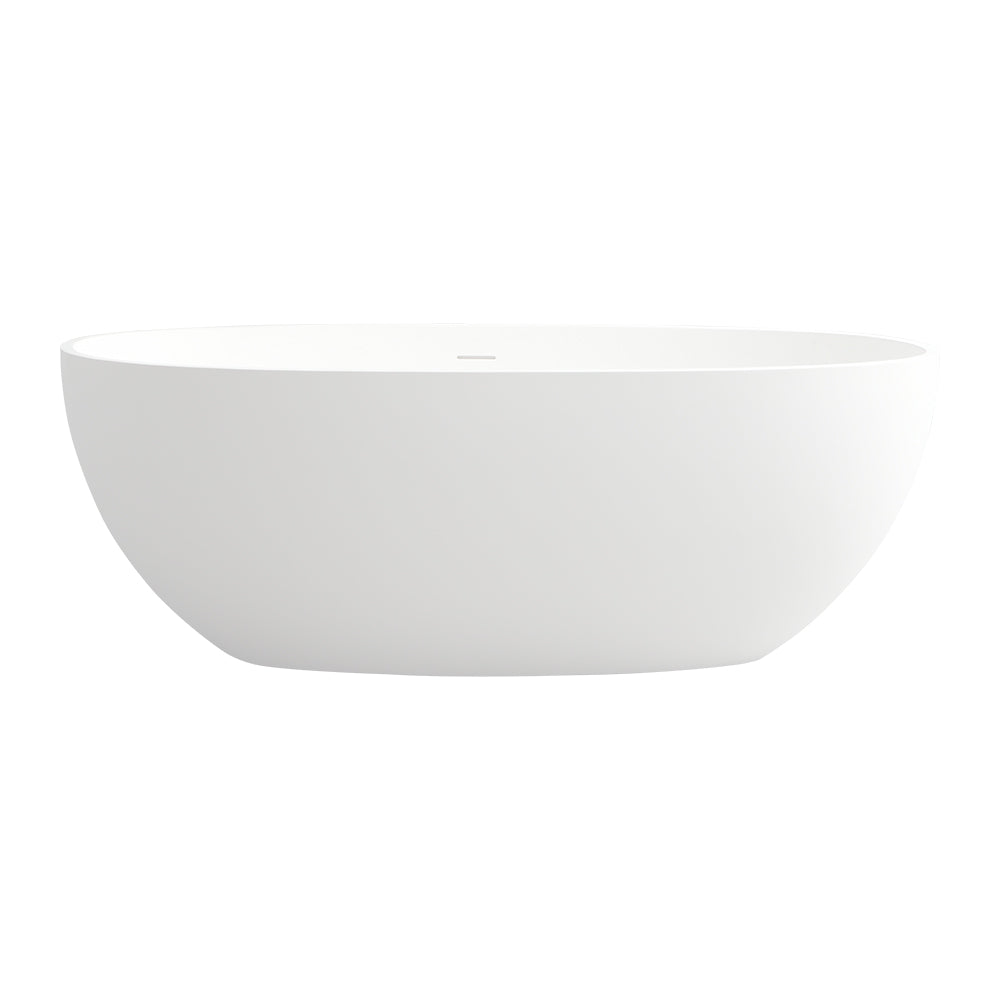
Acrylic has a smooth, non-porous surface that resists grime and is easy to wipe. The trade-off: it’s more sensitive to scratches and harsh solvents than enamel steel or cast iron. Using the wrong cleaners or rough tools can leave swirl marks, dull patches, or, over time, yellowing. The secret is simple—gentle products, soft tools, and regular light cleaning, rather than occasional heavy scrubbing.
The First Month: A Short “Break-In” Period
· Rinse after use. After each soak or shower, run warm water around the tub to remove soap film and body oils.
· Wipe dry. Use a soft microfiber cloth to prevent water spots and mineral rings.
· Mind the heat. Regular hot baths are fine, but avoid blasting the tub with a heat lamp or space heater. Sudden, uneven heating and cooling can stress the material.
Choosing Cleaners: What to Use
· Best choices: Mild dish soap, pH-neutral bathroom cleaners, and gentle limescale removers (for short contact times only).
· Avoid: Chlorine bleach, strong acids or alkalis, products containing acetone, toluene, or paint thinners, abrasive powders, scouring creams with grit, and steel wool.
· Patch test first: Try any new product on a small, hidden area for one minute. If there’s no dullness or stickiness, proceed.
Your Weekly Routine
1. Warm water + neutral cleaner. Apply with a soft sponge, use small circular motions, and let it sit for 1–2 minutes.
2. Focus on four hotspots. The overflow cover, the drain area, the seam where the tub meets the wall, and the backrest slope—these areas tend to gather soap scum and discoloration first.
3. Rinse and dry. Thoroughly rinse, then buff dry with a microfiber cloth.
4. Optional gloss care. A dedicated acrylic care lotion can add a thin protective layer and restore shine.
Stubborn Stains, Scale, and Early Yellowing—Targeted Fixes
· Soap scum and body oils: Use a mild cleaner first. For extra power, make a paste with a small amount of baking soda and water, massage gently, and then rinse well.
· Hard-water scale: Use a weak citric or acetic solution (such as a citrus-based limescale remover or diluted white vinegar). Apply locally for 2–3 minutes, rinse immediately, and dry. Do not let acids sit.
· Fine scratches or dullness: If you know what you’re doing, “wet sand” with excellent paper (1000–2000 grit) using light pressure, then polish with a fine compound and a foam pad. If you’re unsure, call a pro—over-sanding can create waves or thin spots.
· Yellowing prevention: Don’t leave hair dye, nail polish, or dark bath salts soaking against the surface. Rinse right after use.

Five “Don’ts” That Save You Big Money Later
1. Don’t stand or sit on the rim. It’s not a step; it can stress and micro-crack the edge.
2. Don’t shock it with temperature swings. Extreme hot water followed immediately by cold (or vice versa) can cause stress cracks.
3. Don’t soak strong dyes. Bright bath bombs, colored petals, and tinted oils can stain if left sitting.
4. Don’t scrape with complex tools: no razor blades, no steel wool, no stiff scouring pads.
5. Don’t park heavy items long-term. A board with plants or a weighted storage bin can deform a section over time.
Caulk, Seals, and Hardware: Small Parts, Big Impact
· Silicone joints: Check quarterly for mold, blackening, or gaps. Small spots: Use a gel-type mildew remover. Wide or deep damage: cut out and re-caulk to keep water out of the substrate.
· Drain and faucet aerators: Mineral buildup here spreads stains into the tub. Unscrew, soak, clean, and reinstall the aerators.
· Overflow trim: Remove and clean periodically; grime behind the plate can cause odors.
If Your Tub Has Air or Whirlpool Jets
· Clean the loop. Every 1–2 months, run a system clean: fill the tank with warm water above the jets, add a dedicated jet-line cleaner, and run for 10–15 minutes. Drain the tank, then run fresh water for 5 minutes.
· Jet face care: Use a soft brush around the nozzles. Strong alkaline cleaners can damage seals.
· Electrical safety: Keep the control box dry. If you notice strange noises, leaks, or tripped breakers, shut off the power at the breaker and call service.
When to Call a Professional
DIY is great until it isn’t. Get a pro if you see:
· Cracks you can catch with a fingernail, especially spider-web patterns that grow.
· Soft spots or sagging that spring back but leave a low area.
· Large dull or yellow patches with rough texture.
· Leaks or odors from the drain, overflow, or jet lines.
Professionals can heat-weld cracks, fill and refinish with resin, machine-polish entire surfaces, or replace failing components—saving the tub before a full swap is needed.
Industry Trends: Easier Care, Longer Life
· More innovative coatings, including high-solids UV topcoats, anti-microbial additives, and scratch-resistant clear finishes, are moving into mid-market price points. Some brands offer re-polishable coatings, extending service life with periodic refinishing.
· Modular parts: Drains, overflows, skirts, and support frames are increasingly modular, making repairs faster and reducing full-tub replacements.
· Greener cleaners: Low-VOC, enzyme-based, and pH-neutral formulas are on the rise—gentler on acrylic and on skin.
· Service bundles: More installers and brands sell “after-care packages” (e.g., quarterly clean and polish, caulk refresh, descaling). This keeps tubs shiny, reduces warranty calls, and builds customer loyalty.
Quick 30-Second Checklist
· Use: Warm water + neutral cleaner; soft sponge; gentle circles.
· Avoid: Bleach, strong acids/alkalis, solvents, abrasives, steel wool.
· Maintain: Weekly light clean; quarterly seal check; pro polish as needed.
· Watch: Silicone edges, drain hardware, overflow trim, jet lines.
· Remember: No thermal shock, no heavy loads on the rim, rinse and dry after use.
Bottom Line
Acrylic tubs require gentle and regular maintenance for enjoyment. Simply rinse with warm water and wipe them down after each use. Then, wipe the tub surface with a mild bathroom cleaner once a week, and dry it thoroughly to prevent minerals from building up. Pay attention to caulk lines and tub hardware, and remove any stains as soon as possible using the proper cleaning method. For scratches or structural concerns, consult a professional before a small problem turns into a large complication. By following this simple plan, your tub will remain sparkling and welcoming for many years to come, protecting your investment and making daily bathing convenient, sanitary, and worry-free.


Leave a comment
This site is protected by hCaptcha and the hCaptcha Privacy Policy and Terms of Service apply.