
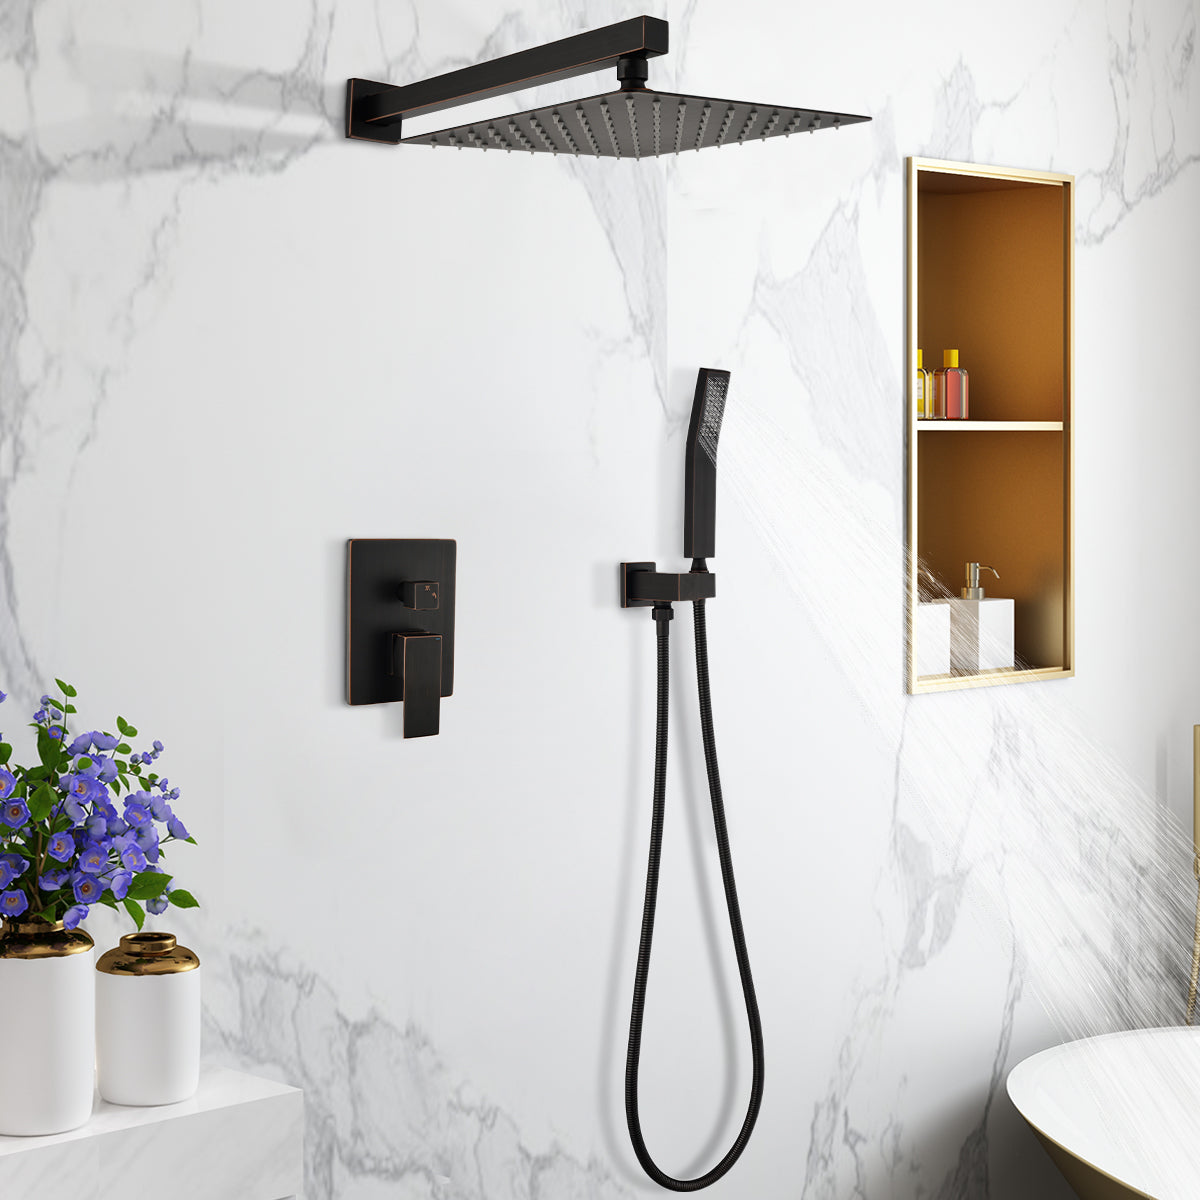


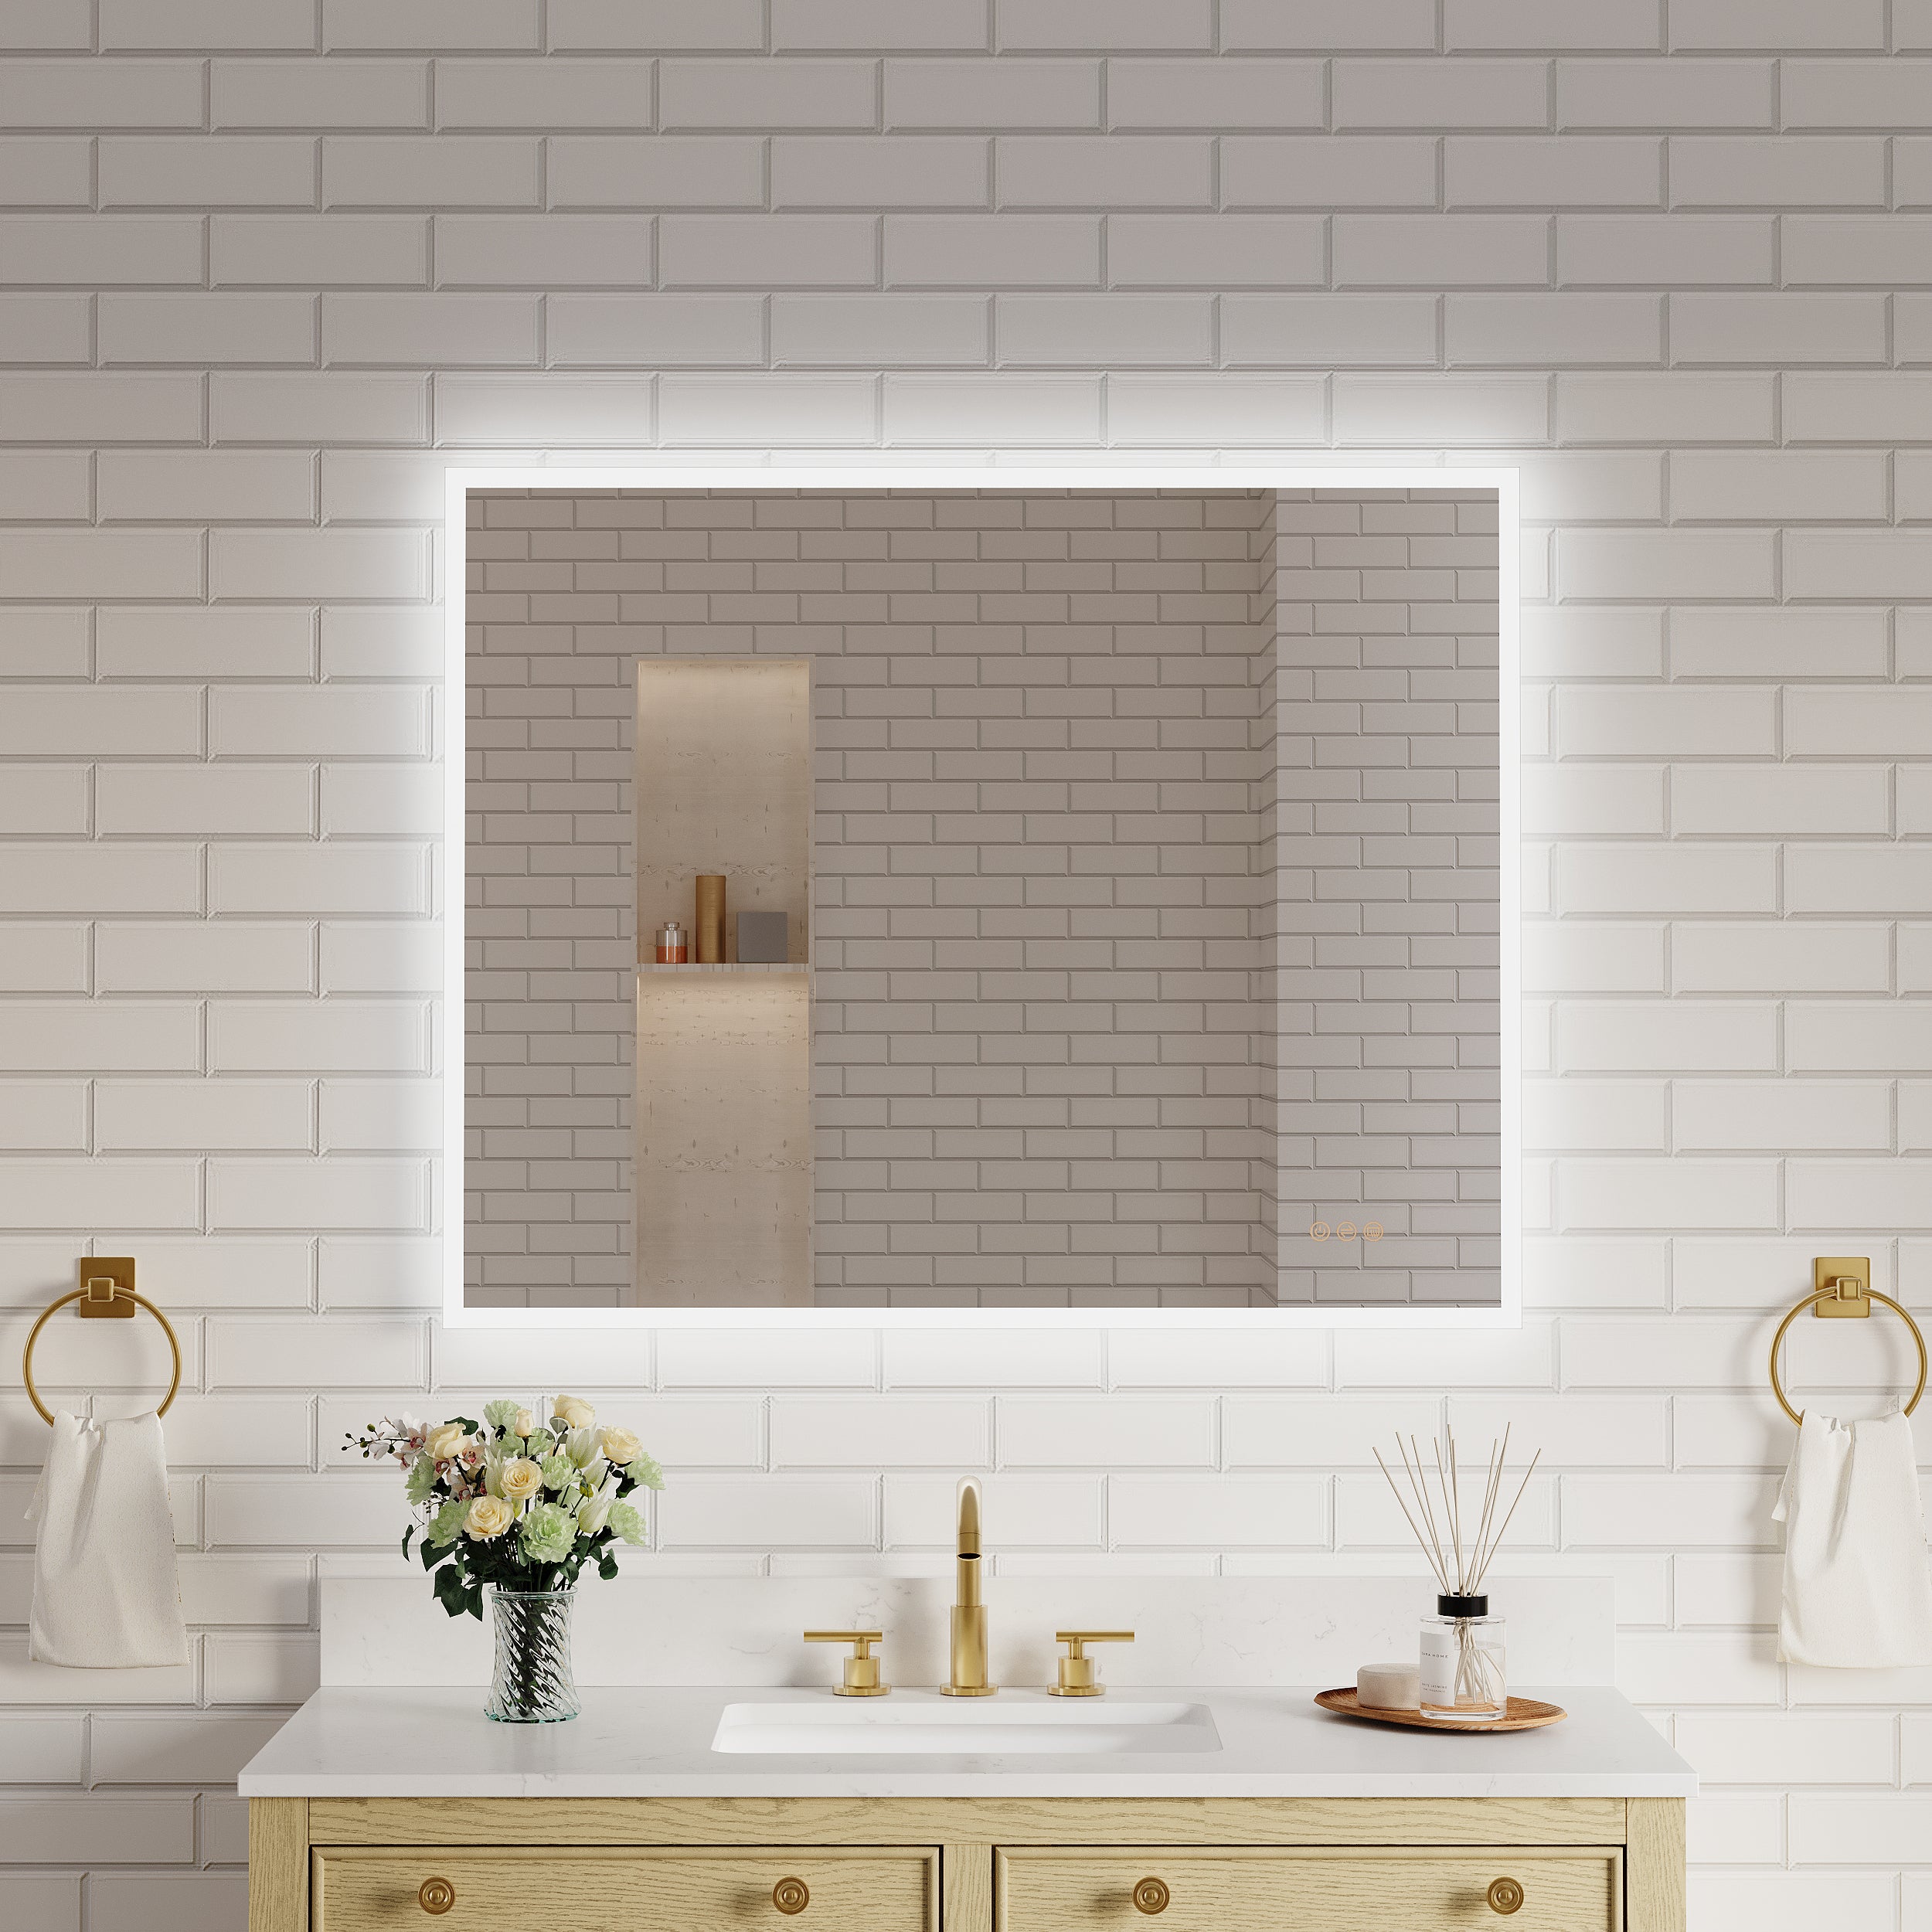
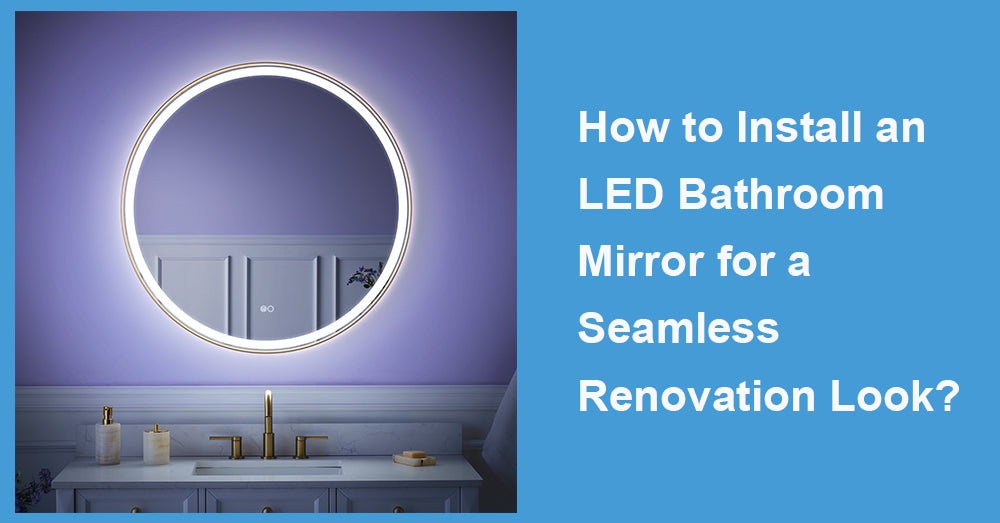
In modern bathroom design, LED bathroom mirror are no longer just functional items, but have become a combination of spatial aesthetics and technological experience.
It brings brightness and sophistication to the bathroom with soft lighting, a minimalist appearance, and intelligent features. And the key lies not only in choosing the right product, but also in how to install it to achieve seamless, clean, and modern visual effects.
This article will comprehensively analyze how to correctly install LED mirrors from multiple perspectives, including pre-installation preparation, size and layout planning, circuit design, safety and waterproof requirements, installation steps, and maintenance and aesthetic integration techniques, to present a clean, balanced, and well-designed bathroom.
1. The core concept of seamless decoration: minimalism and integration
In the trend of bathroom decoration, "Seamless Look" has become synonymous with high-end design. It emphasizes reducing visible seams, lines, and abrupt elements, making the space visually more coherent and tidy.
The installation method of the LED bathroom mirror perfectly fits this concept.
By hiding wires, fitting the wall, and providing uniform lighting, mirrors can blend seamlessly with the wall, creating a "suspended" or "embedded" visual effect.
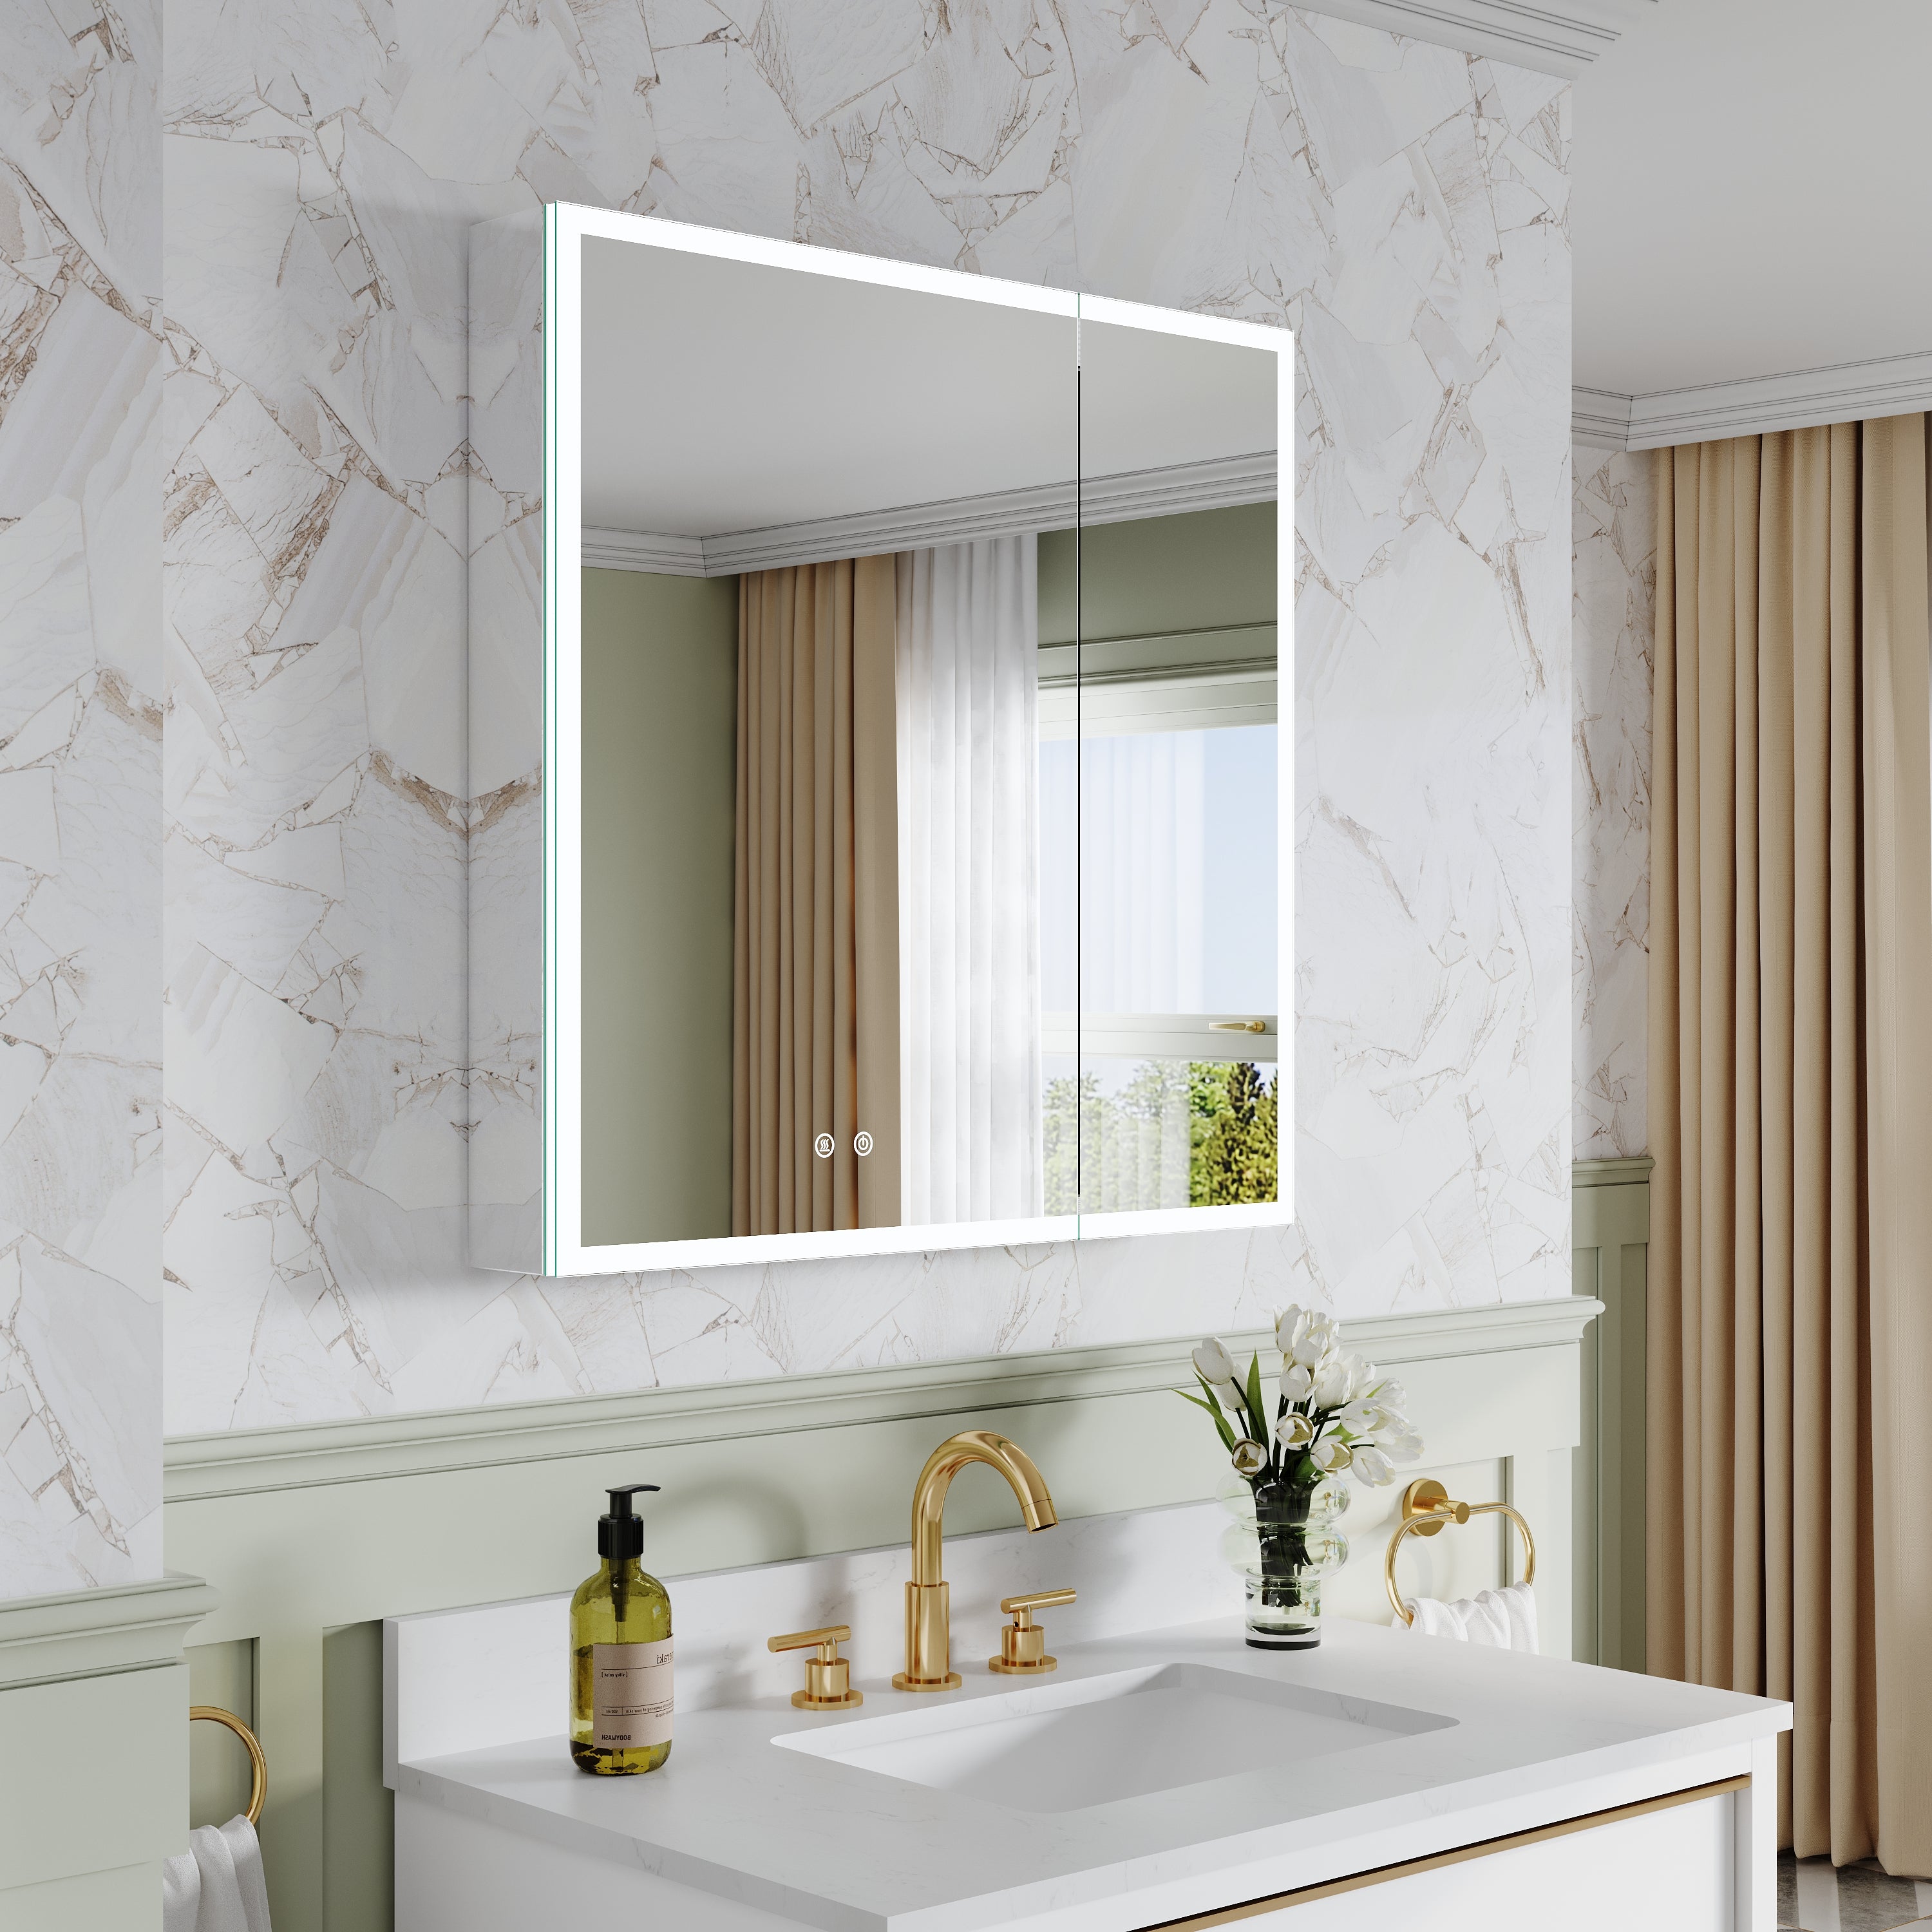
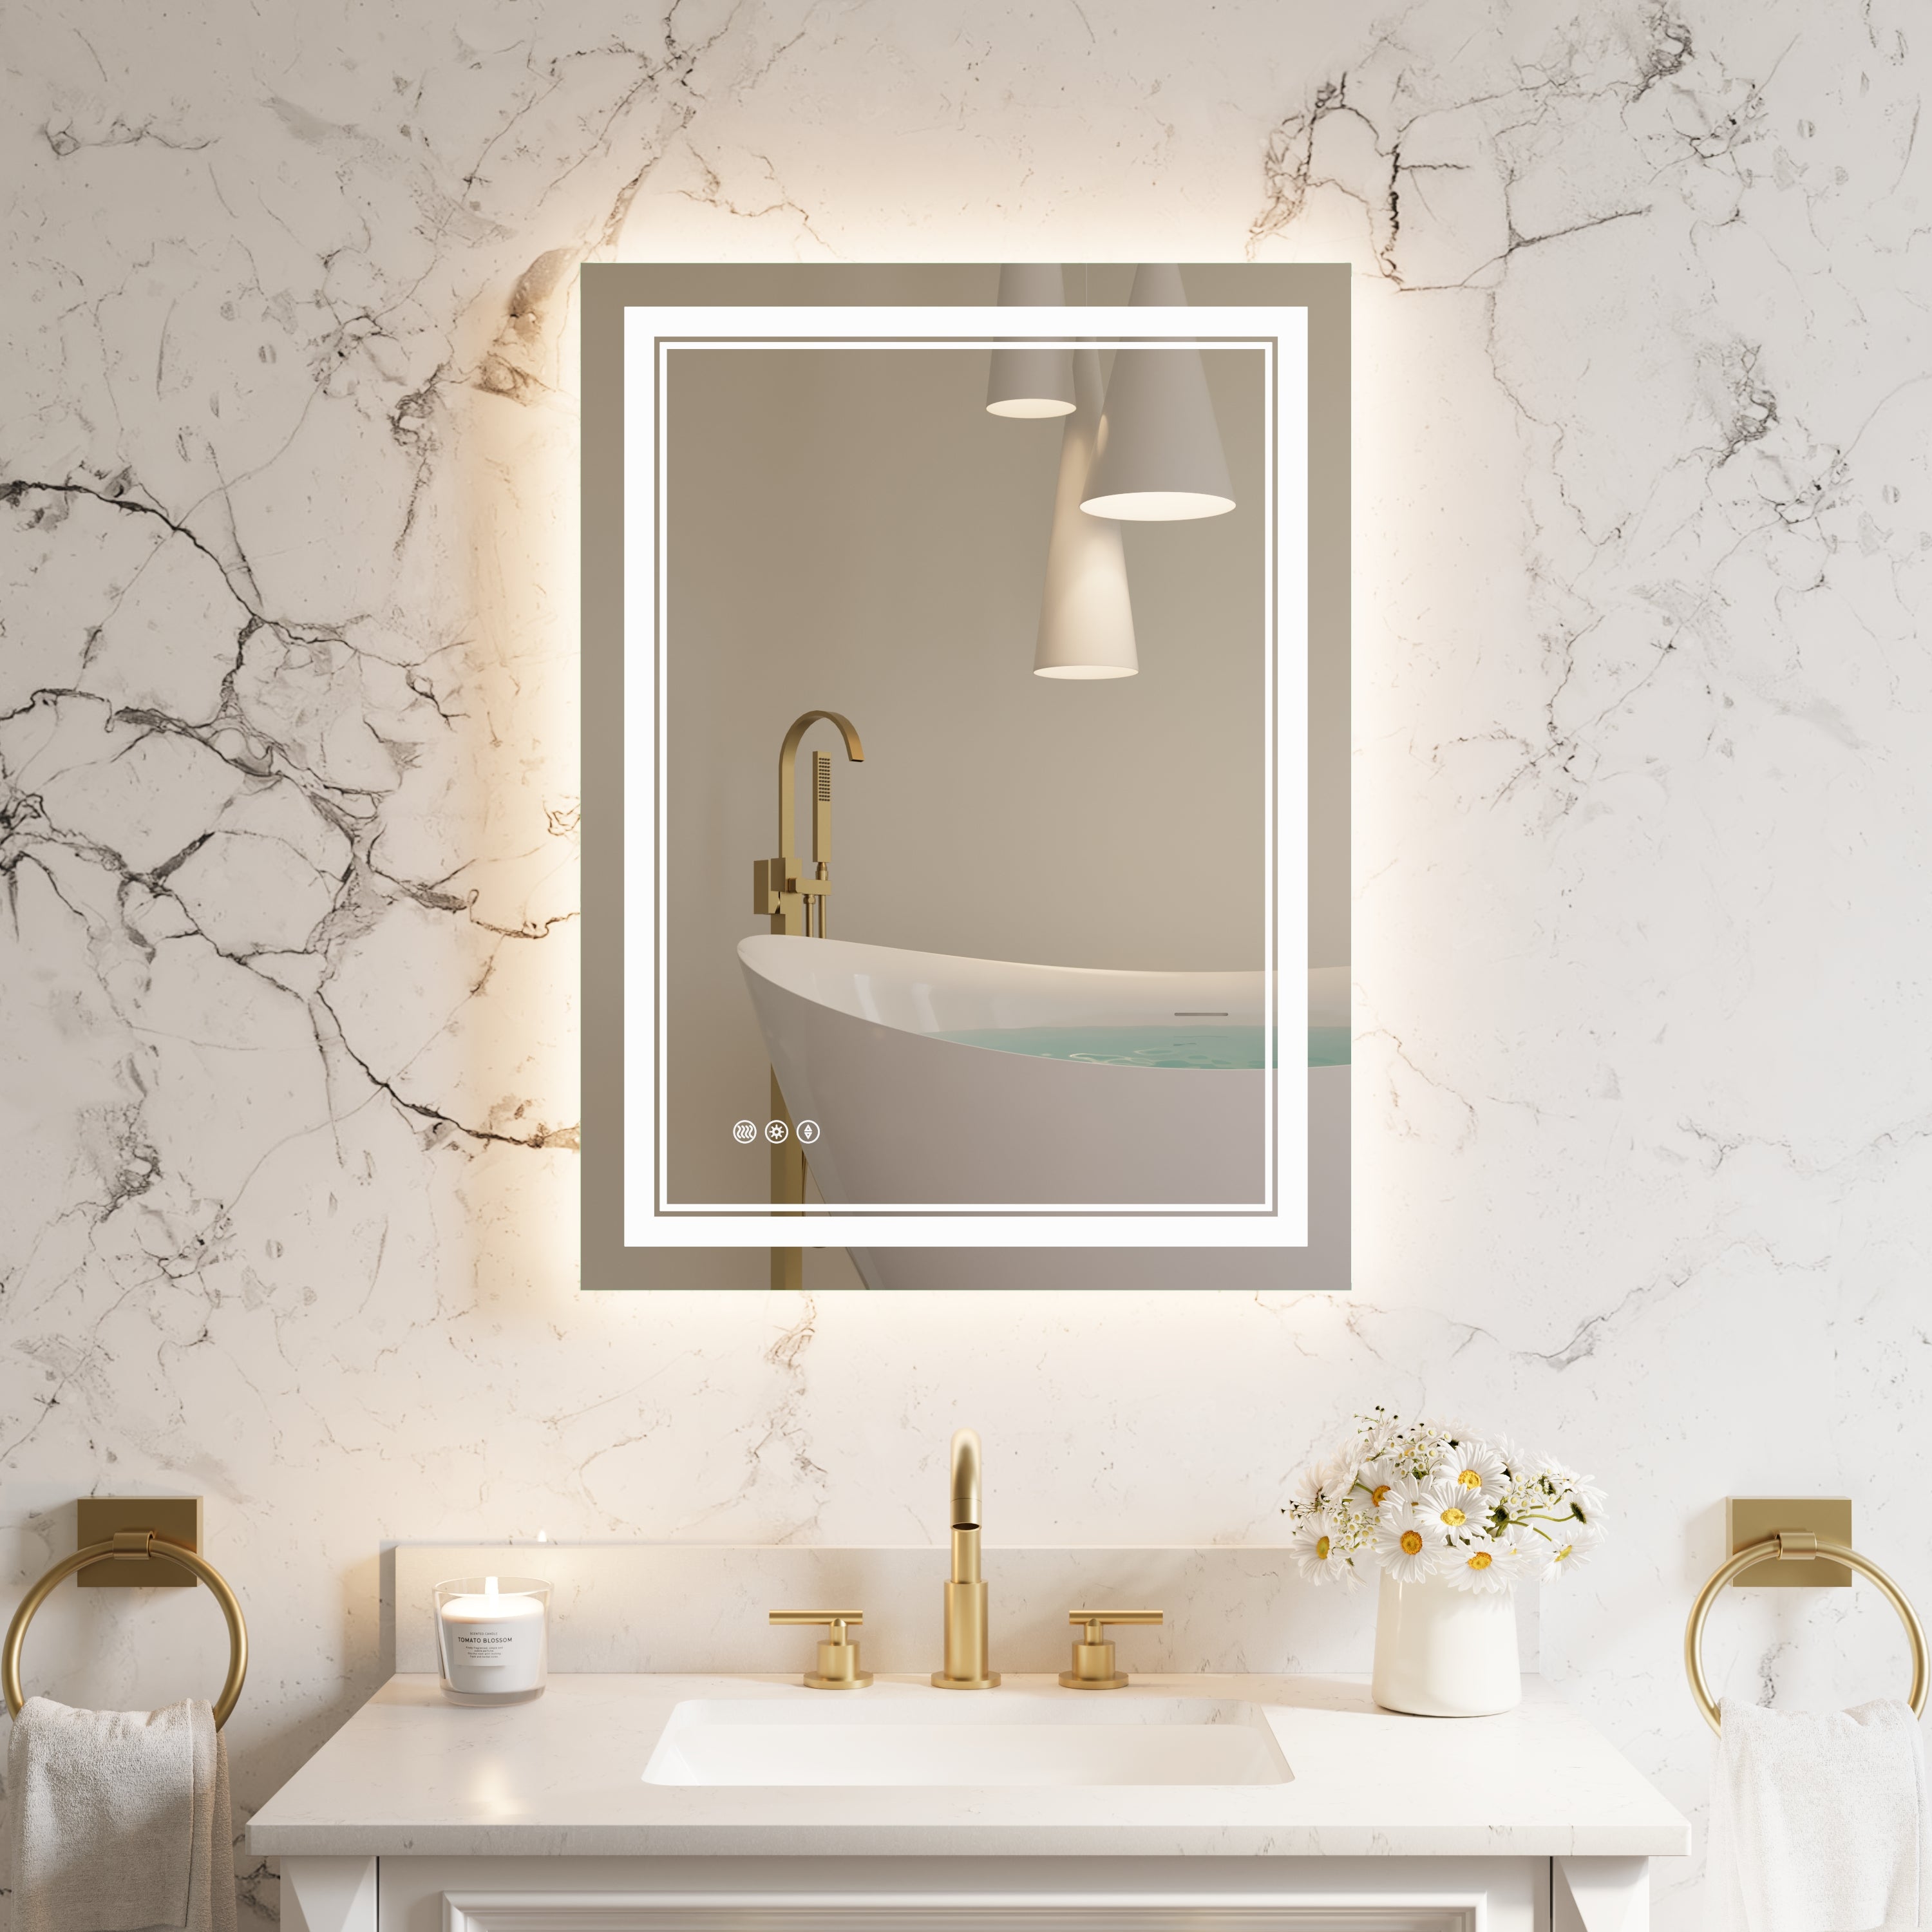
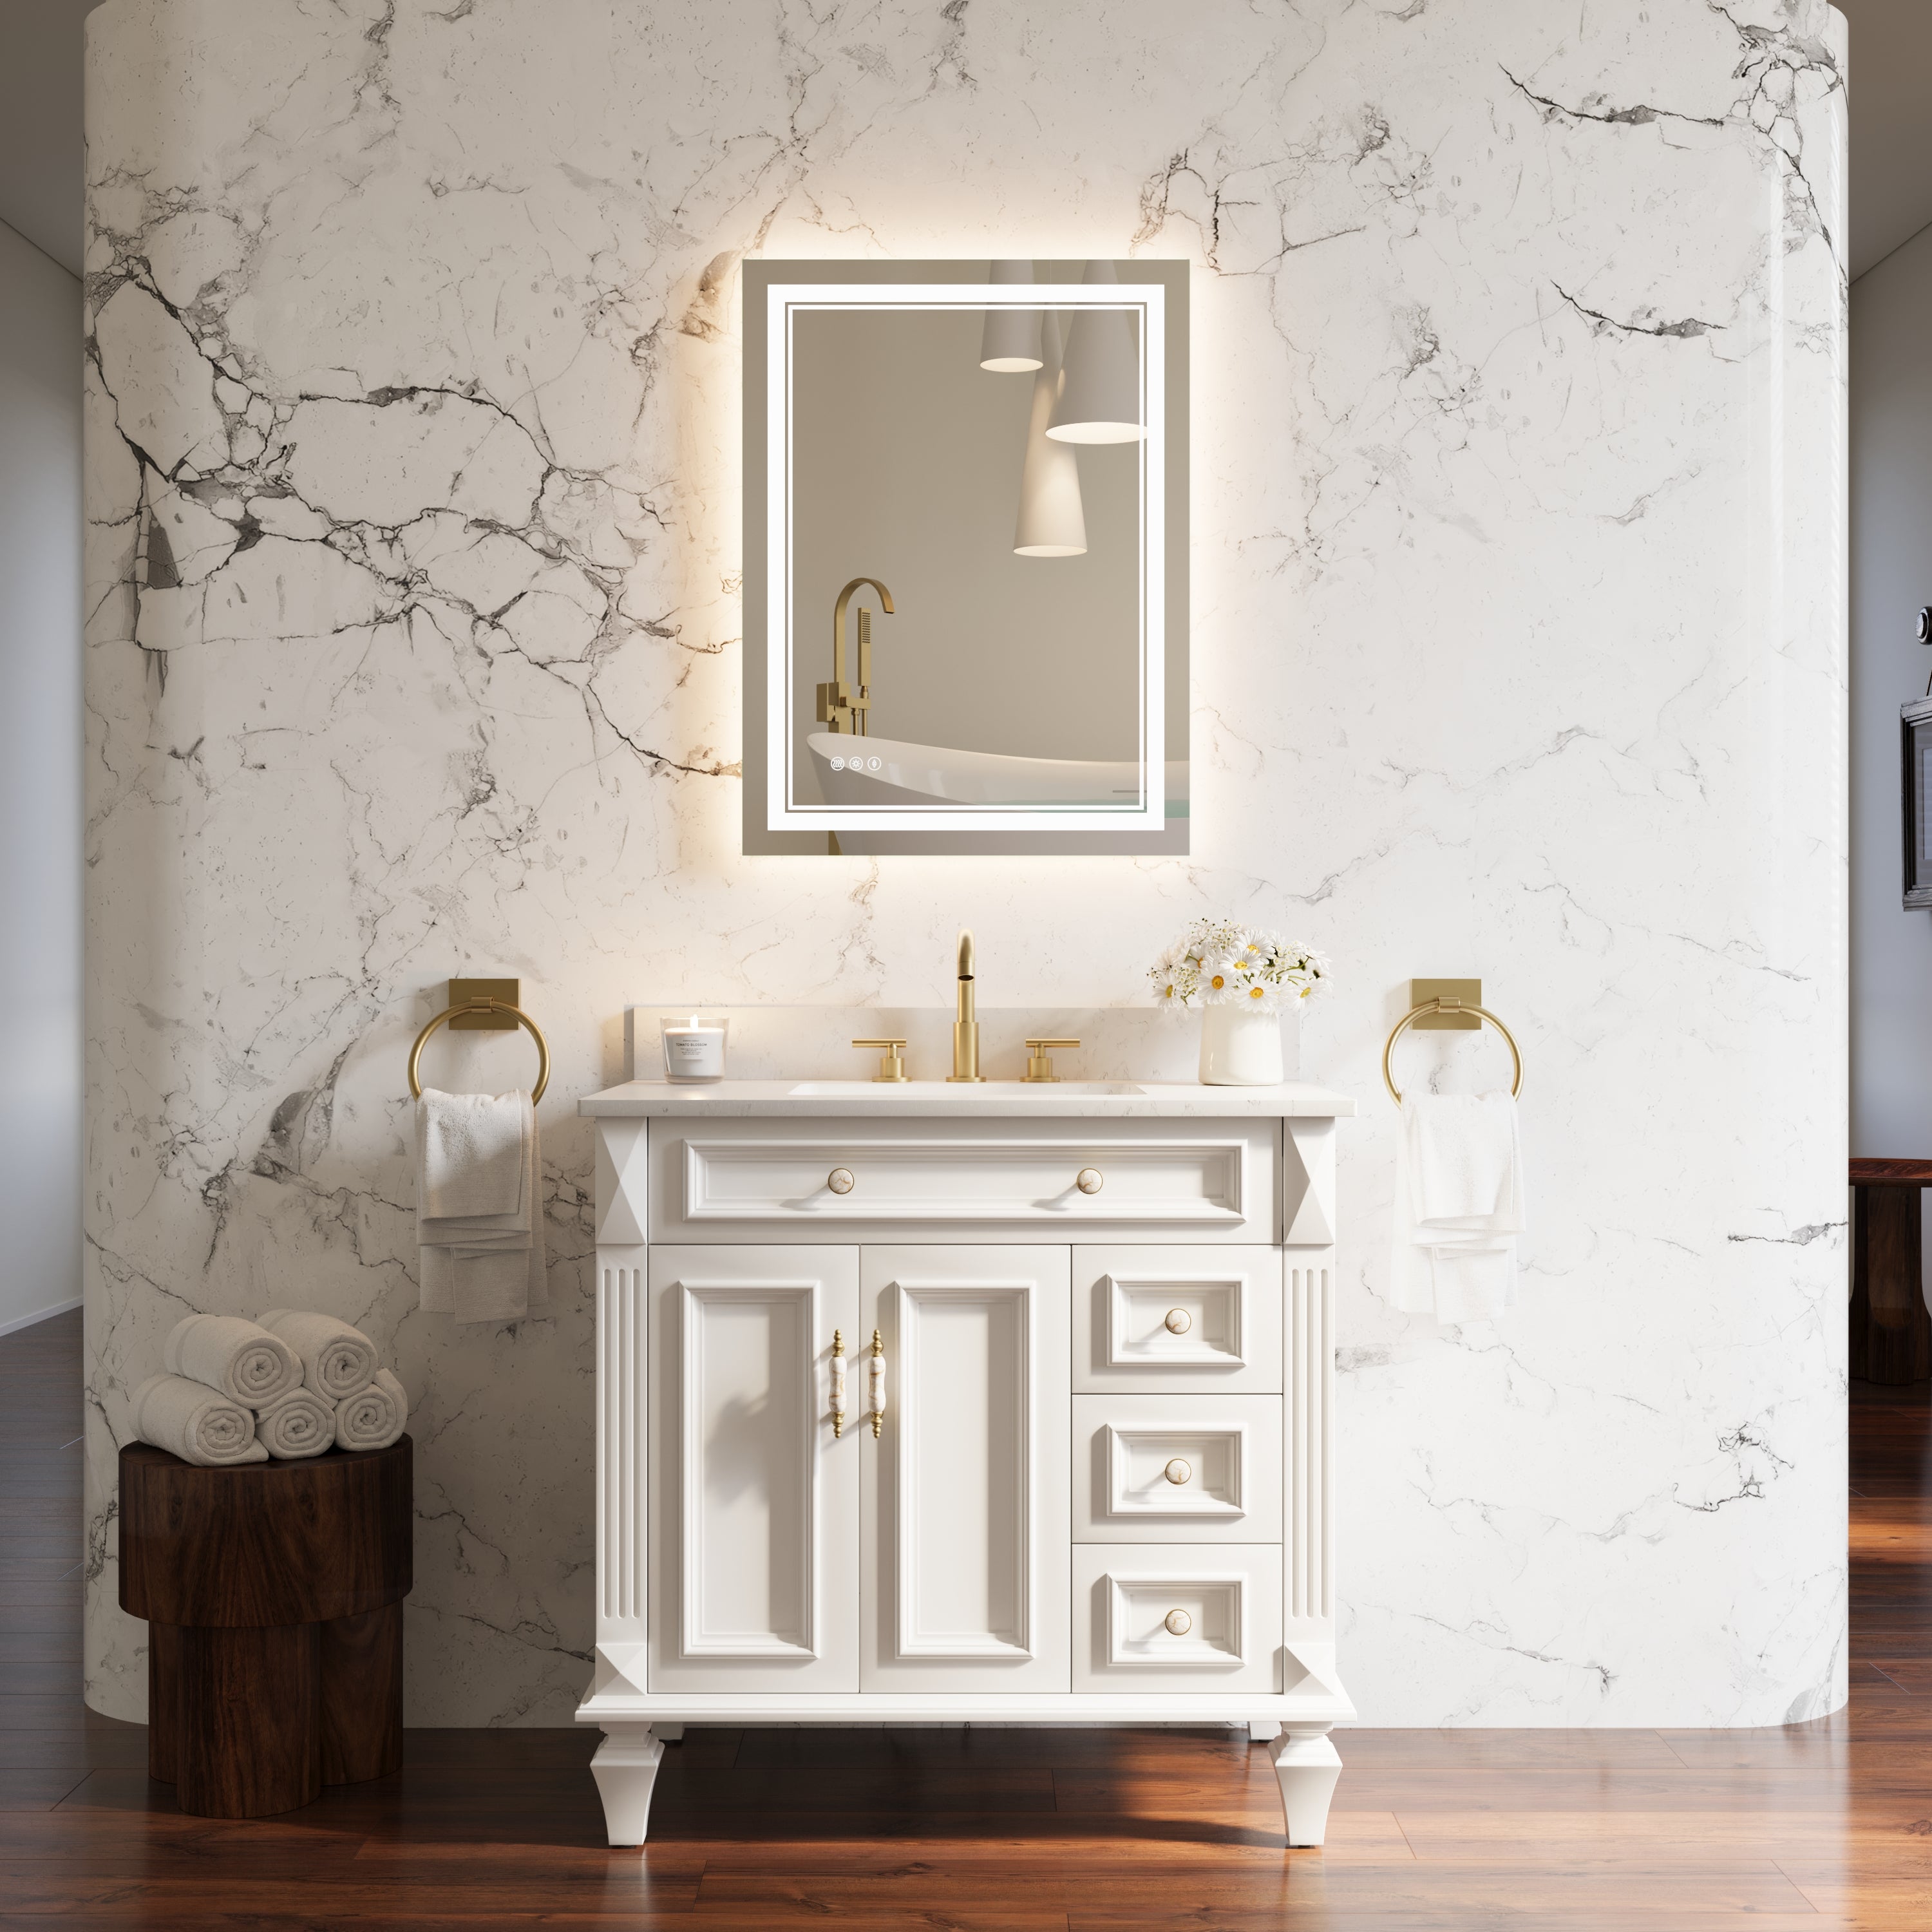
Recessed installation: Embed the mirror part into the wall, with the edge flush with the wall, to best reflect seamless vision.
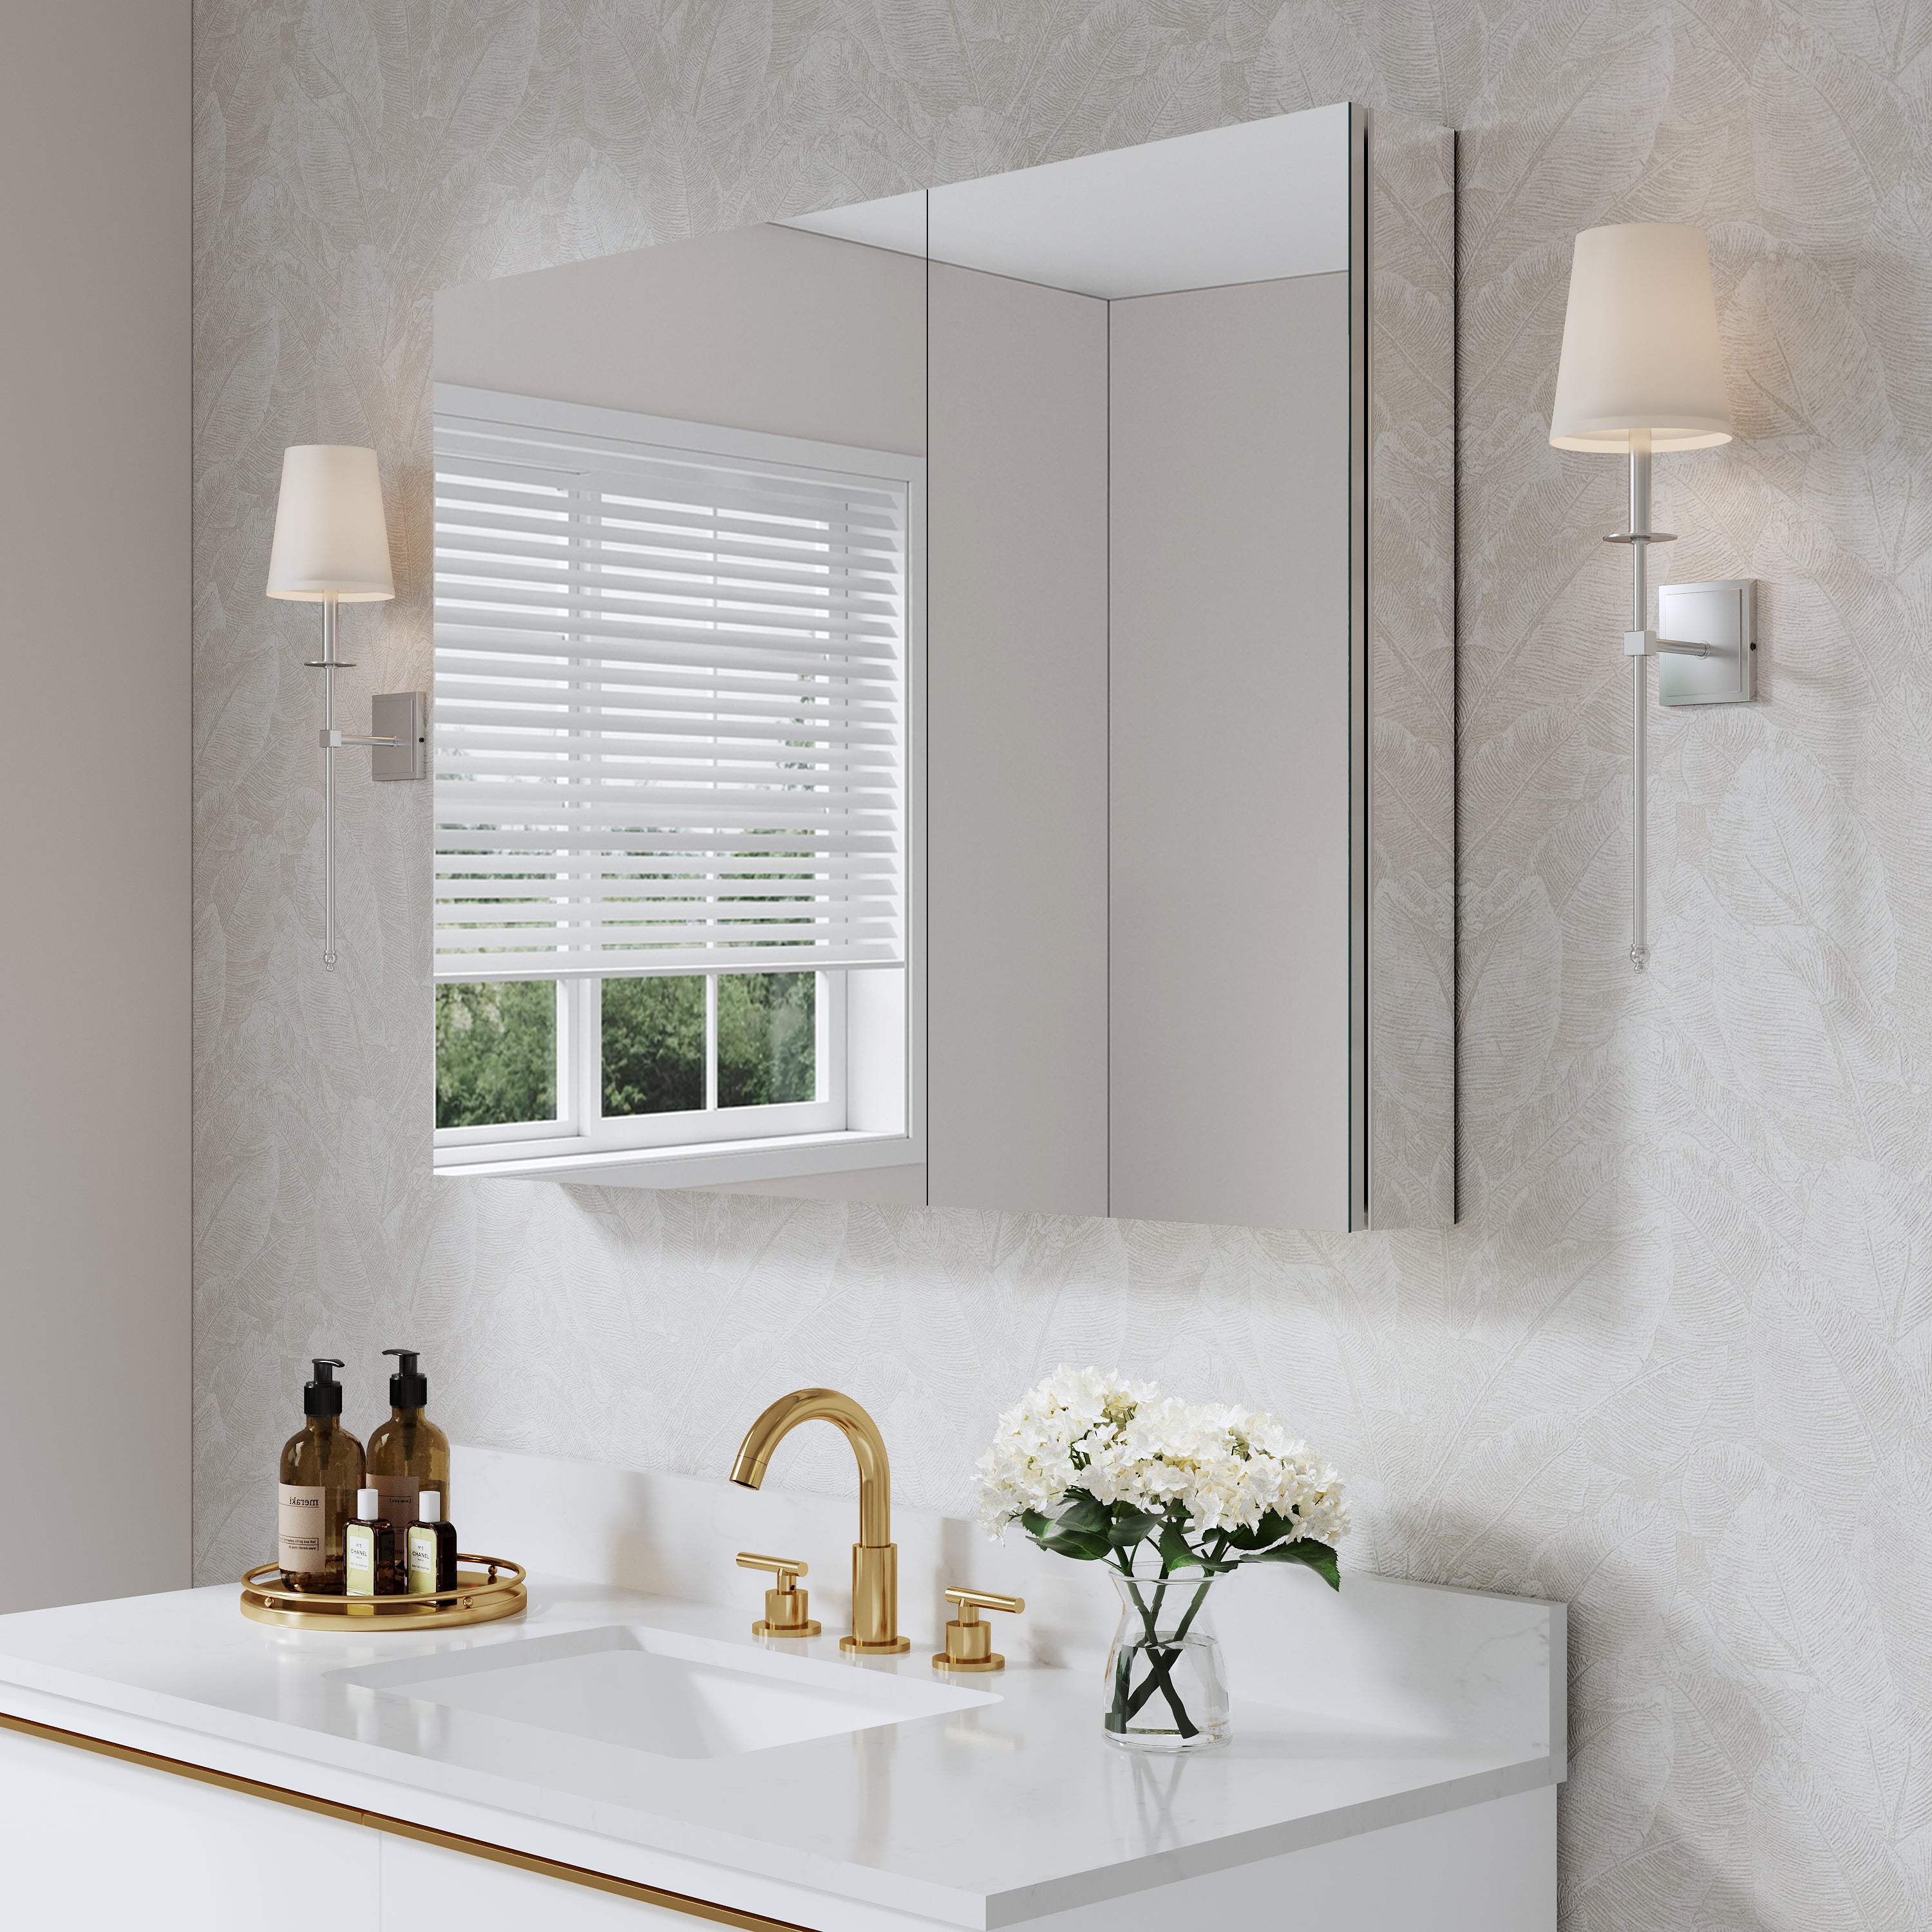
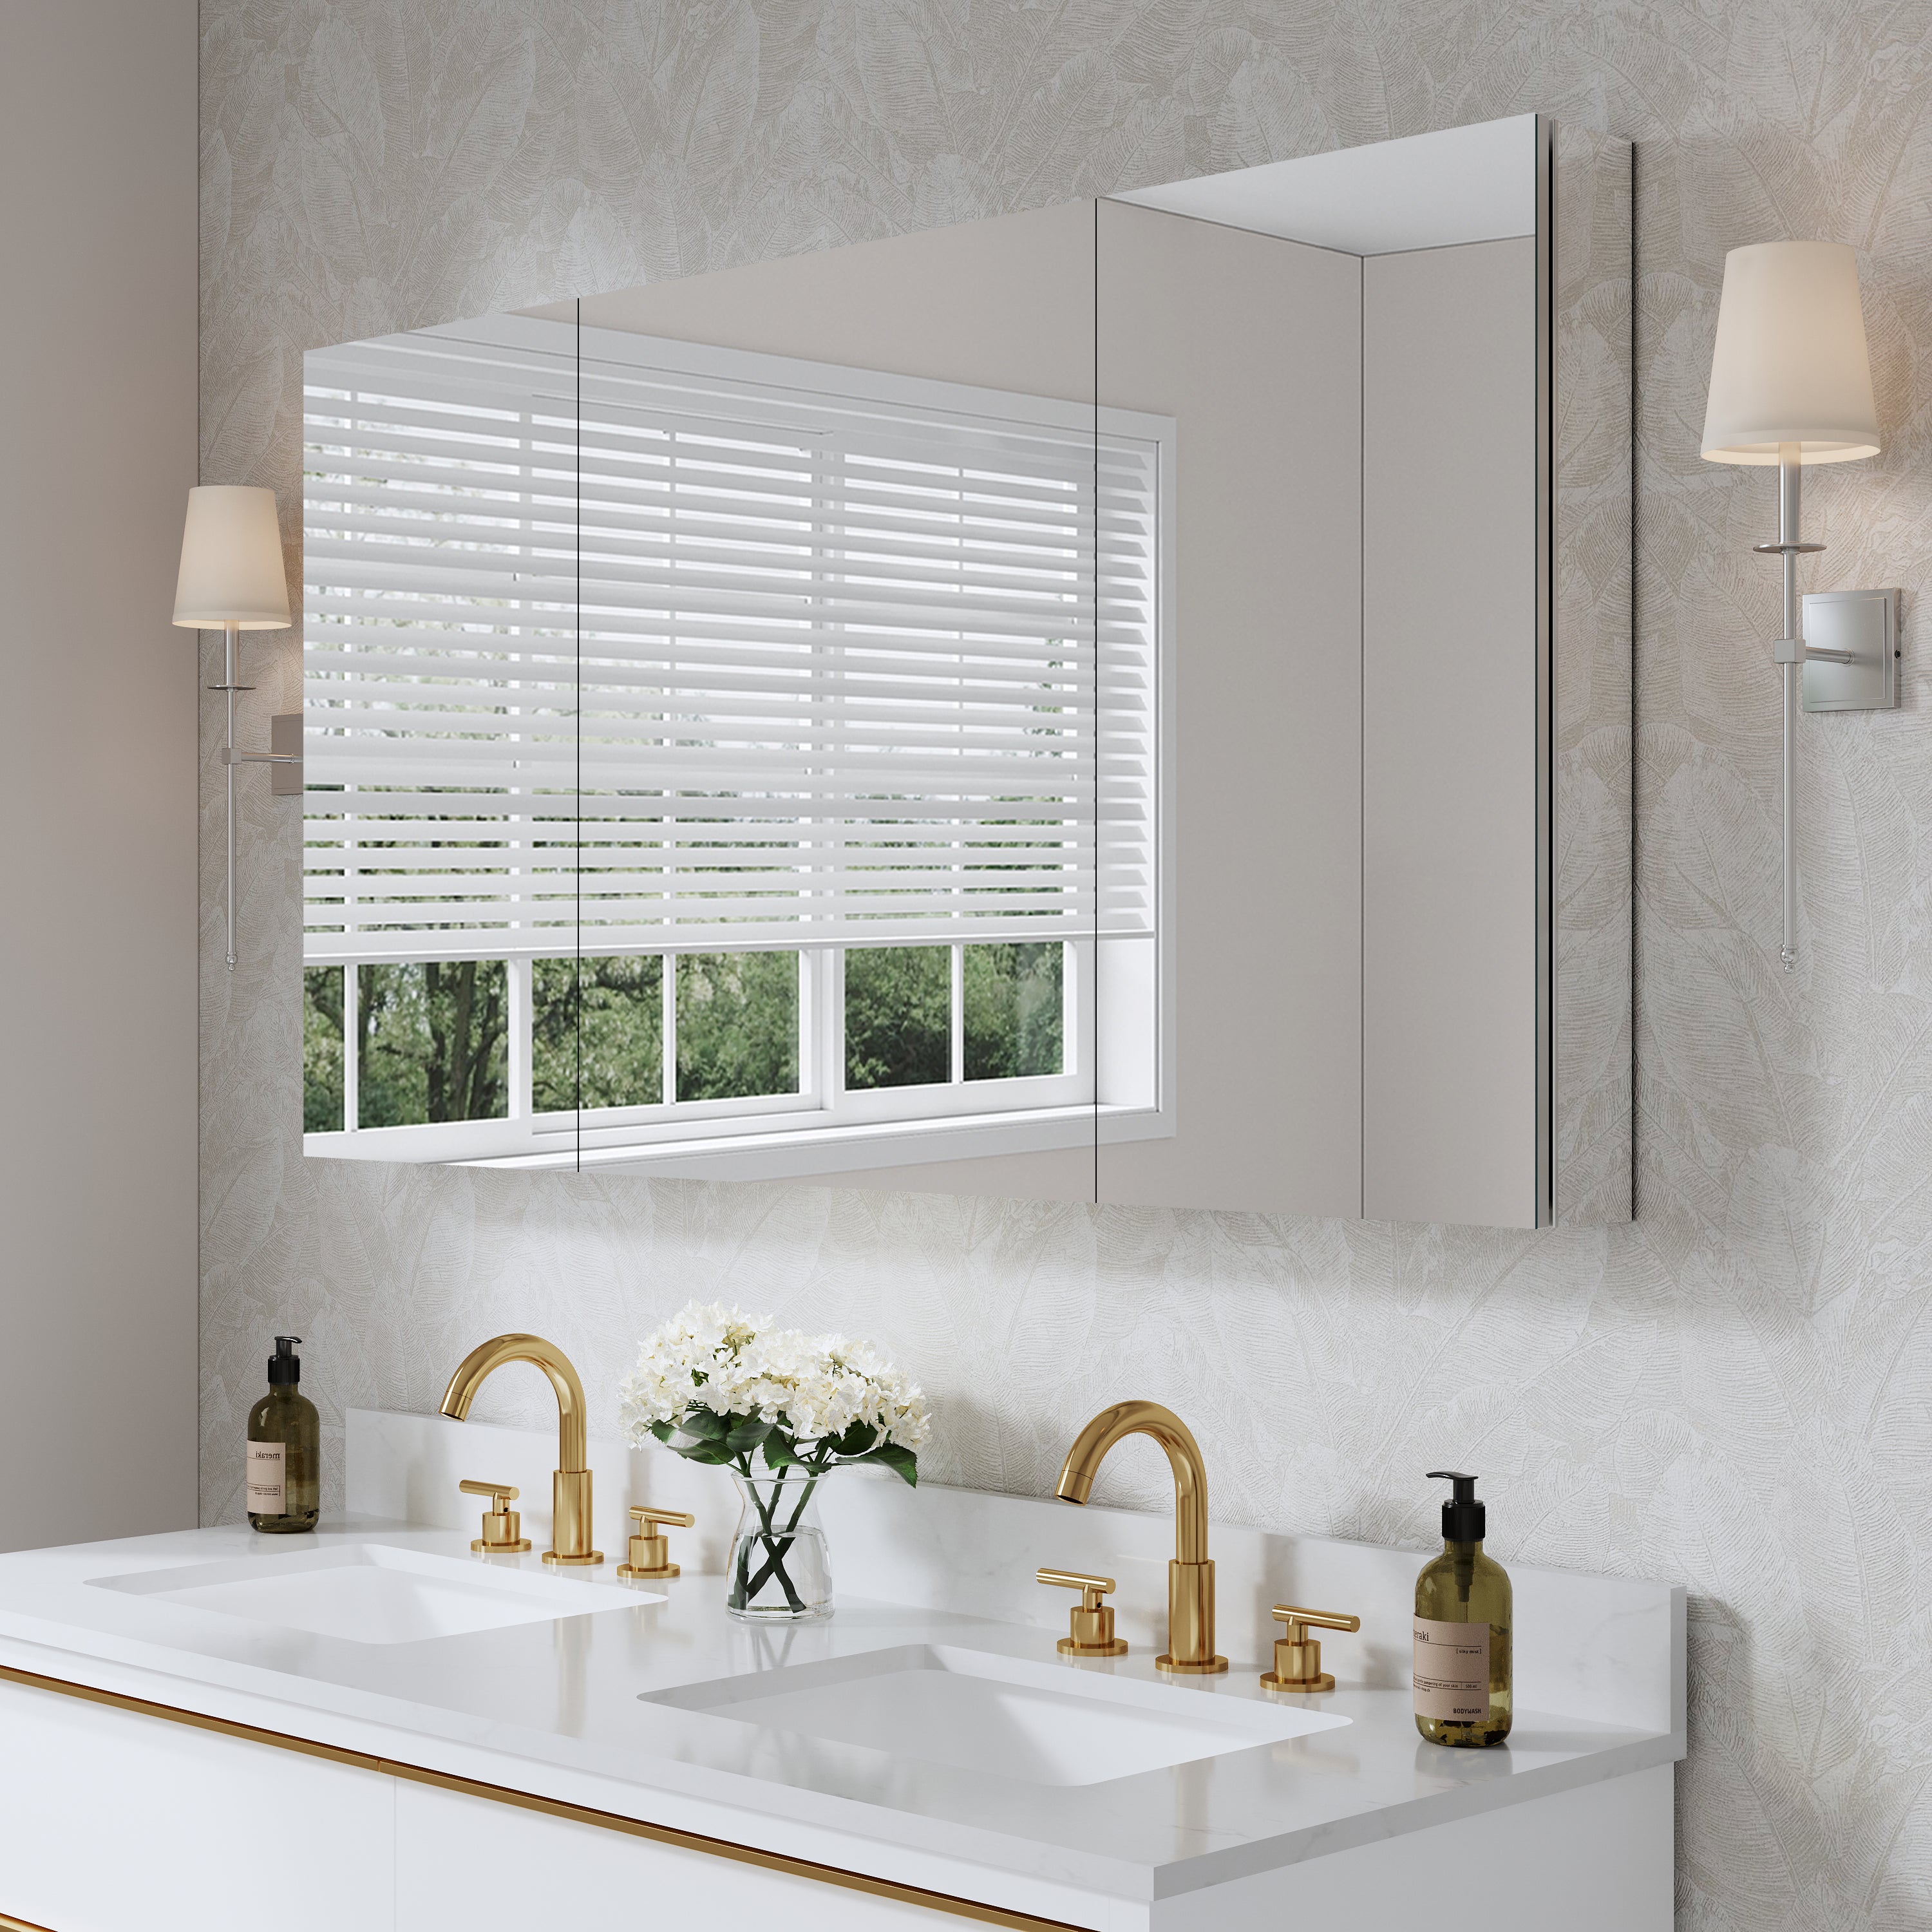
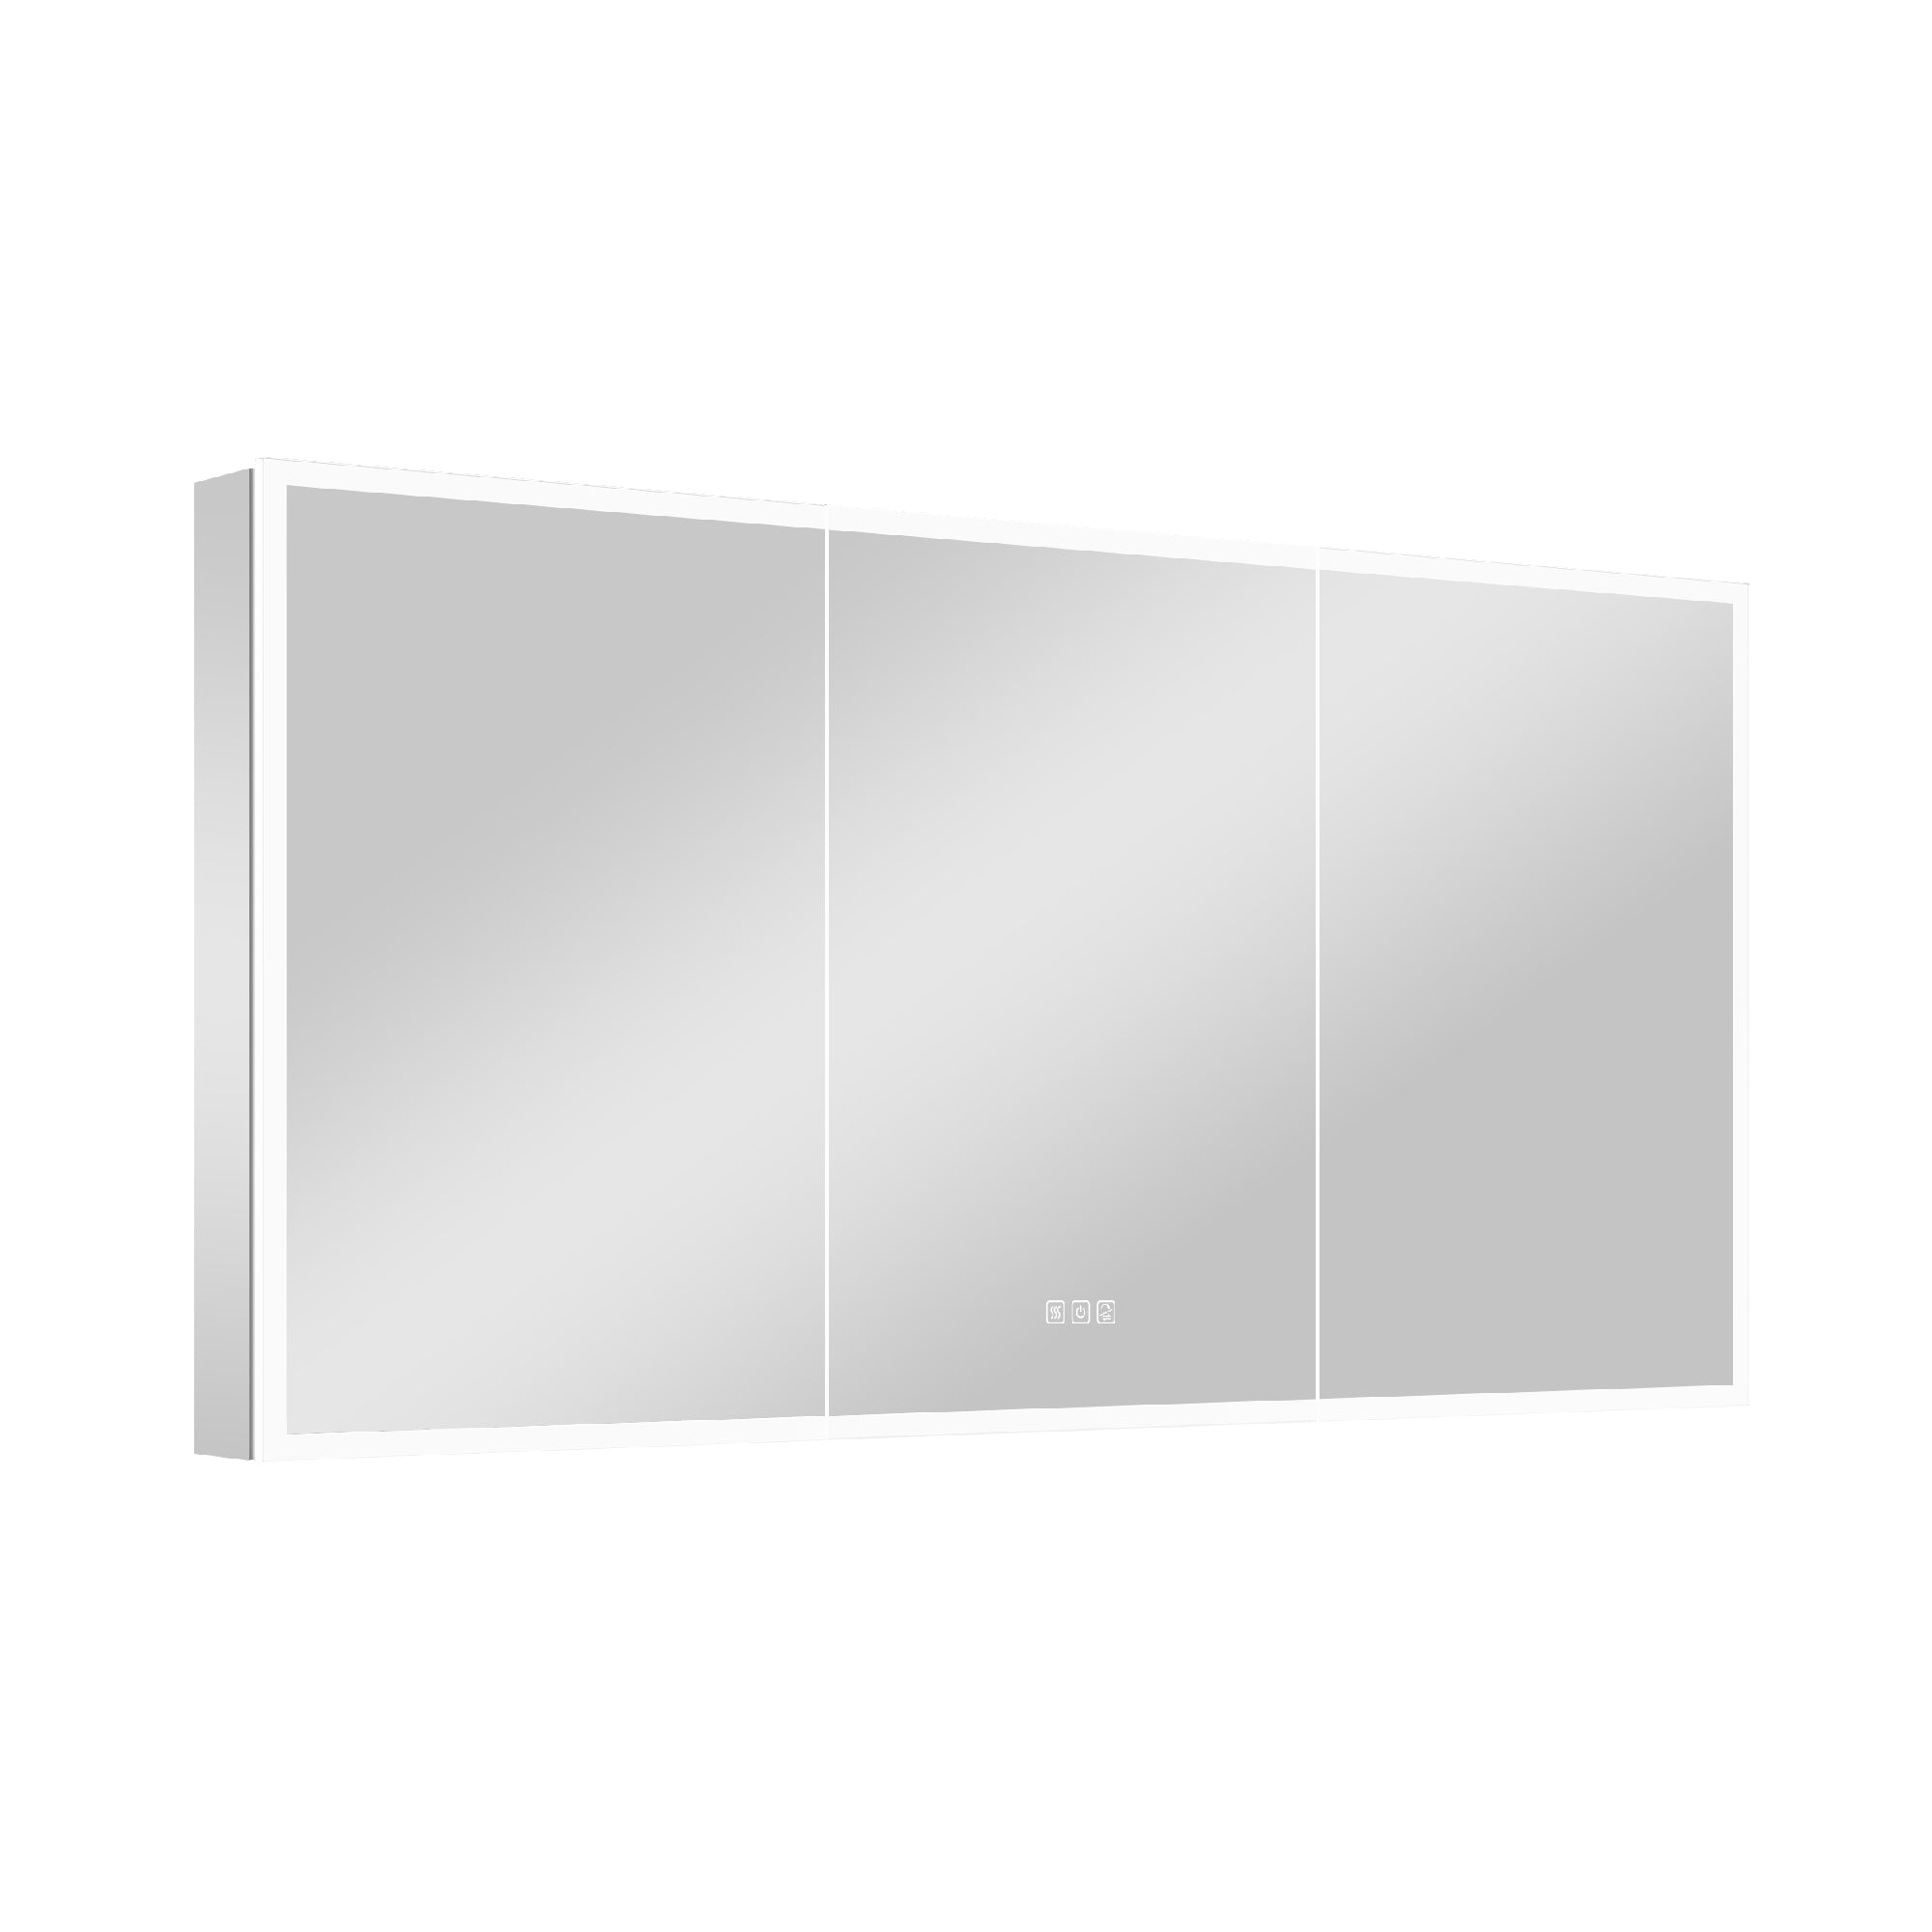
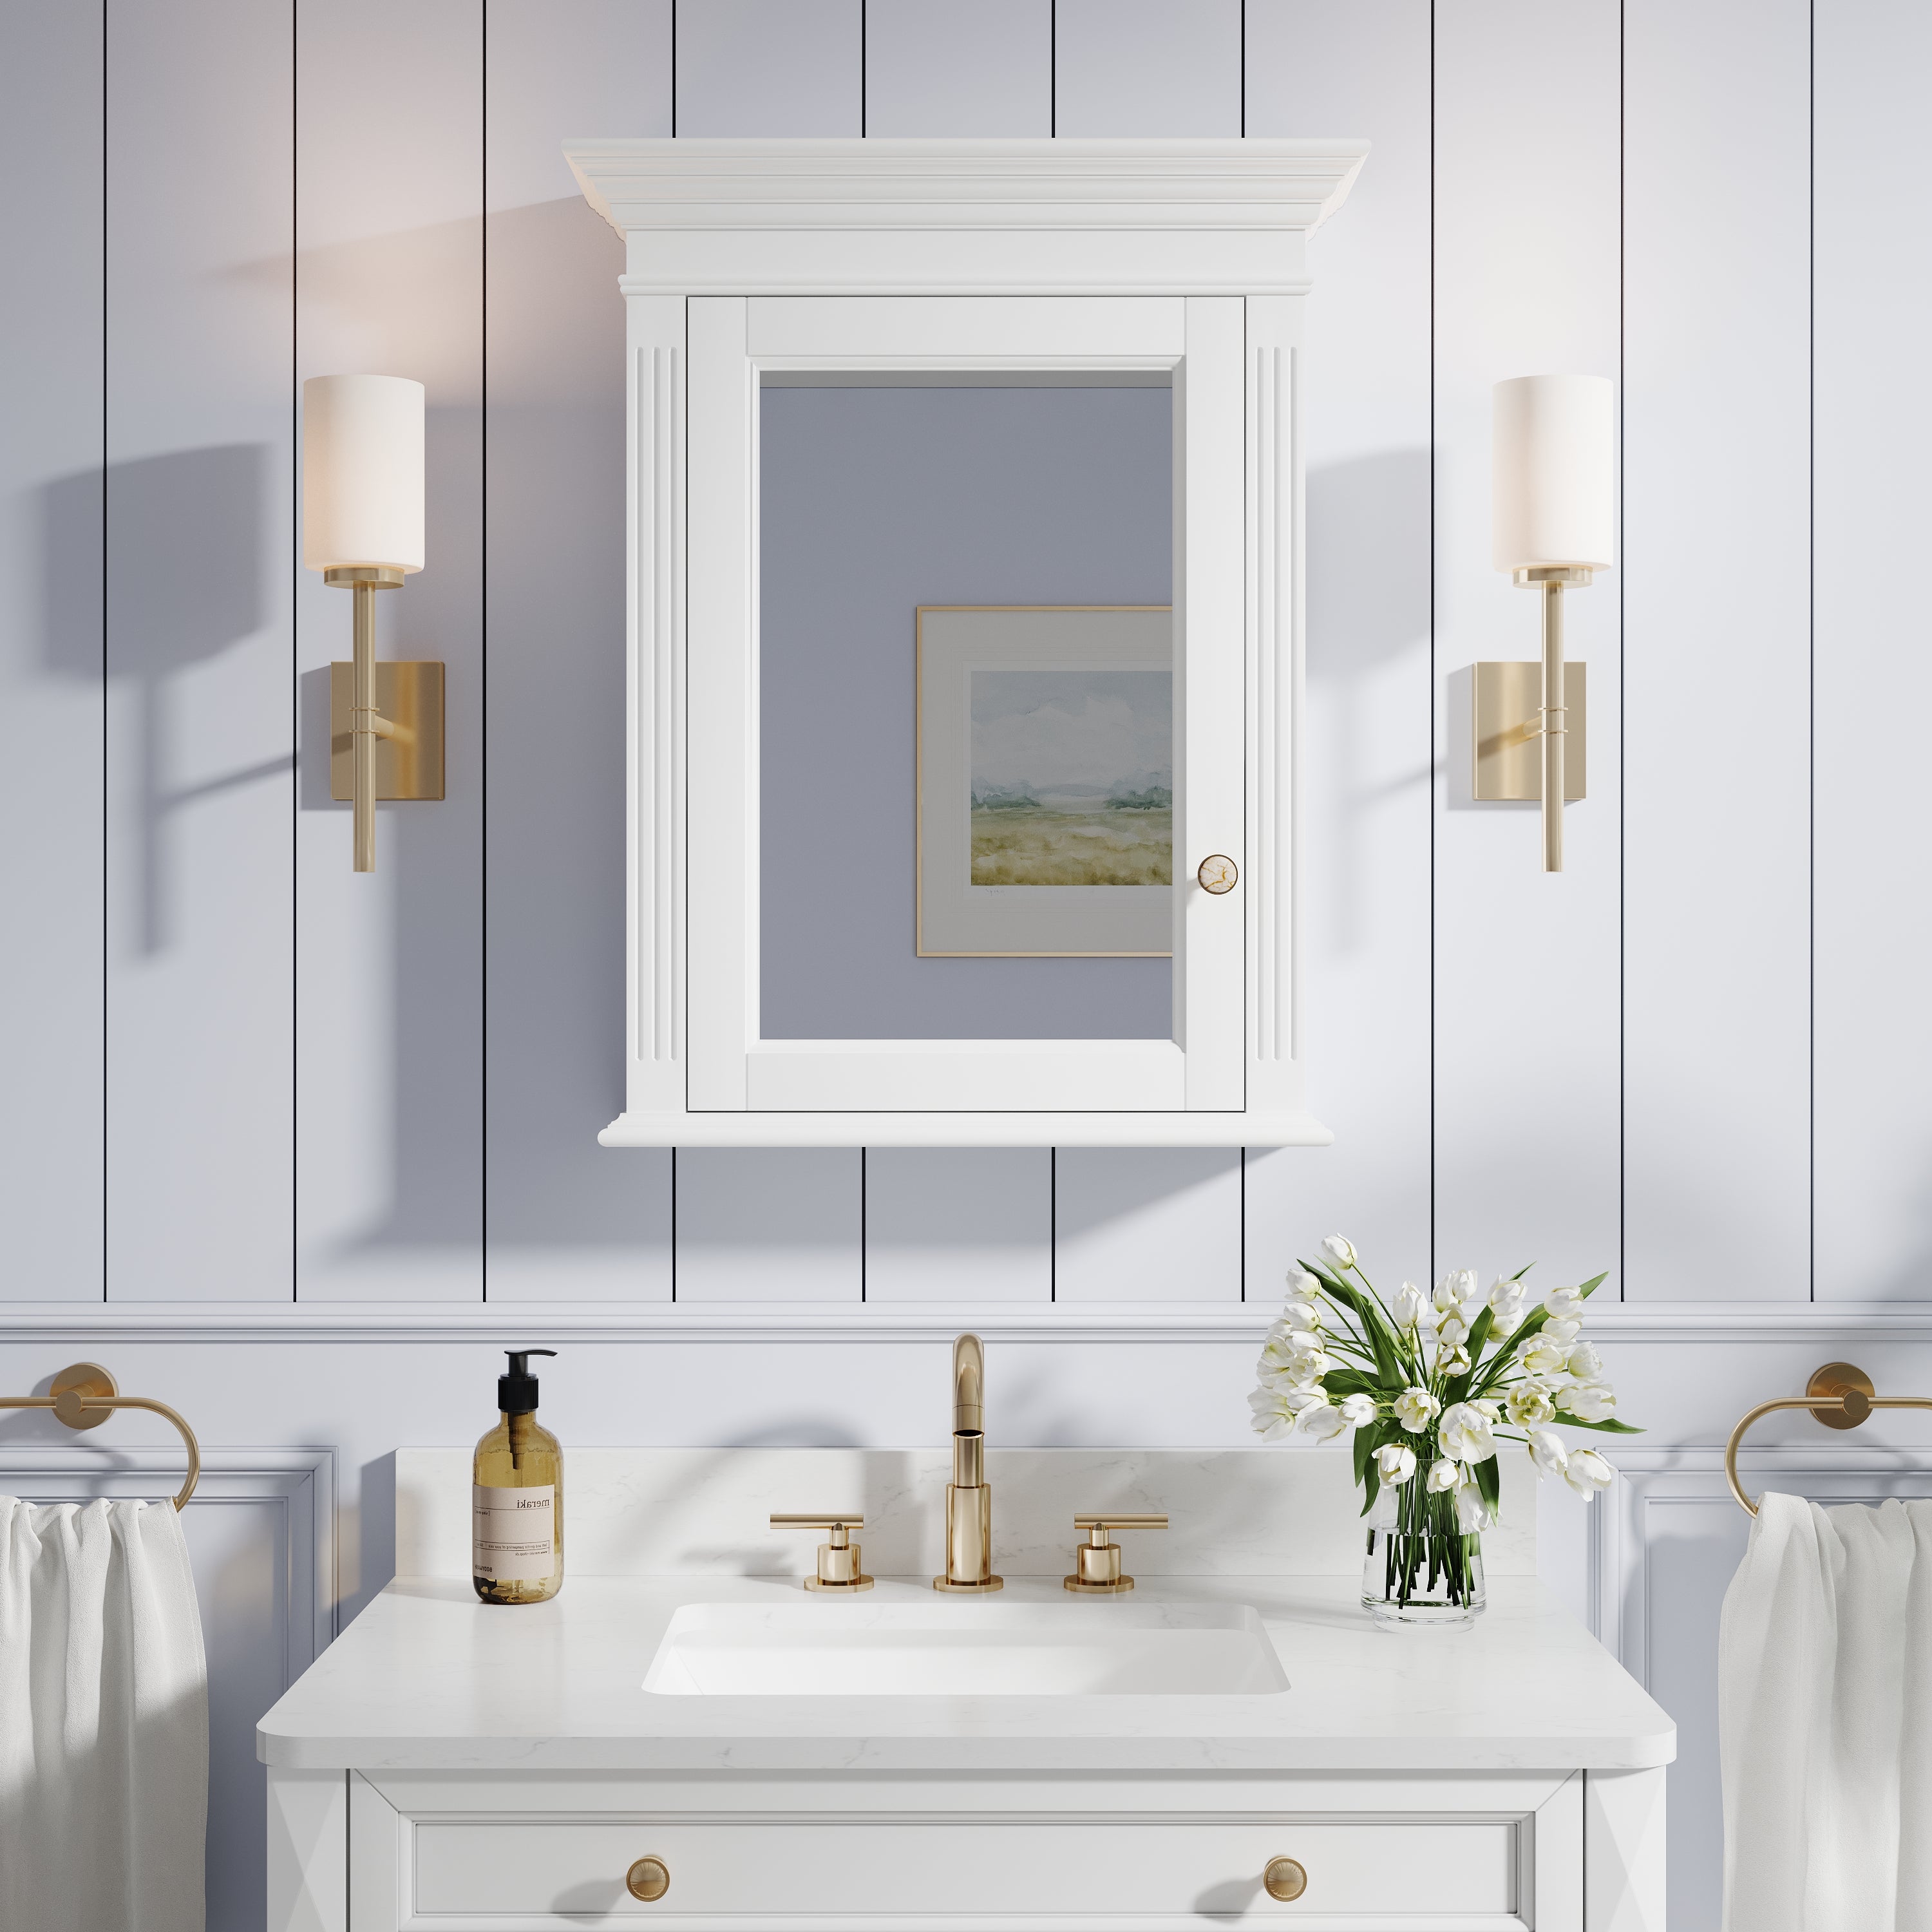
Wall-mounted (surface-mounted) installation: The mirror is directly hung on the wall, suitable for bathrooms that have already been completed or are inconvenient to modify the structure.
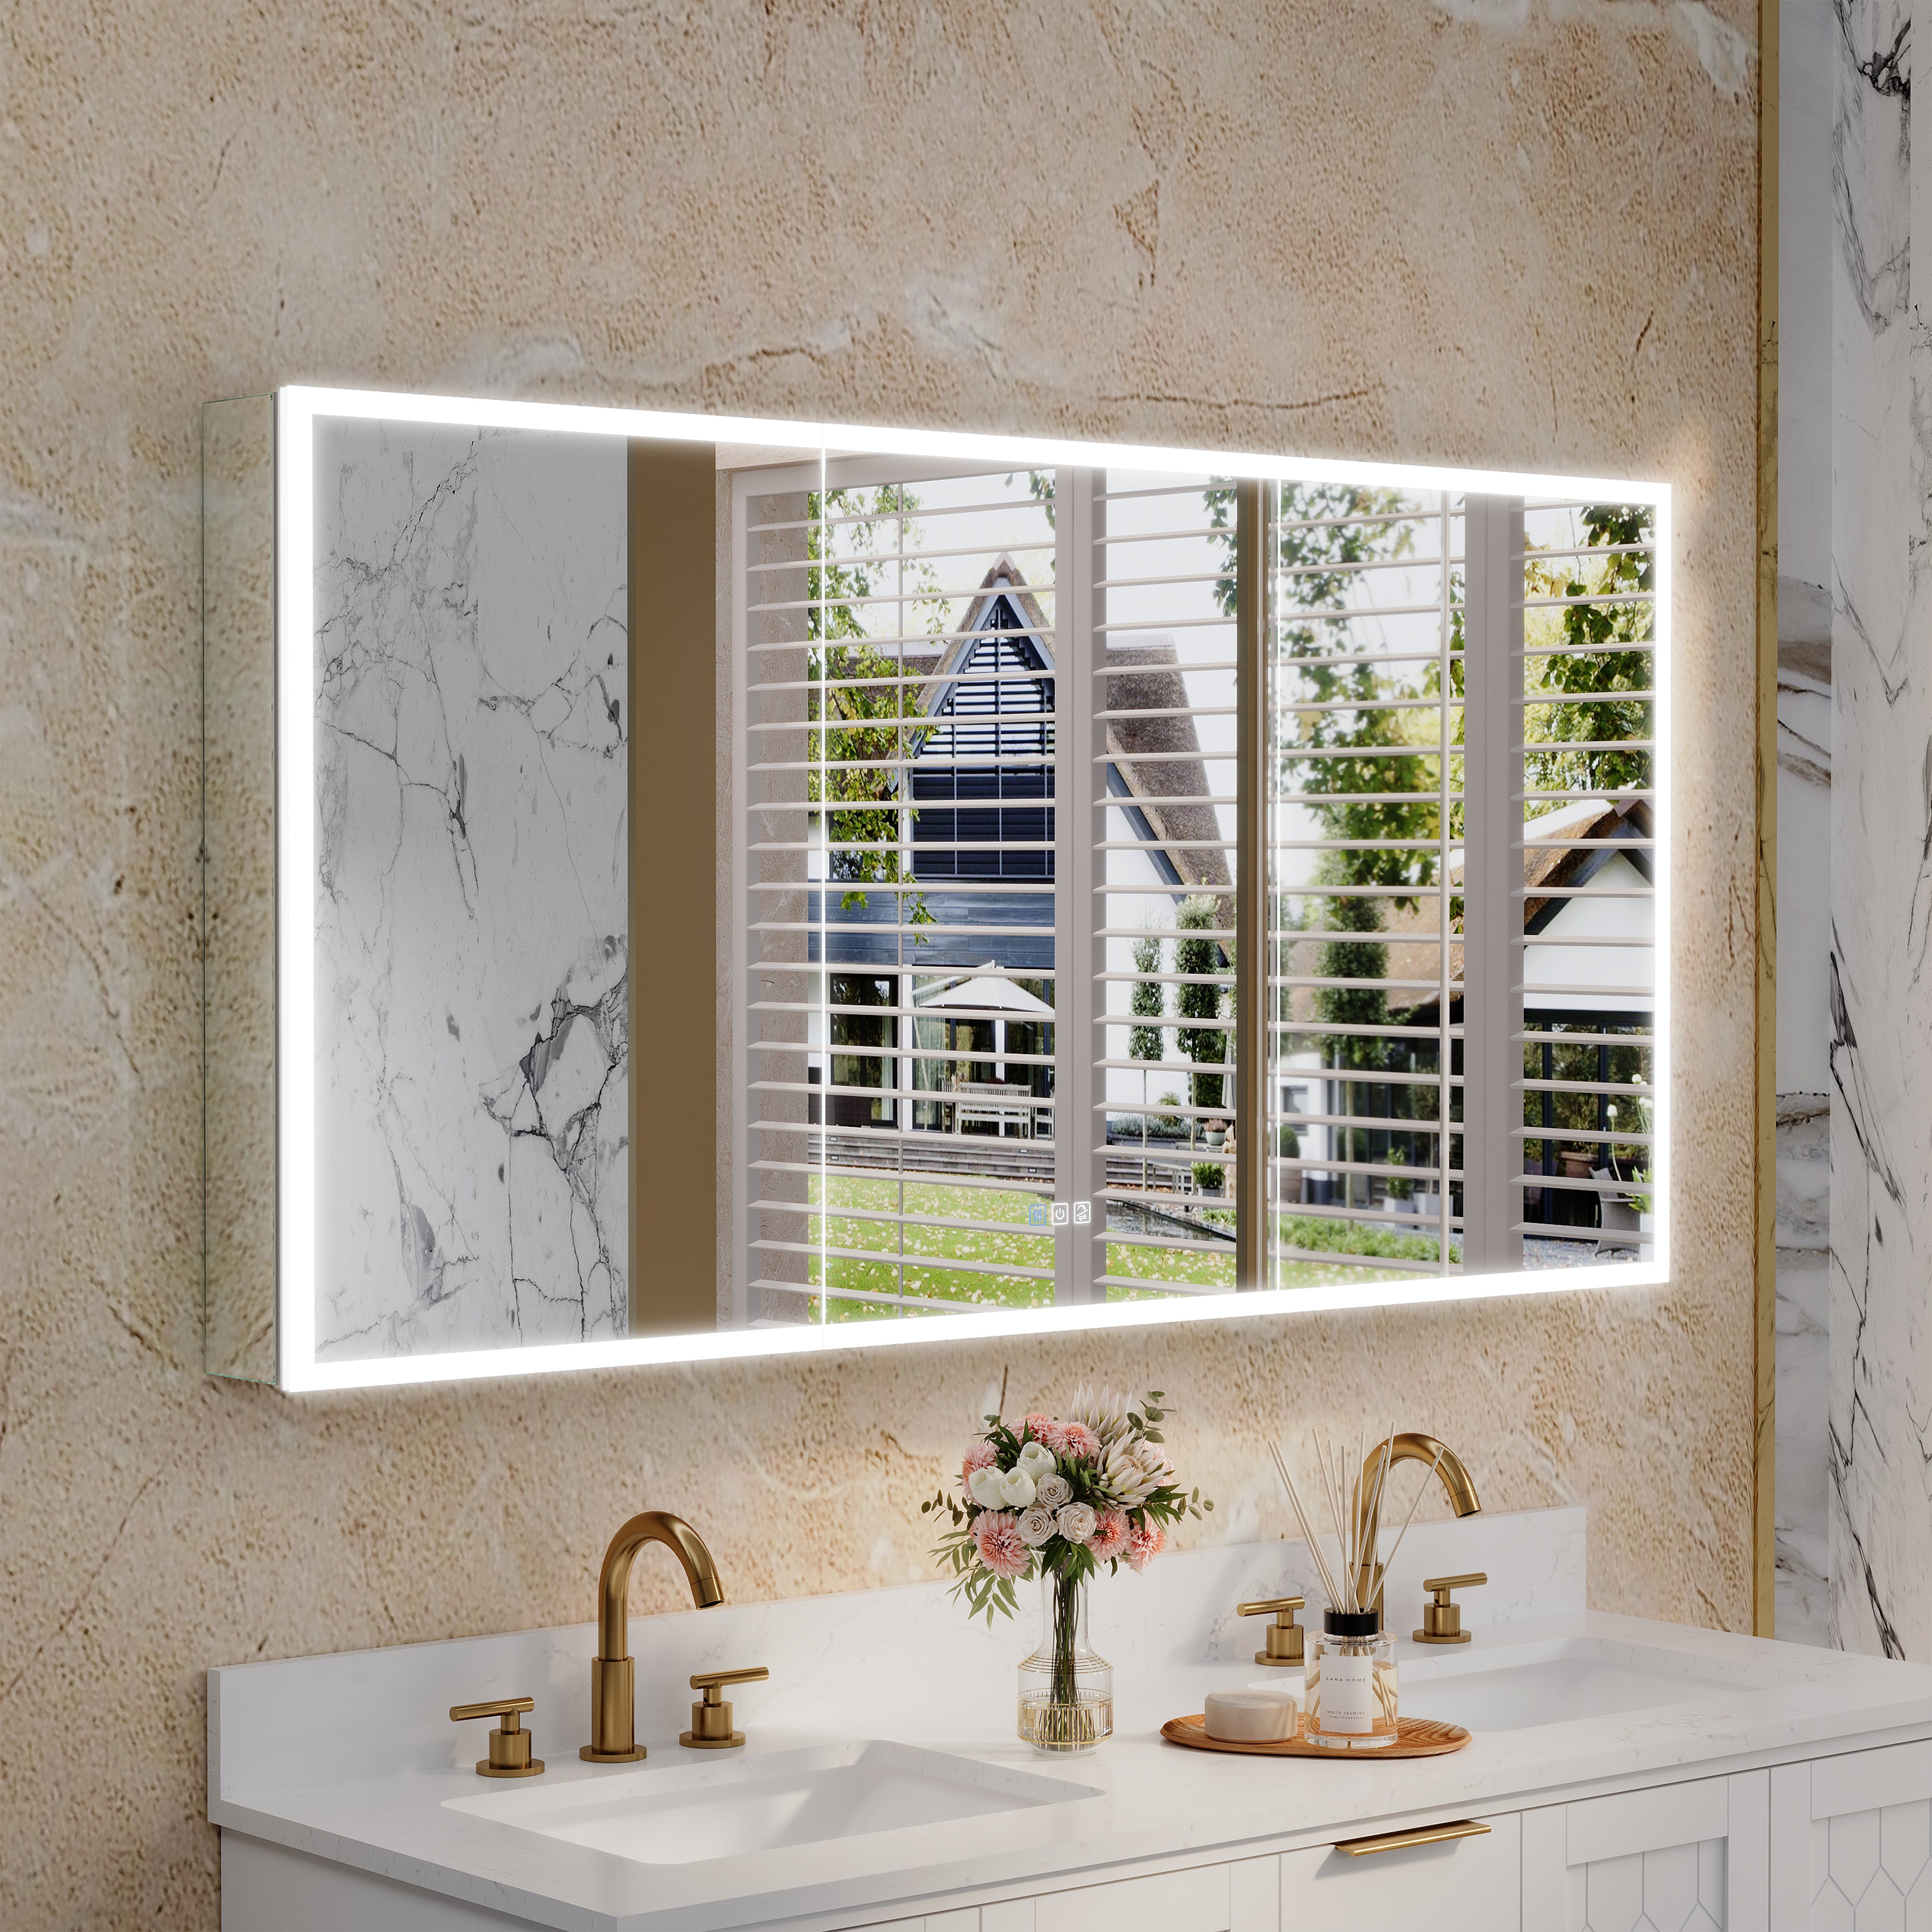
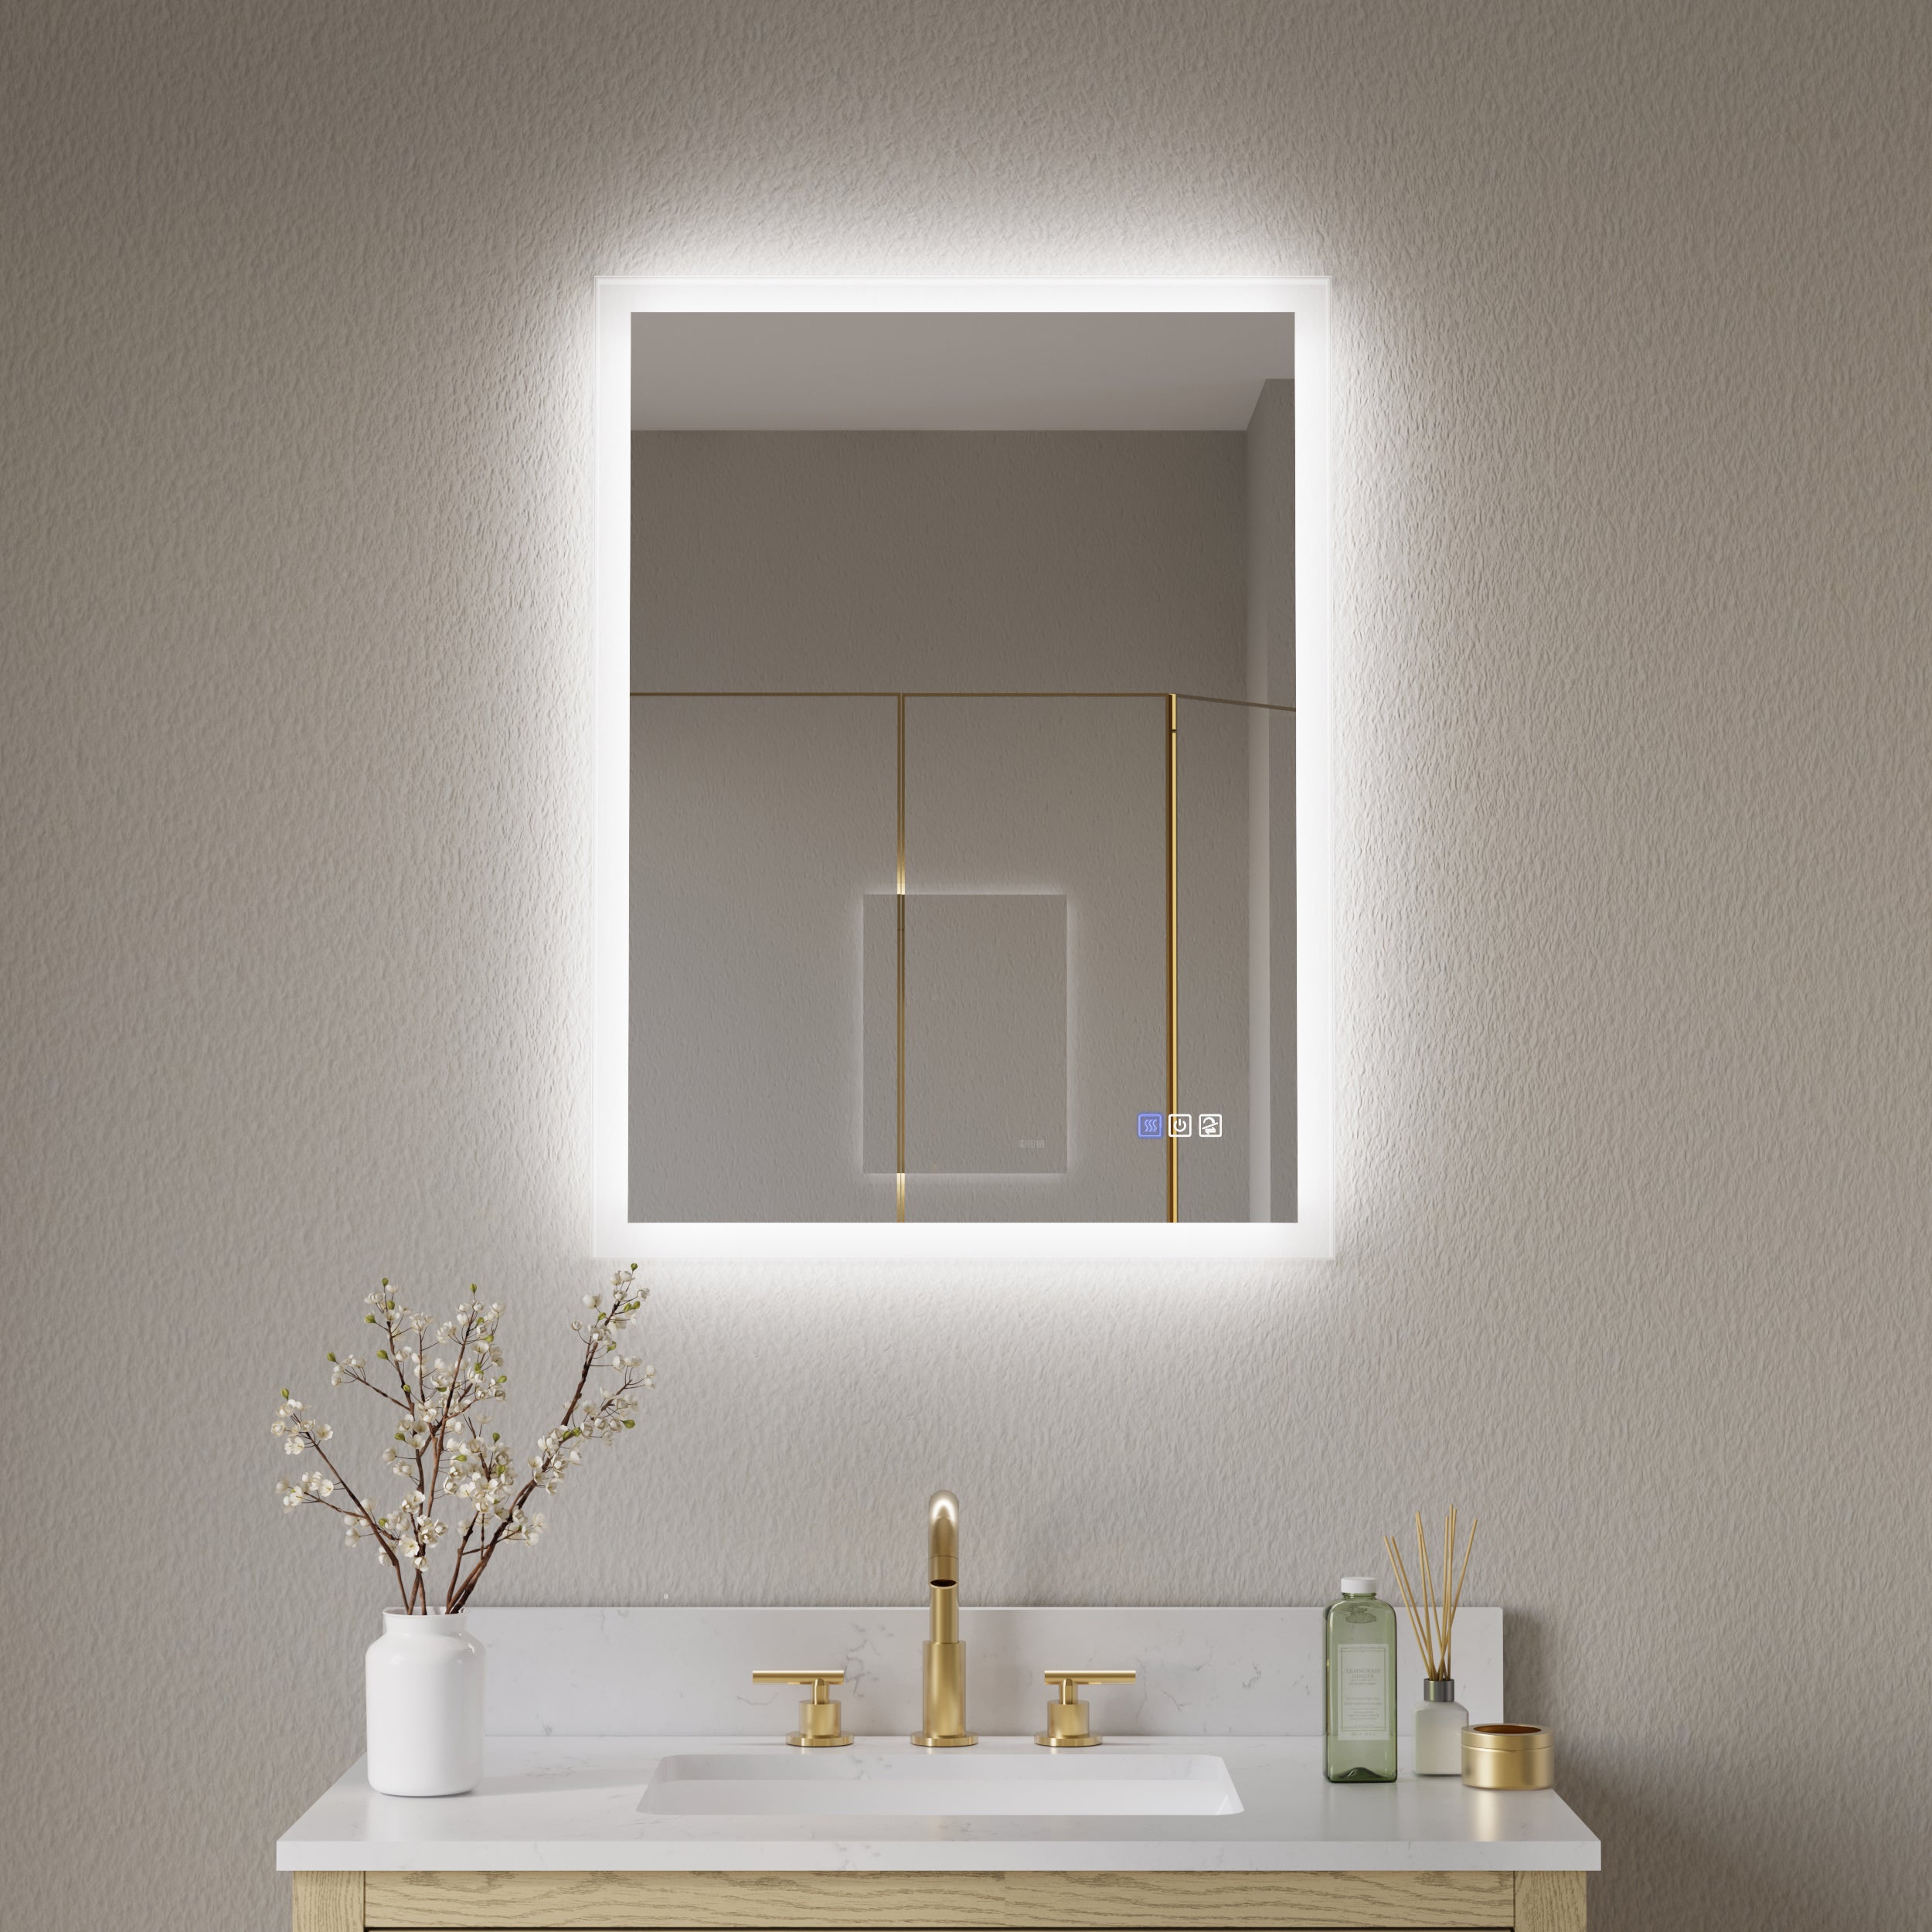
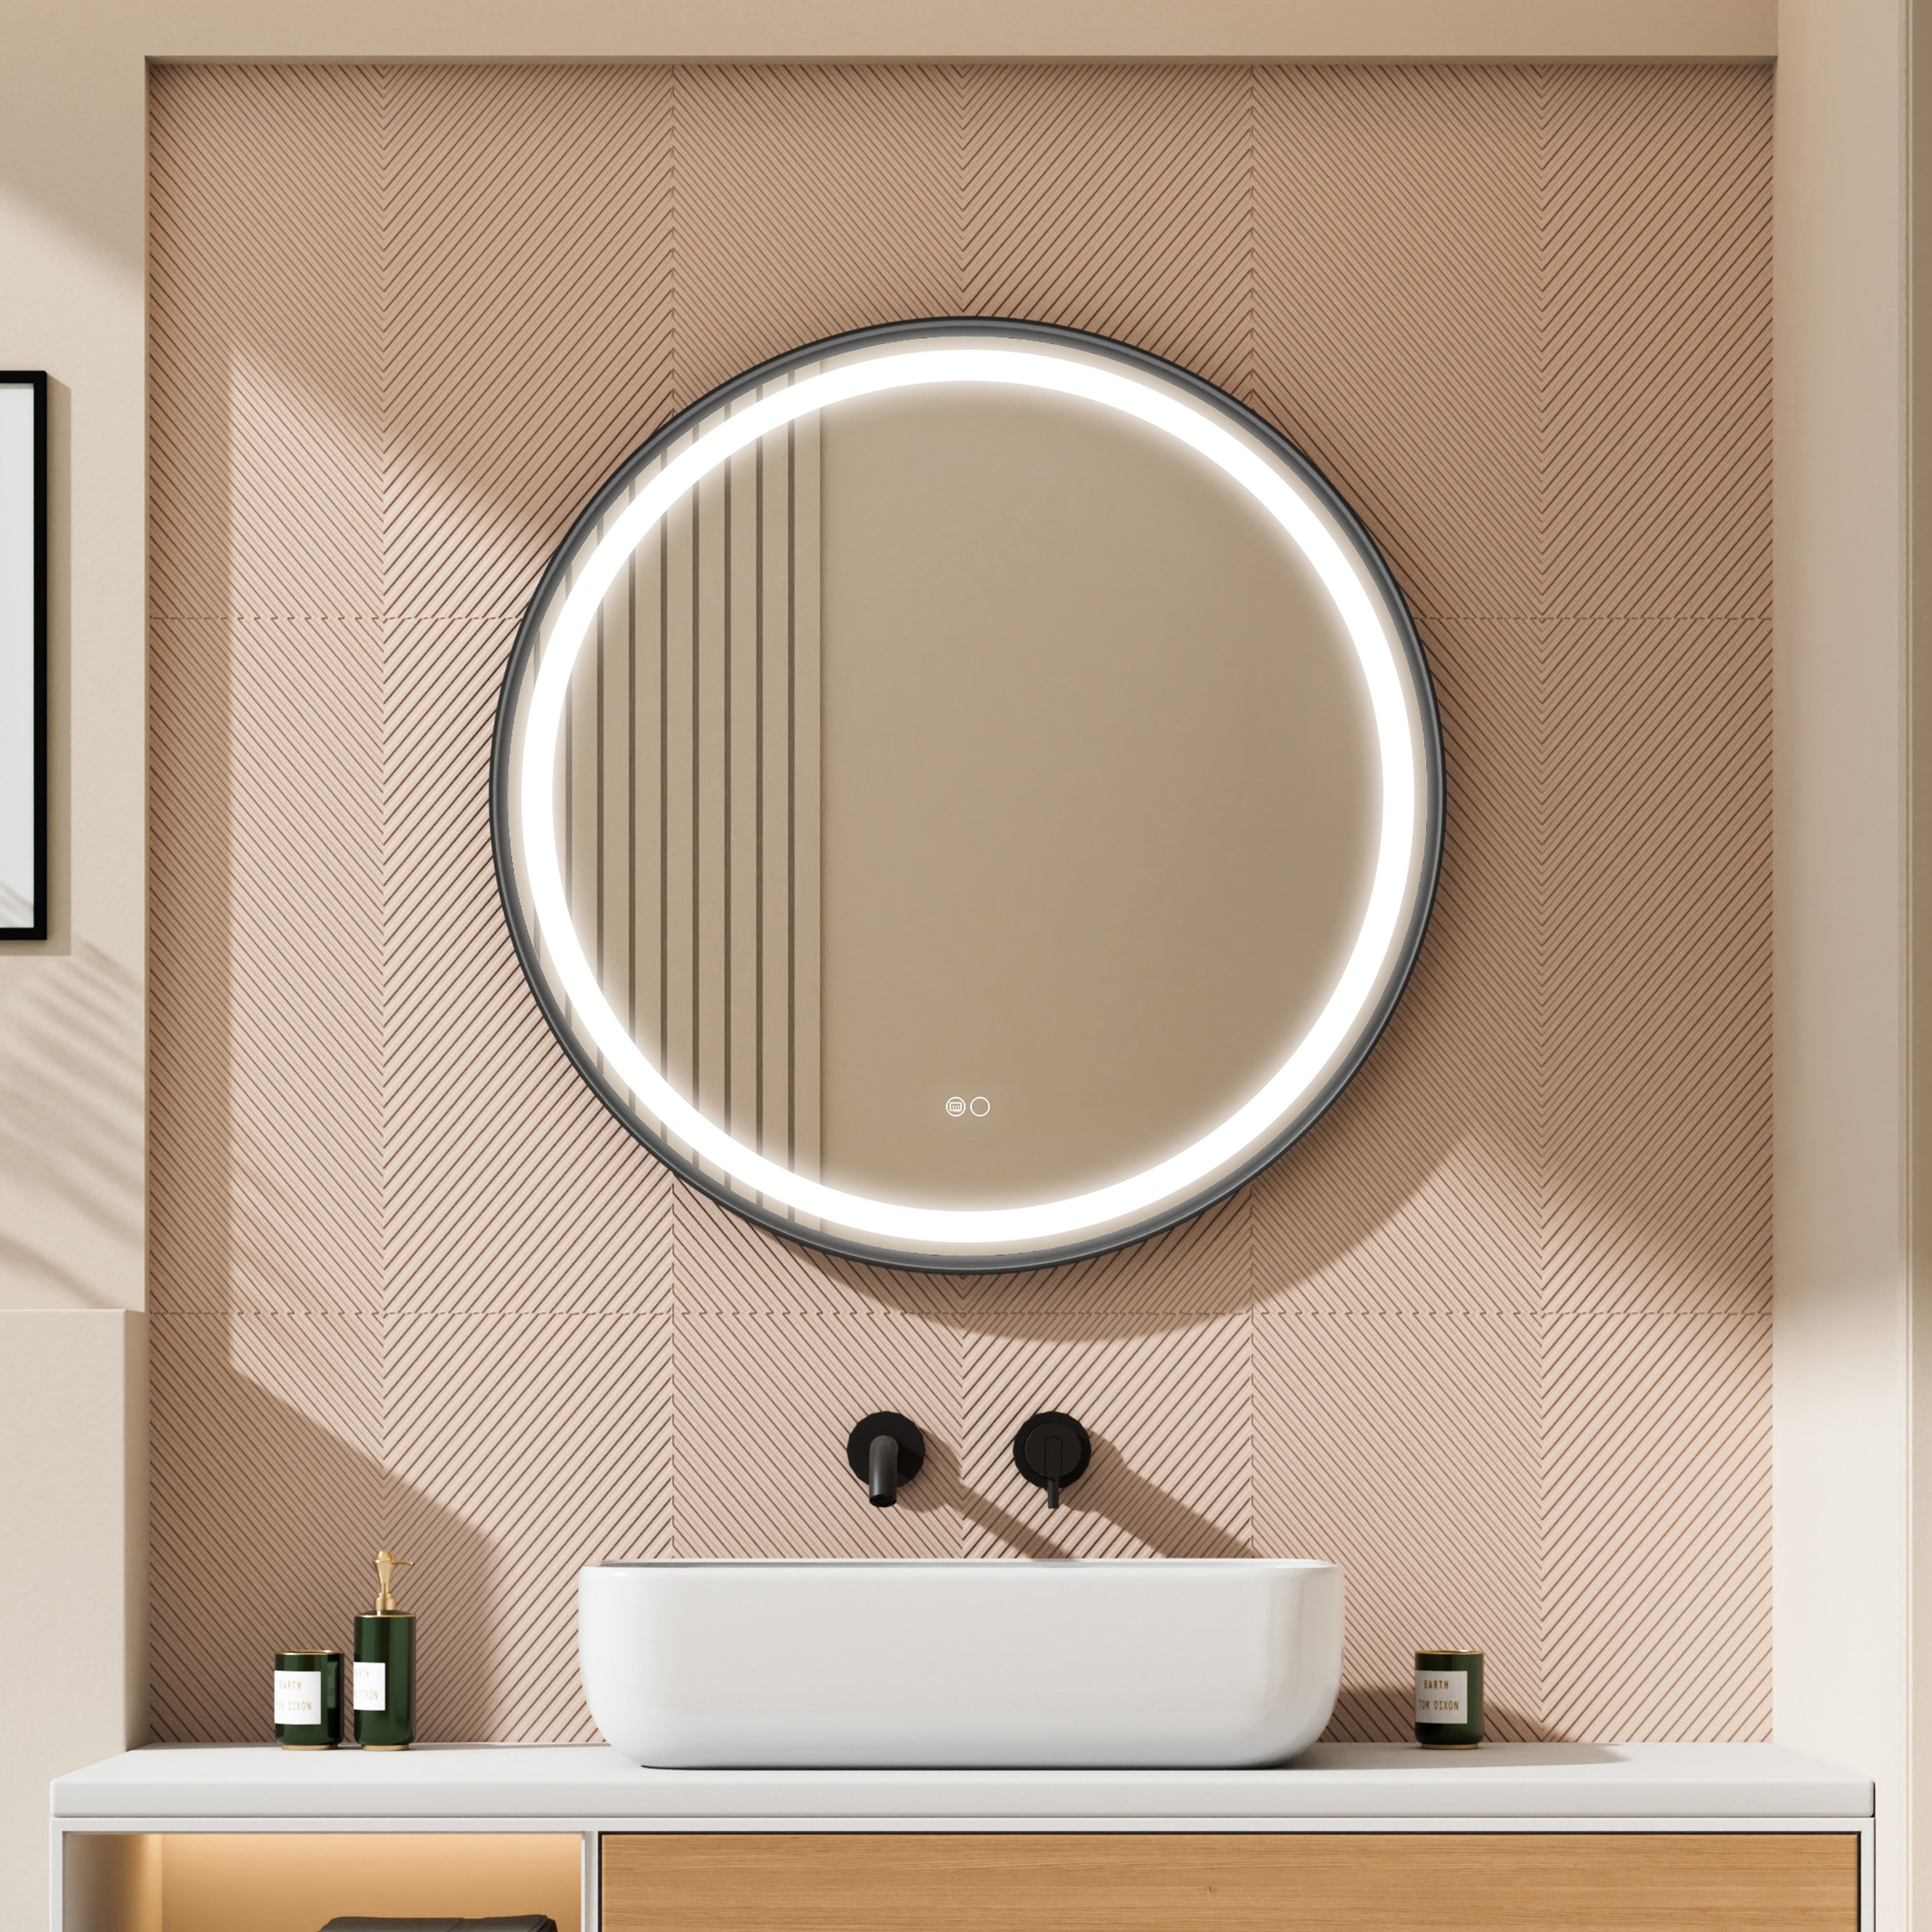
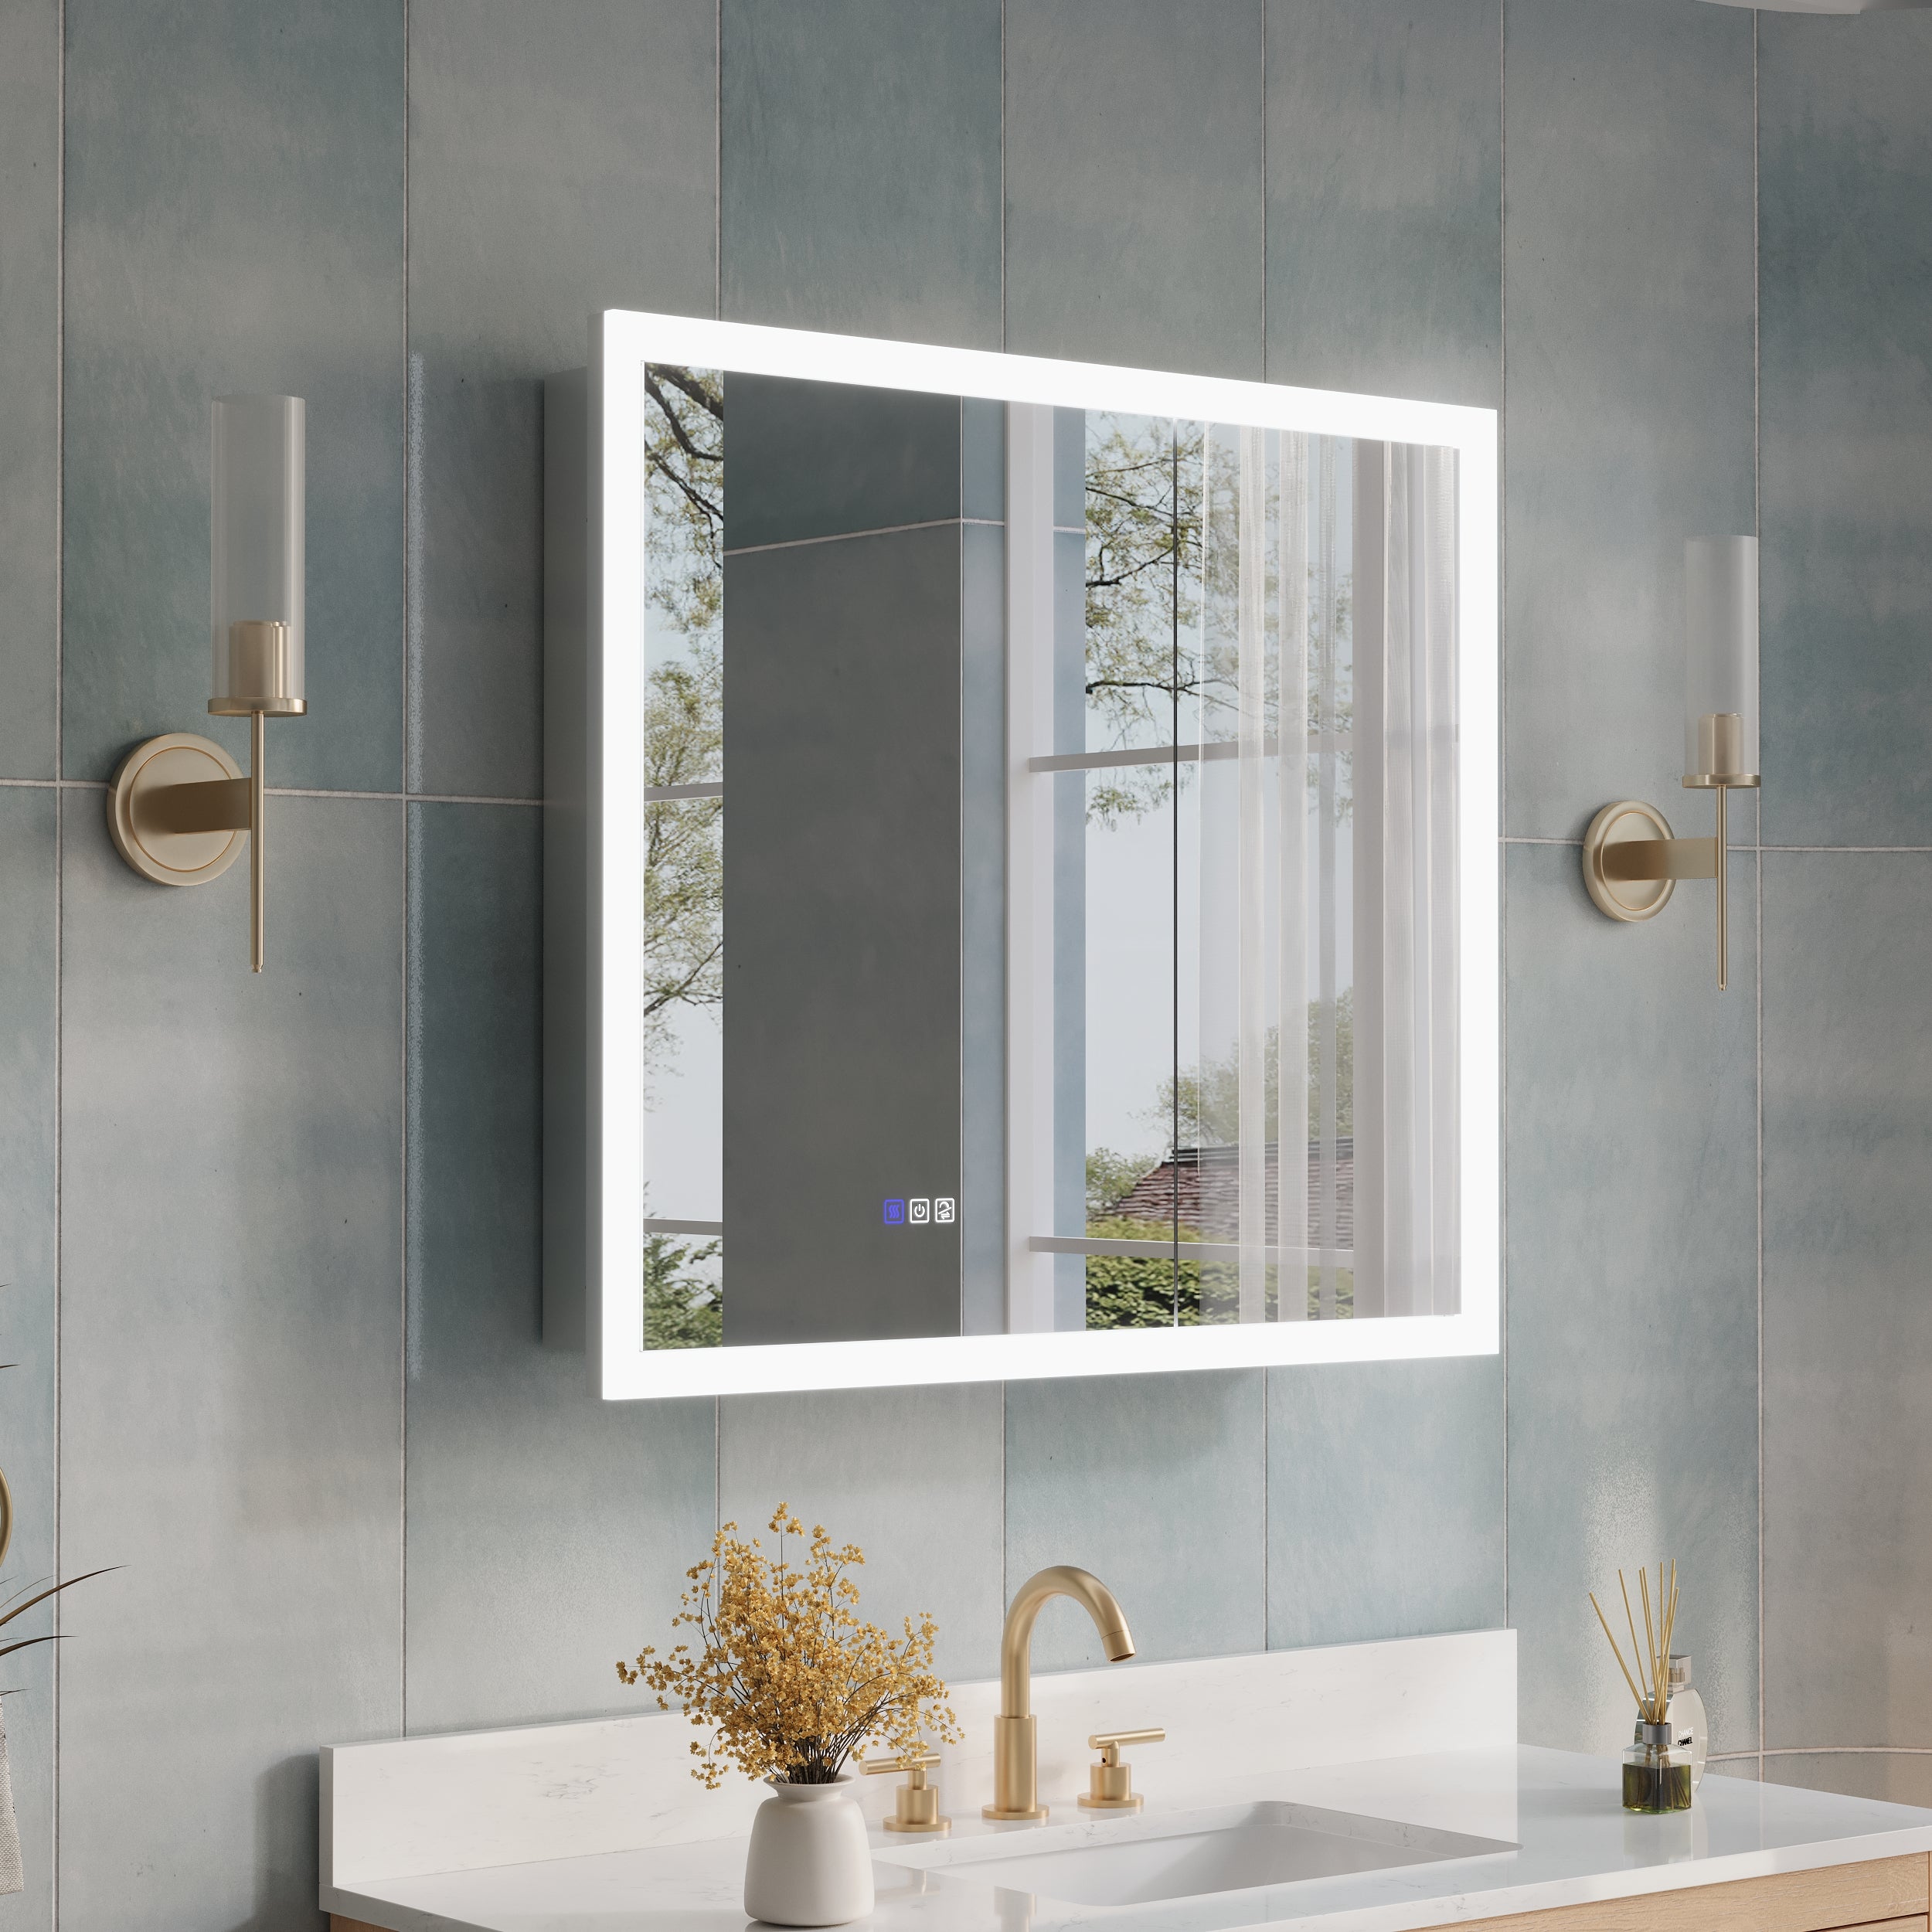
Backlit Floating: By uniformly backlighting, the mirror appears to float on the wall, creating soft and layered light and shadow.
The choice of approach during the design phase directly affects the completeness and spatial atmosphere of the final effect.
2. Key preparations before installation
To ensure smooth and safe installation, sufficient preparation must be made before starting work.
Determine the location of the power supply
Most LED mirrors require a power supply (120V or 110V) to be connected. Ideally, a separate circuit should be reserved to avoid sharing with other high-power devices such as hair dryers and heaters. The power supply should be located within 2-3 inches behind or above the mirror for easy concealment.
Measurement and positioning
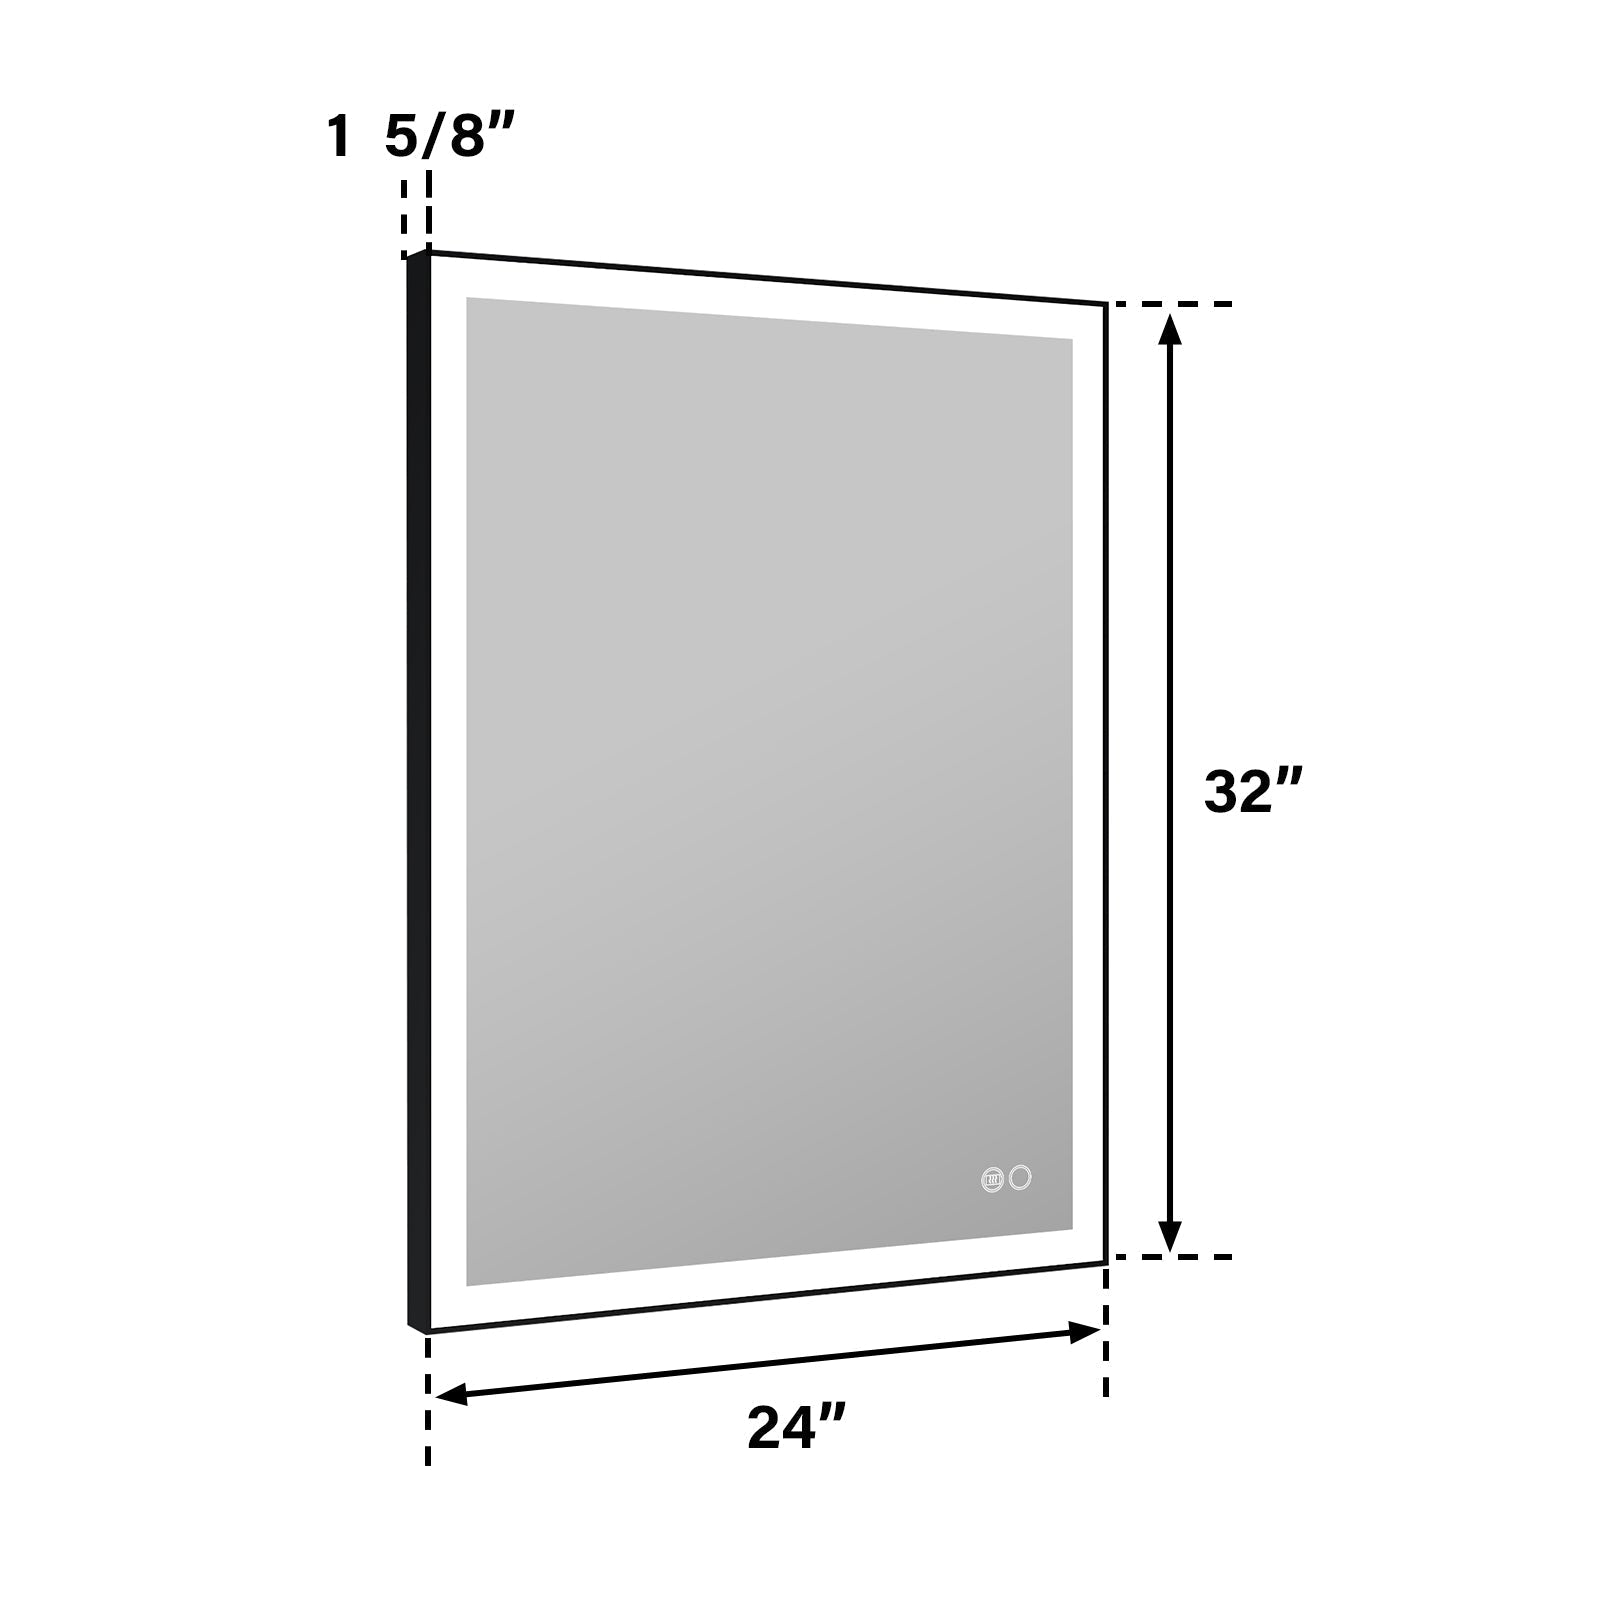
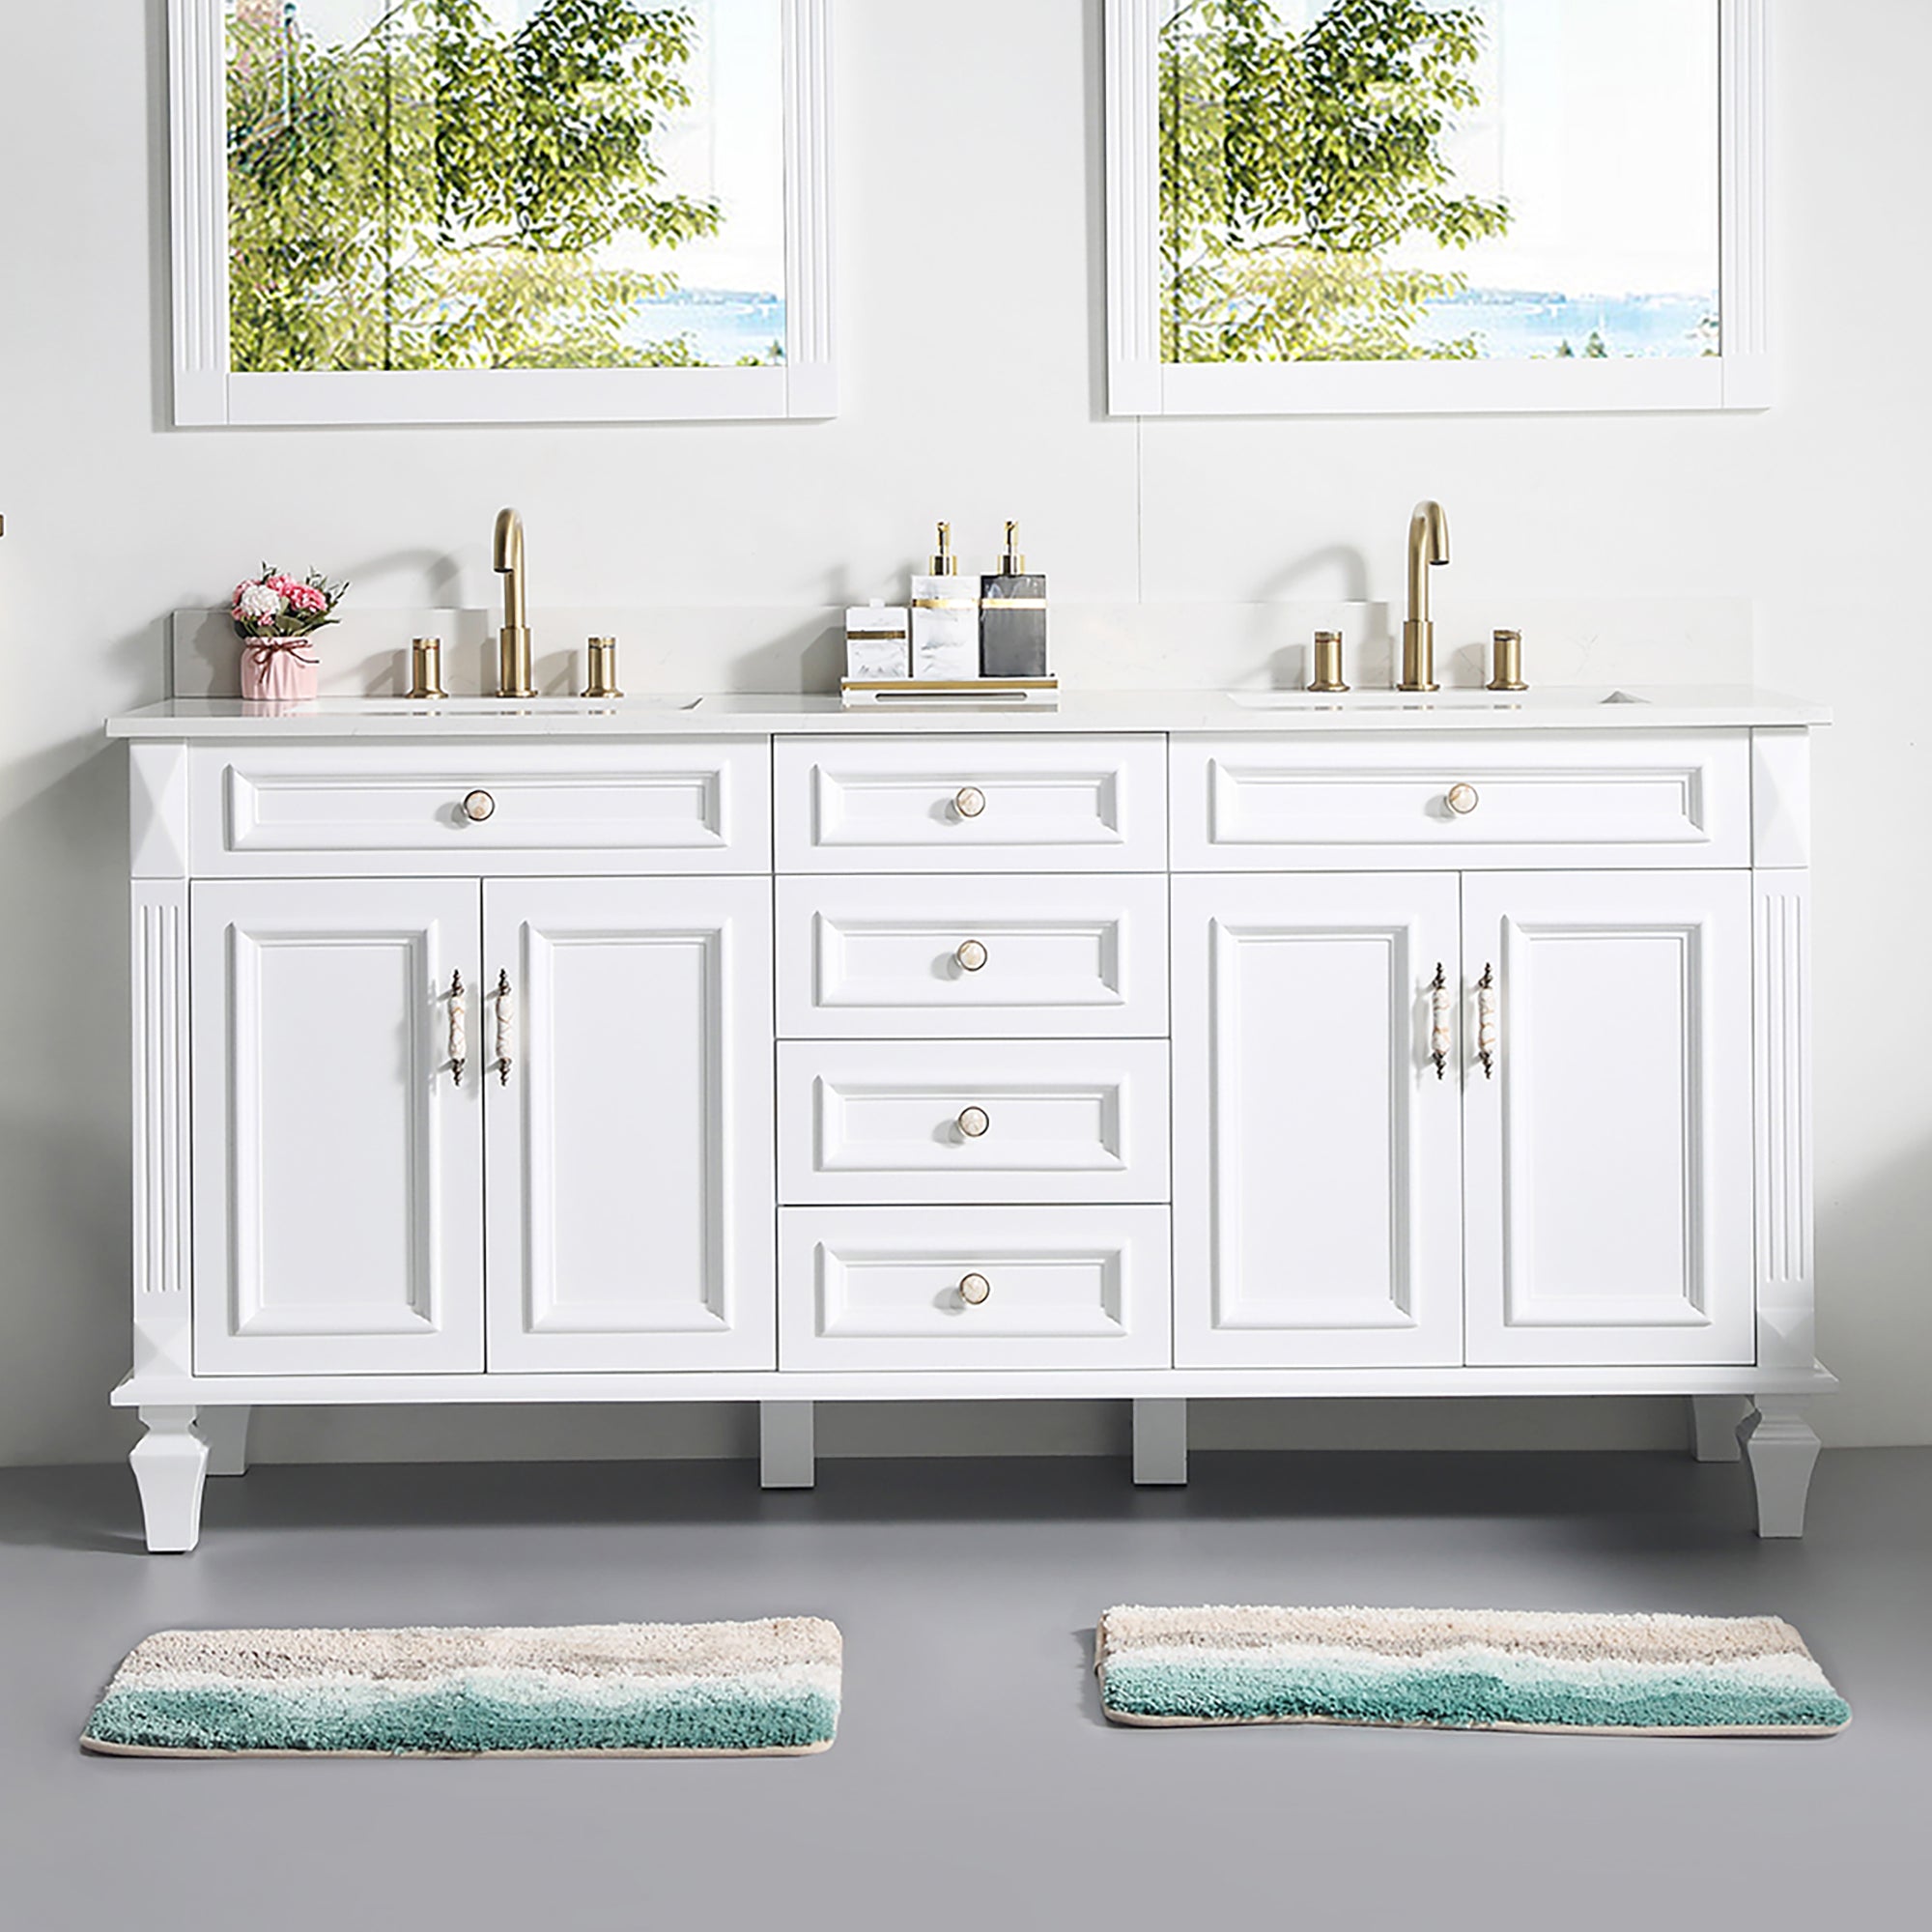
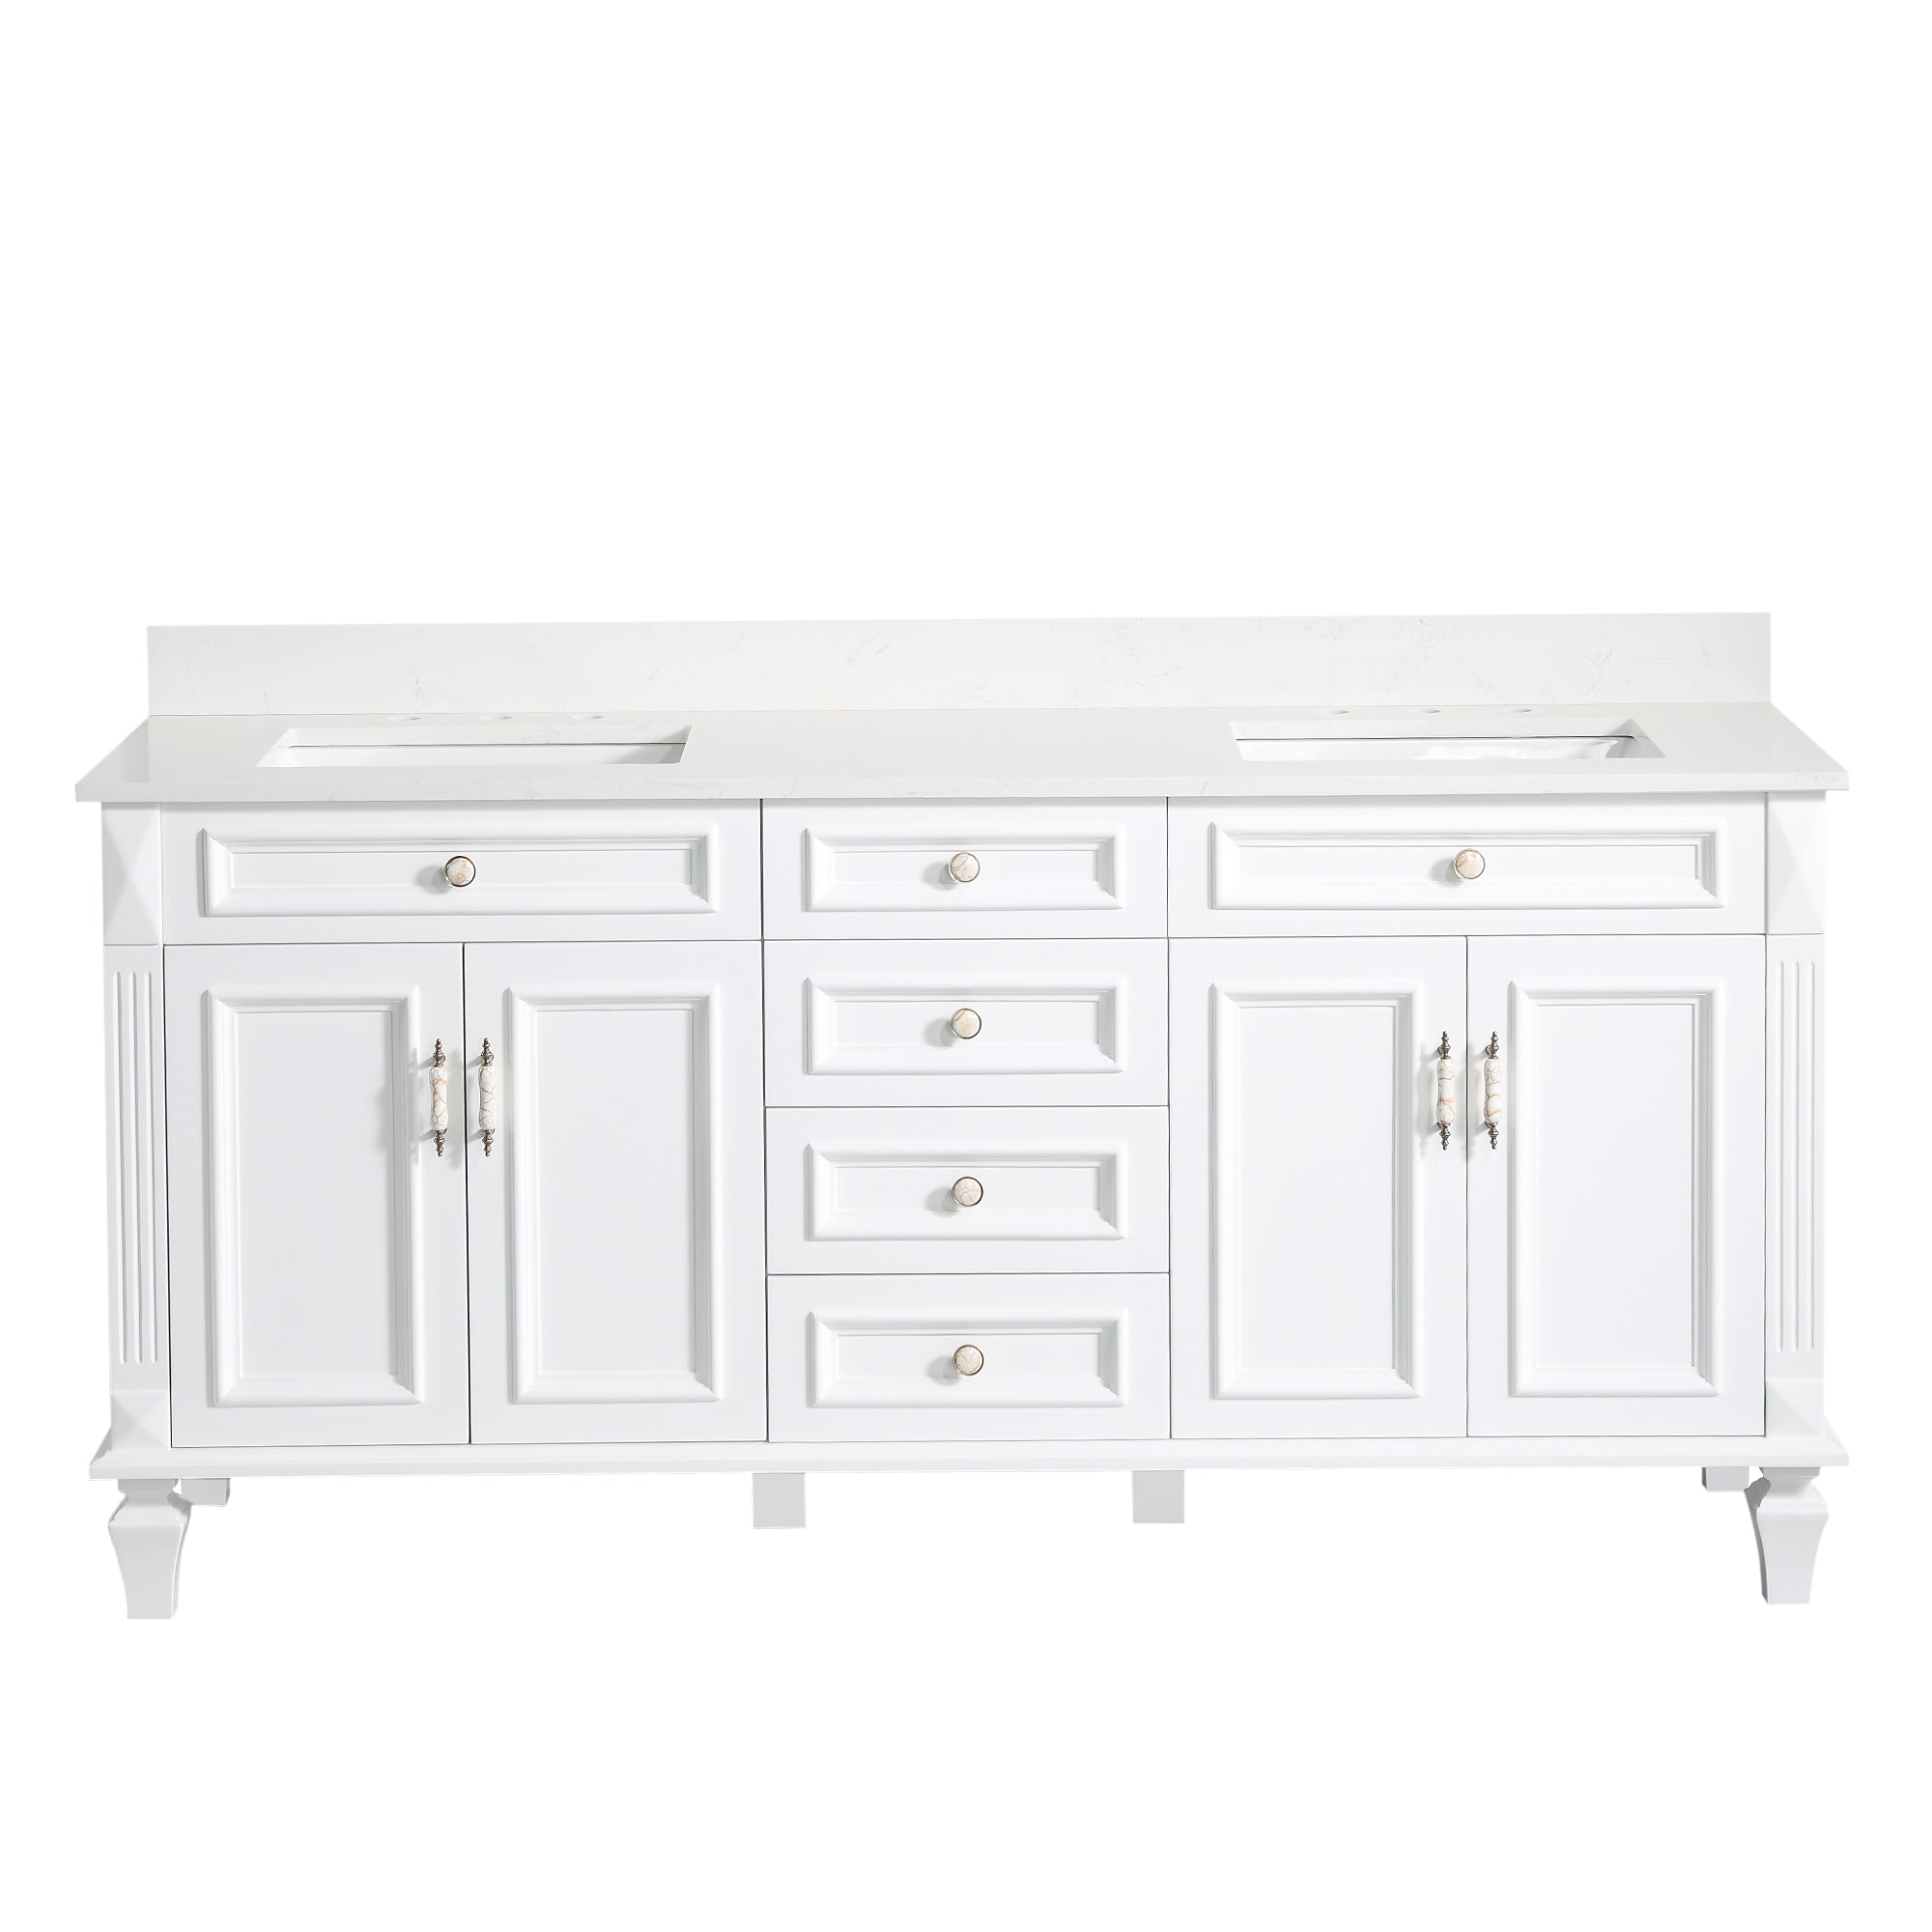
Measure the width and height of the vanity. The width of the mirror should generally be slightly smaller than the washbasin by 2-4 inches, and installed in the center.
Recommended installation height: The bottom of the mirror should be about 5-10 inches from the countertop, or the center of the mirror should be level with the user's line of sight (usually 60-65 inches from the ground).
Select installation type
If you want to create a minimalist effect, you can plan the embedding space during the wall construction phase and ensure reserved lines. For renovated bathrooms, it is recommended to choose a backlit suspended type, which is both convenient and stylish.
3. Circuit and Waterproof Design: Balancing Safety and Cleanliness
LED bathroom mirrors belong to electrical equipment and must comply with the requirements of the National Electrical Code (NEC) during installation.
1. Power wiring principles
Use moisture-proof insulated wires (such as 14/2 NM-B) and connect them through a GFCI (leakage protection socket) to prevent the risk of electric shock in humid environments.
All connection points must use junction boxes and be sealed.
If it is an embedded installation, ensure that the wires are led out from the wall through dedicated pipelines to avoid exposure.
2. Waterproof standards
The electrical equipment in the bathroom should have a waterproof rating of at least IP44, which can prevent water droplets or steam from entering.
The installation location should avoid direct water spraying areas (such as directly above the shower area), while maintaining ventilation to extend the lifespan of the LED.

4. Detailed installation steps
Taking the ordinary backlit wall-mounted LED mirror as an example, the standard installation steps are introduced below.
Step 1: Determine the location and mark the fixed points
Use a spirit level to determine the centerline and installation height of the mirror, and mark the screw holes or hook positions on the wall.
Ensure that the power interface is located 1-2 inches from the back or lower edge of the mirror for easy concealment of wiring.
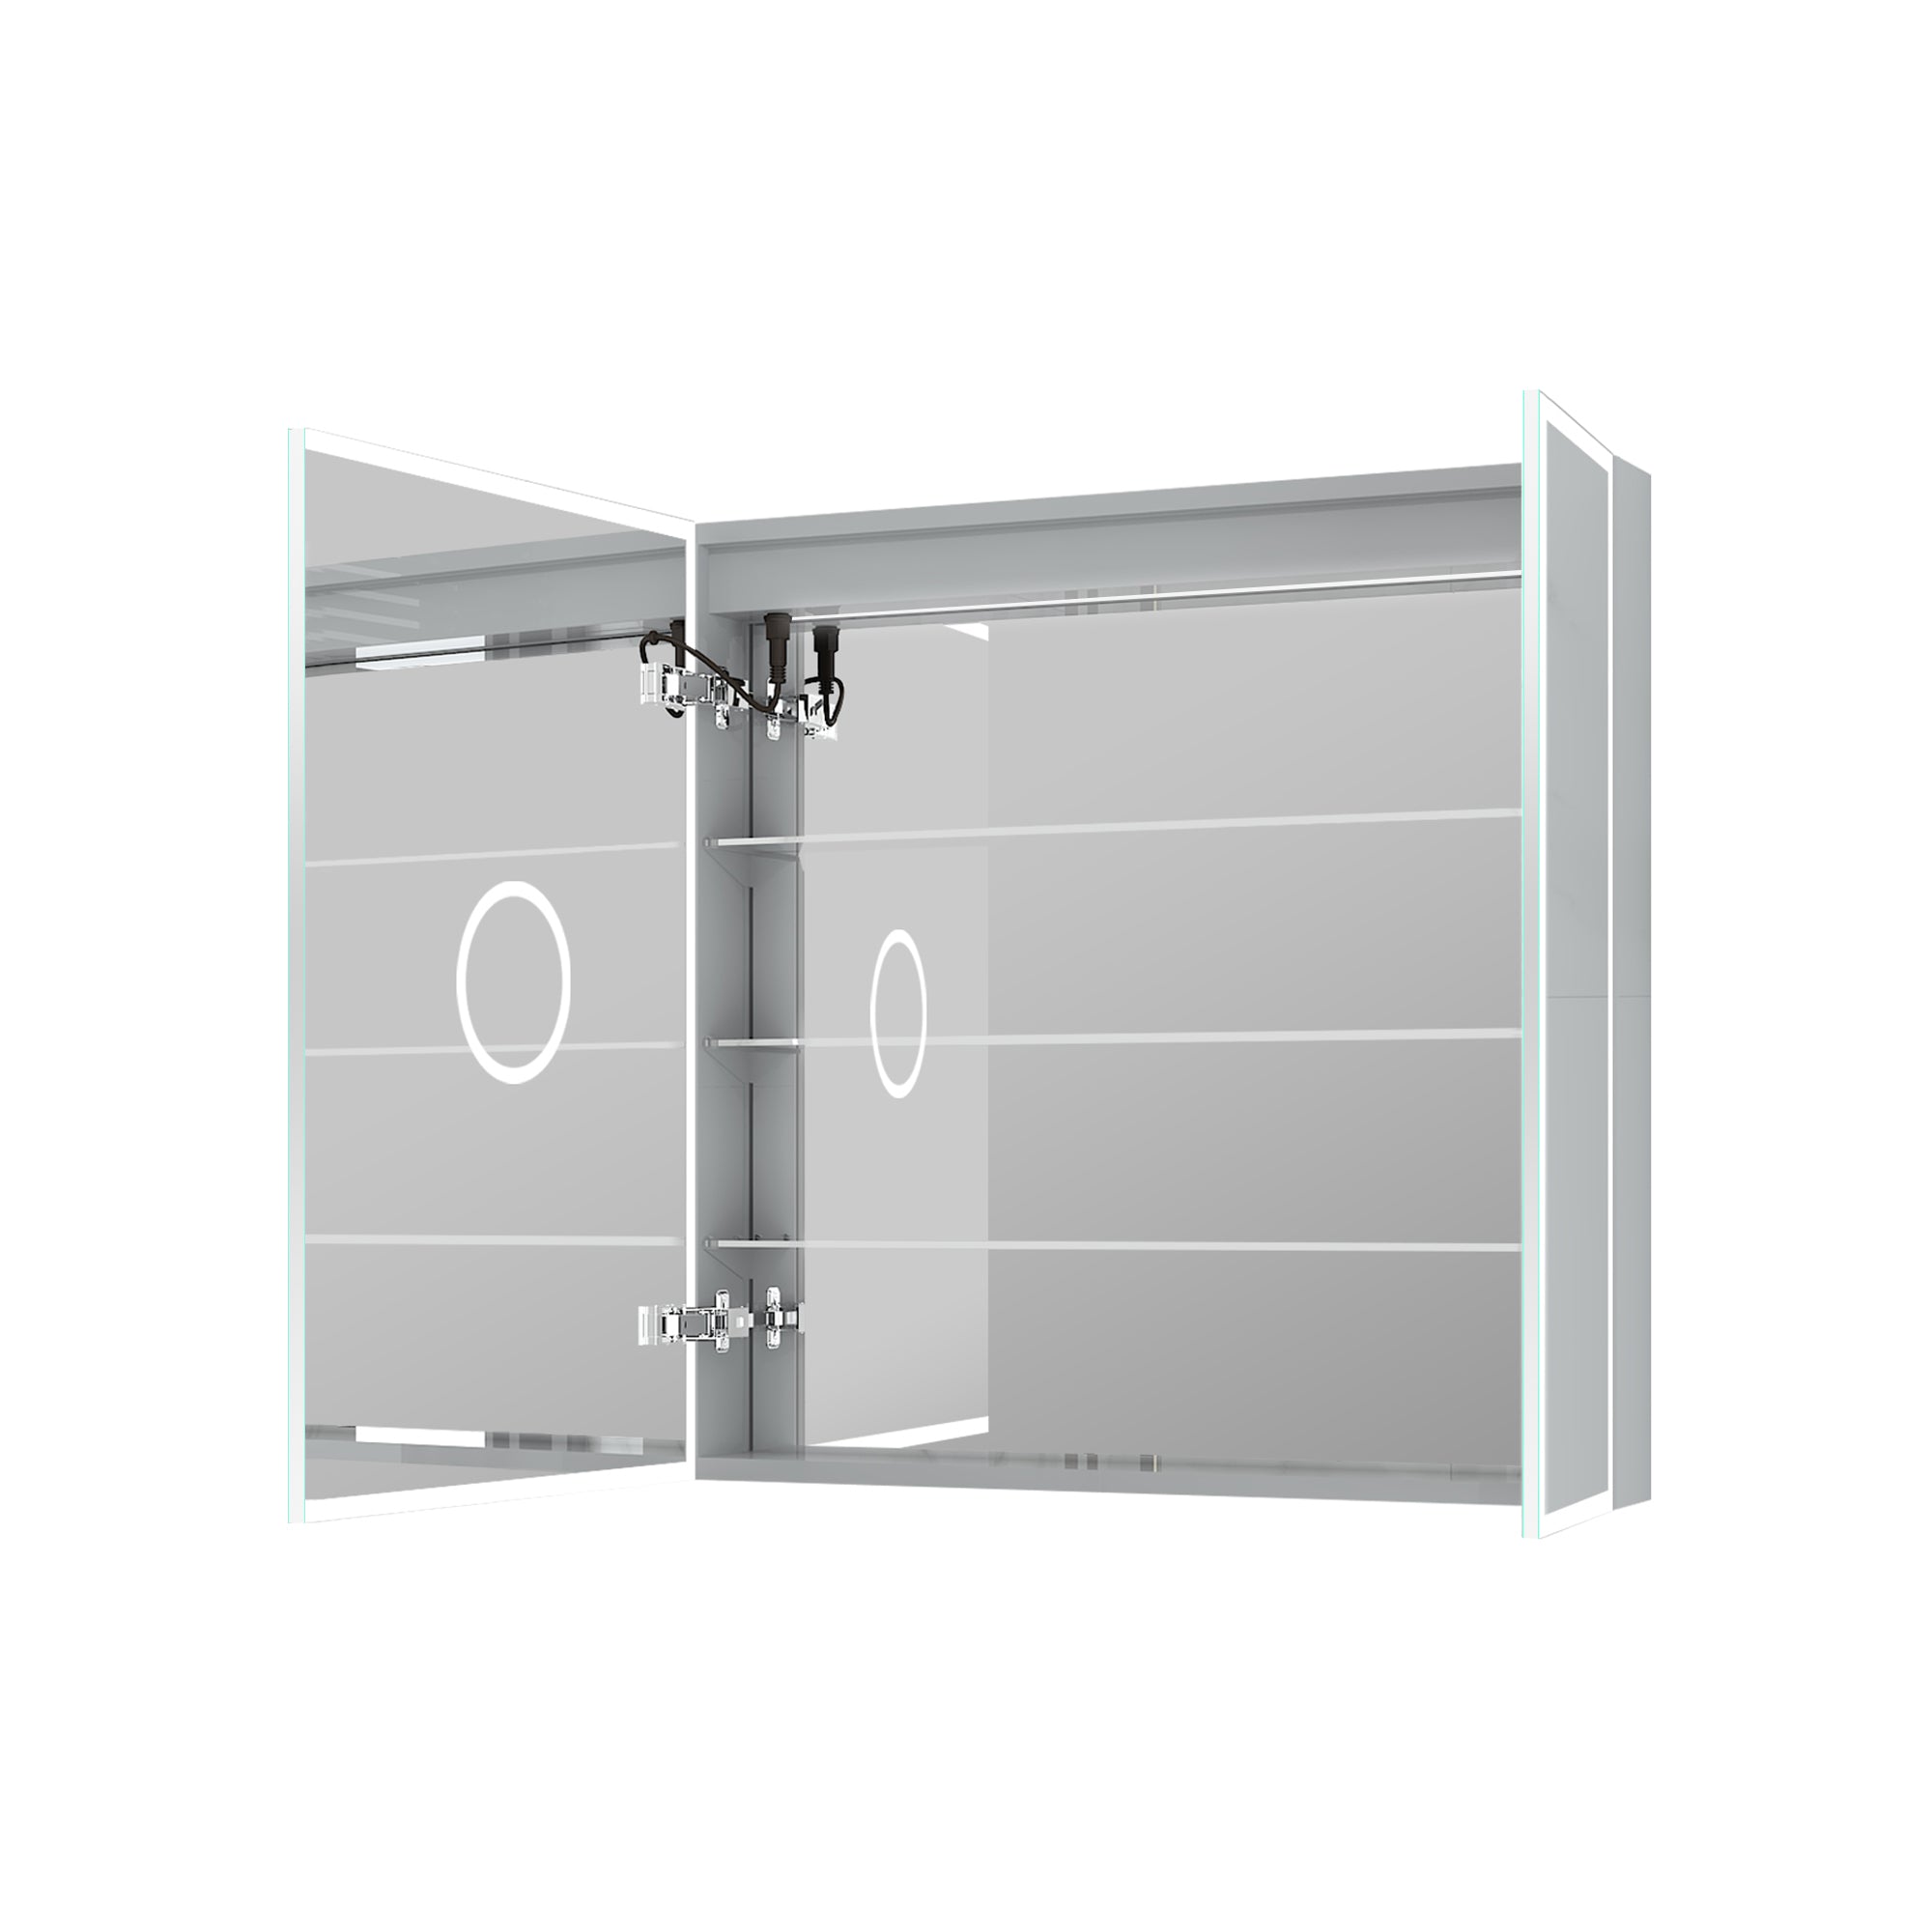
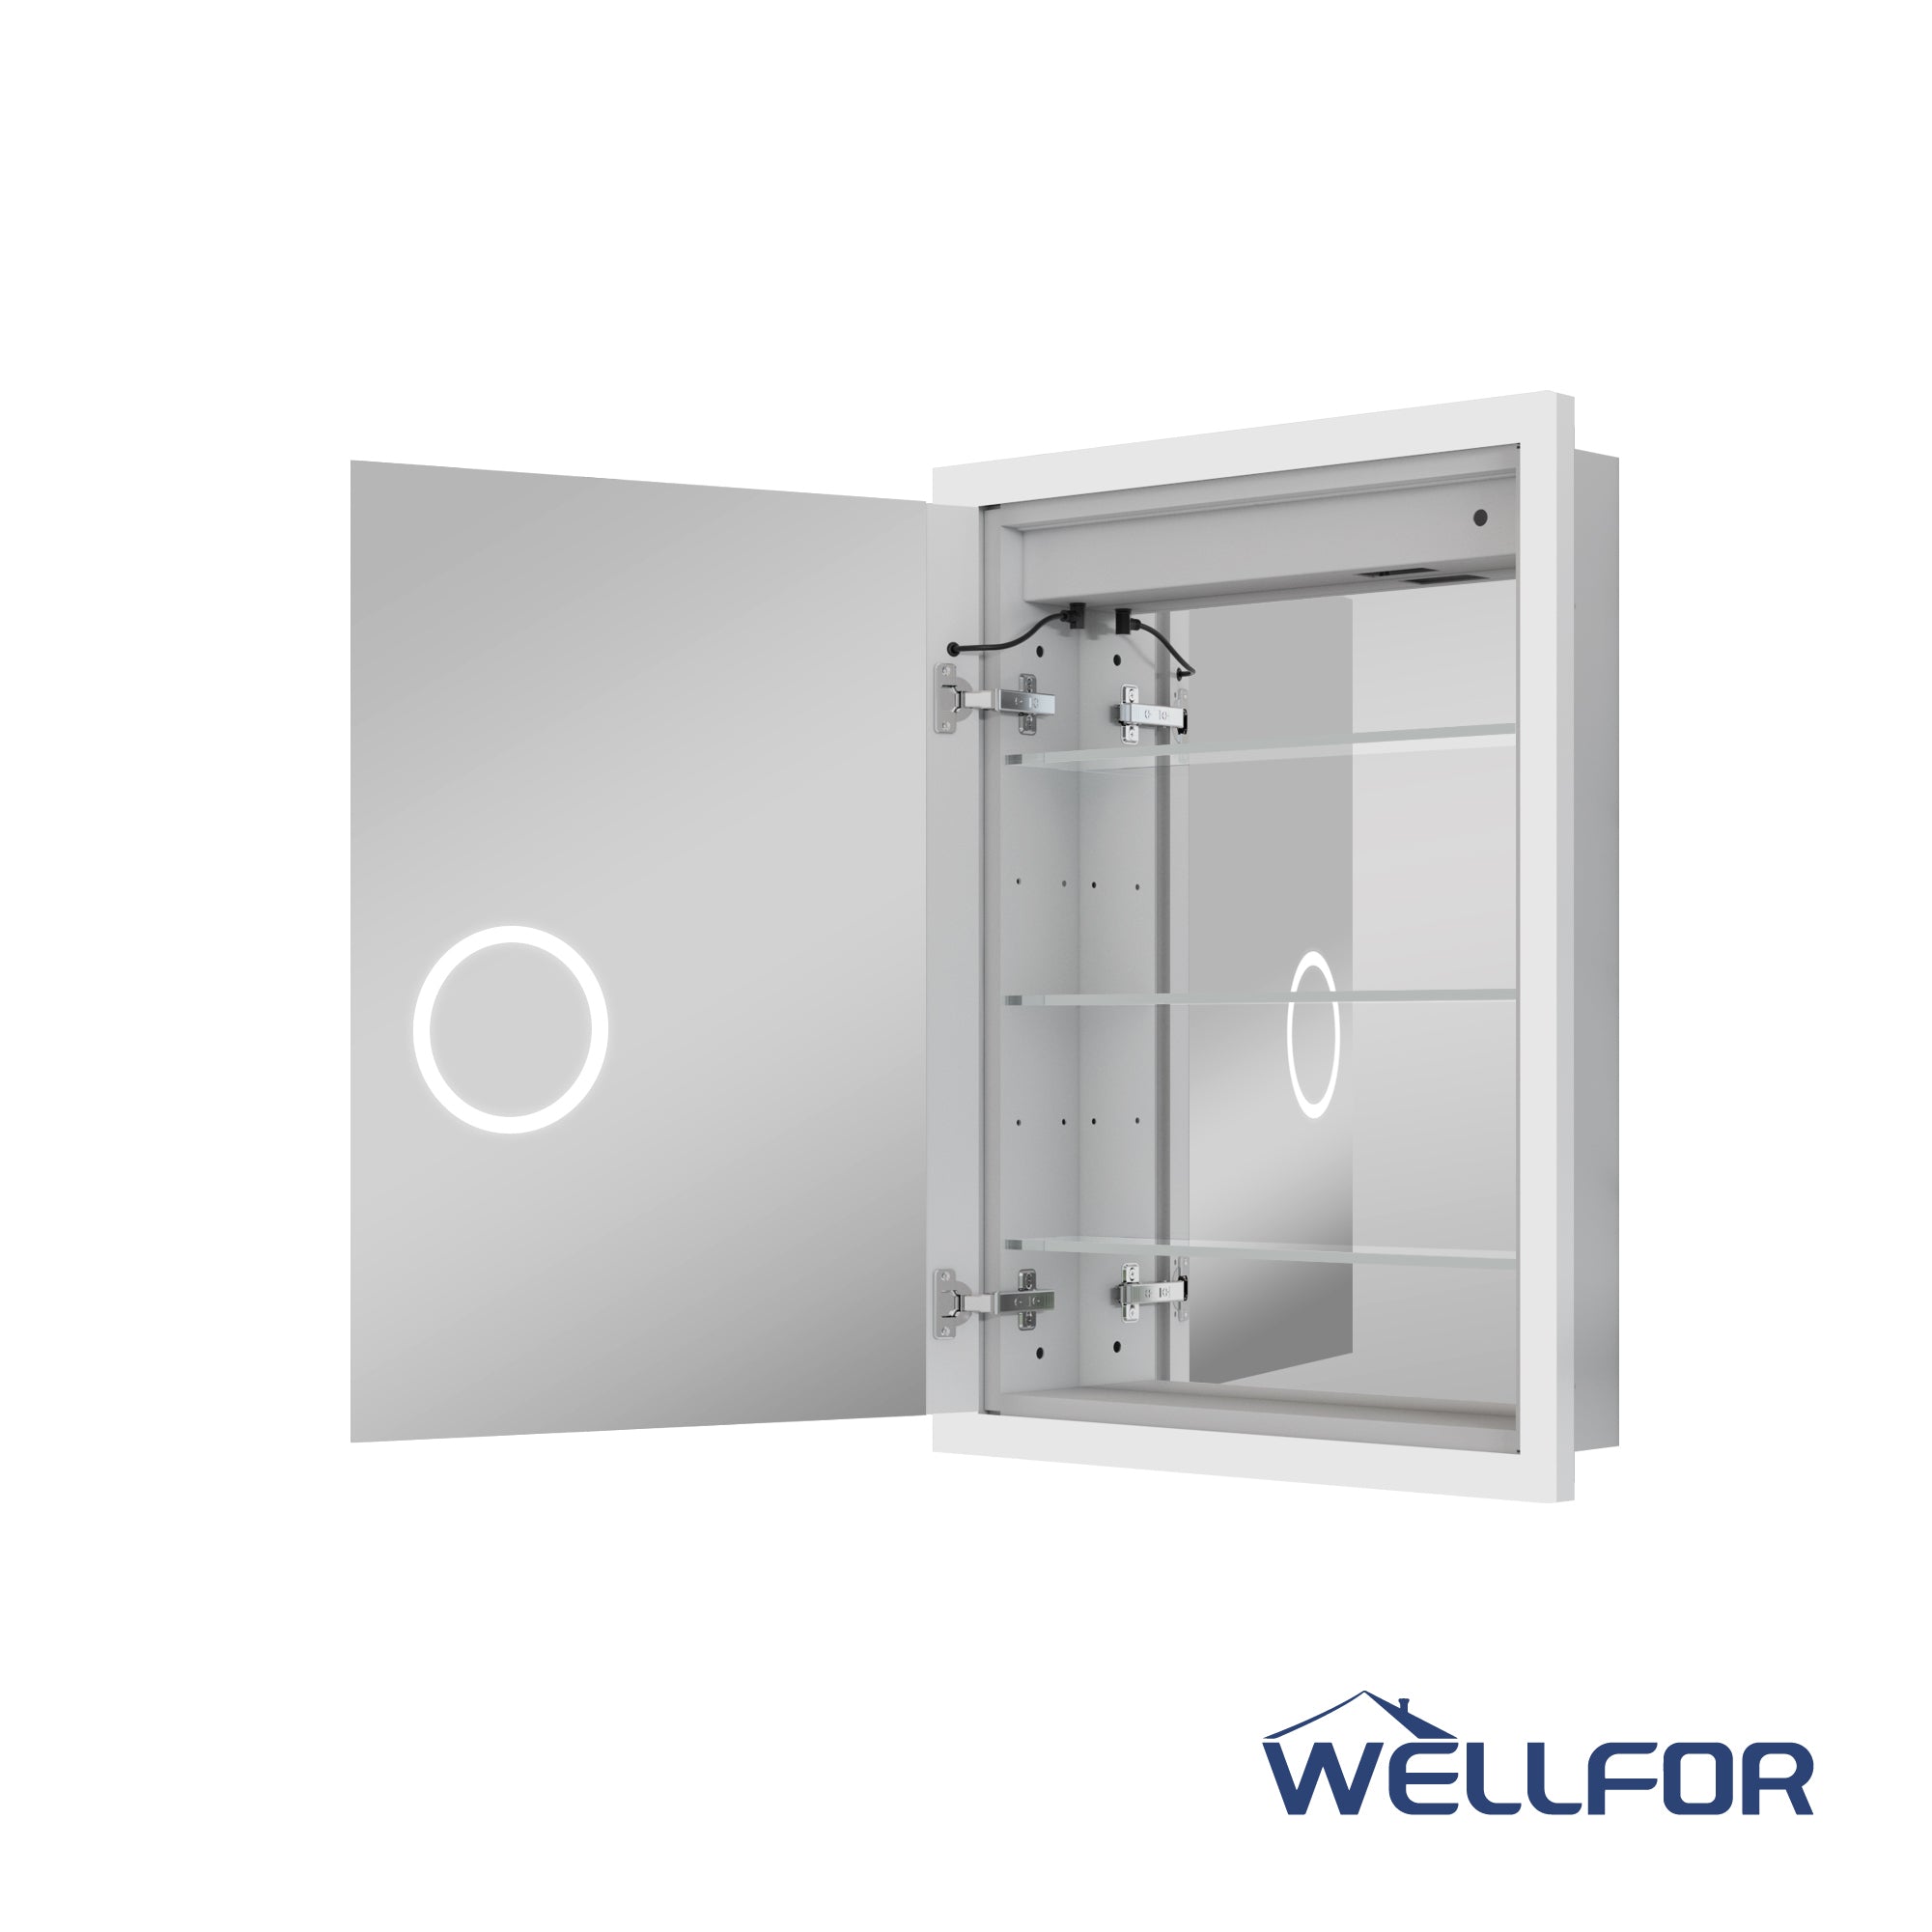
Step 2: Install the bracket or hook
Most LED mirrors are equipped with dedicated metal hanging plates or fixed brackets.
Use drywall anchors to reinforce gypsum board or tile walls to prevent slipping.
Step 3: Connect the power supply
After disconnecting the power supply, use a wire stripper to connect the mirror's built-in wire to the wall's power cord:
The black wire is connected to the live wire.
The white wire is connected to the neutral wire.
Green or yellow grounding wire (Ground)
After the connection is completed, wrap the joint with electrical tape to ensure insulation safety.
Step 4: Hang the mirror and test the lighting
Hang the mirror on the bracket and check if it is level and stable.
After restoring the power, test whether the touch switch, dimming function, anti-fog function, etc., are operating normally.
Step 5: Hide seams and organize details
Seal the edges of the mirror in contact with the wall with waterproof silicone to prevent water vapor from seeping in and make the edges cleaner.
5. Post maintenance and usage suggestions
The maintenance of LED bathroom mirrors is not complicated, but if you want to maintain their "seamless" effect and service life, you need to pay attention to the following points:
Avoid using strong acid or alcohol cleaners: It is recommended to wipe the mirror surface with a soft microfiber cloth to avoid scratching or corroding the anti-fog layer.
Regularly check the power connection: Especially in humid seasons, to check whether the wires and connectors are loose or damp.
Maintain ventilation: Good air circulation can prevent water vapor condensation, prolong LED life, and ensure the stability of the anti-fog function.
Handle flashing lights promptly: It may be due to voltage fluctuations or driver aging, and the driver module should be replaced promptly.
6. Summary: Perfect integration from details to the whole
The installation of LED bathroom mirrors is not only a technical operation, but also a presentation of spatial art.
When installed properly, with coordinated lighting and hidden seams, it can:
Make the bathroom appear cleaner and more organized.
Enhance spatial hierarchy and visual depth.
Optimize lighting functions to improve the daily user experience.
Enhance the overall decoration quality and achieve the design goal of "seamless modernization".
Whether it's decorating a new house or renovating an old bathroom, a correctly installed LED mirror is the key to improving the level of comfort.
It defines boundaries with soft light, creates order with simplicity, and gives daily spaces a high-end, lightweight, and timeless shine.


Leave a comment
This site is protected by hCaptcha and the hCaptcha Privacy Policy and Terms of Service apply.