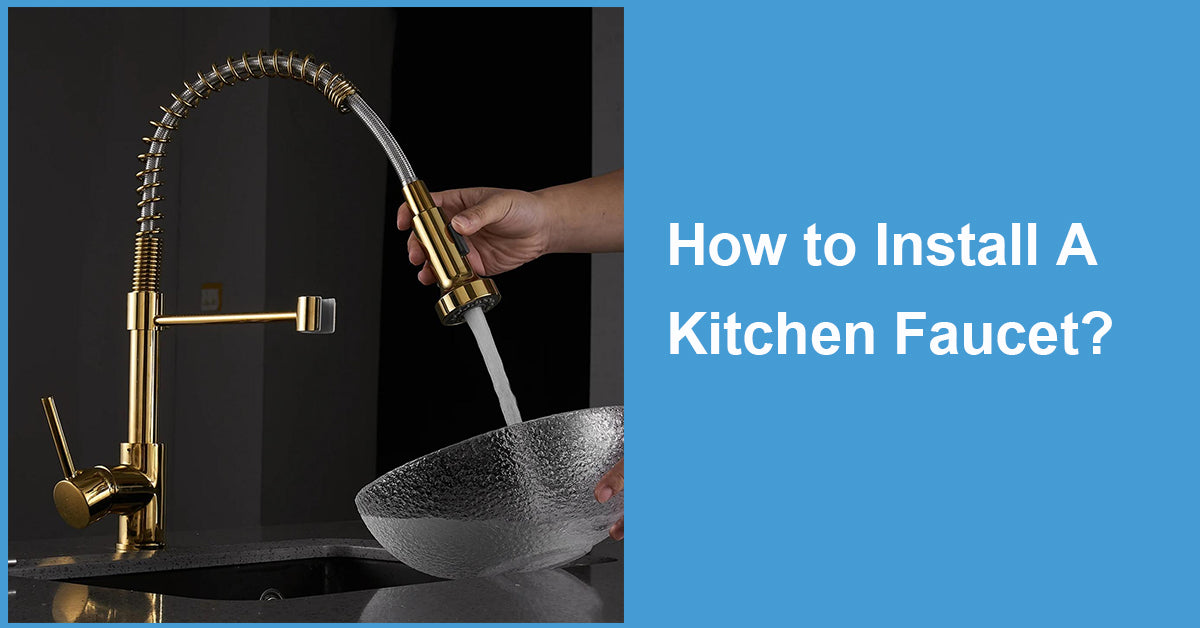
Installing a kitchen faucet might seem like a daunting task. Especially if you're a DIY enthusiast taking on this project for the first time.
But don't worry.
This guide will walk you through the process of kitchen faucet installation. It's designed to make the task manageable, even for beginners.
You'll learn about the tools you need, how to remove your old faucet, and how to install a modern kitchen faucet. We'll also cover how to connect the water supply lines and check for leaks.
By the end of this guide, you'll have a new, modern kitchen sink faucet installed and ready to use.
So, let's get started. Your new kitchen faucet awaits.
Before You Begin: Preparation and Safety

Before you start the kitchen faucet installation, there are a few things to keep in mind. Safety is paramount when working with plumbing fixtures.
First, make sure to turn off the water supply. This will prevent any unwanted water spills during the process.
Next, clear the area under the sink. You'll need space to work comfortably.
Lastly, remember to read the manufacturer's instructions. They will provide specific details about your faucet model.
- Turn off the water supply
- Clear the area under the sink
- Read the manufacturer's instructions
Tools and Materials You'll Need
For this project, you'll need a few tools. A basin wrench, plumber's tape, and an adjustable wrench are essential.
You might also need a screwdriver, a bucket, and some rags. These will help with removing the old faucet and cleaning up.
Remember, the specific tools required may vary depending on your faucet model. Always check the manufacturer's instructions.
Here's a basic list of tools and materials:
- Basin wrench
- Plumber's tape
- Adjustable wrench
- Screwdriver
- Bucket
- Rags
Step 1: Removing the Old Faucet
Start by disconnecting the water supply lines. Use your adjustable wrench for this task. Be careful not to twist or damage the lines.
Next, use your basin wrench to loosen the nuts holding the faucet in place. These are usually located under the sink.
Once the nuts are loose, you can remove the old faucet. Lift it straight up to avoid damaging the sink.
Remember to place a bucket under the sink. This will catch any water left in the lines.
Dispose of the old faucet responsibly. Many recycling centers accept old plumbing fixtures.
Tips for Dealing with Rust and Corrosion
Rust and corrosion can make removal challenging. If you encounter this issue, try applying a rust dissolver.
Always wear protective gloves when handling rust dissolvers. They can be harmful to the skin.
Step 2: Cleaning and Preparing the Sink Area
After removing the old faucet, clean the sink area. Use a mild detergent and a soft cloth. This will remove any grime or mineral deposits.
Next, check the sink for any damage. Look for cracks or chips that might affect the new faucet installation.
If your sink has extra holes, consider using escutcheon plates. These plates can cover unused holes and give your sink a clean look.
Finally, dry the sink area thoroughly. This will ensure a good seal when installing the new faucet.
Step 3: Installing the New Kitchen Faucet
Now, let's move on to the installation of your new kitchen faucet. Start by placing the gasket on the sink. The gasket is a seal that prevents water from leaking under the faucet.
Next, position the faucet on the gasket. Make sure the faucet aligns with the holes in your sink. If your faucet comes with a deck plate, install it now.
Once the faucet is in place, secure it from underneath. Most modern kitchen faucets come with nuts for this purpose. Tighten these nuts by hand.
For hard-to-reach areas, use a basin wrench. This tool is specifically designed for tight spaces in plumbing.
After securing the faucet, attach the pull-down or pull-out spray head, if your faucet has one. Follow the manufacturer's instructions for this step.
Aligning and Securing the Faucet
Proper alignment of the faucet is crucial. It should be centered over the sink for optimal functionality.
Once aligned, secure the faucet tightly. This will prevent it from moving or wobbling during use.
Connecting Water Supply Lines
Now, it's time to connect the water supply lines. Start by identifying the hot and cold water lines. Usually, the hot water line is on the left and the cold one is on the right.
Connect the water supply lines to the corresponding valves. Use an adjustable wrench to tighten the connections.
Be careful not to overtighten. This could damage the lines or valves.
Finally, turn the water supply back on. Check for any leaks around the connections.
Step 4: Checking for Leaks and Final Adjustments
After connecting the water supply, it's time to check for leaks. Turn on the faucet and let the water run.
Inspect the connections under the sink. Look for any water dripping or pooling.
If you find a leak, turn off the water supply. Tighten the connection where the leak is coming from.
Once you've fixed any leaks, make final adjustments to the faucet. Ensure it's functioning properly and the water flow is as expected.
How to Use Plumber's Tape for a Tight Seal
Plumber's tape, also known as Teflon tape, can help create a tight seal. It's used on the threads of plumbing connections.
Wrap the tape around the threads before connecting the water supply lines. This will help prevent leaks and ensure a secure fit.
Maintaining Your Modern Kitchen Faucet
Regular maintenance can extend the life of your faucet. Clean it regularly to prevent build-up of grime and mineral deposits.
Also, check for leaks periodically. Early detection can prevent water damage and costly repairs.
When to Consider Hiring a Professional
While DIY installation can be rewarding, it's not for everyone. If you're not comfortable with the process, consider hiring a professional.
A professional plumber has the skills and experience to ensure a proper installation. They can also handle unexpected issues that may arise.
Final Thoughts: Enjoying Your New Kitchen Faucet
Now that your new kitchen faucet is installed, it's time to enjoy it. The modern design and functionality will enhance your kitchen experience.
Remember, regular maintenance will keep your faucet in top condition. Enjoy the satisfaction of a job well done and the beauty of your new kitchen faucet.





































Leave a comment
This site is protected by hCaptcha and the hCaptcha Privacy Policy and Terms of Service apply.