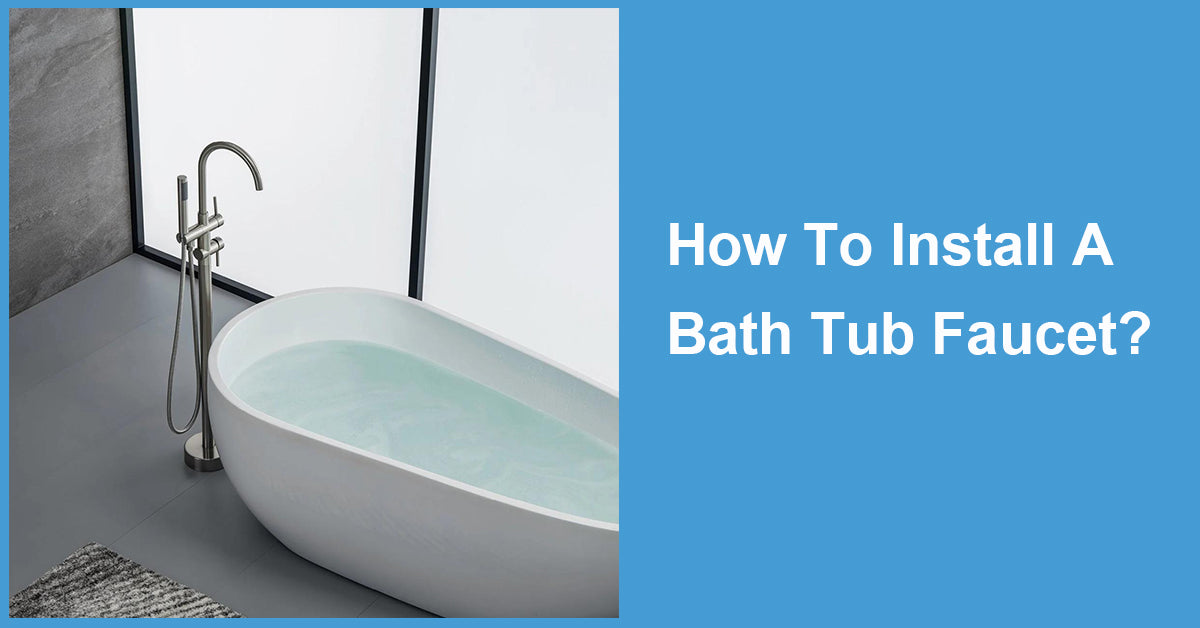
Installing a bath tub faucet can seem like a daunting task. Especially if you're a DIY enthusiast or a homeowner looking to save on plumbing costs.
But with the right tools and a clear guide, it's a task you can tackle. This article aims to provide that guide.
We'll walk you through the process of bath tub faucet installation. From preparing for the task, choosing the right faucet, to the actual installation process.
We'll also cover both standard and wall-mounted faucets. And provide tips on maintenance and troubleshooting.
Whether you're replacing an old faucet or installing a new one, this guide is for you. Let's dive in and get that faucet installed.
Preparing for Installation
Before you start the installation process, it's crucial to prepare. This involves gathering the necessary tools and materials.
You'll also need to shut off the water supply to your bath tub. This prevents any water from leaking out during the installation.
If you're replacing an old faucet, you'll need to remove it first. This process can vary depending on the type of faucet you have.
Lastly, ensure the area where the new faucet will be installed is clean. This helps to ensure a proper fit and seal.
Tools and Materials Needed
For a successful bath tub faucet installation, you'll need certain tools and materials.
Here's a list of what you might need:
- Adjustable wrench
- Screwdriver
- Plumber's tape
- New bath tub faucet
- Sealant or caulk (if necessary)
Shutting Off the Water Supply
Before you start any work, make sure to shut off the water supply.
You can usually find the shut-off valves under the sink or behind the bath tub.
Removing the Old Faucet (If Applicable)
If you're replacing an old faucet, you'll need to remove it first.
Start by loosening the screws or nuts that hold the faucet in place. Then, gently lift the faucet off the mounting surface.
Remember to keep all parts and screws in a safe place. You might need them for reference when installing the new faucet.
Choosing Your Bath Tub Faucet

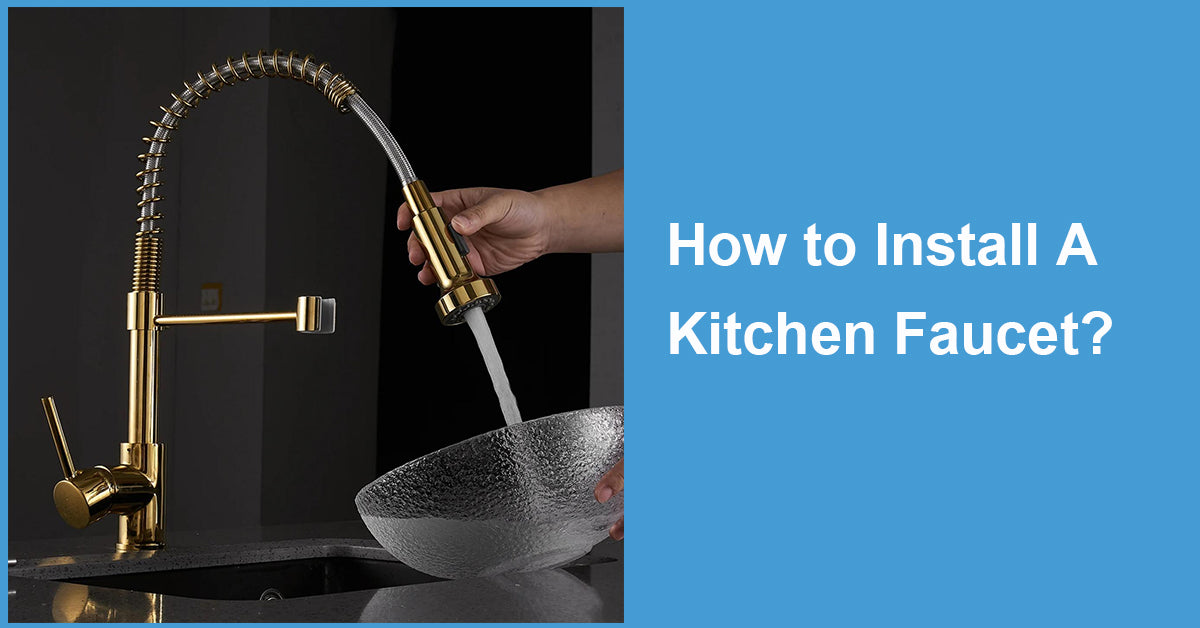
Choosing the right bath tub faucet is crucial. It should not only match your bathroom's style but also fit your bath tub's configuration.
Consider the faucet's material and finish. These factors can impact its durability and appearance over time.
Also, think about any additional features you might want. For example, some faucets come with a hand shower for added convenience.
Types of Bath Tub Faucets
There are several types of bath tub faucets to choose from.
Single-handle faucets are easy to use and install. They control both the hot and cold water with one lever.
Double-handle faucets have separate handles for hot and cold water. They offer more precise temperature control but require more installation work.
Wall-mounted faucets are installed on the wall above the bath tub. They save space and offer a sleek, modern look. However, they might require additional plumbing work.
Measuring and Compatibility
Before buying a new faucet, measure the distance between the faucet holes on your bath tub.
This measurement, known as the "spread," will determine the type of faucet you can install.
Also, check the size and type of the water supply lines. Make sure they're compatible with your chosen faucet.
Installation Process
Now that you've chosen your faucet, it's time to install it.
The installation process can vary depending on the type of faucet.
However, the basic steps involve attaching the faucet to the bath tub, connecting the water supply lines, and checking for leaks.
Remember to follow the manufacturer's instructions closely for the best results.
Standard Bath Tub Faucet Installation
For a standard bath tub faucet, start by inserting the faucet into the holes on the bath tub.
Next, secure the faucet using the nuts and washers provided.
Then, connect the water supply lines to the faucet.
Finally, turn on the water and check for leaks.
- Insert the faucet into the holes
- Secure the faucet with nuts and washers
- Connect the water supply lines
- Turn on the water and check for leaks
Wall-Mounted Bath Tub Faucet Installation
For a wall-mounted faucet, you'll need to install a mounting plate on the wall first.
Then, attach the faucet to the mounting plate.
Connect the water supply lines to the faucet.
Lastly, turn on the water and check for leaks.
- Install the mounting plate on the wall
- Attach the faucet to the mounting plate
- Connect the water supply lines
- Turn on the water and check for leaks
Finalizing the Installation
Once the faucet is secured and the water supply lines are connected, you're almost done.
The final steps involve checking for leaks and testing the faucet.
These steps are crucial to ensure a successful installation.
Connecting Water Supply Lines
Now, connect the water supply lines to the faucet.
Use plumber's tape on the threads for a watertight seal.
Checking for Leaks and Testing
After connecting the water supply, slowly turn on the water.
Check for any leaks around the faucet and the connections.
If there are no leaks, test the faucet to ensure it's working properly.
Maintenance and Troubleshooting
After the installation, regular maintenance is key to prolong the life of your faucet.
Also, knowing how to troubleshoot common issues can save you time and money.
Let's look at some maintenance tips and common problems you might encounter.
Maintaining Your New Faucet
Regular cleaning can prevent mineral buildup and keep your faucet looking new.
Also, periodic checks for leaks can help detect problems early.
Common Issues and Solutions
Some common issues include a dripping faucet and low water pressure.
For a dripping faucet, you might need to replace the valve.
If you're experiencing low water pressure, check for clogs in the aerator or the supply lines.
Takeaway
Installing a bath tub faucet can be a rewarding DIY project. With the right tools and guidance, you can achieve a professional finish.
Remember, regular maintenance and troubleshooting can keep your faucet in top shape for years to come. Happy plumbing!































Leave a comment
This site is protected by hCaptcha and the hCaptcha Privacy Policy and Terms of Service apply.