














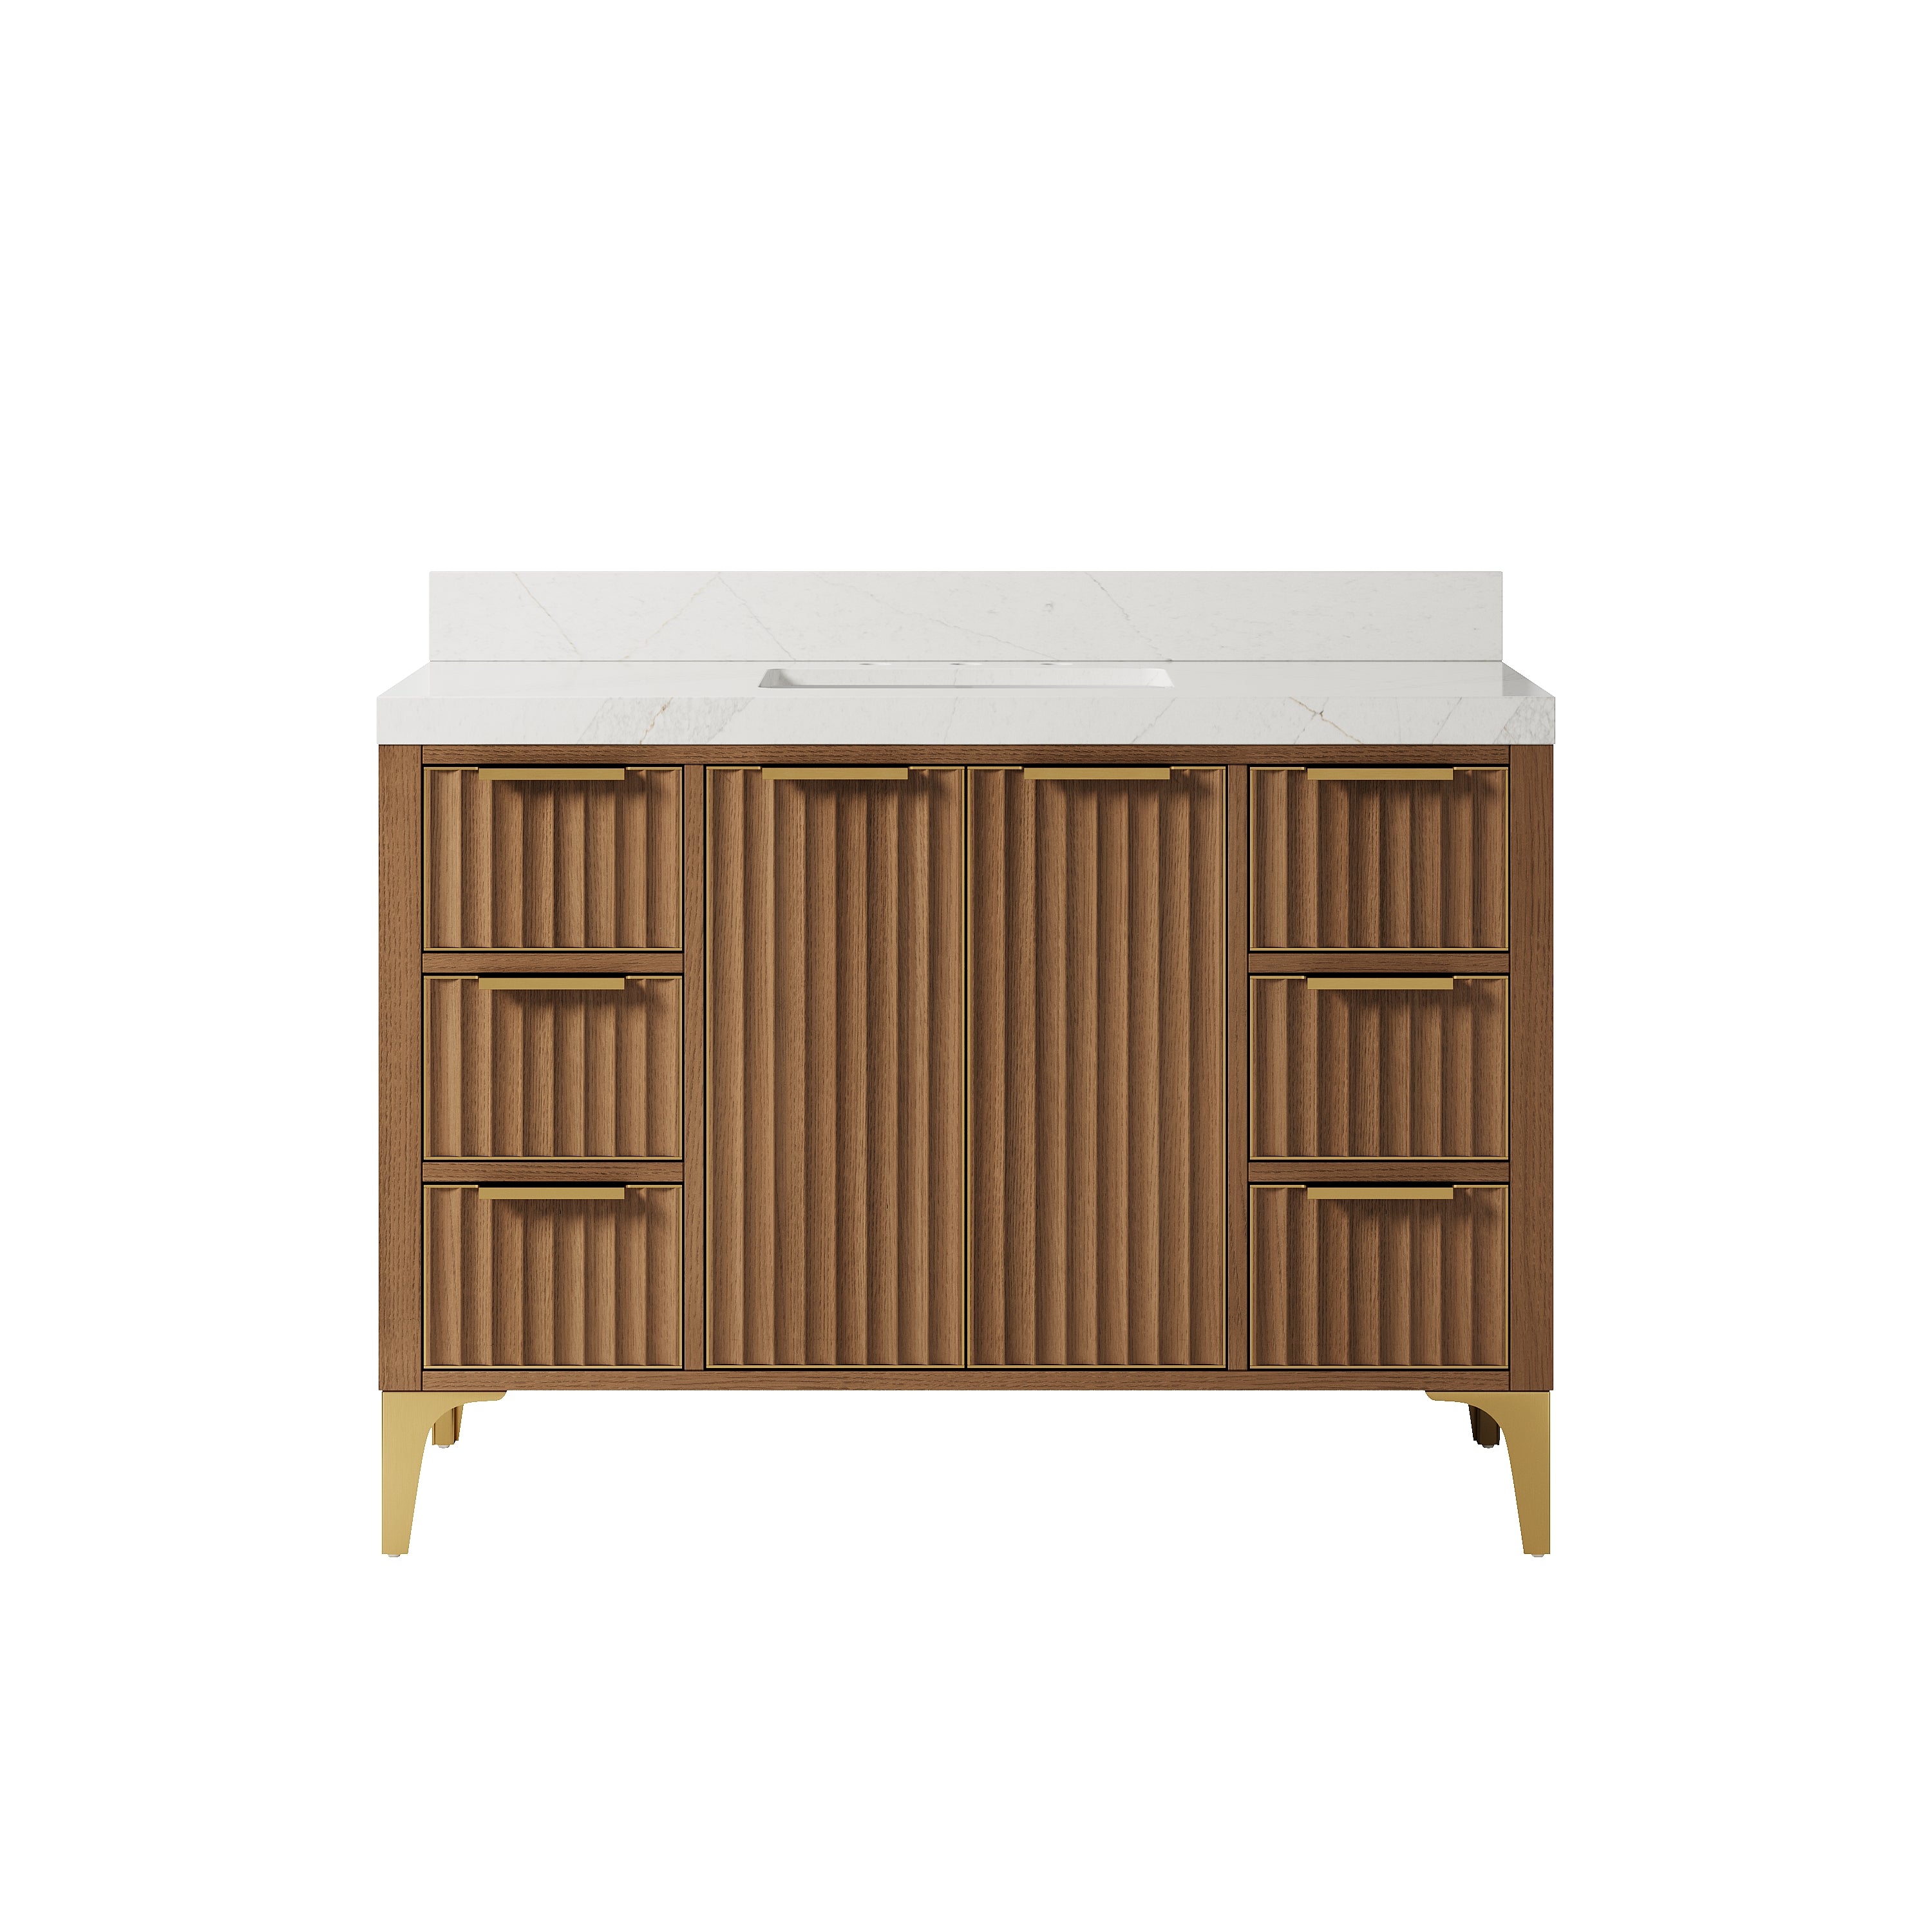



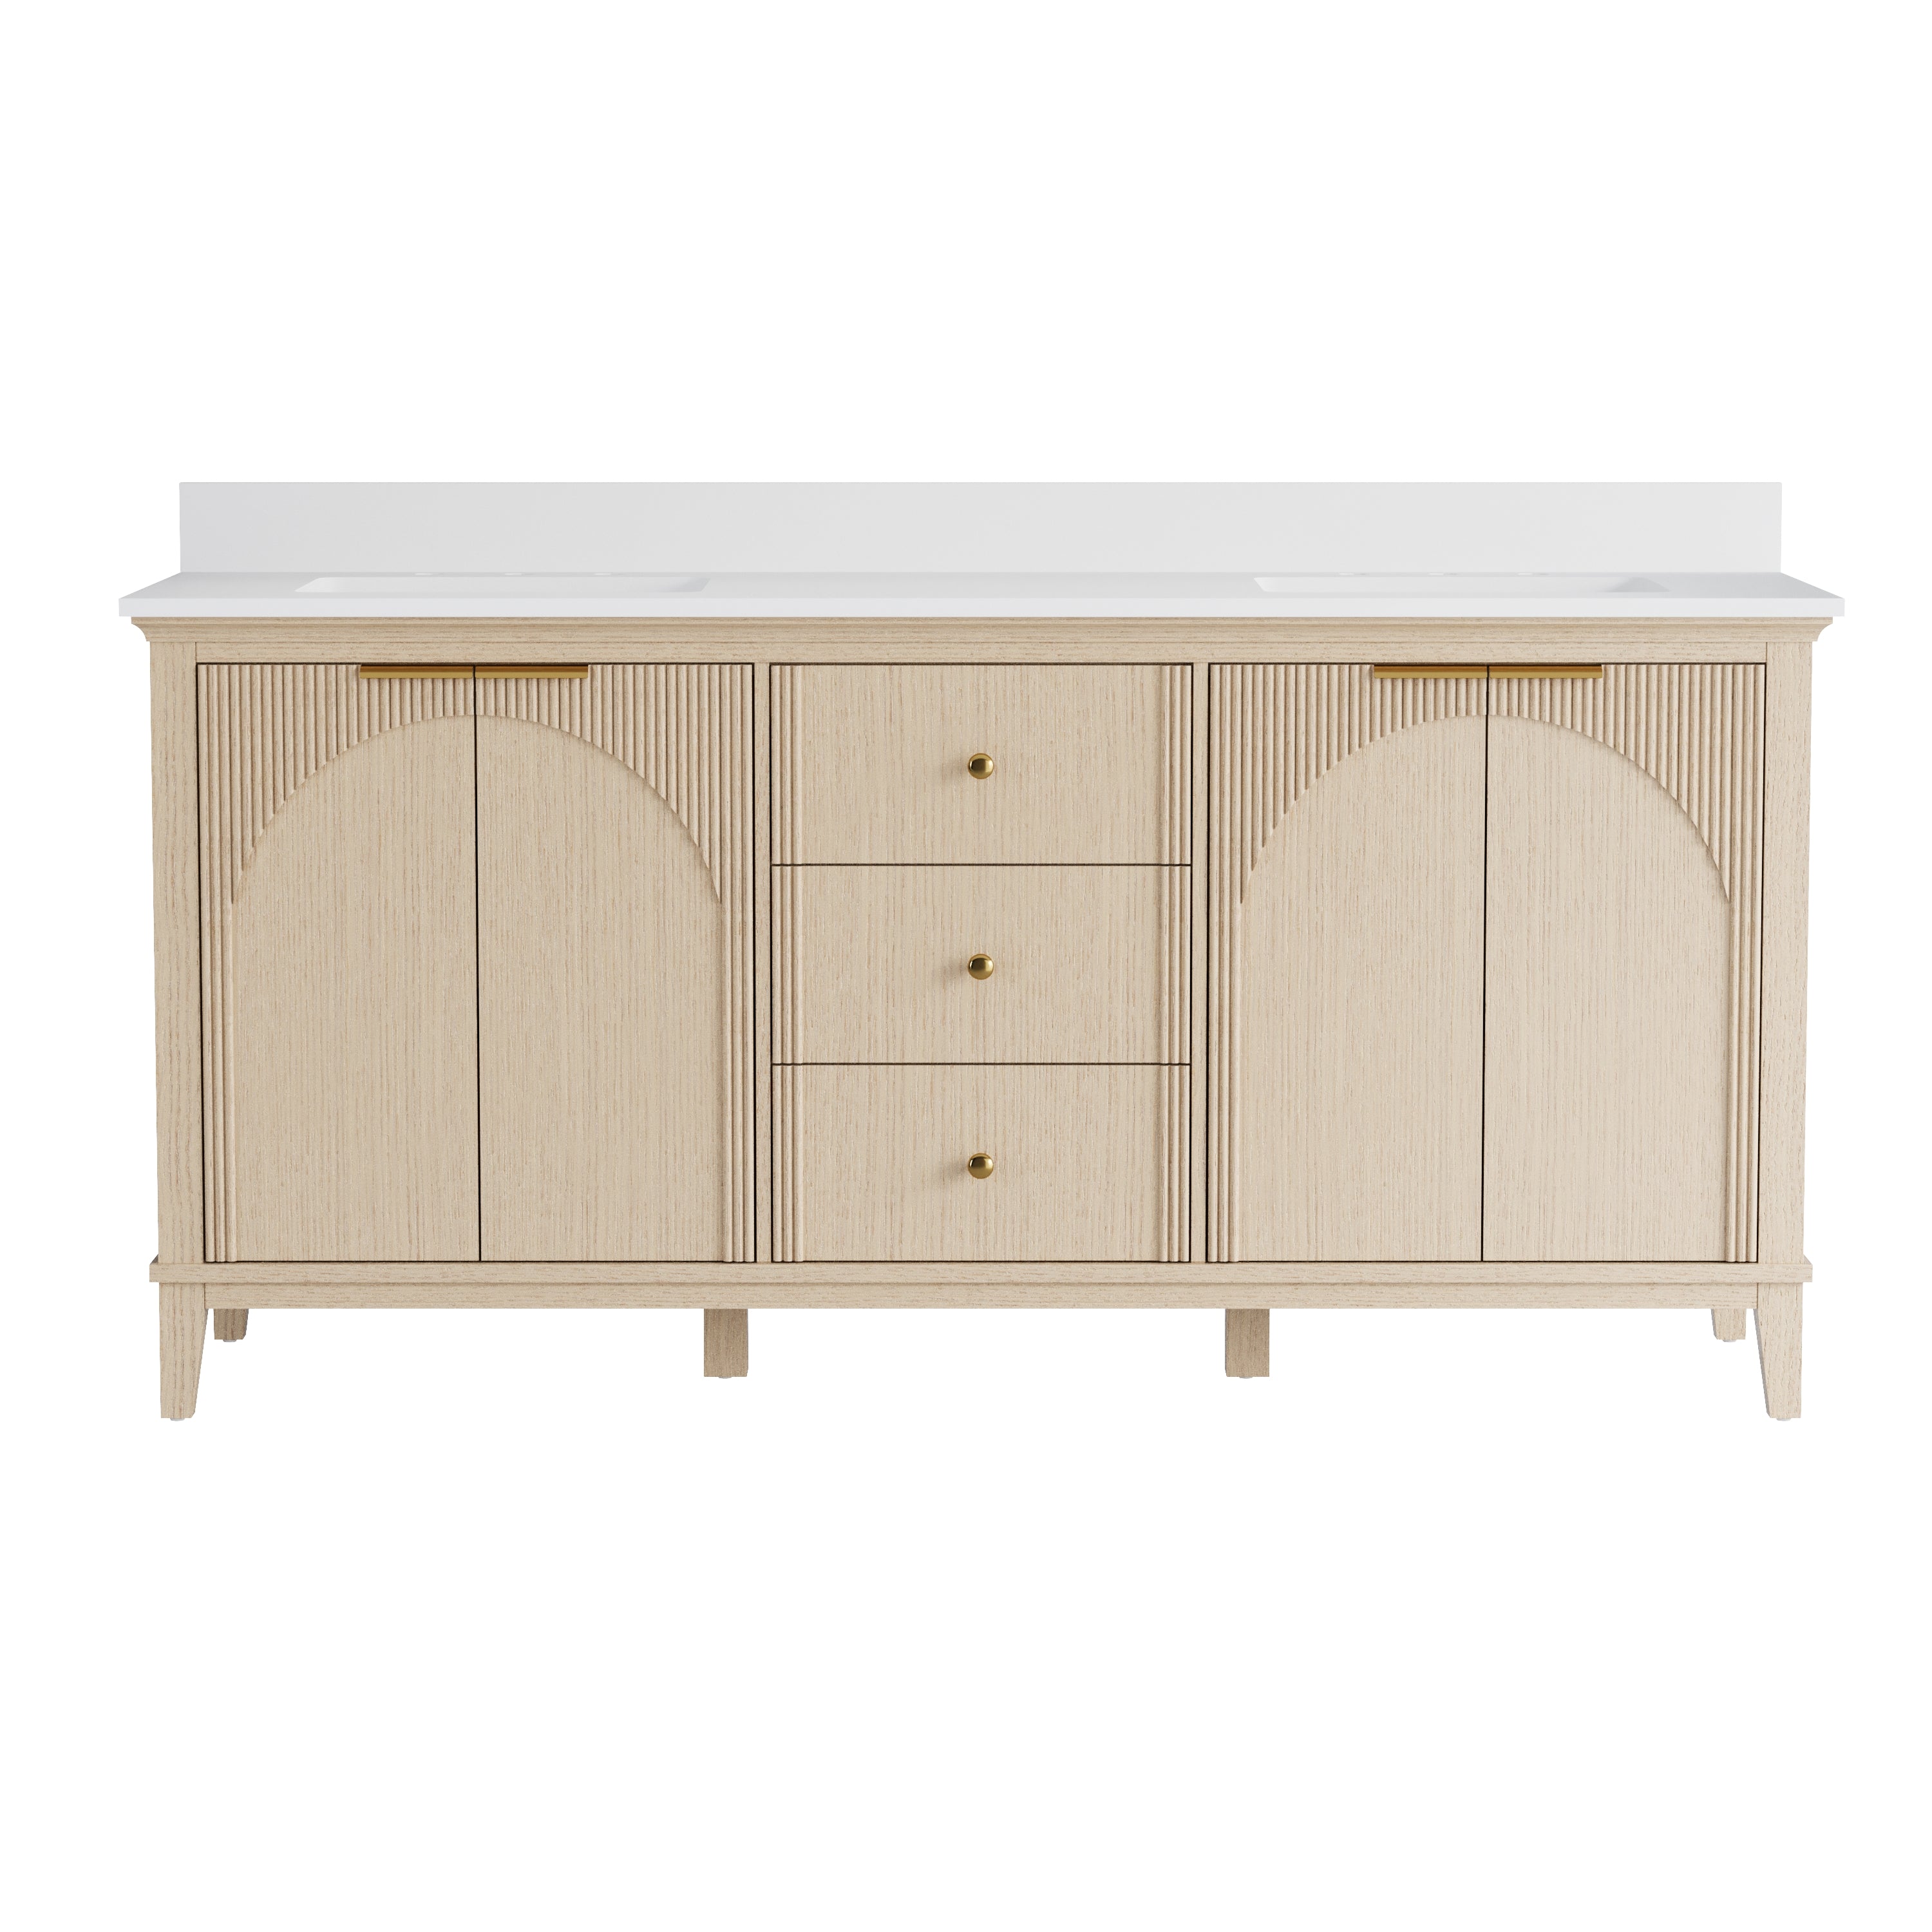

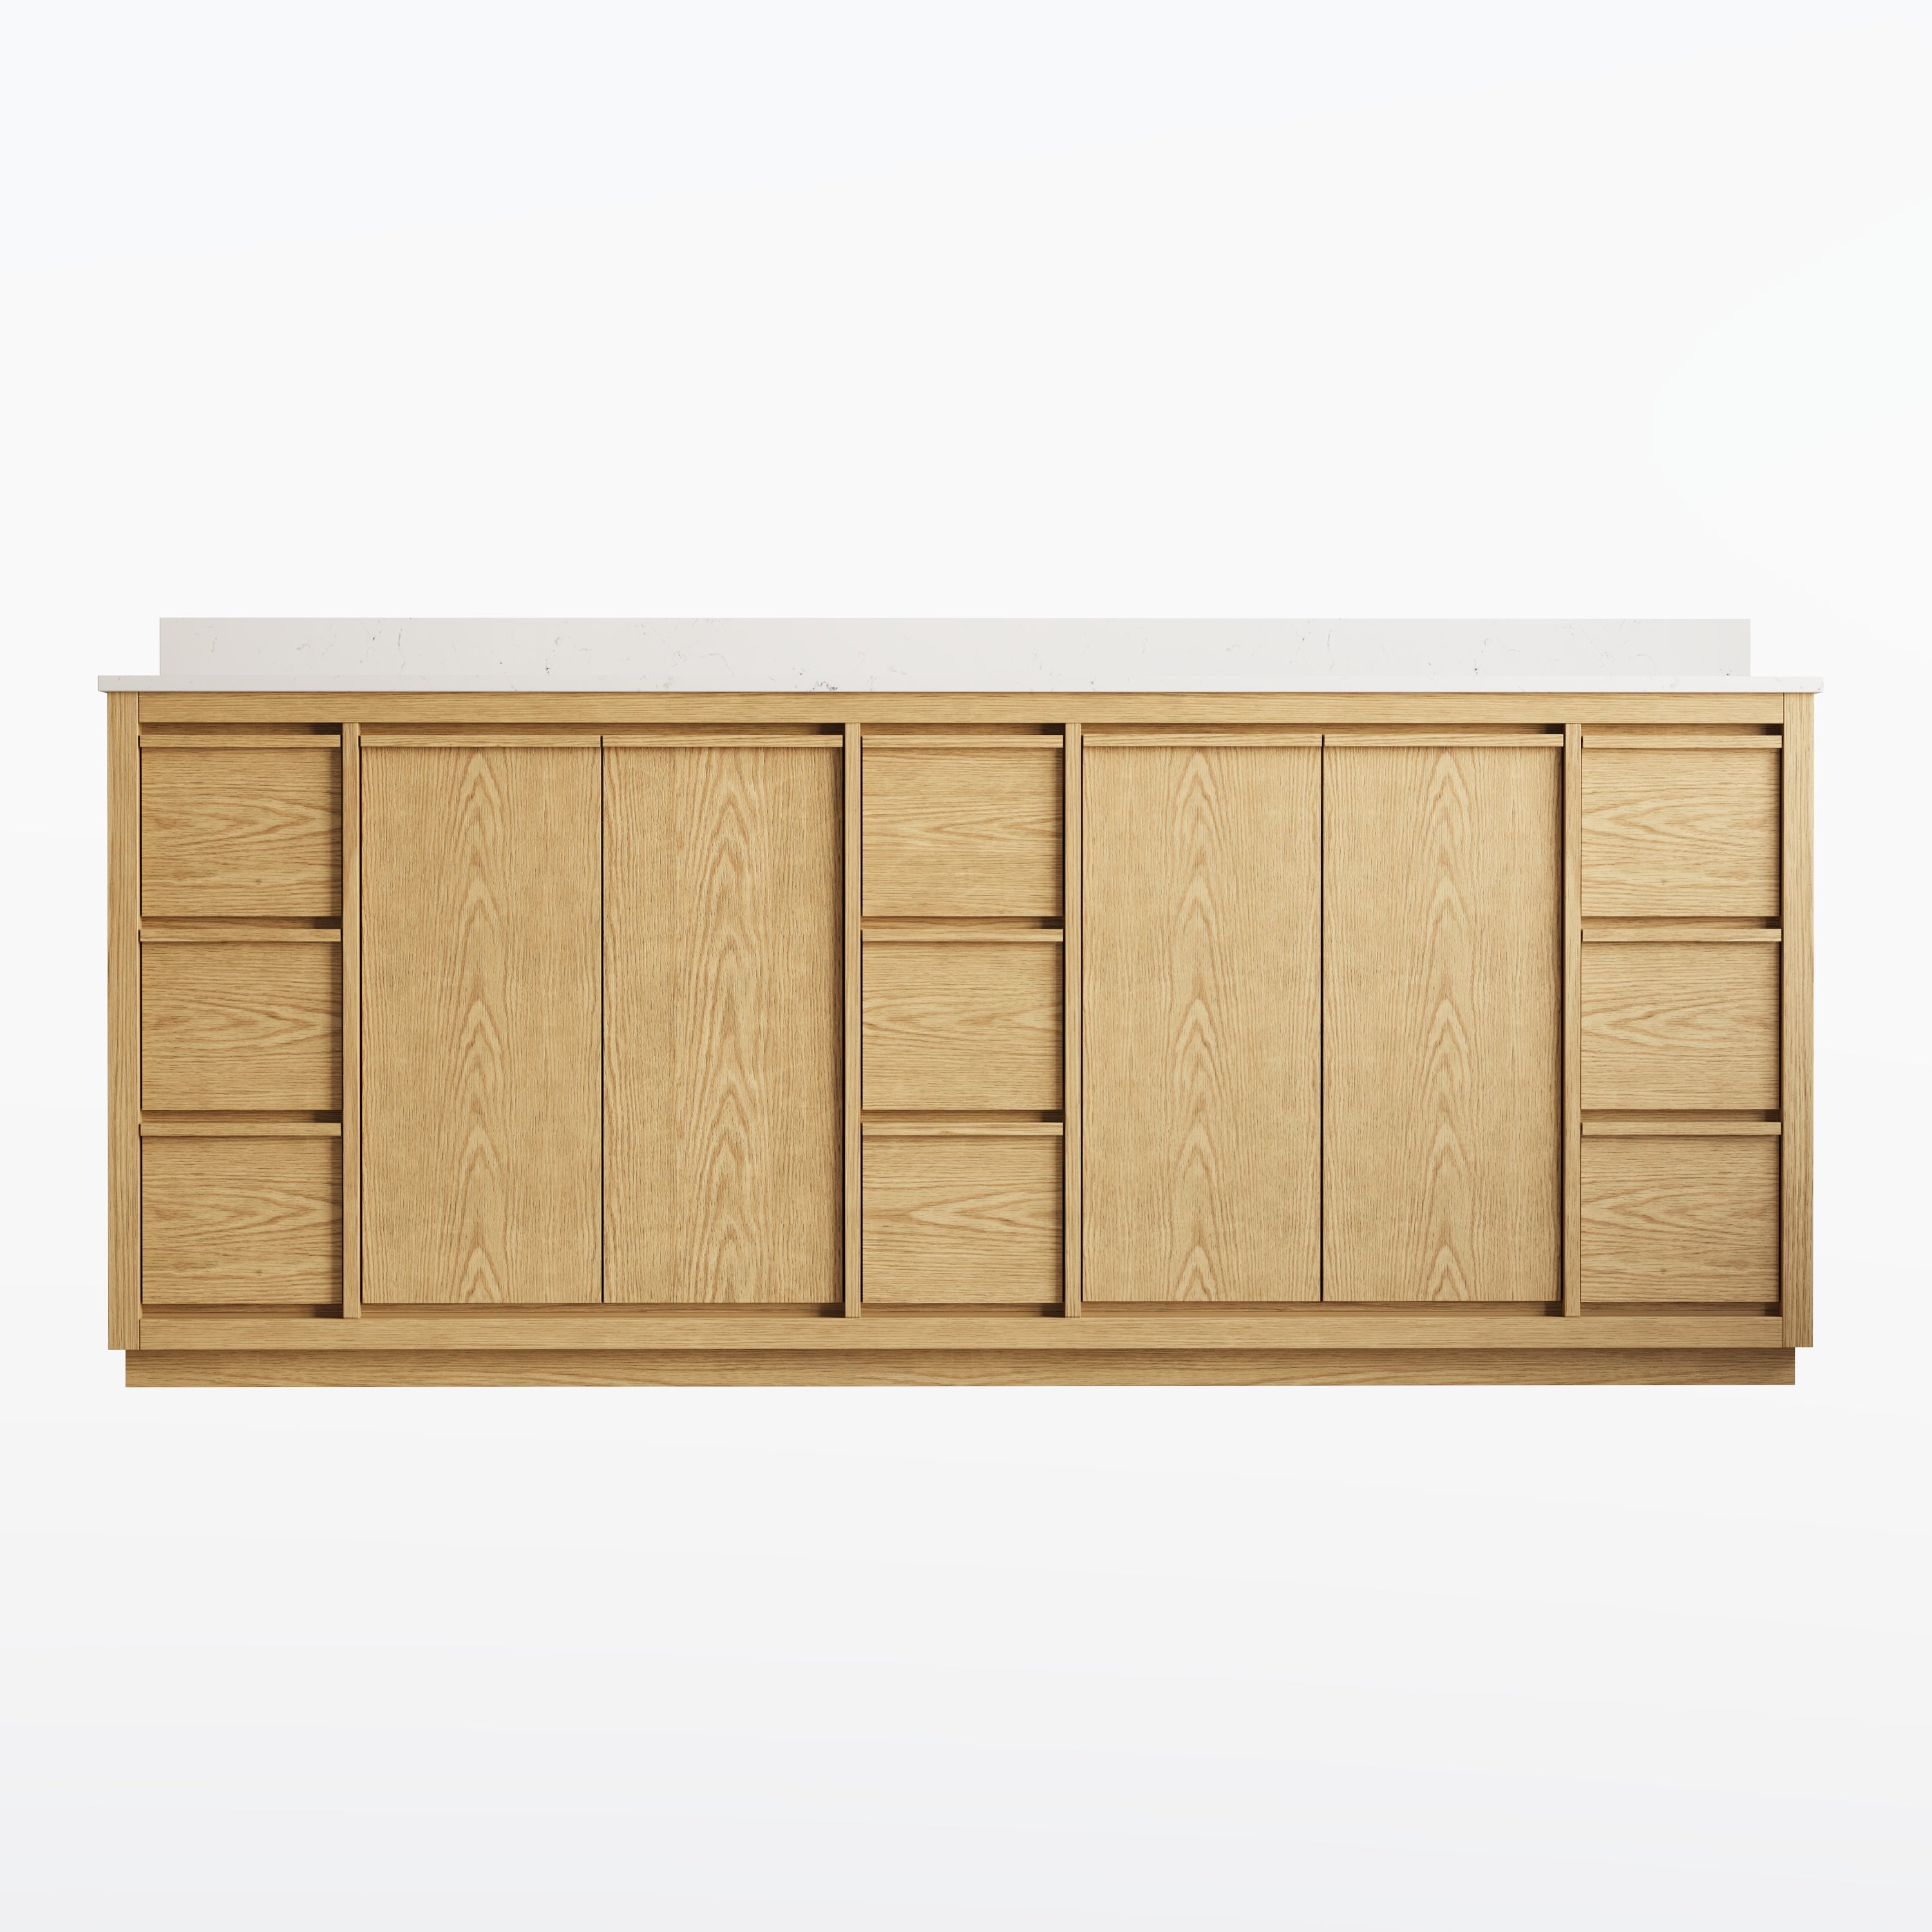
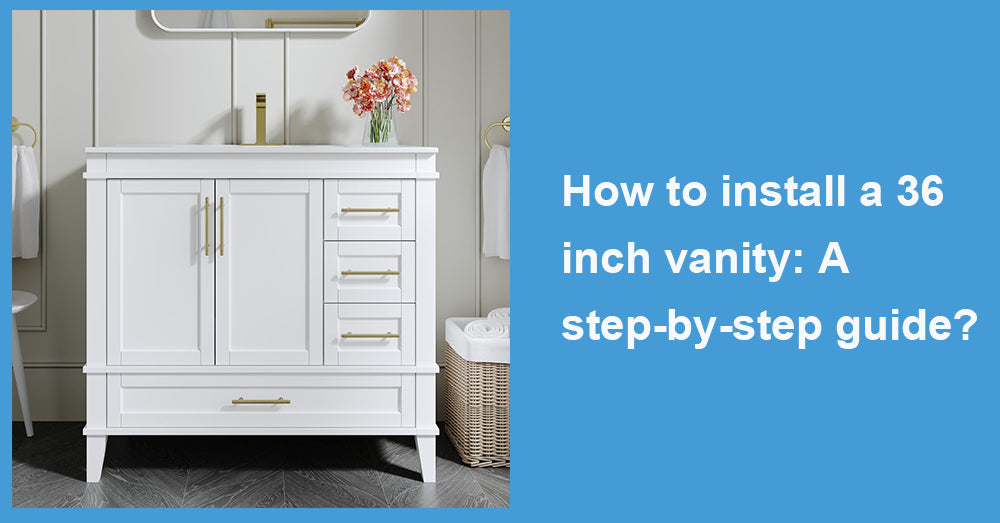
Installing a 36-inch vanity may look like a straightforward cabinet replacement, but the quality of the result depends on decisions made before the first screw enters the wall. Plumbing position, floor level, countertop overhang, wall framing, and drawer clearance all affect whether the finished vanity feels built into the room or merely placed there. With 47% of upgraded bathroom vanities measuring 48 inches or less, compact and medium-width cabinets remain central to renovation planning. A 36-inch model sits in a particularly useful range, offering practical storage without requiring the wall space of a larger cabinet.
1. Confirm the Complete Vanity Dimensions
Do not plan around the advertised cabinet width alone. A unit sold as 36 inches wide may include a countertop that extends slightly beyond the cabinet sides. The back splash, sink bowl, faucet, drawer depth, and baseboard clearance must also be considered.
Measure the available wall at floor level and again near countertop height. Older bathrooms are not always square, so compare the front and back measurements. Mark the vanity footprint with painter’s tape, including the full countertop depth.
Open the bathroom door, shower door, and nearby storage while the outline is visible. Then mark how far the vanity drawers will extend. A cabinet can fit the wall perfectly and still create an uncomfortable walkway.
For accessible planning, the U.S. Access Board identifies a clear floor area of at least 30 by 48 inches at accessible elements. Not every private bathroom is required to follow the same provisions, but these measurements provide a useful reference when evaluating approach space.
Industry judgment: A successful vanity installation begins with clearance, not cabinetry.
2. Inspect the Vanity Before Removing the Old One
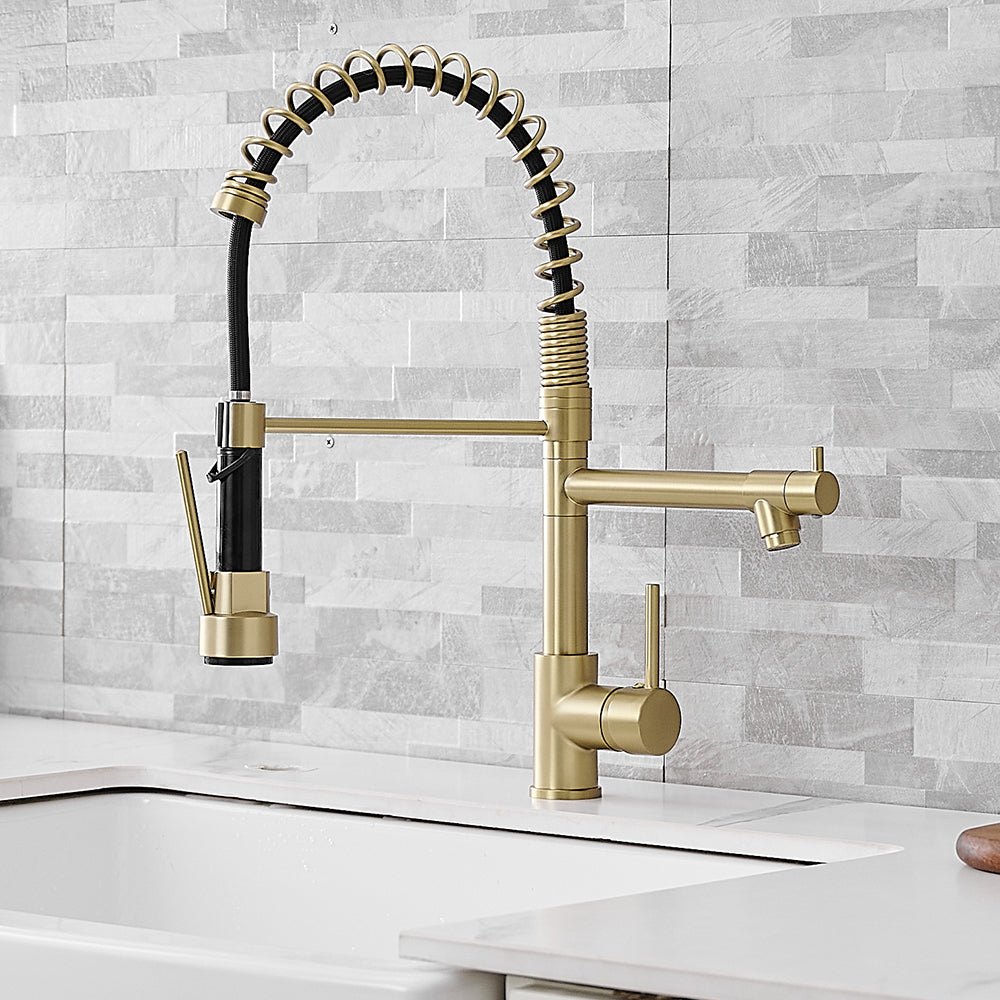
Open the packaging and inspect the cabinet, countertop, sink, hardware, and mounting components before beginning demolition. Confirm that the faucet drilling matches the selected faucet. A single-hole fixture, 4-inch centerset faucet, and 8-inch widespread faucet require different countertop configurations.
Check the cabinet for shipping damage, verify that the drawers operate correctly, and locate the installation guide. Determine whether the countertop arrives attached or must be installed separately.
A preassembled vanity saves cabinet-building time, but it may be heavier and harder to move through a narrow hallway. Manufacturer installation instructions for substantial vanities may specify two installers, both to protect the product and to reduce the risk of injury.
Do not discard packaging until the vanity has been positioned, inspected, and tested.
3. Shut Off the Water and Remove the Existing Vanity
Turn off the hot and cold shutoff valves beneath the sink. Open the faucet to release remaining pressure, then place a bucket under the trap before disconnecting the drain.
Disconnect the water supply lines and remove the trap. If the valves do not close completely, the main water supply may need to be shut off. Corroded valves, leaking fittings, or plumbing that requires relocation are good reasons to involve a licensed plumber.
Cut through the caulk between the old countertop and wall. Remove the sink top carefully, then locate and remove the screws fastening the cabinet to the wall.
Avoid pulling the cabinet forward until every fastener, pipe, and bead of sealant has been released. Damage to drywall or plumbing can turn a simple replacement into a larger repair.
4. Prepare the Wall, Floor, and Plumbing
Once the old unit is removed, inspect the wall for water damage, mold, loose drywall, and missing structural support. Check that the floor beneath the vanity is stable and relatively level.
Measure the drain and supply-line locations against the open area in the new cabinet. Plumbing should enter without interfering with drawer boxes, shelves, or structural rails. Manufacturer rough-in documents commonly require water and drain lines to be prepared before the vanity is permanently installed.
Locate the wall studs with a stud finder and mark them above the cabinet line where they will remain visible. A heavy vanity should be secured to structural framing, blocking, or another support method approved by the manufacturer. Drywall alone is not a reliable mounting surface.
Repair and paint exposed wall areas before installation. It is much easier to finish this work while the space is open.

5. Dry-Fit the Cabinet and Cut Plumbing Openings
Remove drawers and doors when the manufacturer permits it. This reduces weight and provides easier access to the interior.
Move the cabinet into position without fastening it. Mark where the supply lines and drain meet the back panel. Cut openings only as large as necessary, leaving enough room for installation and future servicing.
Use a hole saw for clean circular openings where possible. Oversized rectangular cuts may weaken the back panel and make the interior look unfinished.
Slide the vanity back into place and check that it sits flat against the wall. Use a level across the front, sides, and top edges. If the floor is uneven, place moisture-resistant shims beneath the cabinet’s structural points rather than forcing the cabinet out of square.
Check the door and drawer alignment again. A cabinet that is twisted during installation may develop uneven gaps even when its hardware was correctly adjusted at the factory.
6. Level and Secure the Vanity
With the cabinet correctly positioned, drive suitable fasteners through its reinforced mounting rail and into the marked studs or wall blocking. Fastener type and length must suit the wall construction, finished wall thickness, and vanity design. Follow the product-specific instructions rather than relying on a universal screw size.
Tighten the fasteners gradually while checking the level. Do not pull an uneven wall so aggressively that the cabinet frame bends. Small wall gaps can usually be handled with careful shimming or later finish work.
For a freestanding vanity, the wall fasteners prevent movement and tipping. For a wall-mounted model, the attachment system carries much more of the load and requires a properly reinforced wall.
Industry judgment: The mounting rail is part of the vanity’s performance, not an installation accessory.
7. Install the Faucet, Sink, and Countertop
Whenever possible, install the faucet and drain assembly on the countertop before placing the top on the cabinet. Working from above is generally easier than reaching through a narrow cabinet after installation.
Apply the sealant or adhesive specified by the countertop and vanity manufacturers. Position the top carefully, checking that the overhang is even on both sides. Avoid using an excessive amount of adhesive, since future countertop removal may otherwise damage the cabinet.
For an undermount sink, verify that the basin is securely supported and fully sealed. For an integrated top, inspect the drain opening and overflow before installation.
Once the top is seated, reinstall the drawers temporarily and confirm that the sink bowl and drain components do not interfere with their movement.
8. Connect the Water Supply and Drain
Attach new supply lines to the hot and cold shutoff valves, making sure they are not twisted or sharply bent. Assemble the drain and trap so the joints align naturally. Forcing misaligned pipes together can place stress on the fittings and create slow leaks.
Turn on the shutoff valves gradually. Run the faucet, fill the basin, and then release the water while inspecting every connection with a dry paper towel. This makes small leaks easier to detect than checking by hand.
Test the drain more than once. Look beneath the faucet, around the drain body, at each supply connection, and along the trap.
Local plumbing requirements vary, especially when drain lines, venting, or supply positions are changed. Professional installation is the safer route when rough plumbing does not align with the new vanity.
9. Seal the Edges and Complete the Installation
Apply a neat bead of bathroom-rated silicone where the countertop meets the wall and back splash. Seal side splashes according to the manufacturer’s directions, but avoid caulking areas that must remain accessible for service.
Reinstall the doors and drawers, then adjust the hinges and slides until the gaps look even. Add hardware, shelves, organizers, and the remaining trim only after all plumbing connections have passed the leak test.
Keep moisture under control after installation. The EPA recommends maintaining indoor relative humidity below 60%, ideally between 30% and 50%, and using bathroom exhaust fans to remove moisture outdoors.
10. A Clean Installation Protects the Investment
A properly installed 36-inch vanity should feel stable, sit level, open smoothly, and provide access to every plumbing connection. The cabinet should not hide a slow leak, strain against an uneven wall, or force drawers into nearby fixtures.
The installation sequence matters: measure first, inspect the product, prepare the room, dry-fit the cabinet, secure it to the structure, and test every connection before sealing the final edges. That discipline protects the vanity finish, reduces future repair work, and gives the bathroom the fitted appearance buyers expect from a professional renovation.


































Leave a comment
This site is protected by hCaptcha and the hCaptcha Privacy Policy and Terms of Service apply.