
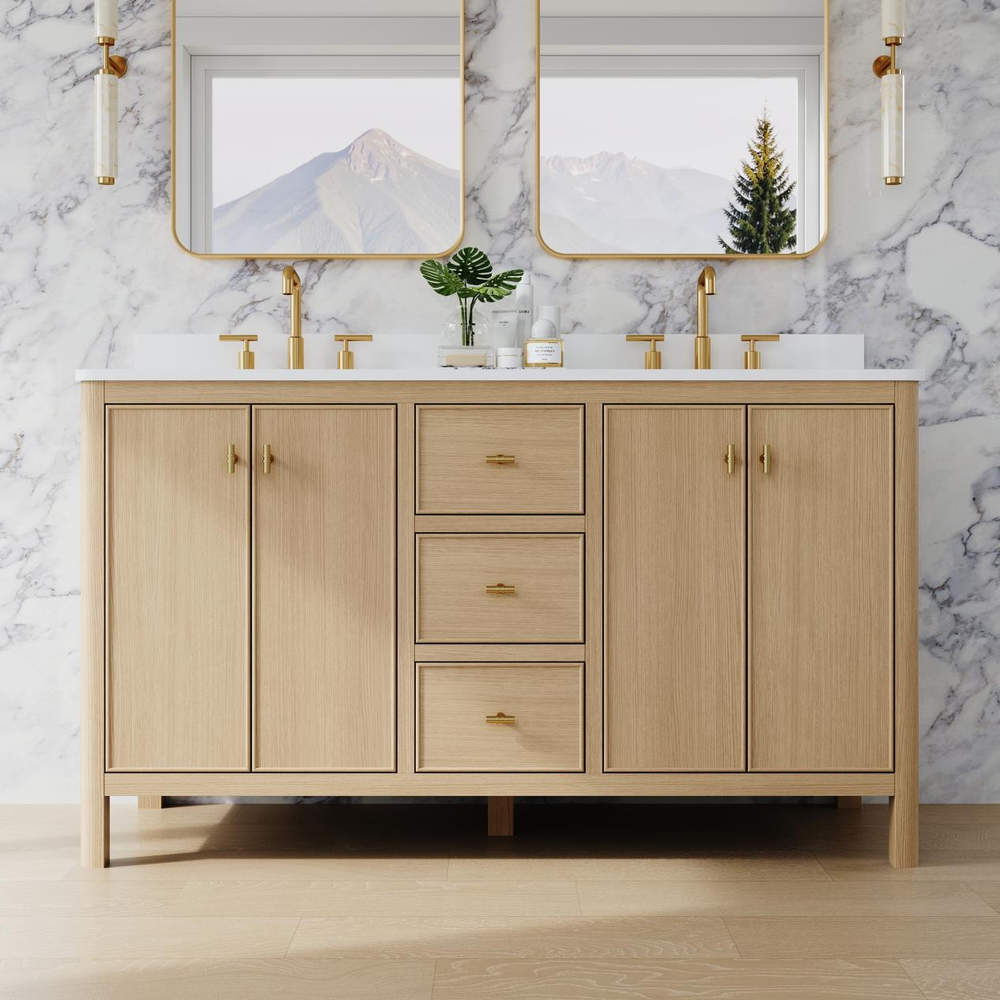









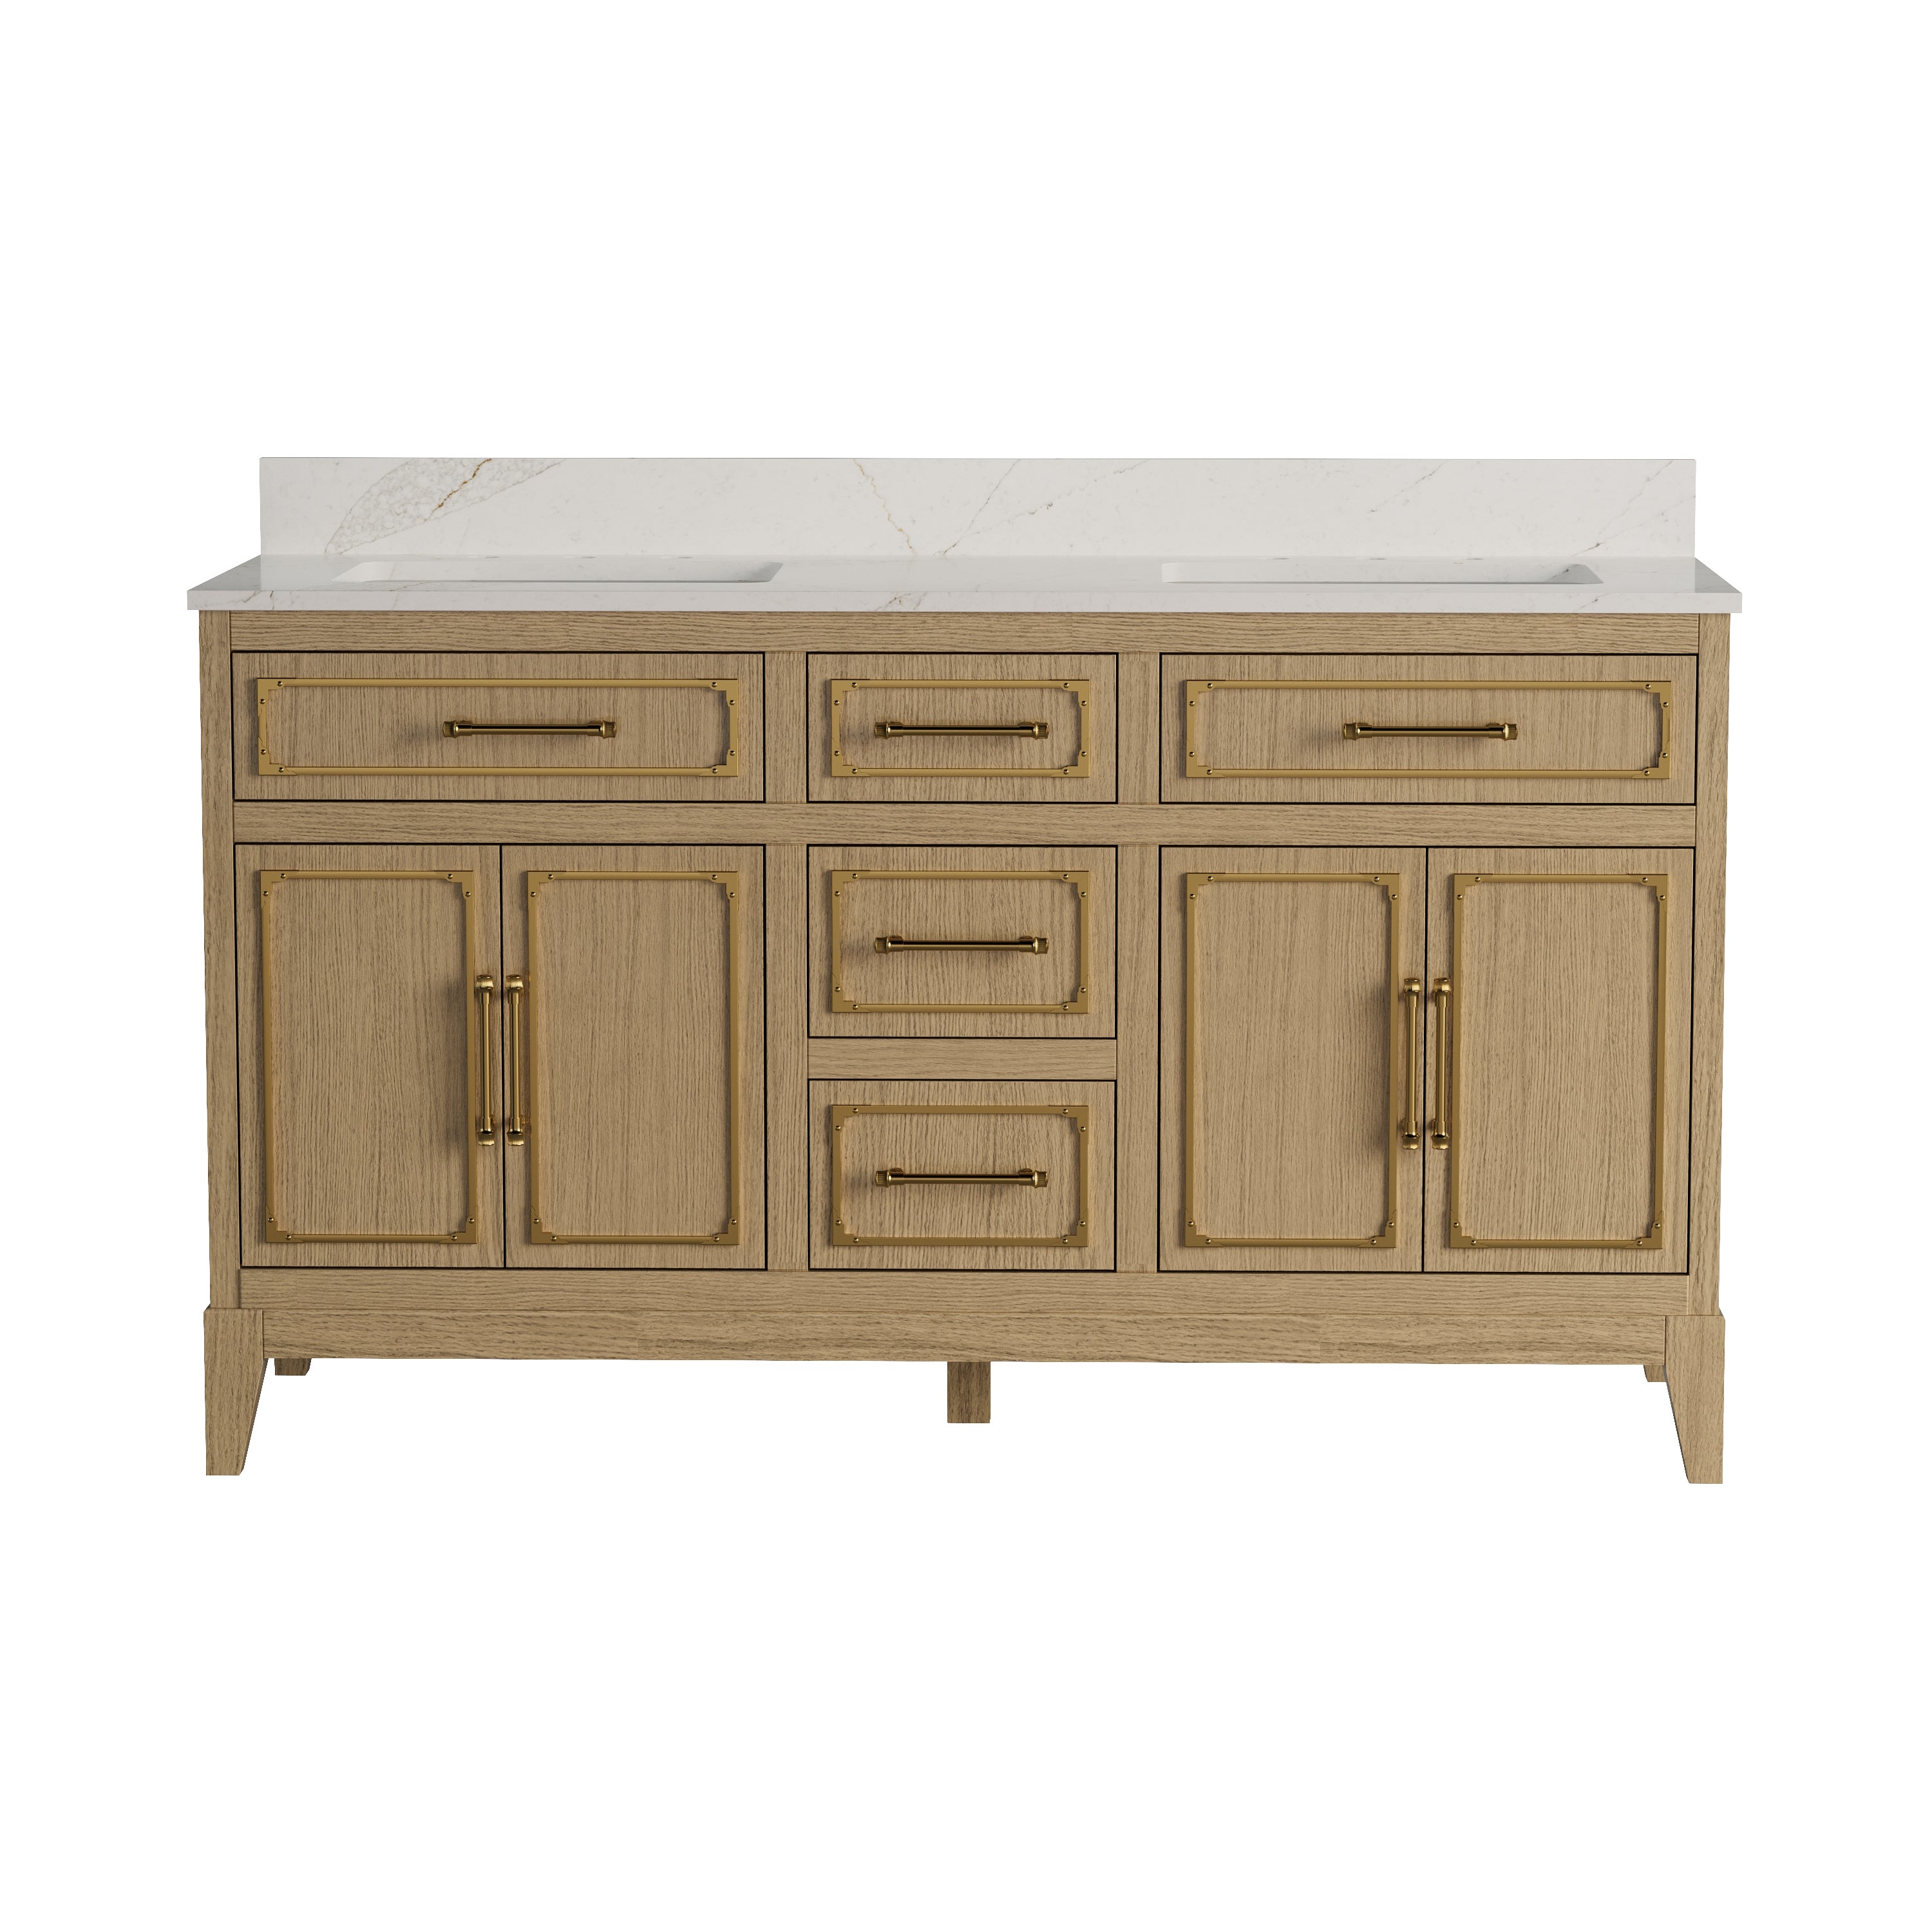

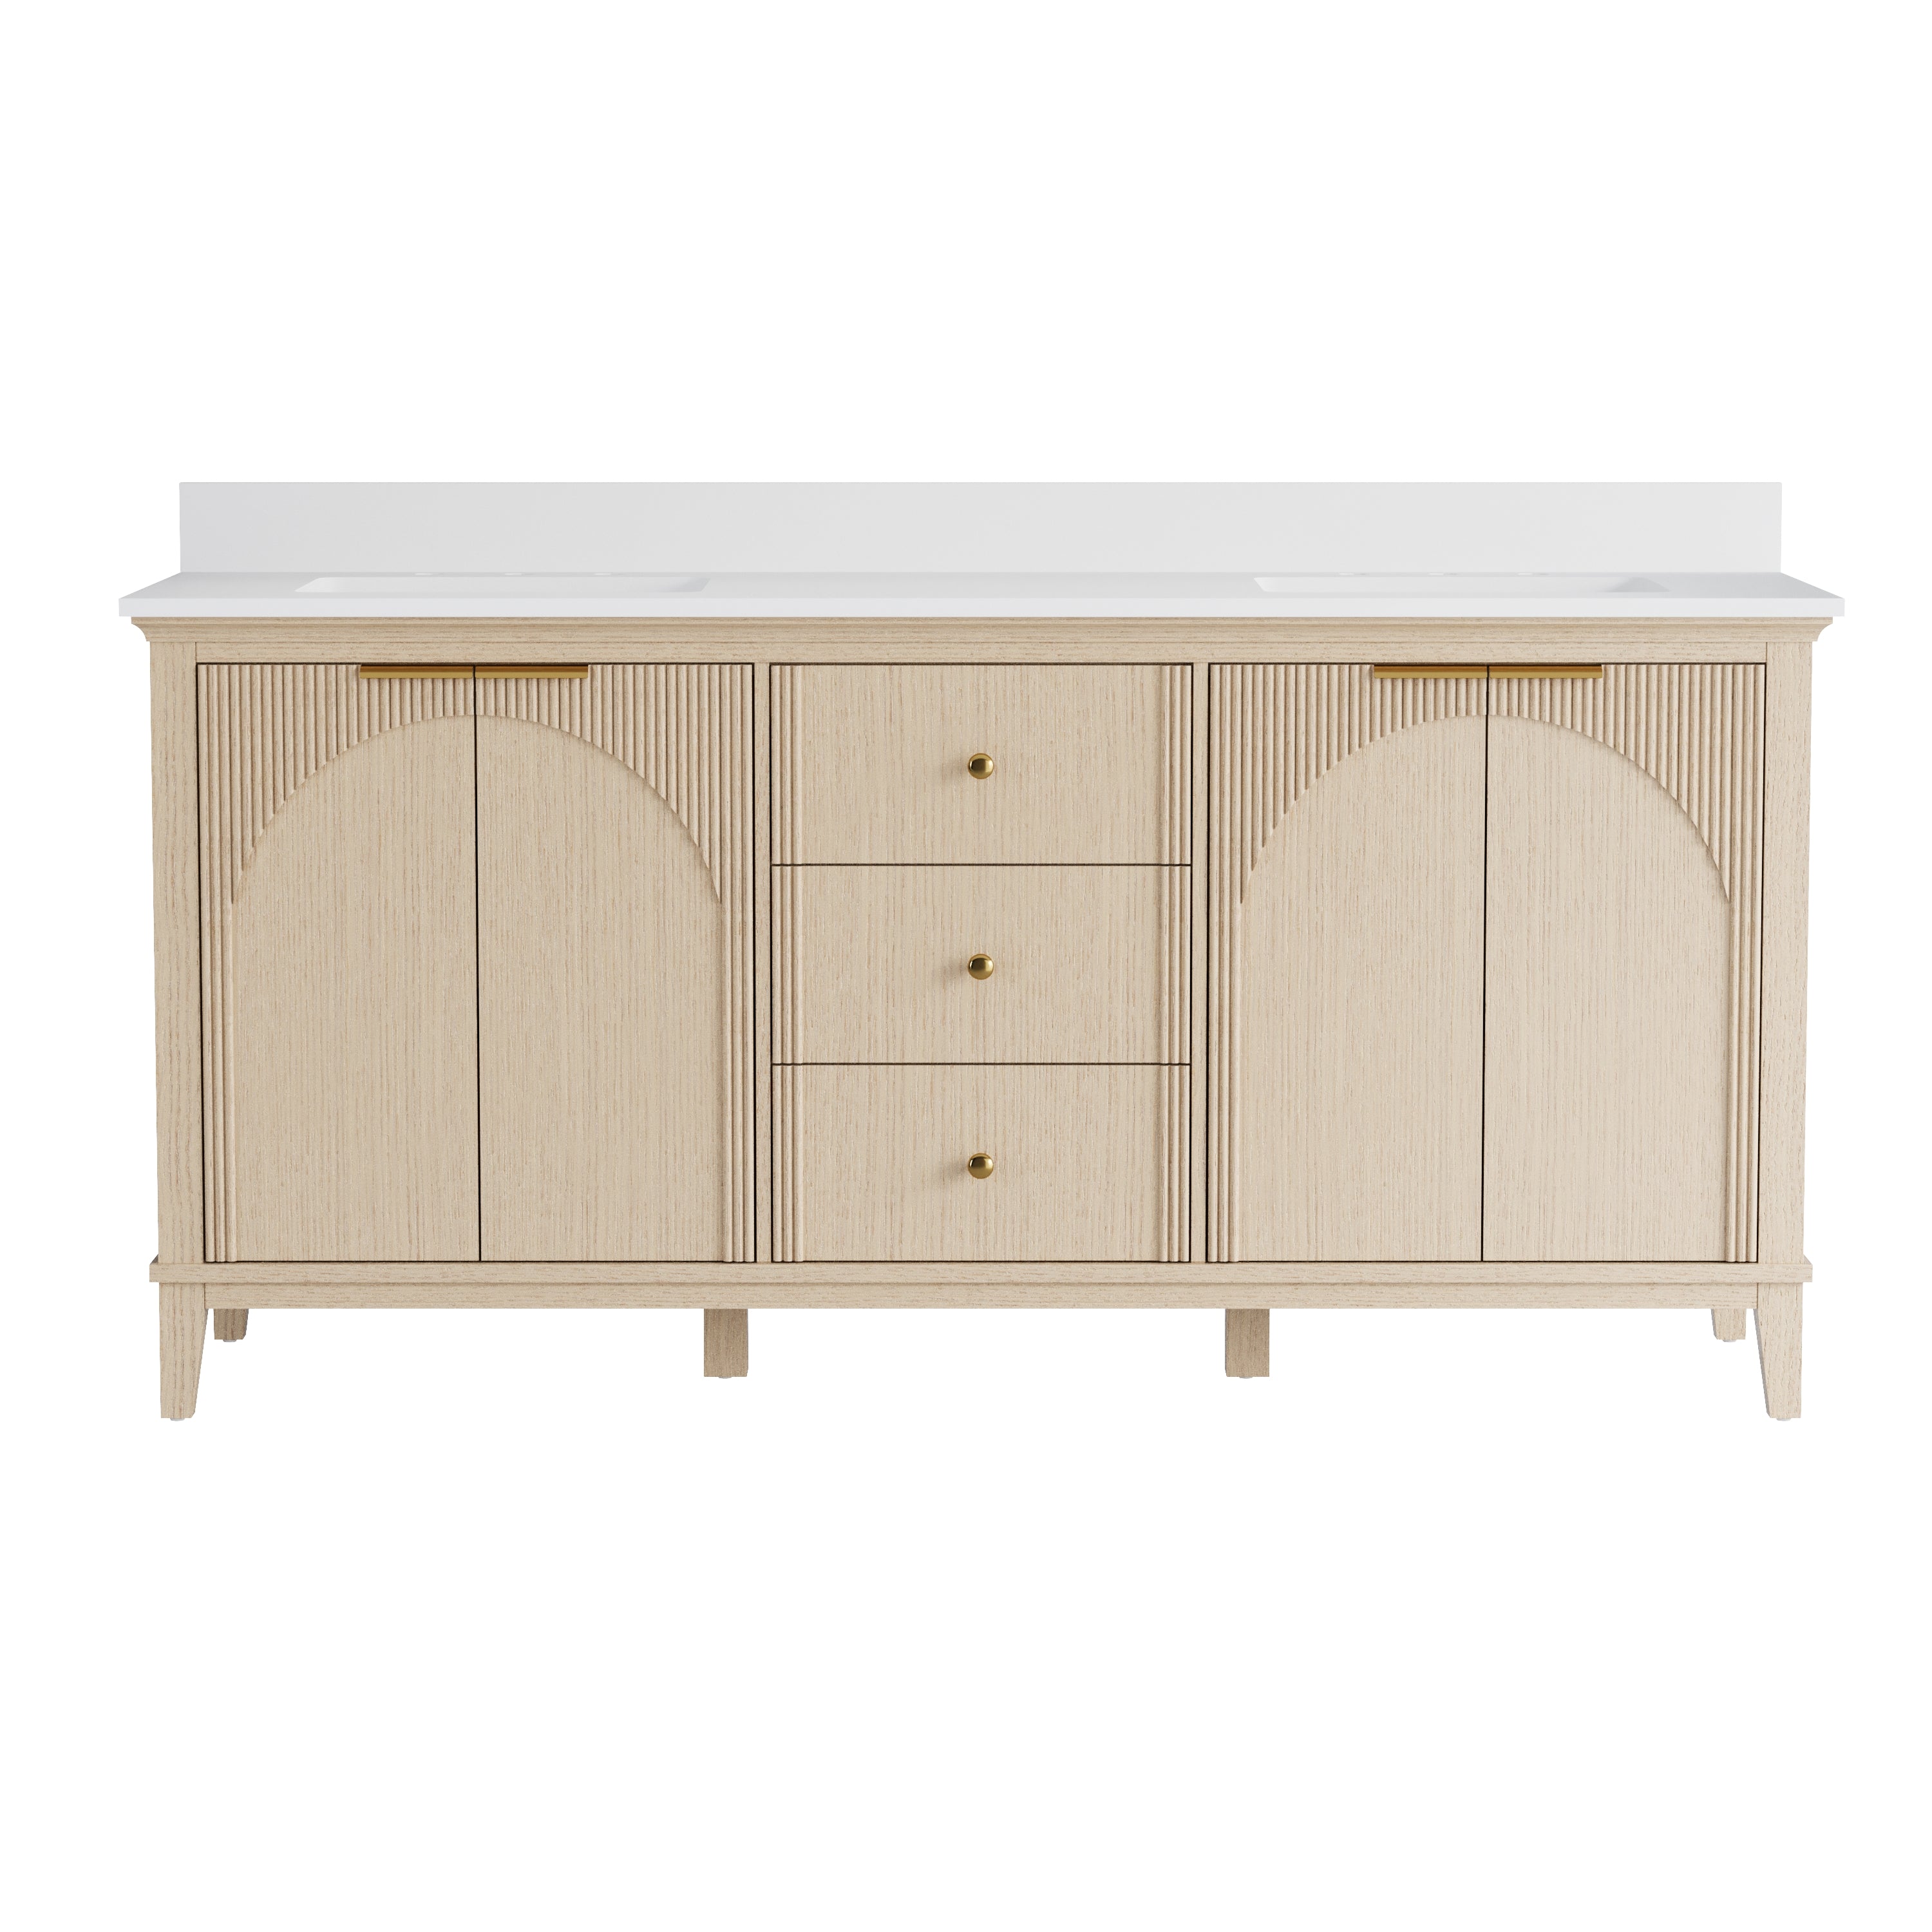
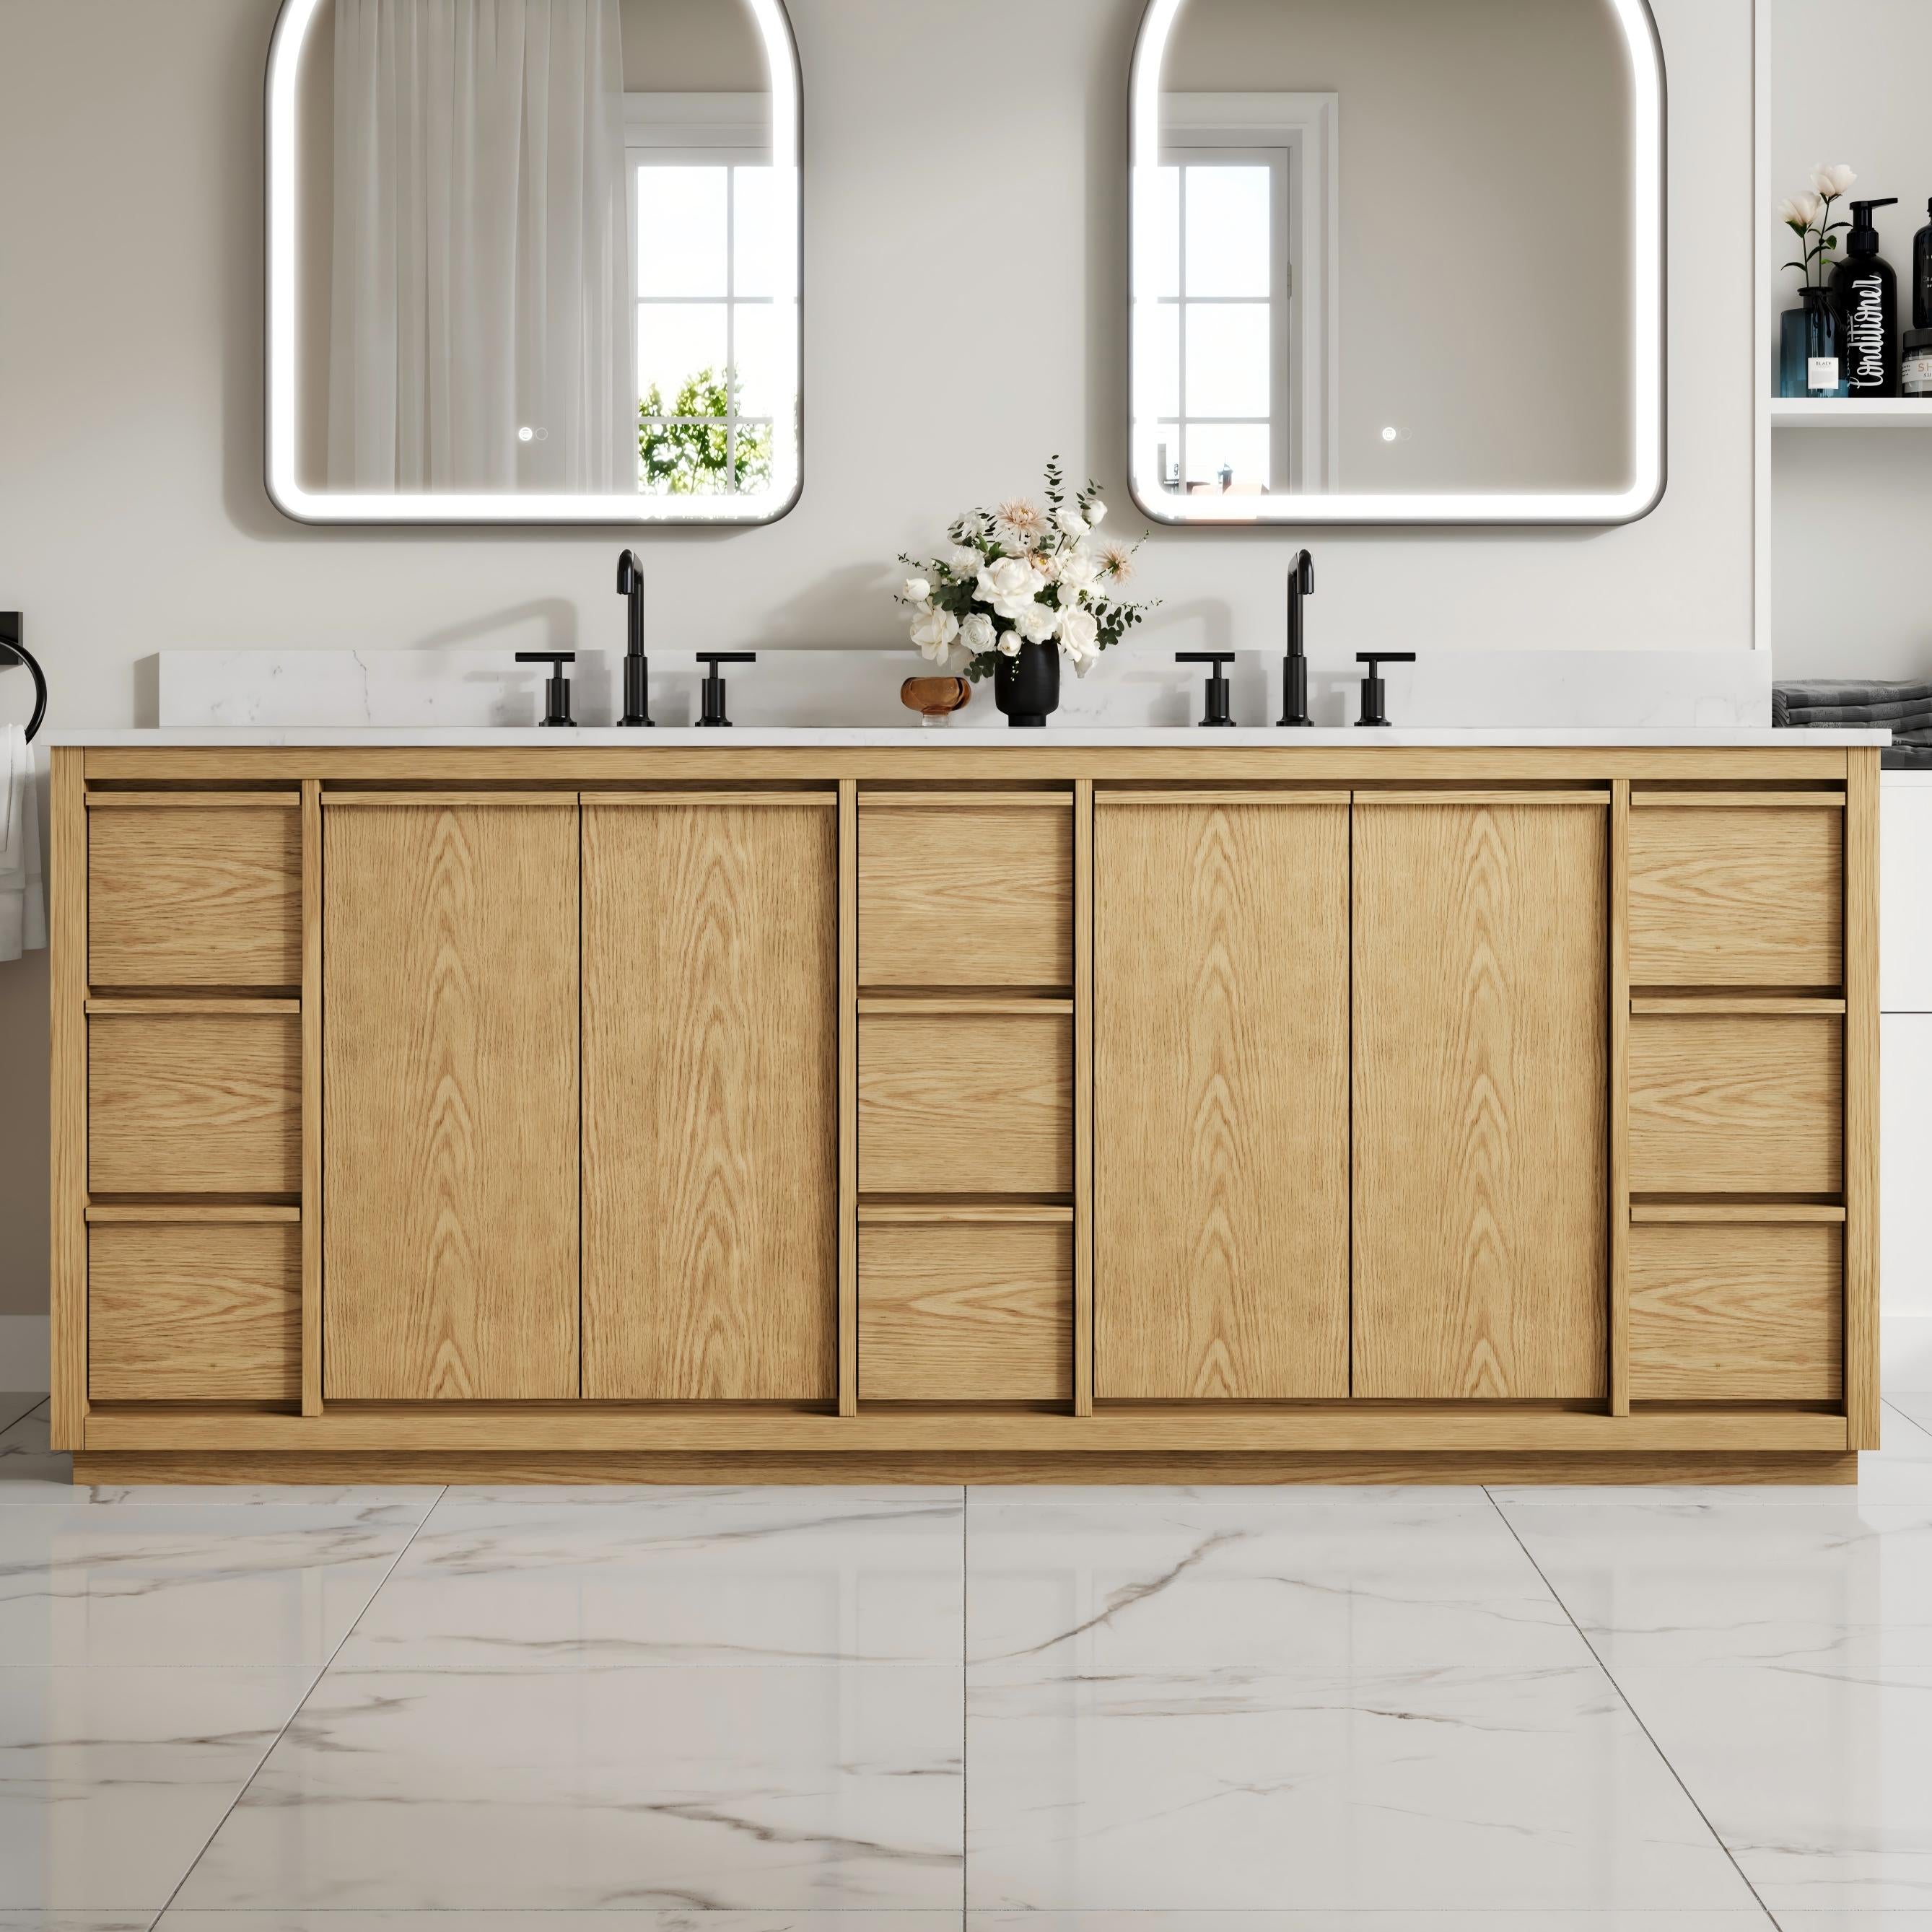
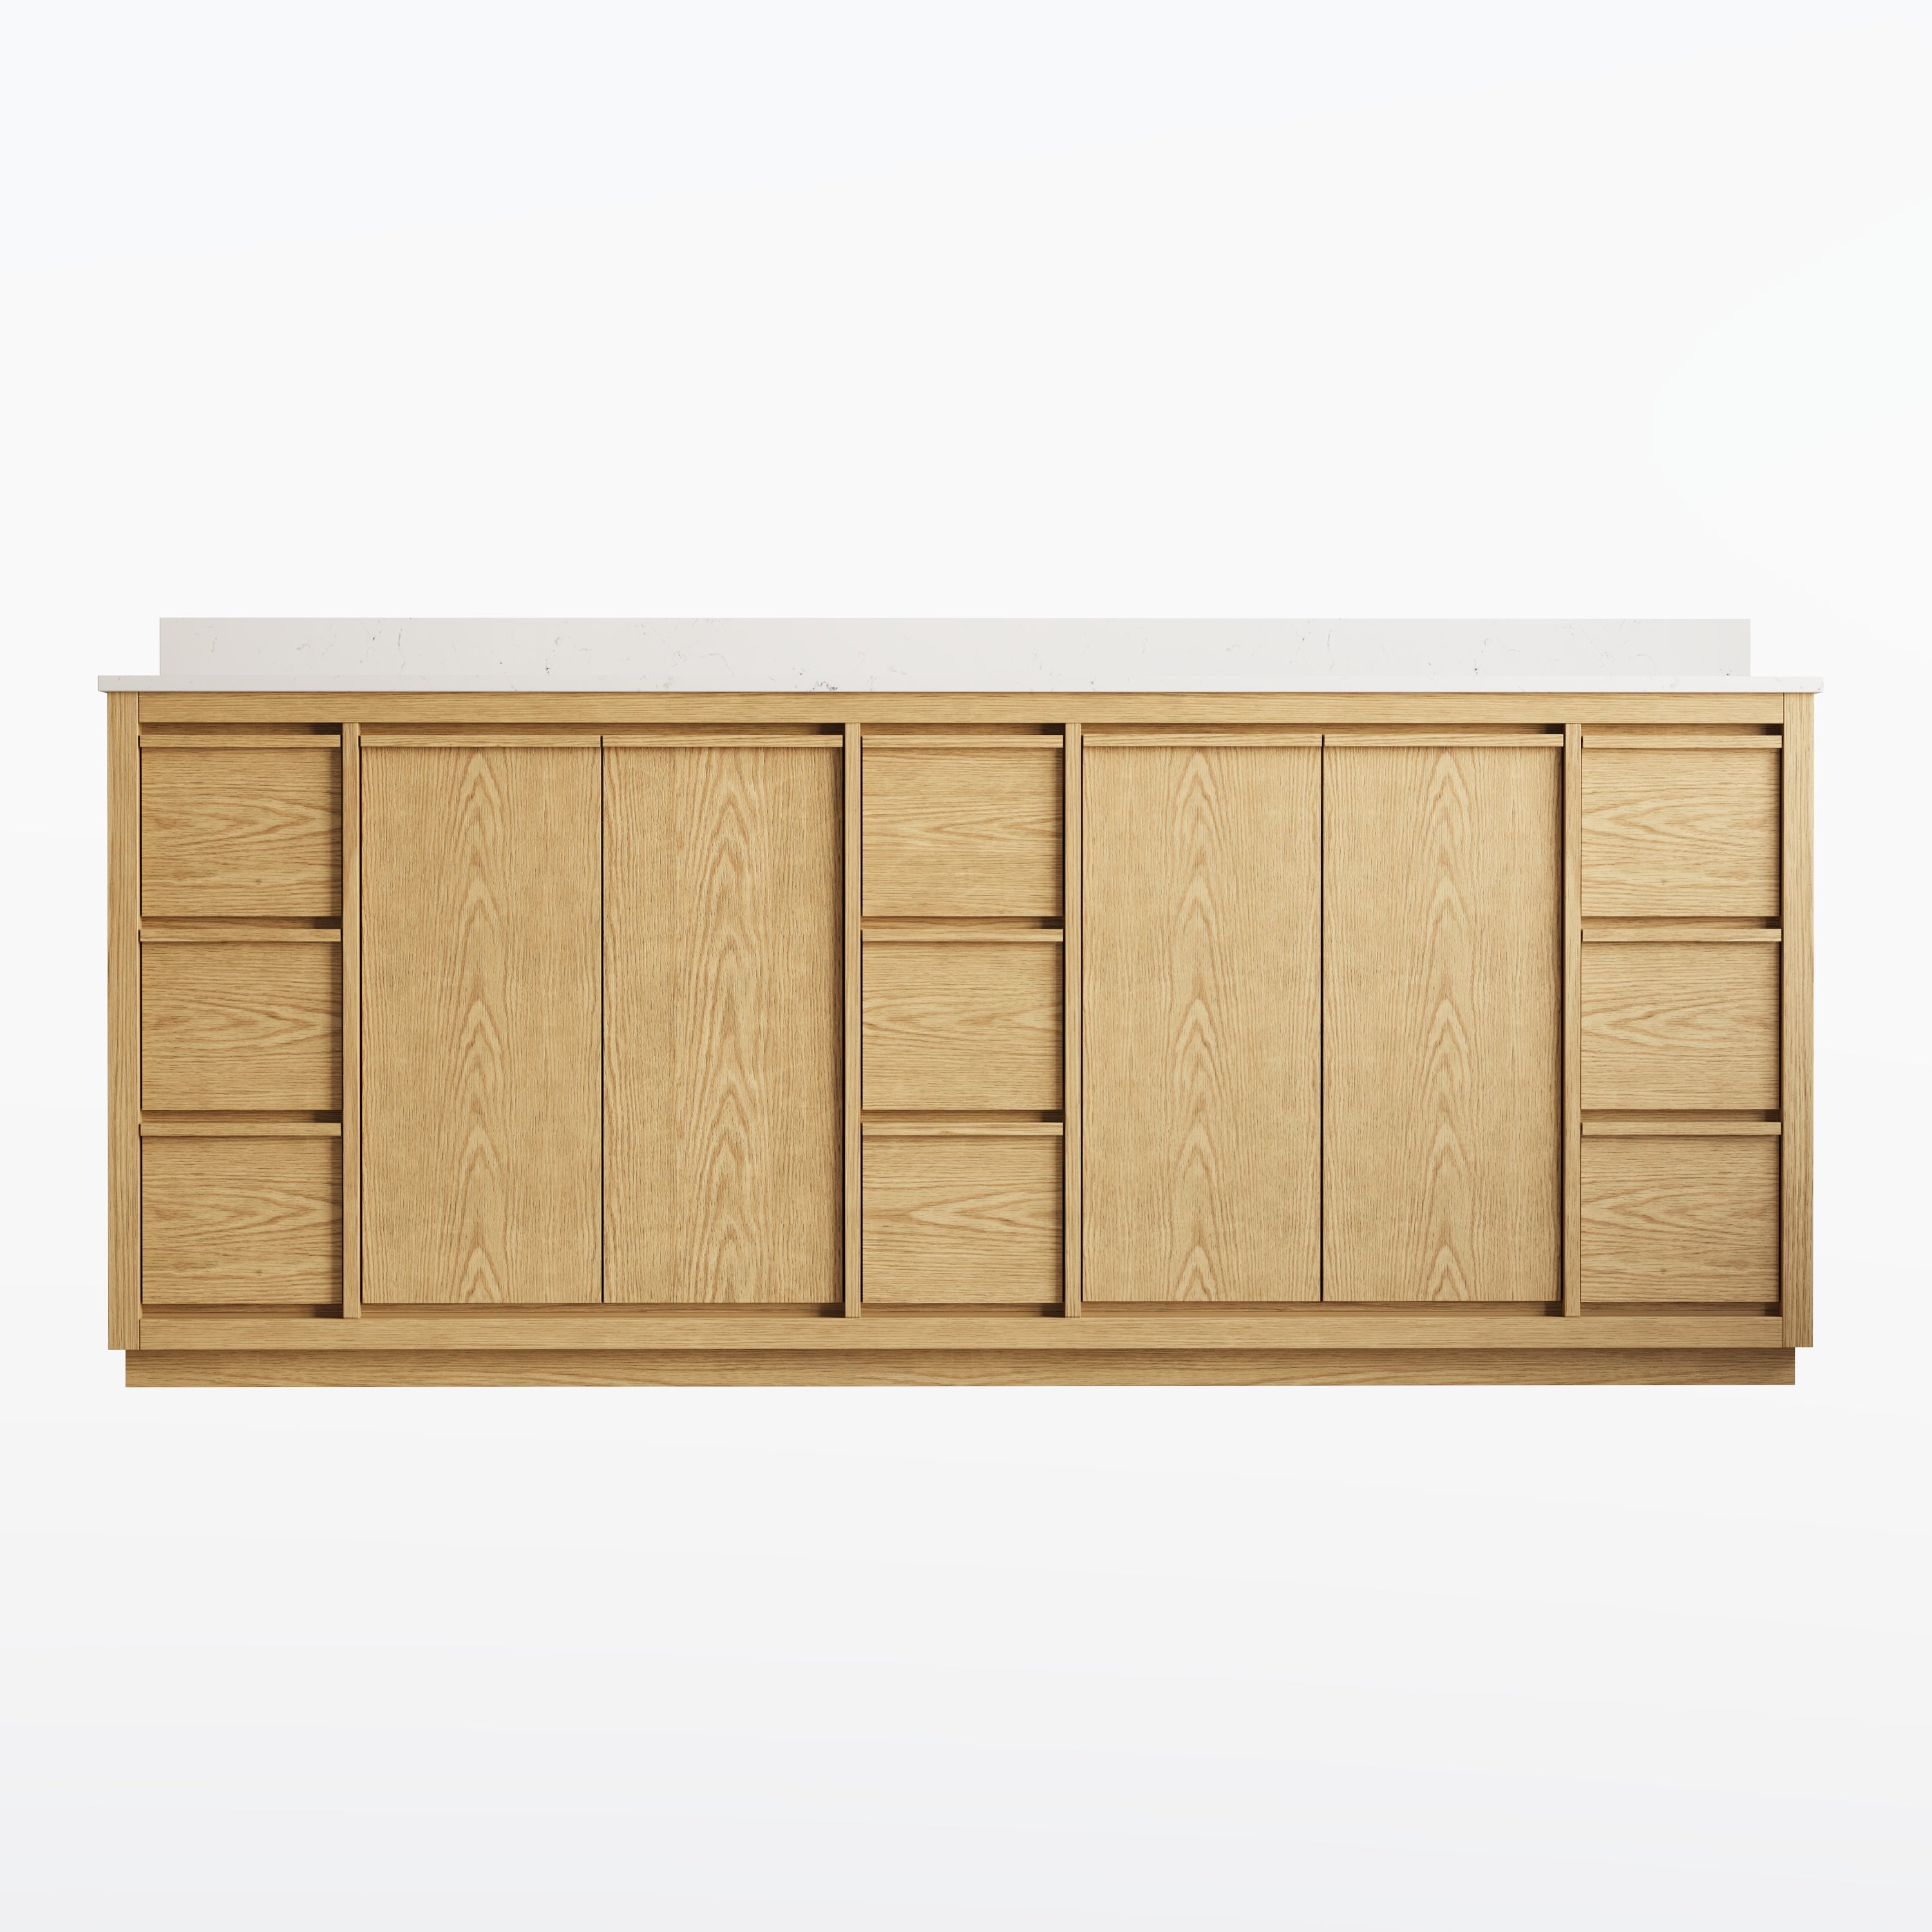

Installing a 36 inch bath vanity successfully starts well before the cabinet is screwed to the wall. The real work is in checking the room, plumbing, floor level, countertop dimensions, and door clearance before installation begins. That attention is worthwhile because compact and midsize cabinetry continues to play a major role in bathroom renovation. Houzz’s 2025 Bathroom Trends Study found that 47% of upgraded vanities were 48 inches wide or smaller, while 55% were custom or semicustom. The numbers suggest that fit and functionality remain important even as ready-made vanity options expand.
1. Measure the Finished Space Before Removing the Packaging
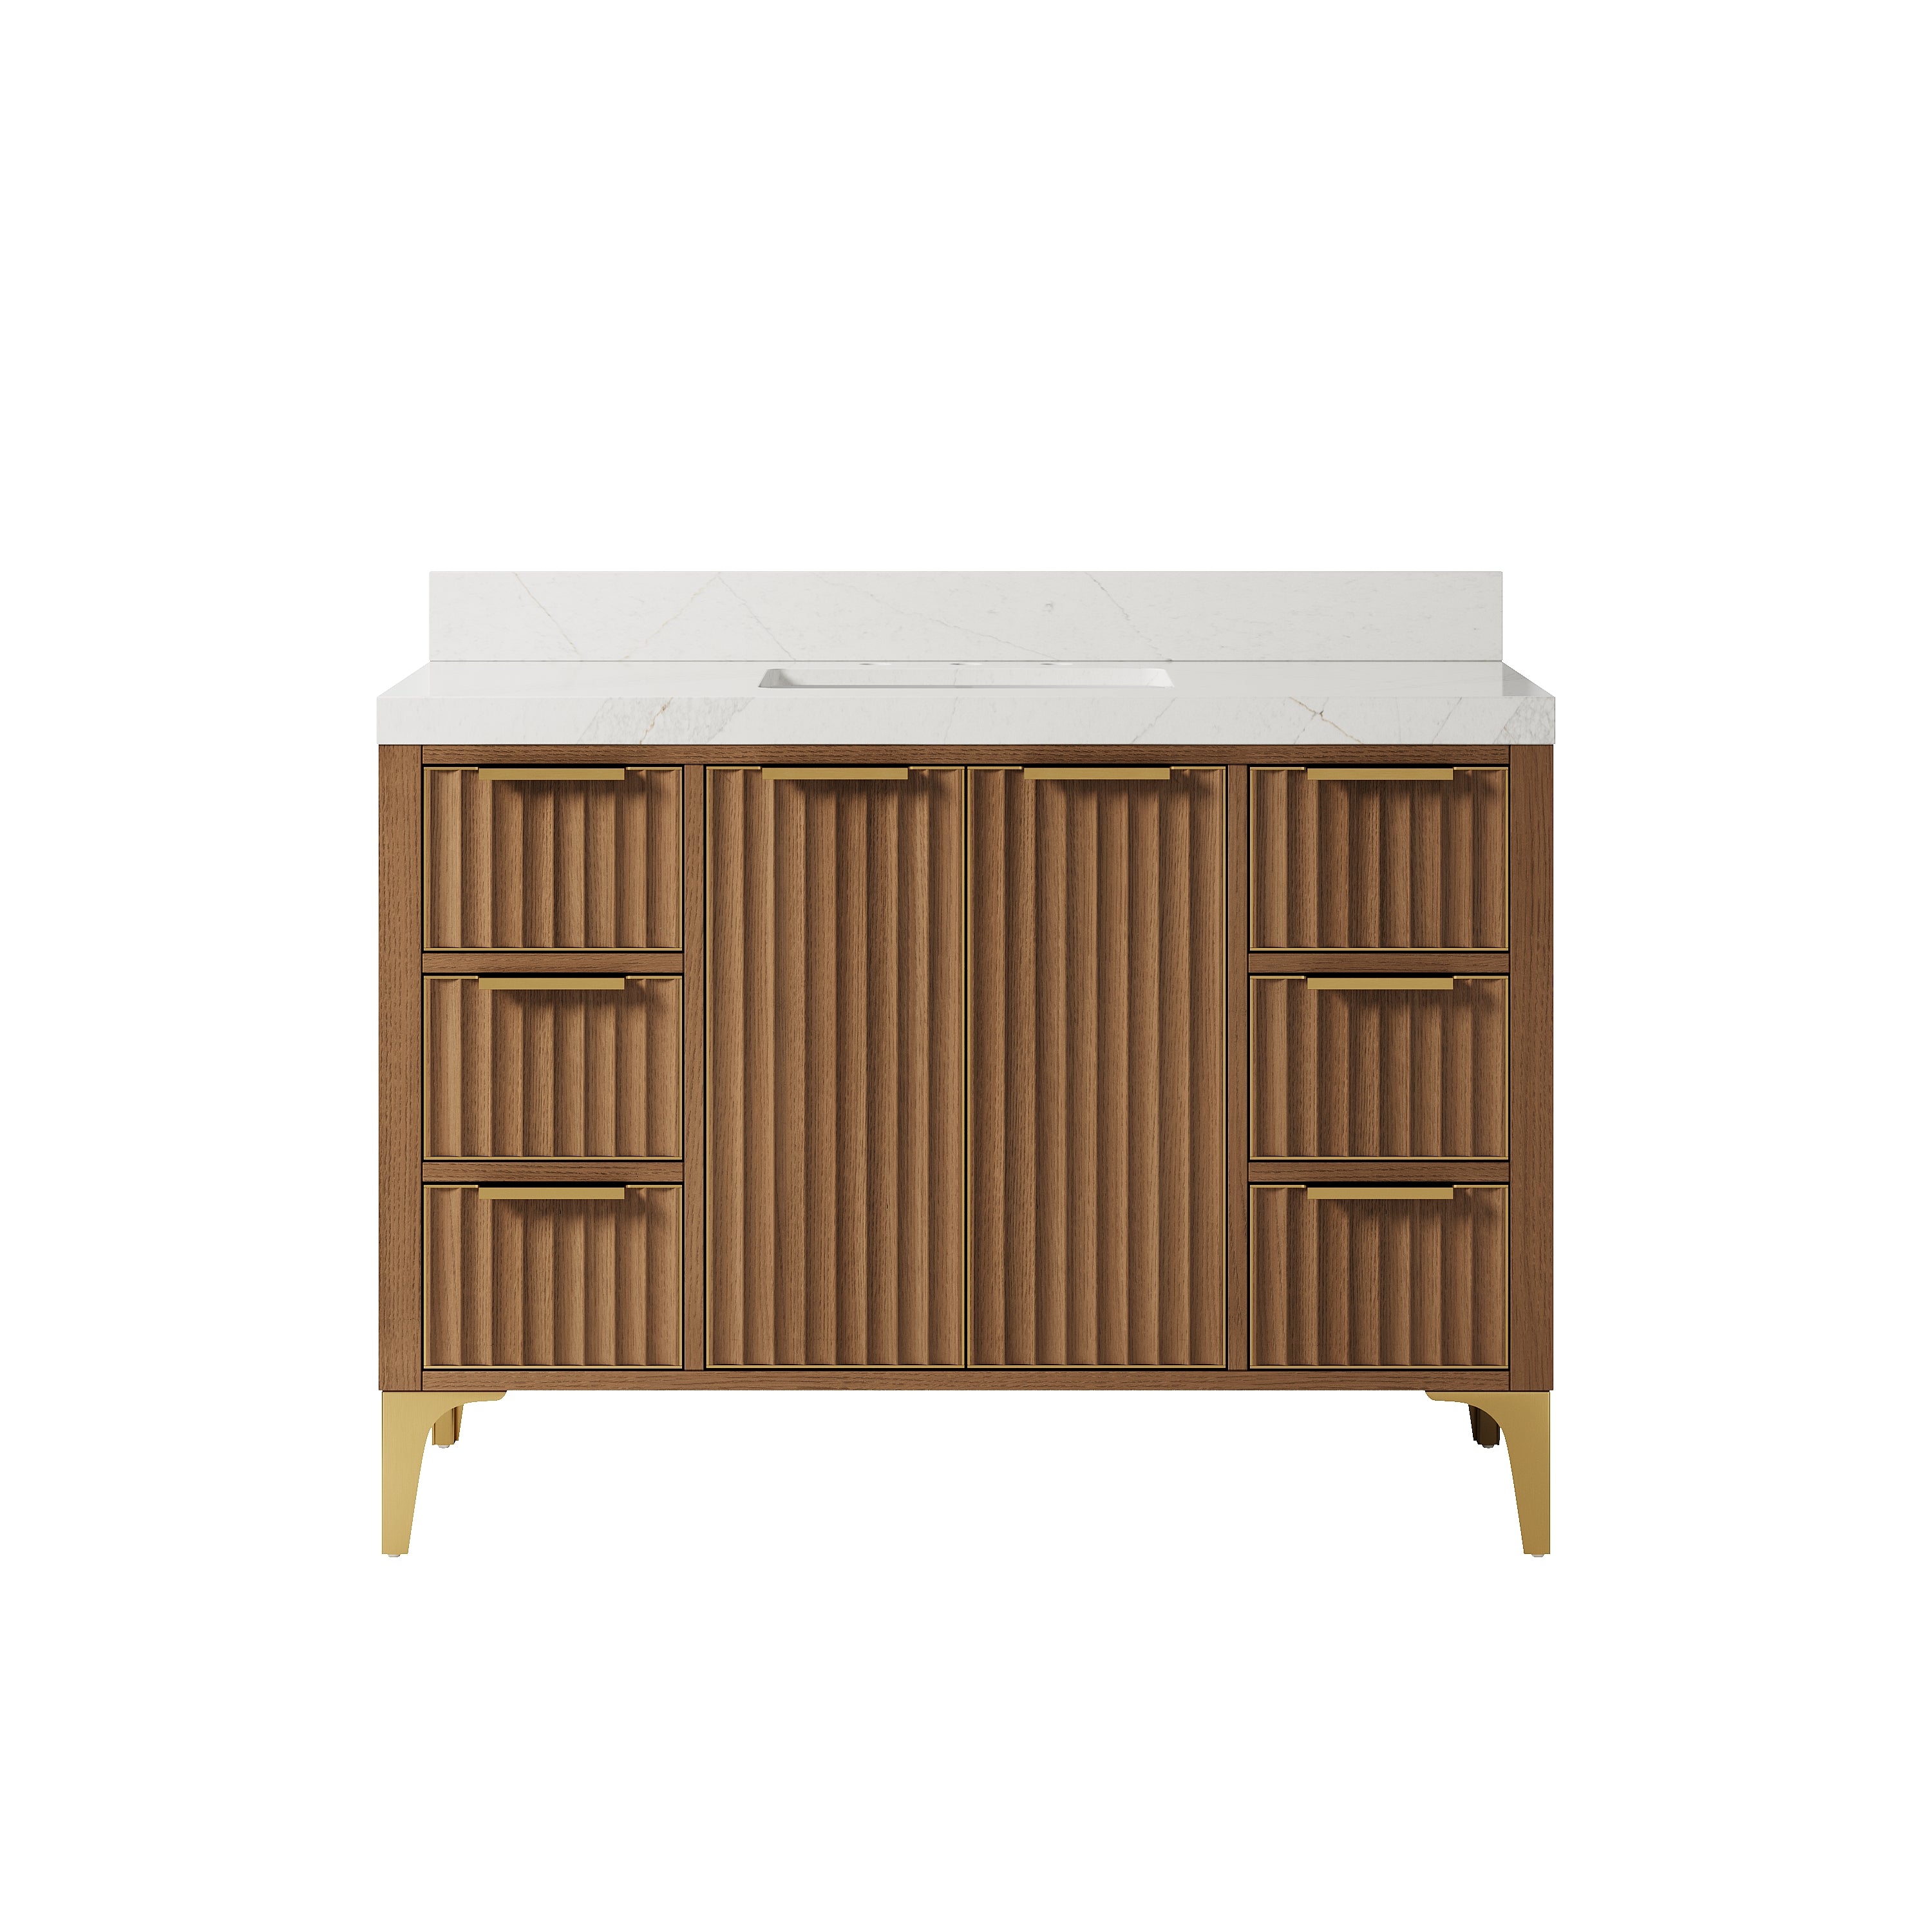
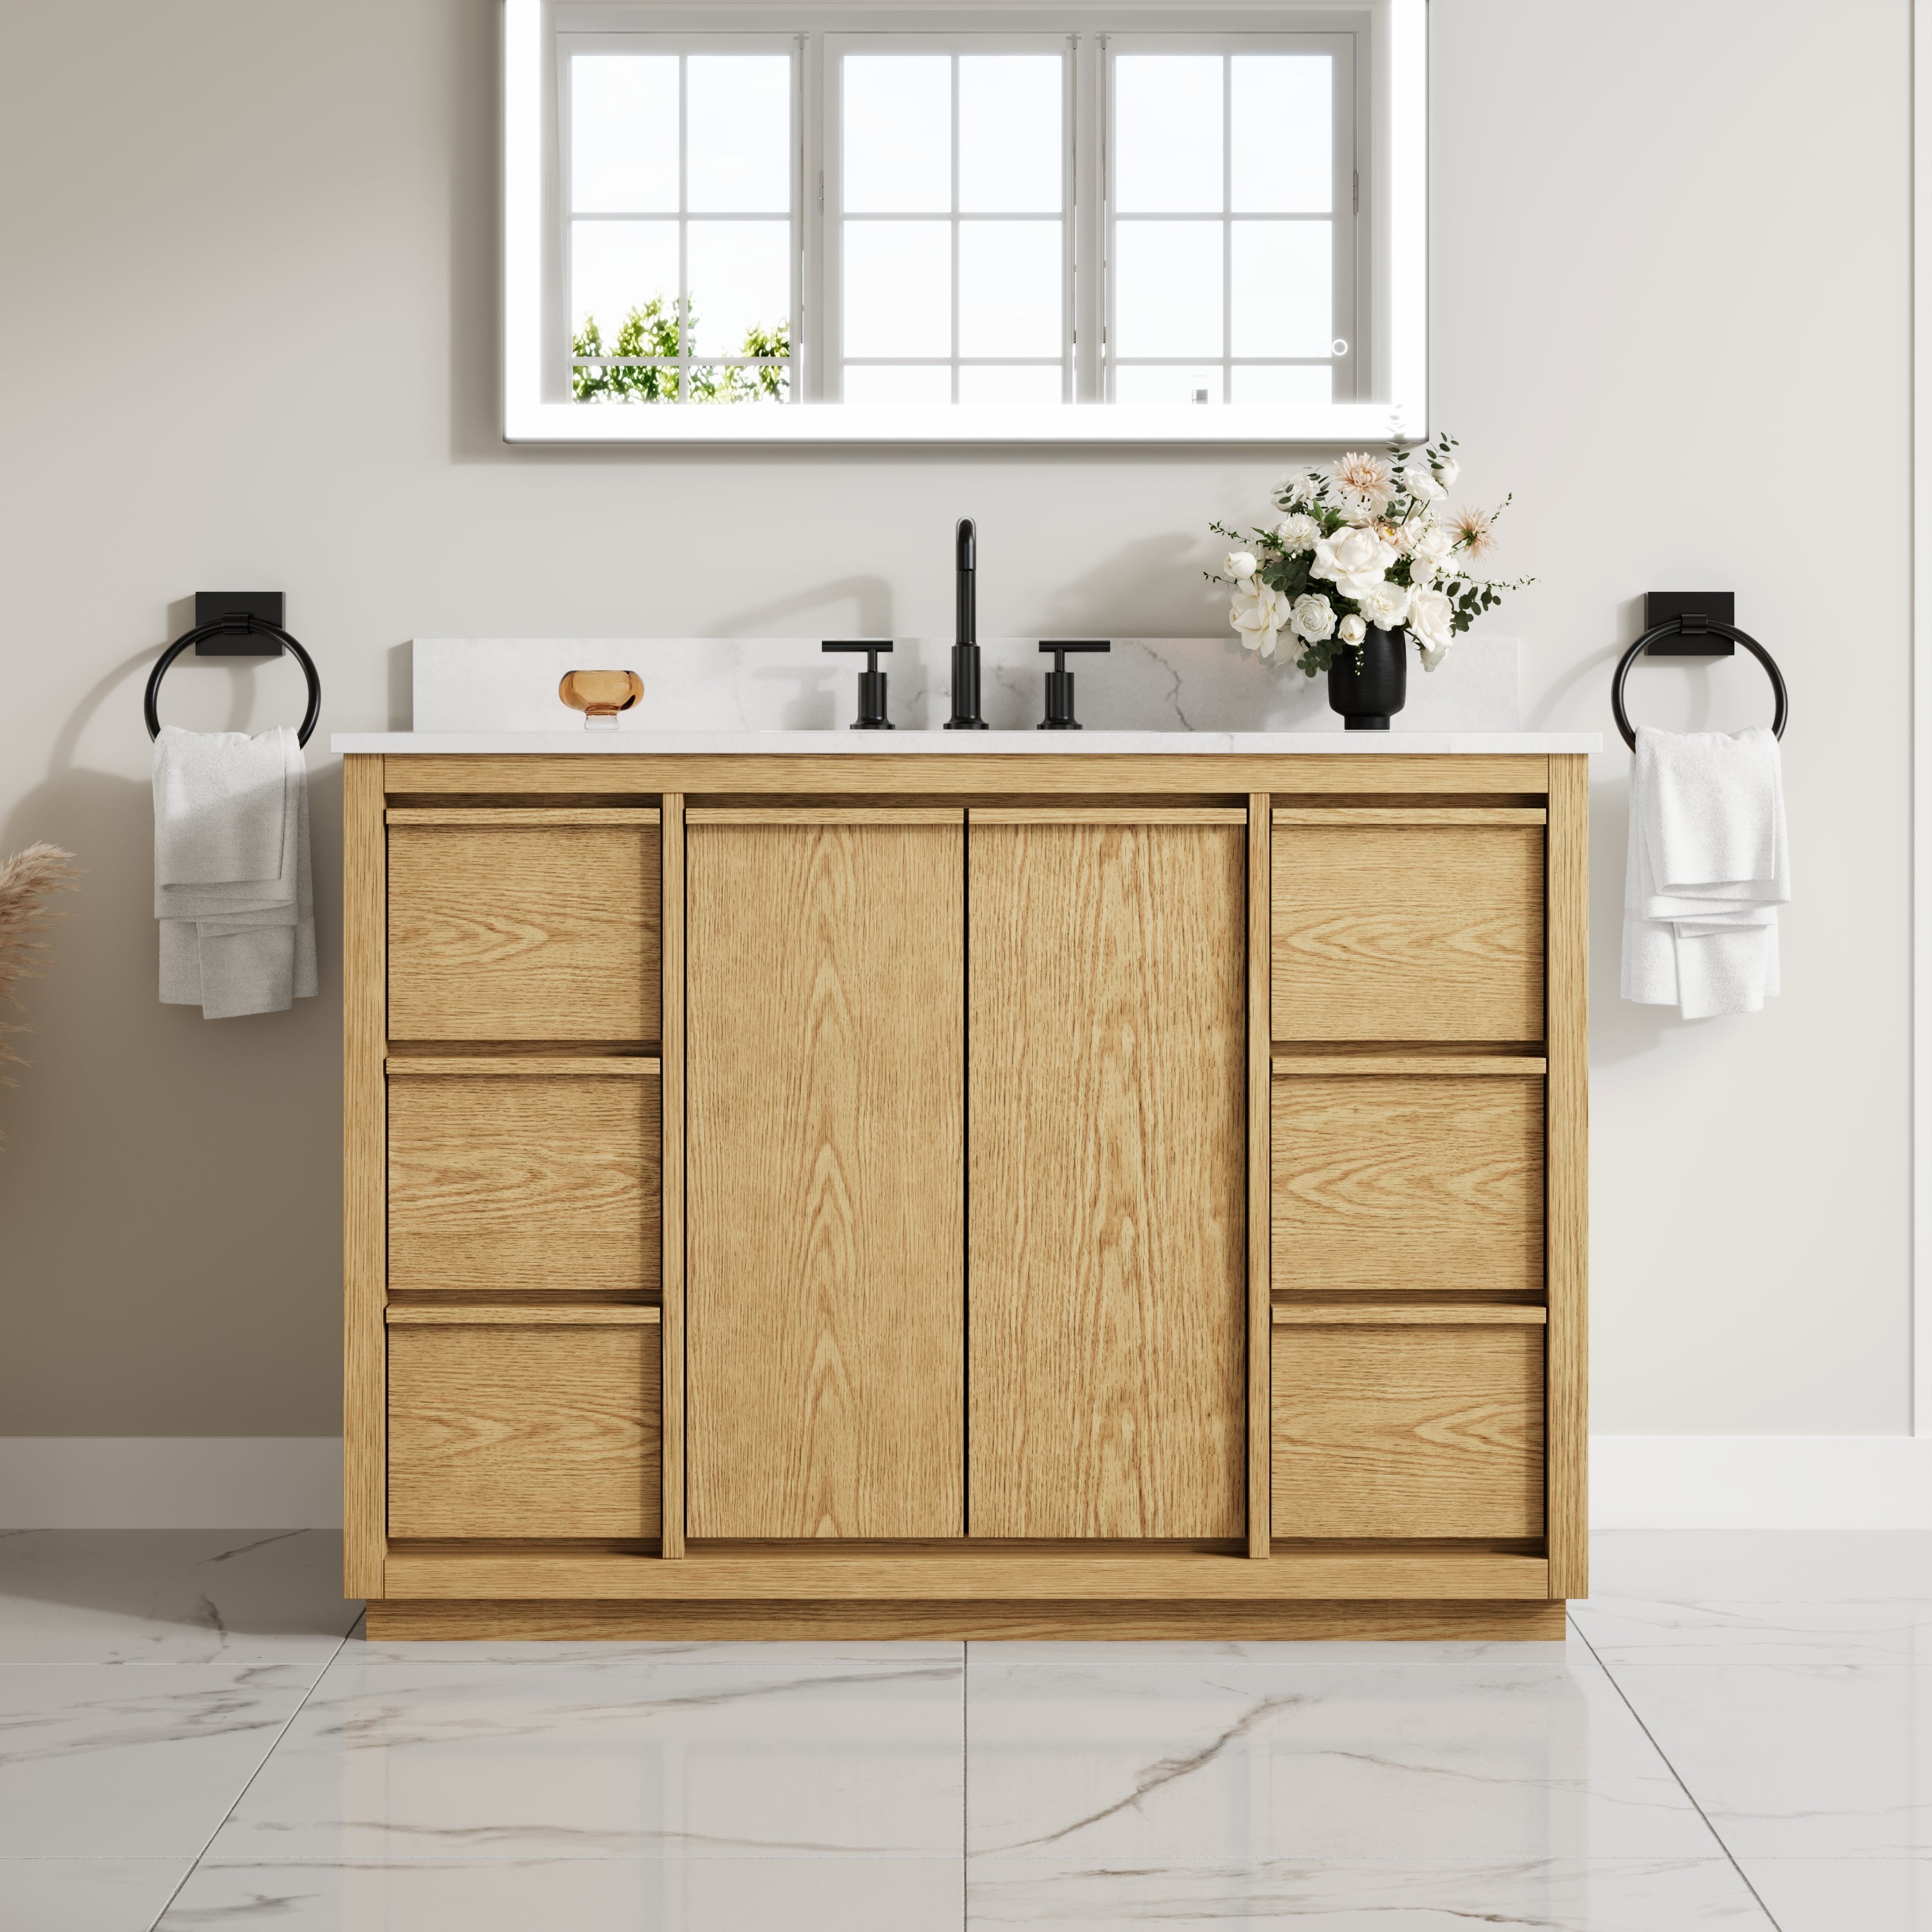
A 36-inch label does not always mean every part of the vanity measures exactly 36 inches. The countertop may extend beyond the cabinet, while a backsplash or side splash adds another layer to the installation.
Measure the available wall width at several heights and check the depth from the finished wall into the room. Then confirm that drawers and doors can open without hitting the toilet, bathroom door, or shower enclosure.
Plumbing deserves the same attention. Record the position of the drain, hot and cold supply lines, and shutoff valves. Lowe’s recommends marking the new vanity position first and transferring pipe locations to the cabinet back when cutouts are required.
2. Dry-Fit the Cabinet Before Making Permanent Changes
Set the cabinet in its intended position before drilling, caulking, or attaching the countertop. This reveals problems that dimensions alone sometimes miss.
Check whether the drain lands inside the intended plumbing area and whether a drawer divider or shelf blocks the P-trap. Inspect baseboards as well. A thick baseboard may prevent the vanity from sitting flush against the wall unless it is removed or carefully notched.
This is also the point to test the countertop. Place it temporarily on the cabinet and verify that the overhang looks balanced and the backsplash sits properly against the wall.
3. Get the Cabinet Level Before Securing It
A vanity that is slightly out of level can create several problems later. Drawer fronts may appear uneven, cabinet doors may swing, and water may collect incorrectly around the sink.
Check the cabinet from side to side and front to back with a level. Use adjustable feet when the model includes them, or place shims beneath the base where necessary.
Lowe’s installation guidance specifically calls for leveling the cabinet before fastening it to the wall, while Home Depot similarly recommends shimming uneven installations before the countertop is secured.
Industry judgment: Leveling is one of the least visible installation steps, but it has one of the greatest effects on how professionally the finished vanity looks and operates.
4. Secure the Vanity to Structural Support
A freestanding vanity should not simply be pushed against the wall and left in place. Manufacturer instructions commonly require the cabinet to be mechanically secured.
Locate wall studs with a stud finder and mark their positions. Drill pilot holes through the cabinet’s designated mounting rail or brace, then use hardware appropriate for the wall construction and the manufacturer’s specifications.
One Lowe’s 36-inch vanity installation guide recommends securing the cabinet to wall studs and, where possible, fastening it to two studs for additional stability.
Wall-mounted vanities need even more attention. Their load is carried by the wall rather than the floor, so proper blocking and attachment are essential.
5. Install the Faucet Before the Top When Practical
There is often more room to work when the countertop is still off the cabinet. Installing the faucet and some drain components at this stage can save considerable time, especially when the sink leaves little space behind the basin.
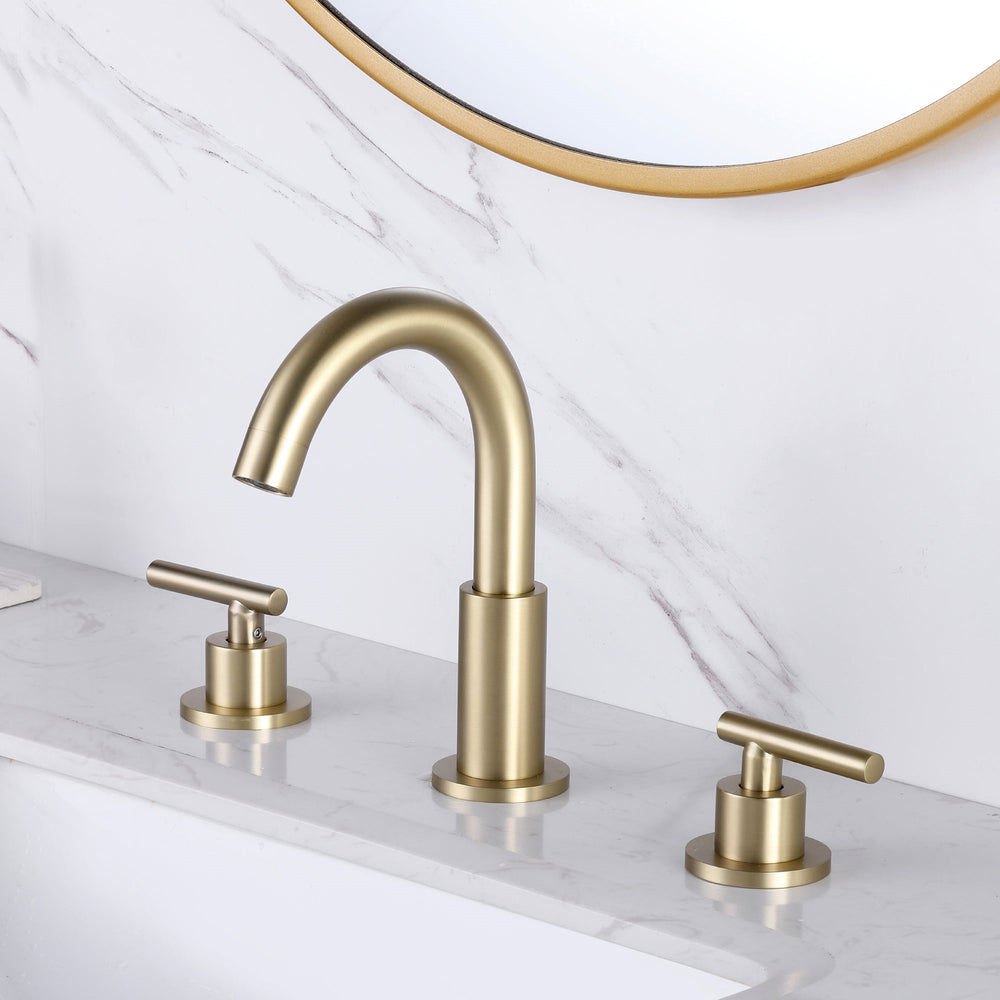
Confirm whether the top is drilled for a single-hole, 4-inch centerset, or 8-inch widespread faucet before beginning.
Once the fittings are in place, apply the adhesive or silicone recommended by the vanity manufacturer. Position the top carefully and check its alignment before the adhesive begins to cure. Manufacturer installation instructions for some vanity tops recommend a continuous bead of silicone or construction adhesive and approximately 24 hours of curing time.
6. Seal the Backsplash and Sink Area Carefully
Water protection is part of installation, not a maintenance issue to address later.
After the countertop is positioned, apply bathroom-appropriate caulk where the backsplash meets the wall. Seal other joints only where the manufacturer calls for it.
Lowe’s installation guidance recommends caulking the backsplash-to-wall joint and sealing appropriate areas around the vanity top to reduce the chance of water reaching the cabinet.
Keep the bead controlled rather than oversized. A neat joint generally looks better and is easier to monitor for future deterioration.

7. Reconnect the Plumbing and Test More Than Once
Reconnect the faucet supply lines, drain assembly, and P-trap after the cabinet and top are secure. Do not overtighten fittings, particularly around plastic drain components.
Turn the water on slowly and inspect every connection. Run both hot and cold water, fill the basin partially, then drain it while watching the P-trap and tailpiece.
Home Depot specifically recommends reconnecting the supply lines and P-trap and then testing the completed installation for leaks.
Check again several hours later. A slow leak can be easy to miss during the first test.
8. Treat Installation as Part of the Vanity’s Long-Term Performance
A 36-inch vanity is popular partly because it offers useful storage without requiring the wall space of a 48-inch or 60-inch cabinet. But the advantages disappear when the unit is poorly leveled, loosely anchored, or forced around incompatible plumbing.
A successful installation should finish with straight drawer fronts, even countertop overhang, a secure cabinet, accessible shutoff valves, sealed wet-area joints, and completely dry plumbing connections.
The final lesson is straightforward: do not rush the cabinet simply because it arrives assembled. Careful measuring, dry-fitting, leveling, fastening, and leak testing determine whether a 36 inch bath vanity looks like a quick replacement or a properly planned bathroom upgrade.


























Leave a comment
This site is protected by hCaptcha and the hCaptcha Privacy Policy and Terms of Service apply.