

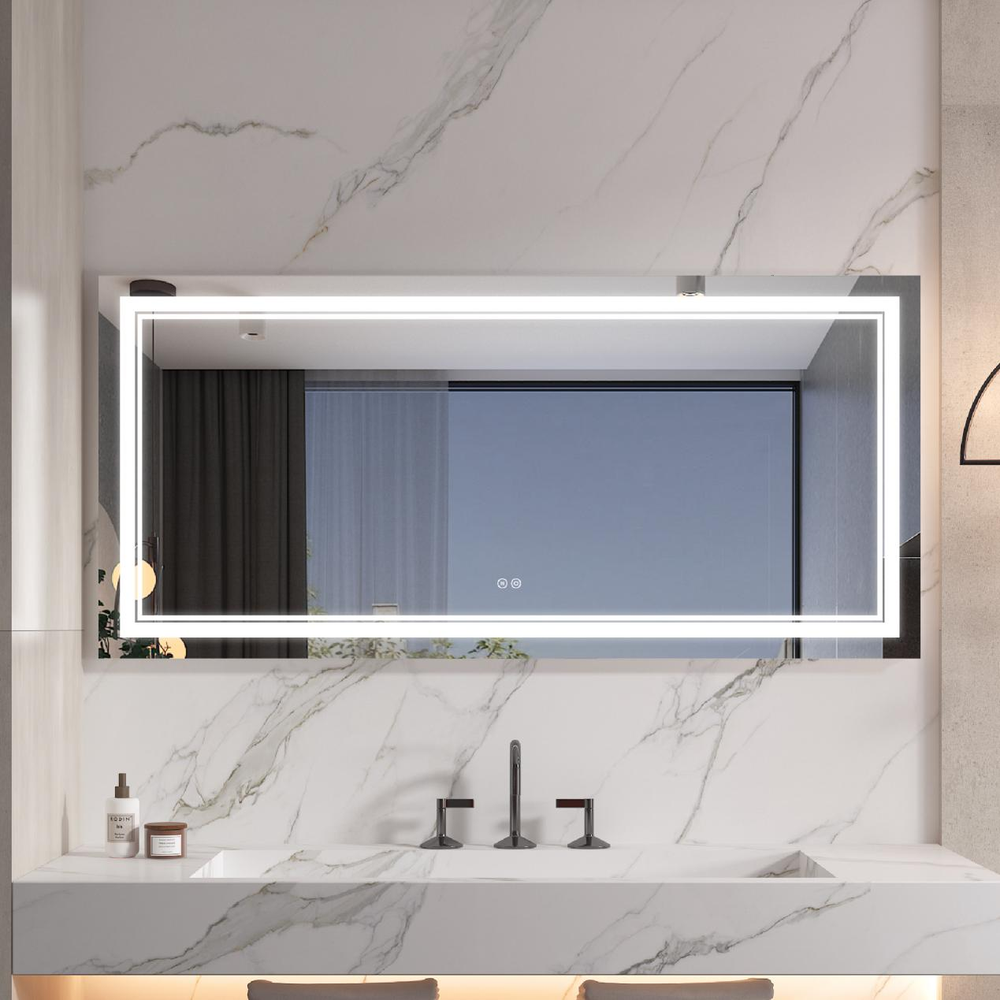
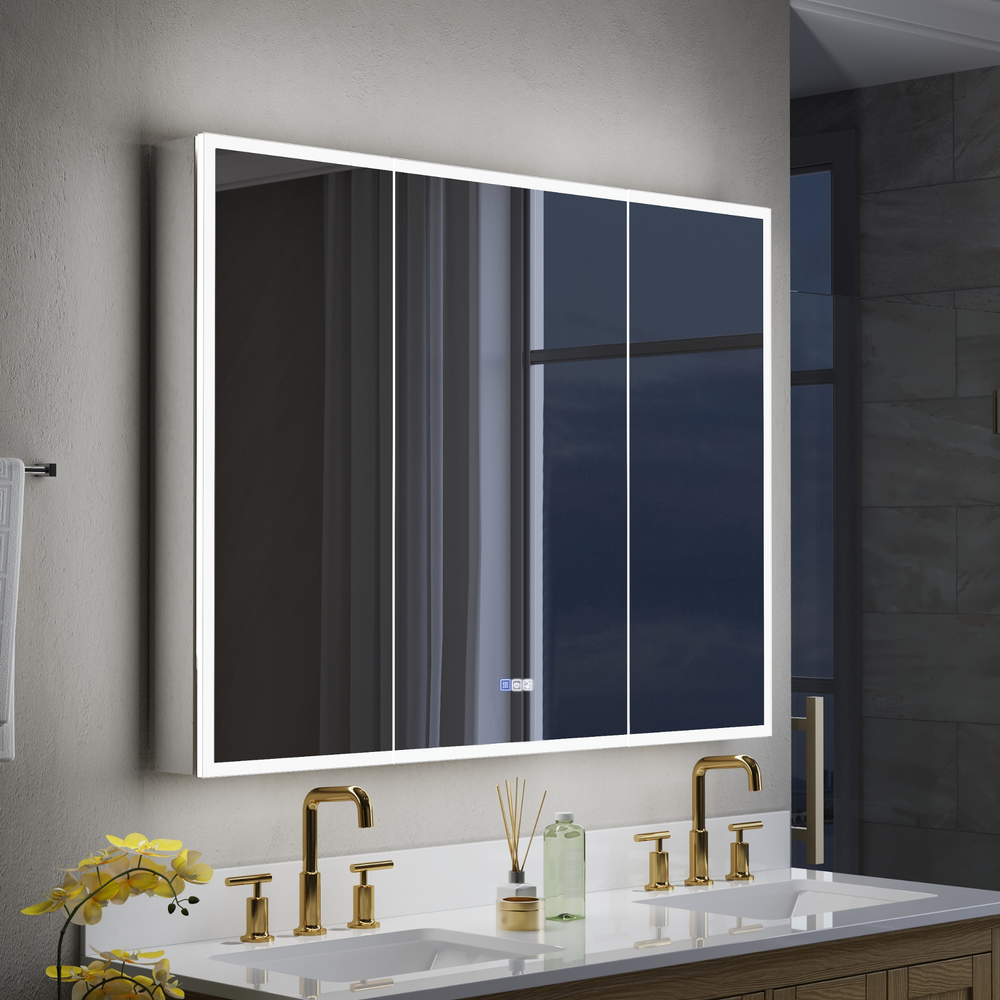
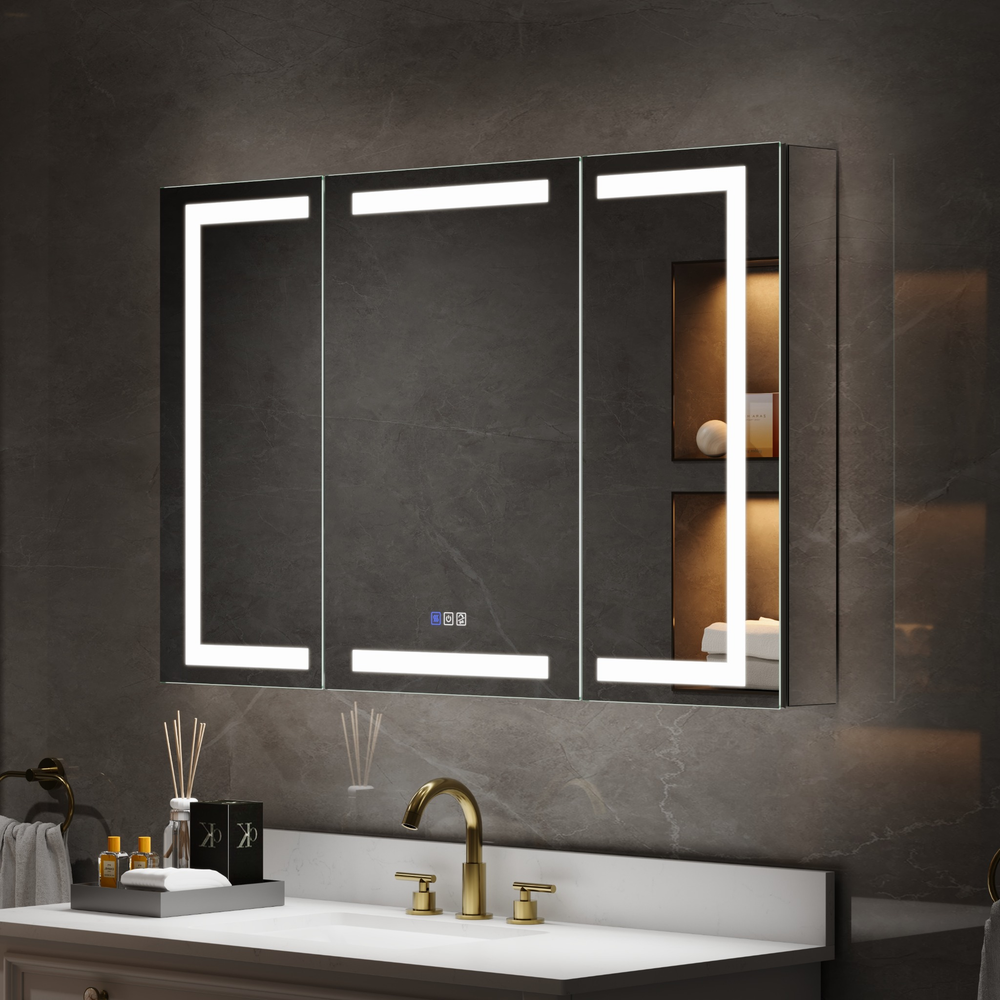


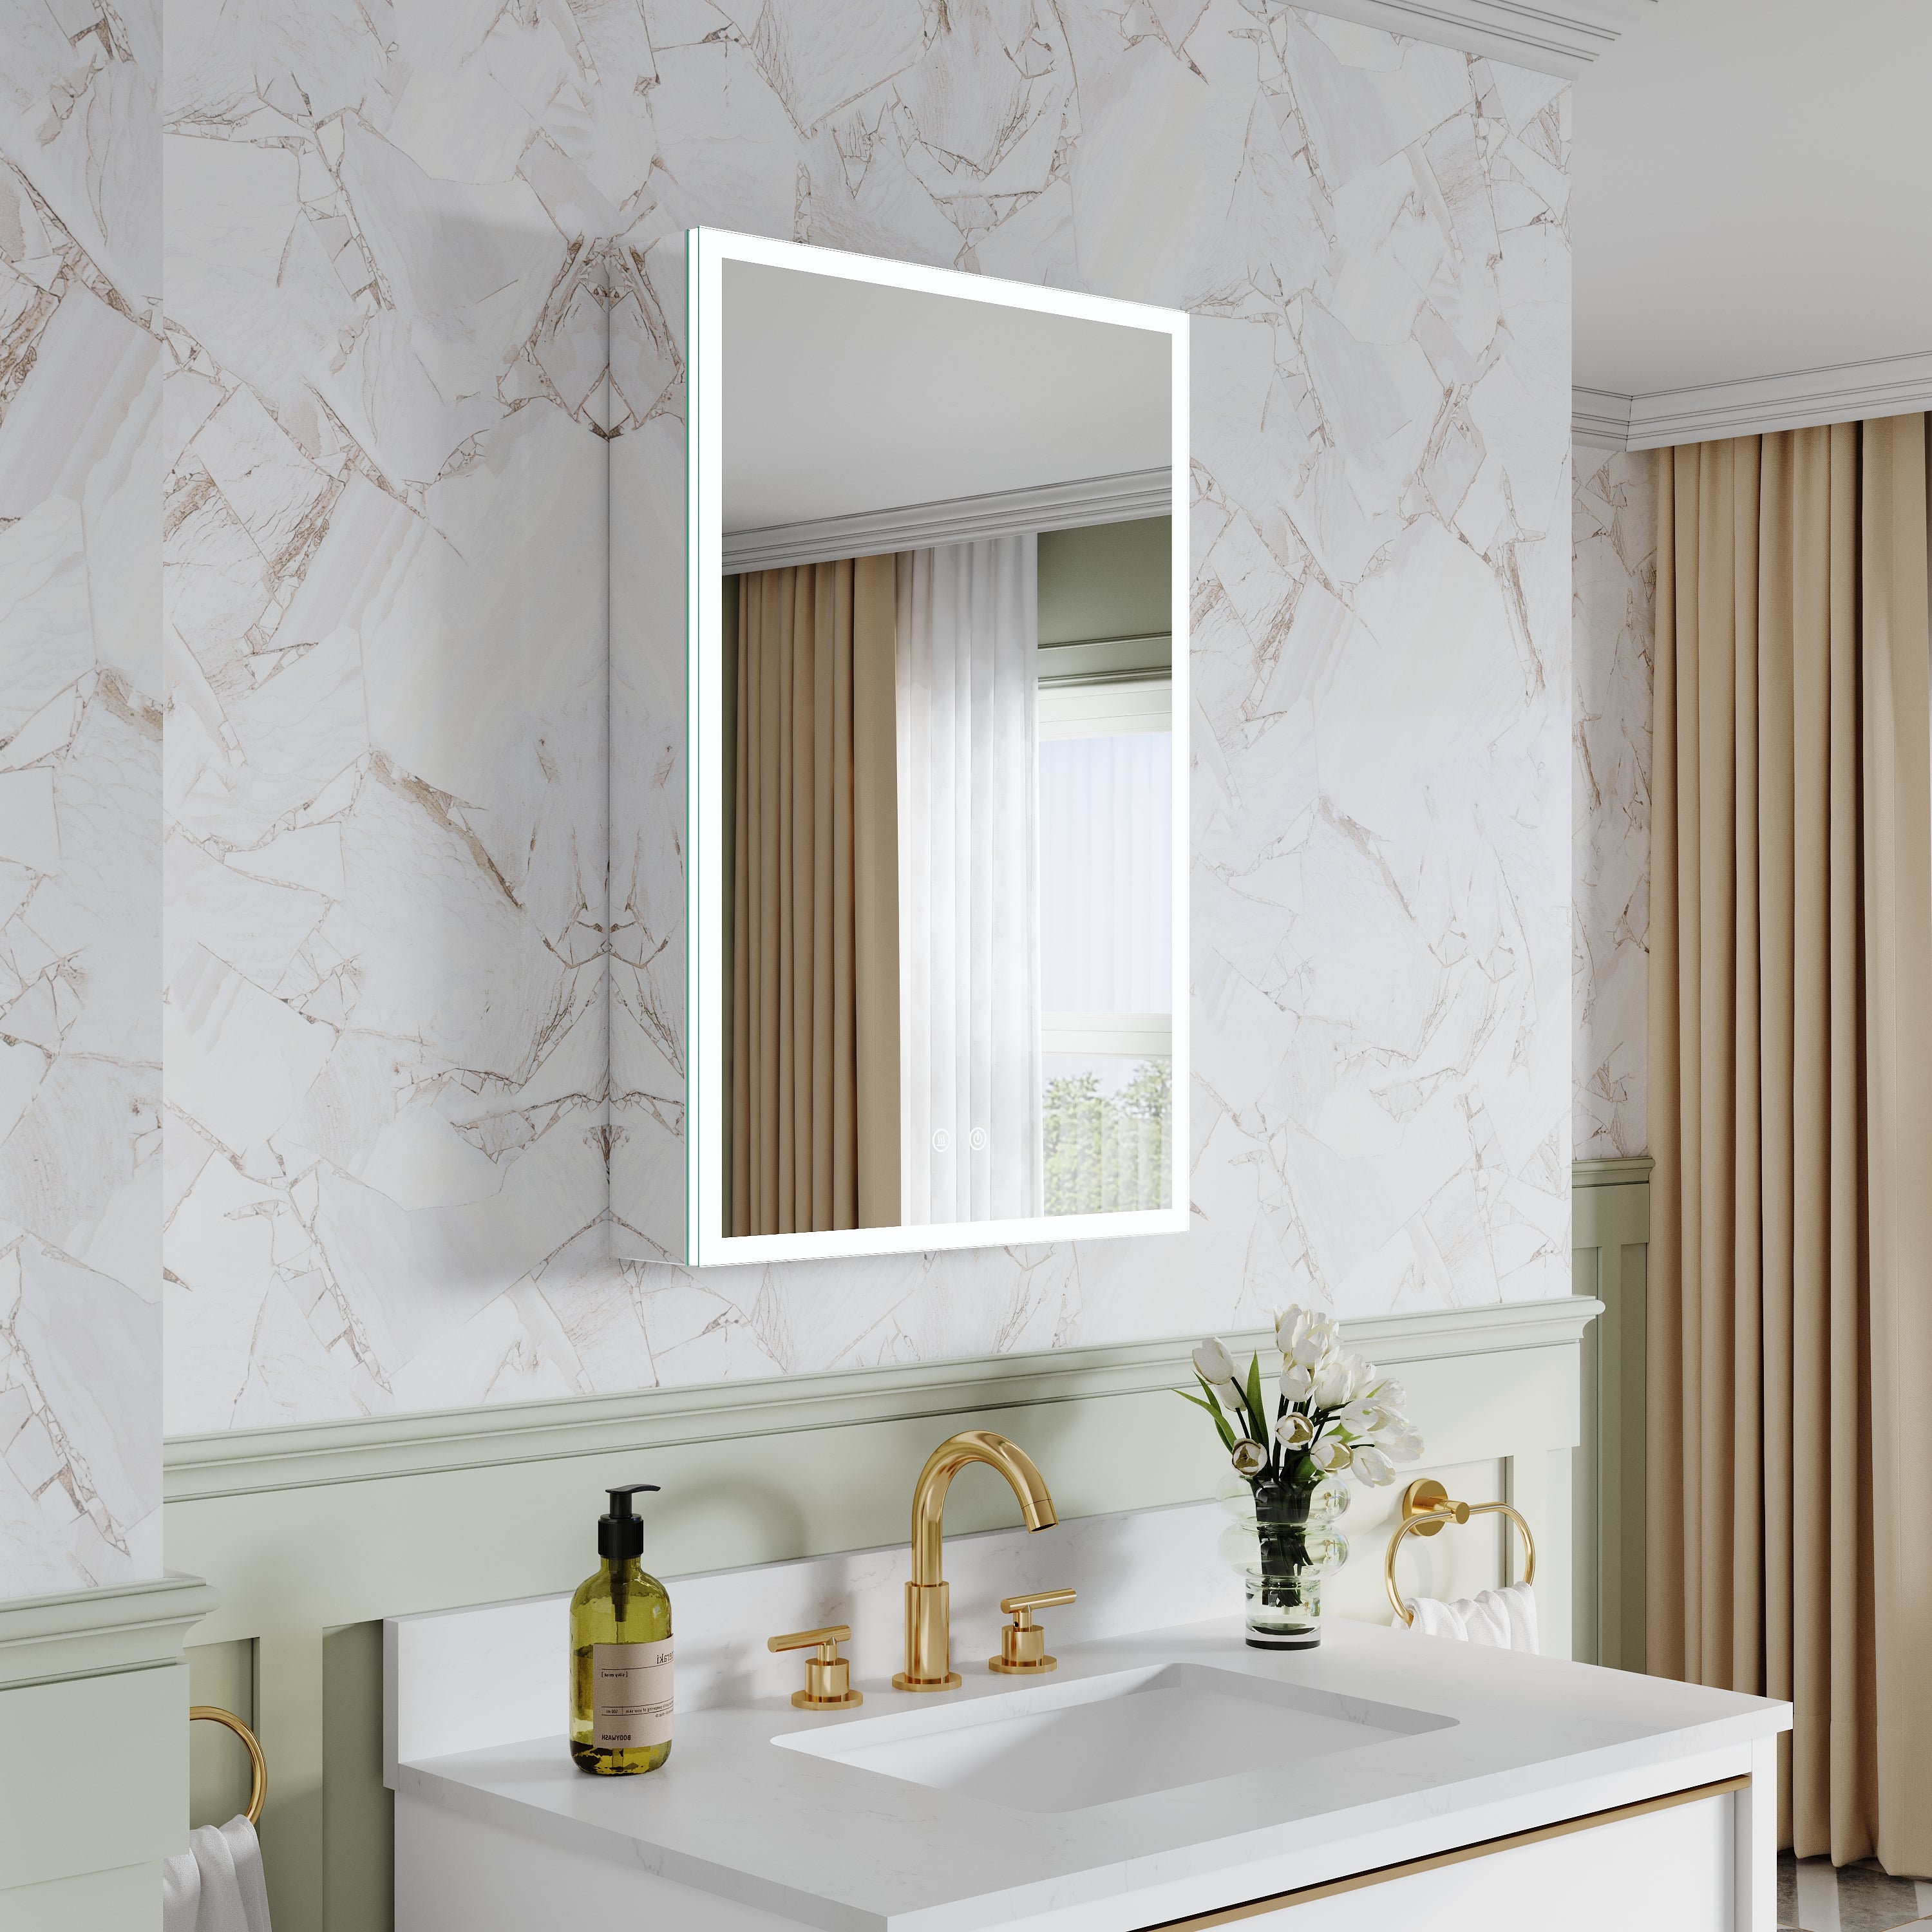
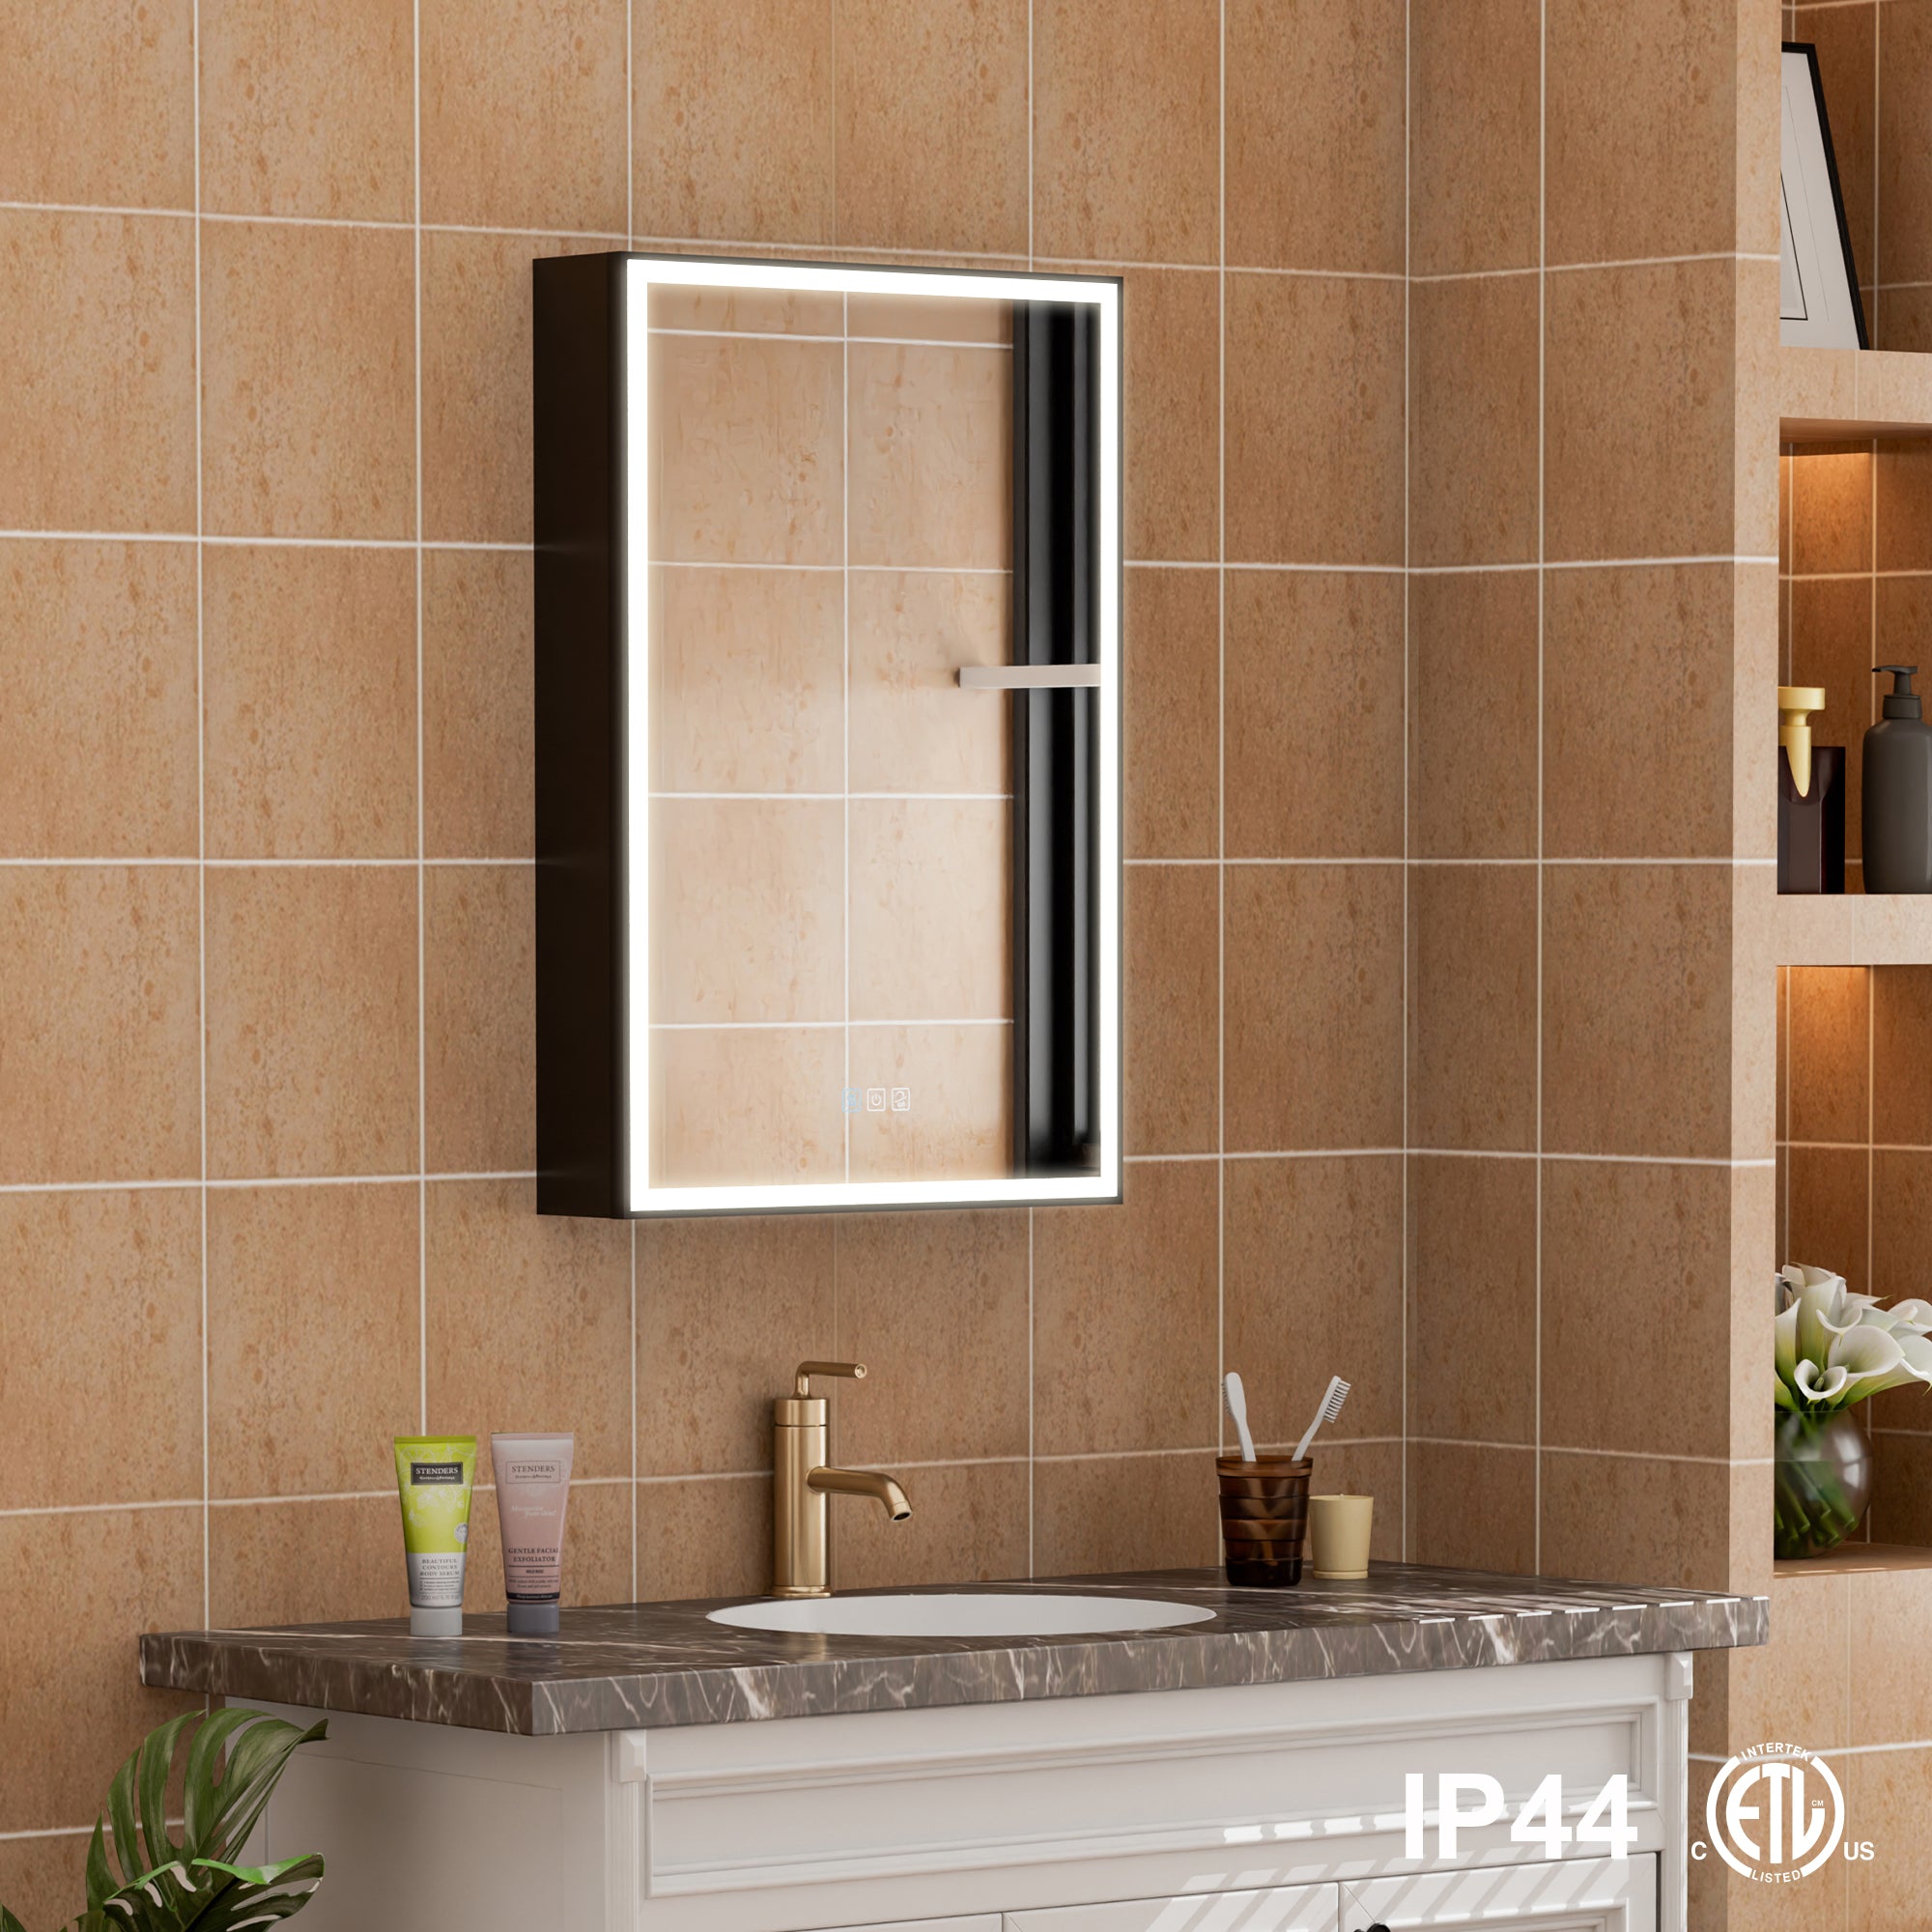



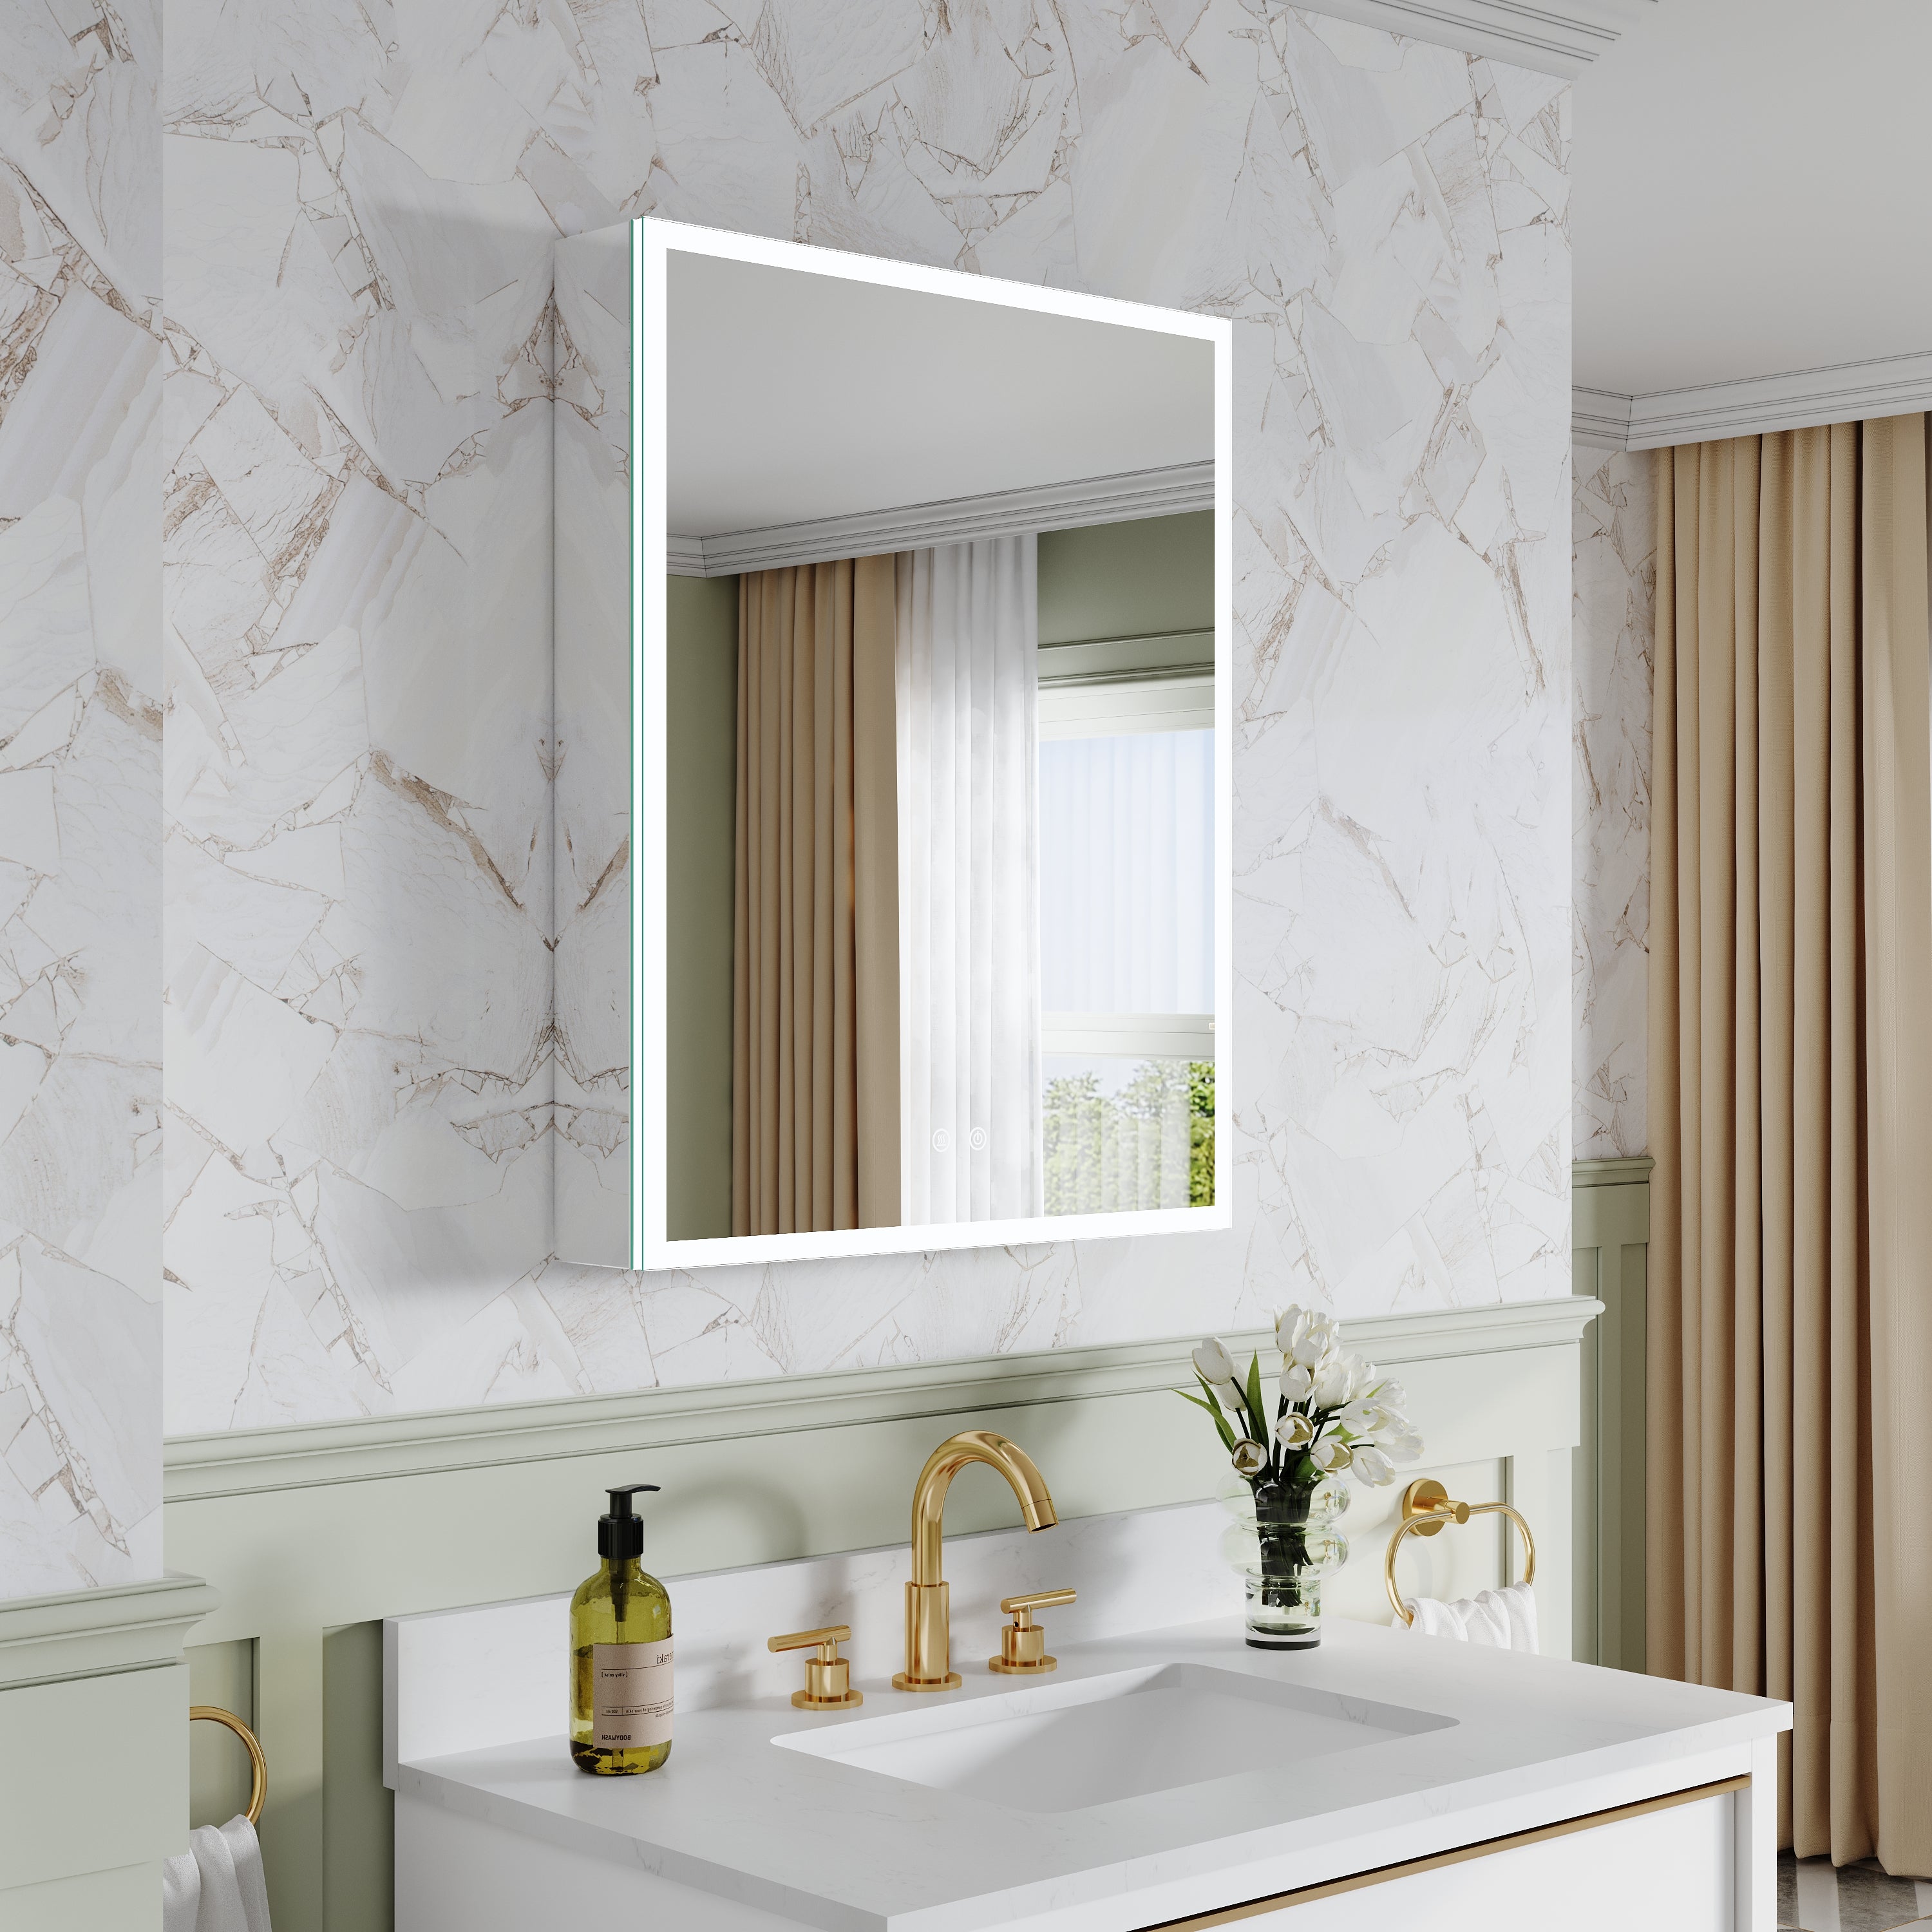
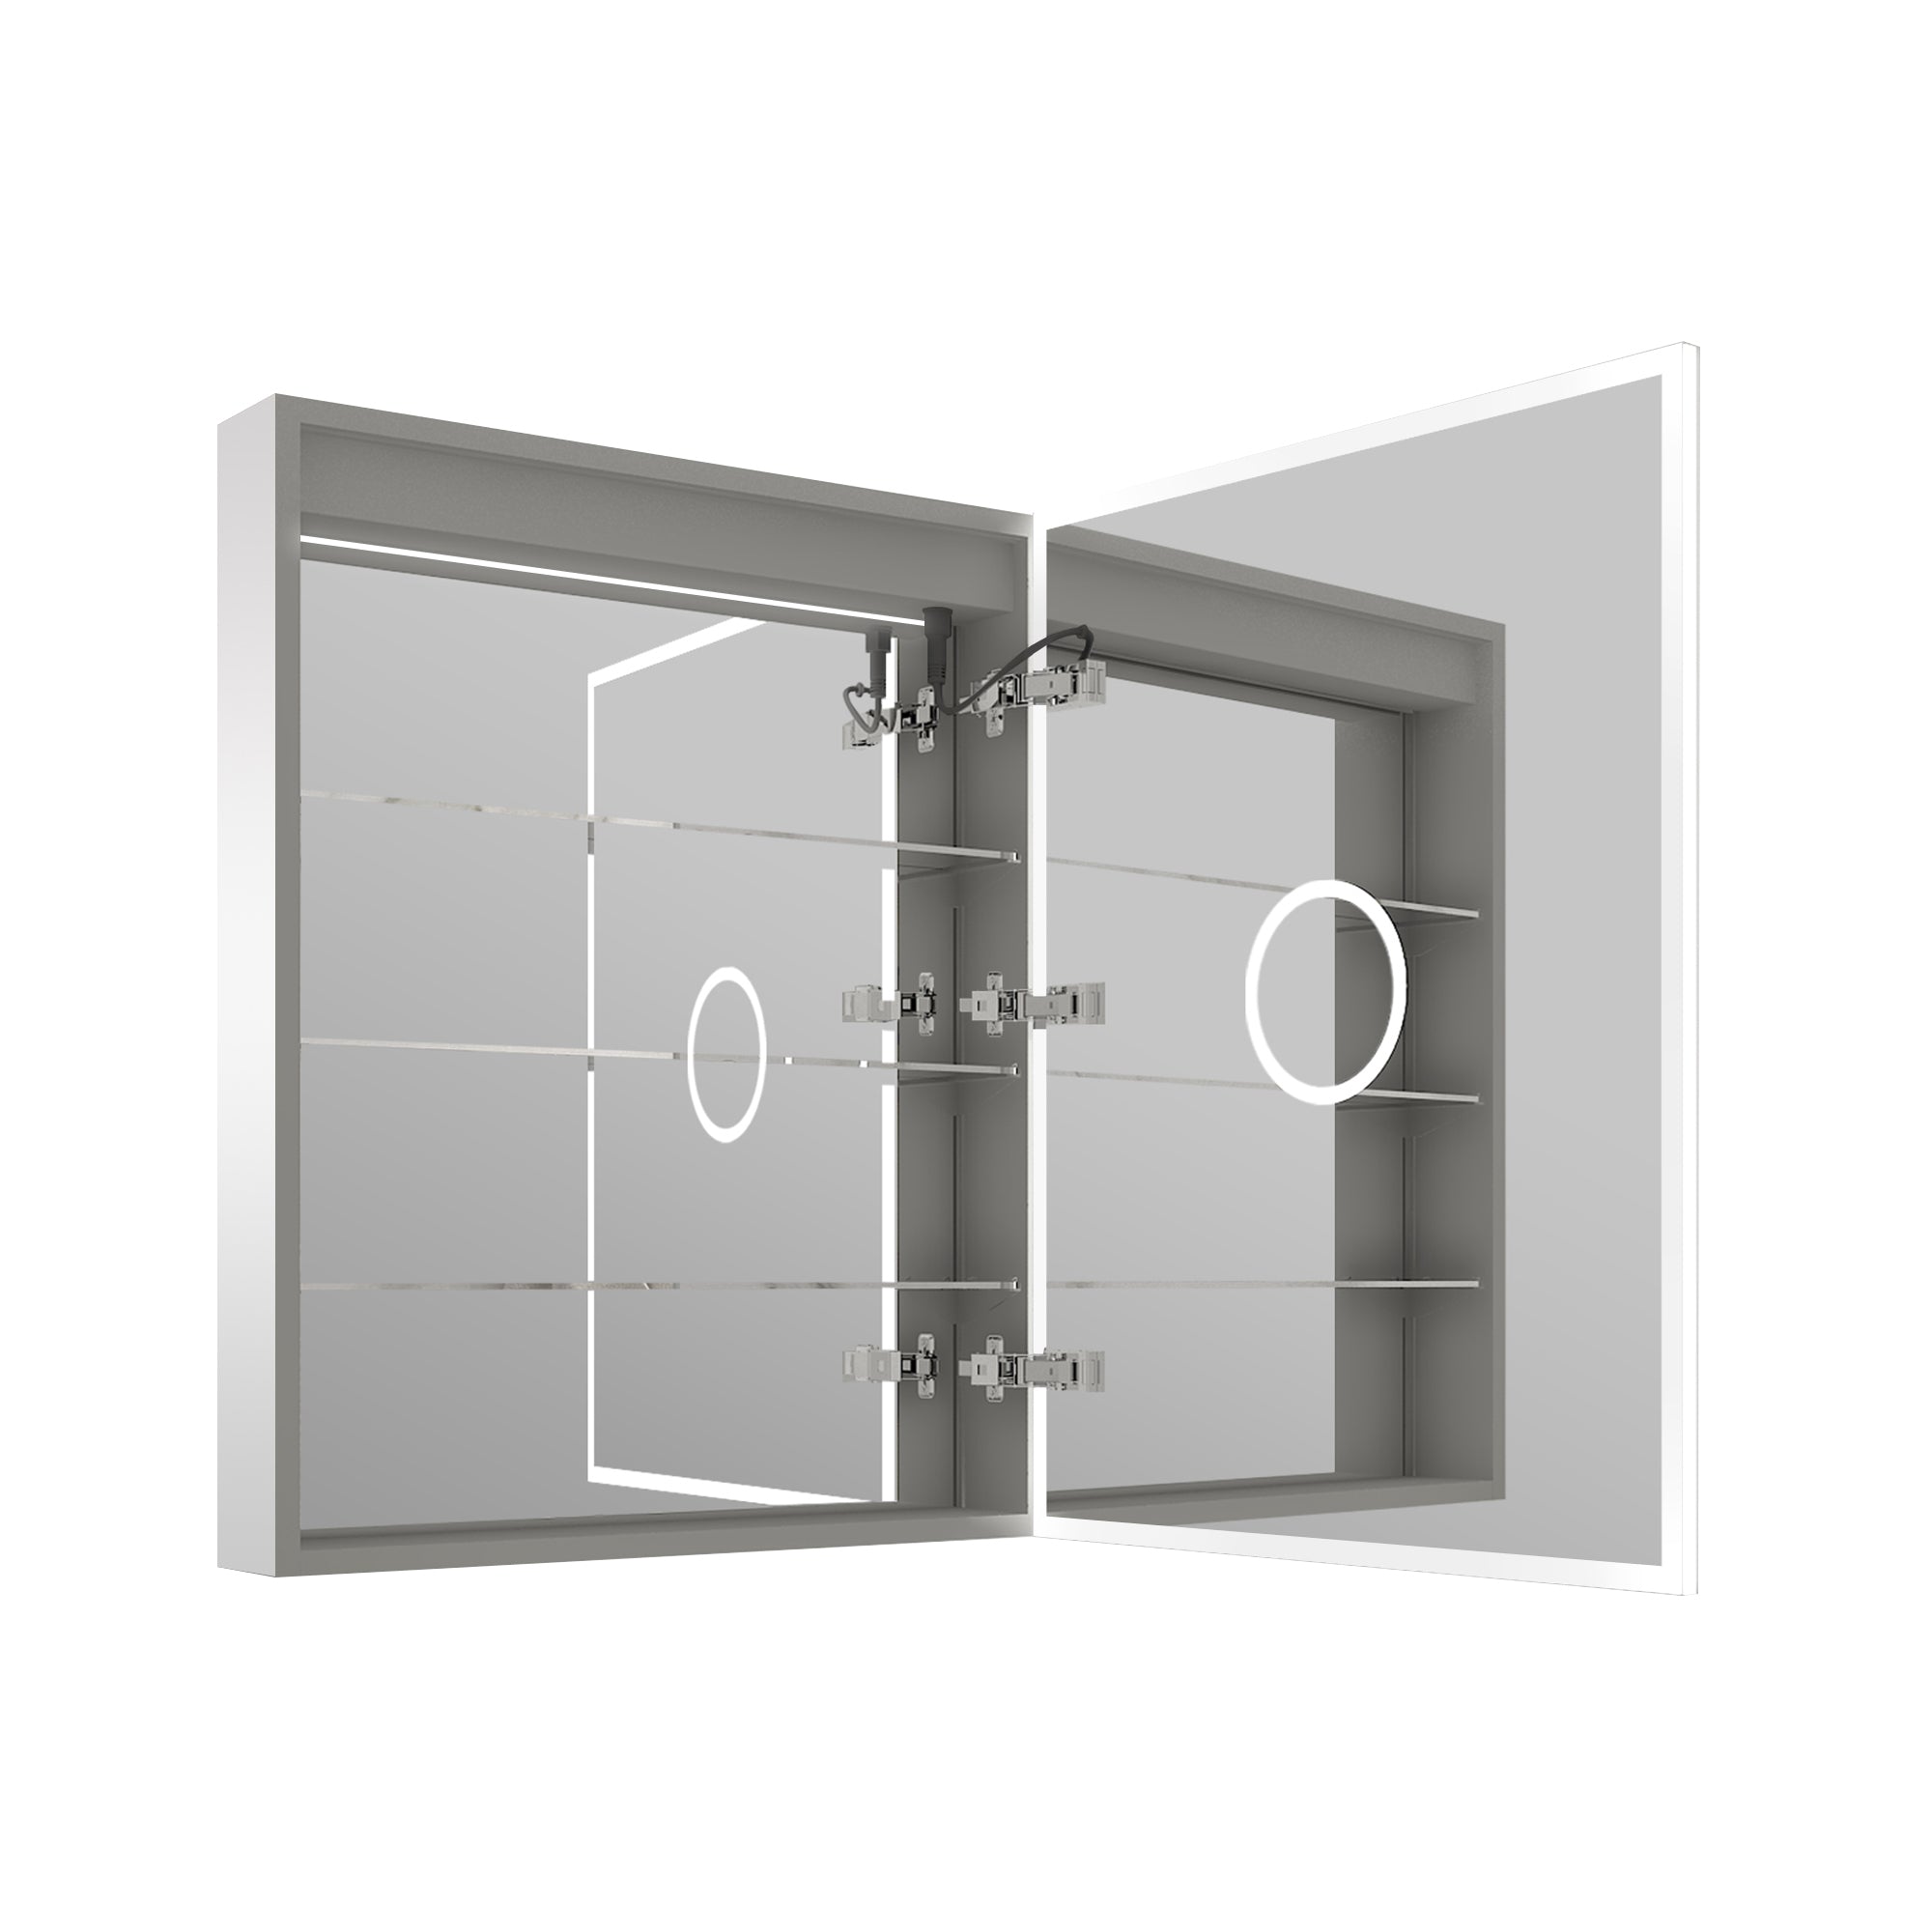
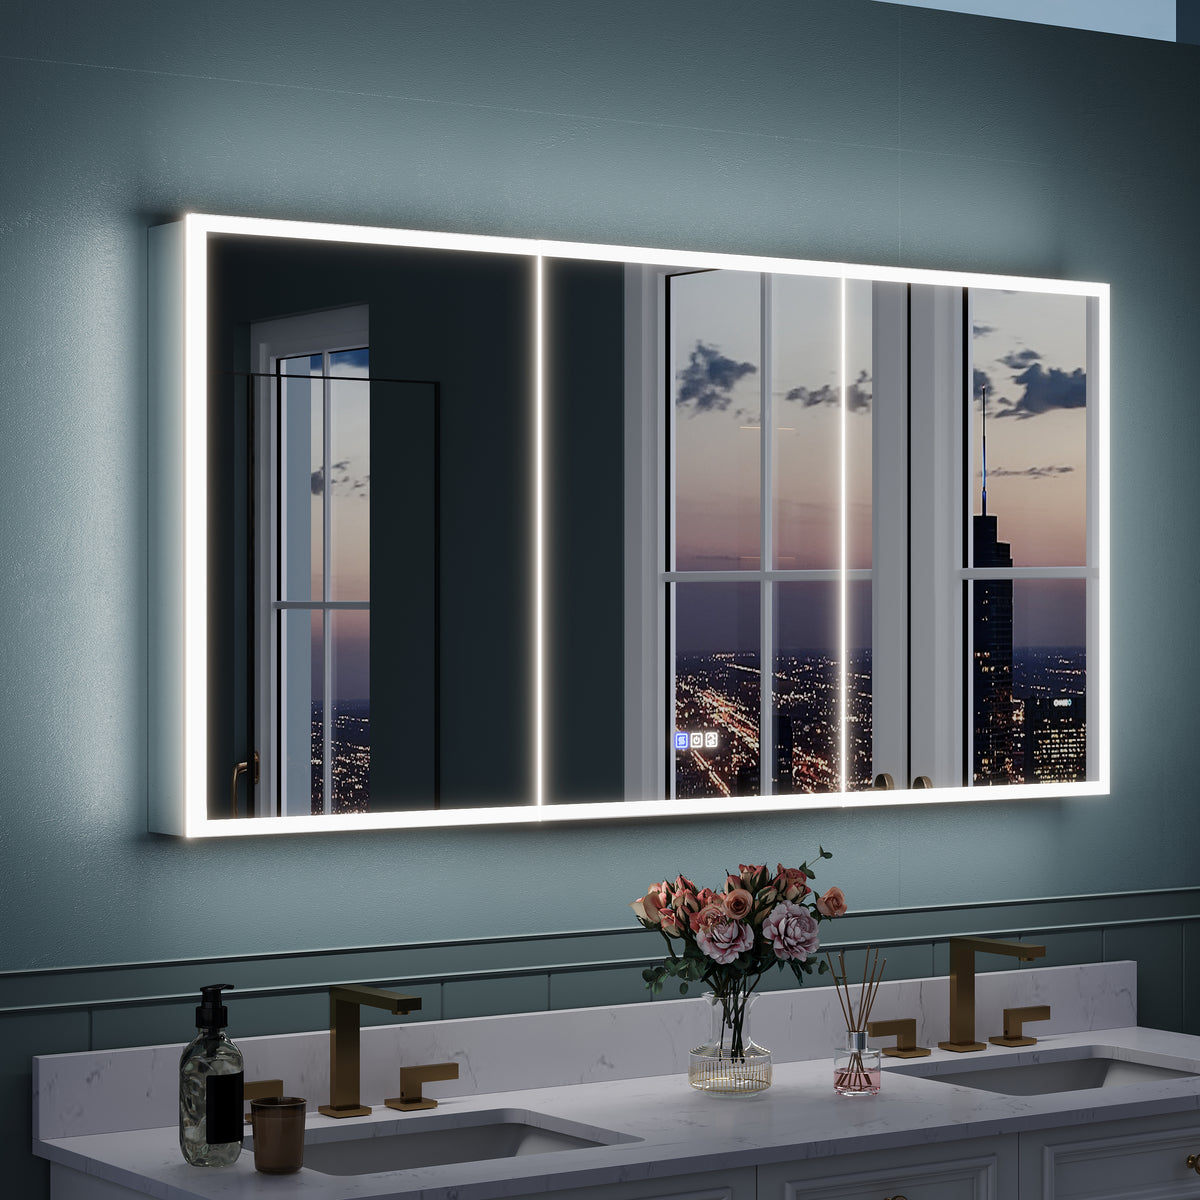
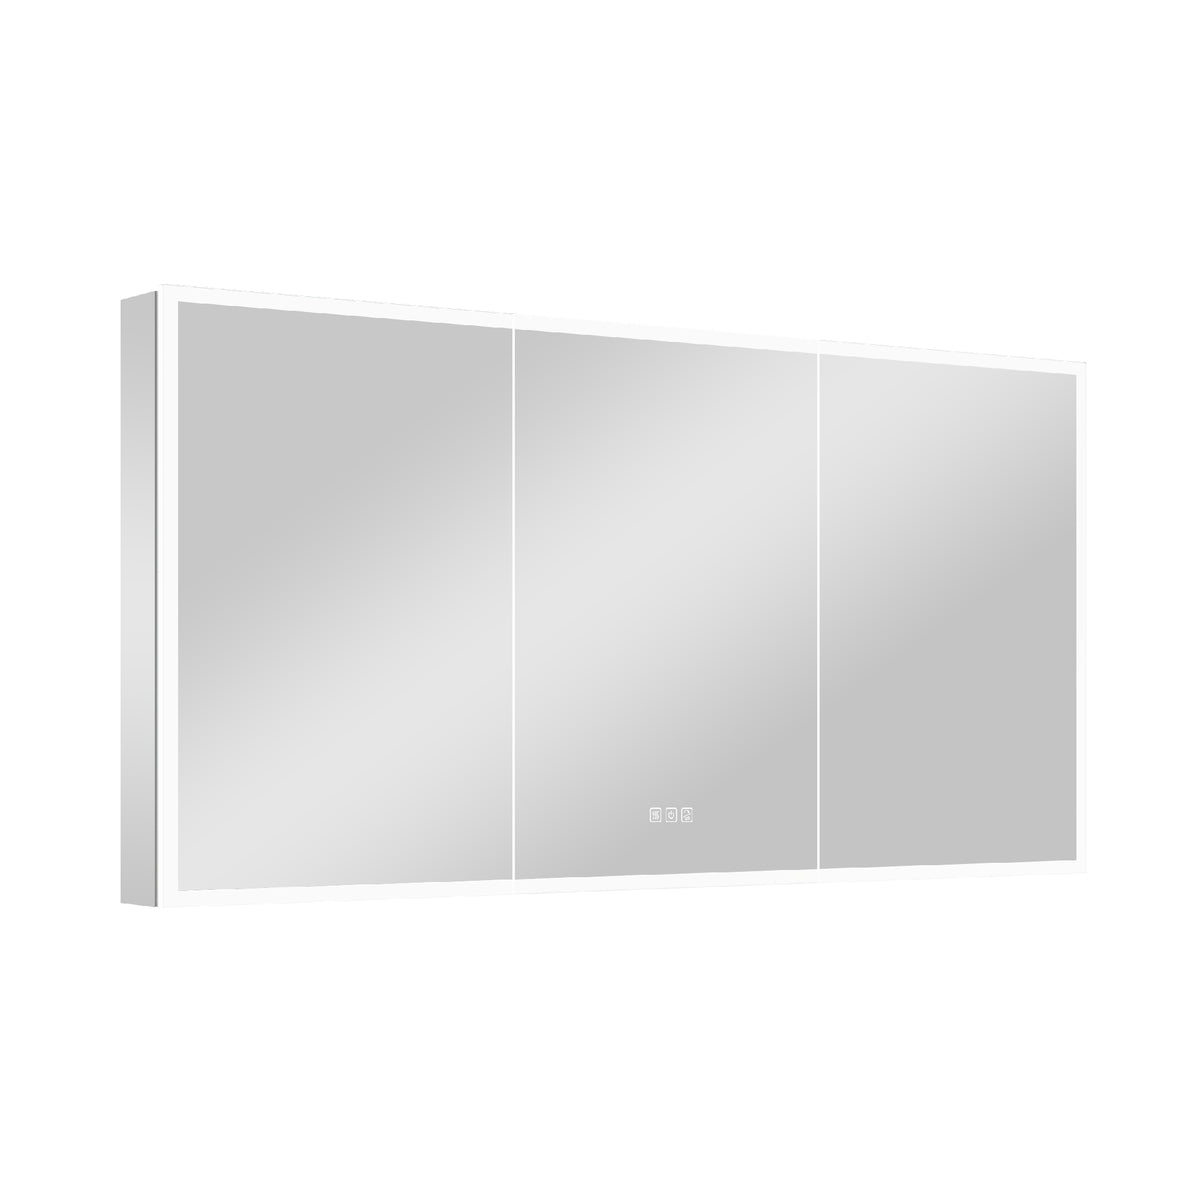
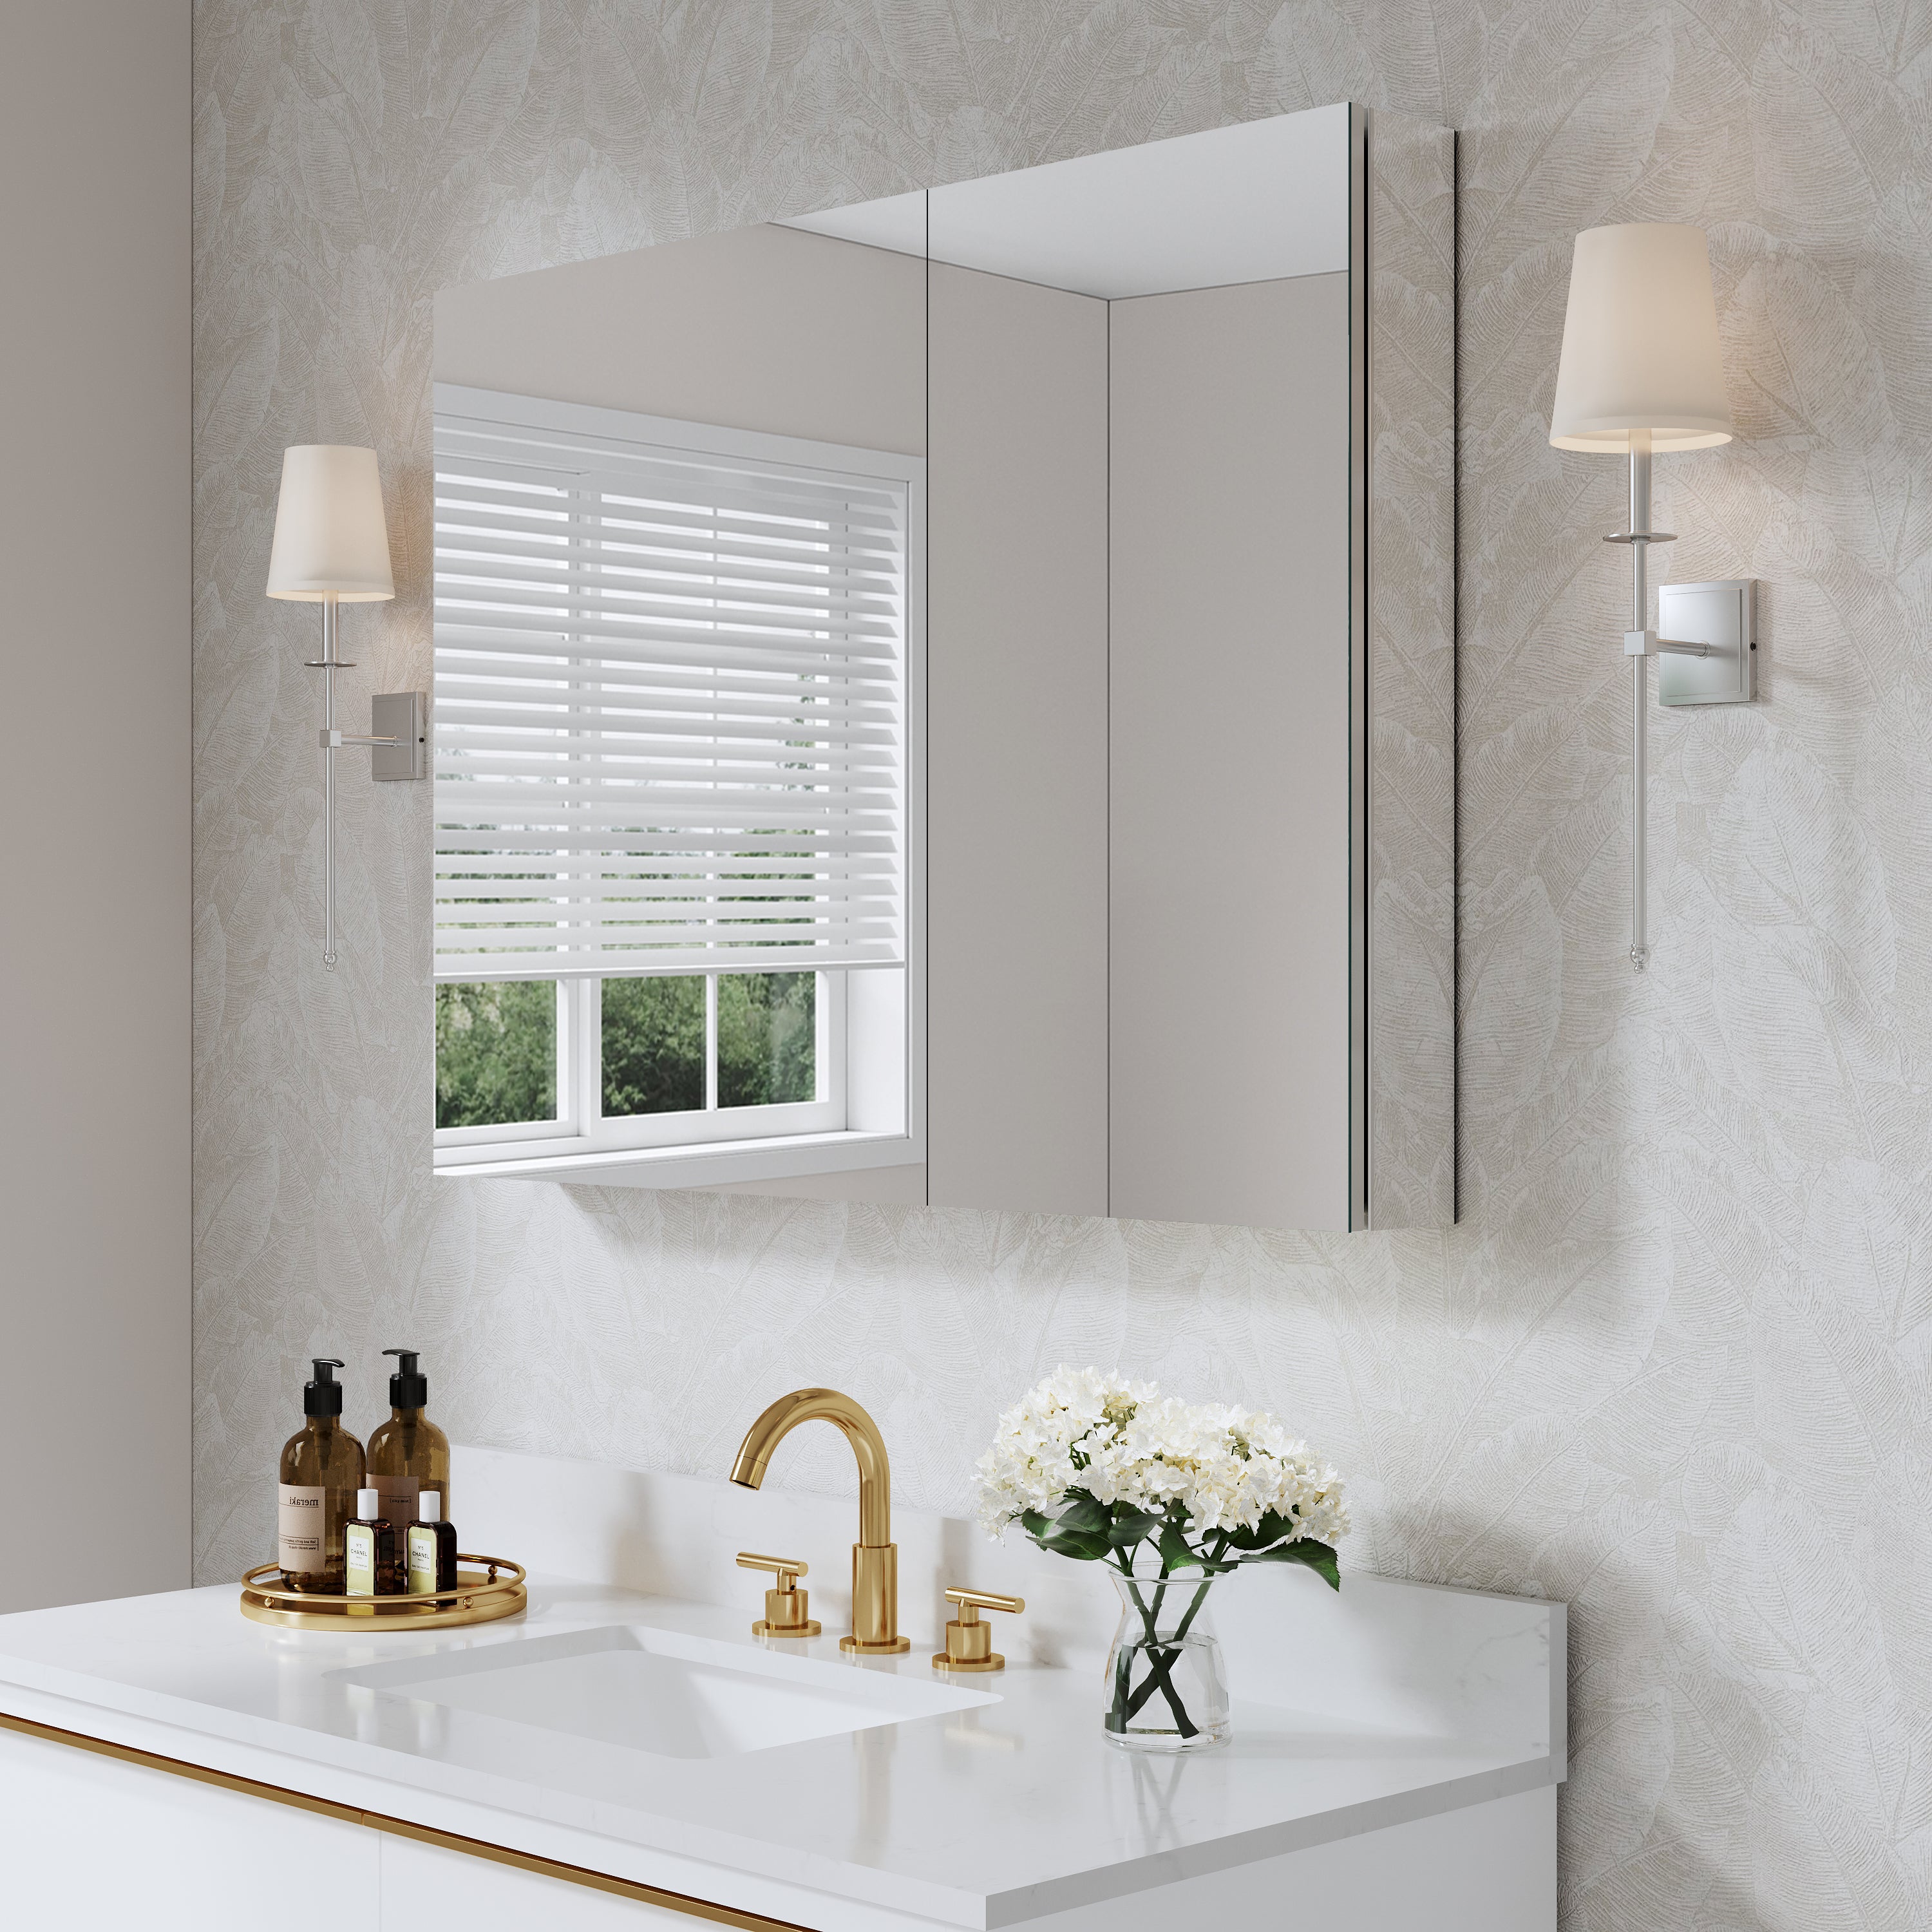
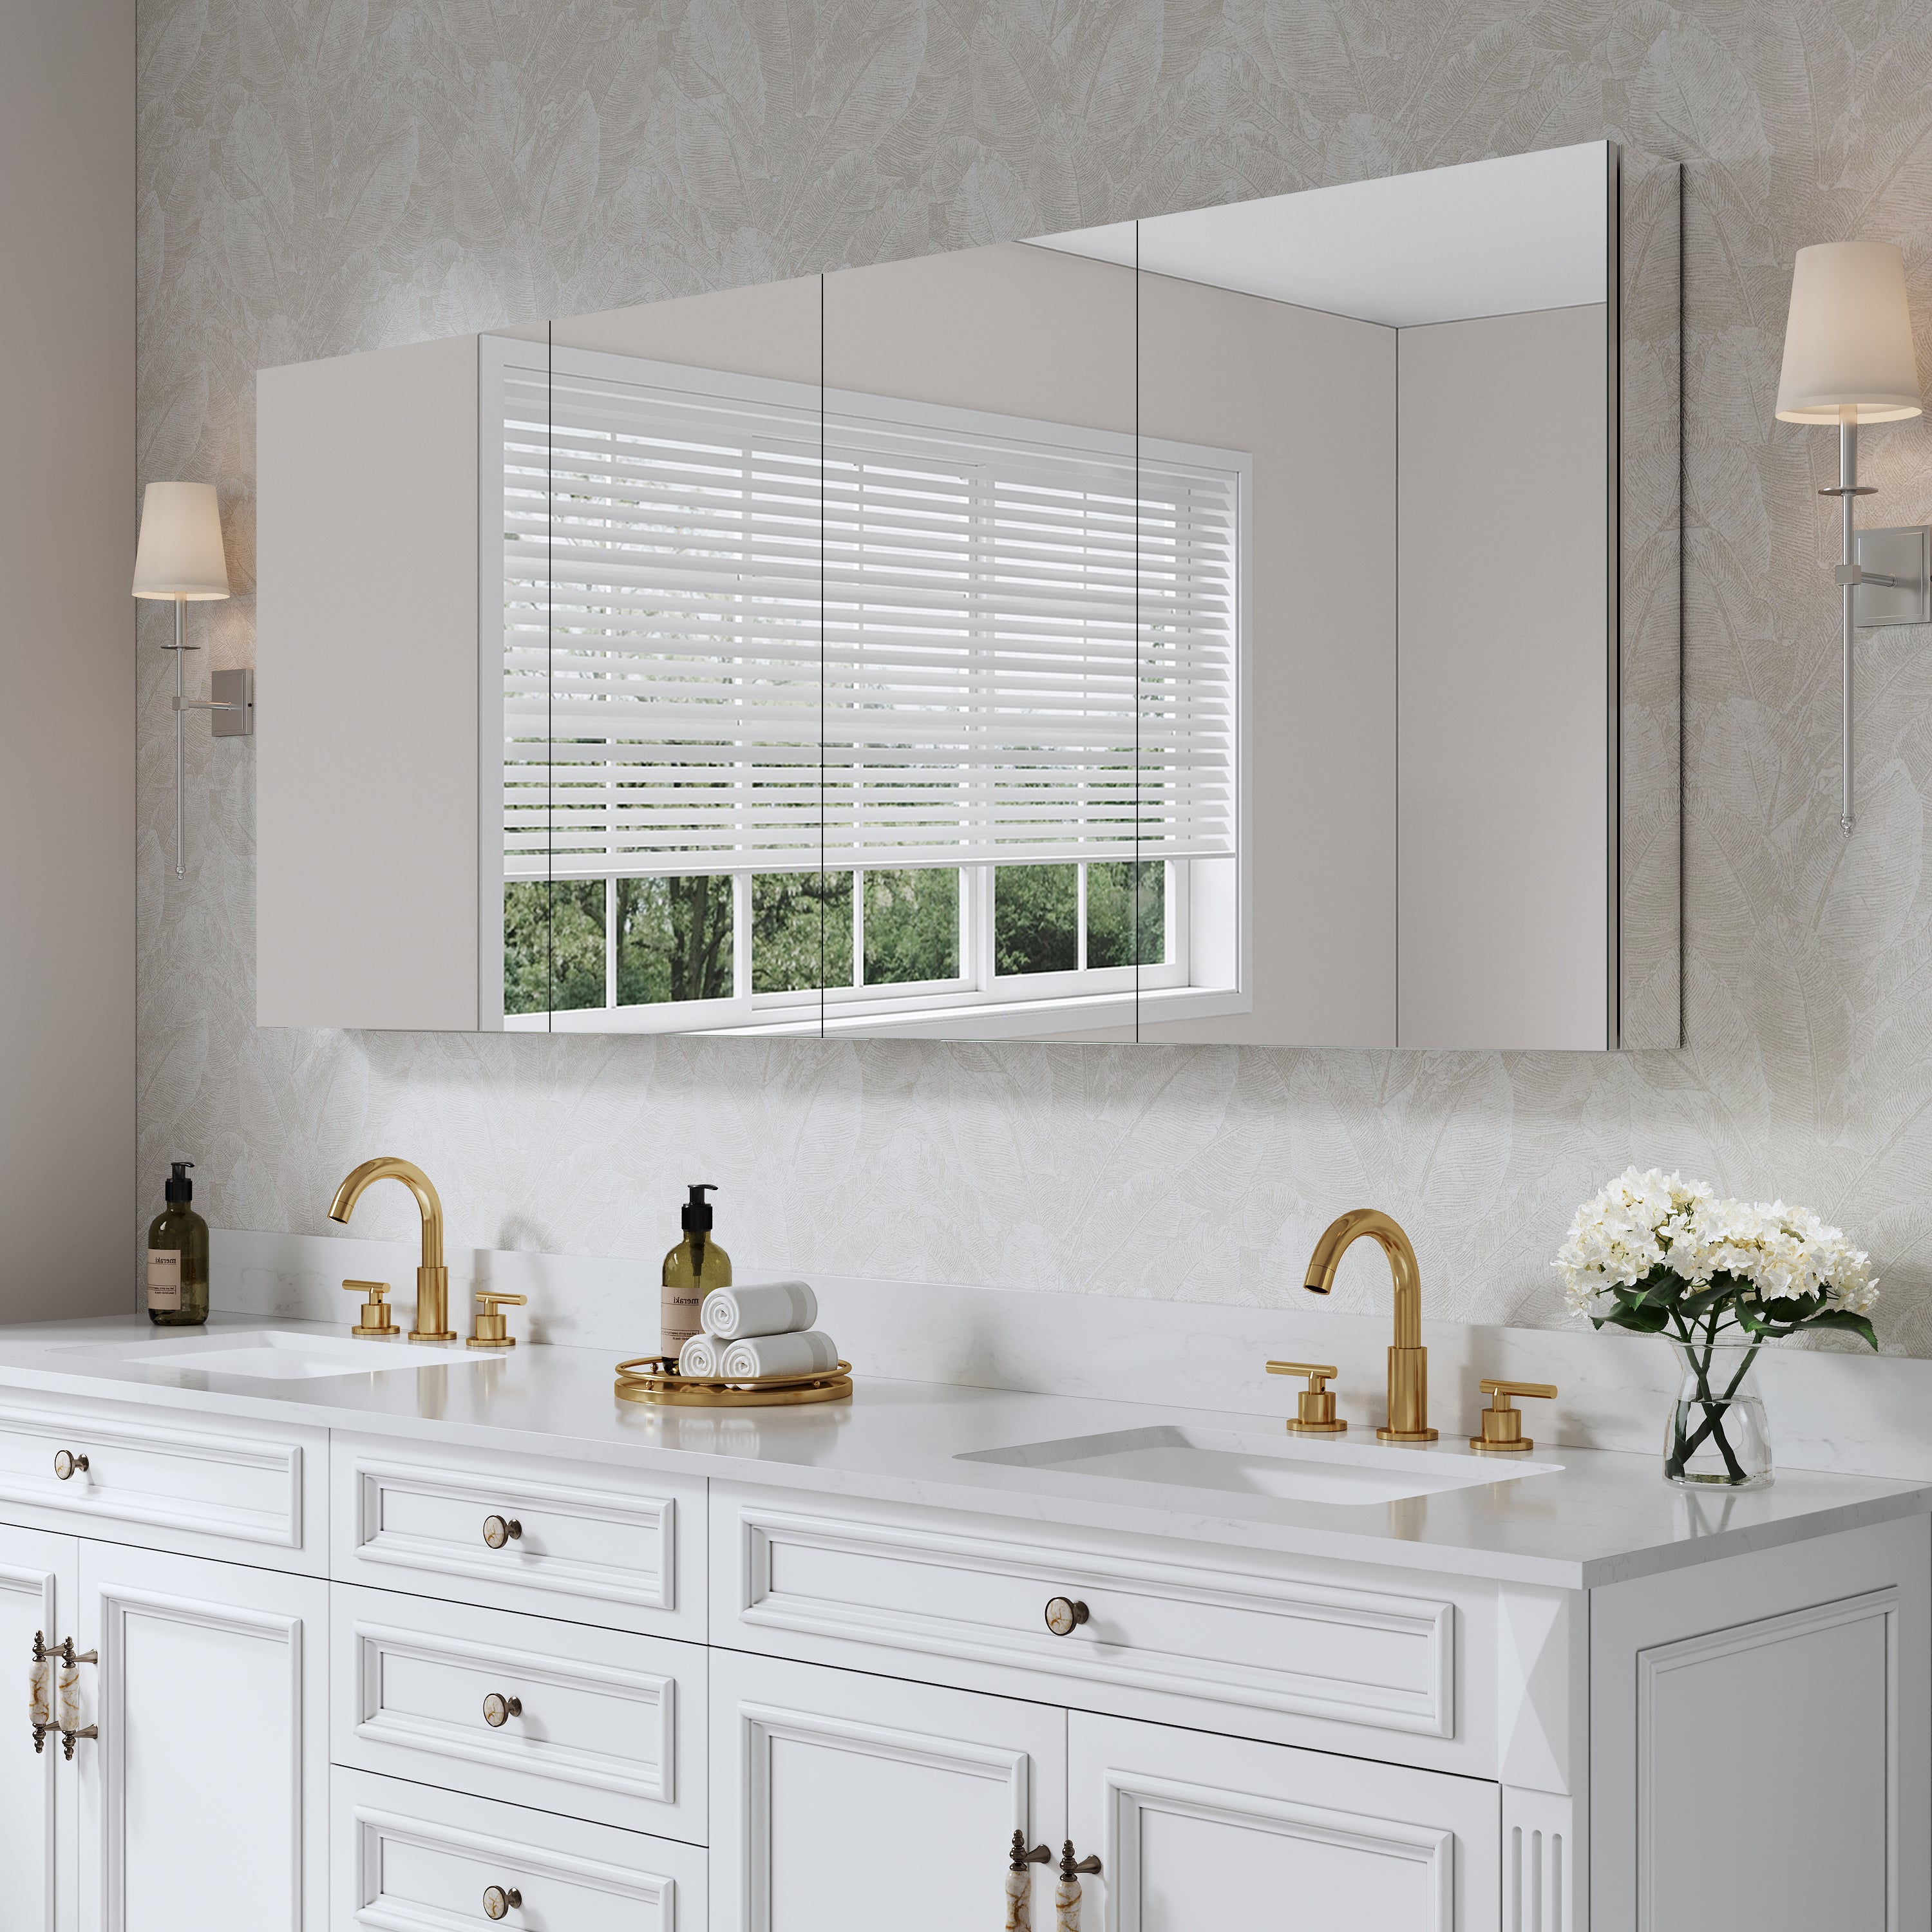
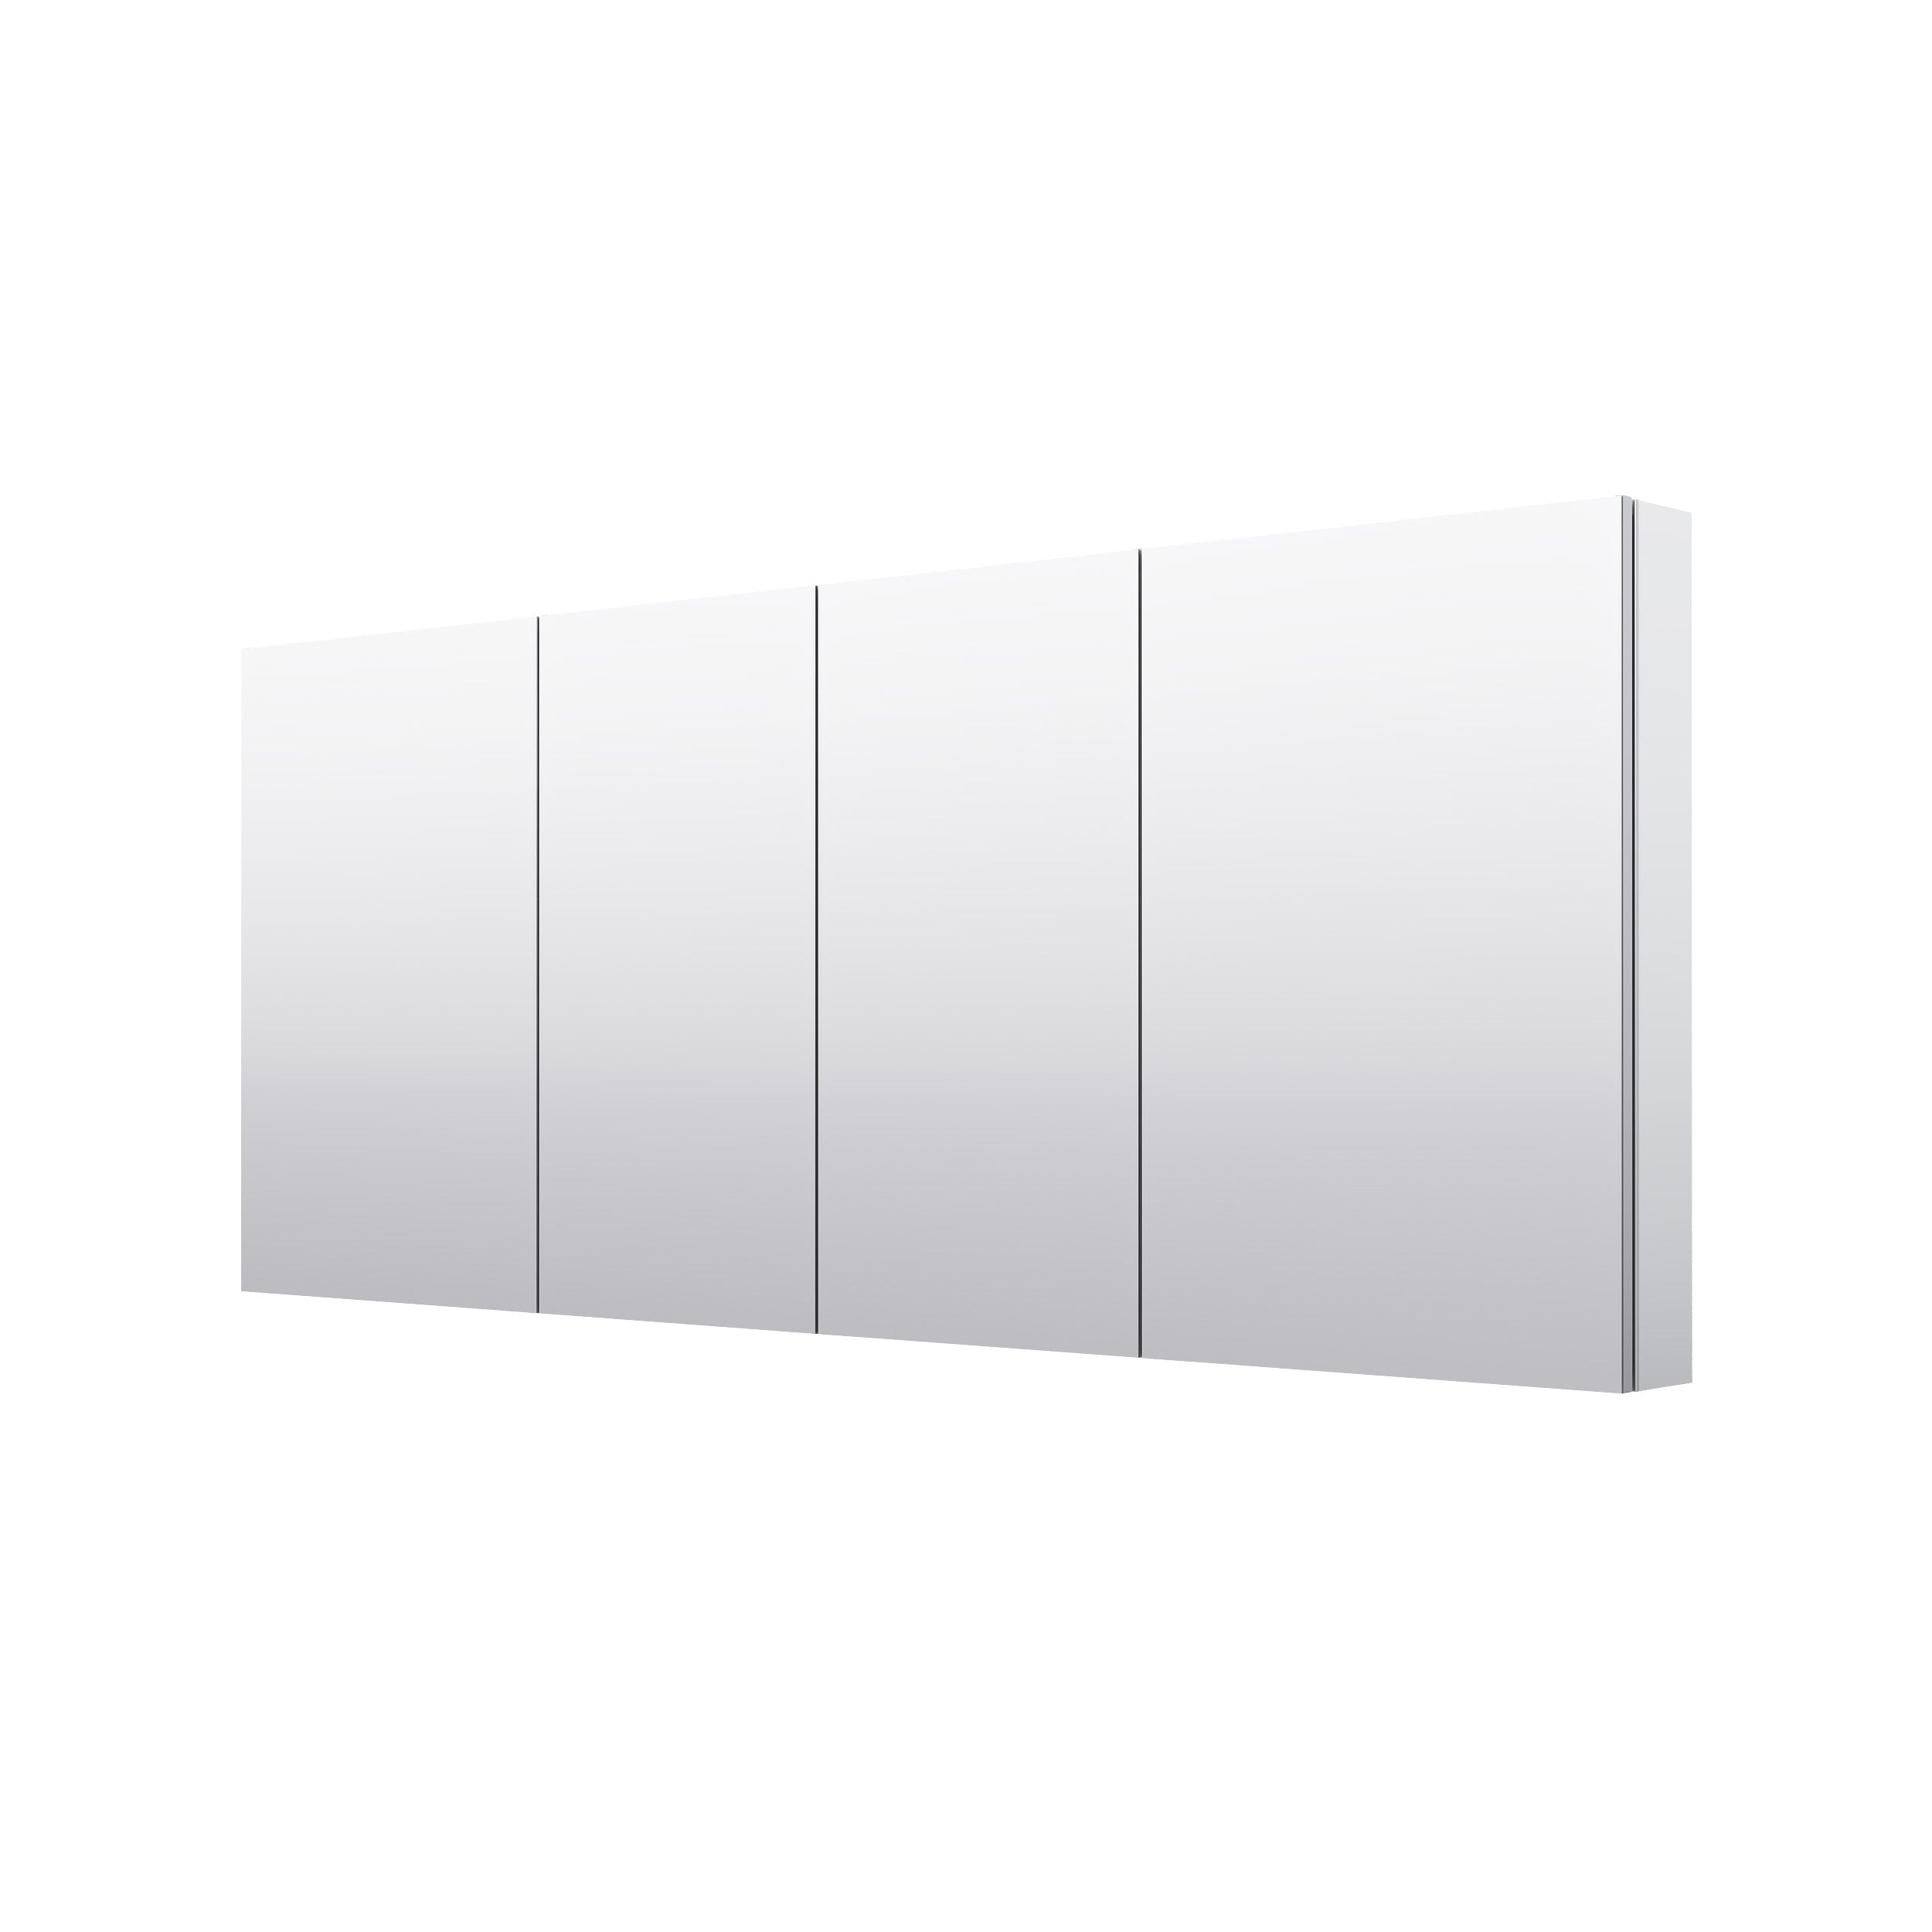
Trying to figure out how to fit recessed medicine cabinets with mirror into your bathroom wall can feel a bit intimidating if you’ve never done it before. You’re not just hanging a picture frame; you’re cutting a hole in your drywall and dealing with the guts of your bathroom—studs, wires, and sometimes pipes. But here is the good news: swapping a flat surface mirror for a recessed unit is one of the best ways to reclaim dead space, adding several inches of deep storage without eating into your actual bathroom footprint. If you have a free weekend, a stud finder, and a basic comfort level with a drywall saw, you can absolutely handle this project yourself.
Before you grab your tools, let’s walk through the exact steps to ensure your installation is safe, up to code, and looks completely seamless.
Step 1: Measure Twice, Cut Once (The Rough Opening)
First things first, you need to understand the difference between the cabinet size and the rough opening. The rough opening is the actual hole you need to cut into the wall.
If you are buying a new cabinet, the manufacturer will always list the required rough opening dimensions. Do not just measure the outside of the cabinet frame. You need roughly 1/4-inch of extra space on all sides to slide the box in and level it.
Once you know your dimensions, use a stud finder to locate the wall framing. You want your cabinet to ideally span across two studs for maximum support, but you can't cut through the studs themselves. Mark your cut lines on the drywall using a level. If you're replacing an old flat mirror, measure the new cabinet against the old mirror's footprint—often, the old mirror was glued directly to the drywall, so you'll need to remove the drywall behind it to expose the studs.
Step 2: Check for Hidden Hazards
Before your drywall saw touches the wall, turn off the power to the bathroom at your breaker box.
Carefully score the drywall along your pencil lines with a utility knife, then use a drywall saw to cut out the hole. Work slowly. If you feel resistance, stop and investigate. It's common in older U.S. homes to find rogue electrical wires or plumbing pipes hiding right where you want to put a cabinet. (Source: U.S. Consumer Product Safety Commission, guidance on safe DIY home electrical practices).
If you do hit a pipe, you’ll have to patch the drywall and relocate your cabinet. If it’s just a wire, you can often carefully tuck it out of the way, but ensure it doesn't get pinched between the cabinet and the studs.
Step 3: Frame It Out (If Necessary)
According to the National Electrical Code (NEC Article 314.20), any electrical box or wiring connection inside a wall must be enclosed. Because medicine cabinets are often installed near vanity lights and outlets, it’s highly likely you'll encounter wiring.
If your cutout doesn't perfectly align with the studs, or if you need to create a secure mounting surface, you’ll need to add "blocking" or framing. Cut pieces of 2x4 lumber to fit between your wall studs at the top and bottom of your rough opening. Secure them with wood screws. This gives your cabinet a solid frame to screw directly into, which is crucial if you have a heavier unit or one with glass shelves.
Step 4: Secure the Cabinet
Here is where the actual fitting happens. Slide the cabinet into the rough opening. It should be snug but not forced.
Use wood shims to level the cabinet side-to-side and top-to-bottom. Don't rely on your eye—use an actual level. Once it’s perfectly straight, you need to anchor it. Most recessed cabinets have mounting holes on the inside of the frame. Drive your screws (usually provided, but 2-inch wood screws work well) through the cabinet frame and directly into the studs or the blocking you installed earlier.
If you opted for a plug-in model rather than a hardwired one, this is the time to route the power cord through the back or side of the cabinet and plug it into a GFCI-protected outlet. (Source: NEC Article 210.8, which requires GFCI protection in bathroom areas).
Step 5: Finishing Touches and Caulking
Now that the cabinet is secure, you need to seal the edges. If you're left with a small gap between the drywall and the cabinet frame, use a paintable latex caulk to fill it. This doesn't just make it look clean—it stops warm, moist bathroom air from escaping into the wall cavity, which can cause mold over time.
If you had to remove a large section of drywall to make the cabinet fit, you might need to do a bit of drywall patching and painting around the frame.
A Note on Depth and Wall Clearance
One of the biggest mistakes people make is buying a cabinet that is too deep for their wall. Standard interior walls in the U.S. are built with 2x4 studs, which means the wall cavity is only about 3.5 inches deep (Source: National Association of Home Builders, residential construction standards).
If you buy a 6-inch deep cabinet, it’s going to stick out of the wall significantly. Before you buy, measure the depth of your wall cavity. If you have a shallow wall, look for "shallow depth" or semi-recessed models designed specifically for 2x4 framing.

The Bottom Line
Fitting a recessed medicine cabinet is a manageable DIY project that pays off massively in daily convenience. Just remember the golden rules: check for electrical wires before you cut, ensure your rough opening matches the manufacturer's specs, and always anchor the cabinet directly into wood framing. Take your time, keep your level handy, and you’ll have a beautifully integrated storage solution that makes your bathroom feel bigger and more organized.












Leave a comment
This site is protected by hCaptcha and the hCaptcha Privacy Policy and Terms of Service apply.