
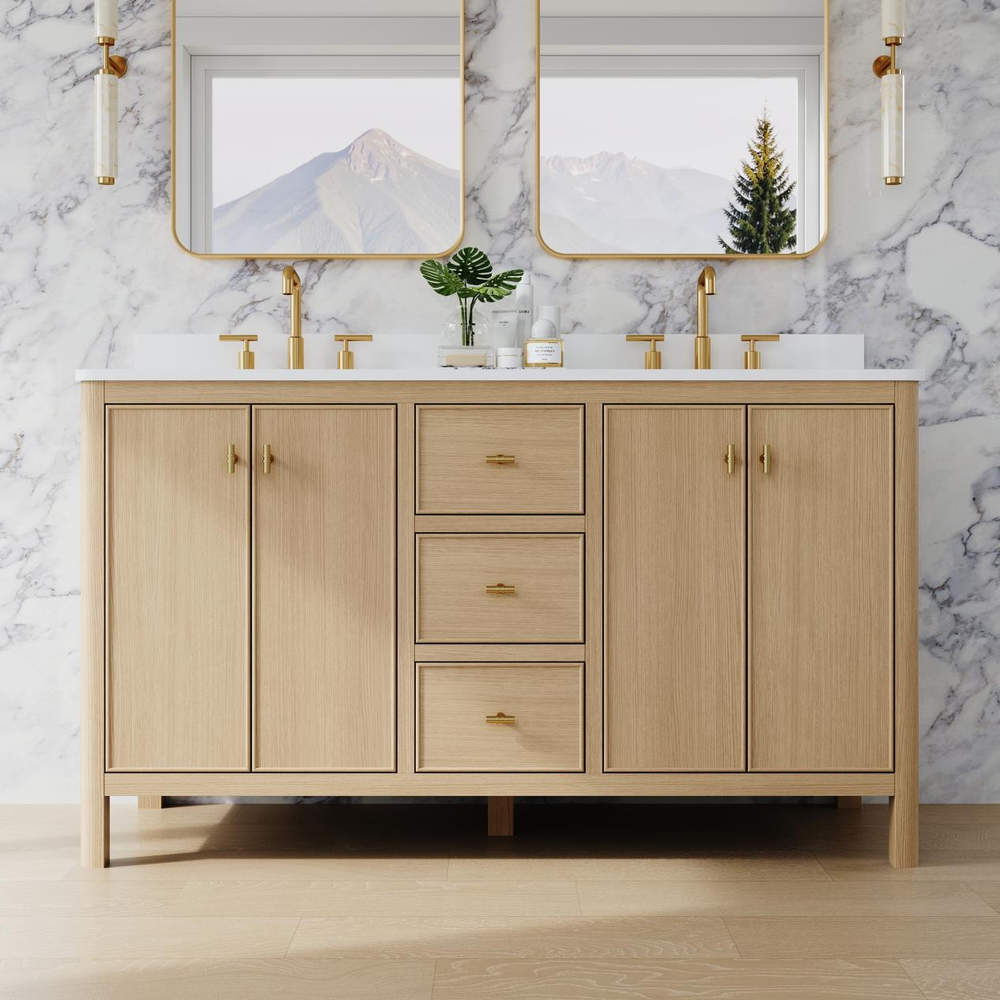
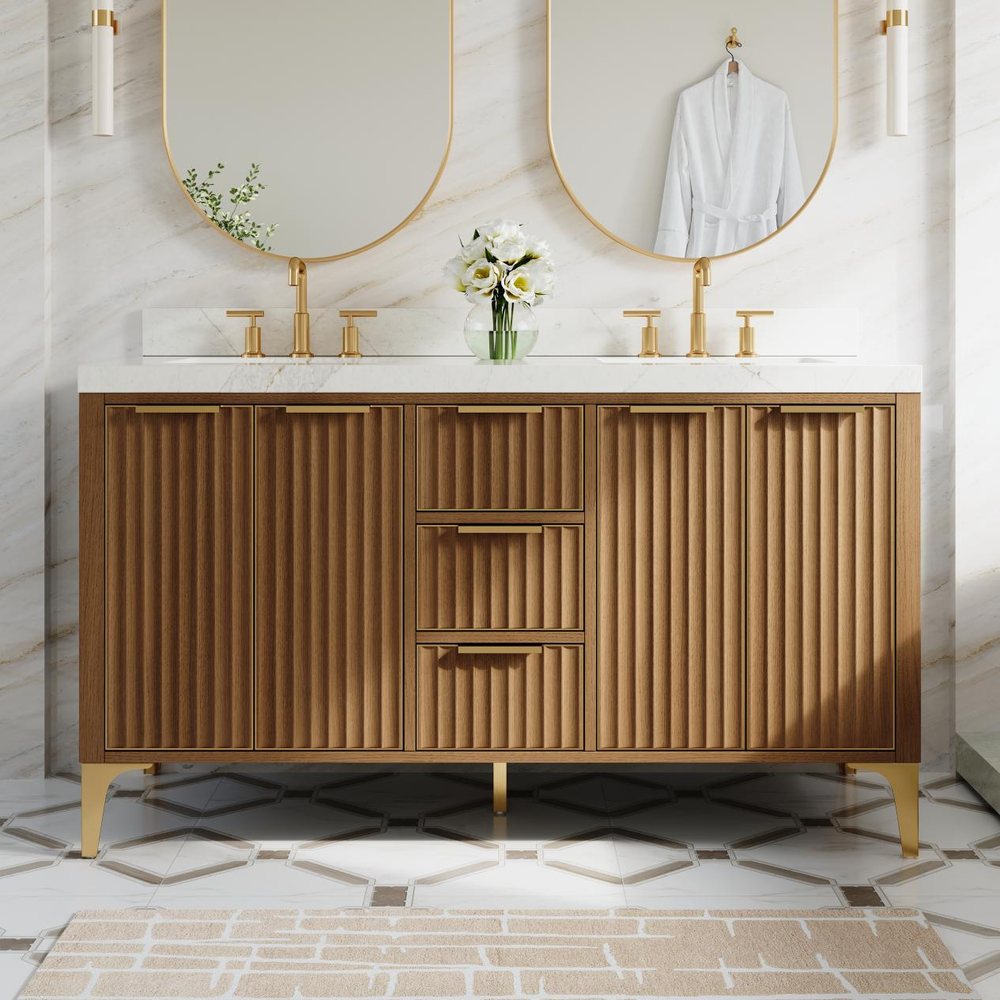



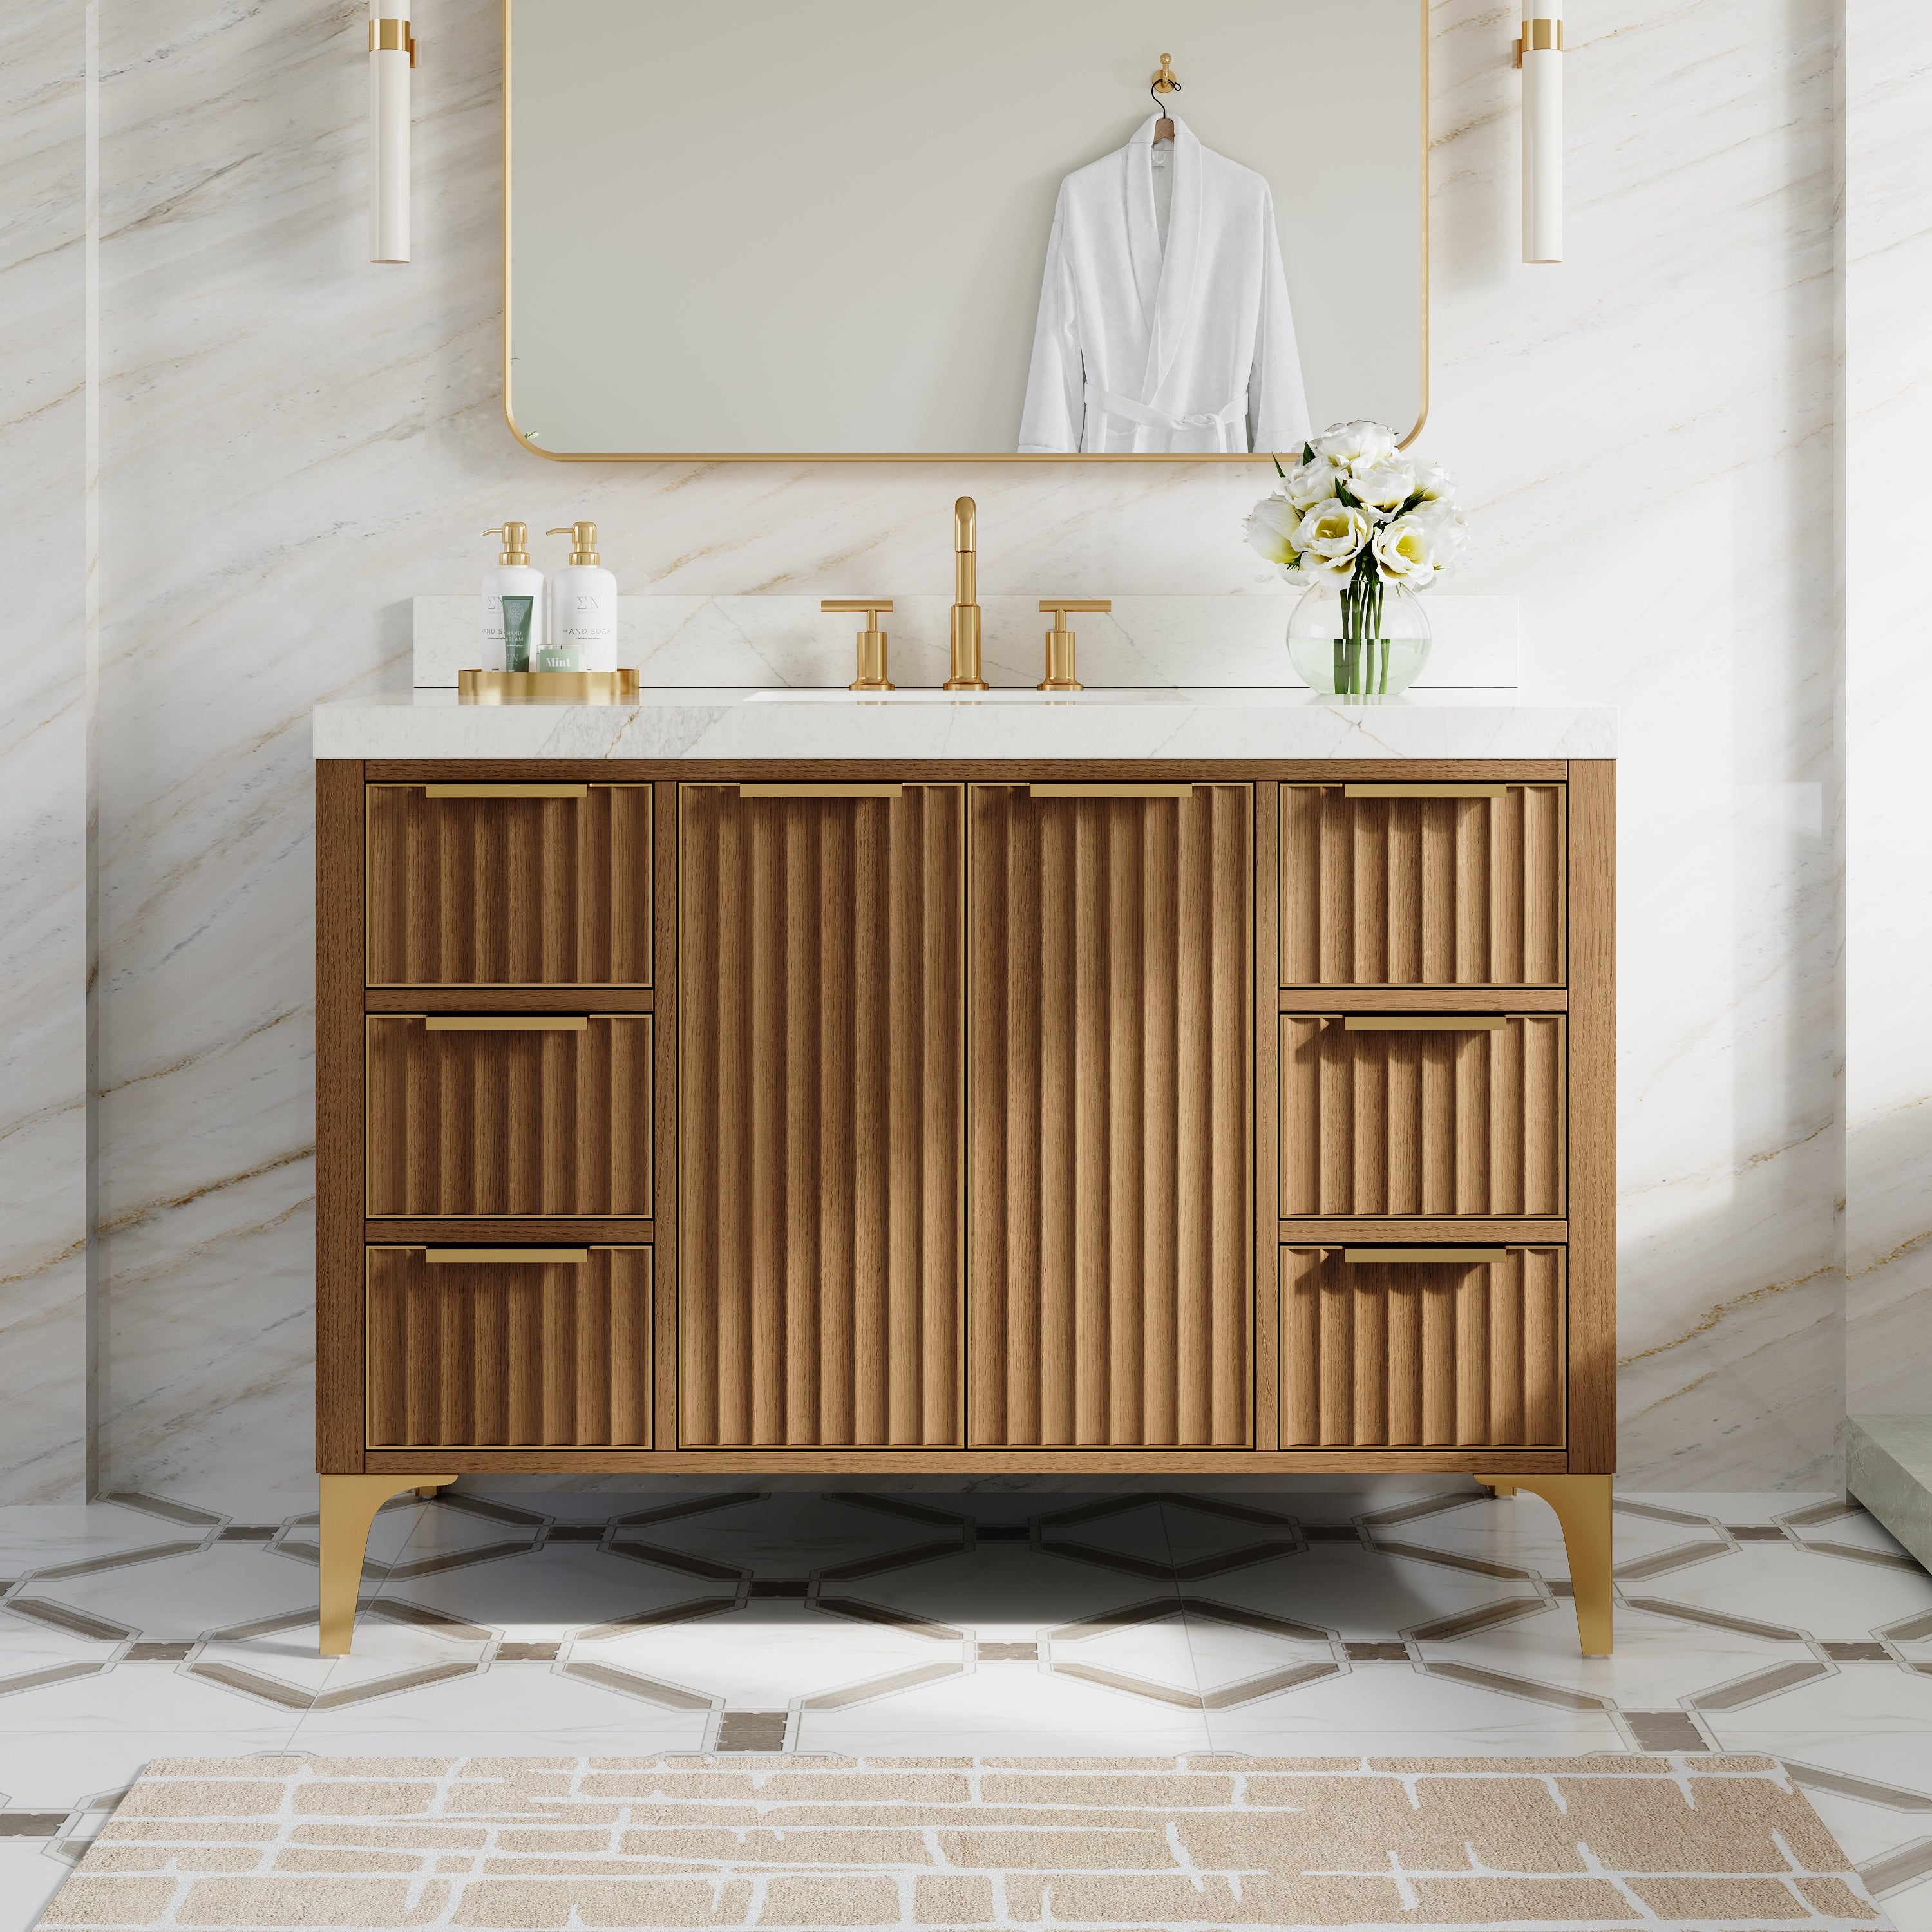
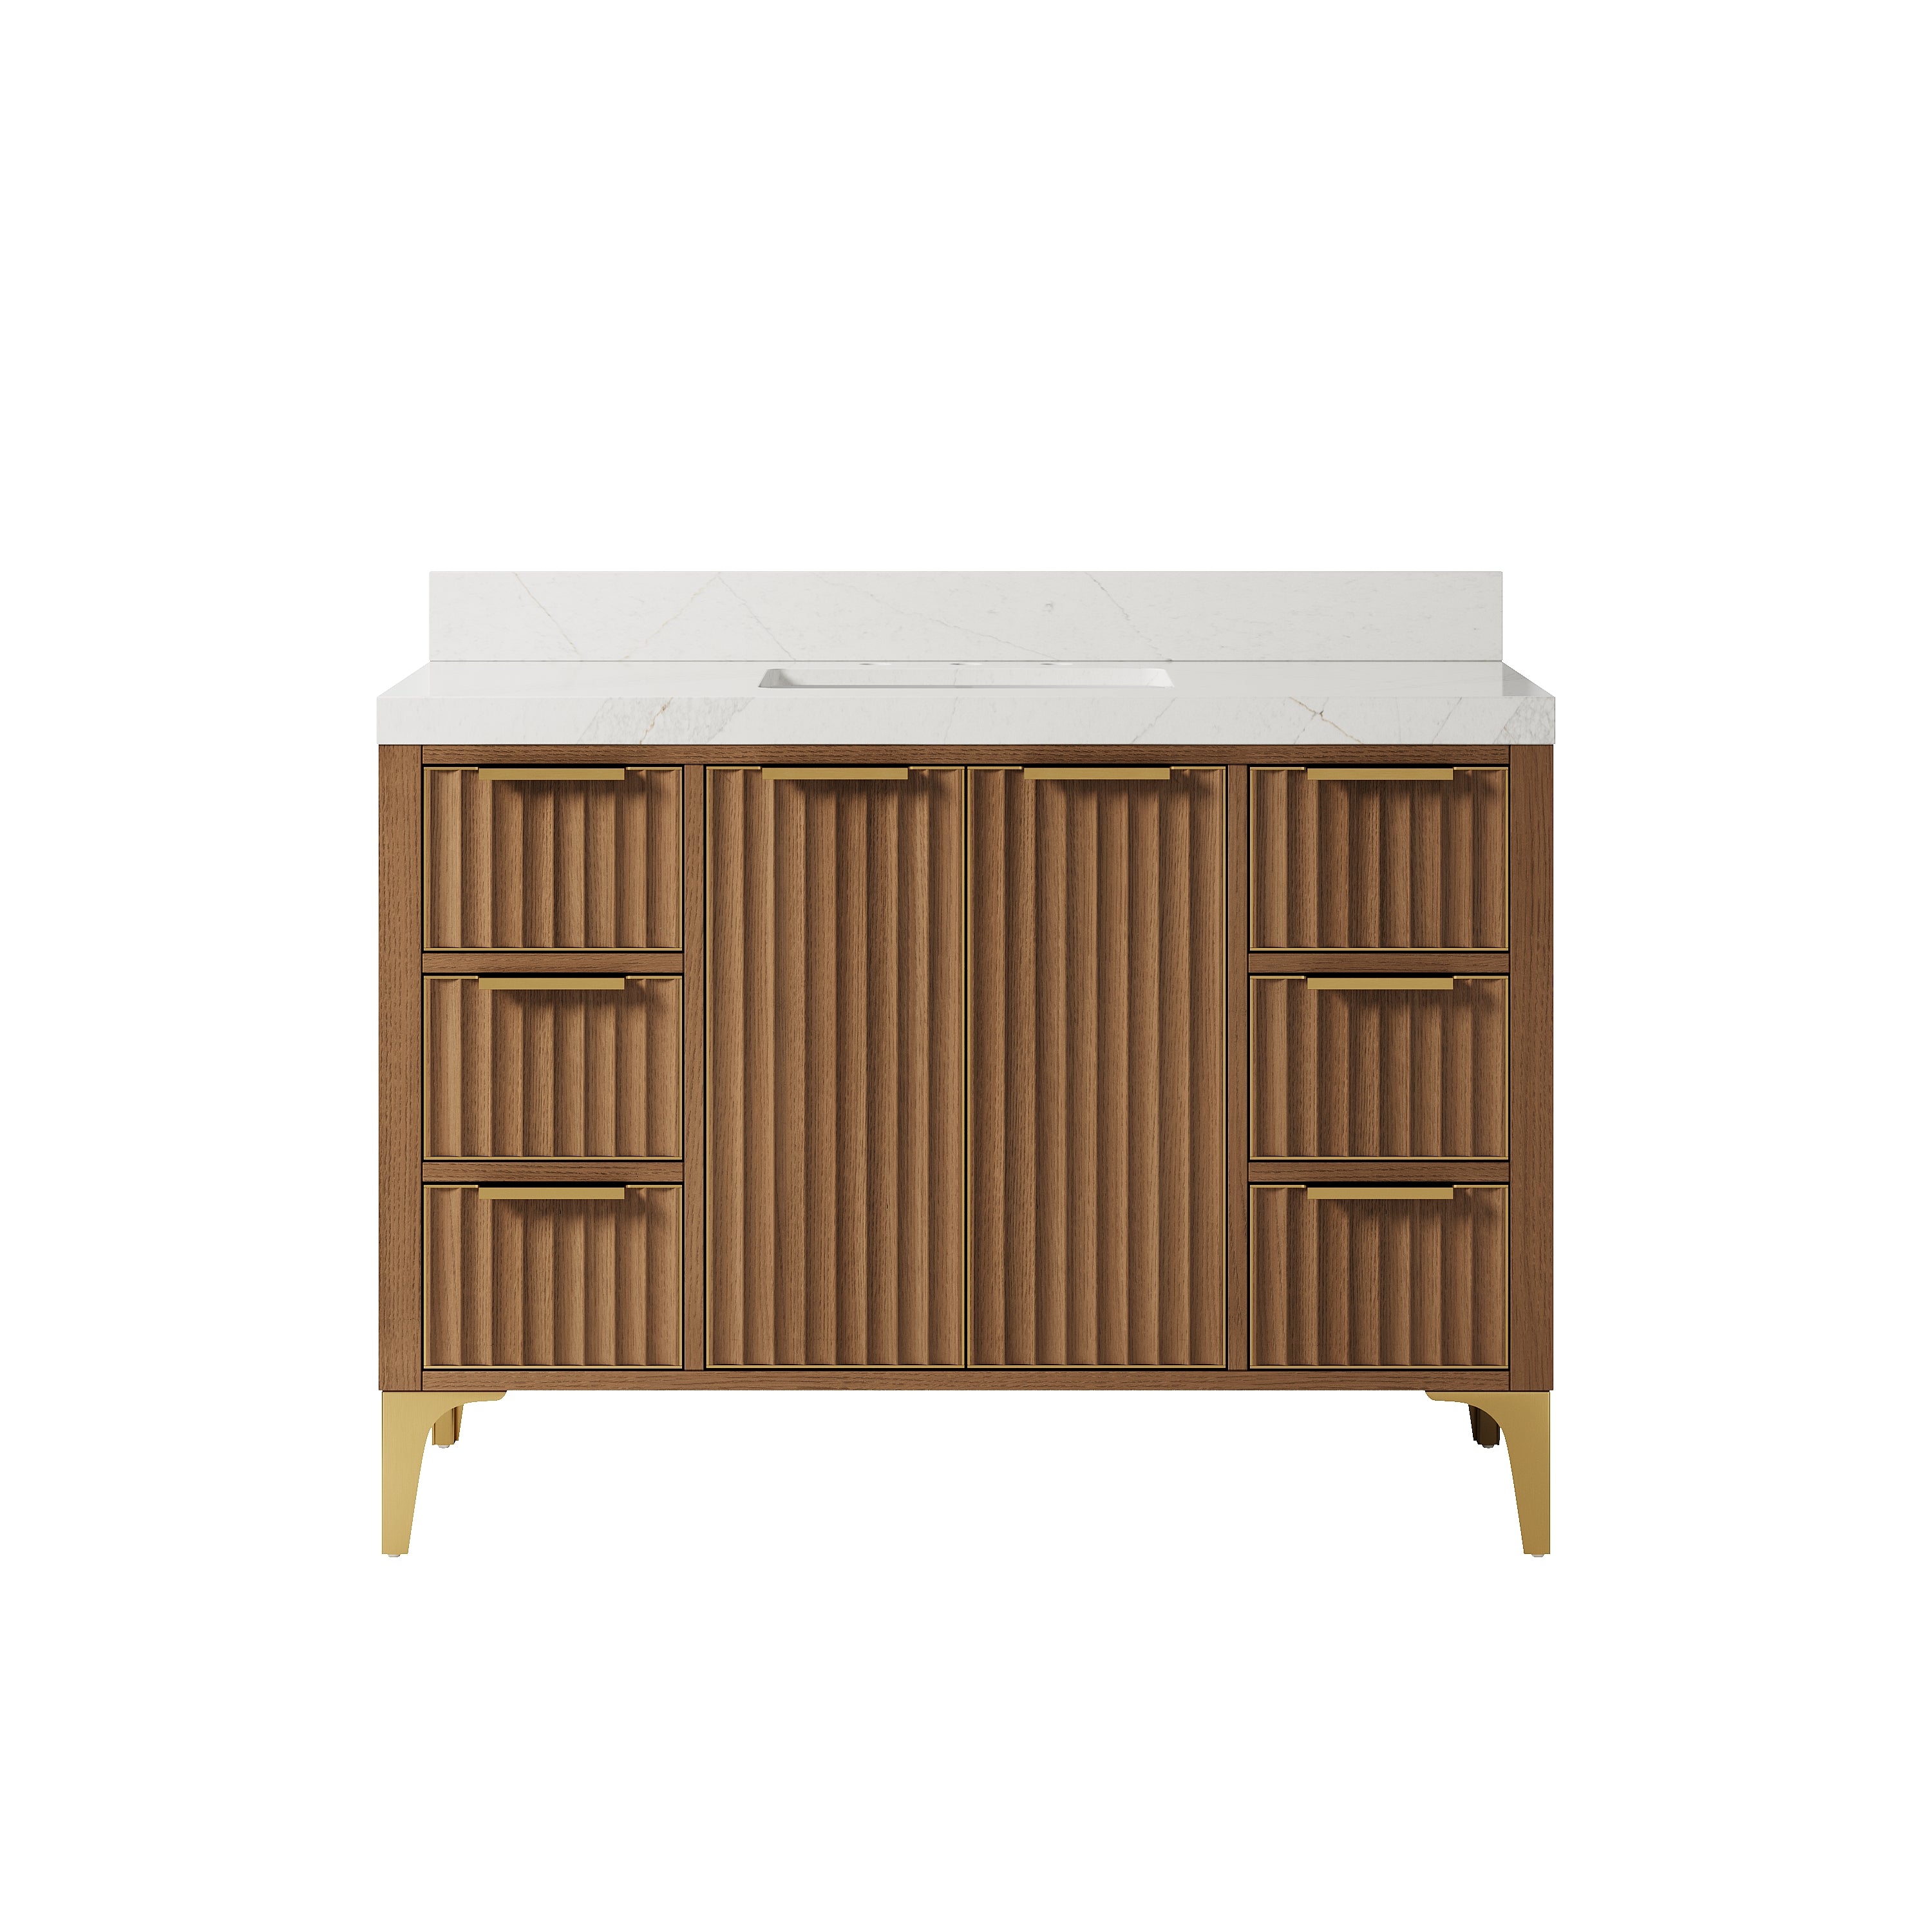
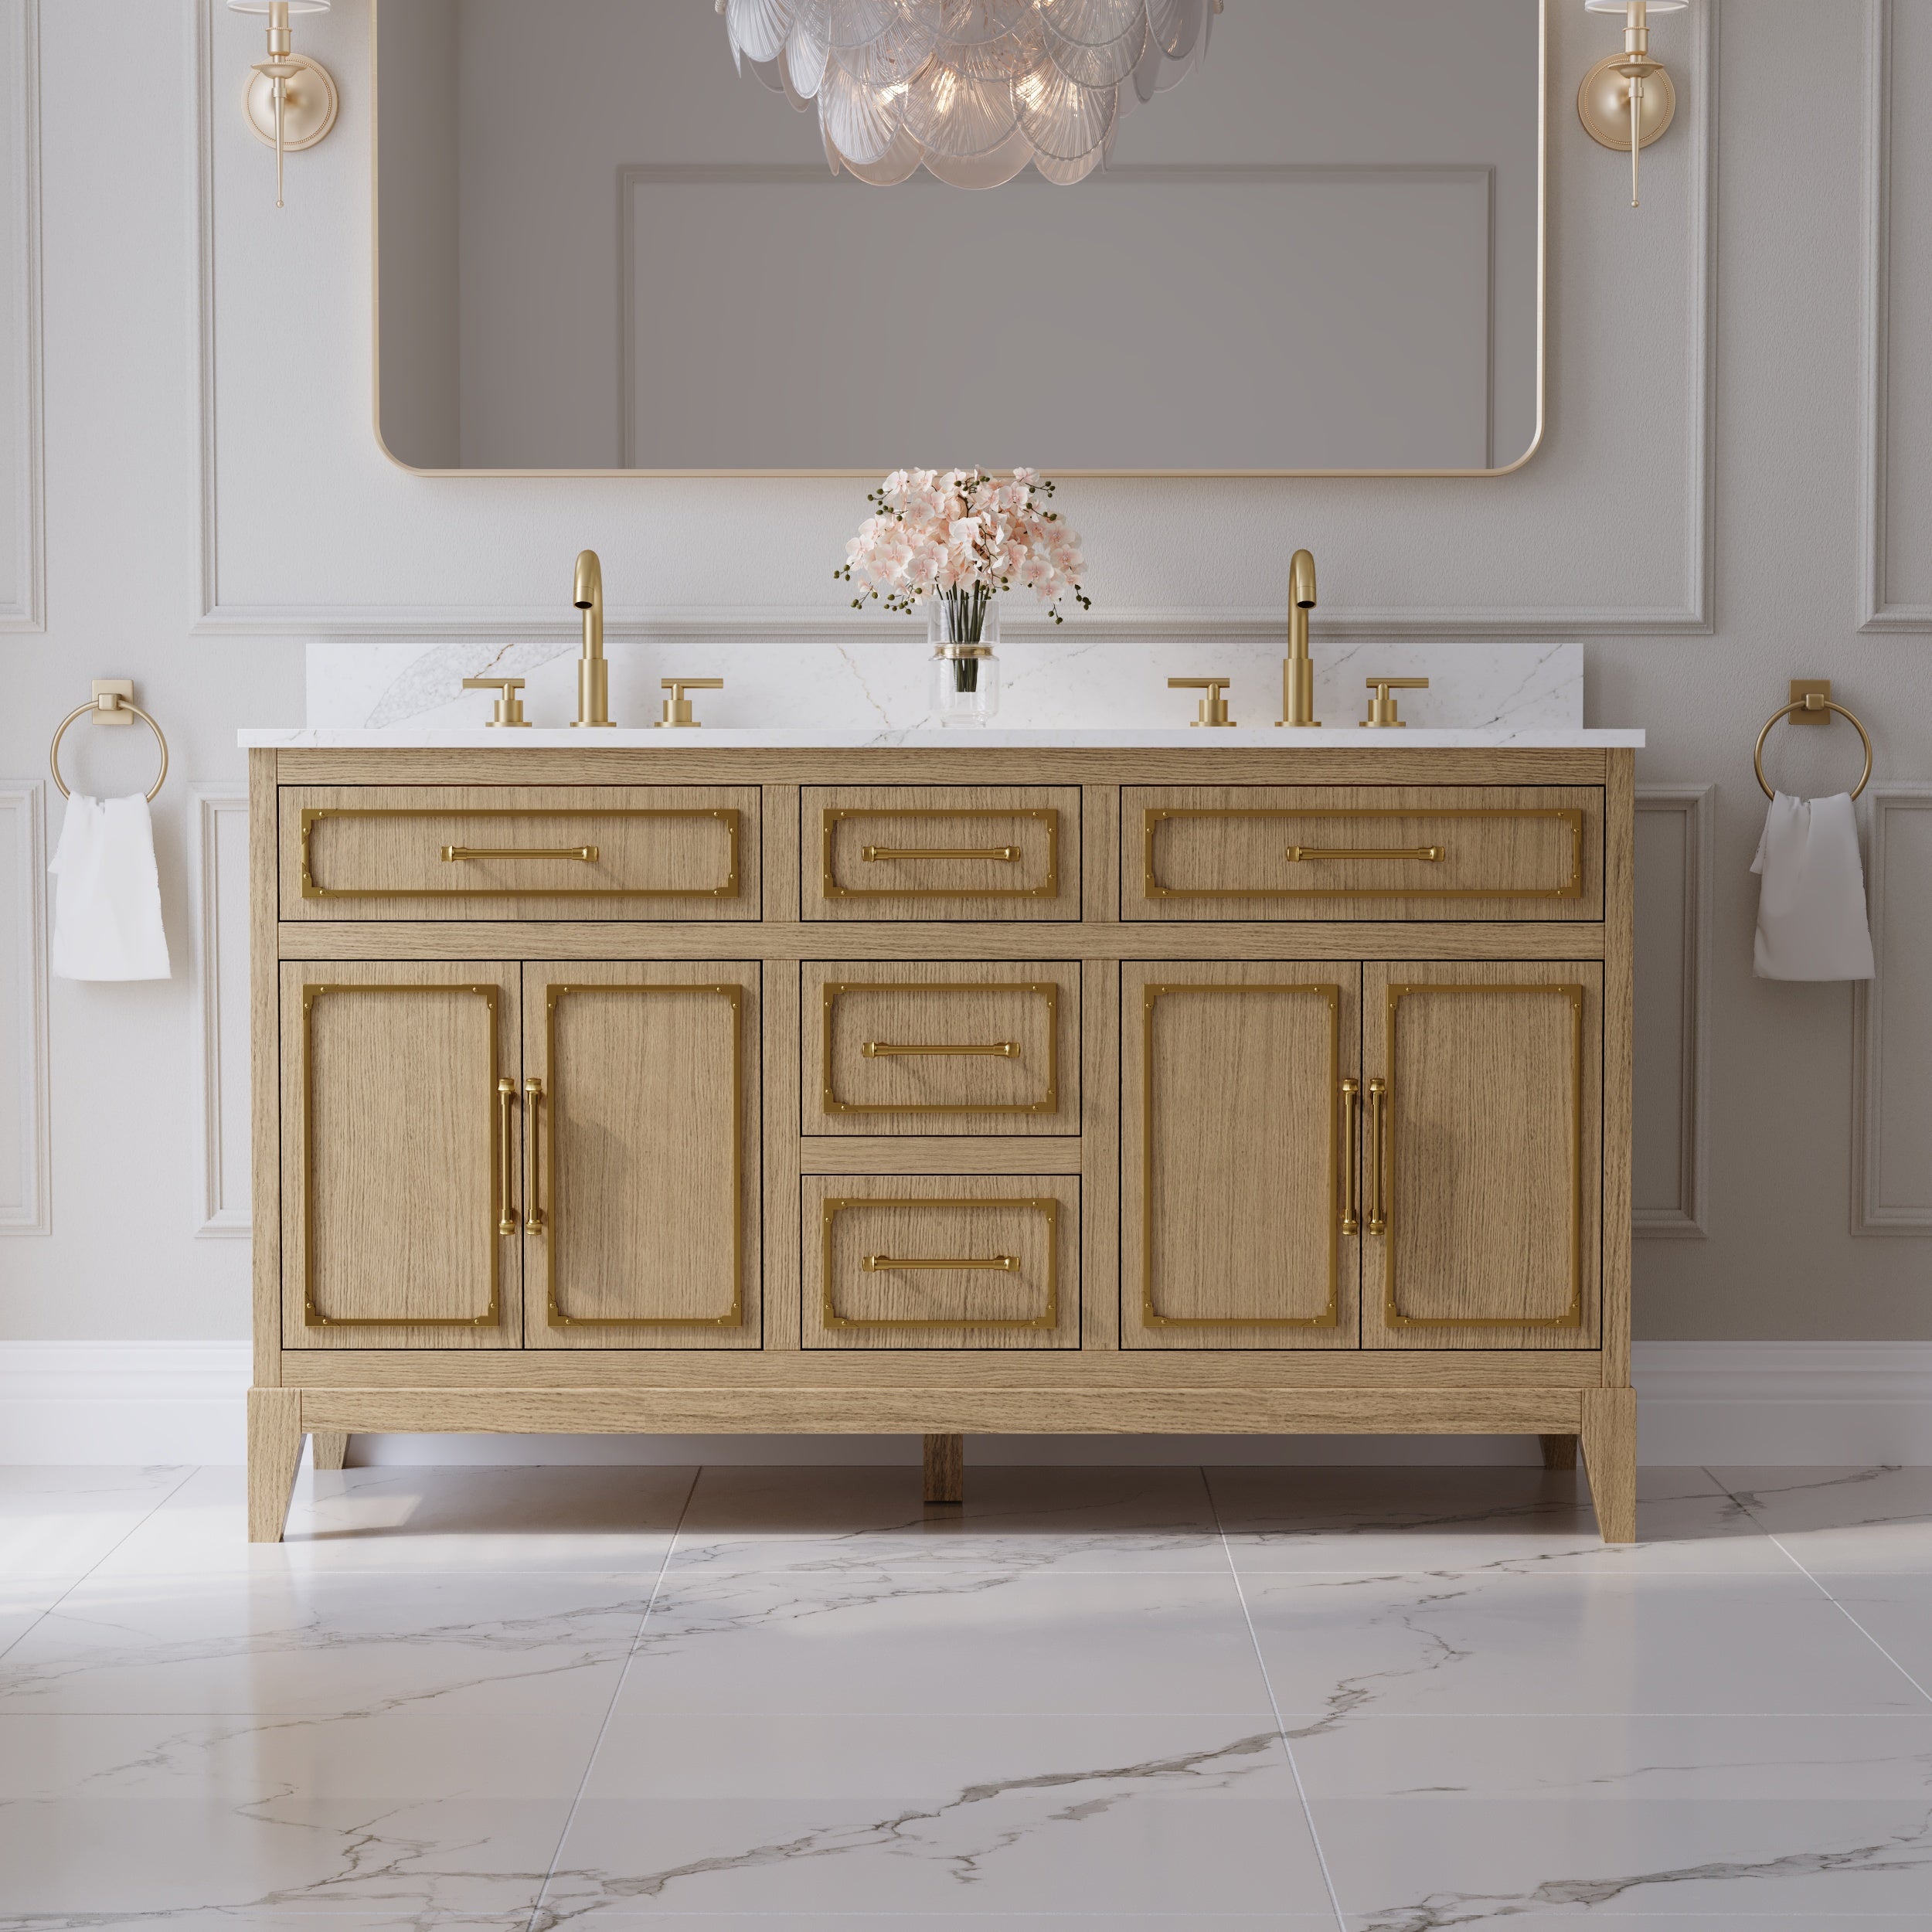
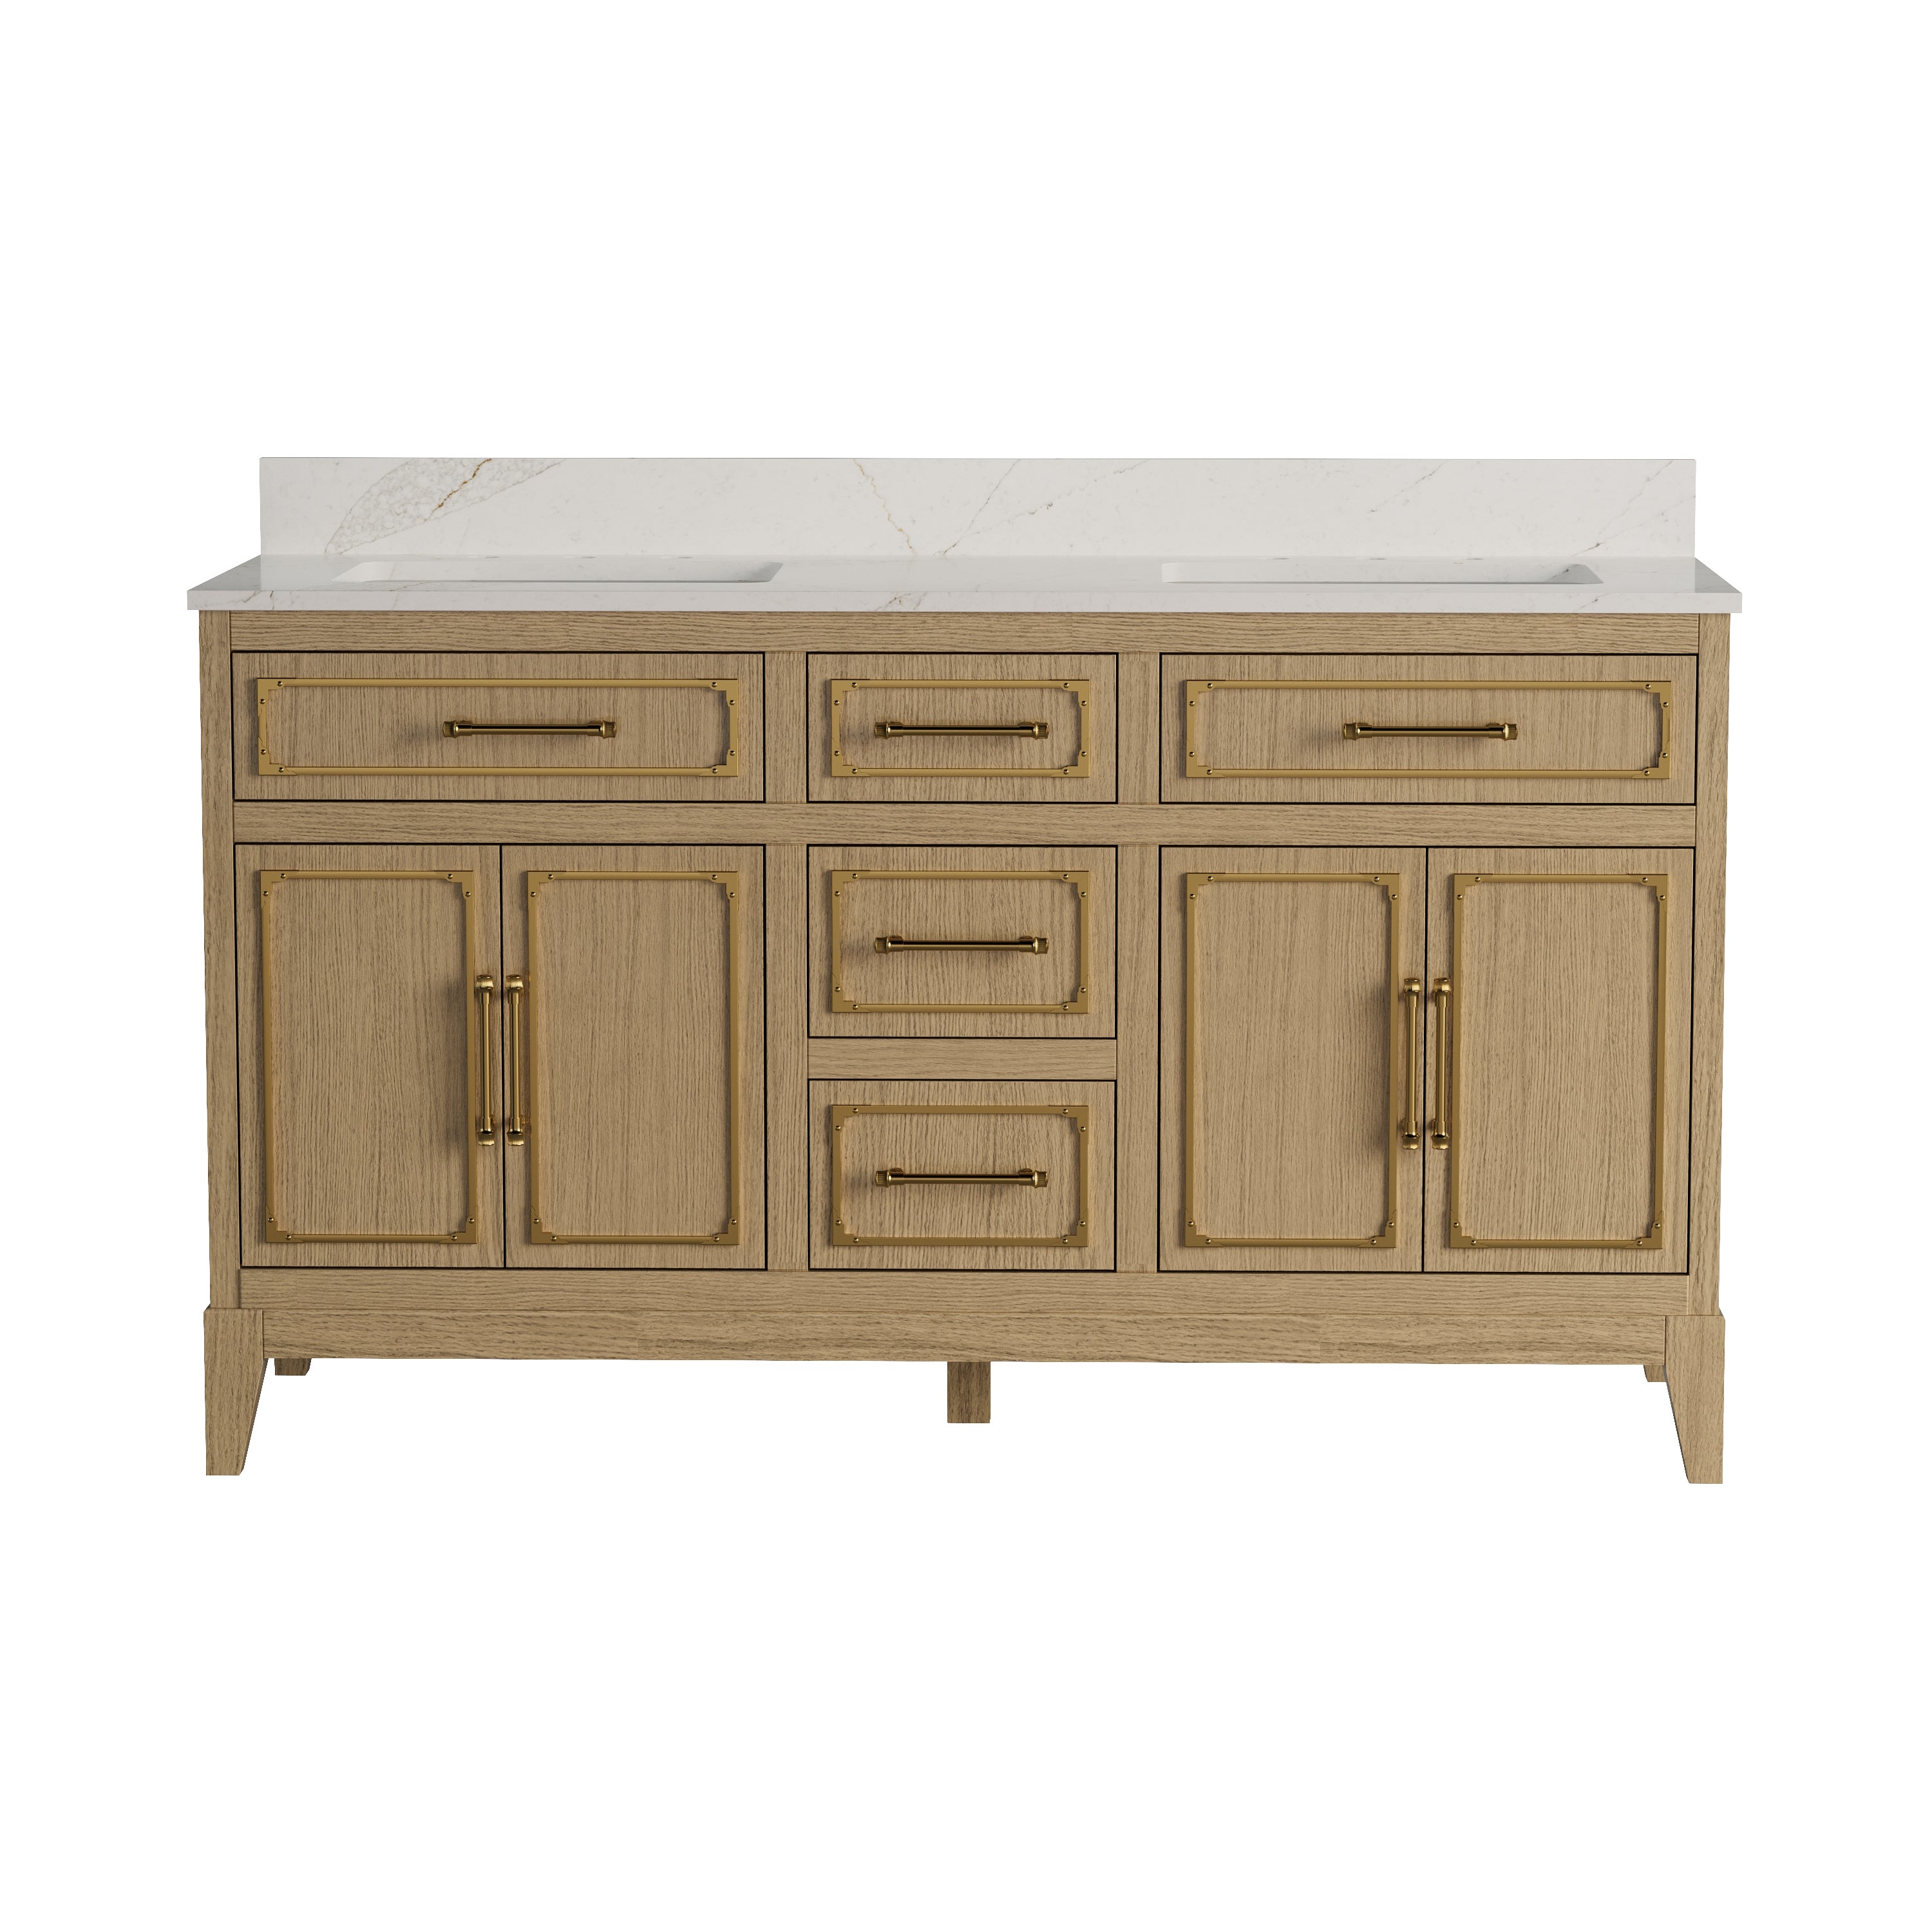
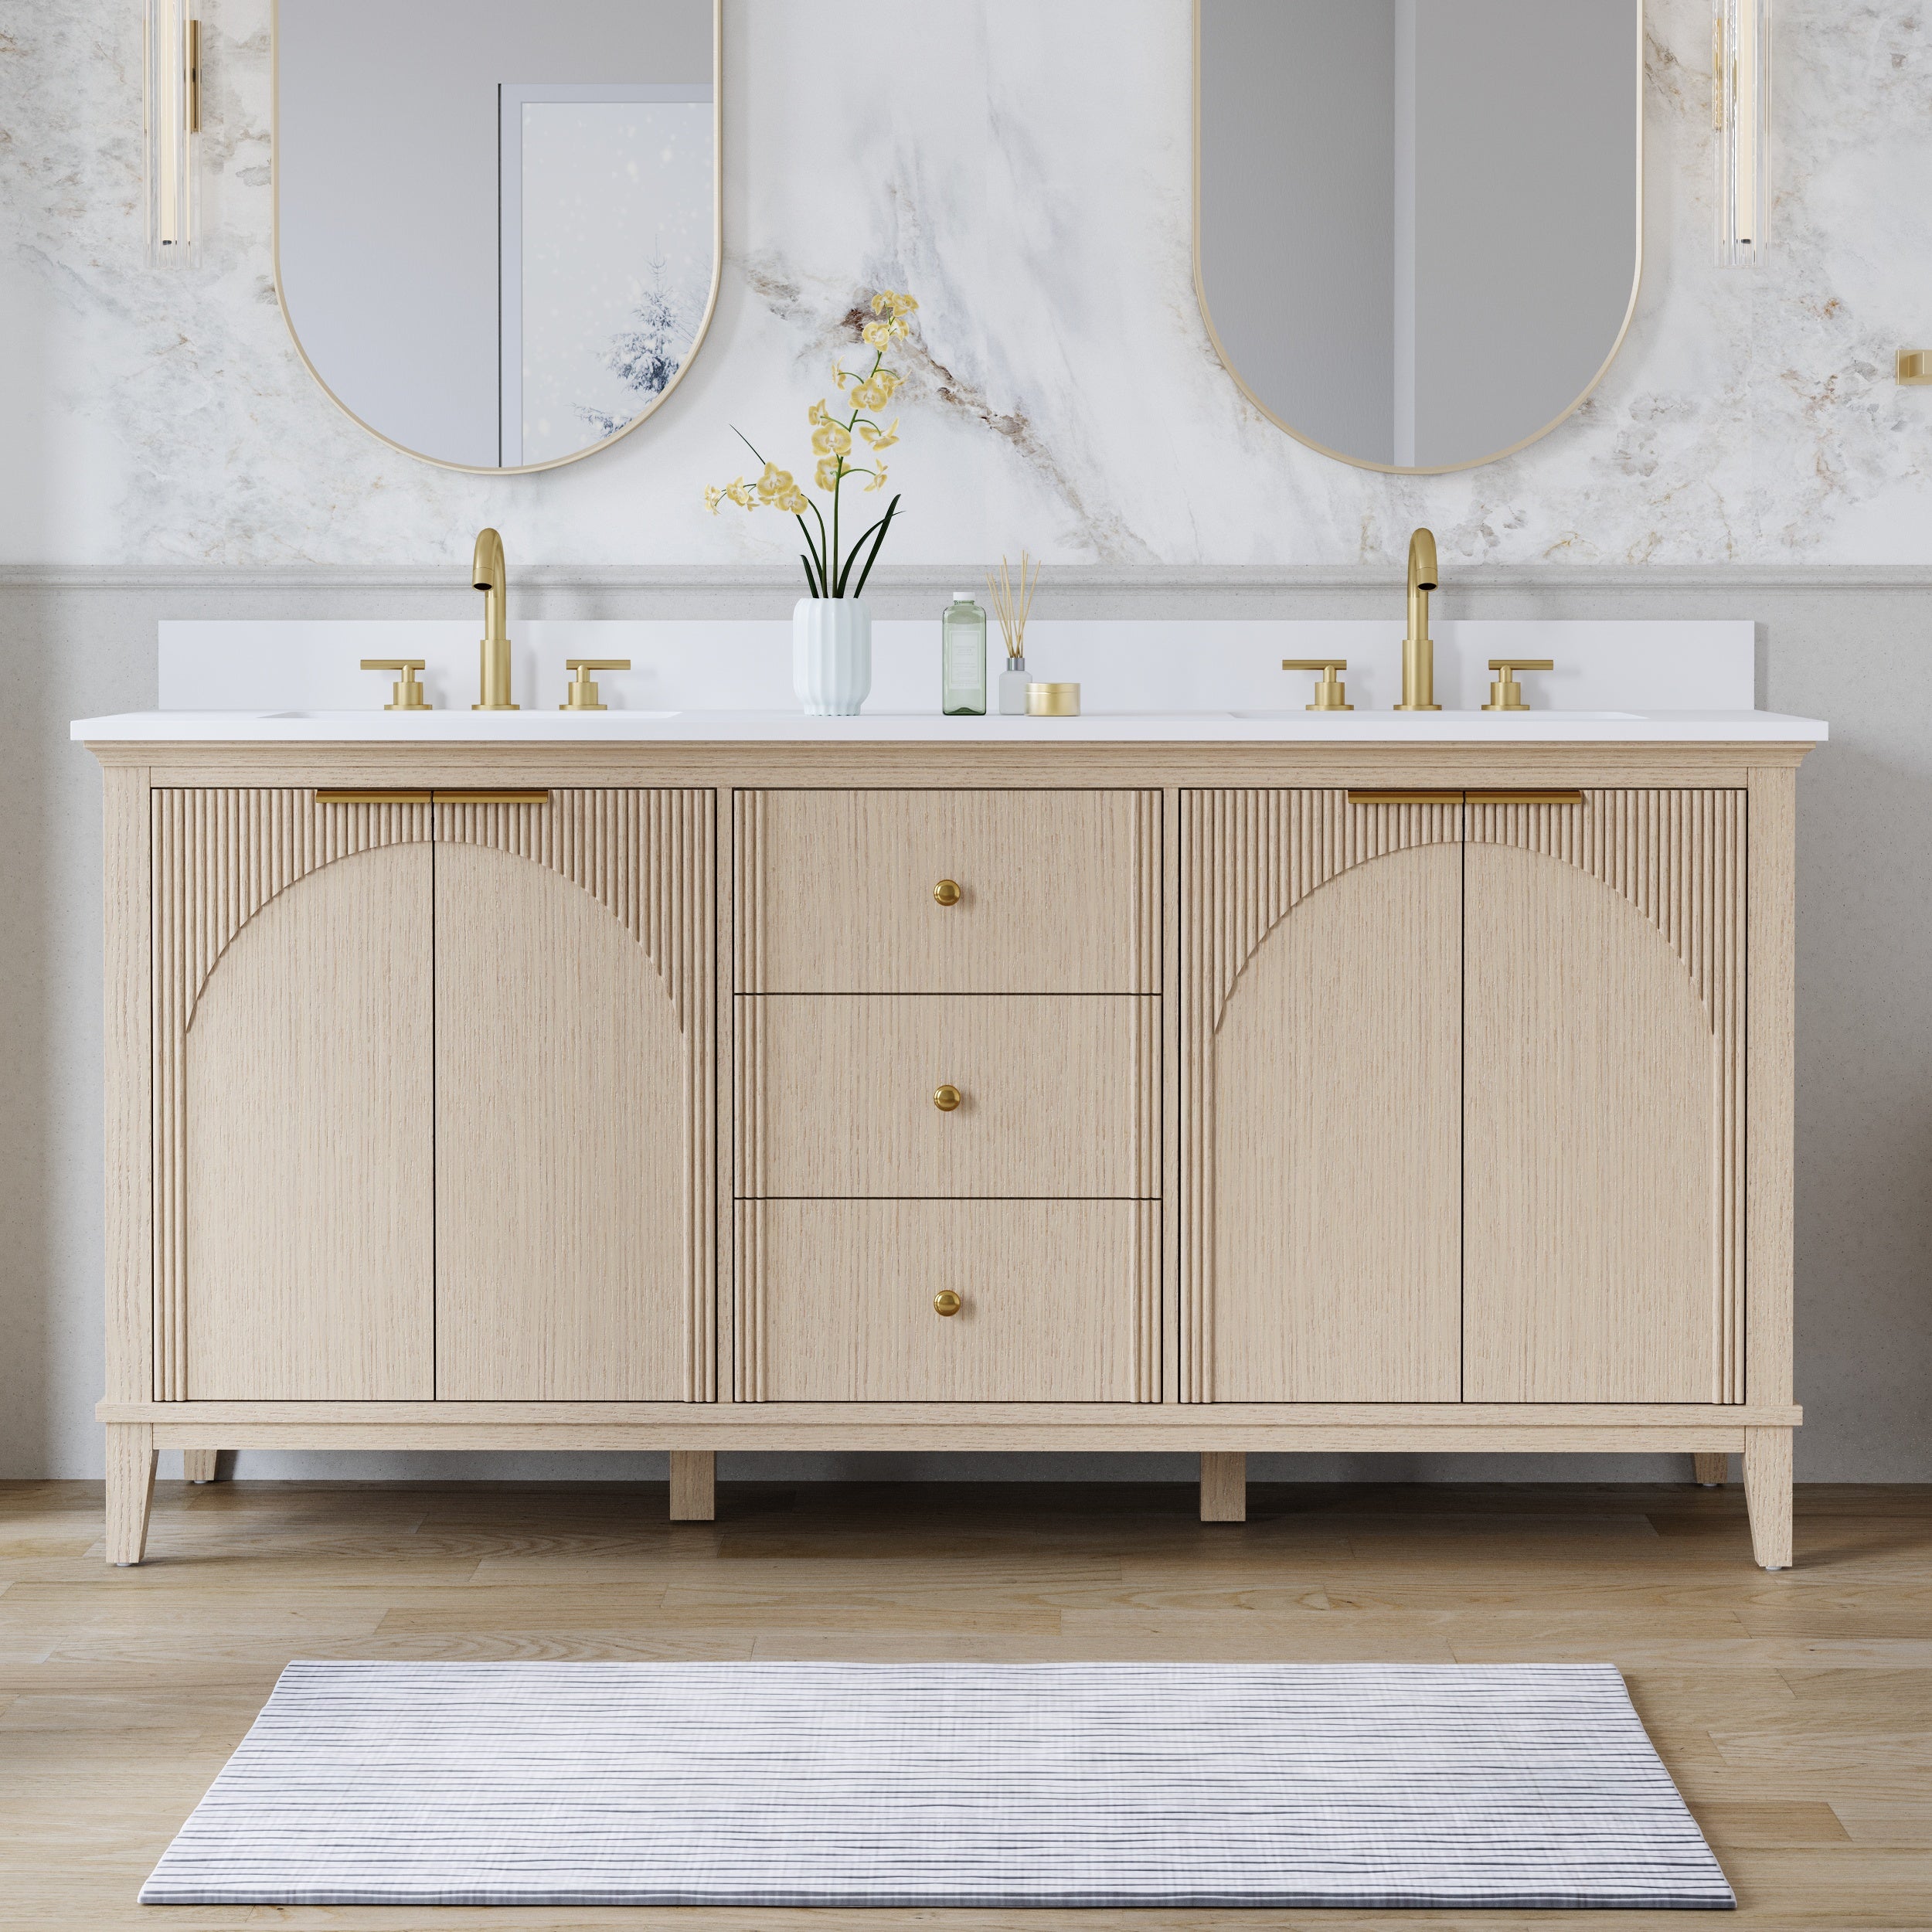
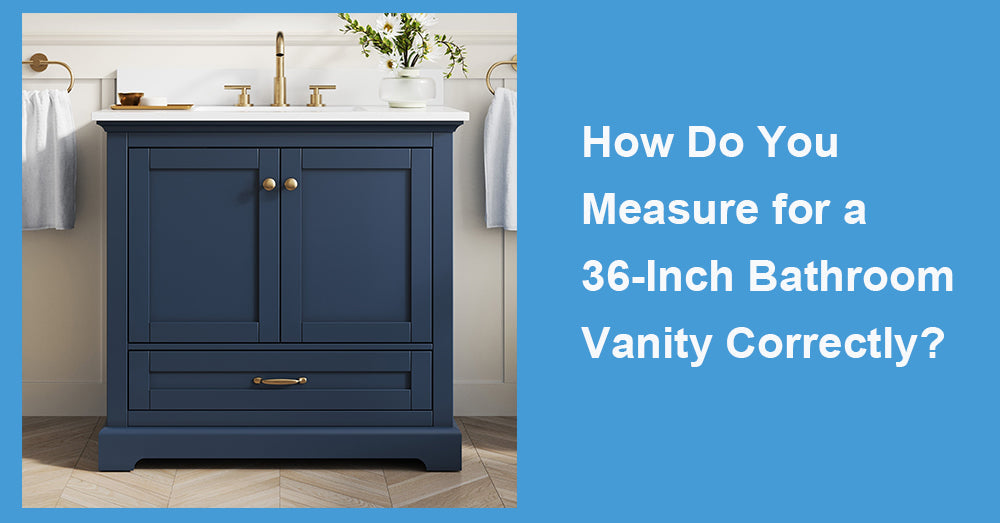
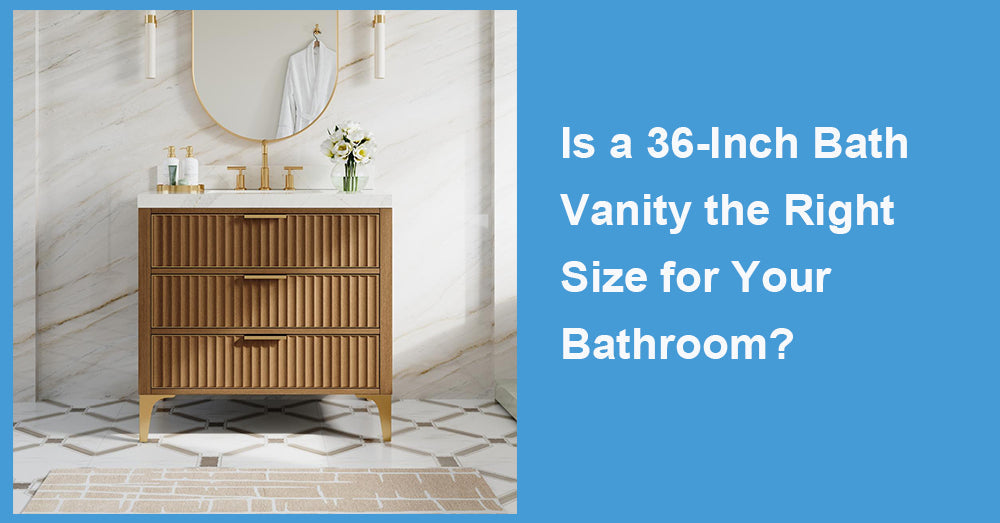
Planning a 36 inches bathroom vanity correctly requires more than confirming that the wall is at least 36 inches wide. The countertop may extend beyond the cabinet, baseboards can prevent the unit from sitting flush, and drawers may collide with a door, toilet, or shower enclosure. Plumbing position, finished height, sink depth, and delivery access also affect whether the vanity can be installed without expensive alterations. These details matter because nearly half of upgraded bathroom vanities measure 48 inches or less, according to the 2025 Houzz Bathroom Trends Study.
Measure the Available Wall in Three Places
Begin by measuring the open wall from side to side. Do not take only one measurement.
Record the width:
· At floor level.
· At approximately 36 inches above the floor.
· Near the expected backsplash height.
Walls are not always perfectly straight or square, especially in older bathrooms. Use the smallest measurement as the controlling dimension.
A cabinet labeled 36 inches wide may fit into an opening that measures exactly 36 inches, but that leaves no practical allowance for uneven walls, installation movement, or countertop overhang. A vanity installed between two finished walls generally needs more planning than one with an open side.
Industry judgment: A nominal cabinet width is a product category, not a guaranteed finished-space requirement.
Confirm the Countertop Width, Not Just the Cabinet
Many buyers measure for a 36-inch cabinet and overlook the top. The countertop can be wider and deeper than the vanity base.
Lowe’s notes that a vanity top may be approximately 1 inch wider and 1 inch deeper than its cabinet. A 36-inch cabinet may therefore require a top around 37 inches wide, depending on the product design.
Before ordering, verify:
· Cabinet width.
· Countertop width.
· Cabinet depth.
· Countertop depth.
· Side overhang.
· Backsplash thickness.
· Optional side-splash thickness.
A countertop with equal overhang on both sides may not work when the vanity must sit tightly against a wall. Some tops are designed with a finished overhang, while others can be installed beside a separate side splash.
Measure the Depth From the Finished Wall
Measure from the finished wall surface to the farthest point the vanity will project into the room. Include tile, wall panels, baseboards, and decorative molding.
Common vanity depths vary significantly. Retail measurement guidance places many standard models between approximately 17 and 24 inches deep, while around 21 inches is common for full-size bathroom cabinetry.
Depth affects more than appearance. It changes:
· The width of the walking path.
· The distance to the toilet or tub.
· Drawer extension into the room.
· Sink size.
· Countertop working space.
· Door and shower clearance.
Mark the complete countertop depth on the floor with painter’s tape. Then add another line showing how far the longest drawer or cabinet door will extend when fully open.
Check the Toilet Clearance Before Ordering
A 36-inch vanity placed beside a toilet may technically fit the wall while leaving the toilet area uncomfortable or noncompliant with local requirements.
The NKBA planning guidelines recommend at least 18 inches from the toilet centerline to a wall, vanity, or other obstacle. The same document identifies 15 inches from the toilet centerline as a commonly referenced minimum code requirement. Local rules and project conditions must still be confirmed before installation.
Measure from the center of the toilet, not from the edge of the bowl.
For example, when a vanity will sit to the left of the toilet:
· Find the toilet centerline.
· Measure horizontally toward the proposed vanity.
· Account for the countertop overhang.
· Use the countertop edge as the obstacle point.
· Confirm that drawers and doors can open without striking the toilet.
A comfortable layout may require more space than the minimum measurement.

Include the Bathroom Door and Shower Door Swing
Open every nearby door before finalizing the vanity footprint.
Check the swing of:
· The bathroom entrance door.
· A hinged shower door.
· A linen cabinet door.
· Vanity doors.
· Pull-out drawers.
The Home Depot’s vanity measurement guidance specifically advises accounting for bathroom door swing, plumbing placement, and clearance in front of the cabinet.
A drawer may open when the entrance door is closed but collide with it when both are used at the same time. This is particularly common in hallway bathrooms where the vanity sits directly behind the door.
Pocket doors and outward-swinging doors can solve some conflicts, but changing the door should not be assumed to be an inexpensive fix.
Record the Plumbing Rough-In
Open the existing vanity and measure the plumbing from the finished floor and nearby wall.
Record:
· Drain center height.
· Drain distance from the side wall.
· Hot-water supply position.
· Cold-water supply position.
· Shutoff-valve projection.
· Trap depth.
· Baseboard position.
Also note whether the pipes enter through the wall or floor.
Compare these measurements with the new cabinet’s interior layout. A centered drain may conflict with a drawer divider, while an offset-sink vanity may require plumbing relocation. Shelves and full-width drawers can also block the trap.
Manufacturer installation guidance commonly instructs installers to review the product’s roughing-in information before beginning vanity installation.
Moving plumbing is possible, but it changes the project from a simple cabinet replacement into a more involved renovation.
Calculate the Finished Vanity Height
Product listings may describe cabinet height or complete height. These figures are not always the same.
Calculate the finished height by considering:
· Cabinet body height.
· Leg or leveler height.
· Countertop thickness.
· Integrated sink profile.
· Vessel sink height.
· Finished flooring.
Standard vanity heights commonly fall around 31 to 35.5 inches, although taller comfort-height models may reach approximately 36 inches after the top is installed.
A vessel sink requires particular care. Placing a basin several inches high on a 36-inch counter may create an uncomfortable washing height. In that case, a lower cabinet may be more appropriate.
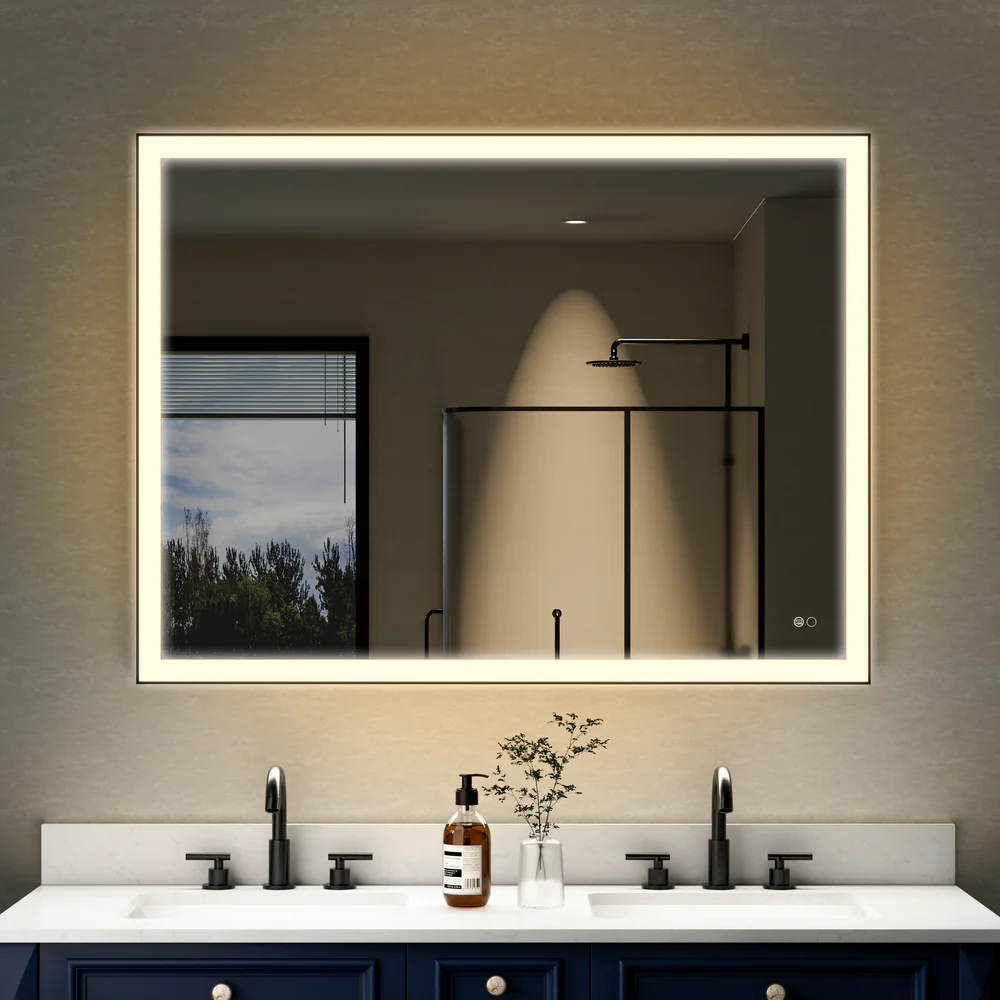
Measure the faucet and mirror at the same time. Raising the vanity may require changes to the mirror, medicine cabinet, outlet, or light fixture.
Plan the Clear Floor Area
The area in front of the vanity should support movement, drawer access, cleaning, and comfortable use.
For accessible planning, the U.S. Access Board specifies a clear floor space of at least 30 by 48 inches at lavatories and sinks. The clear area is arranged for a forward approach and may extend beneath a compliant lavatory where the required knee and toe space is provided.
A conventional storage vanity with drawers beneath the sink does not automatically meet accessible-lavatory requirements. Accessibility also involves:
· Counter or sink-rim height.
· Knee clearance.
· Toe clearance.
· Protected plumbing.
· Faucet operation.
· Approach direction.
Even when formal accessibility provisions do not apply, the 30-by-48-inch reference is useful for evaluating whether the vanity area will feel restricted.















Leave a comment
This site is protected by hCaptcha and the hCaptcha Privacy Policy and Terms of Service apply.