
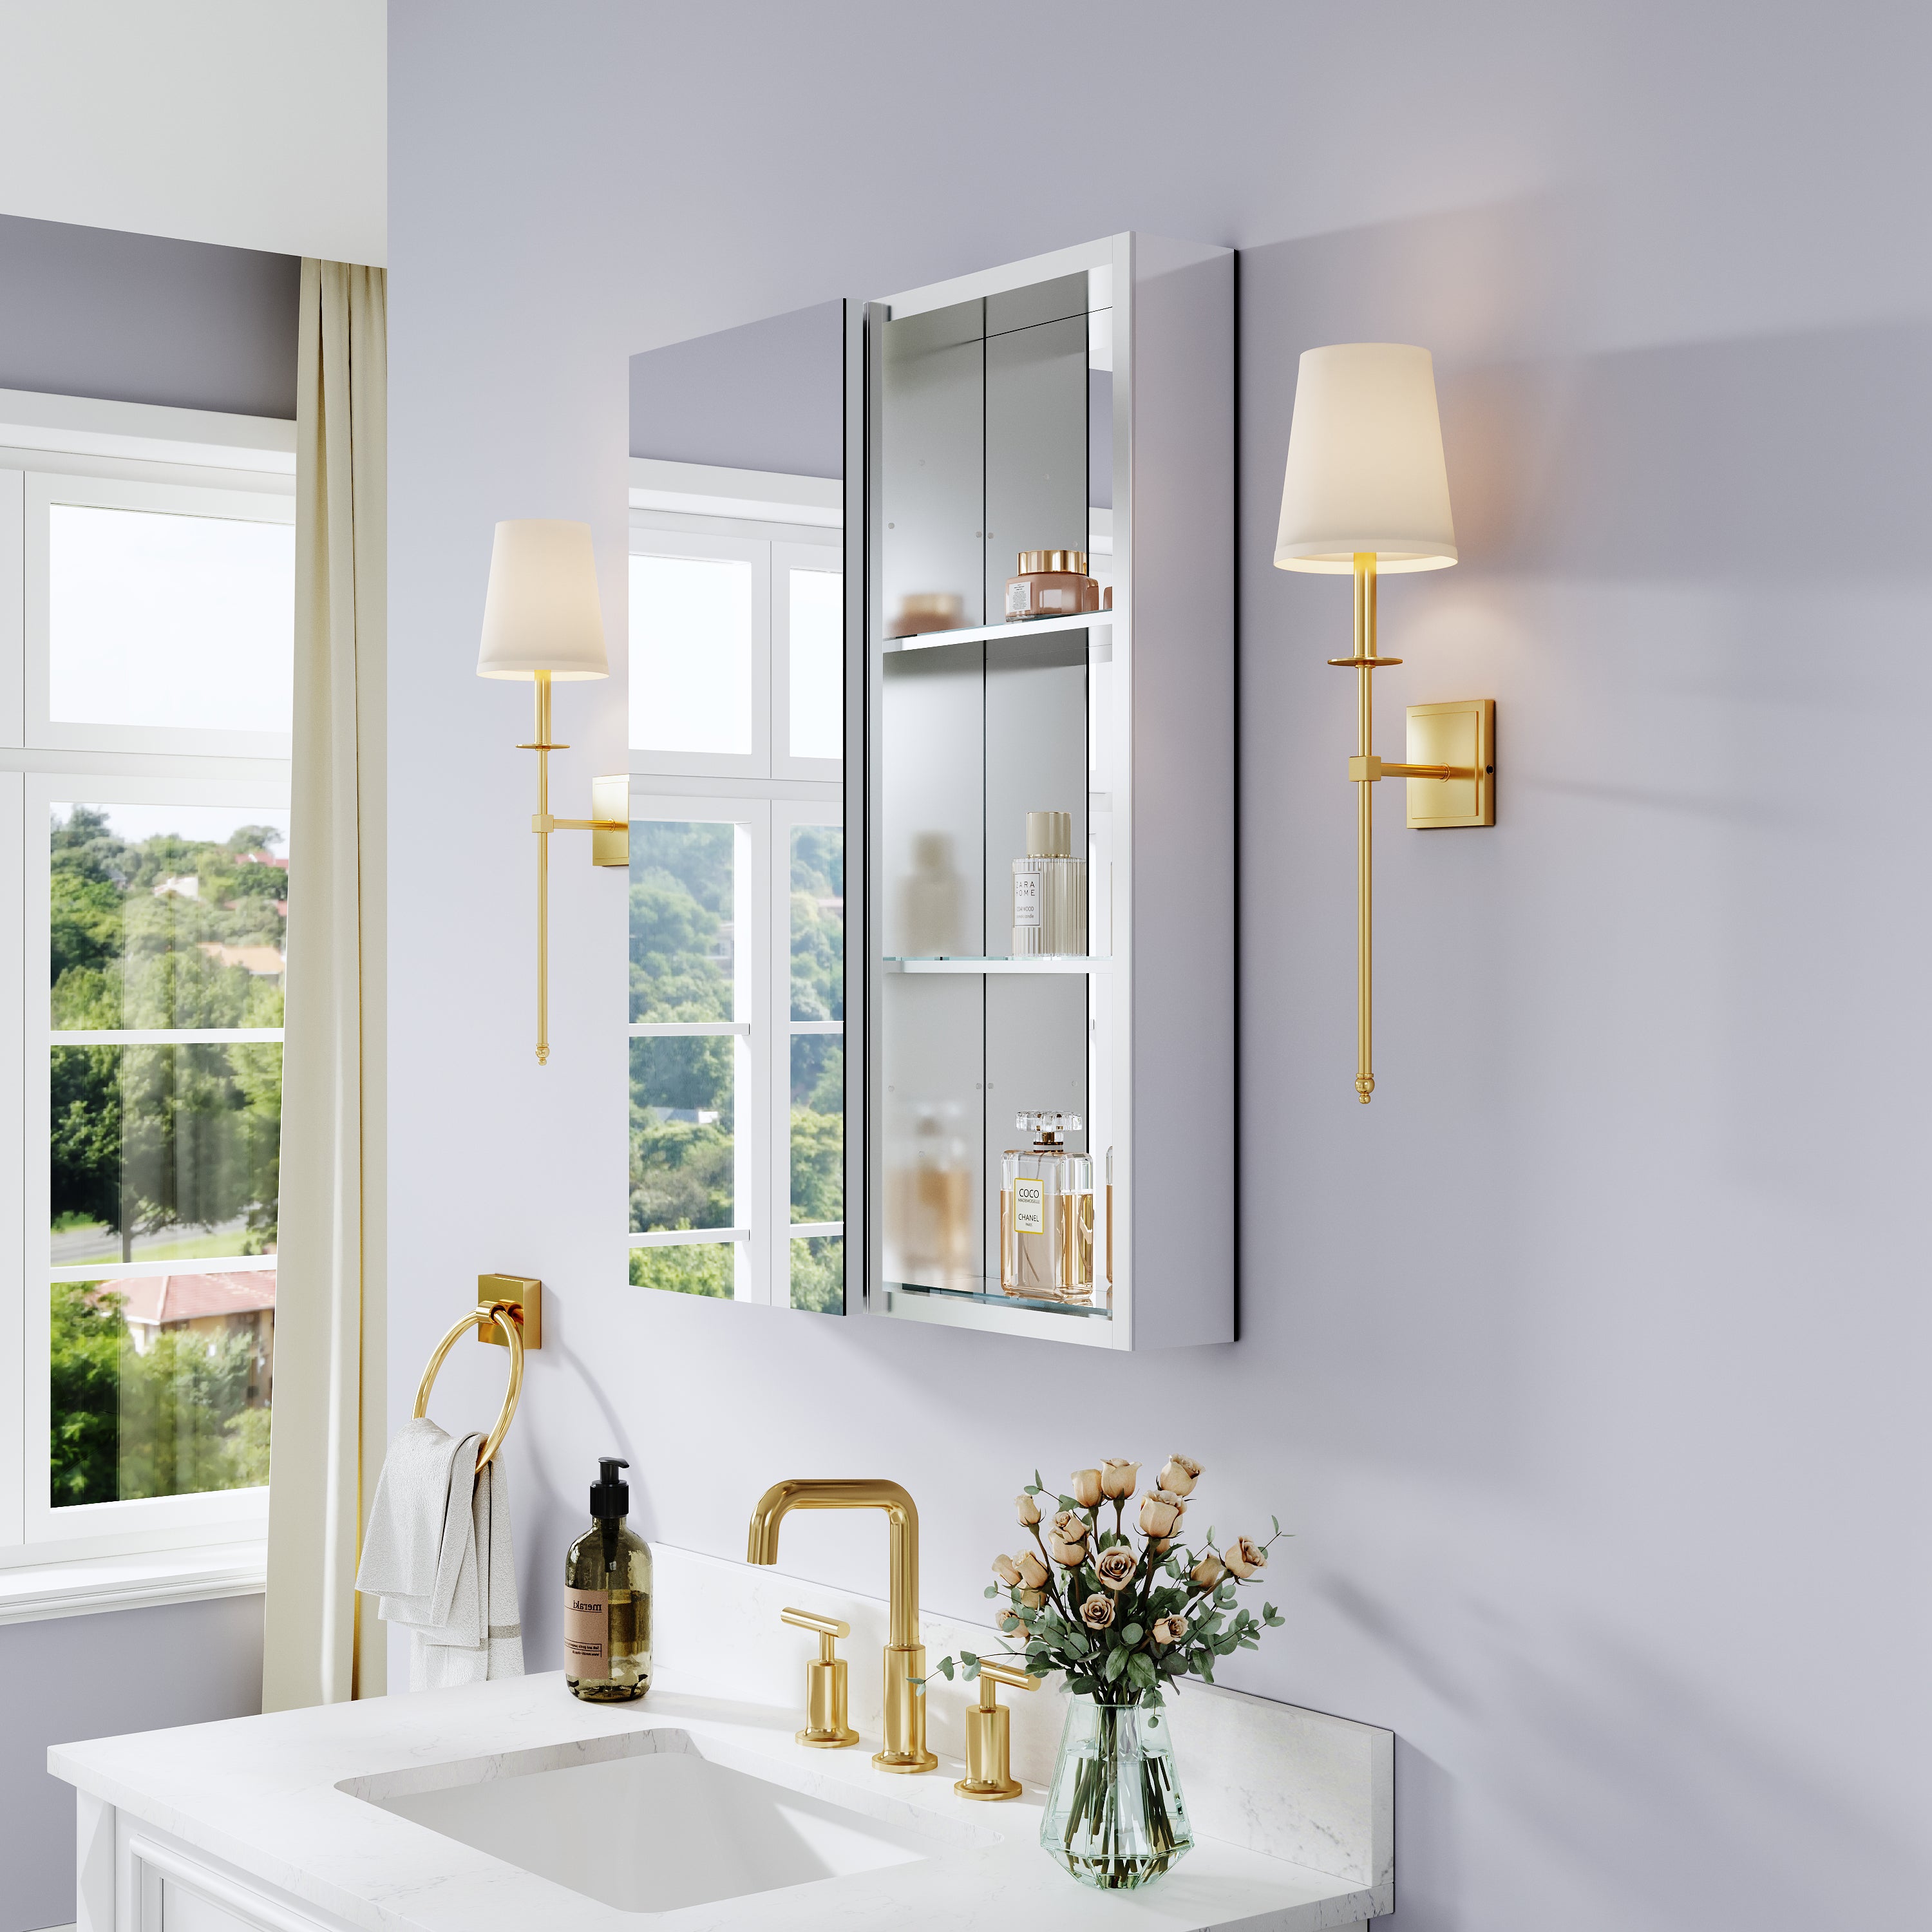
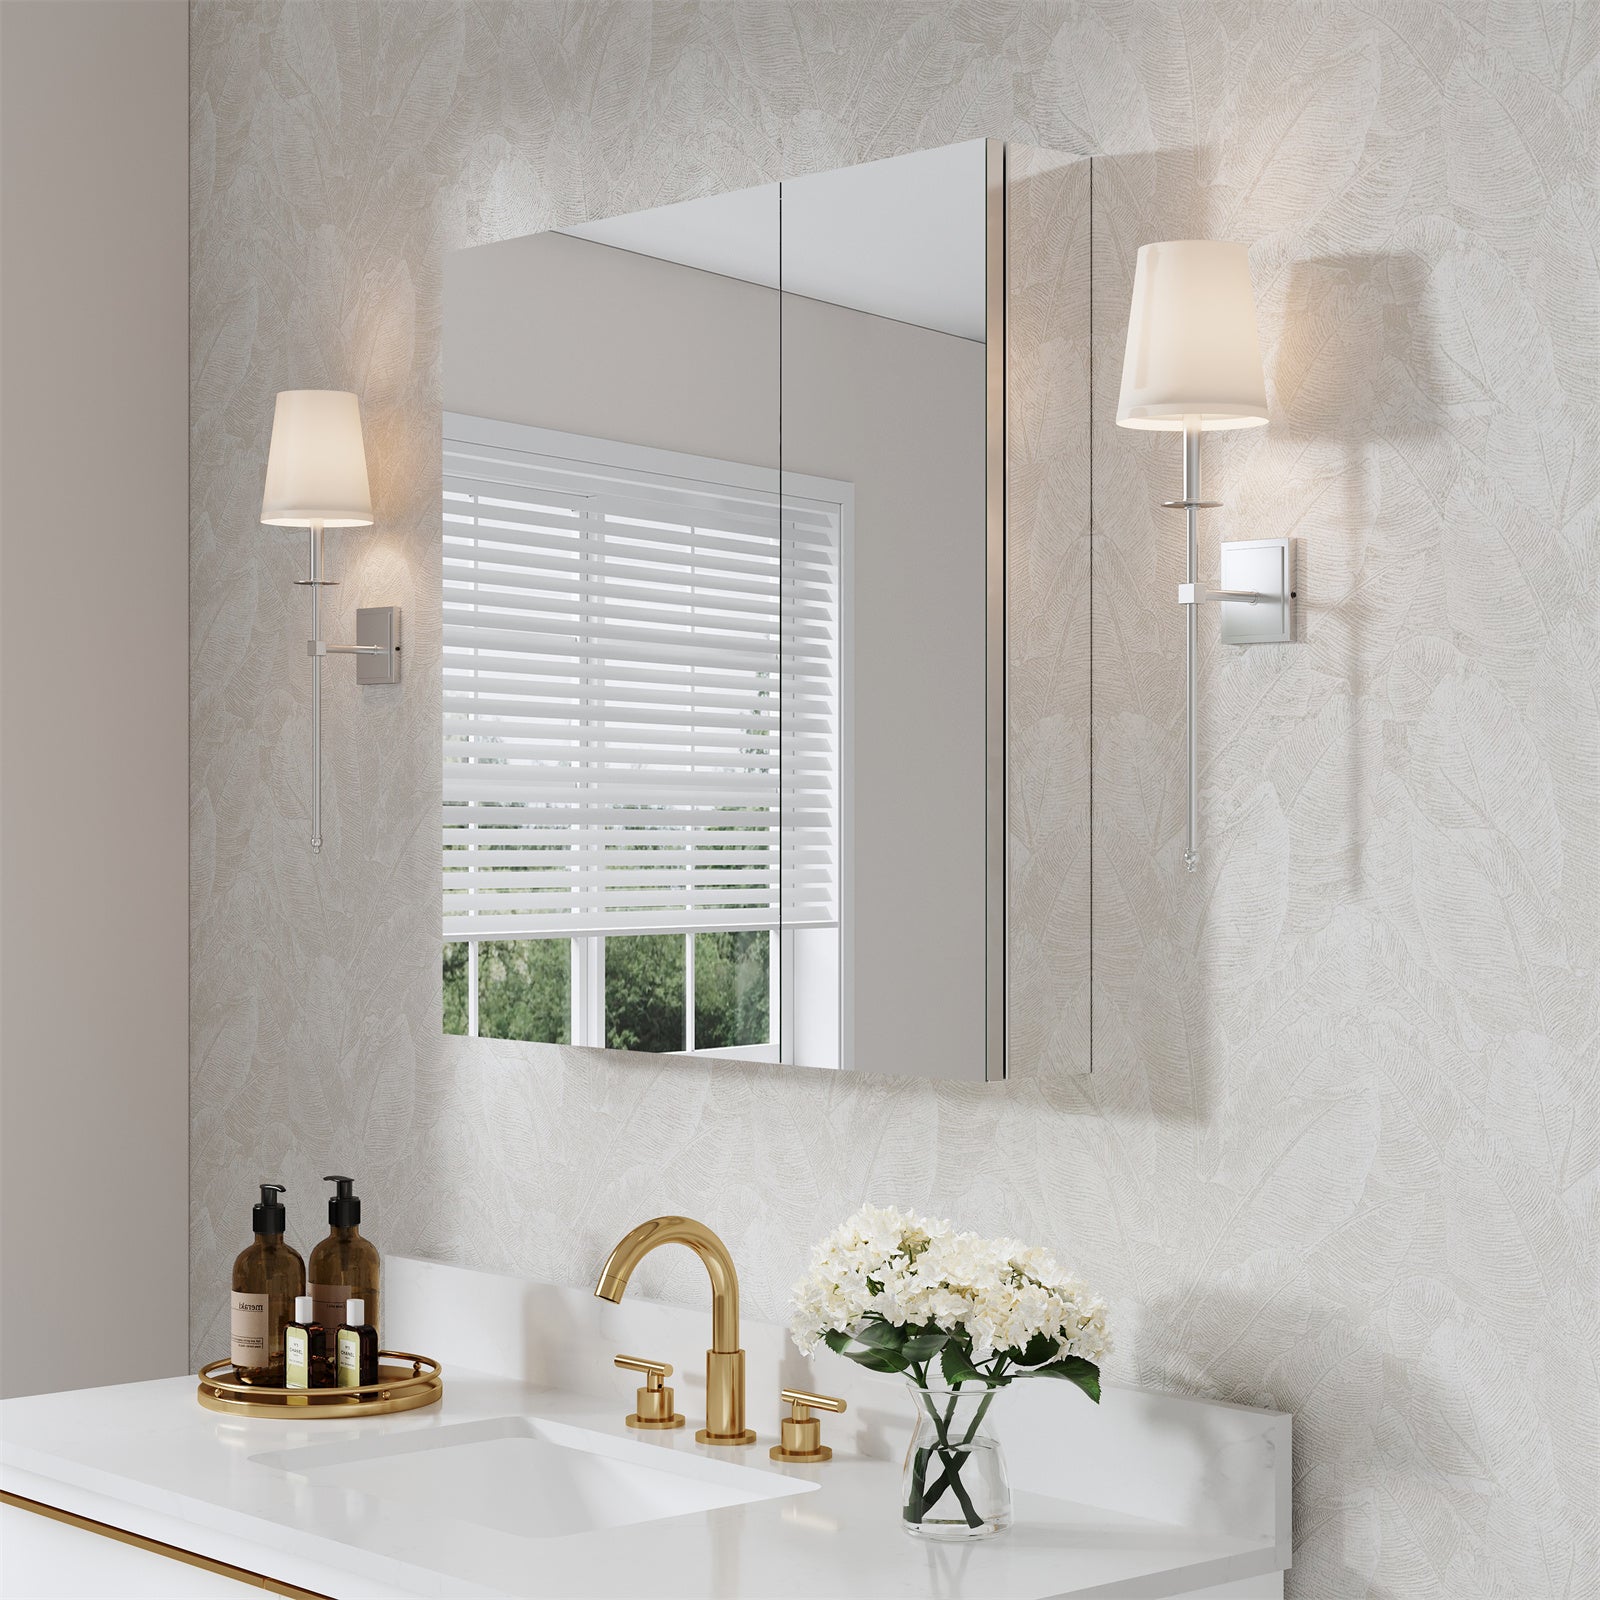

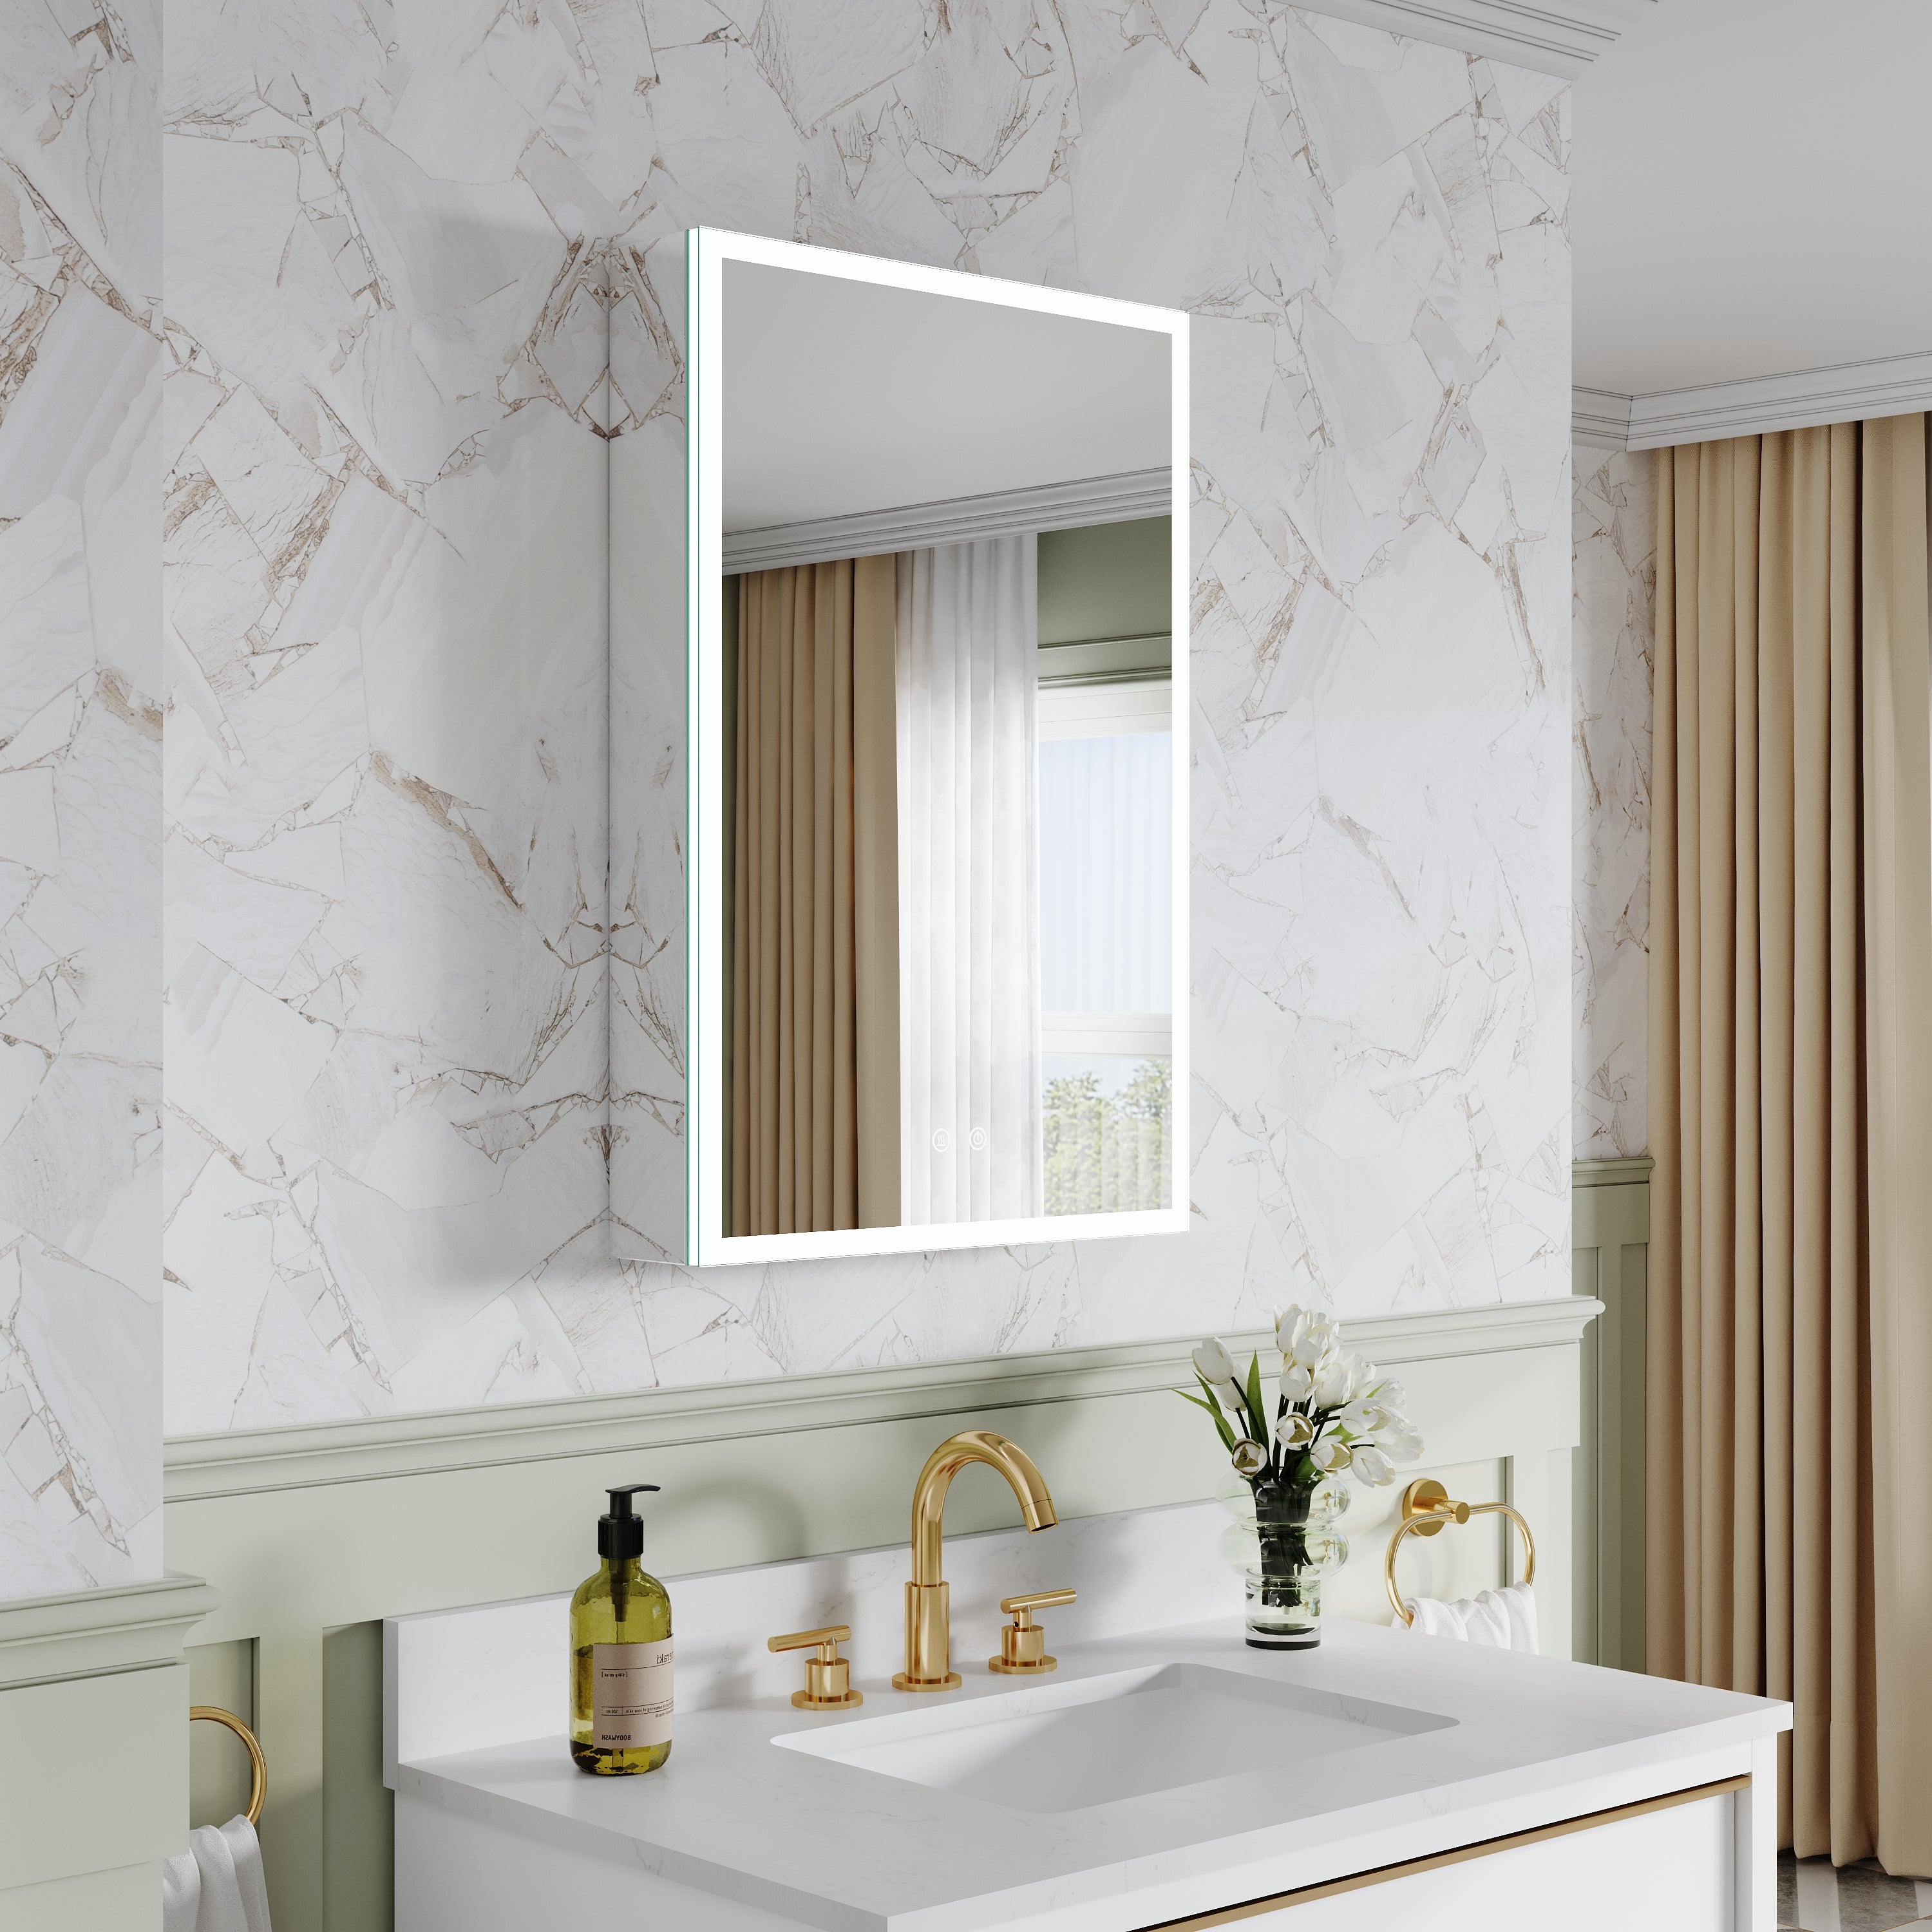
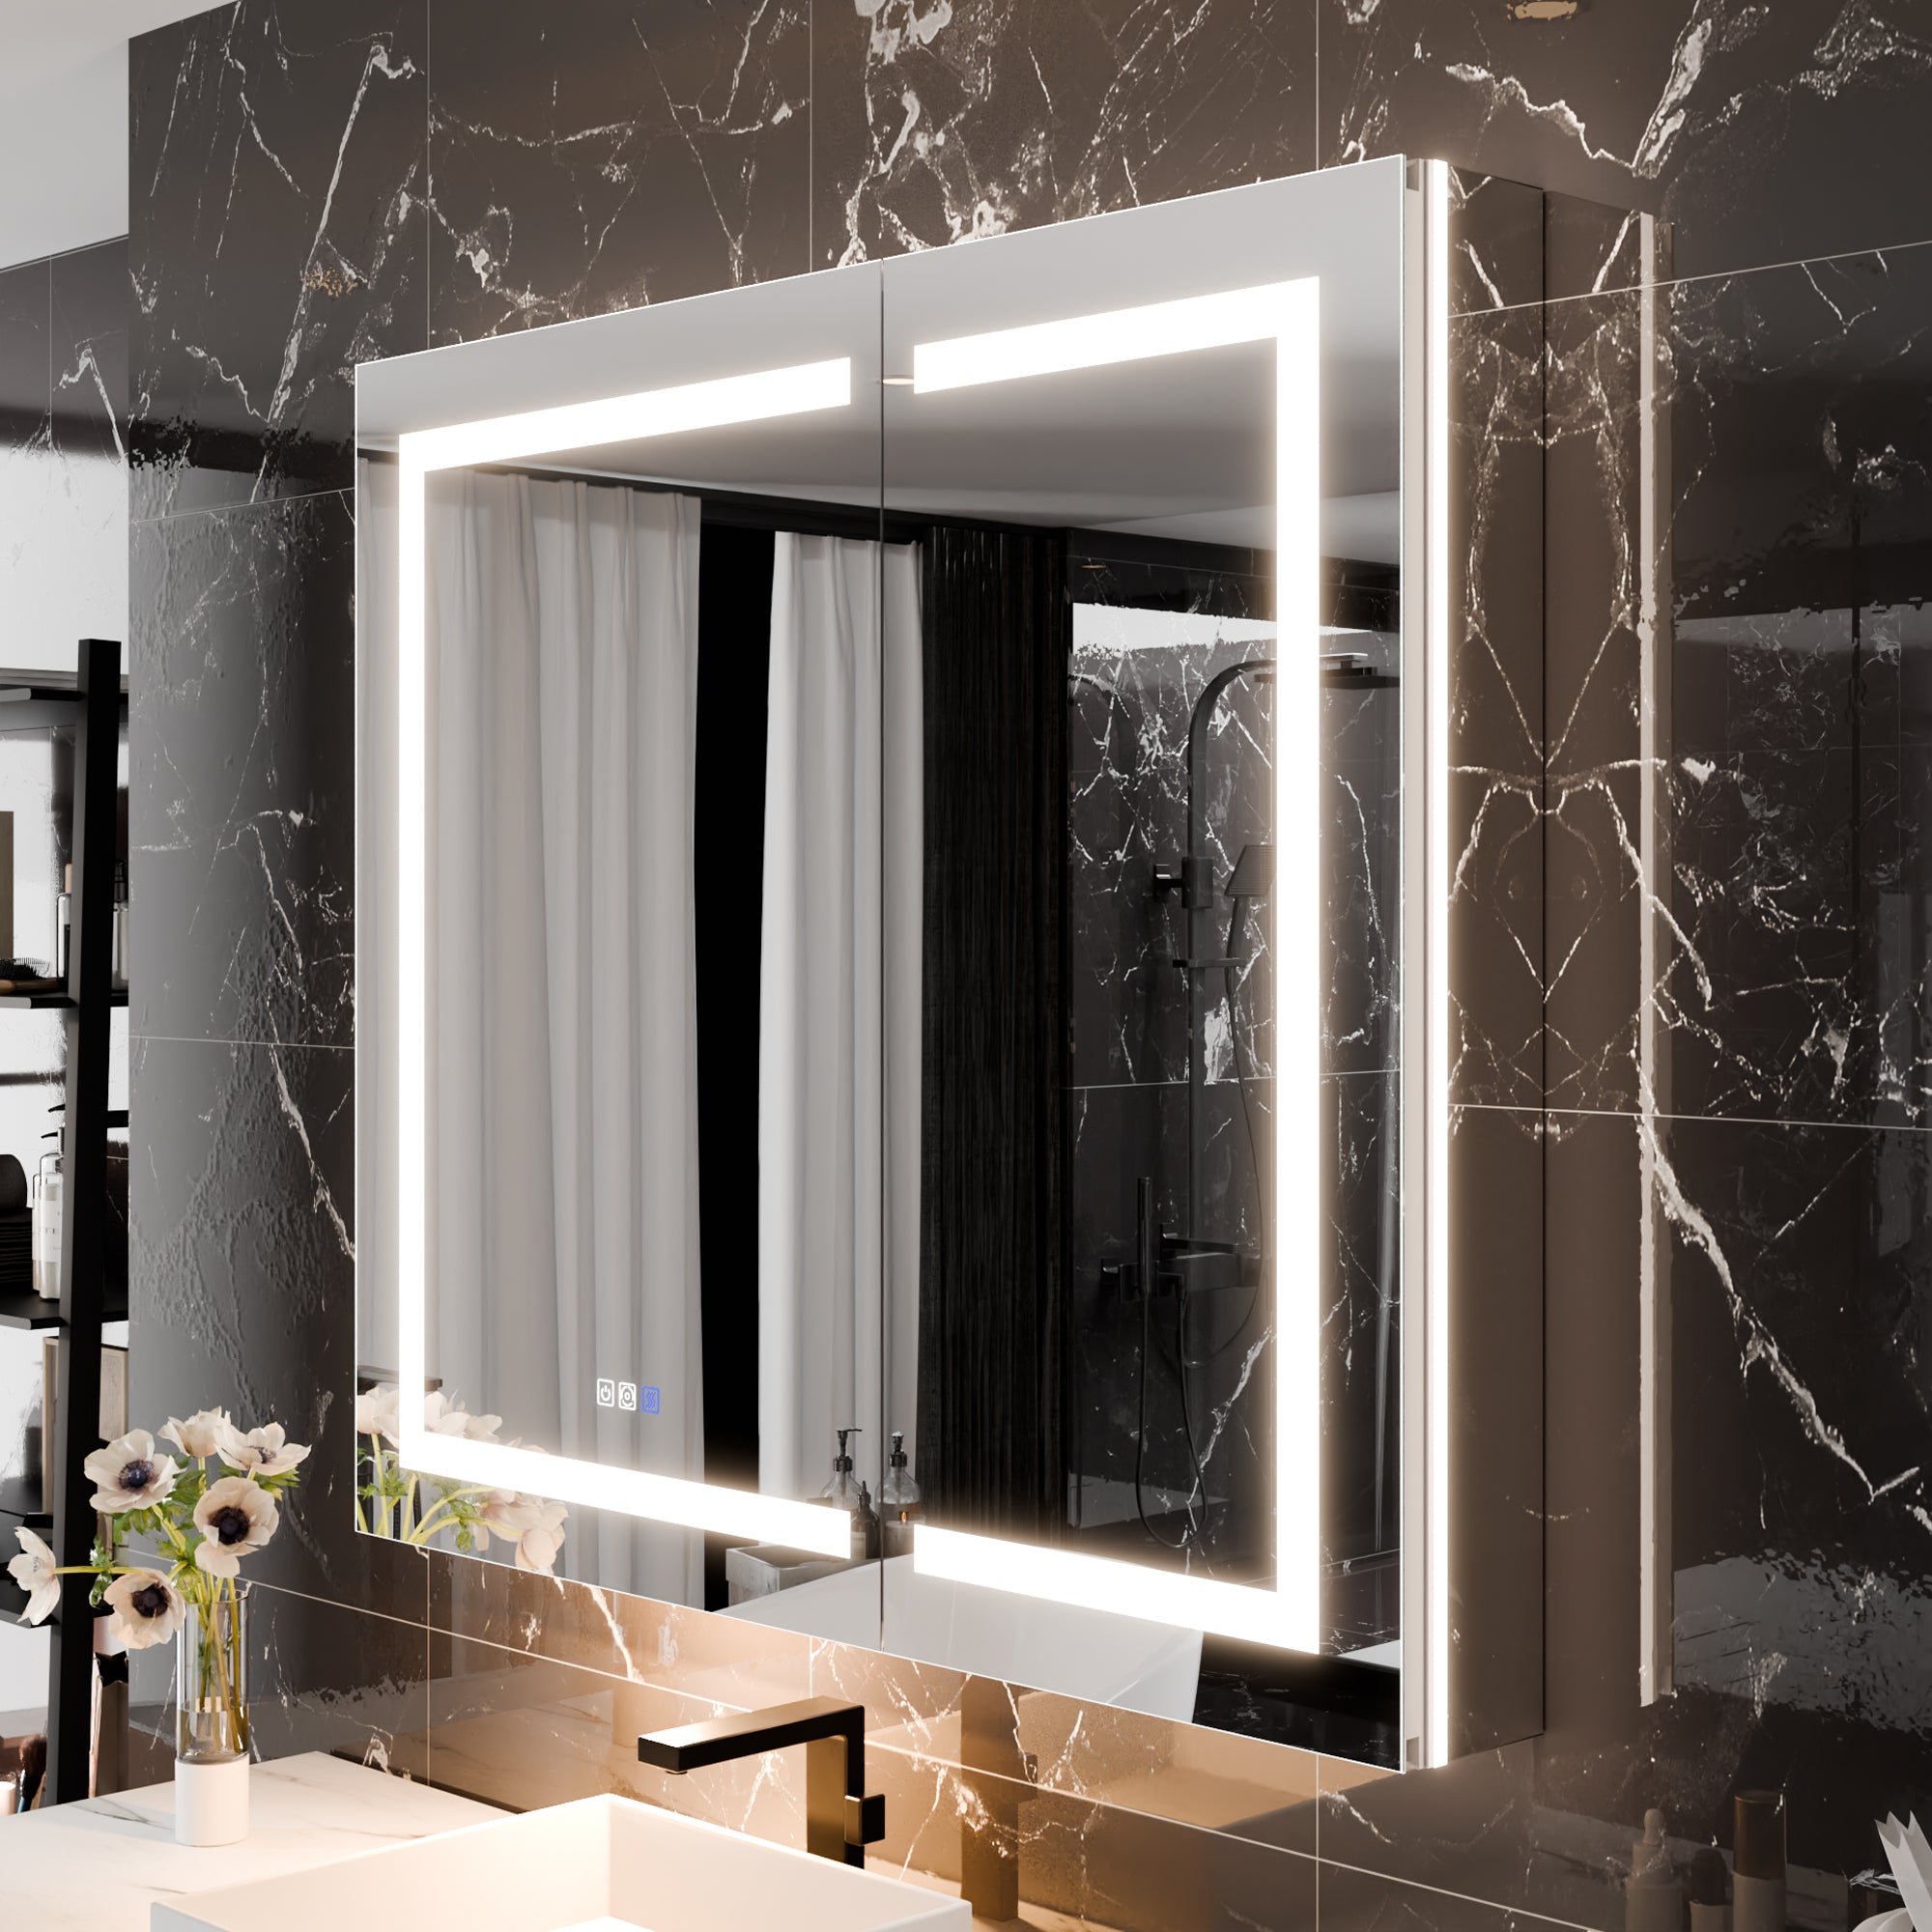
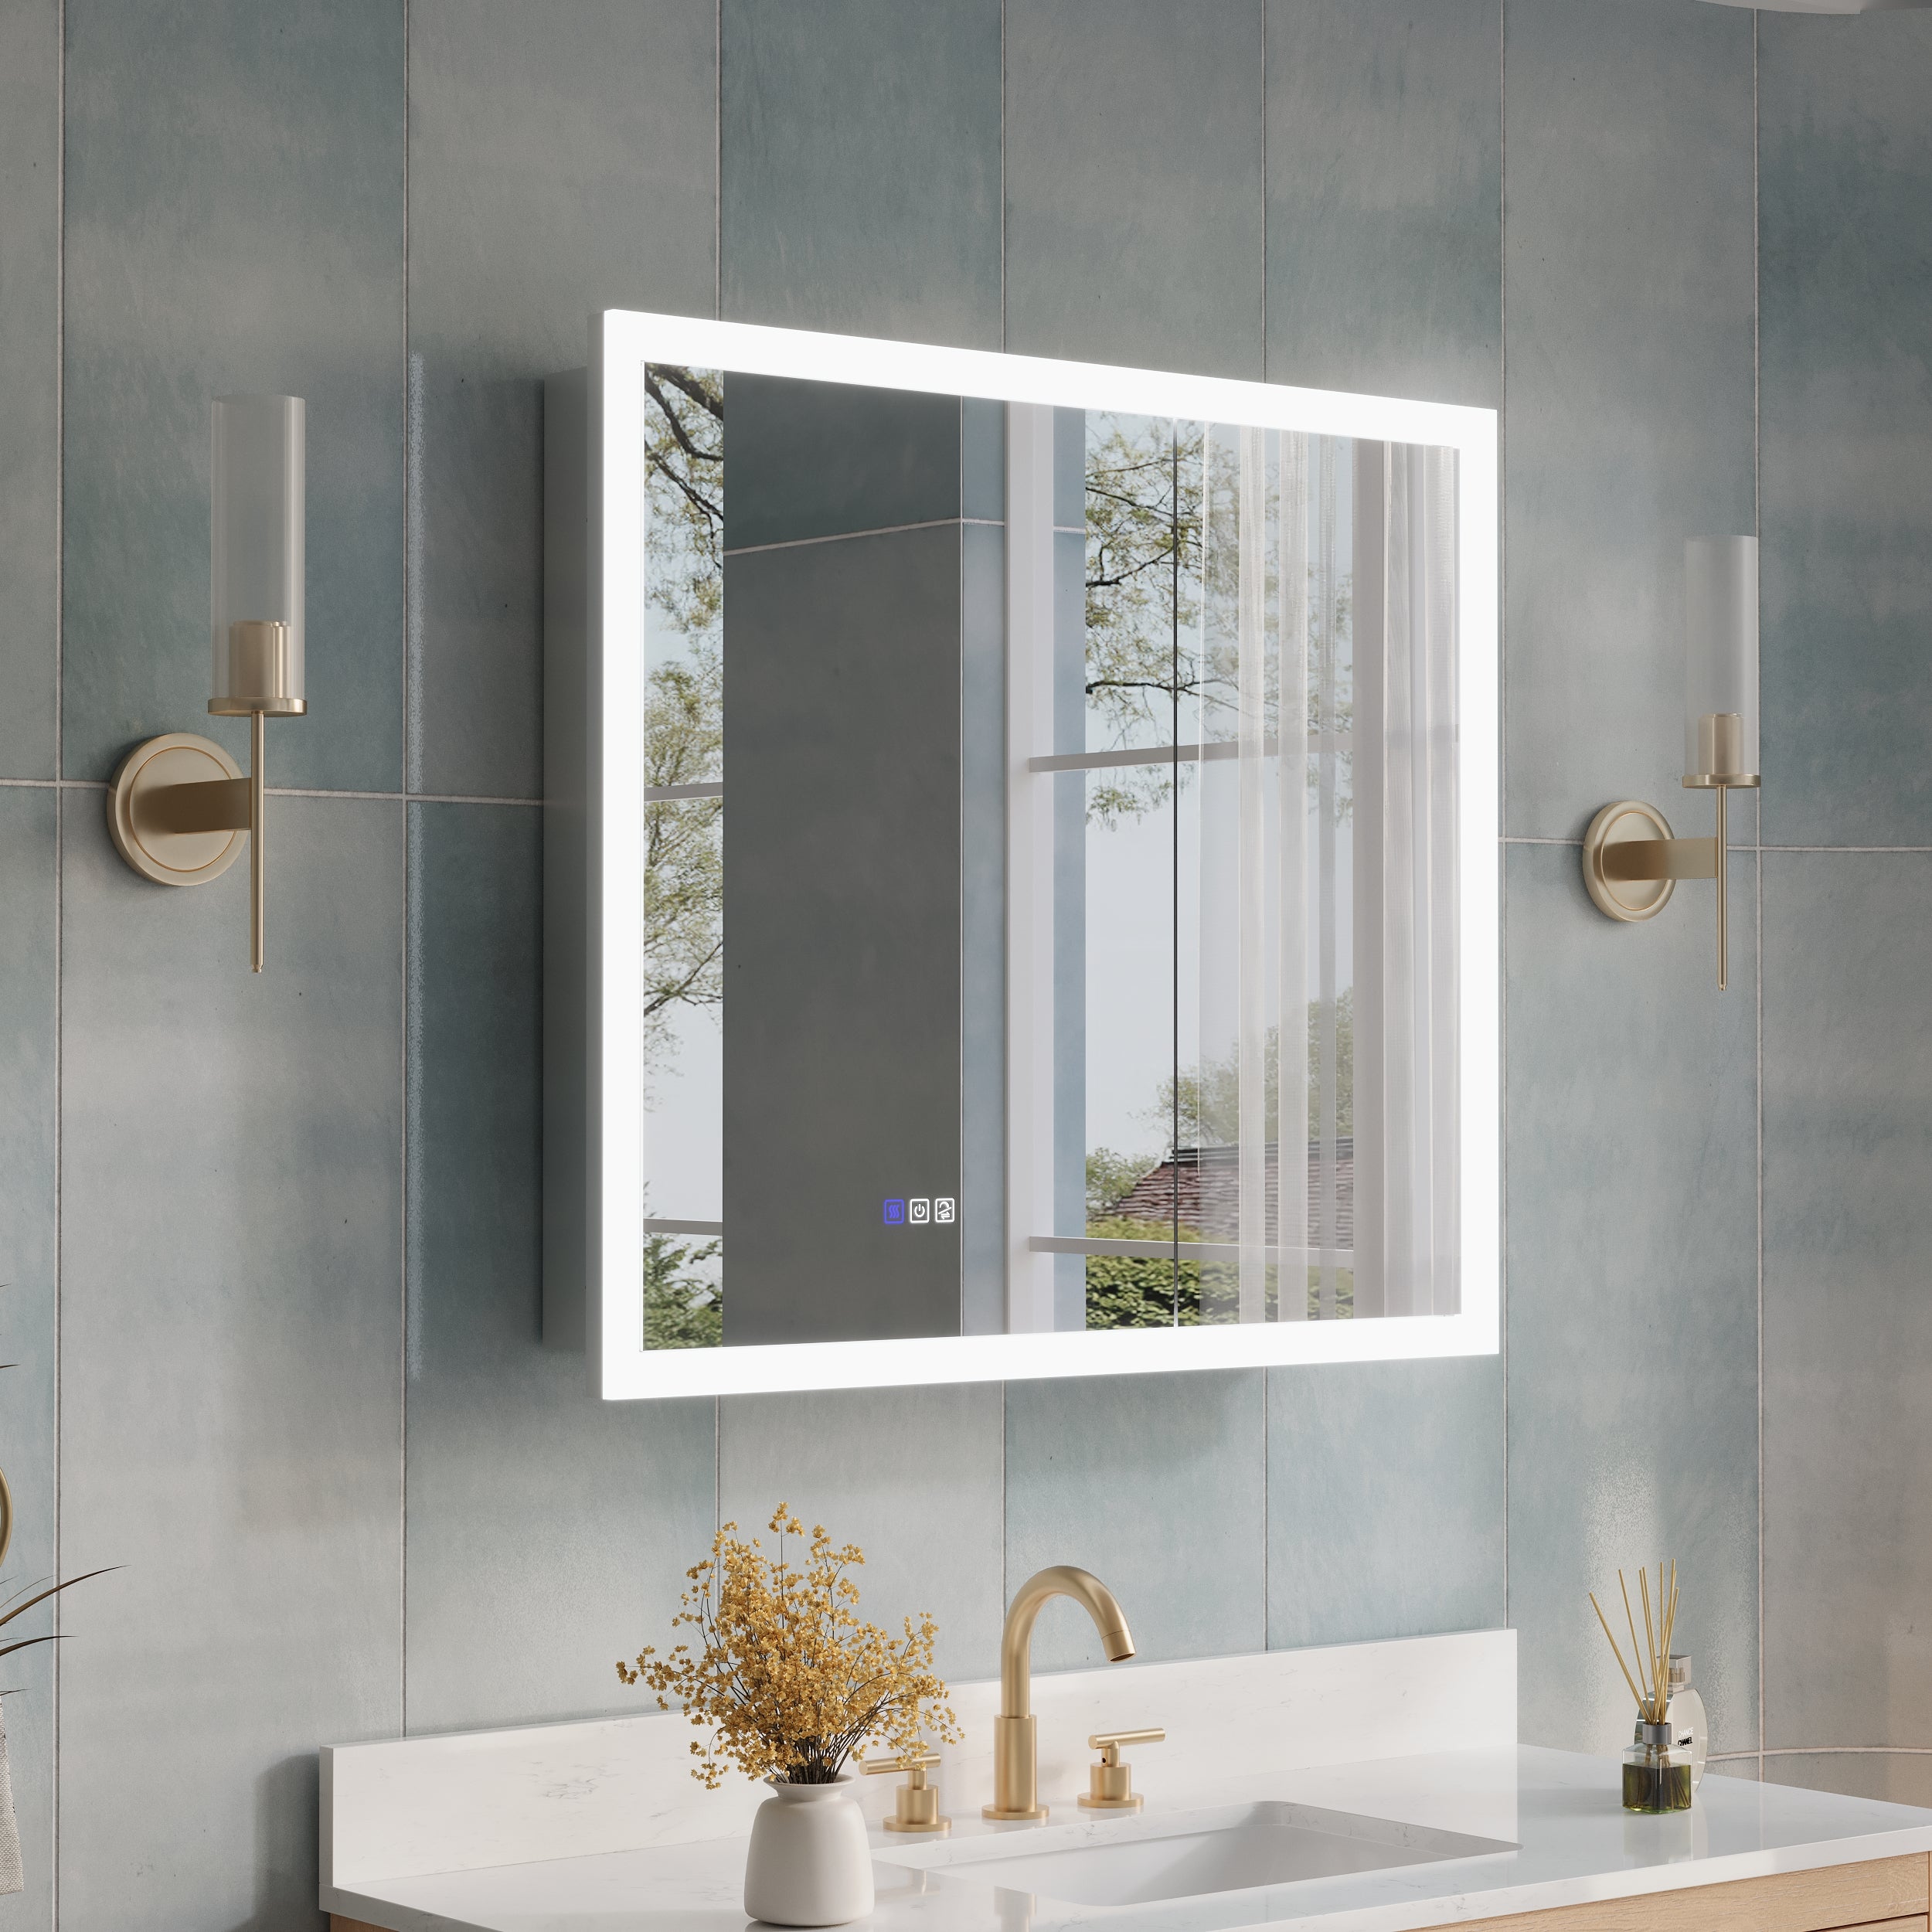
Bathroom storage is getting a fresh moment, and the recessed medicine cabinet with mirror is right in the middle of it. With remodeling spend projected to reach a record $524 billion in early 2026 (per Harvard’s Joint Center for Housing Studies), builders and remodelers are leaning into upgrades that look seamless but add daily function. In parallel, recent Houzz research shows bathroom projects still command serious budgets—$13,000 median spend in 2024 (down from $15,000 the prior year), with major remodels at $22,000—and “space efficiency” trends like wet rooms continue to grow.
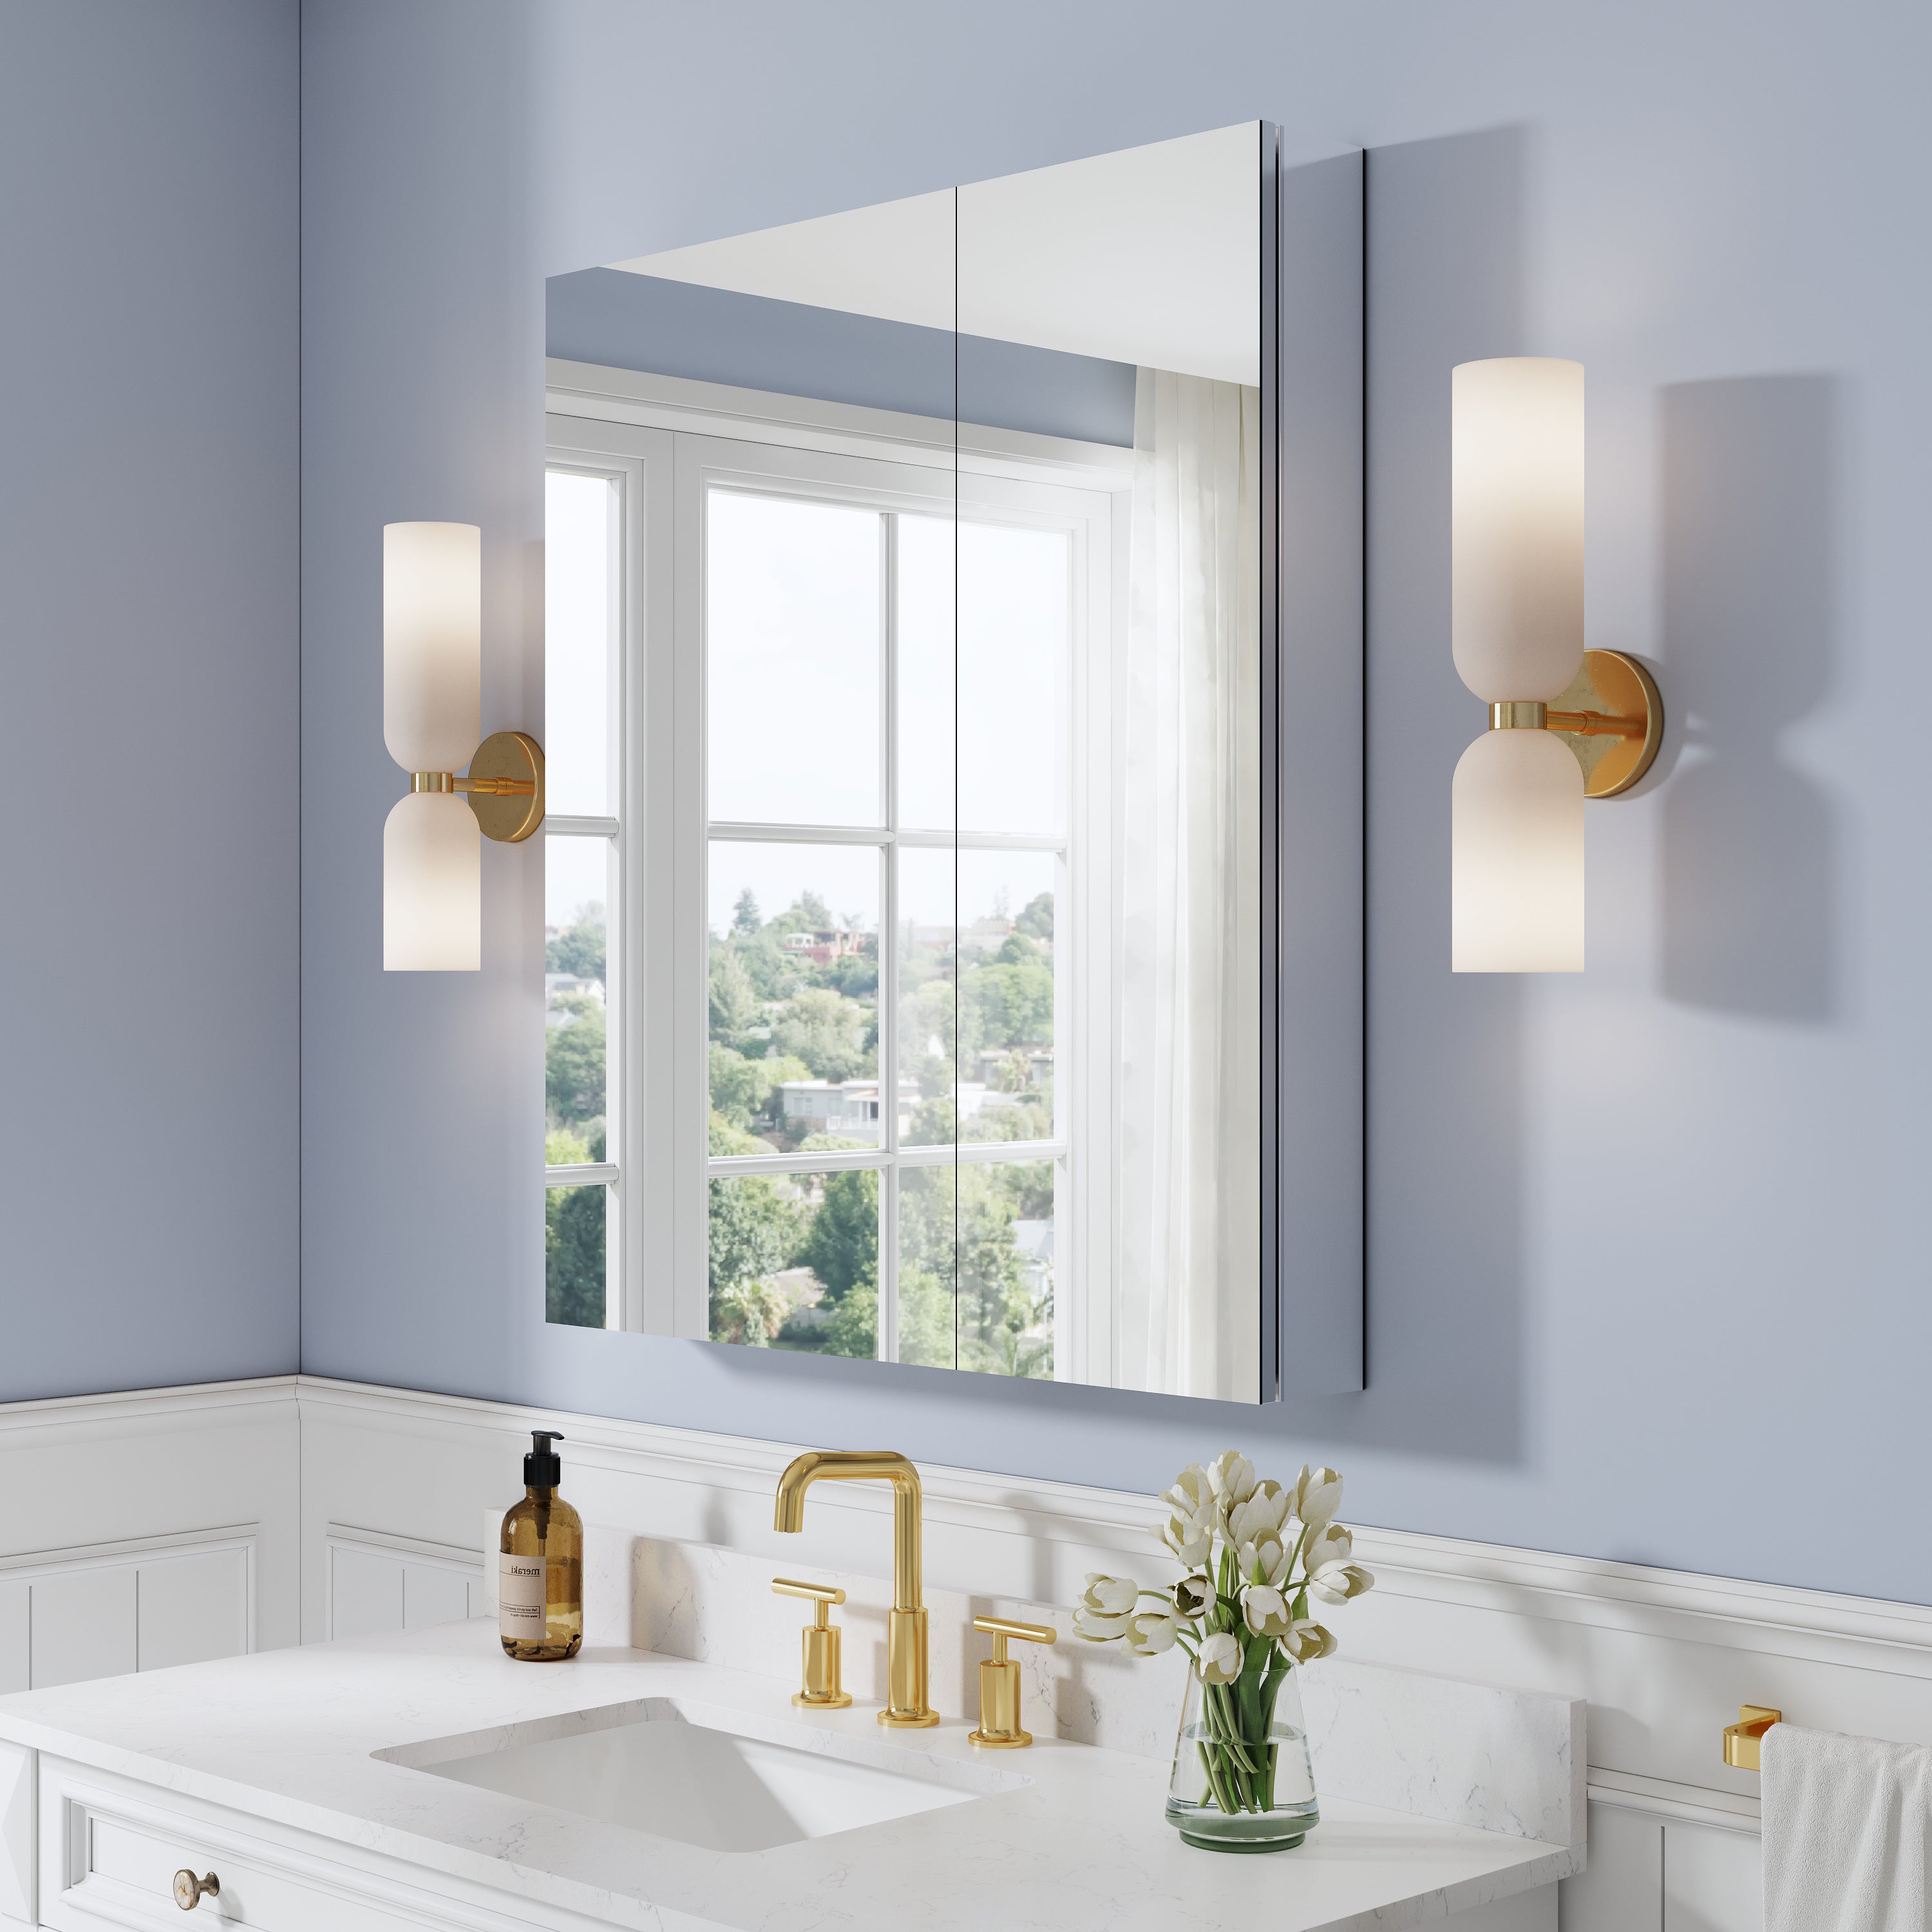
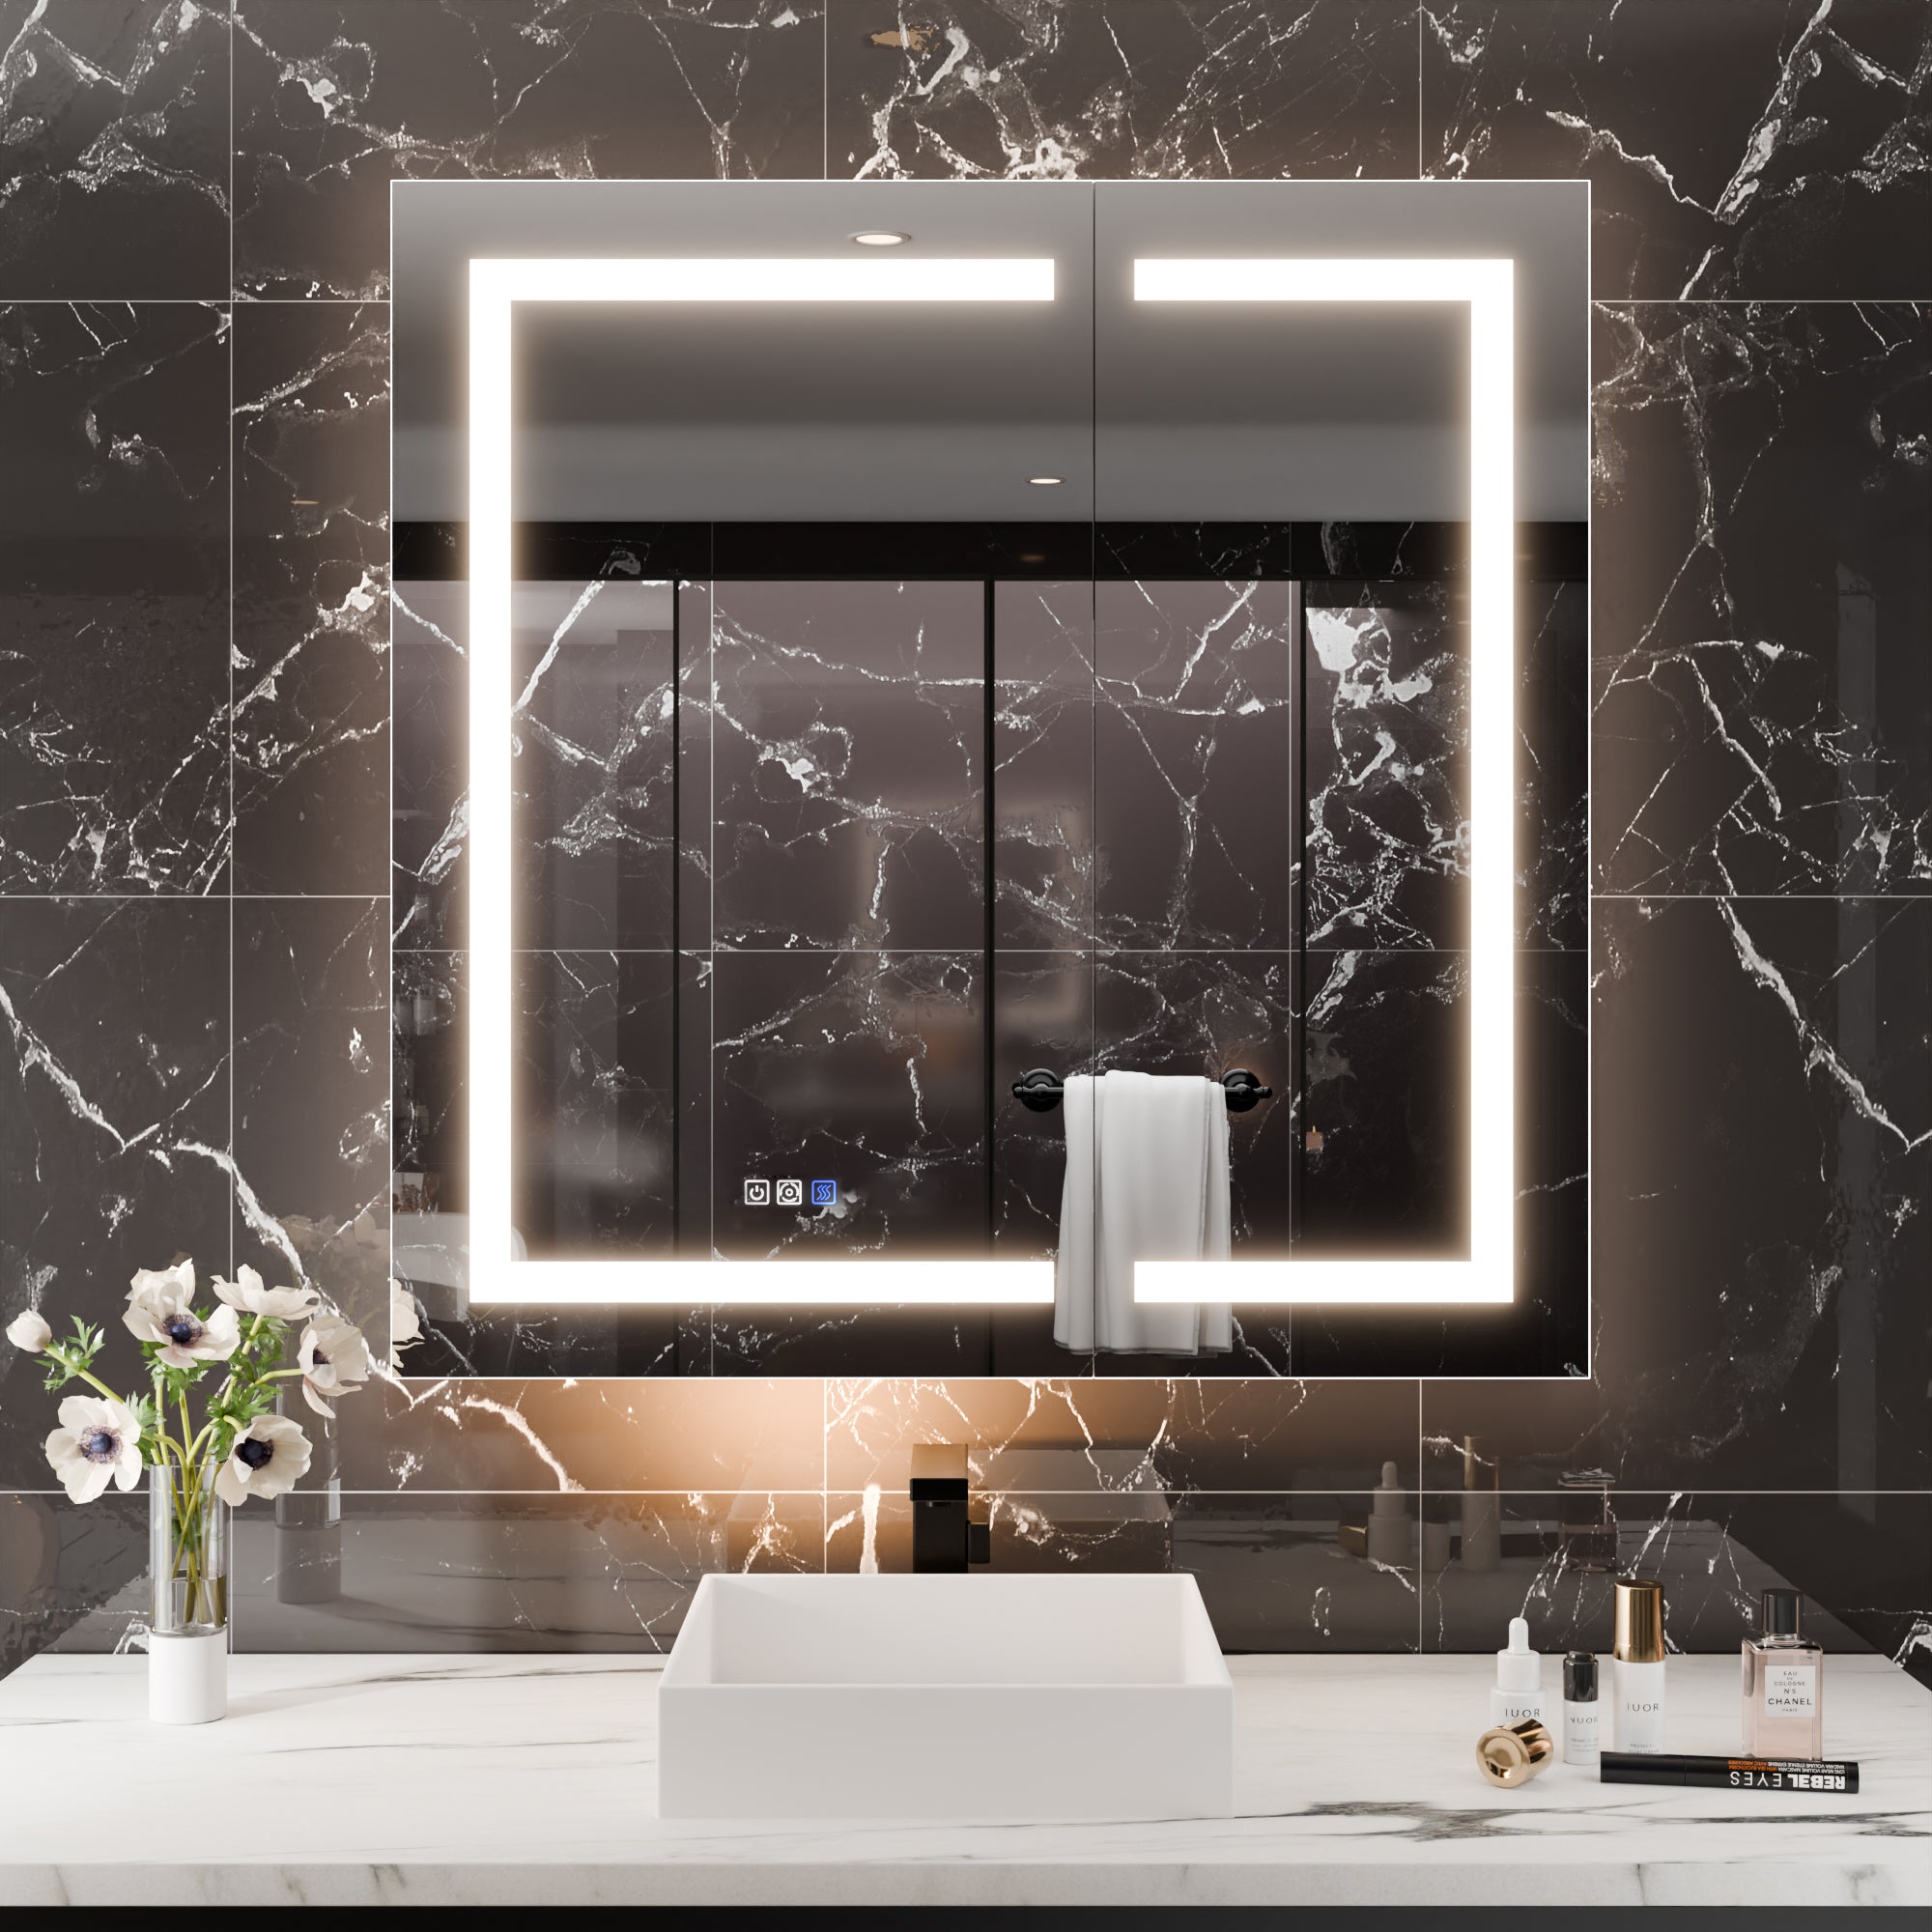
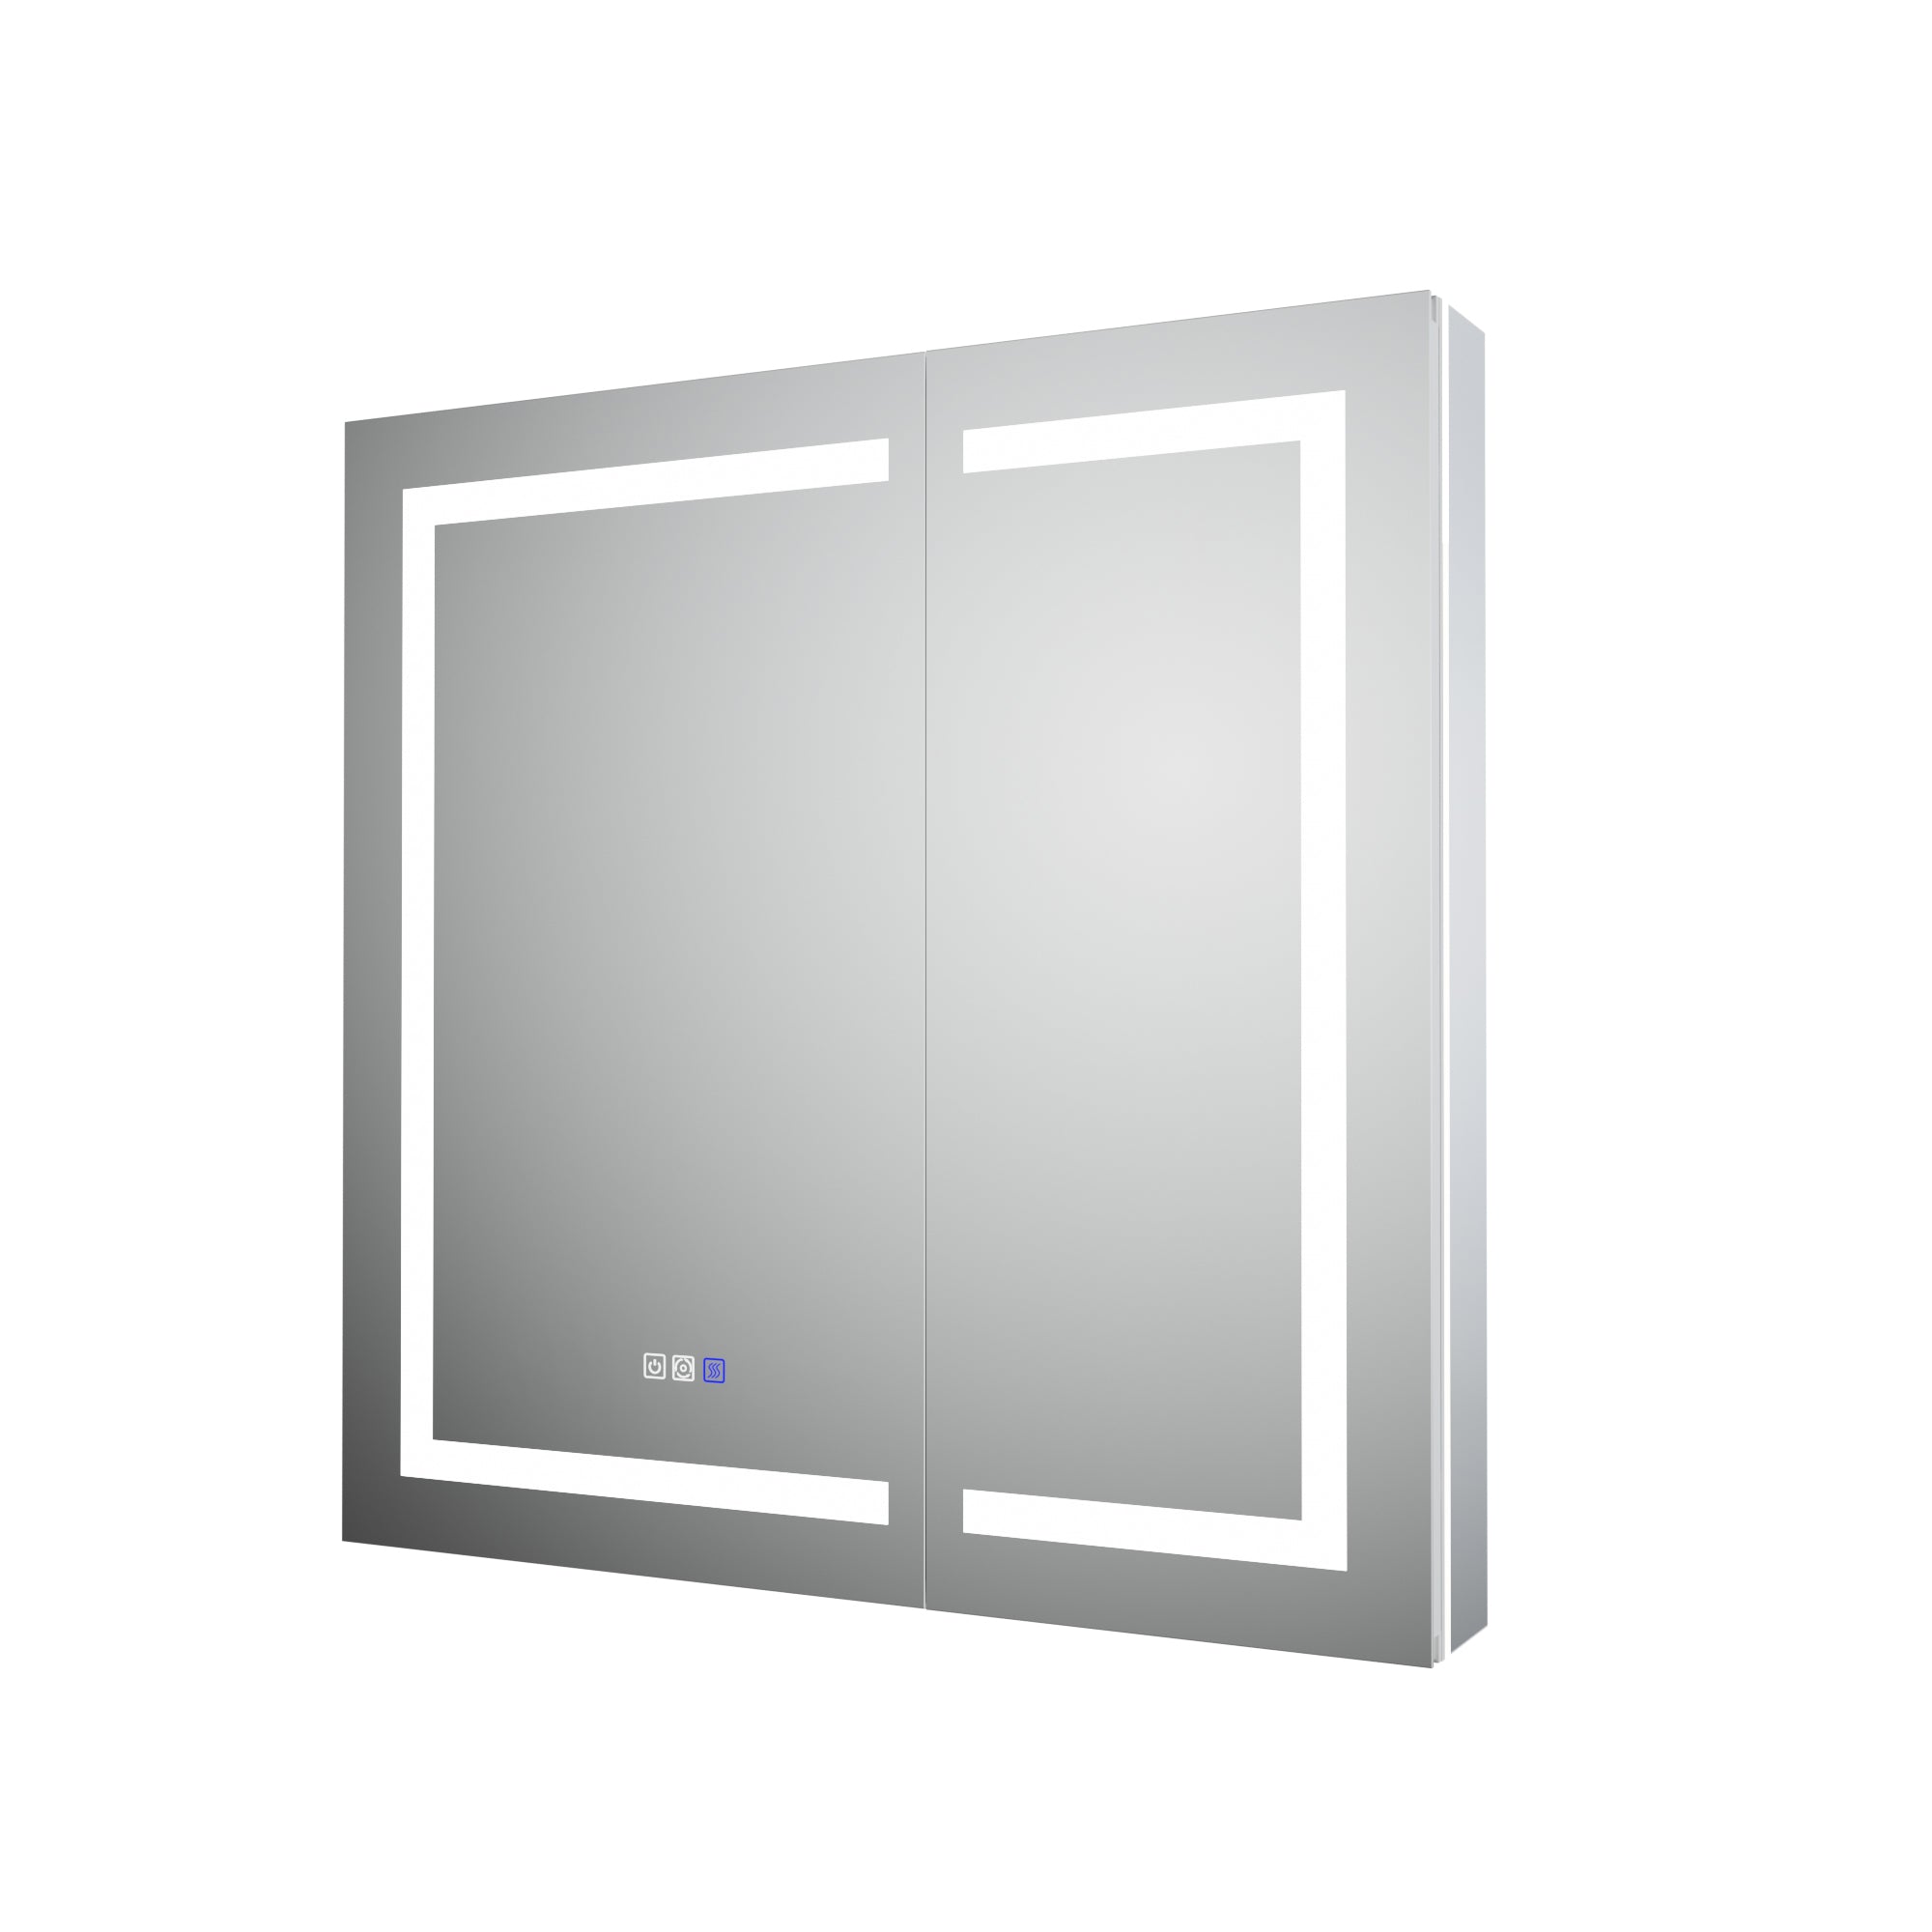
What’s driving the comeback of the recessed cabinet is simple: it delivers storage without visual bulk. Design trend watchers also point to lighting integration—NKBA notes continued momentum for LED lighting as the standard, as well as more lighting built into medicine cabinets and mirrors. That means installers increasingly need to think about both framing and finish work, not just “hang a box on the wall.”
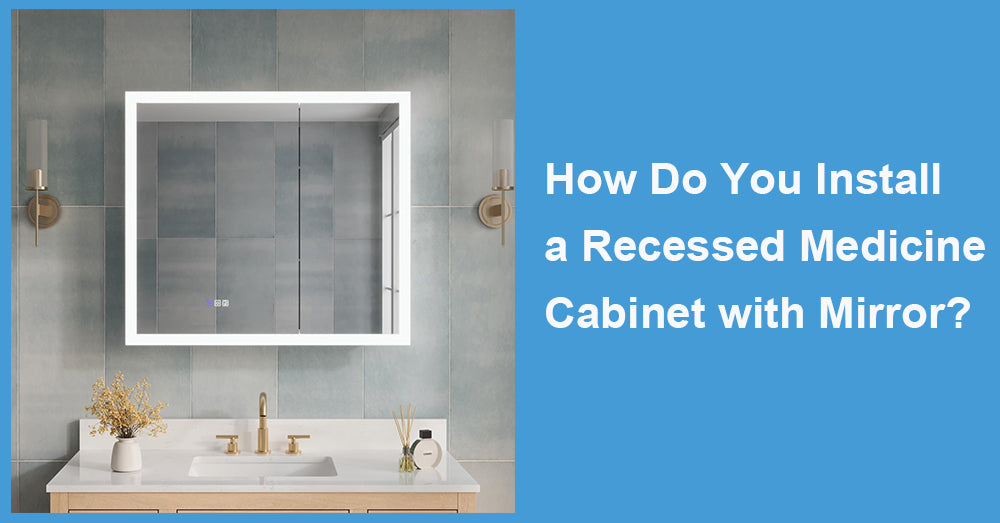
Before you cut: confirm the wall can take a recess
Most installation problems trace back to one surprise inside the wall: studs, pipes, wires, or a lack of depth.
Stud layout (the “16-inch reality”). Many interior walls are framed so that studs are 16 inches on-center, a spacing that aligns with 48-inch-wide sheet goods for efficient drywalling and sheathing. This matters because a recessed cabinet often needs to fit cleanly between studs without significant reframing.
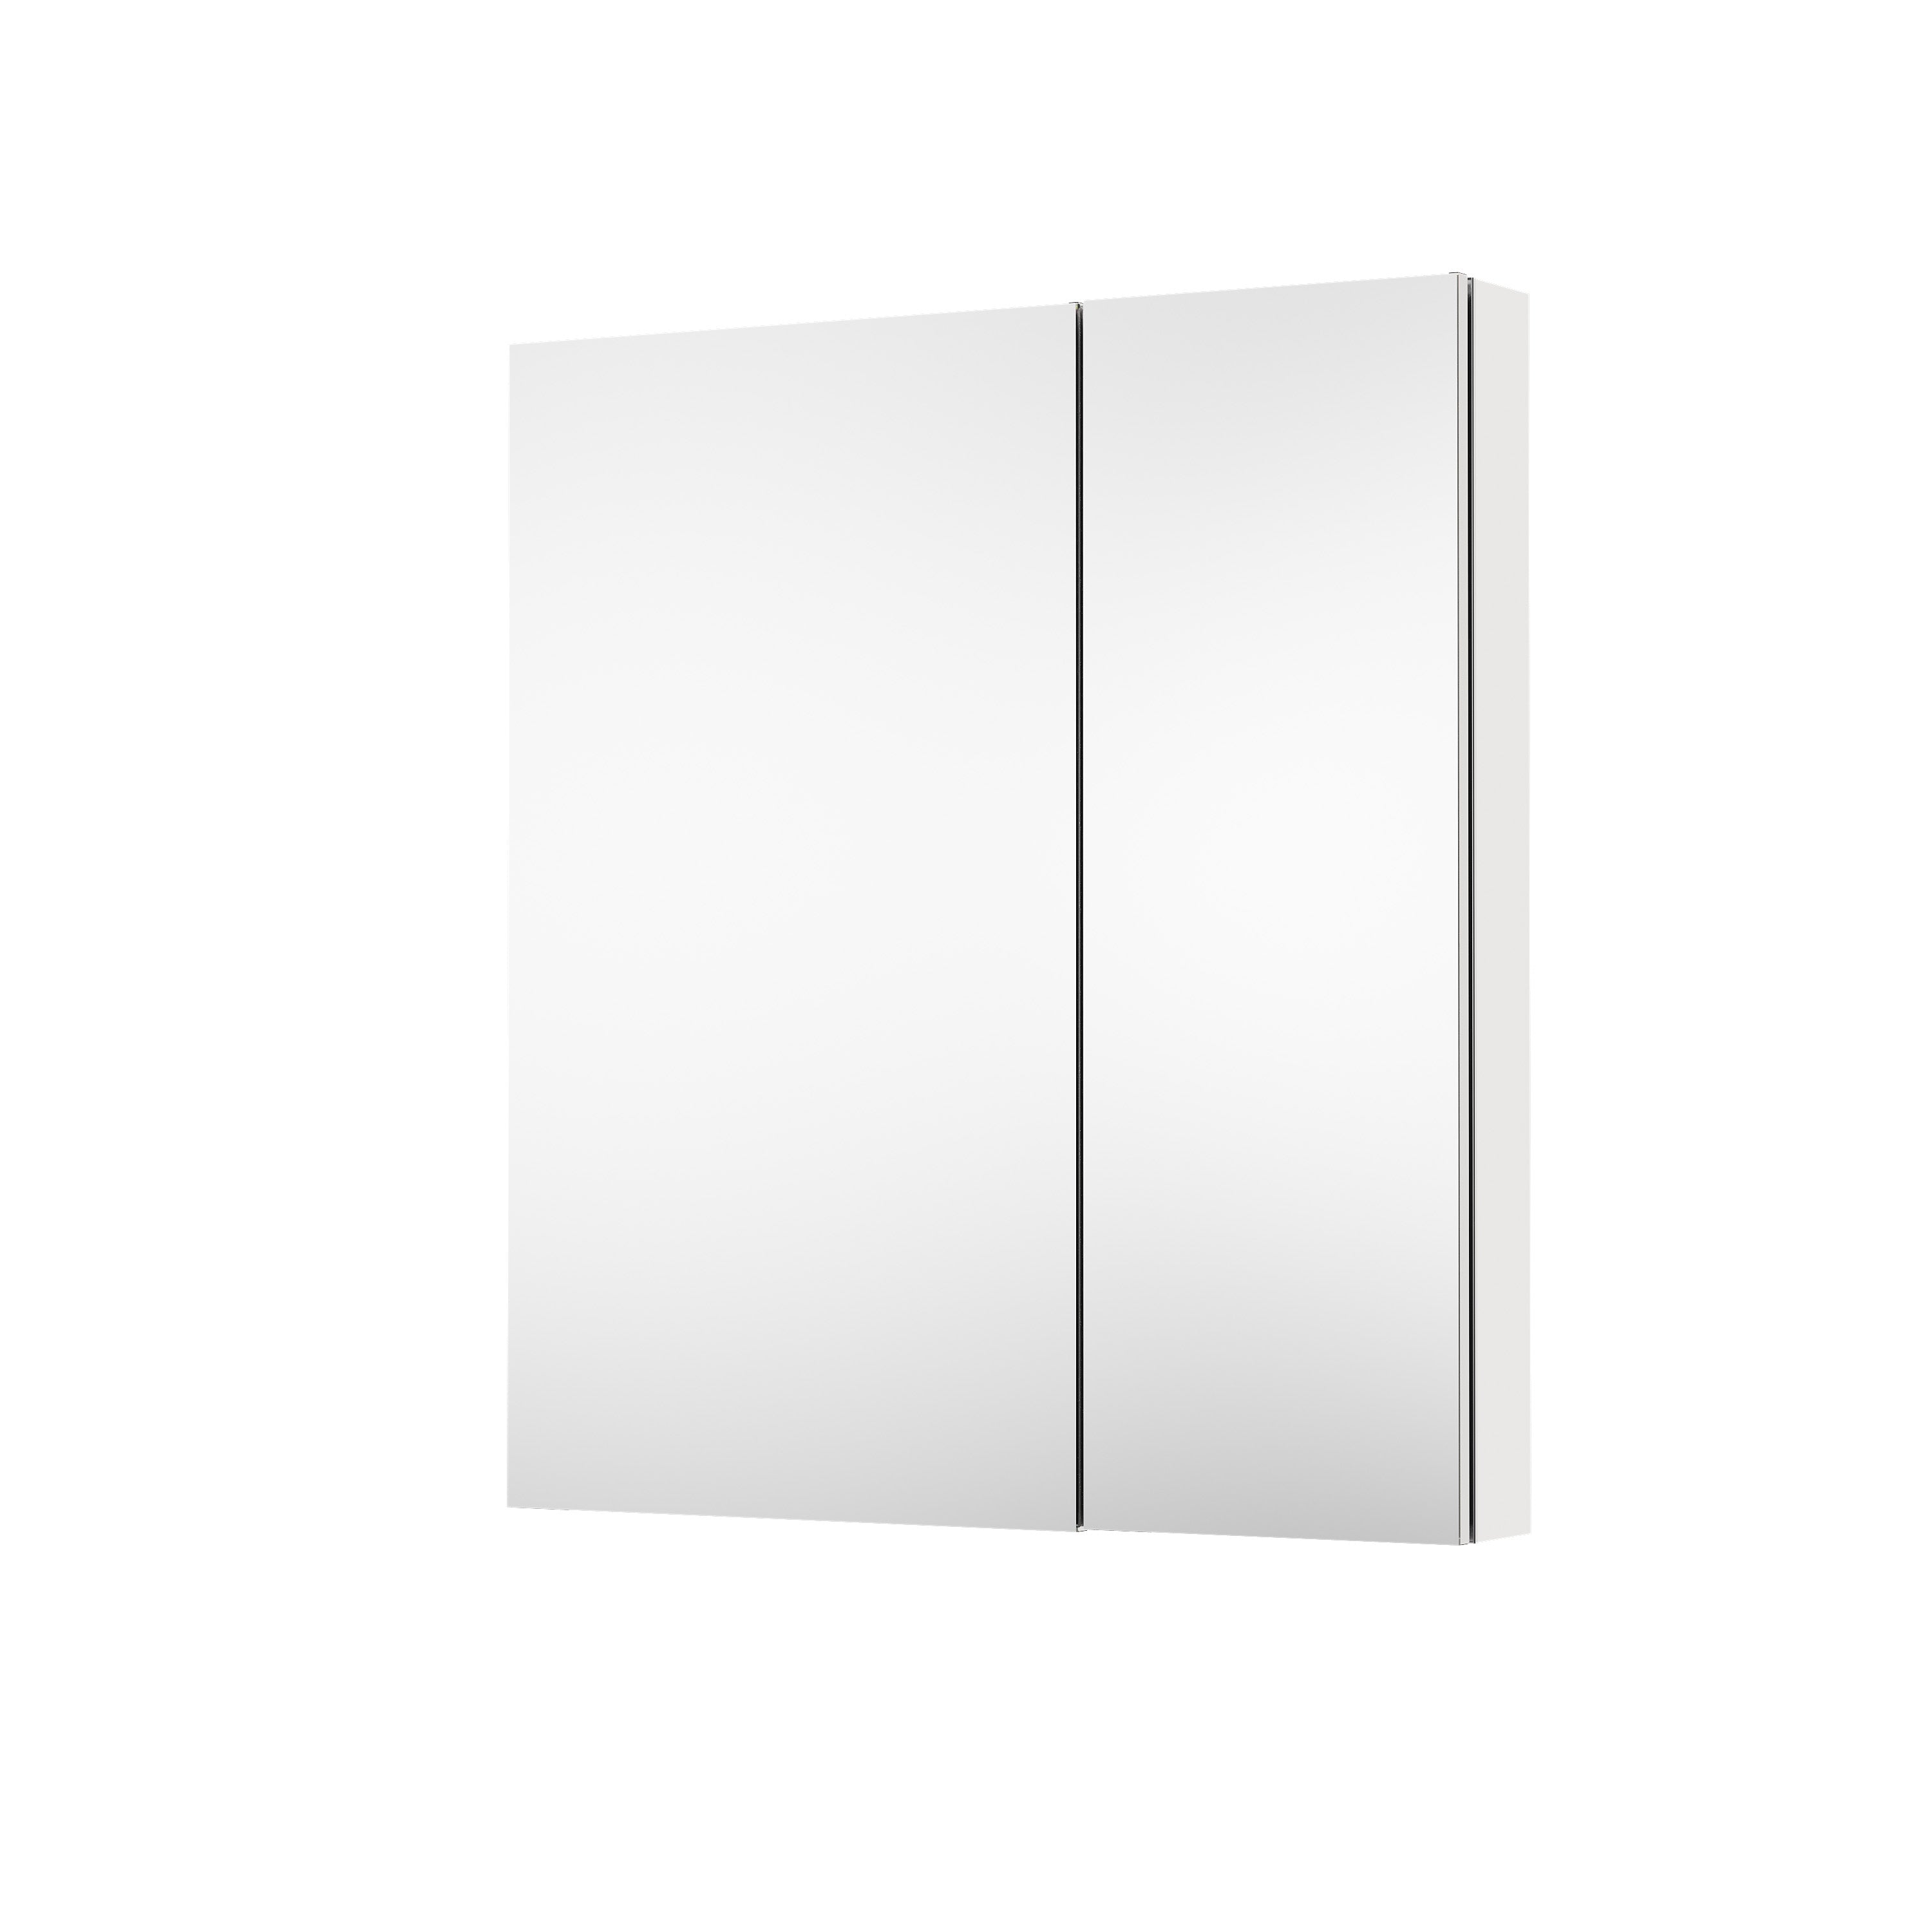
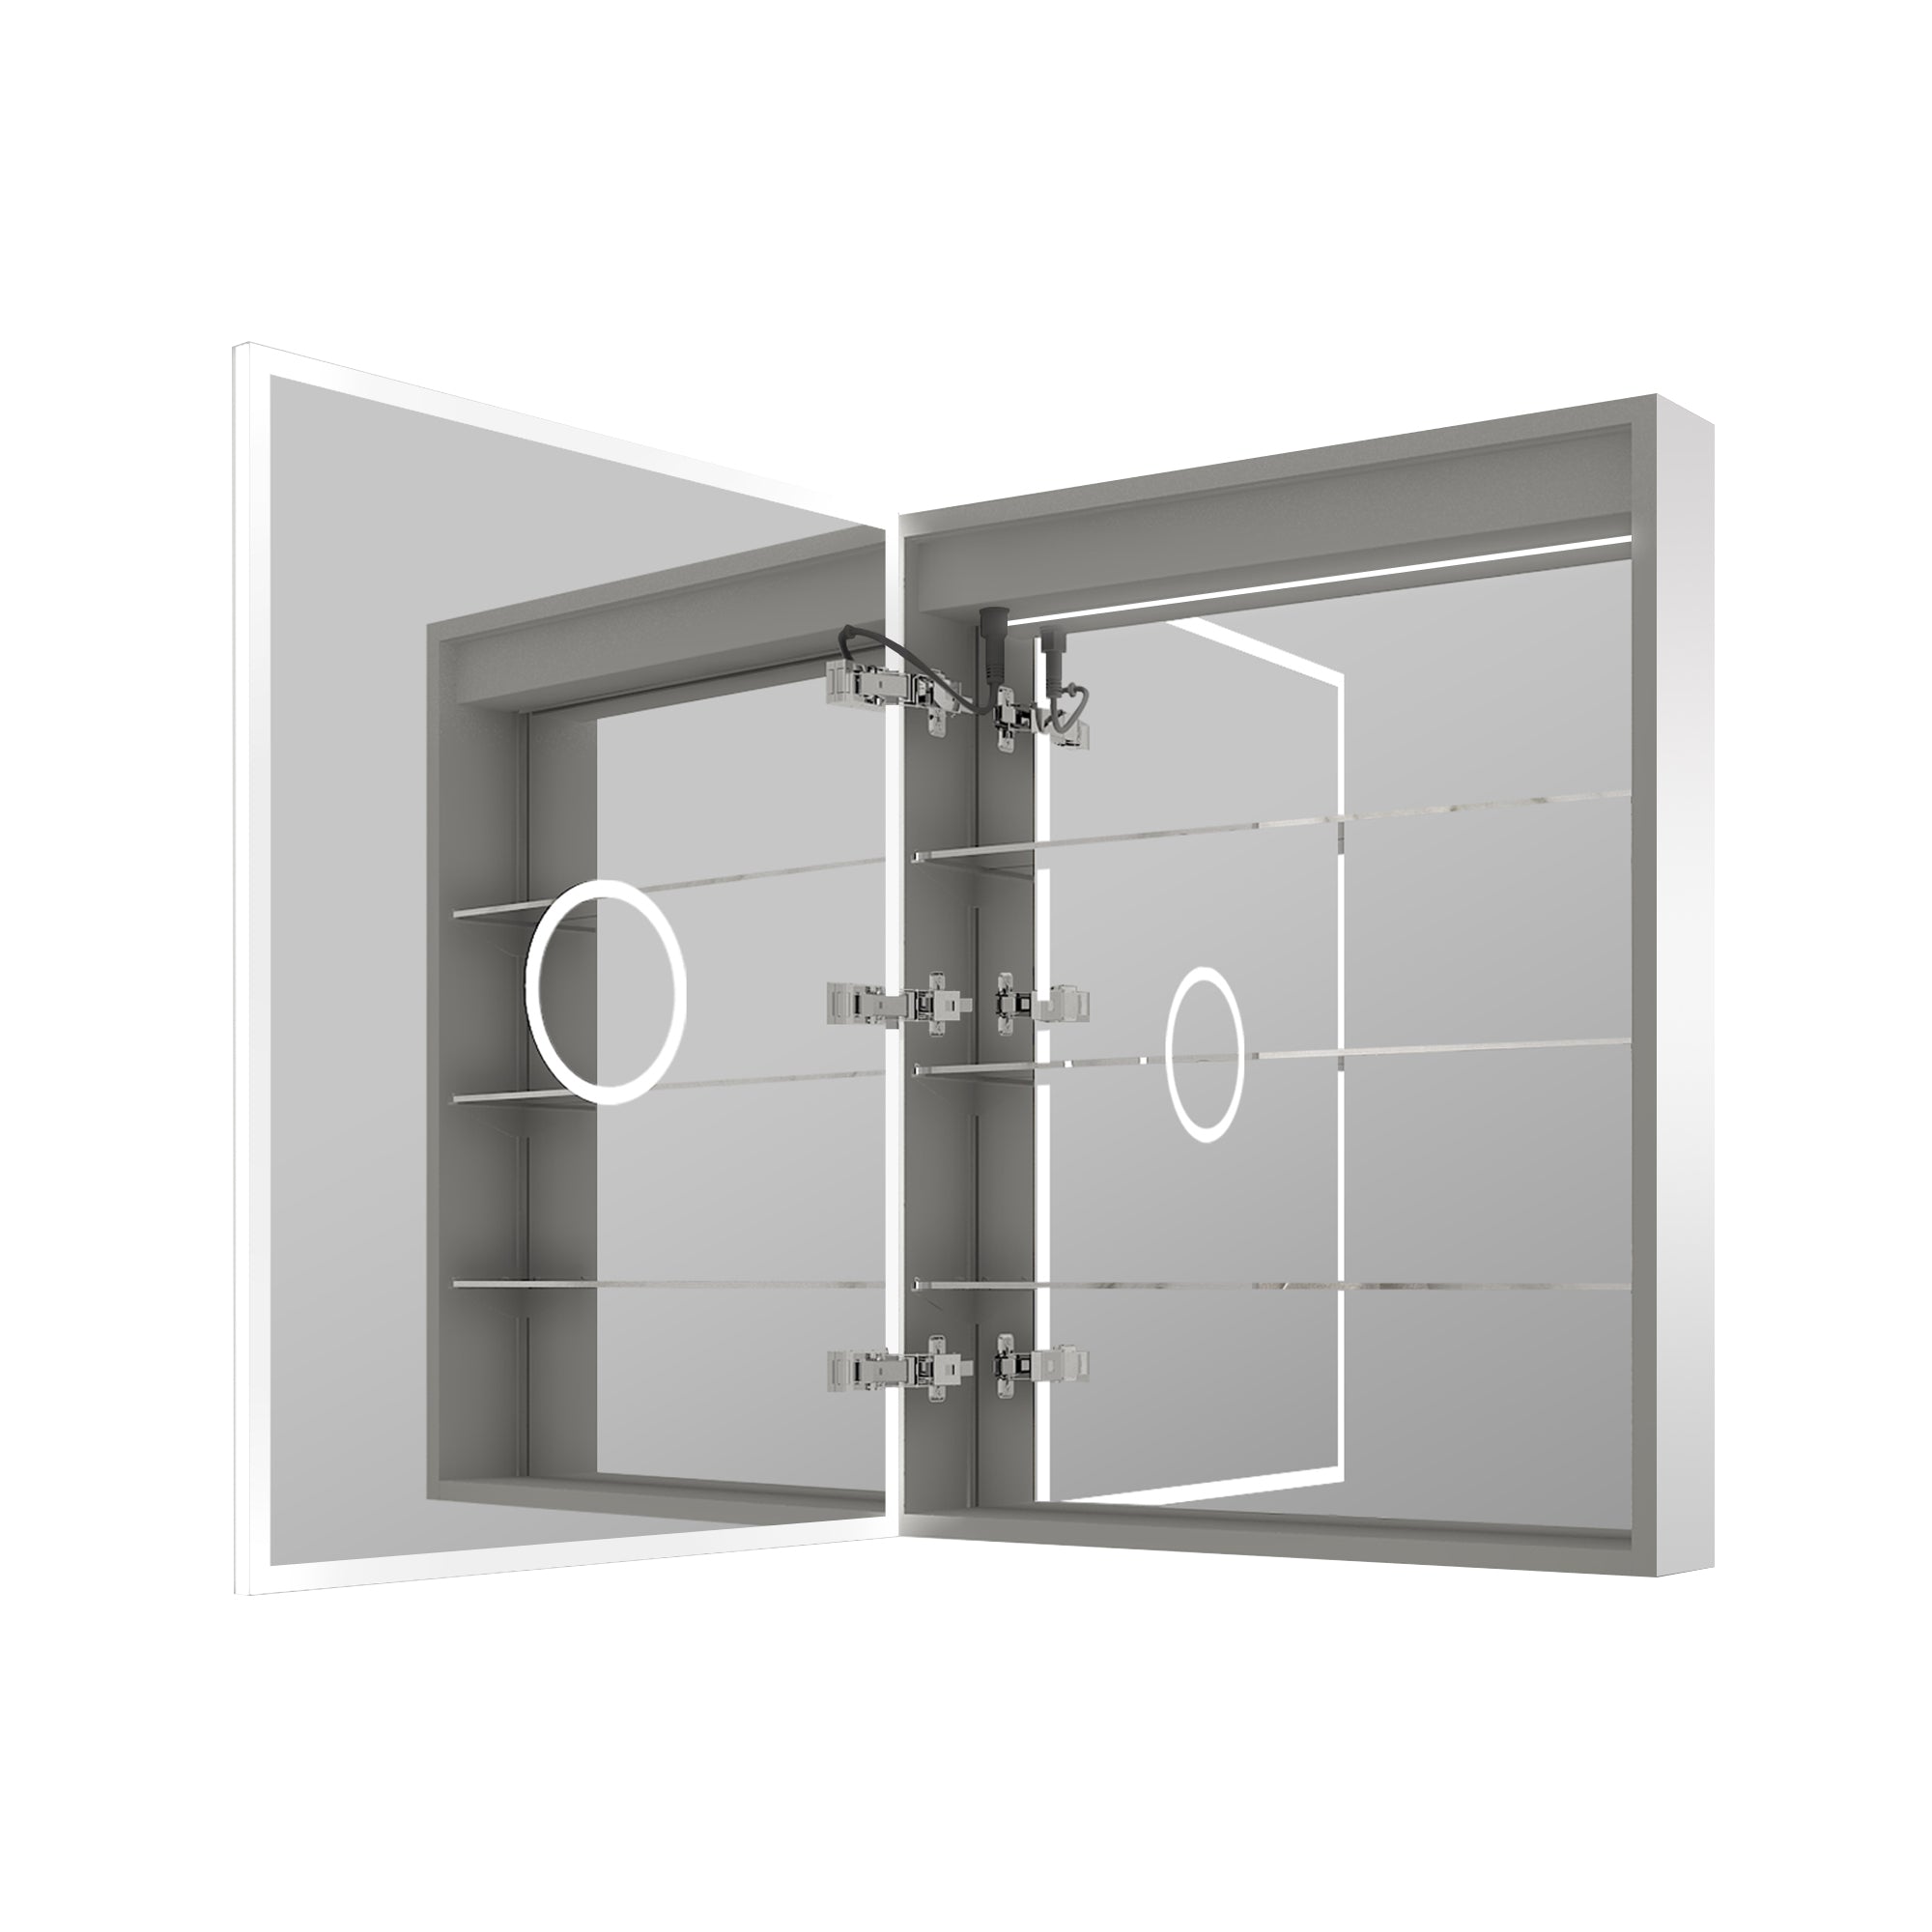
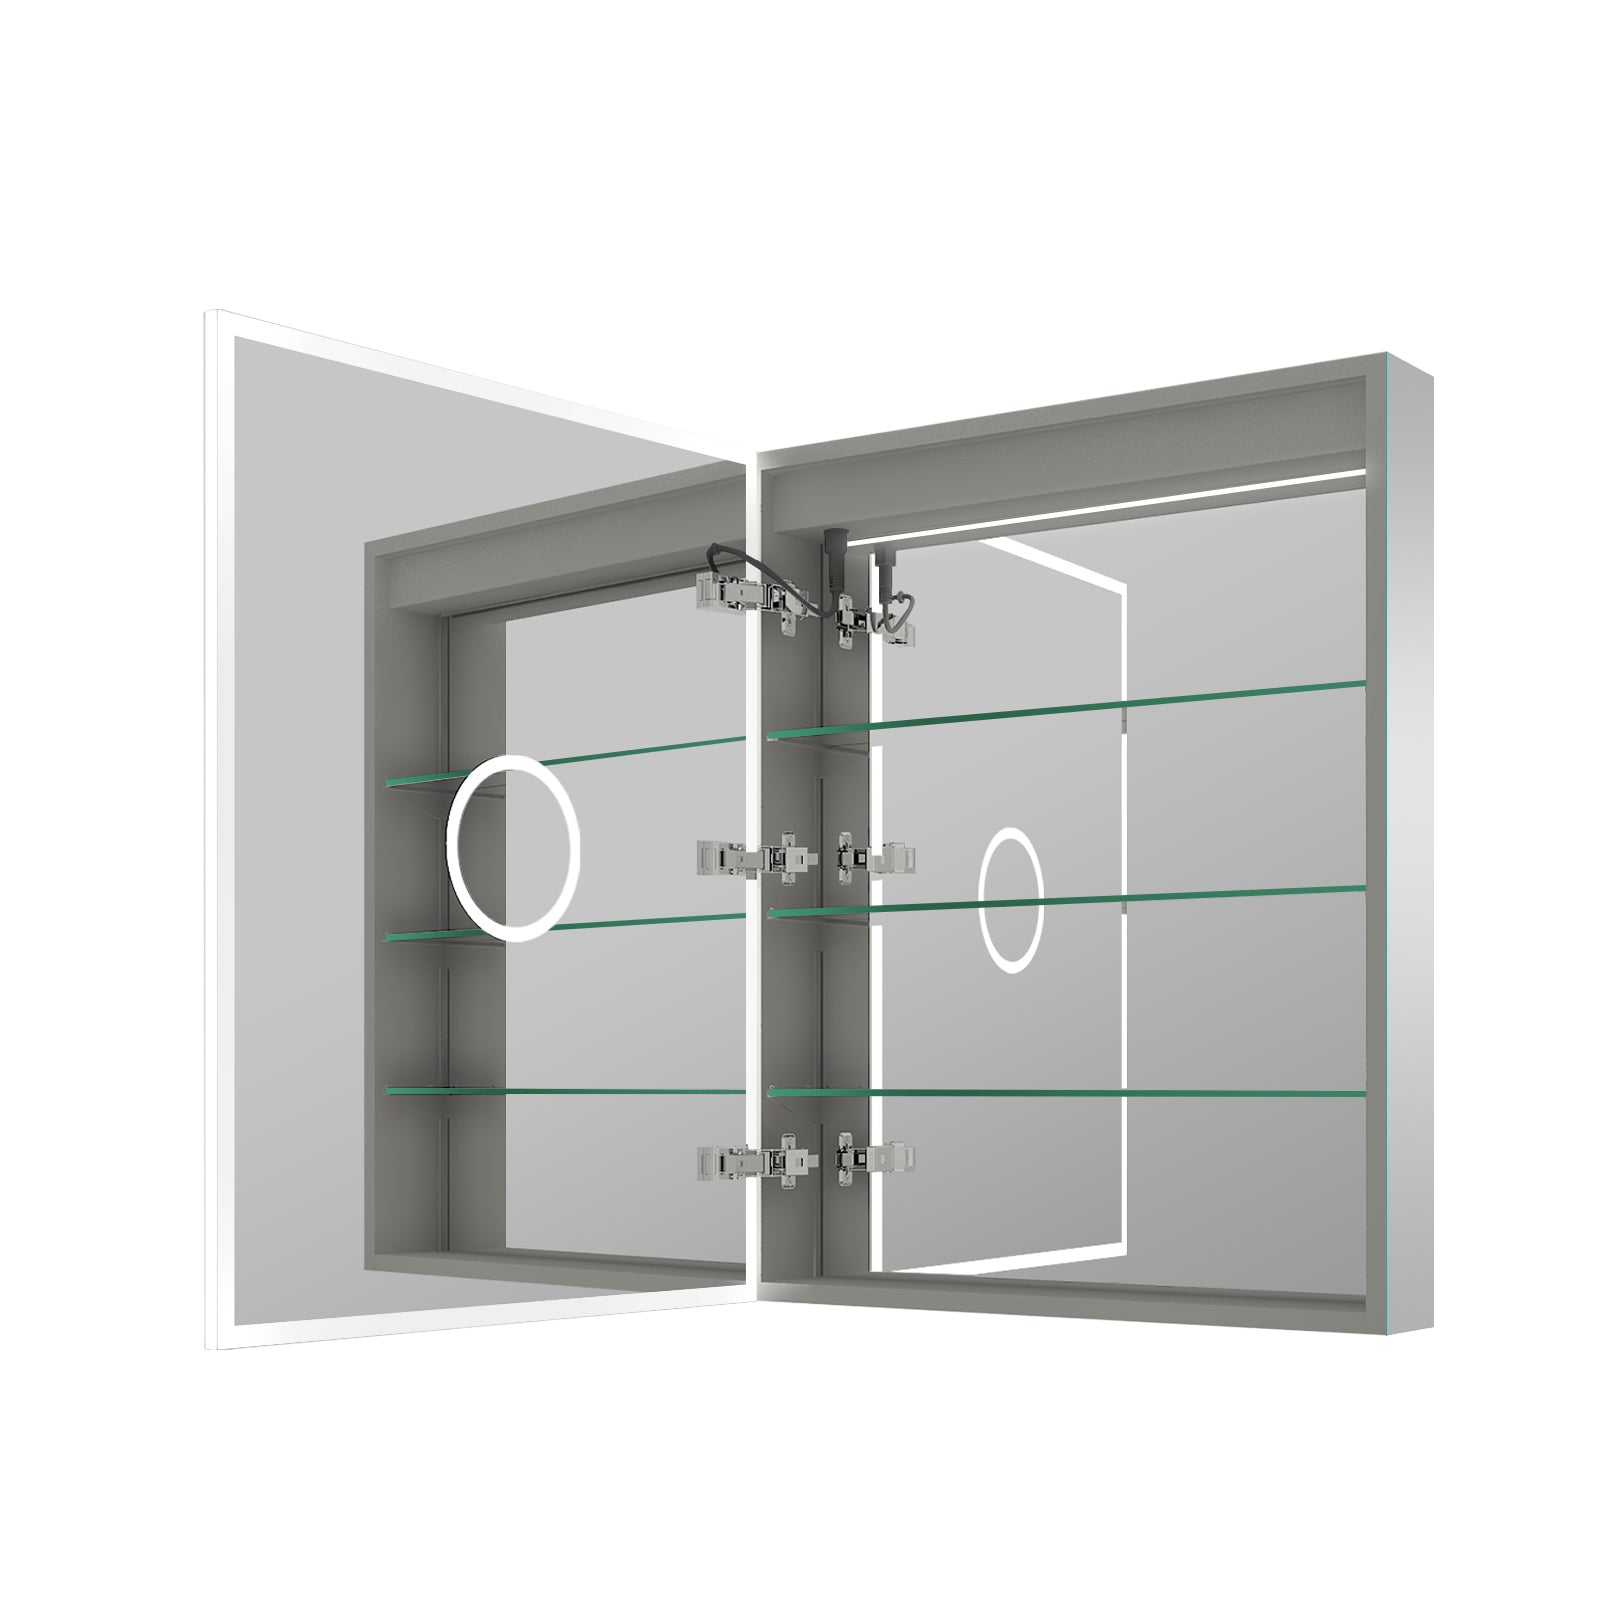
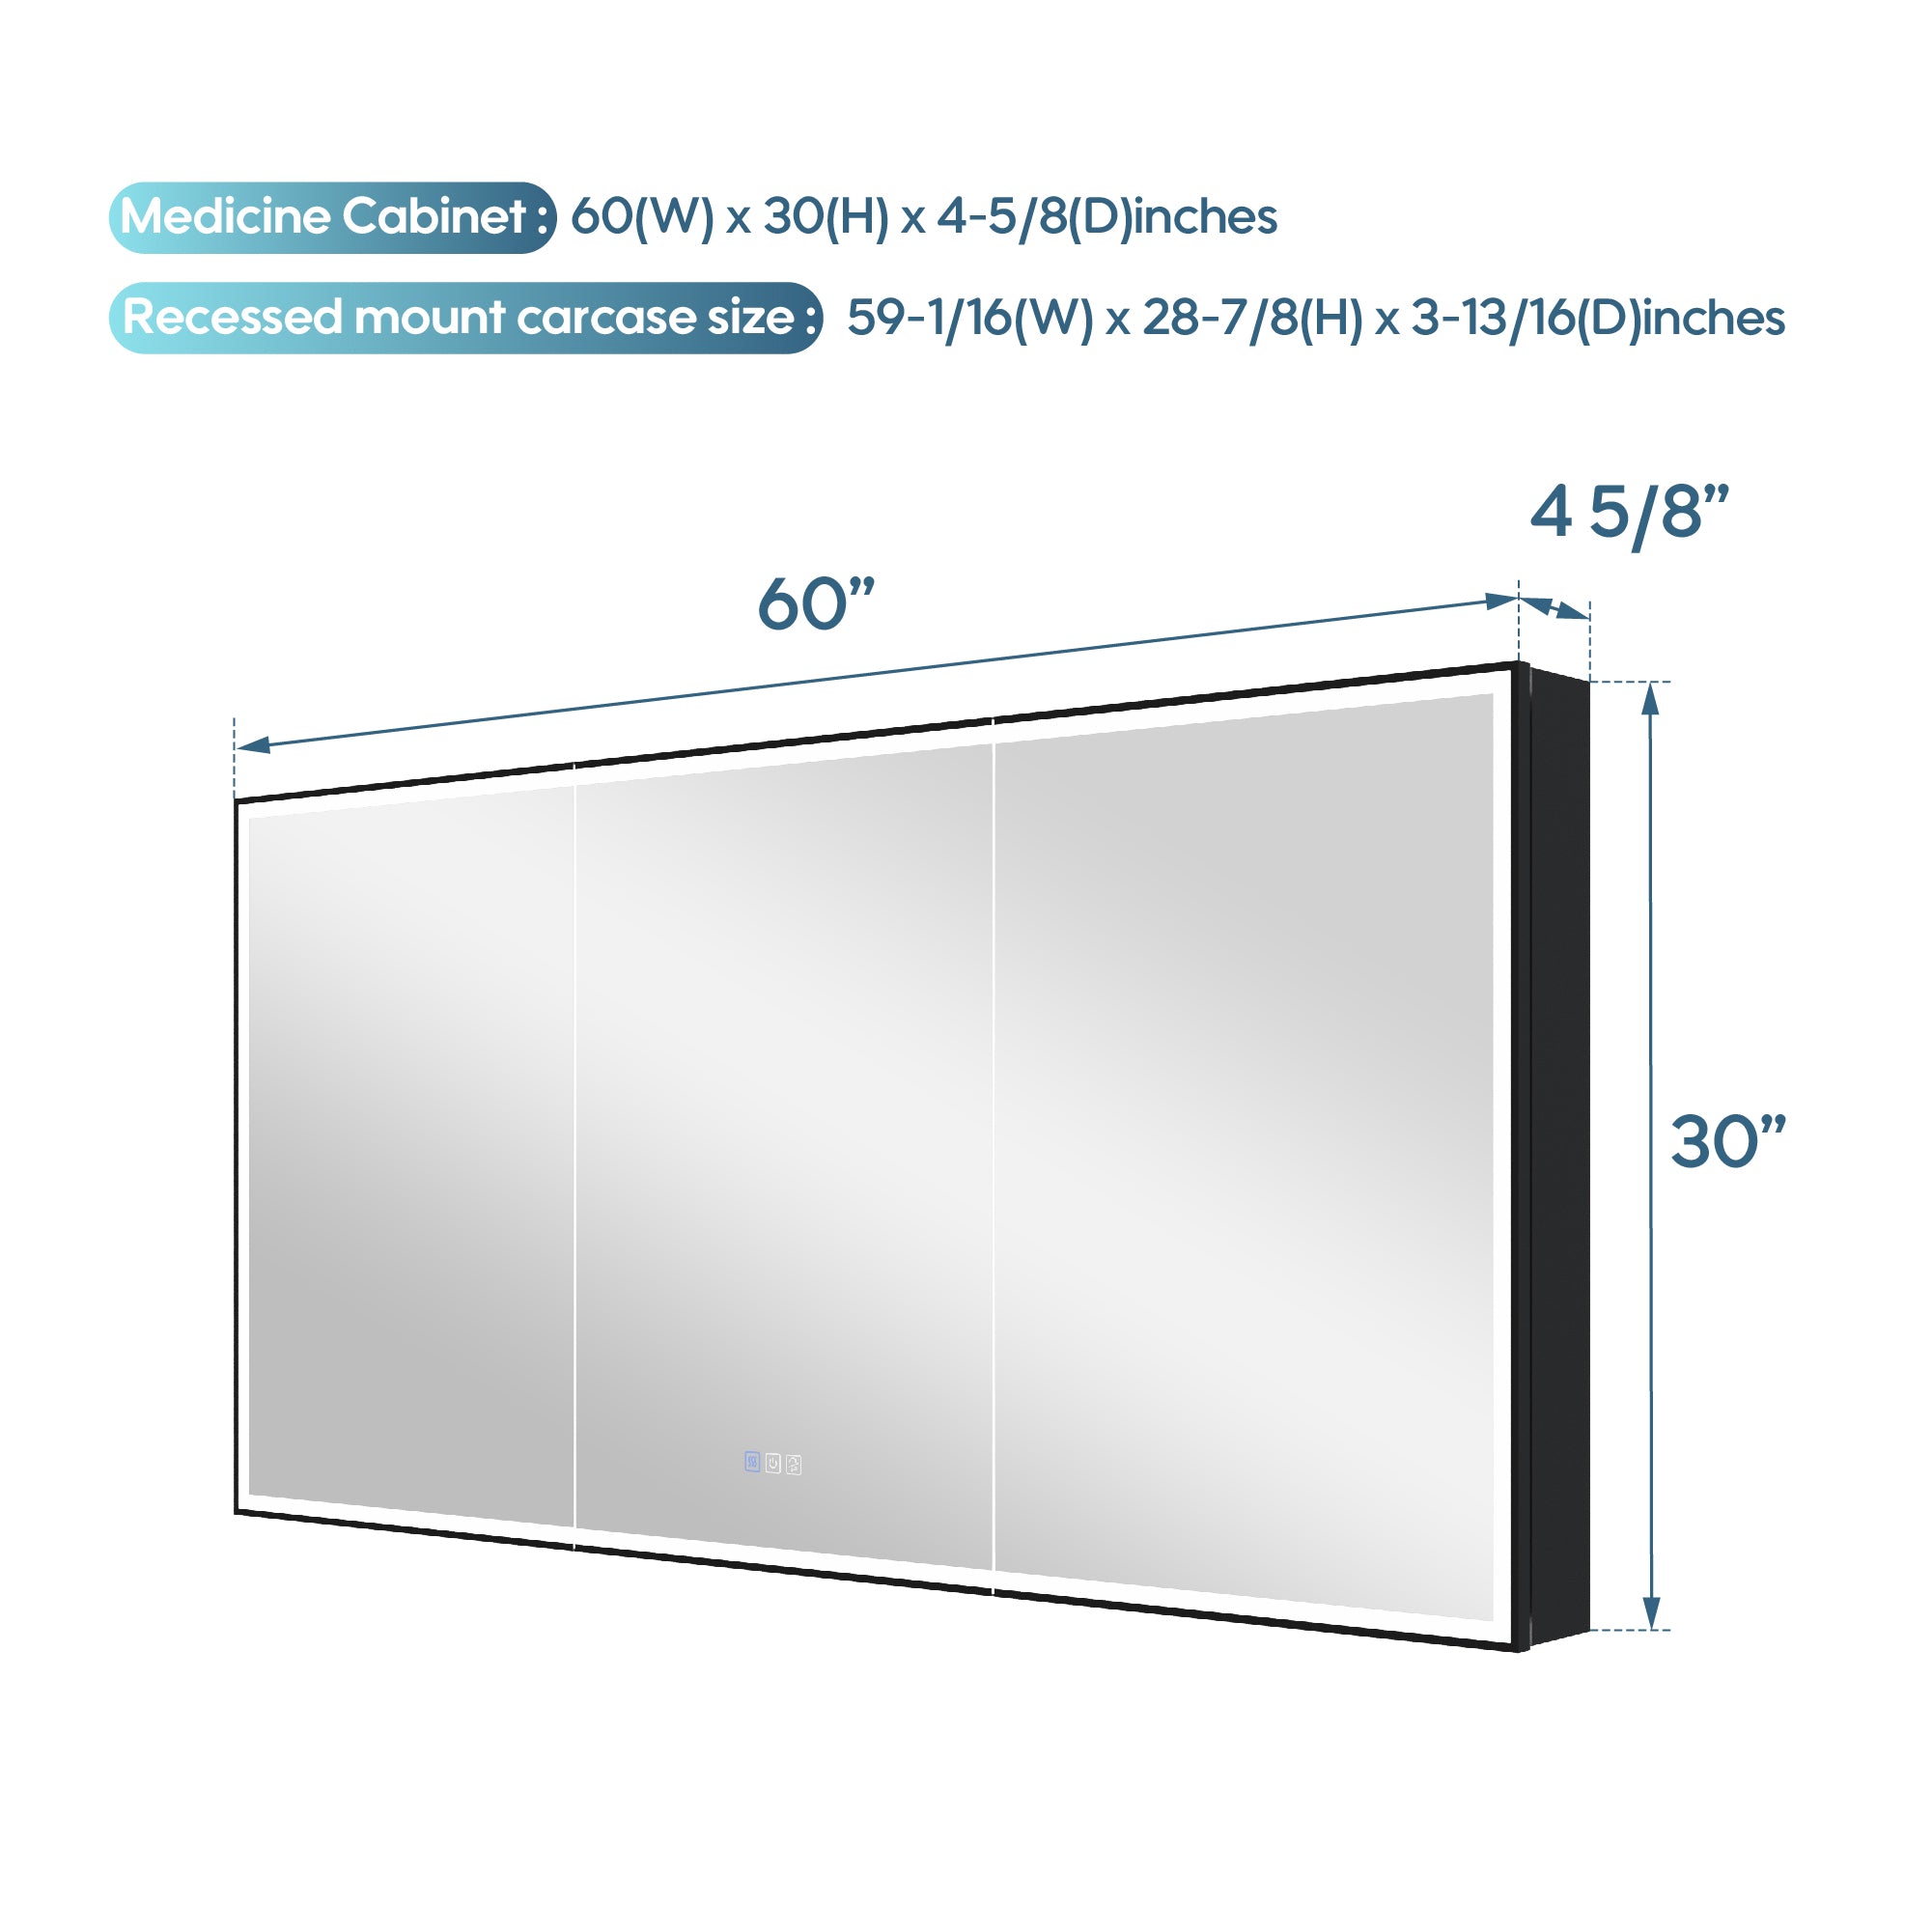
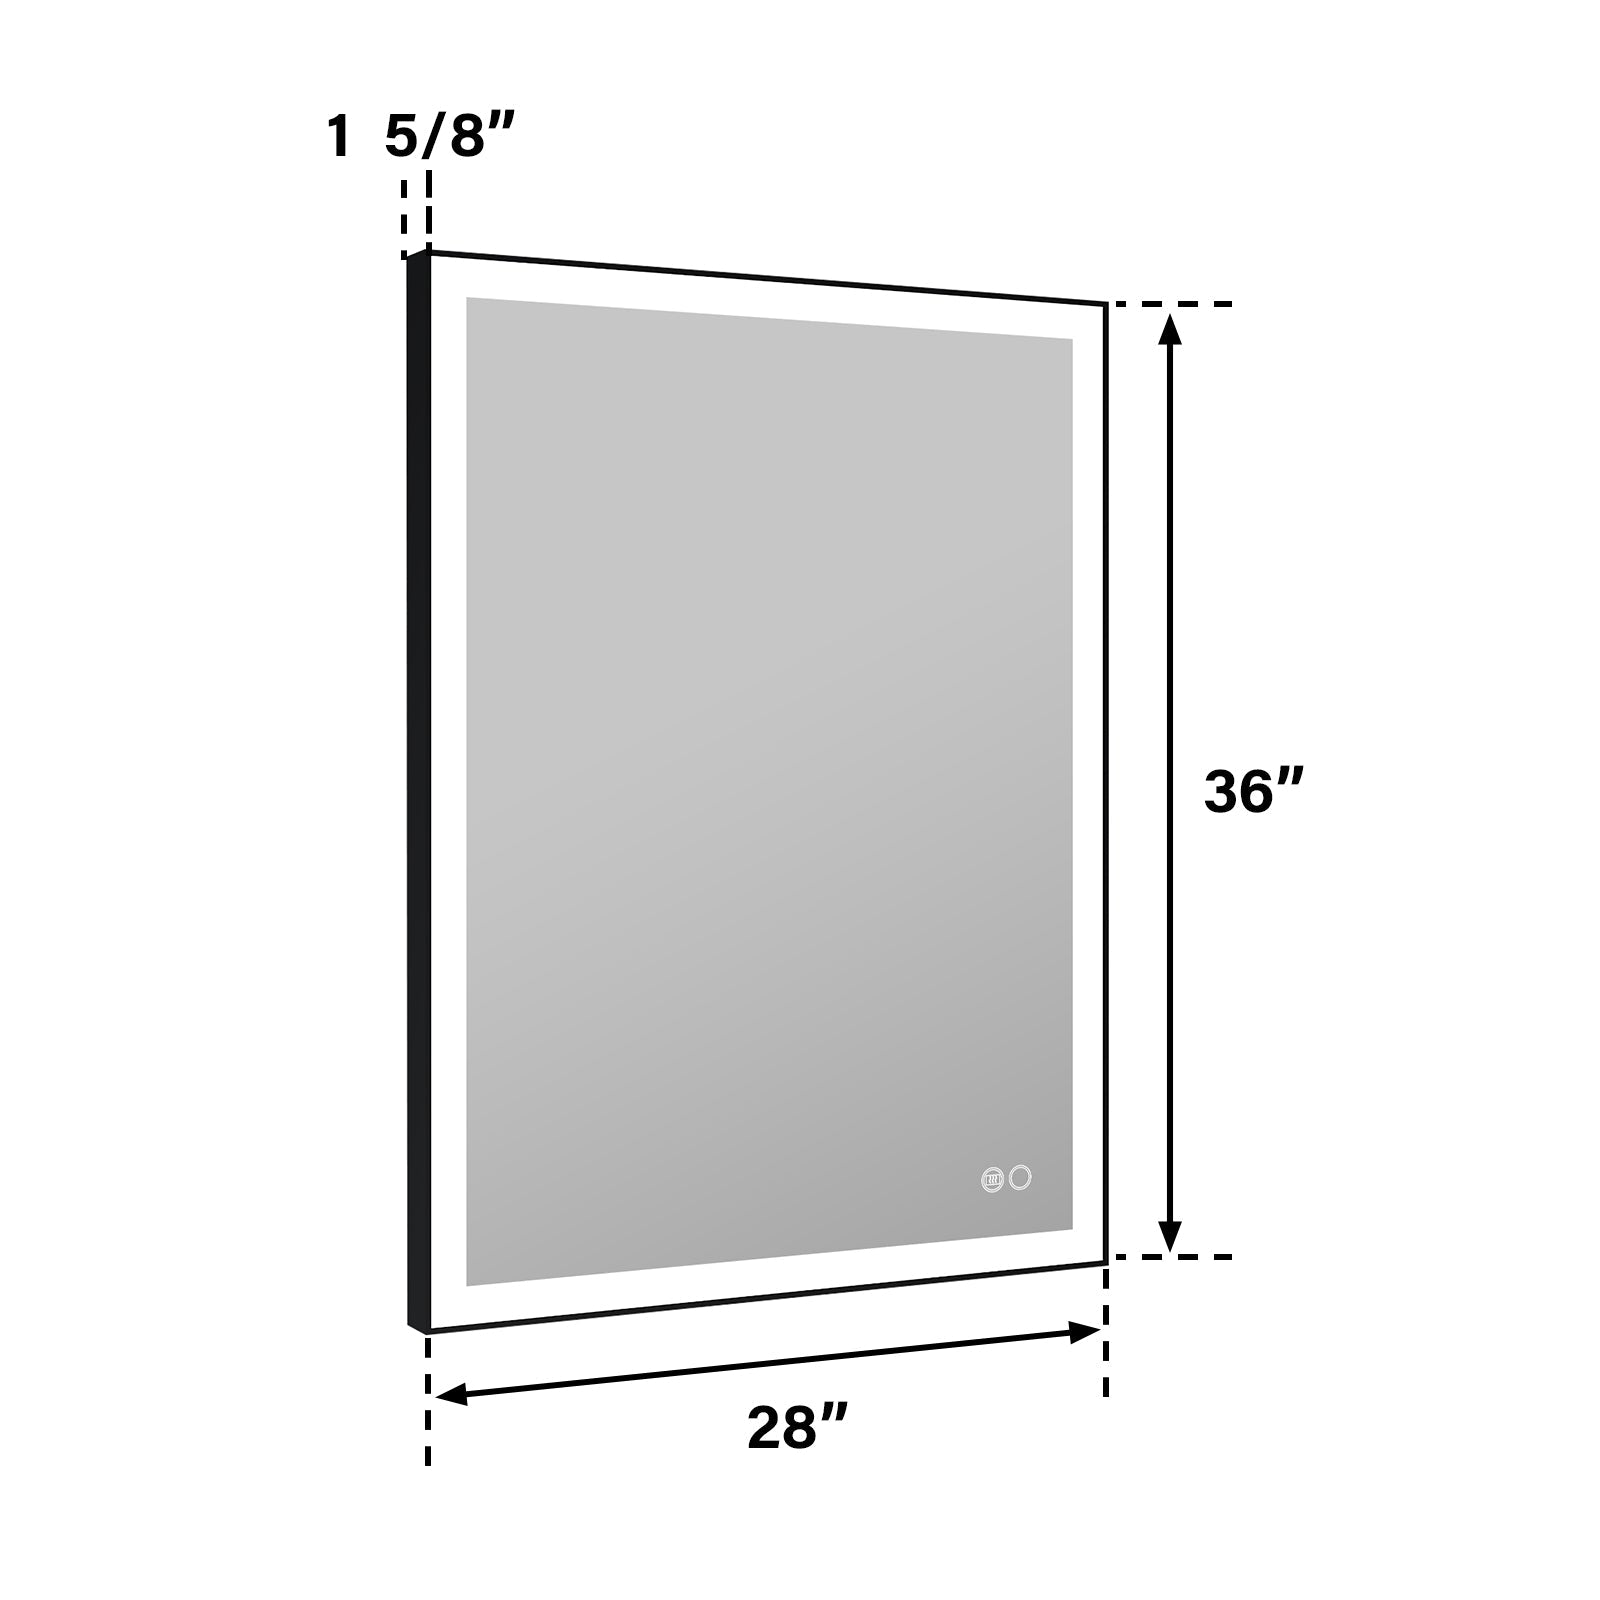
Wall thickness (depth is not unlimited). A common interior wall ends up around 4 1/2 inches thick—think 3 1/2 inches of framing plus 1/2-inch drywall on each side. Recessed cabinet bodies frequently range around 3 to 4 inches deep; if your model is deeper than the available cavity (or the wall is furred out unevenly), you may need a shallower cabinet or a “semi-recessed” install.
Nominal vs actual lumber sizes. If you’re building a new rough opening or adding blocking, remember that a “2×4” is typically 1.5 inches × 3.5 inches in actual size—important when you’re trying to hit precise clearances.
Tools and materials
You’ll usually want: stud finder (plus a magnet), level, tape measure, painter’s tape, oscillating multi-tool or drywall saw, drill/driver, shims, wood screws, and paintable kitchen/bath caulk if the cabinet is heavy or has electrical features (like an outlet or integrated lighting). Plan for a helper.
Step-by-step installation
1) Set the height and check clearances
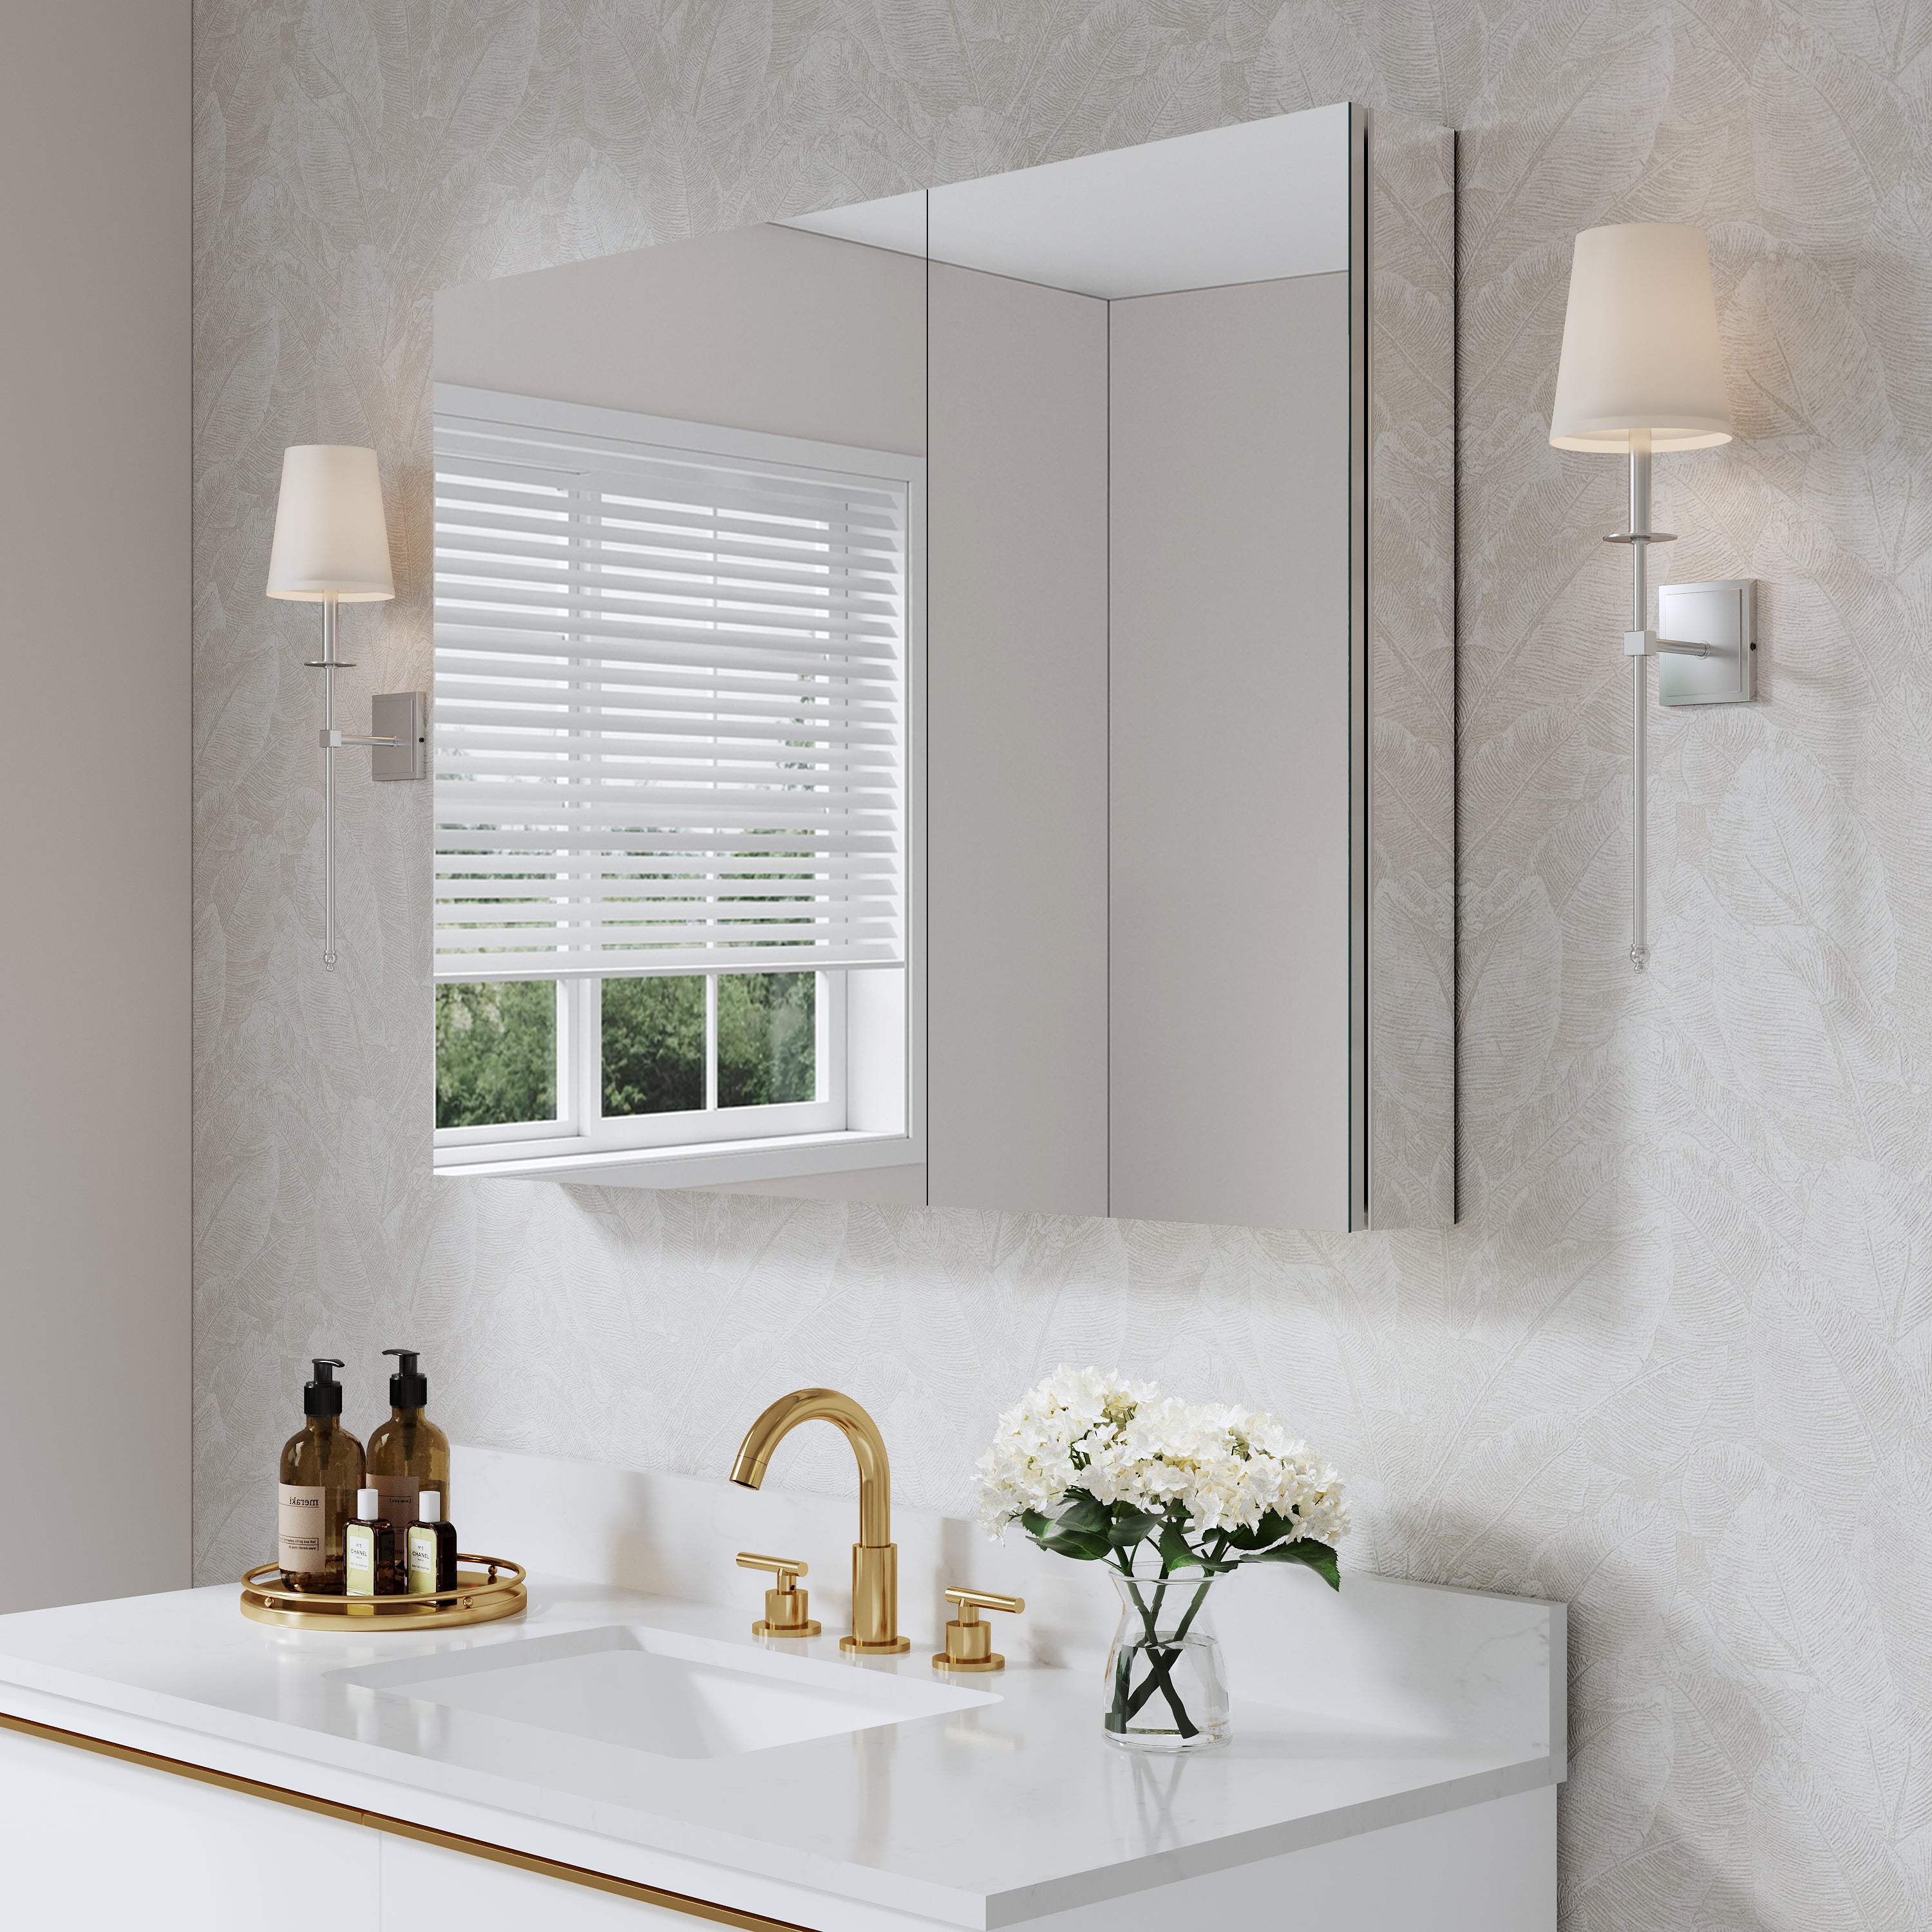
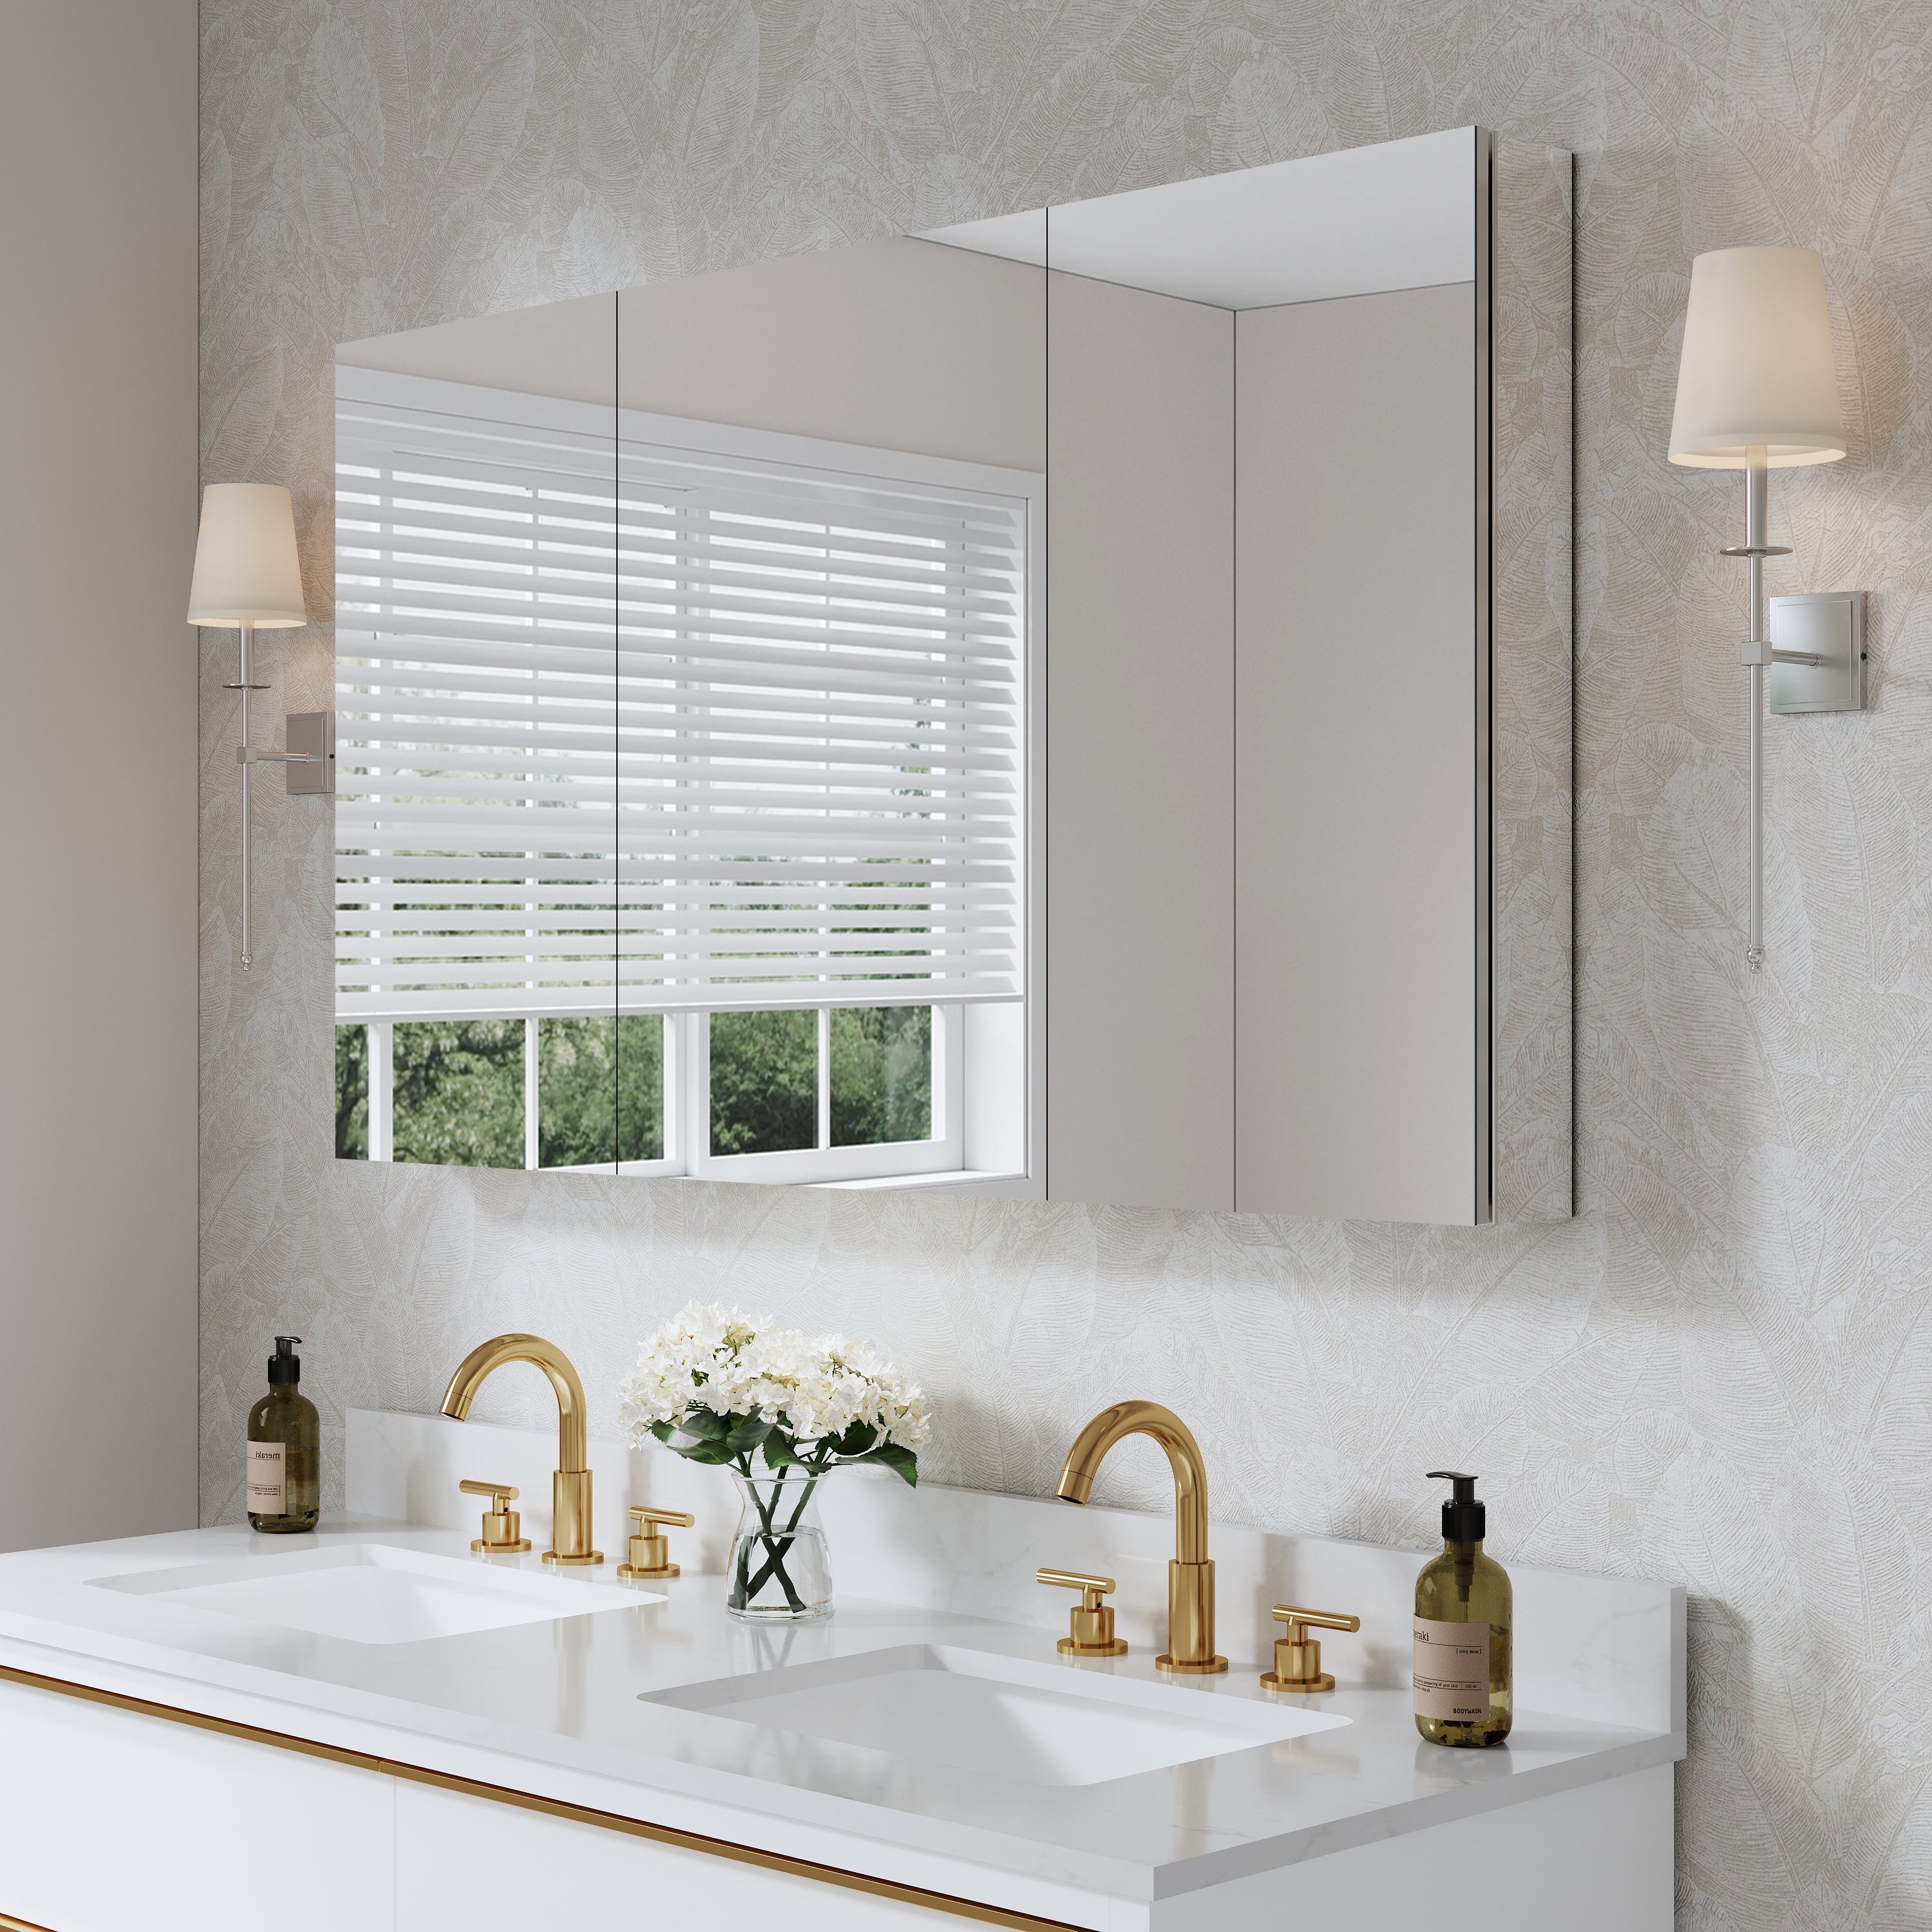
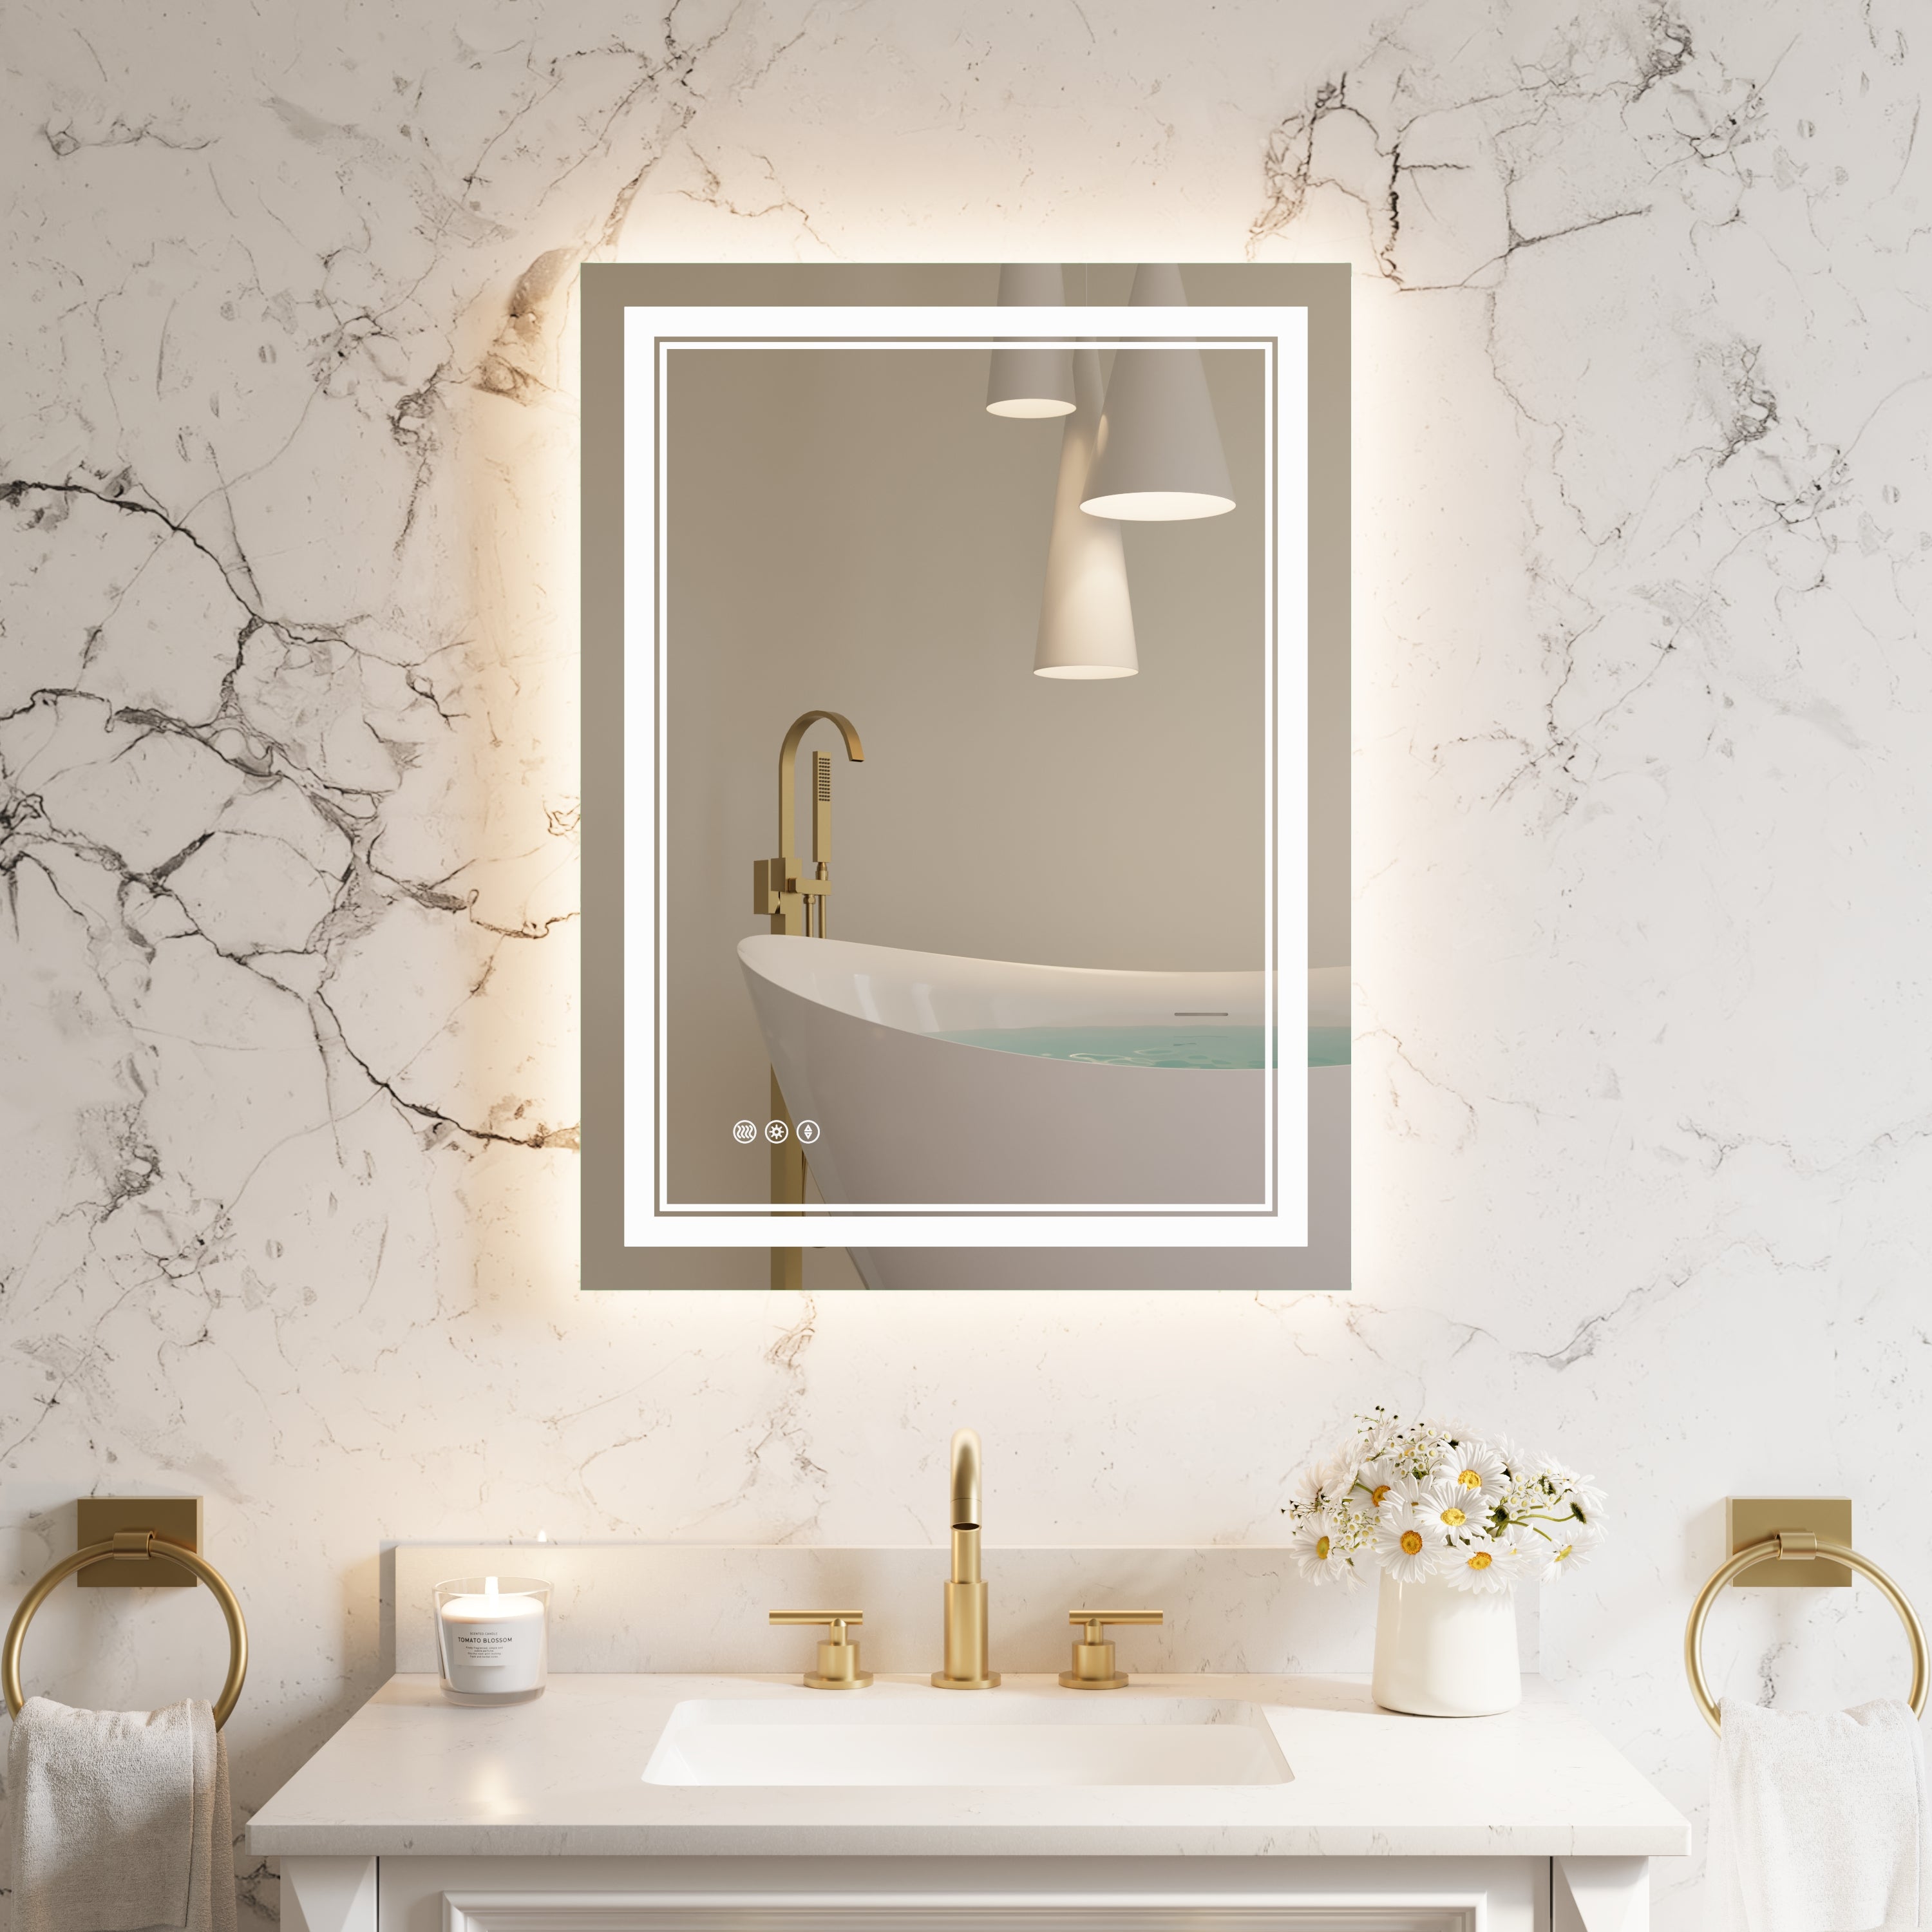
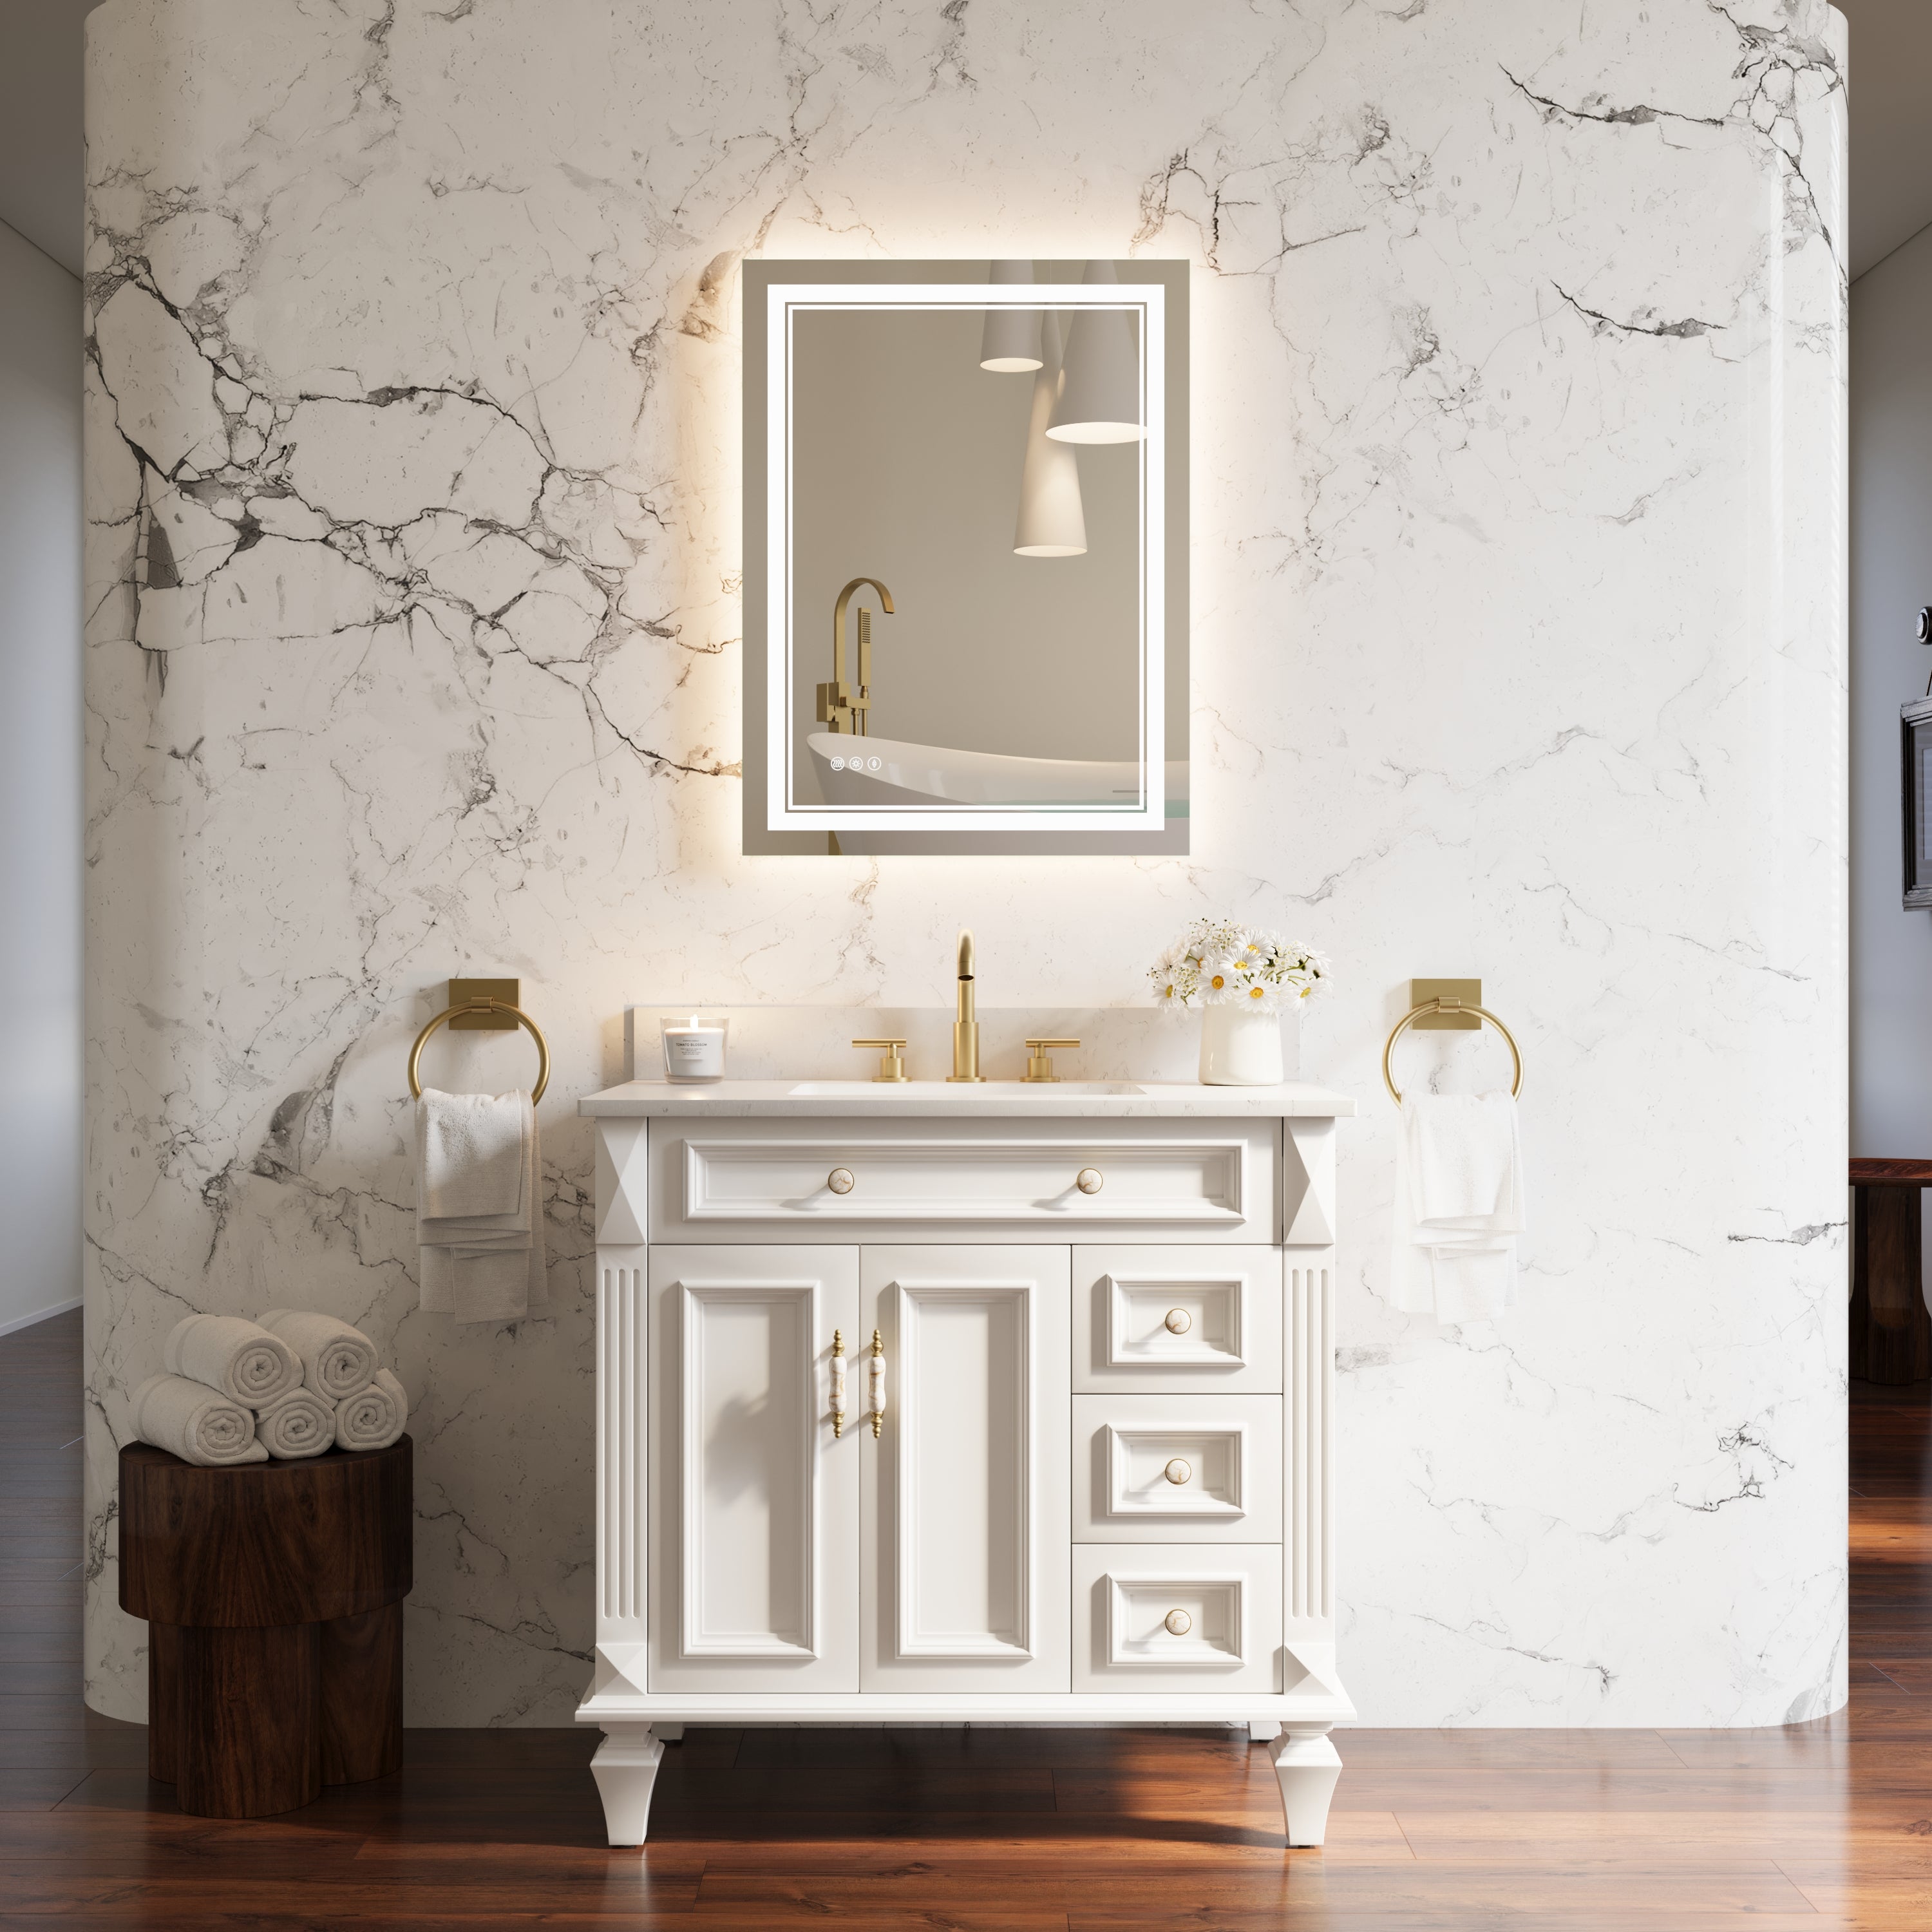
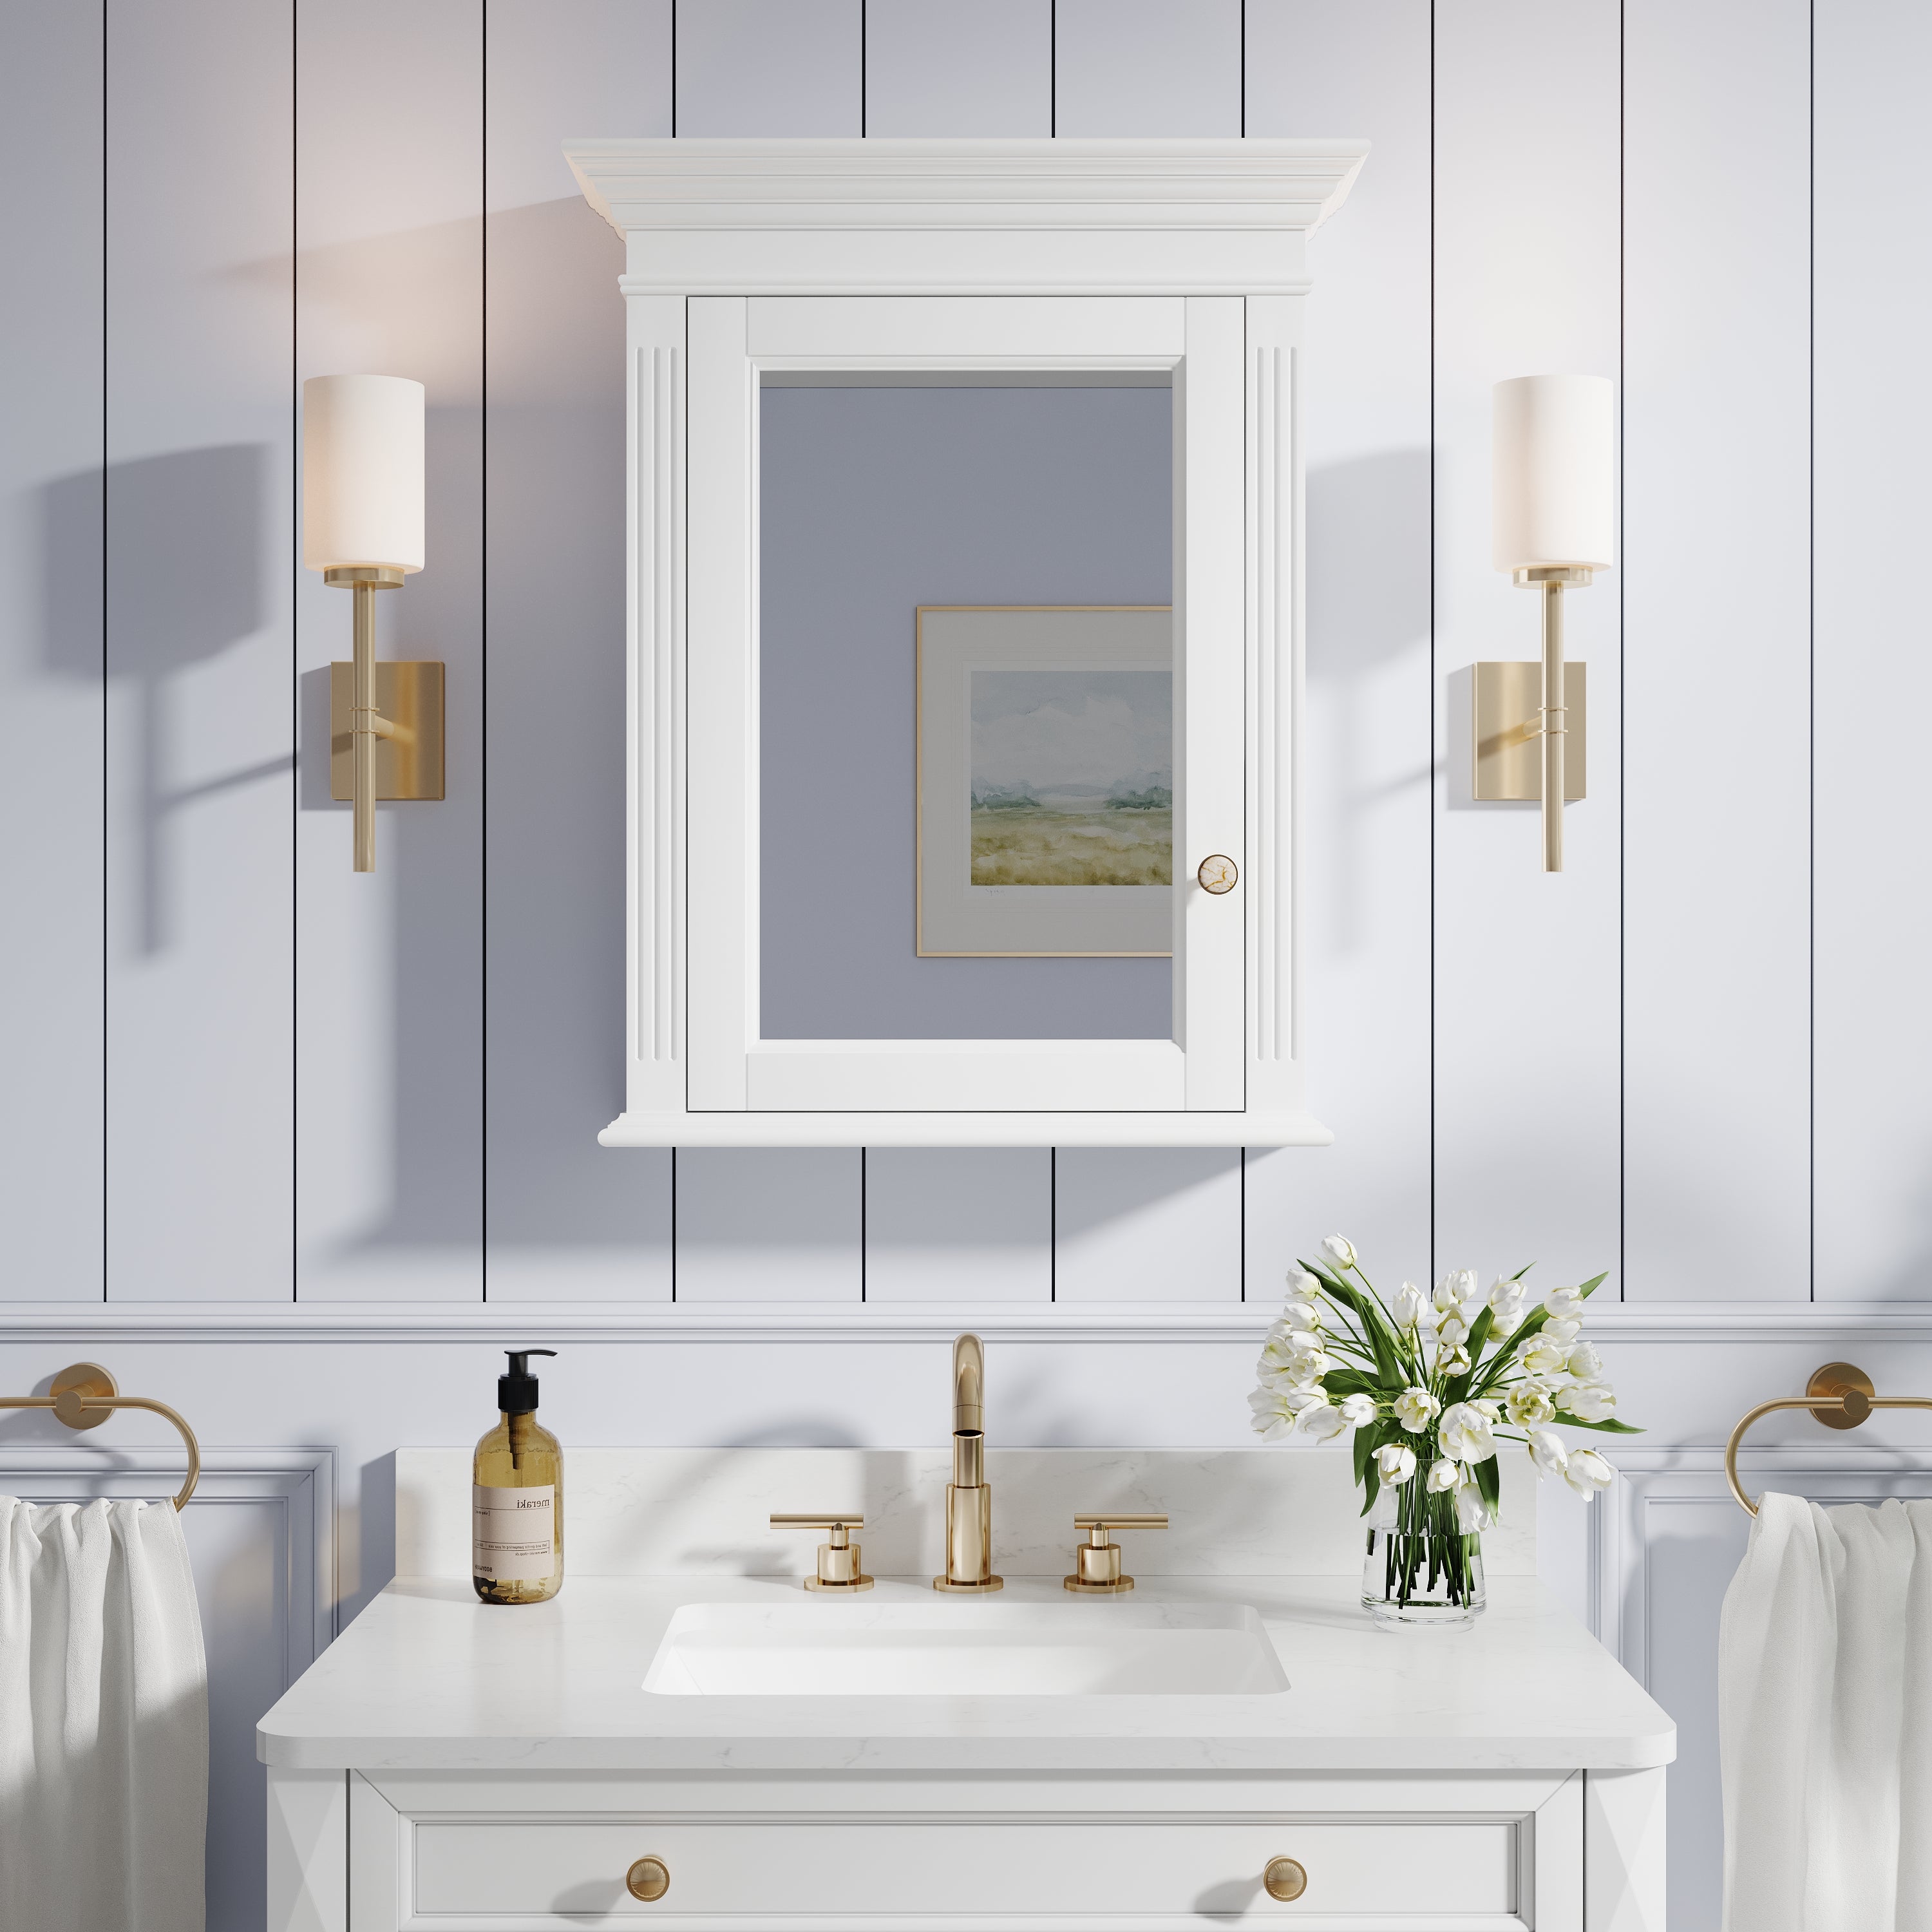
Decide where the mirror should “sit” in relation to the vanity, faucet, sconces, and backsplash. Open the door swing in your mind: will the door hit a light fixture, a towel ring, or a nearby wall?
A common mistake is placing the cabinet perfectly centered over the faucet but too close to a side wall—then the door can’t open fully.
2) Locate studs and “map” the cavity
Use a stud finder, then verify with a small finish nail test or by referencing an outlet box (they’re often mounted to a stud). Mark stud edges with painter’s tape so your cut lines stay visible.
If the wall is in a wet zone or shares space with plumbing, assume there may be pipes behind it. Cut a small inspection hole first.
3) Mark the rough opening from the manufacturer’s template
Most quality cabinets specify a rough opening slightly larger than the cabinet body—often about 1/8 to 1/4 inch total clearance so you can shim and square it. Follow the manual exactly; don’t “freehand” based on the mirror size.
4) Cut the drywall cleanly
Score your outline, then cut slowly. Pros often cut three sides first, gently pull the drywall forward, and look inside before finishing the last cut—this reduces the chance of nicking something hidden.

5) Handle stud conflicts the right way
If the cabinet doesn’t fit between studs, you have two options:
· Move the cabinet location to fit the stud bay (best when the layout allows).
· Reframe the opening with proper support (best when placement is non-negotiable).
Reframing means adding horizontal members (“headers”/blocking) so loads transfer correctly to the studs—especially important if it’s not a simple non-load wall. When in doubt, don’t guess; get a qualified pro.
6) Add blocking so the cabinet has something solid to bite into
Even when the cabinet fits between studs, you’ll often add top and bottom blocking (or side blocking) so the screws have solid wood to bite into, and the cabinet doesn’t warp over time. Blocking also helps keep the cabinet flush with the finished wall plane.
7) Dry-fit the cabinet, shim, then fasten
Slide the cabinet body into the opening and check:
· Is it level left-to-right?
· Is it plumb top-to-bottom?
· Is the face frame sitting flush with the drywall (or the tile plane)?
Use shims behind the mounting points until everything is square. Then drive screws through the cabinet’s mounting holes into studs/blocking. Tighten gradually—overdriving can twist the box and misalign the door.
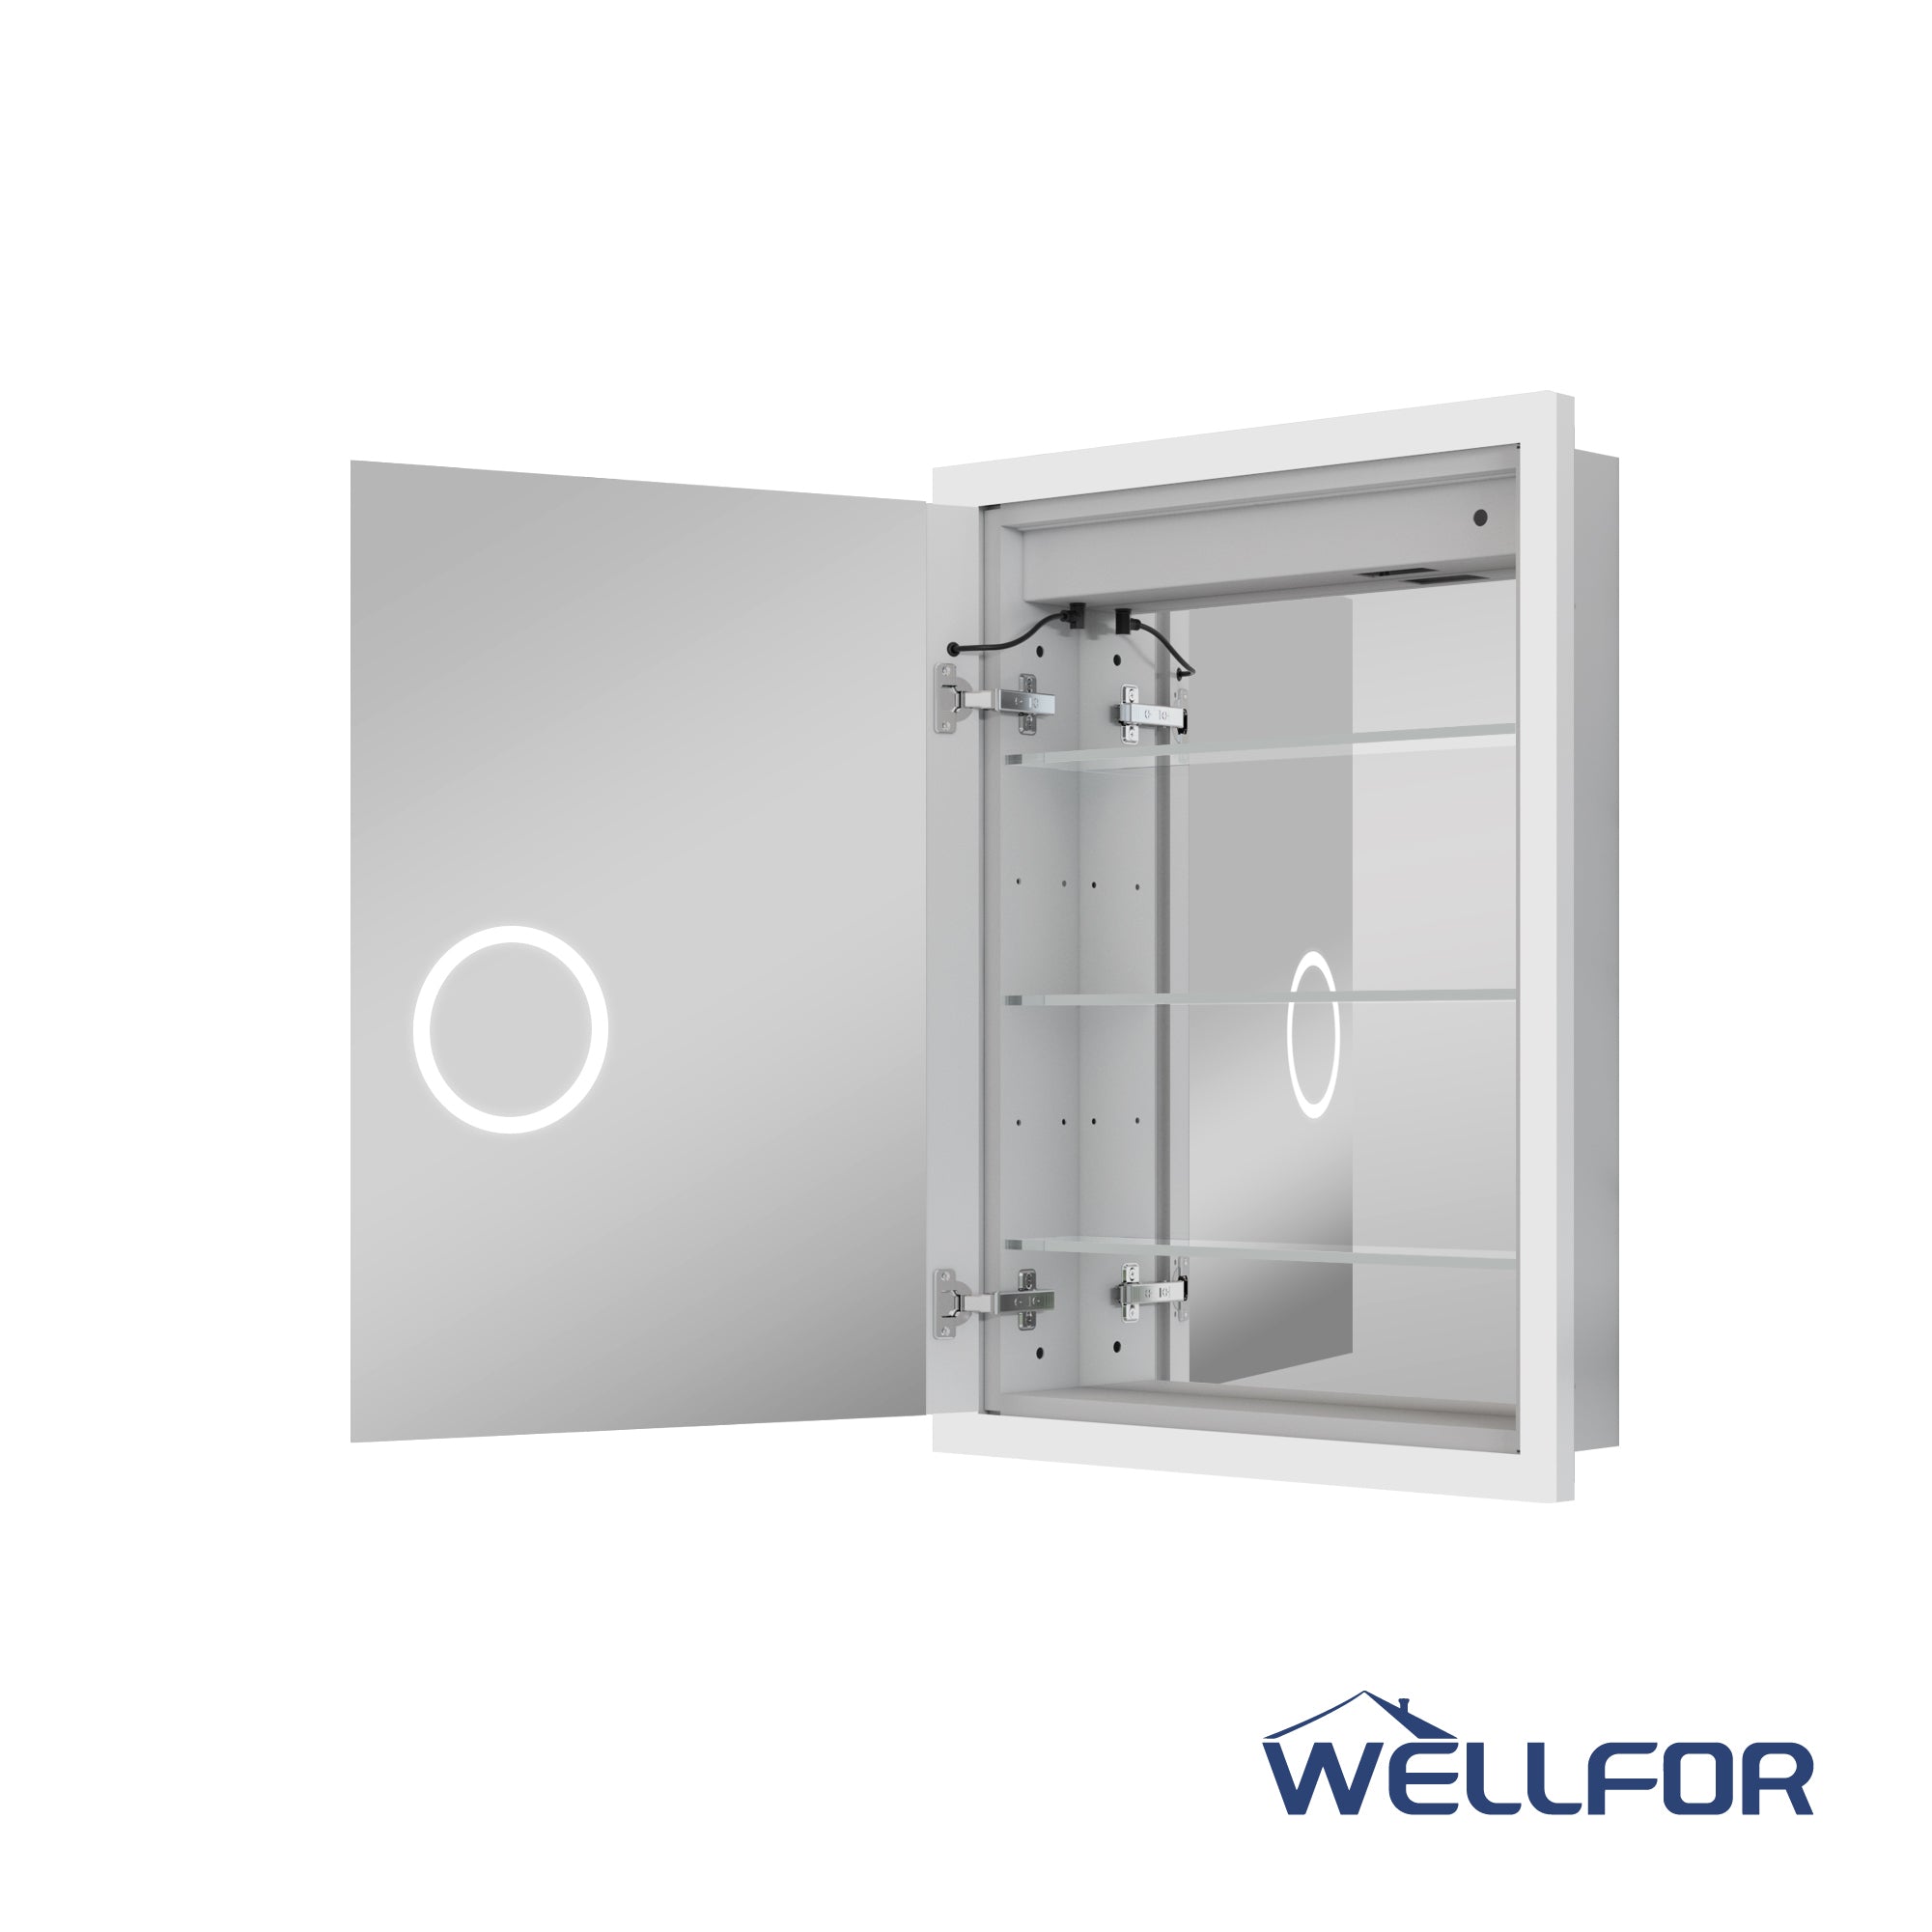
8) Reinstall doors/shelves and dial in alignment
Most mirrored cabinet doors allow hinge adjustment. Take the time to set even gaps and smooth closures. If it’s a soft-close system, verify the door doesn’t “bounce” (a sign of misalignment).
9) Seal and finish for humidity control
Bathrooms punish tiny gaps. Run a neat bead of paintable, mildew-resistant caulk along the perimeter where the cabinet meets drywall or tile. Keep it thin and continuous—this is about vapor control and cleanability, not hiding a sloppy cut.
One more industry signal: more pros are being hired
Even though the steps above are DIY-friendly on paper, the job often overlaps with plumbing, tile, and electrical work. Houzz reports 83% of homeowners hire professionals for bathroom renovations, with general contractors among the most frequently employed. That trend aligns with what many trades are seeing: recessed installs look “simple,” but the risk of opening a wall (and the cost of making it right) pushes many projects toward professional hands.
A quick final check
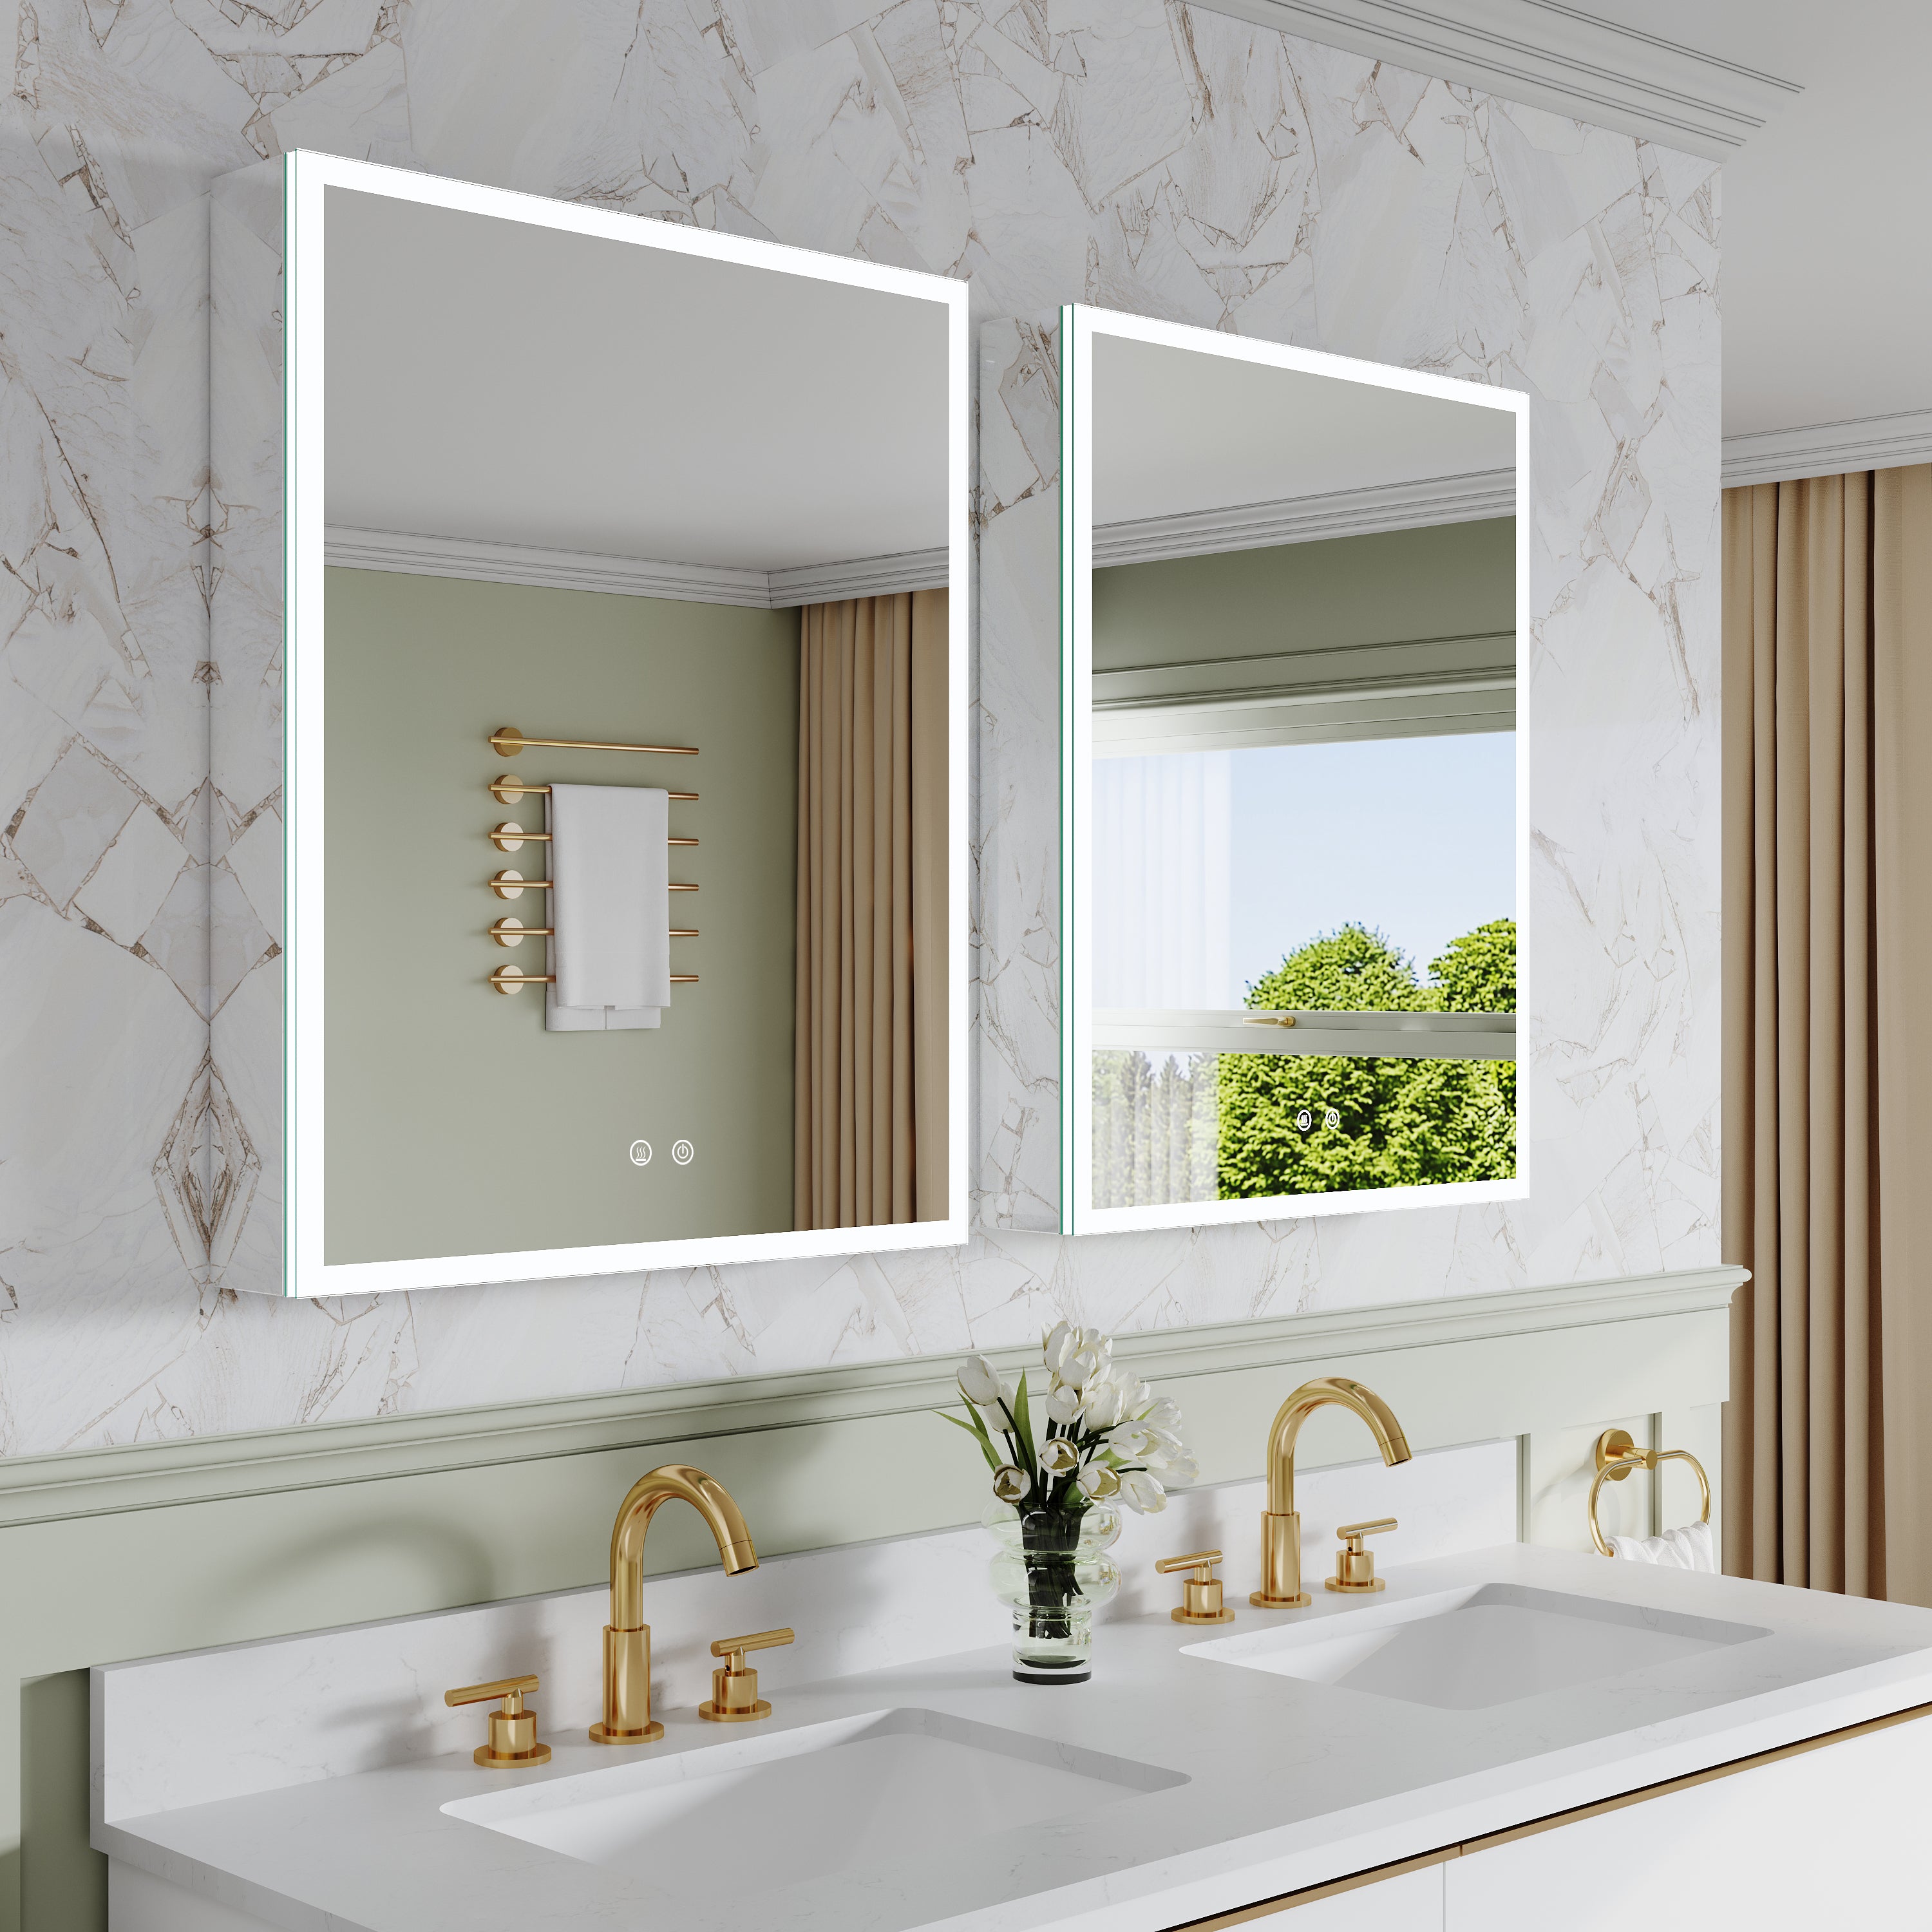
Before you call it done, confirm: the cabinet is level and plumb; doors open fully without rubbing; shelves sit flat; fasteners are solidly fastened to framing (not just drywall); and the perimeter is sealed so moisture can’t creep behind the wall finish.
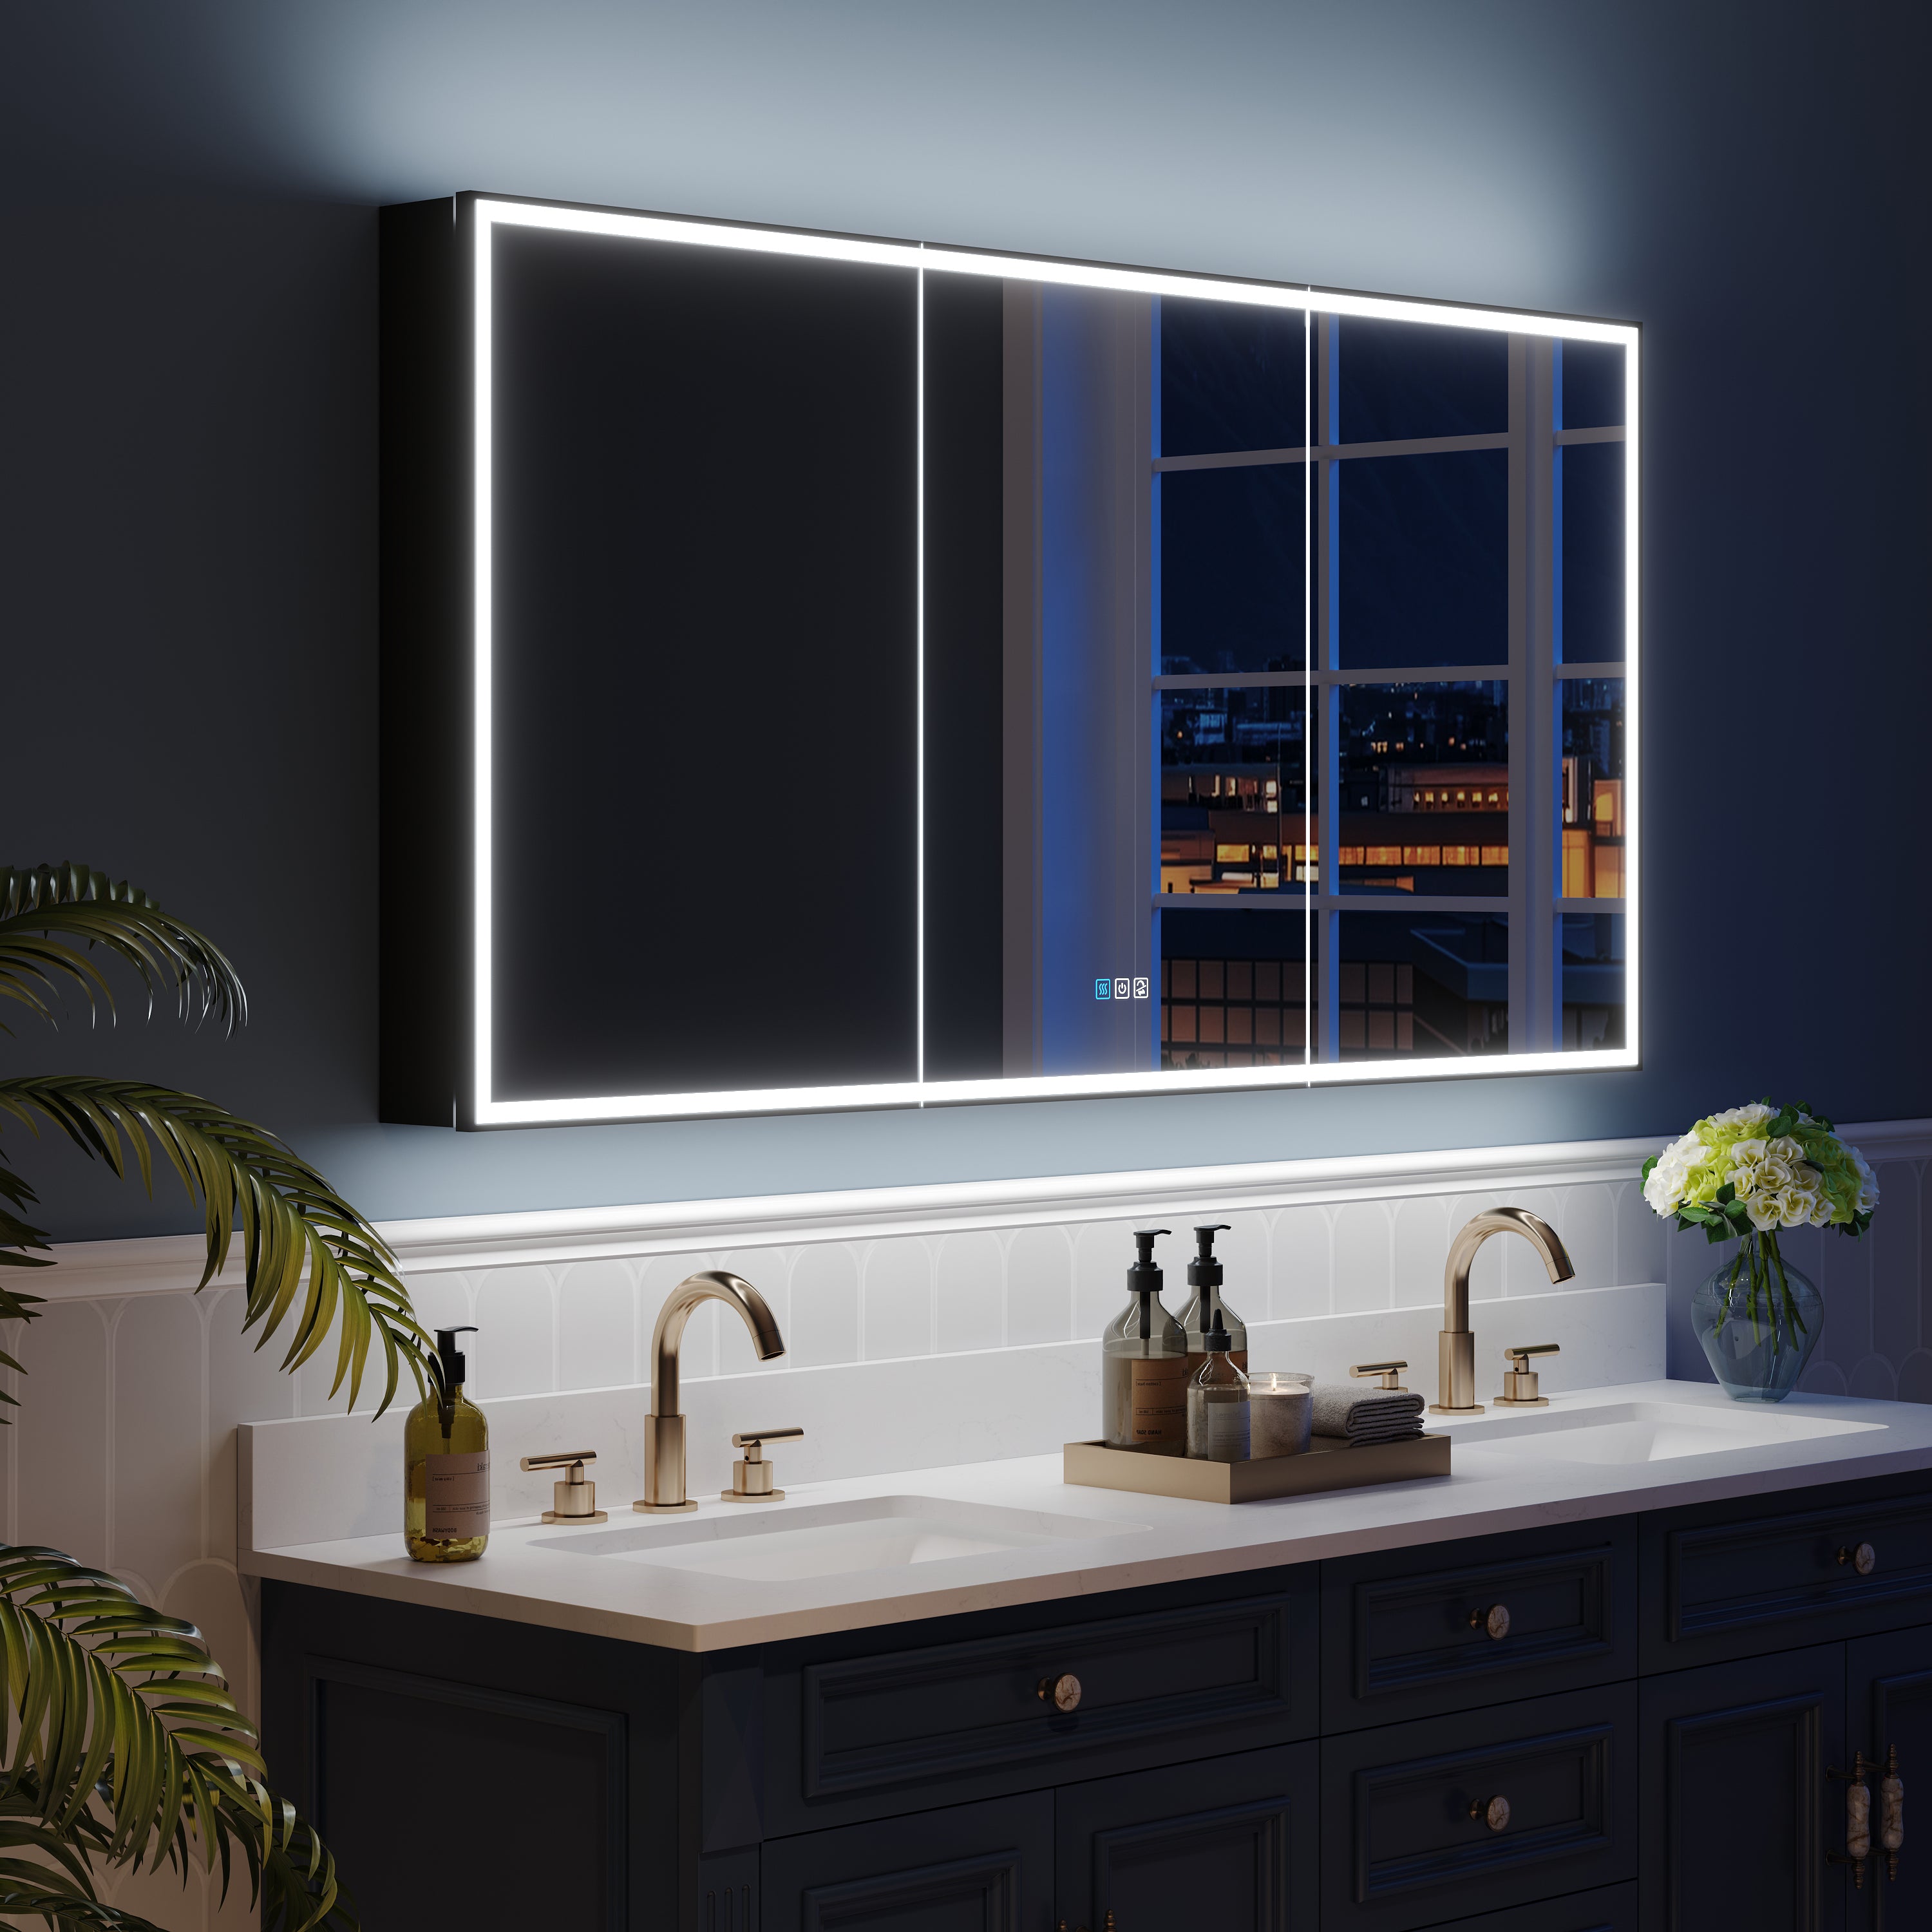
Installed well, a recessed medicine cabinet doesn’t just add storage—it makes the whole wall read calmer, cleaner, and more intentional, which is precisely what today’s bath projects are chasing.


Leave a comment
This site is protected by hCaptcha and the hCaptcha Privacy Policy and Terms of Service apply.