LED mirrors have become a trendy and practical addition to modern homes. They offer superb lighting, elevate bathroom aesthetics, and even come with advanced features like anti-fog functionality. However, many homeowners shy away from installing their own LED mirrors because the wiring process seems intimidating. The good news? You don’t always need to hire an electrician for this task. With the right tools, some preparation, and a step-by-step guide, you can wire an LED mirror safely on your own.
This article will walk you through the process of wiring an LED mirror while keeping safety and ease in mind. Whether you're a DIY pro or a beginner, you’ll find everything you need to know to get started.
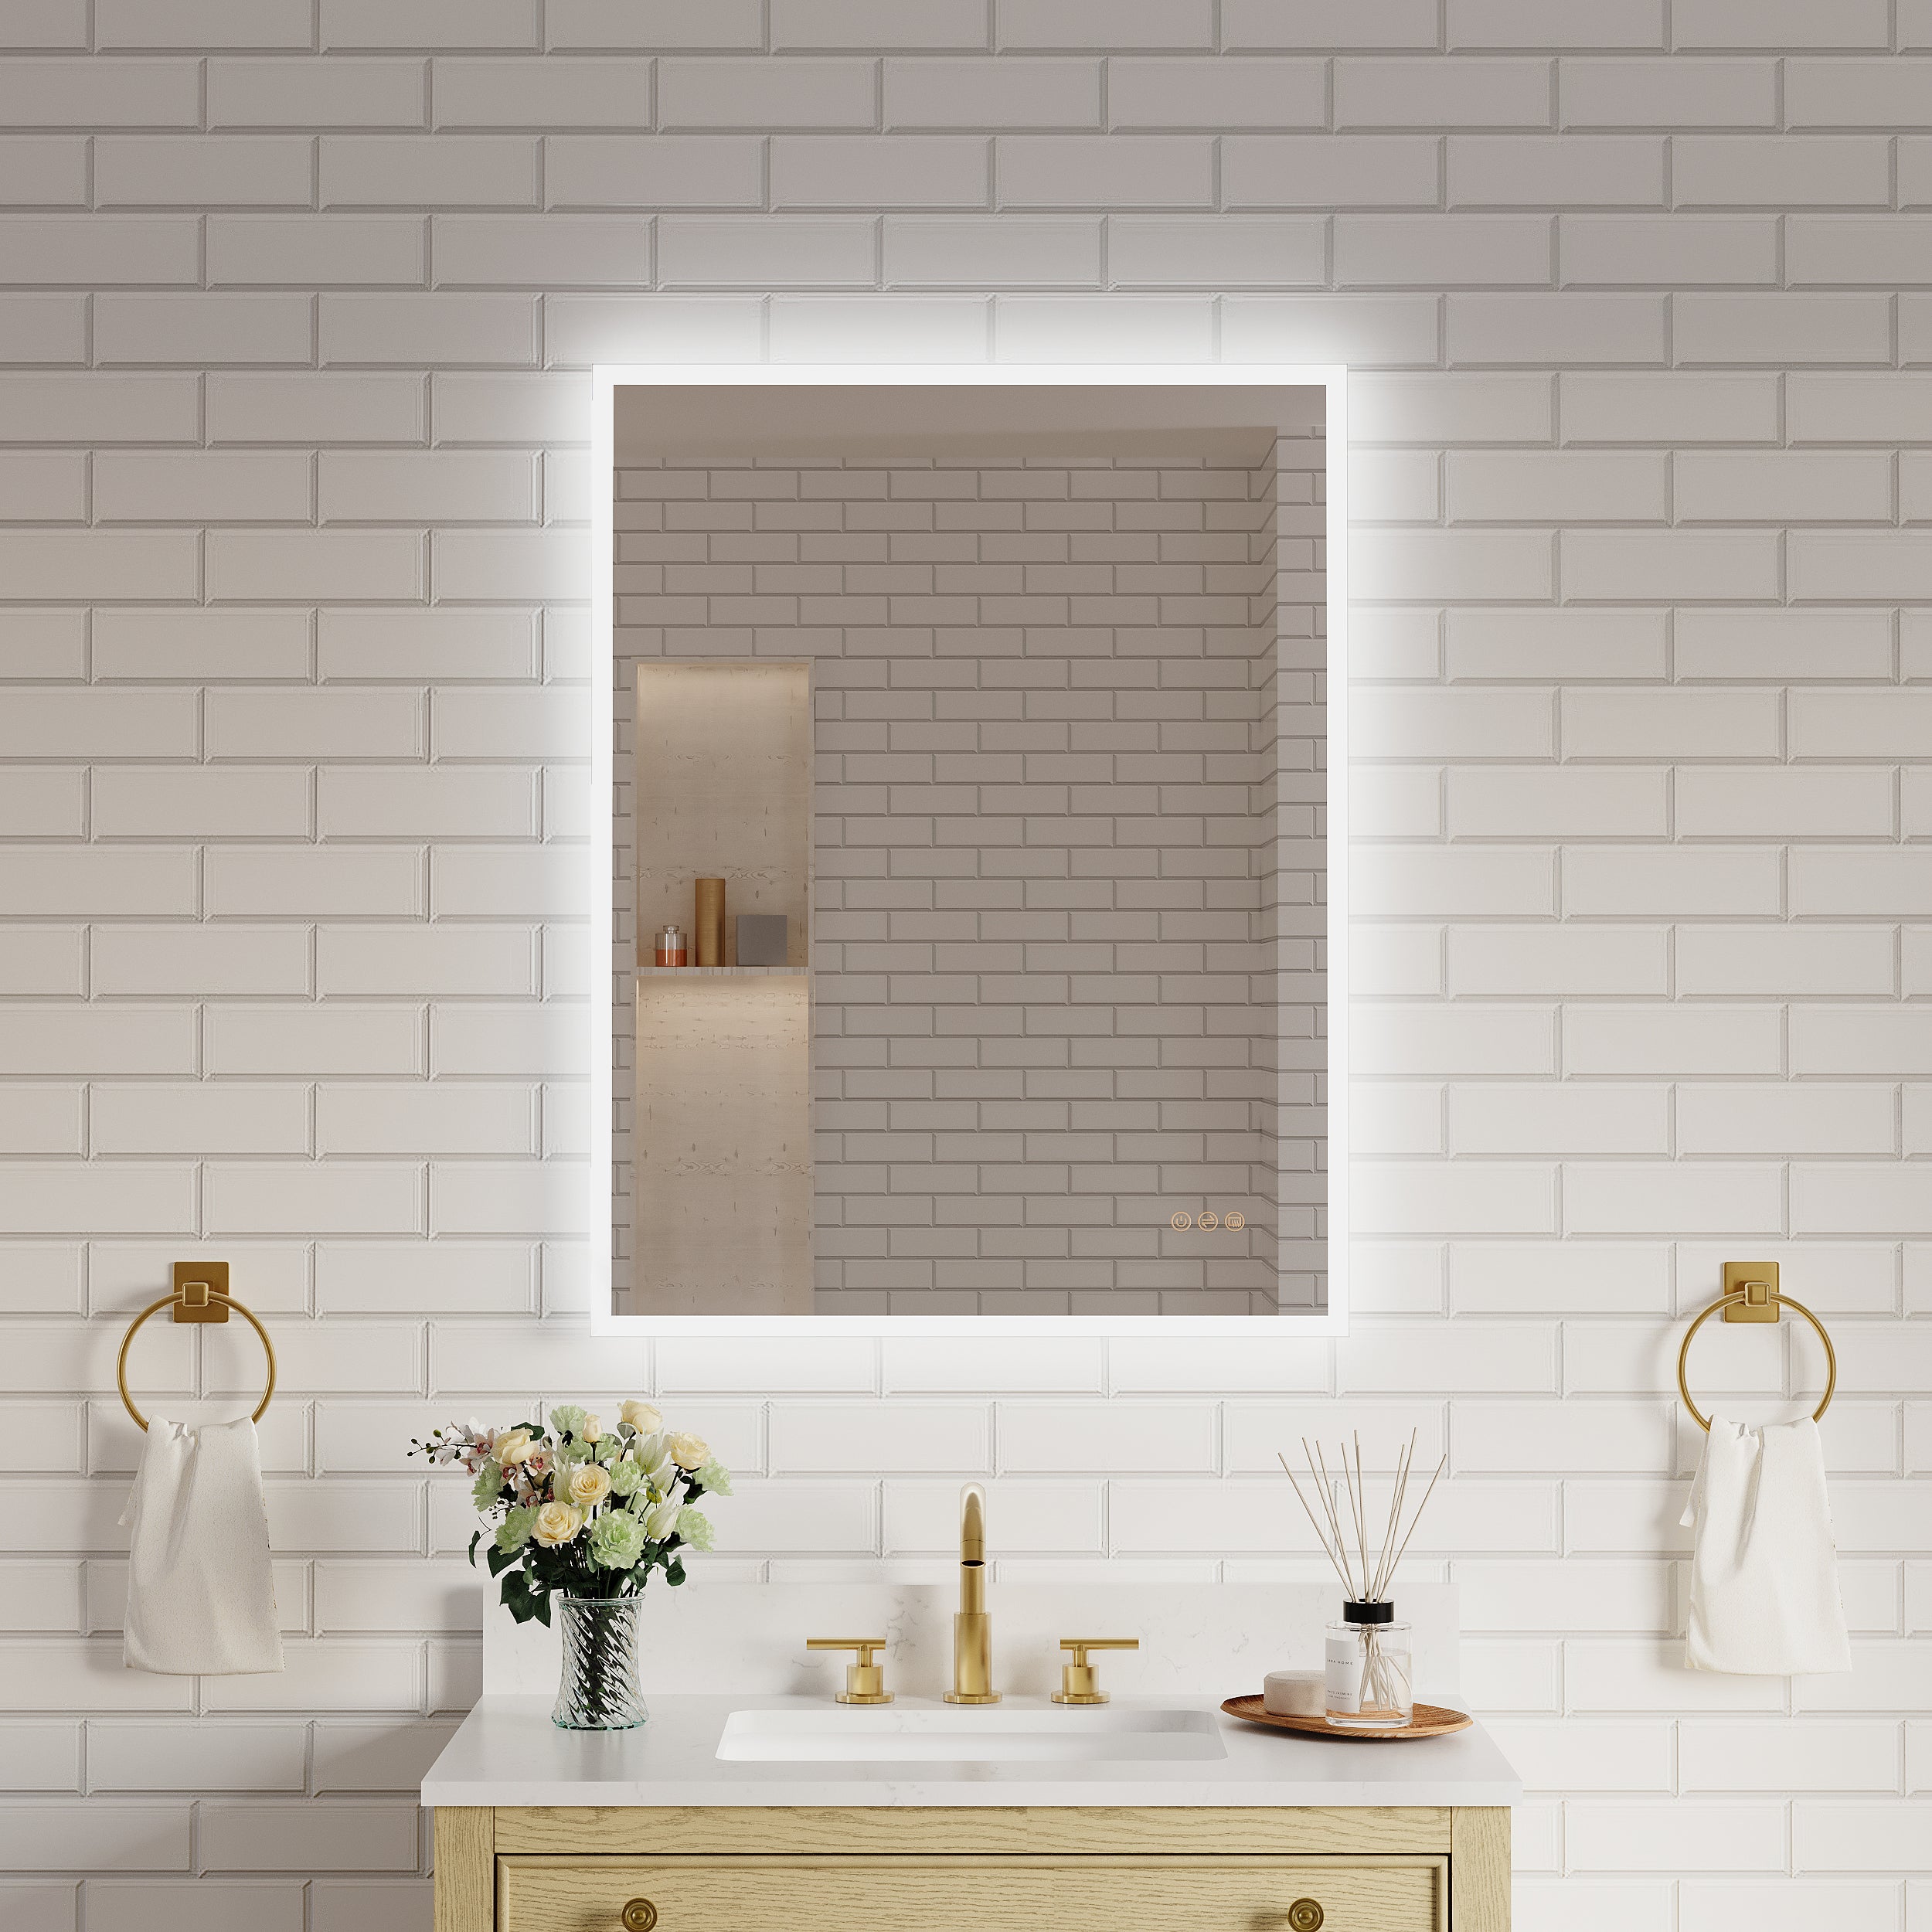
Why Choose LED Mirrors?
Before we jump into the wiring process, it’s worth highlighting why you might want an LED mirror in your home:
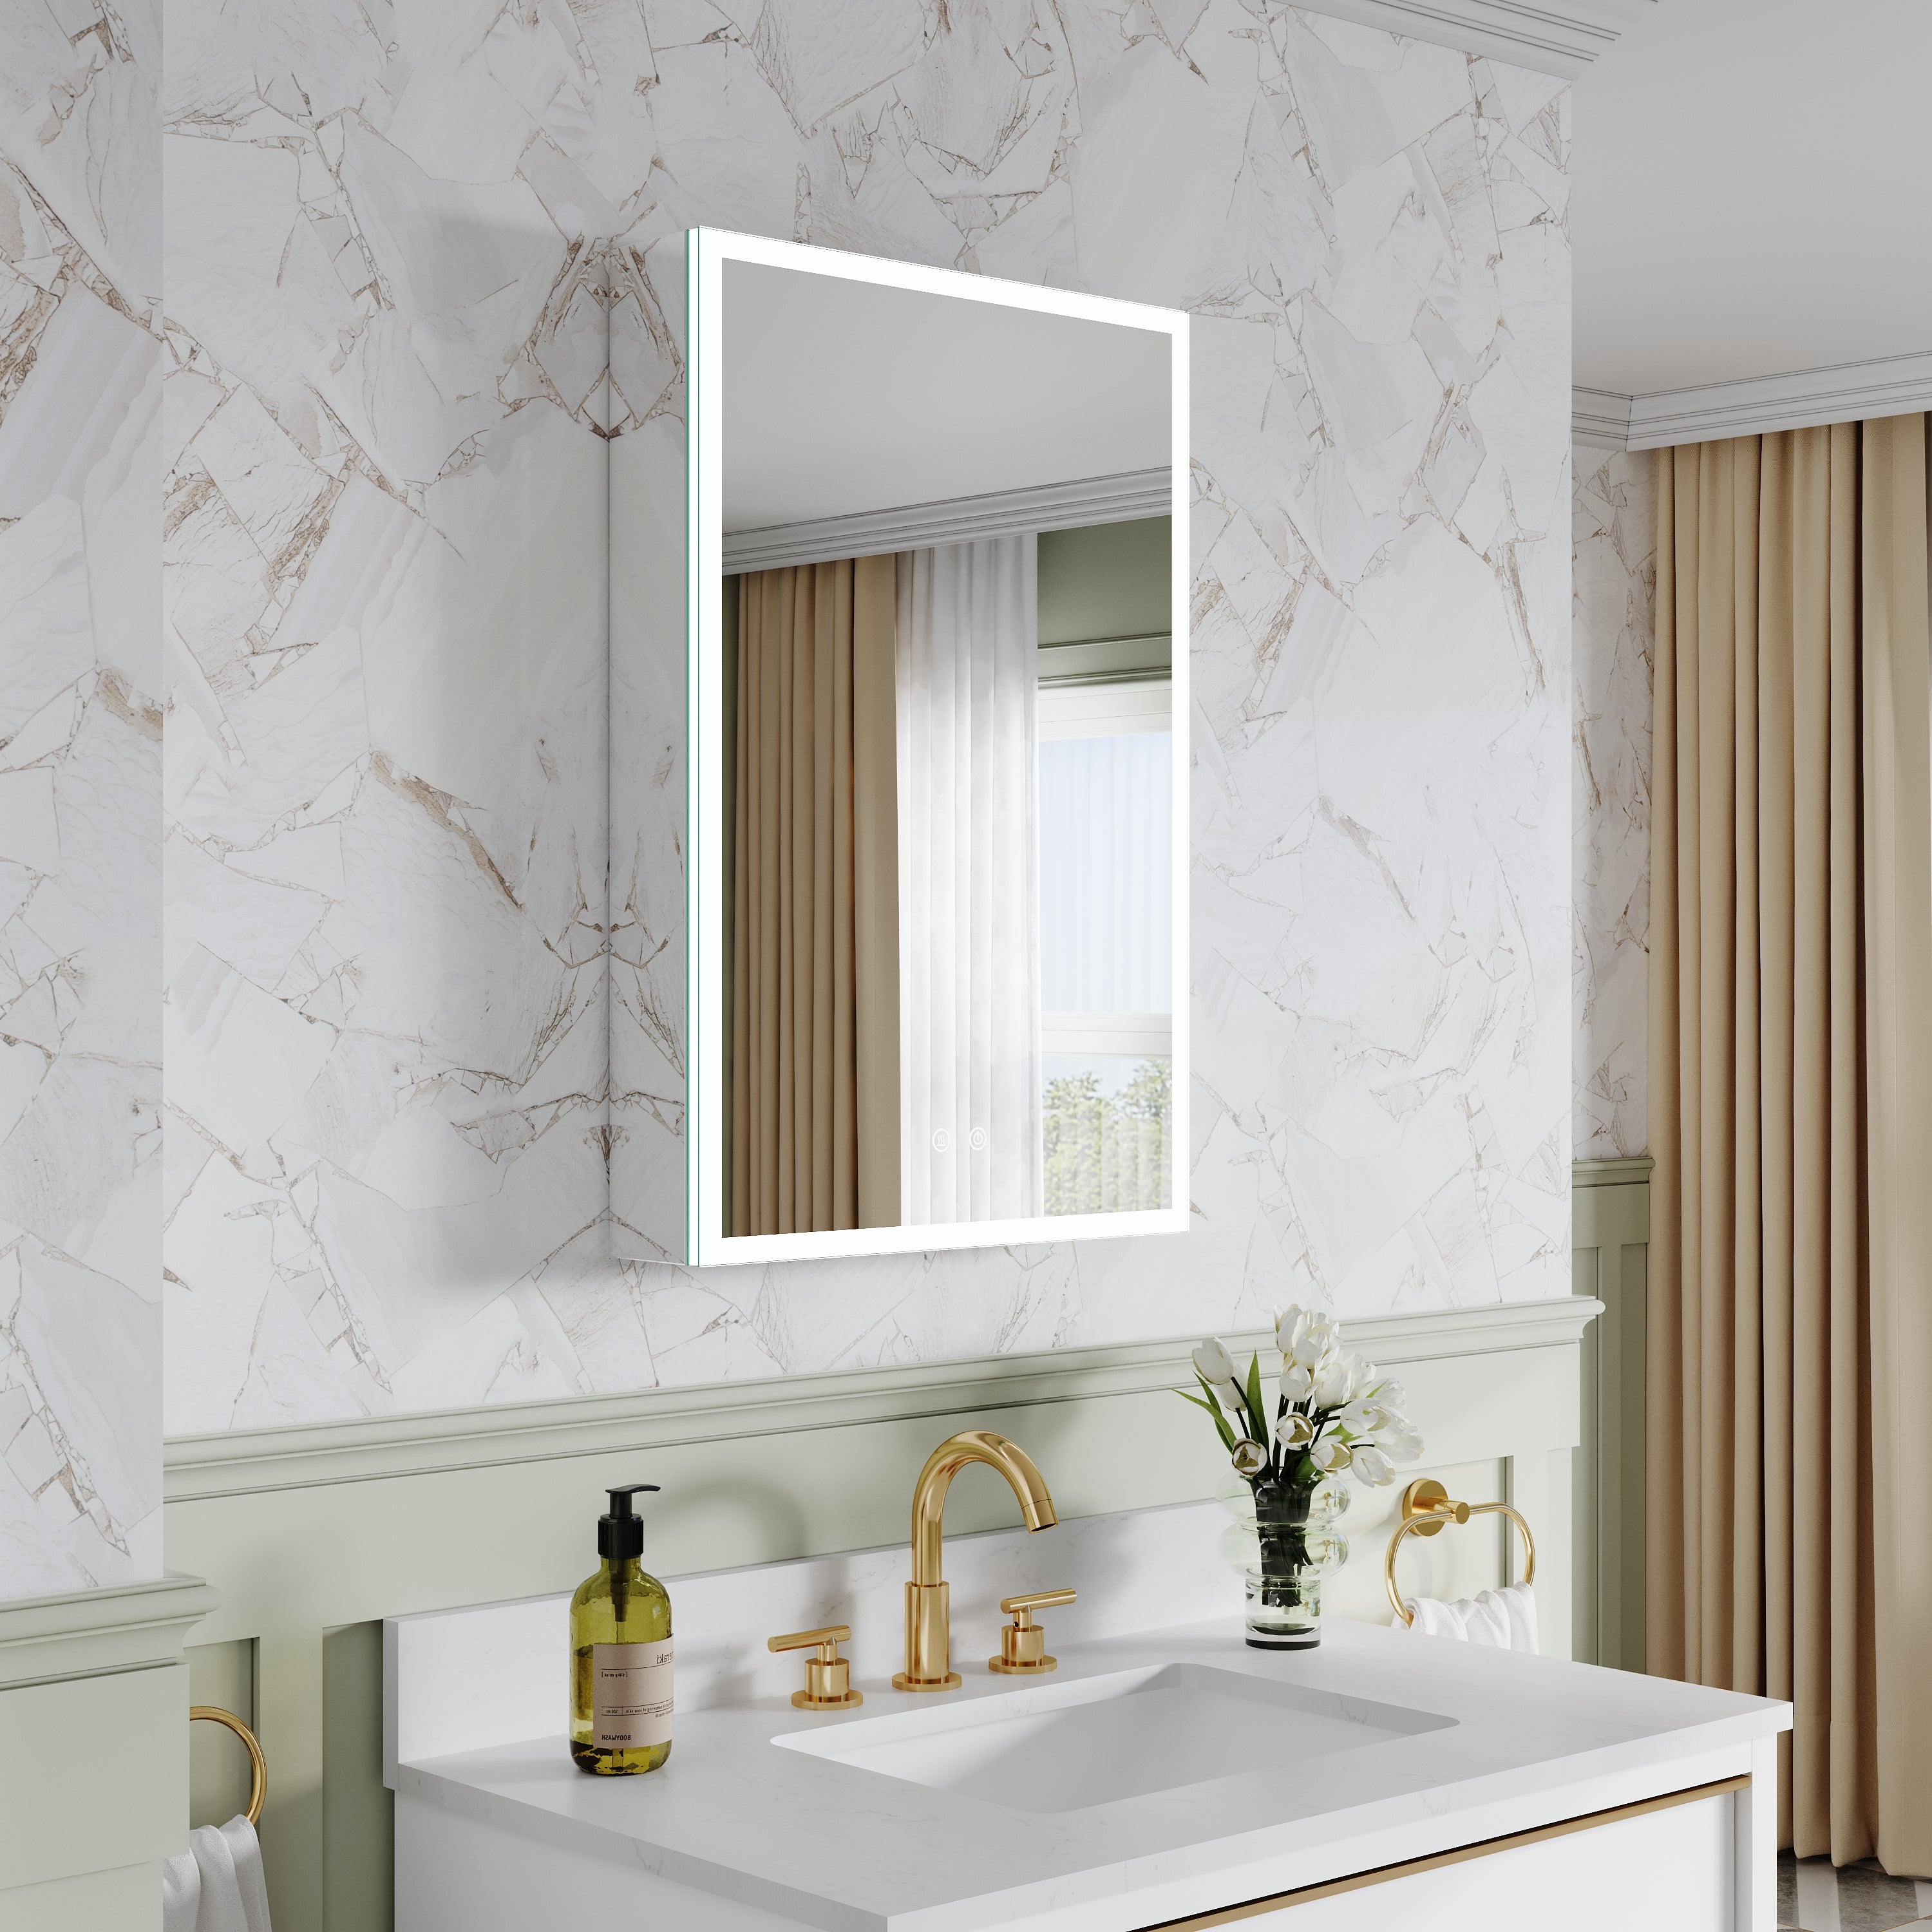
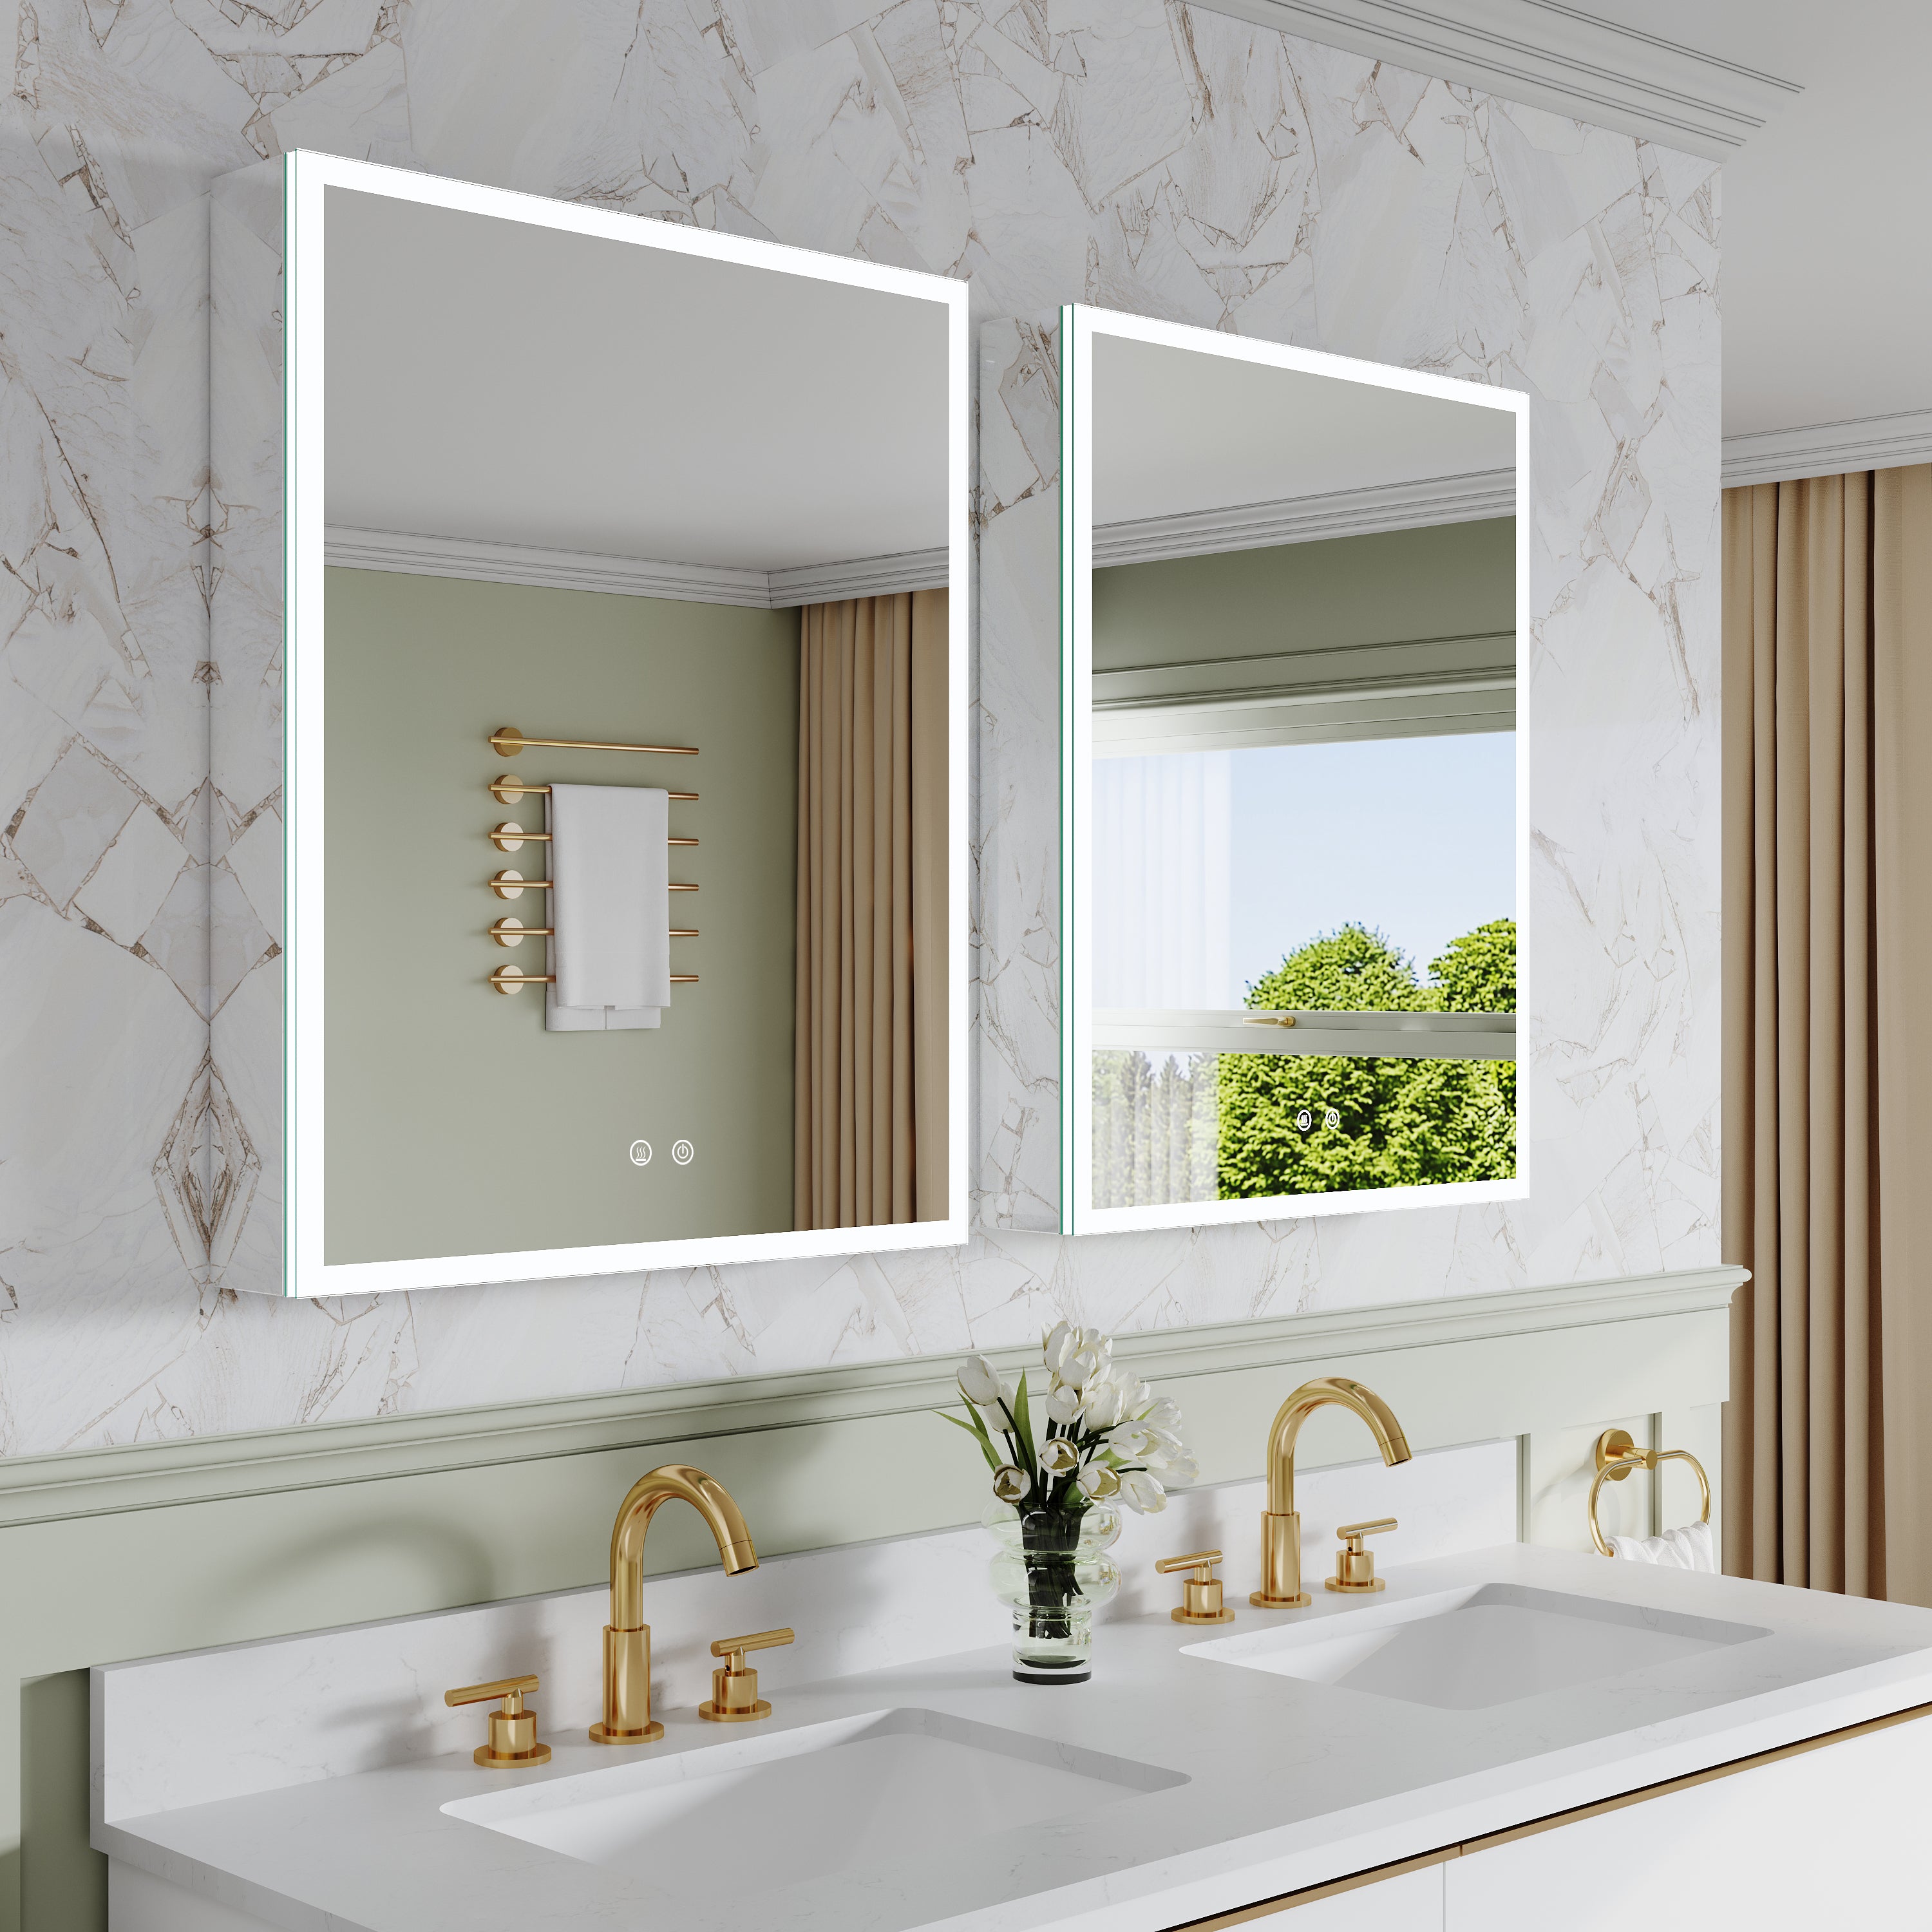
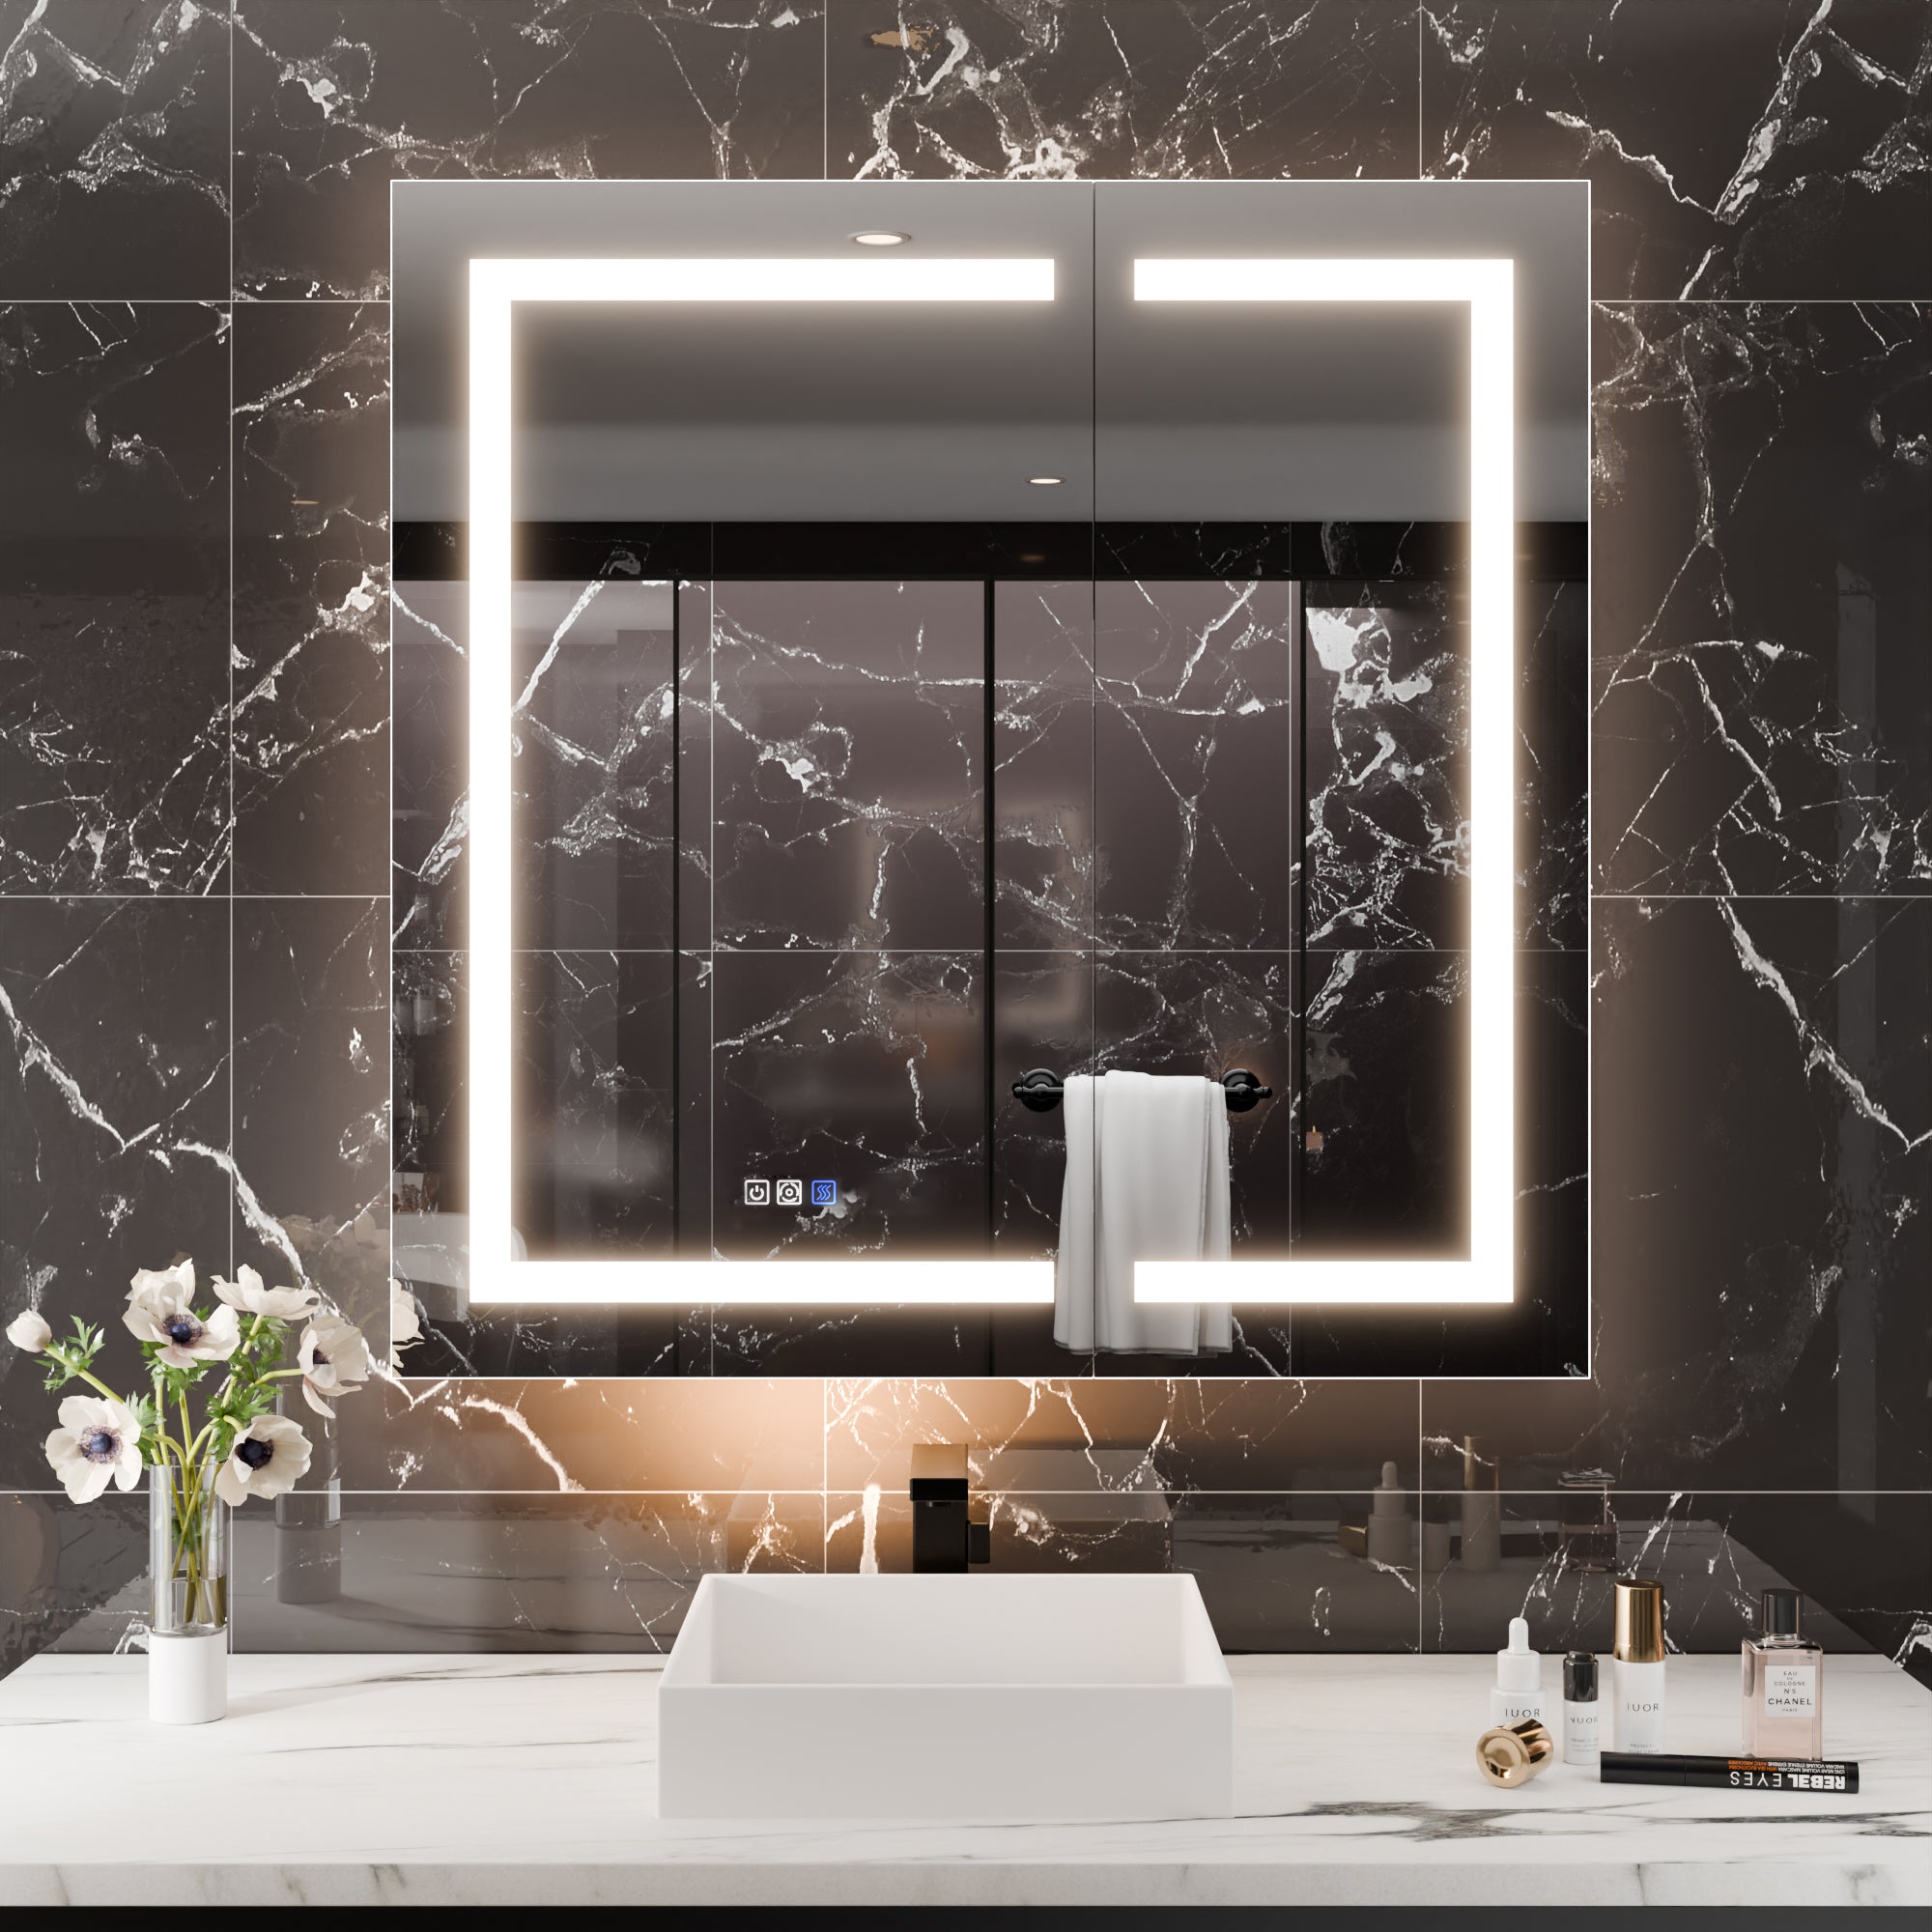
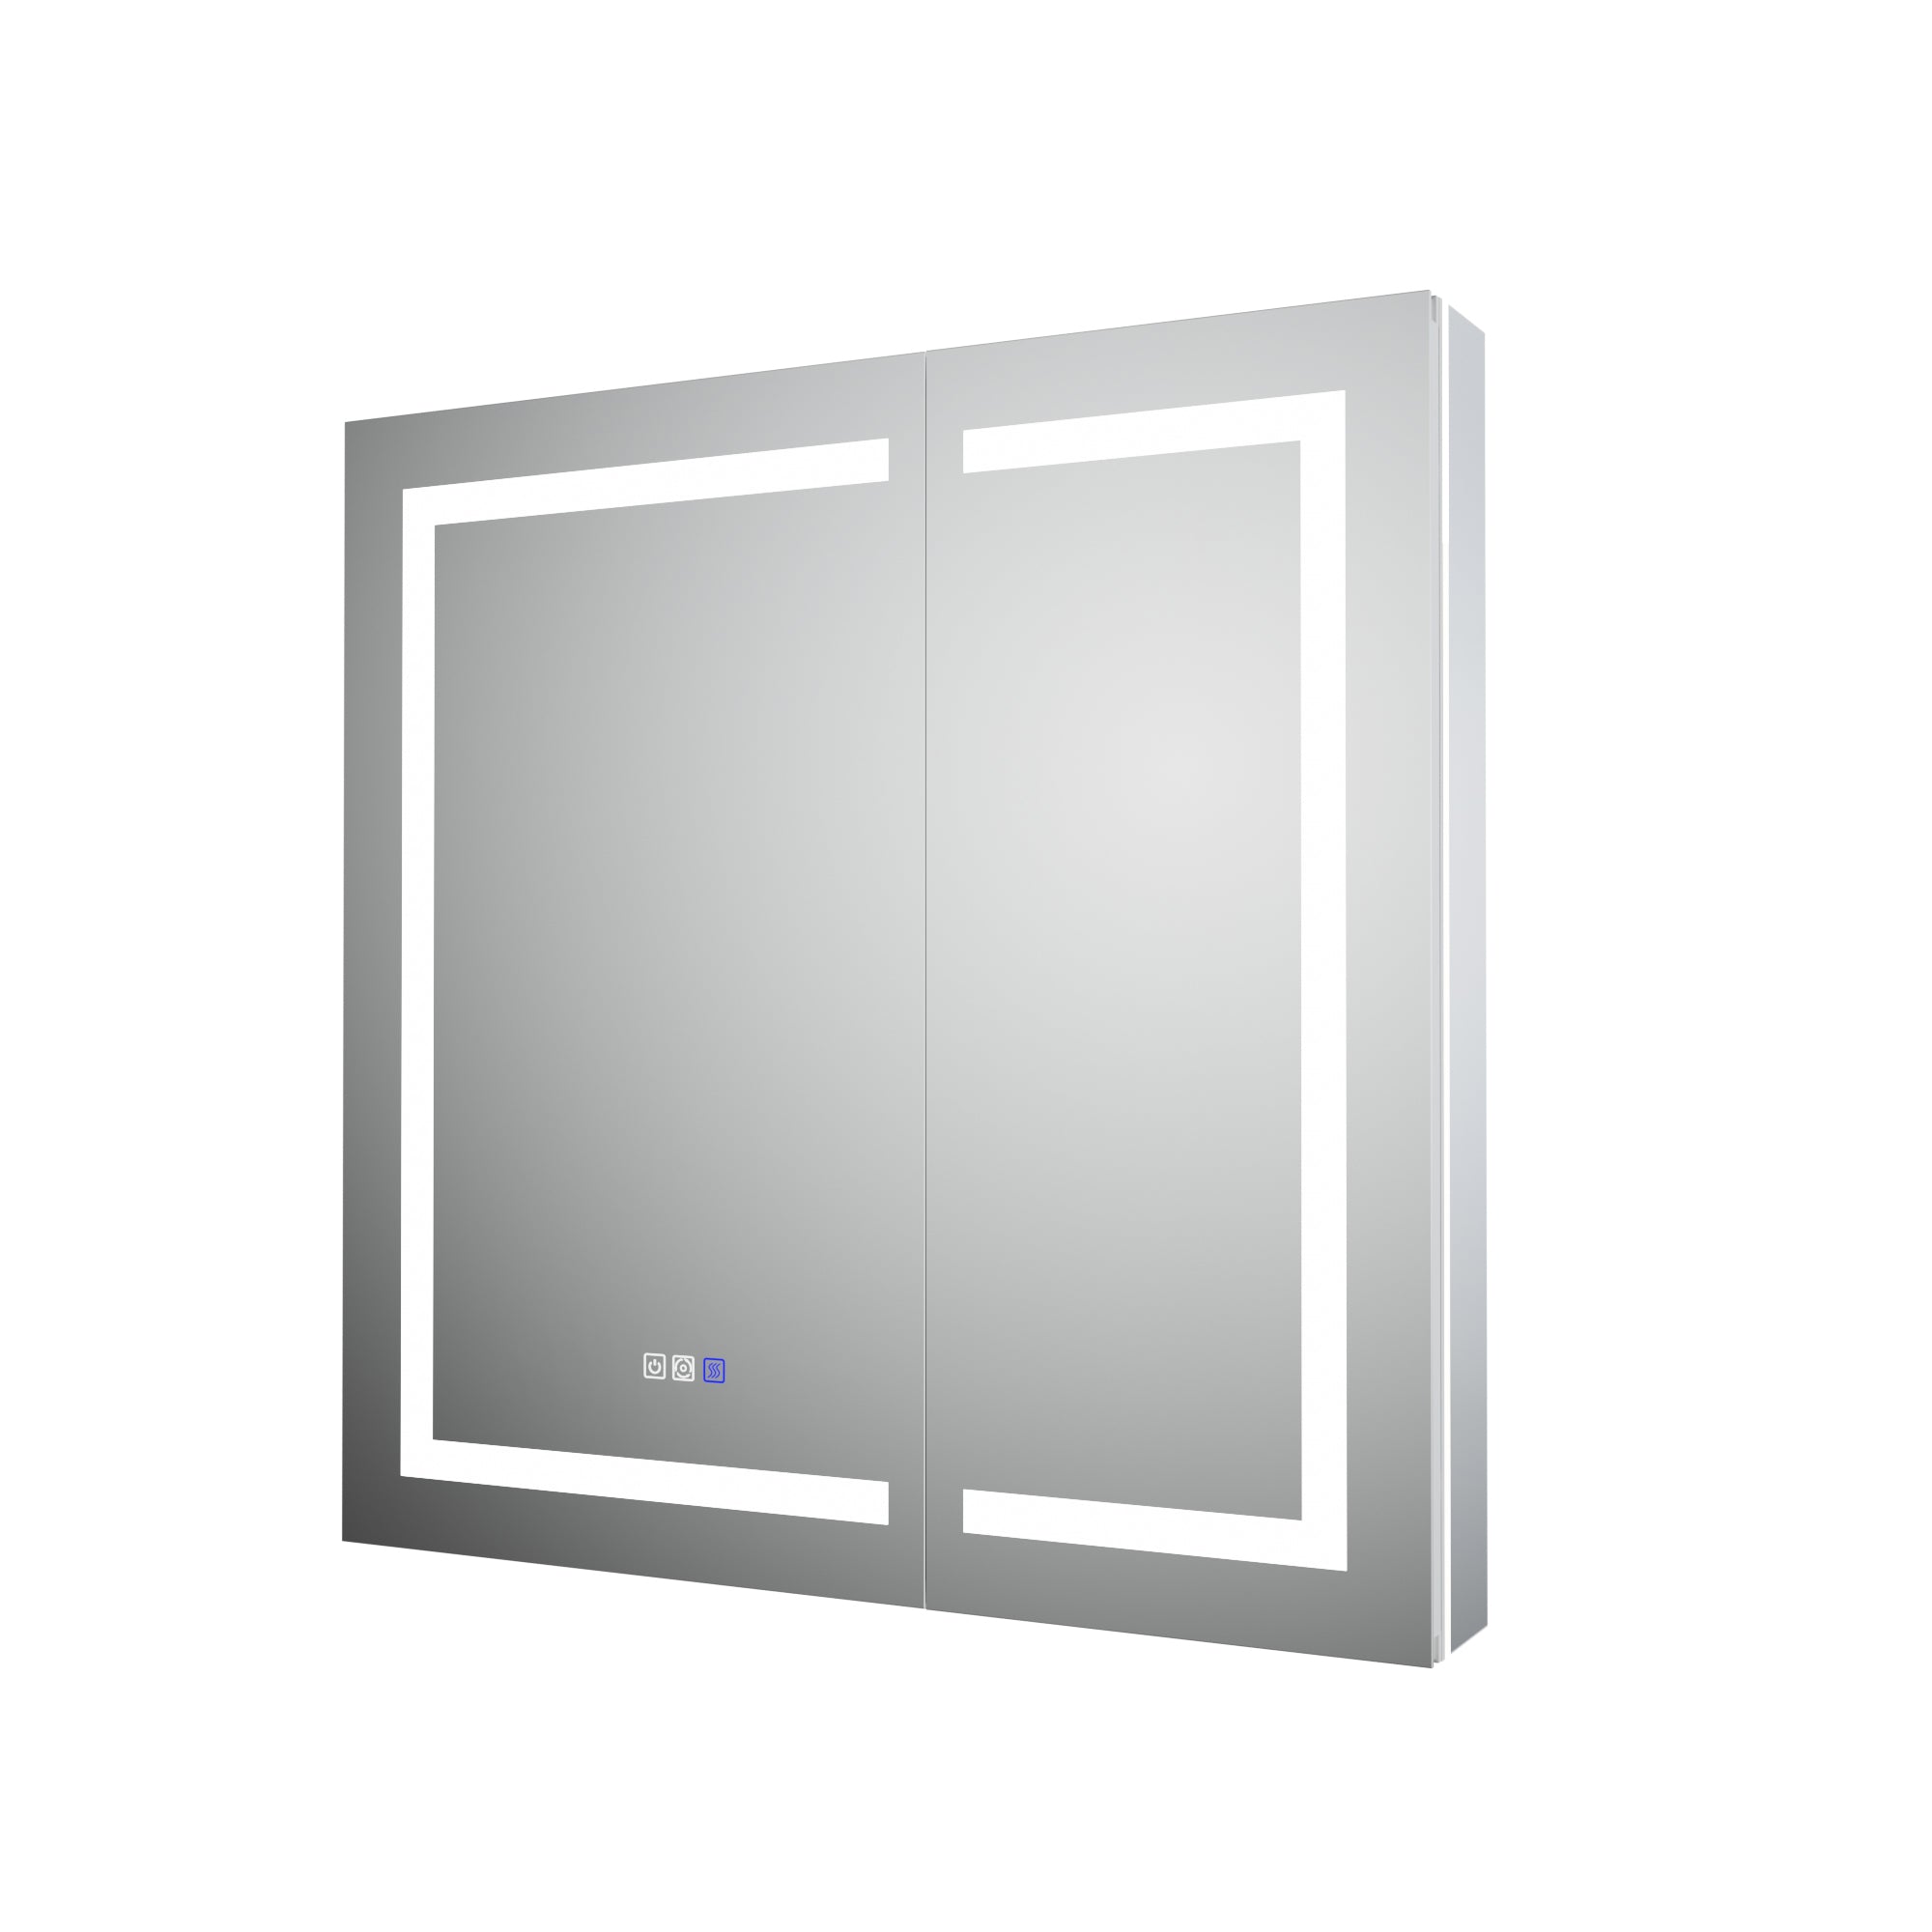
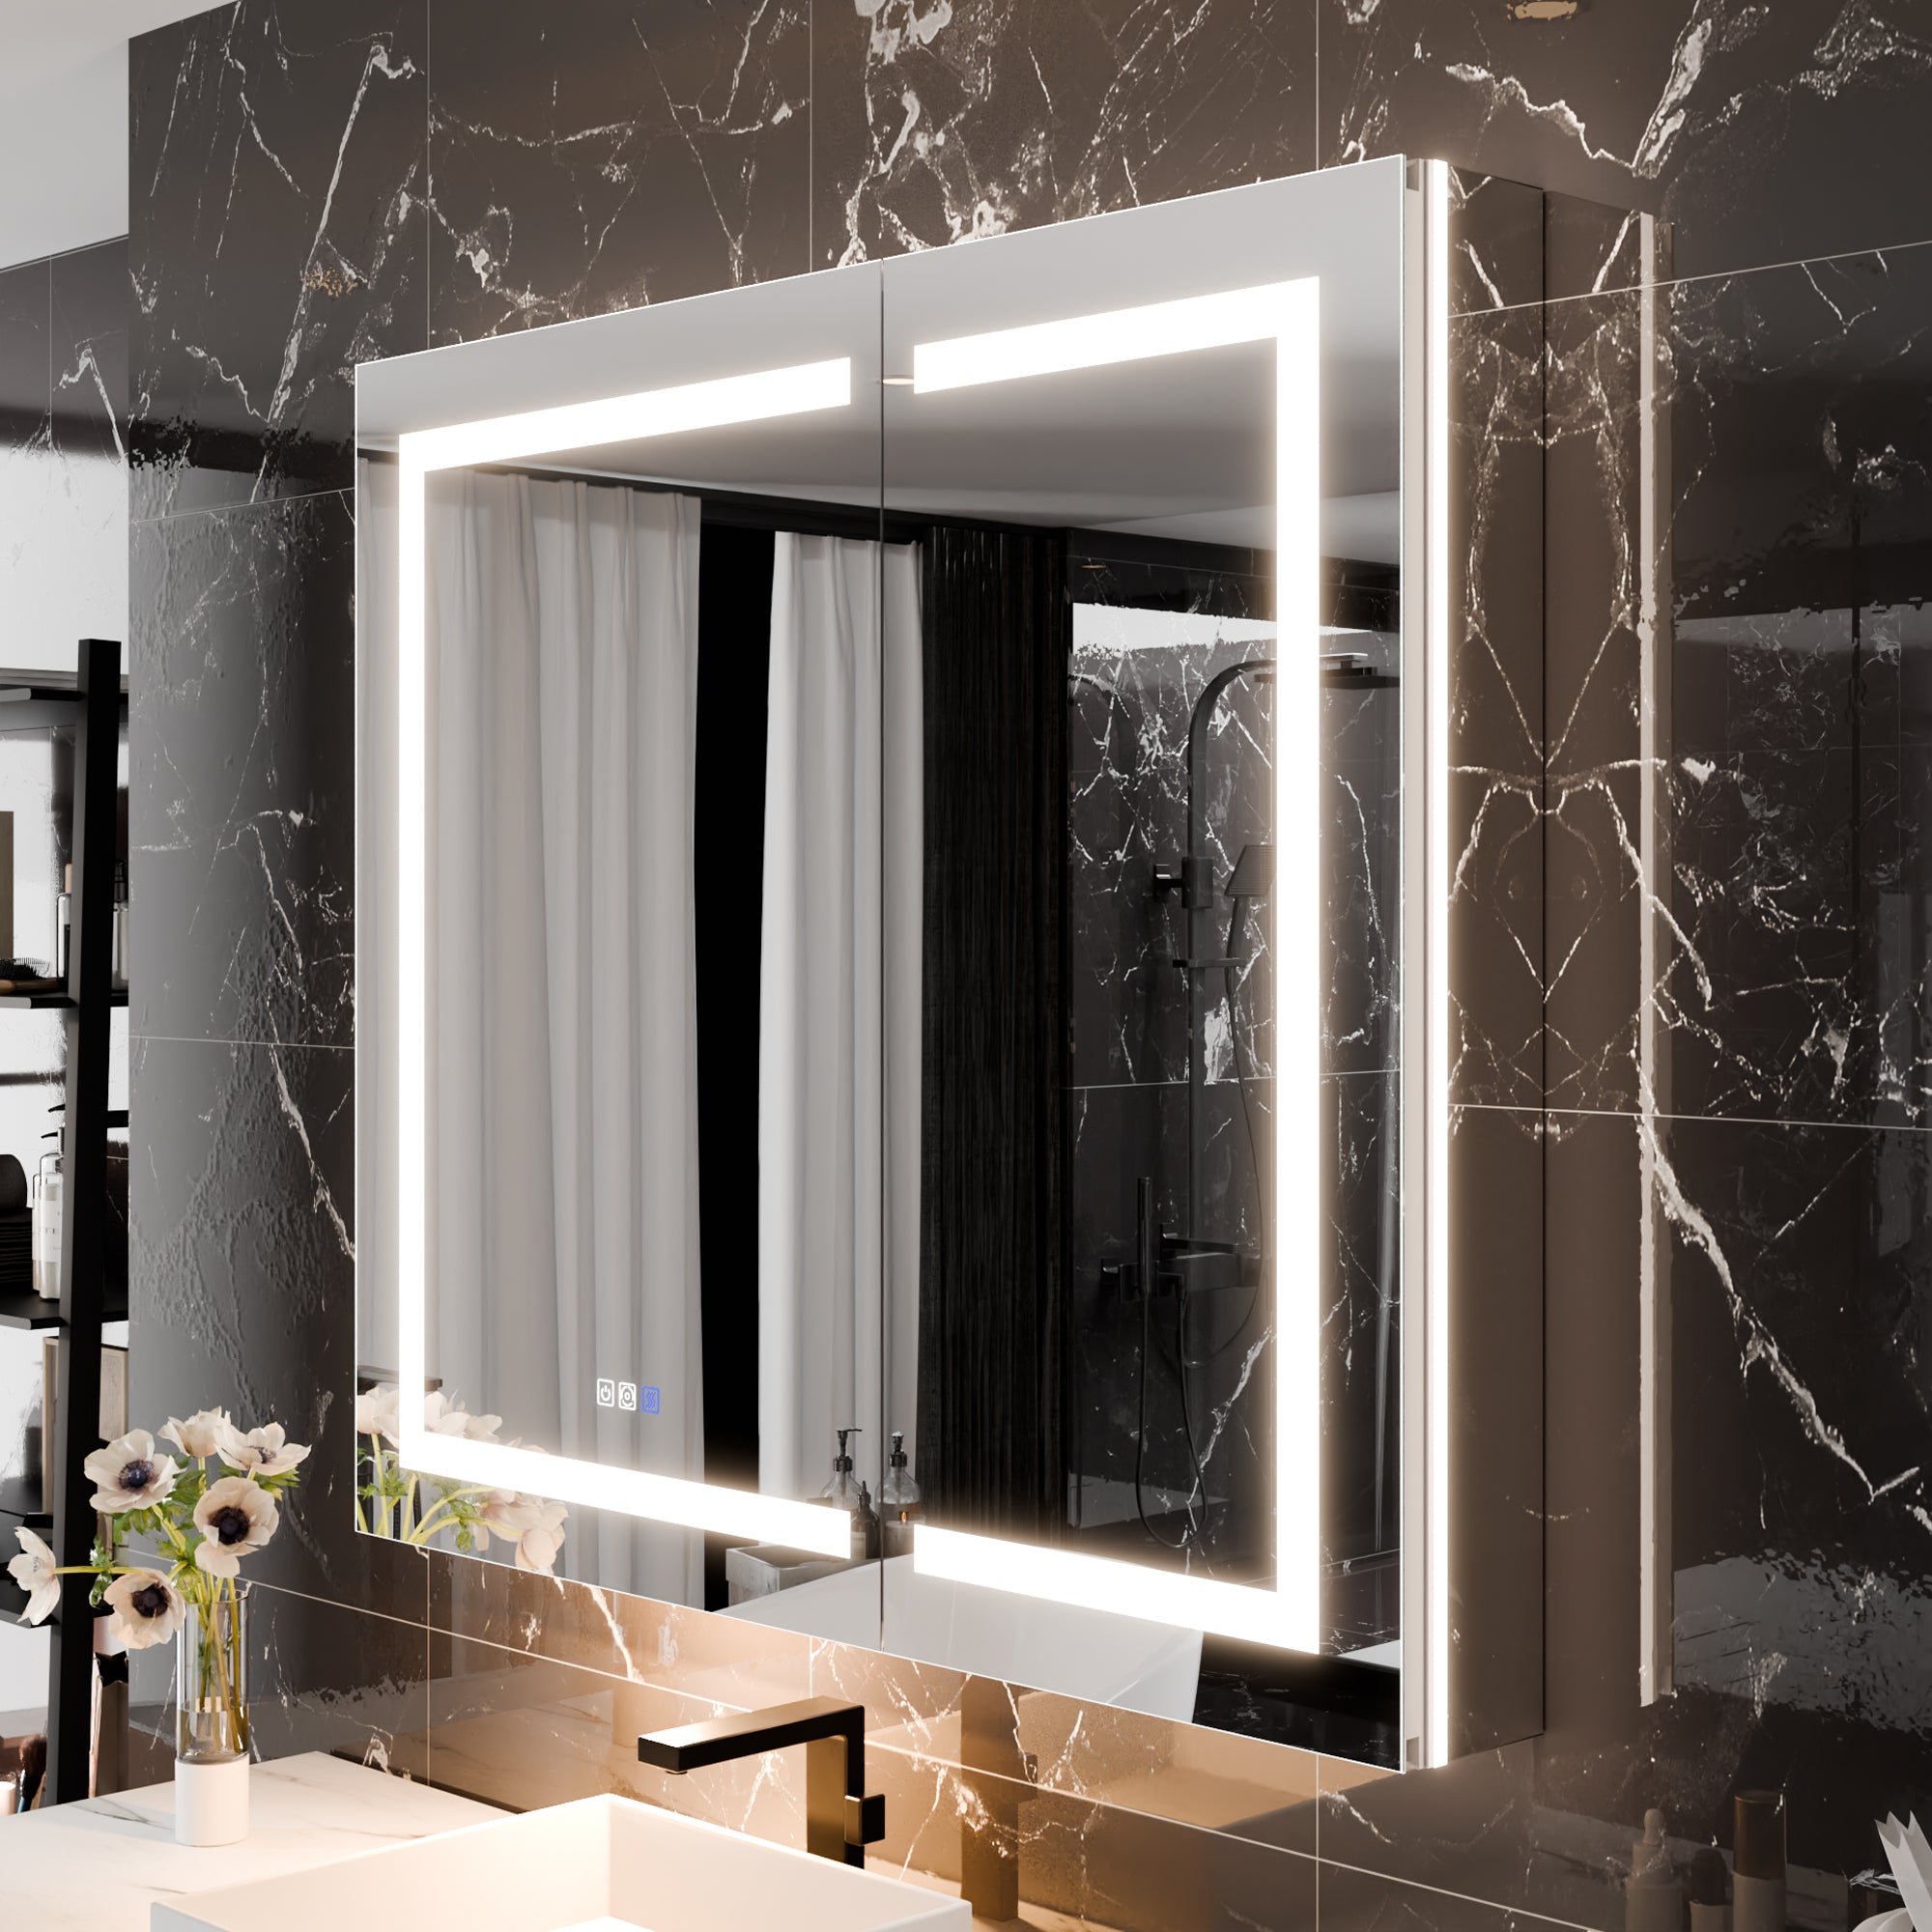
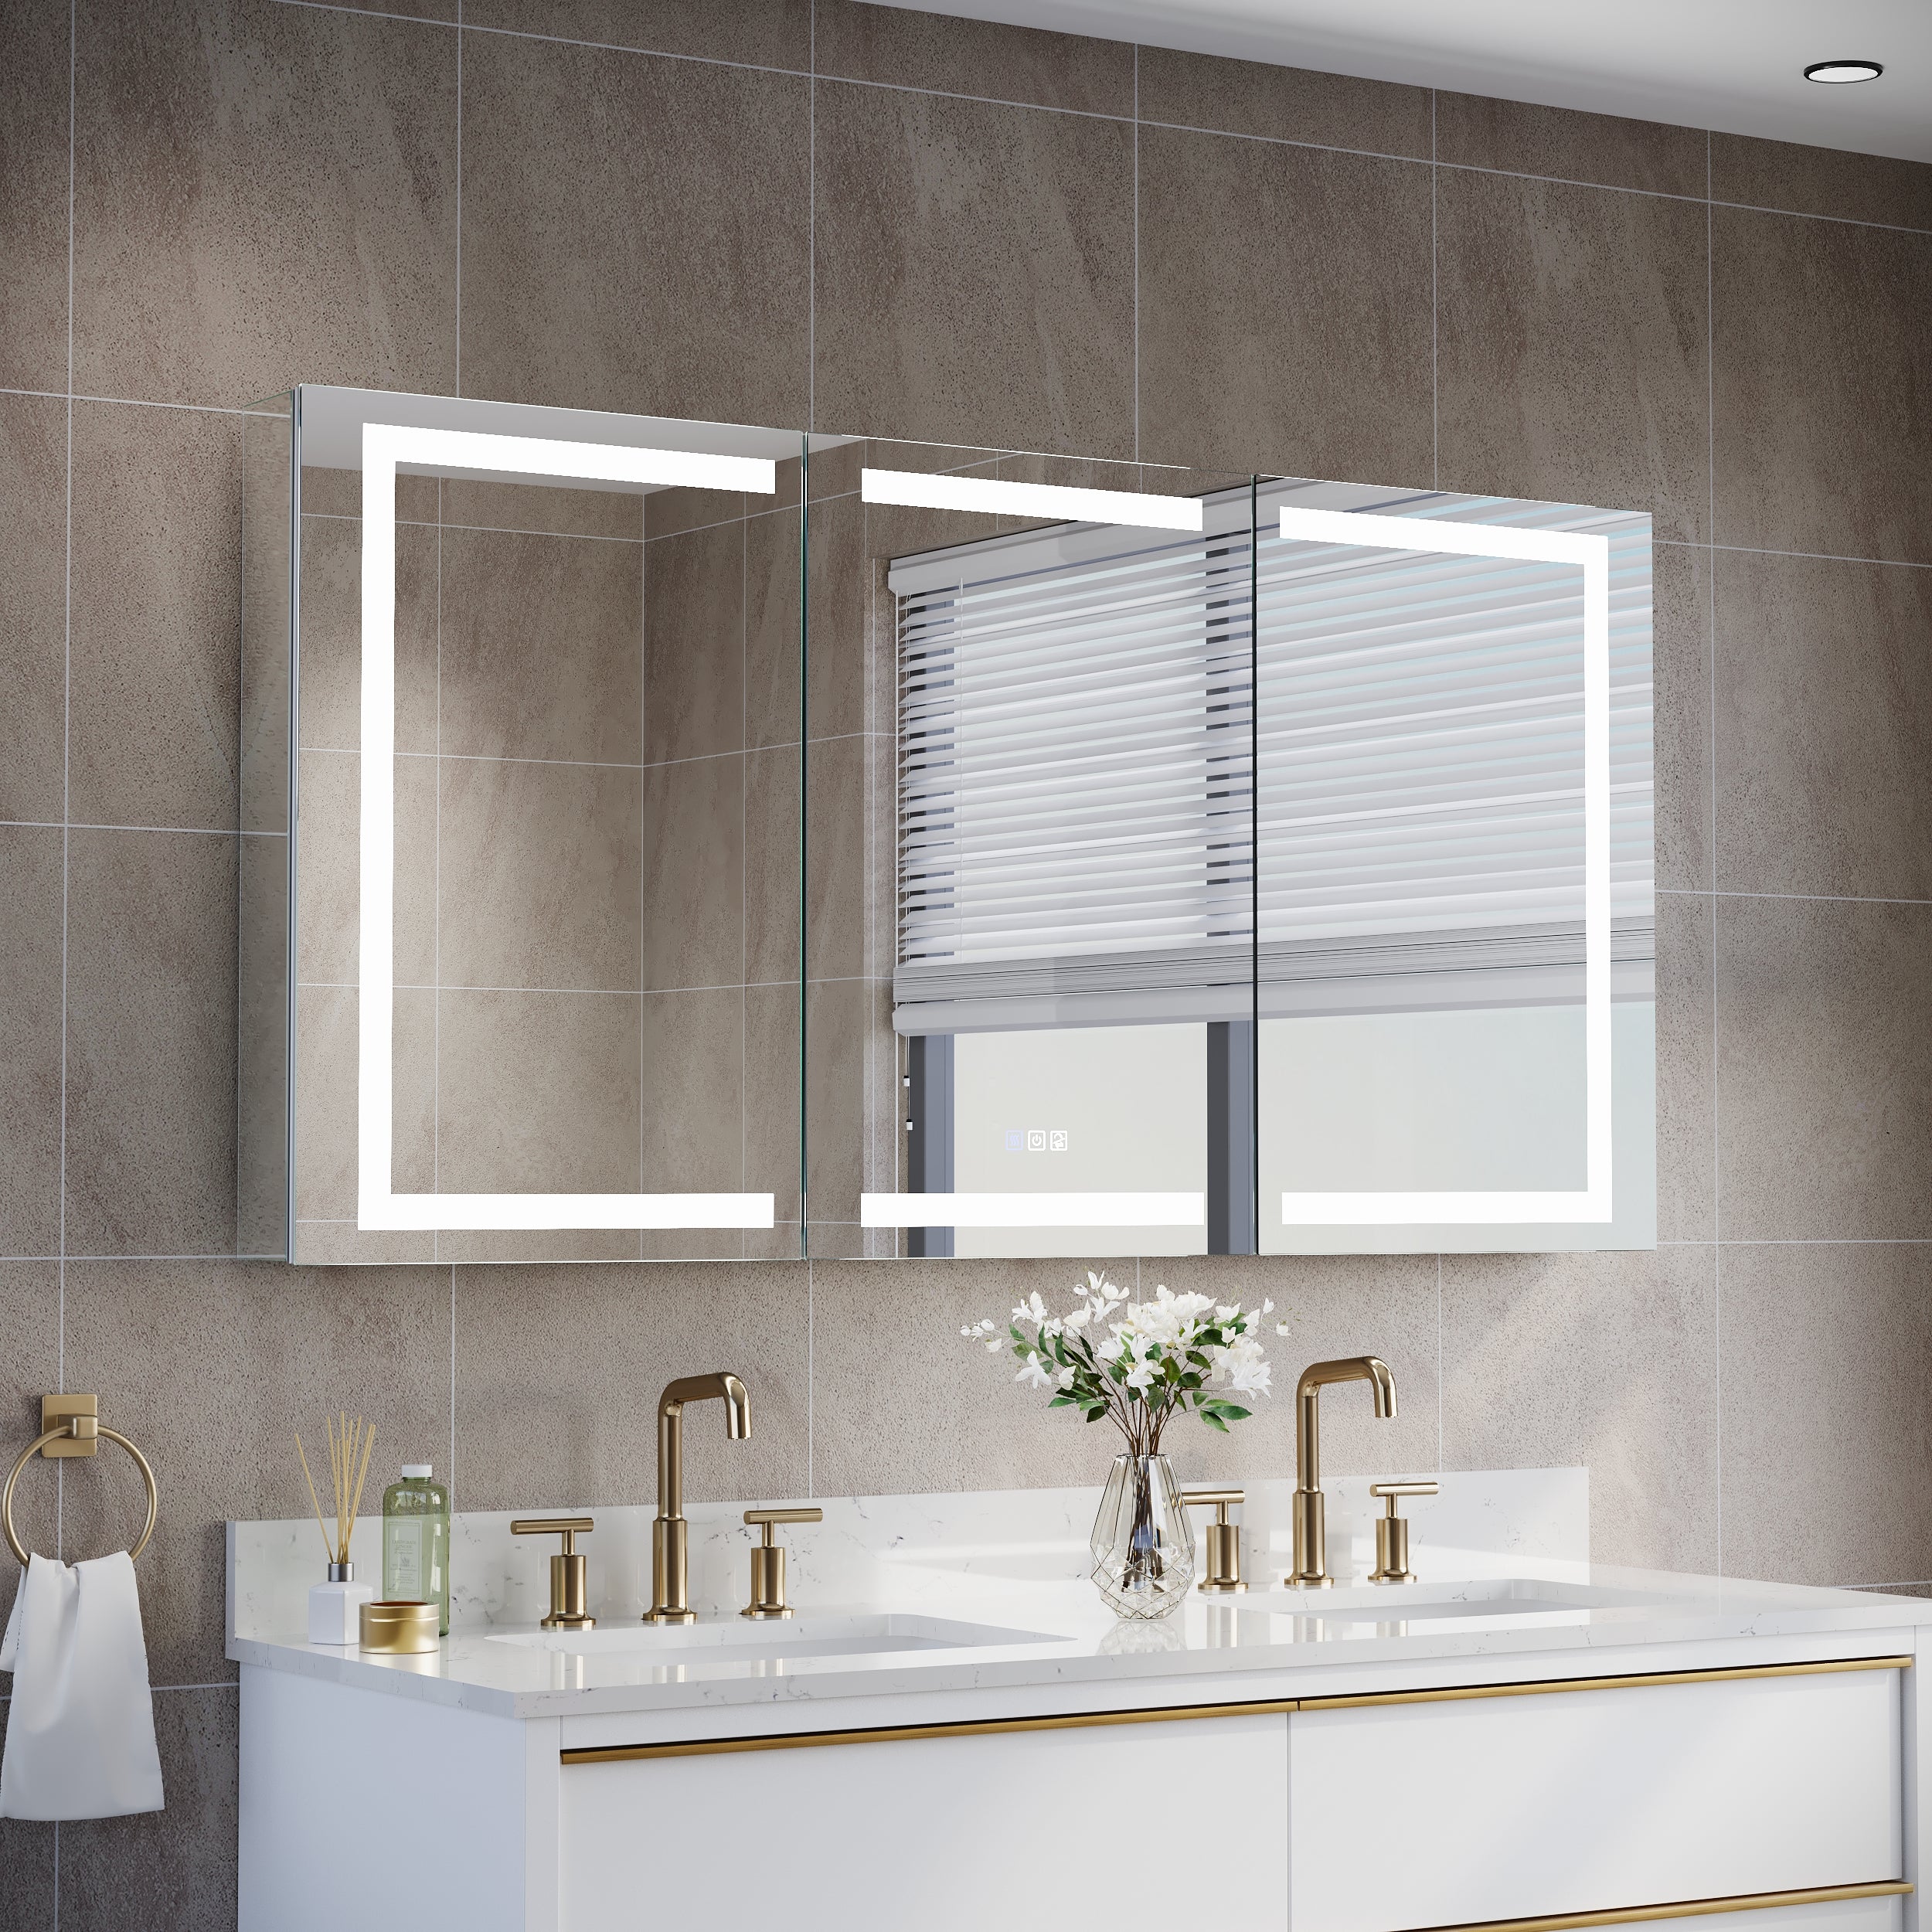
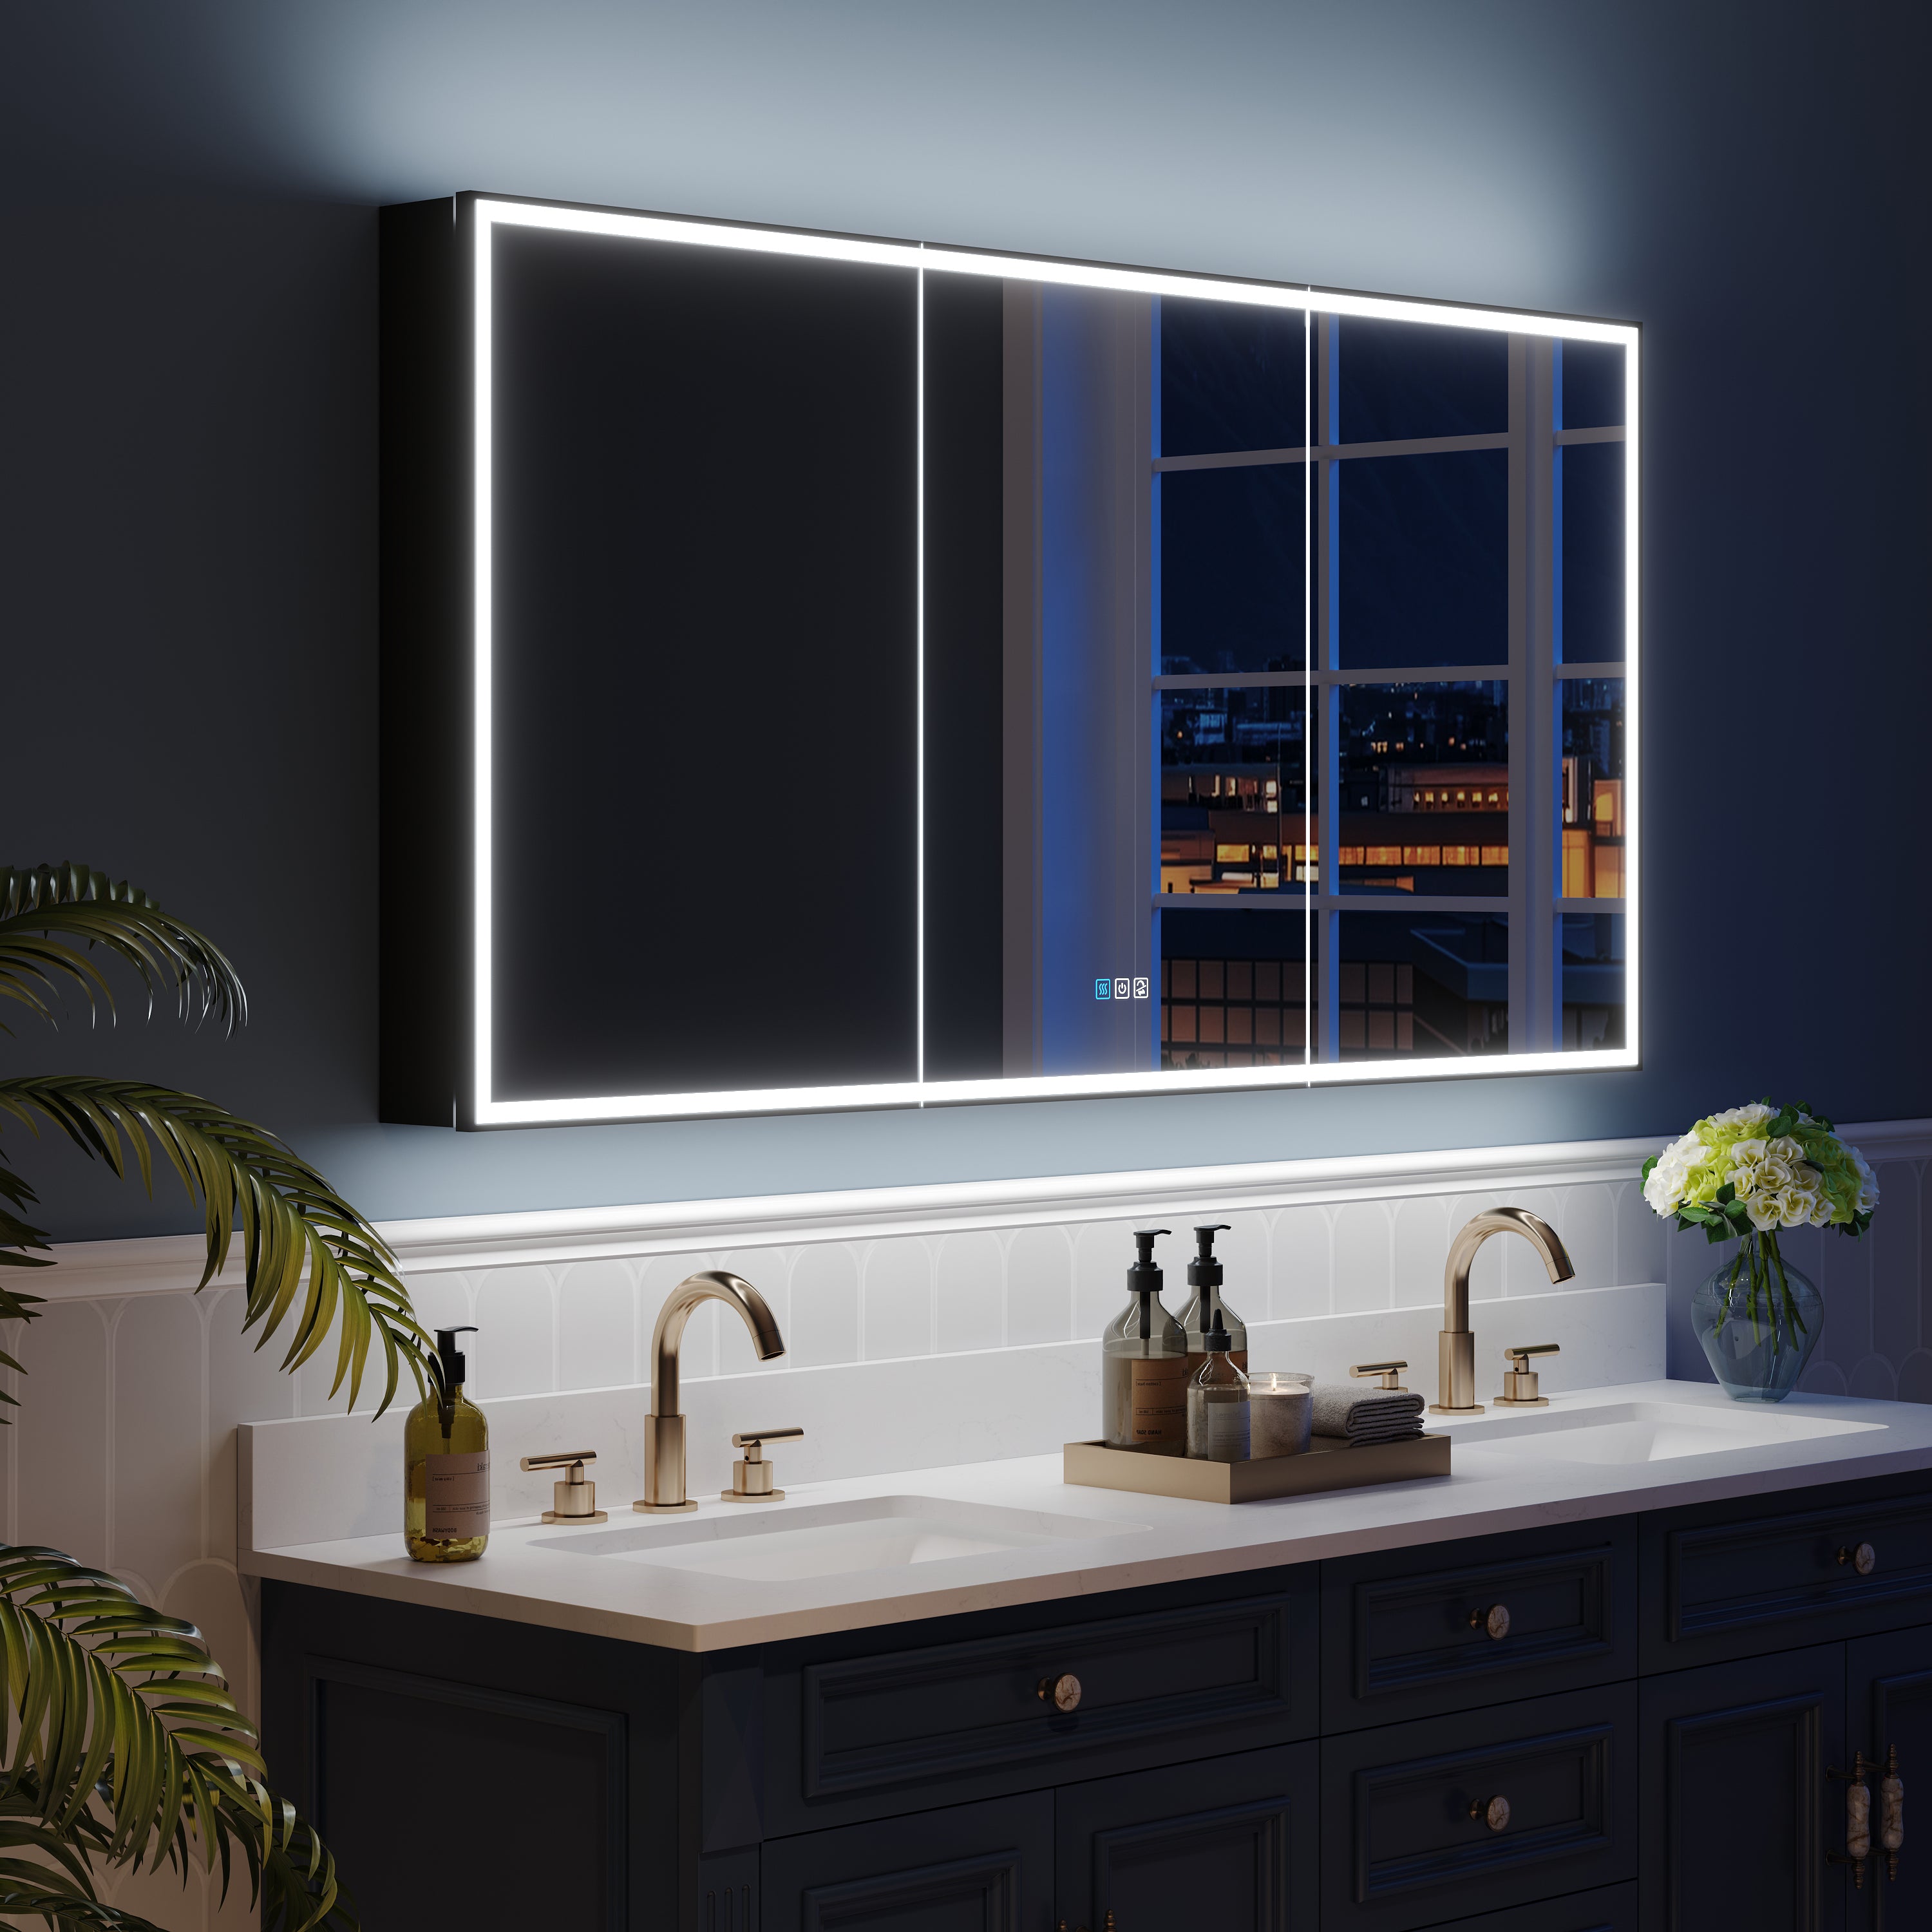
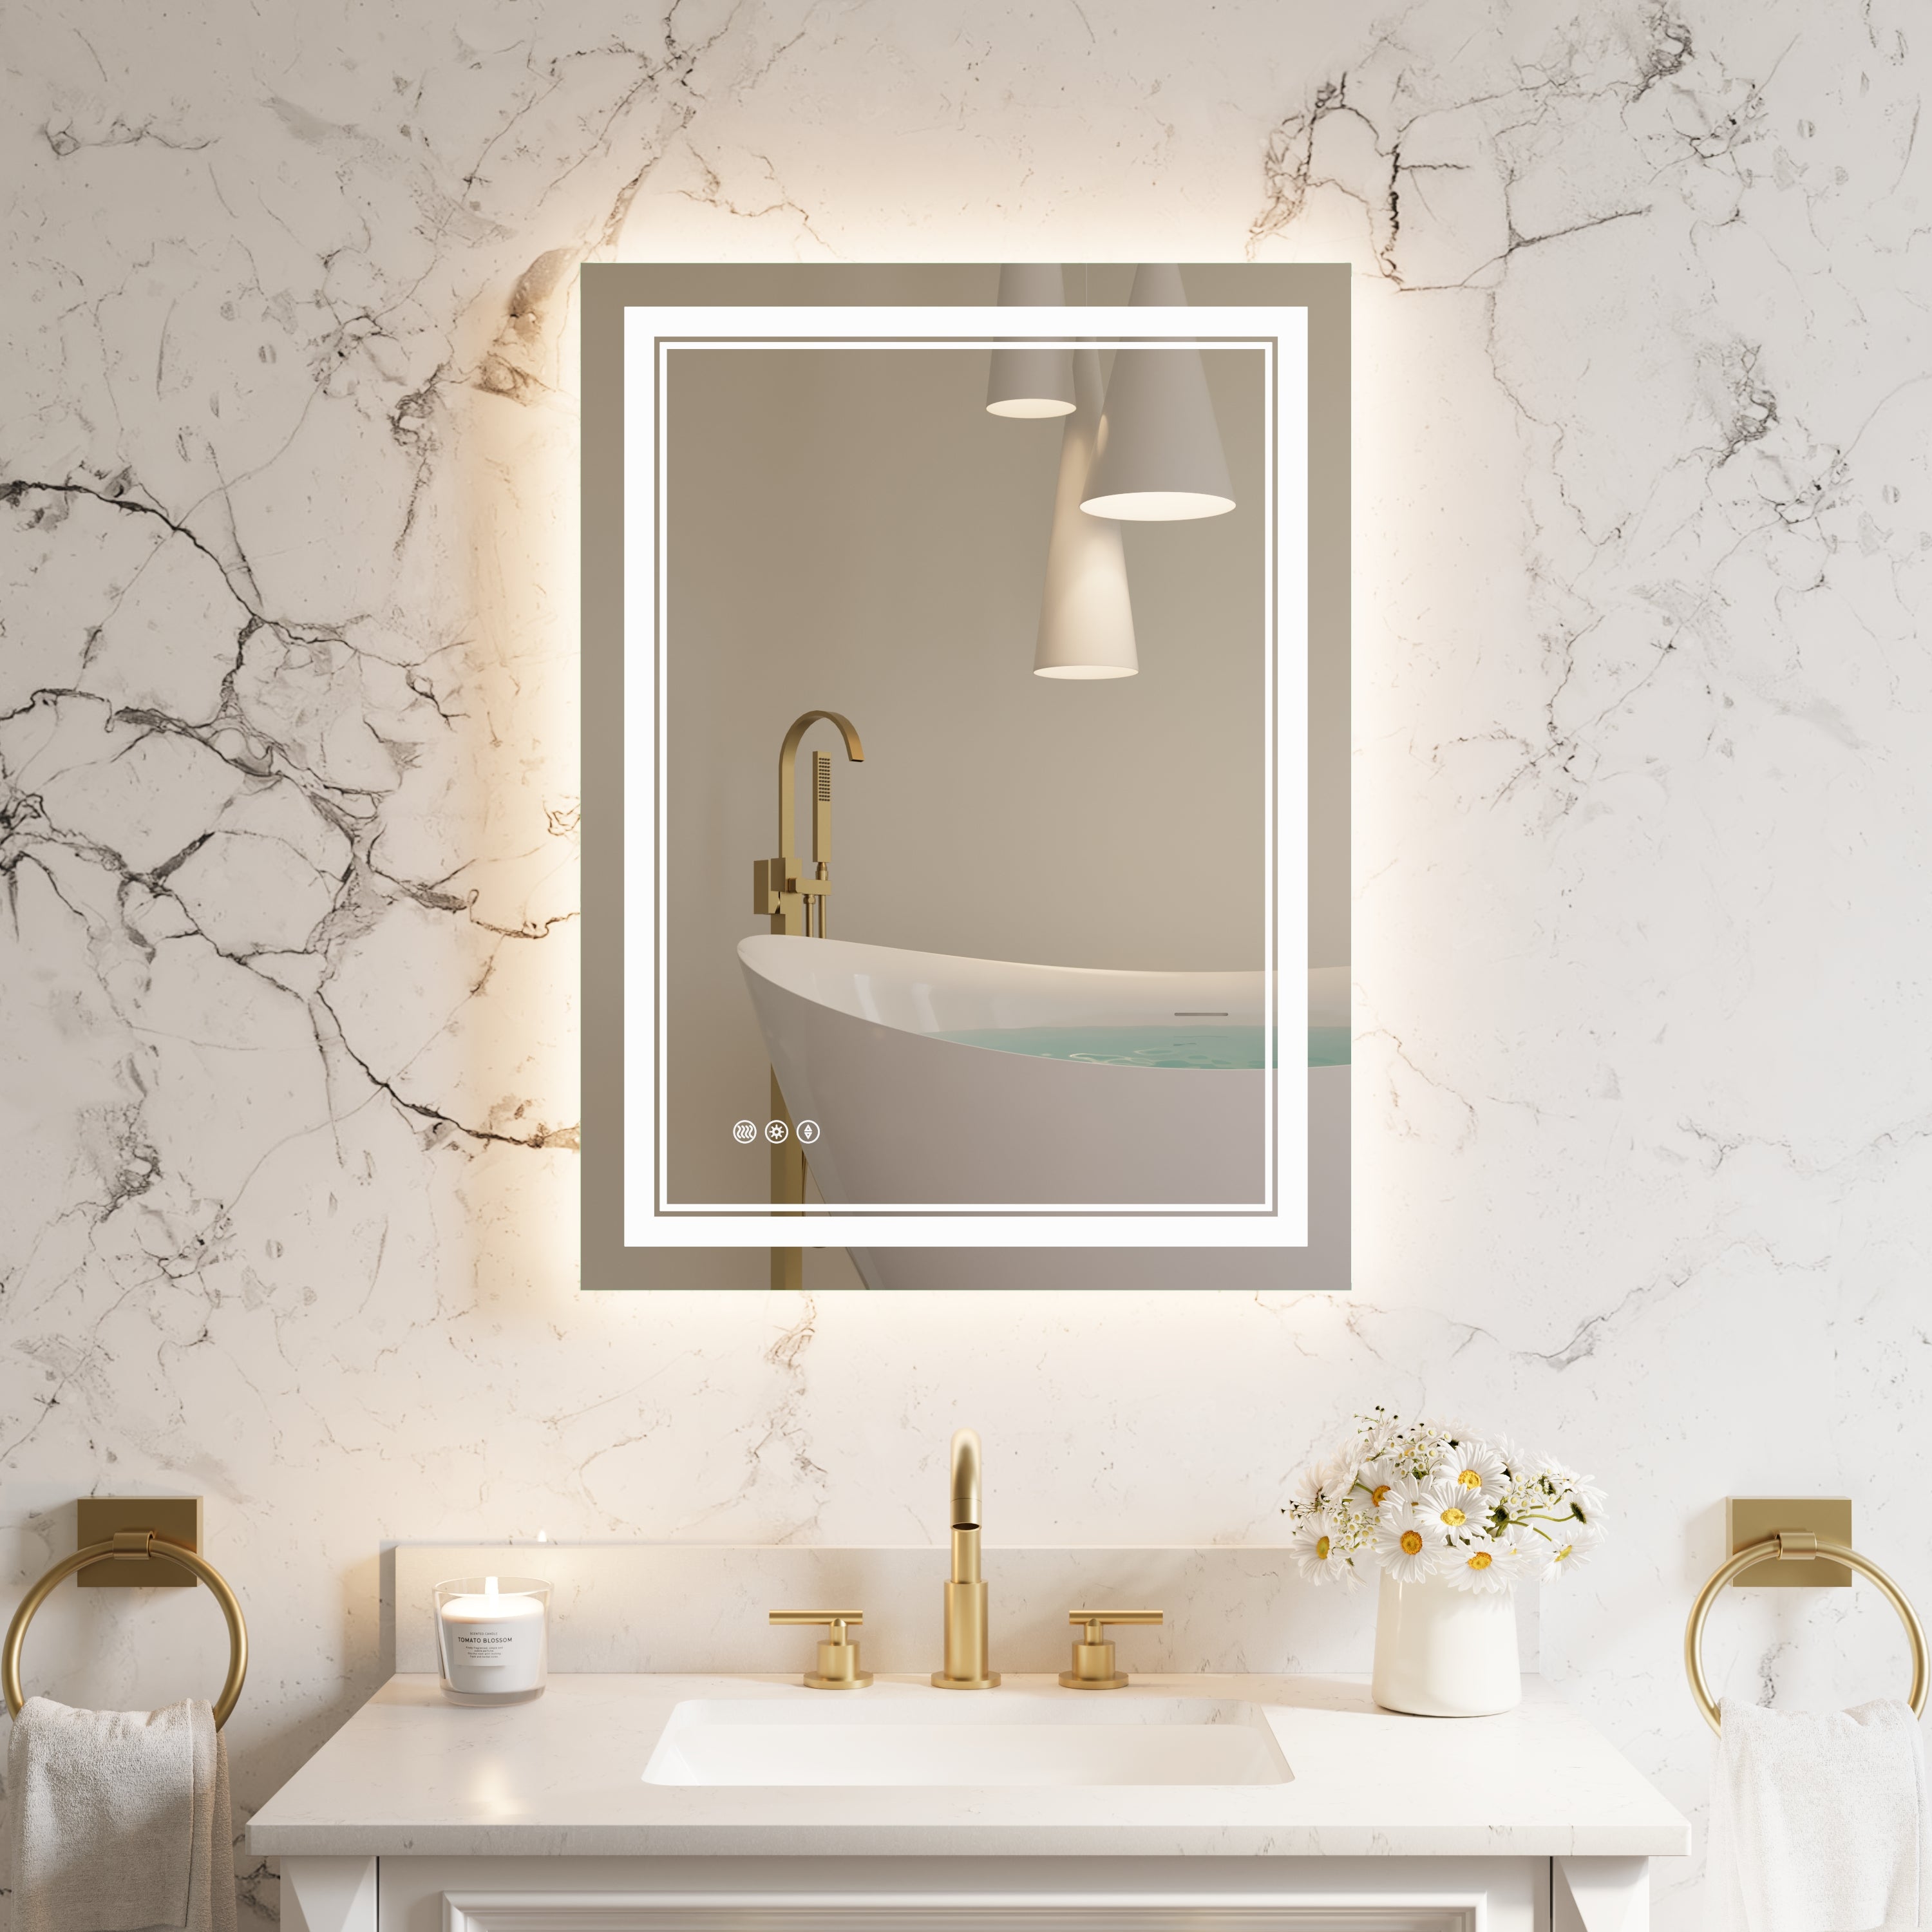
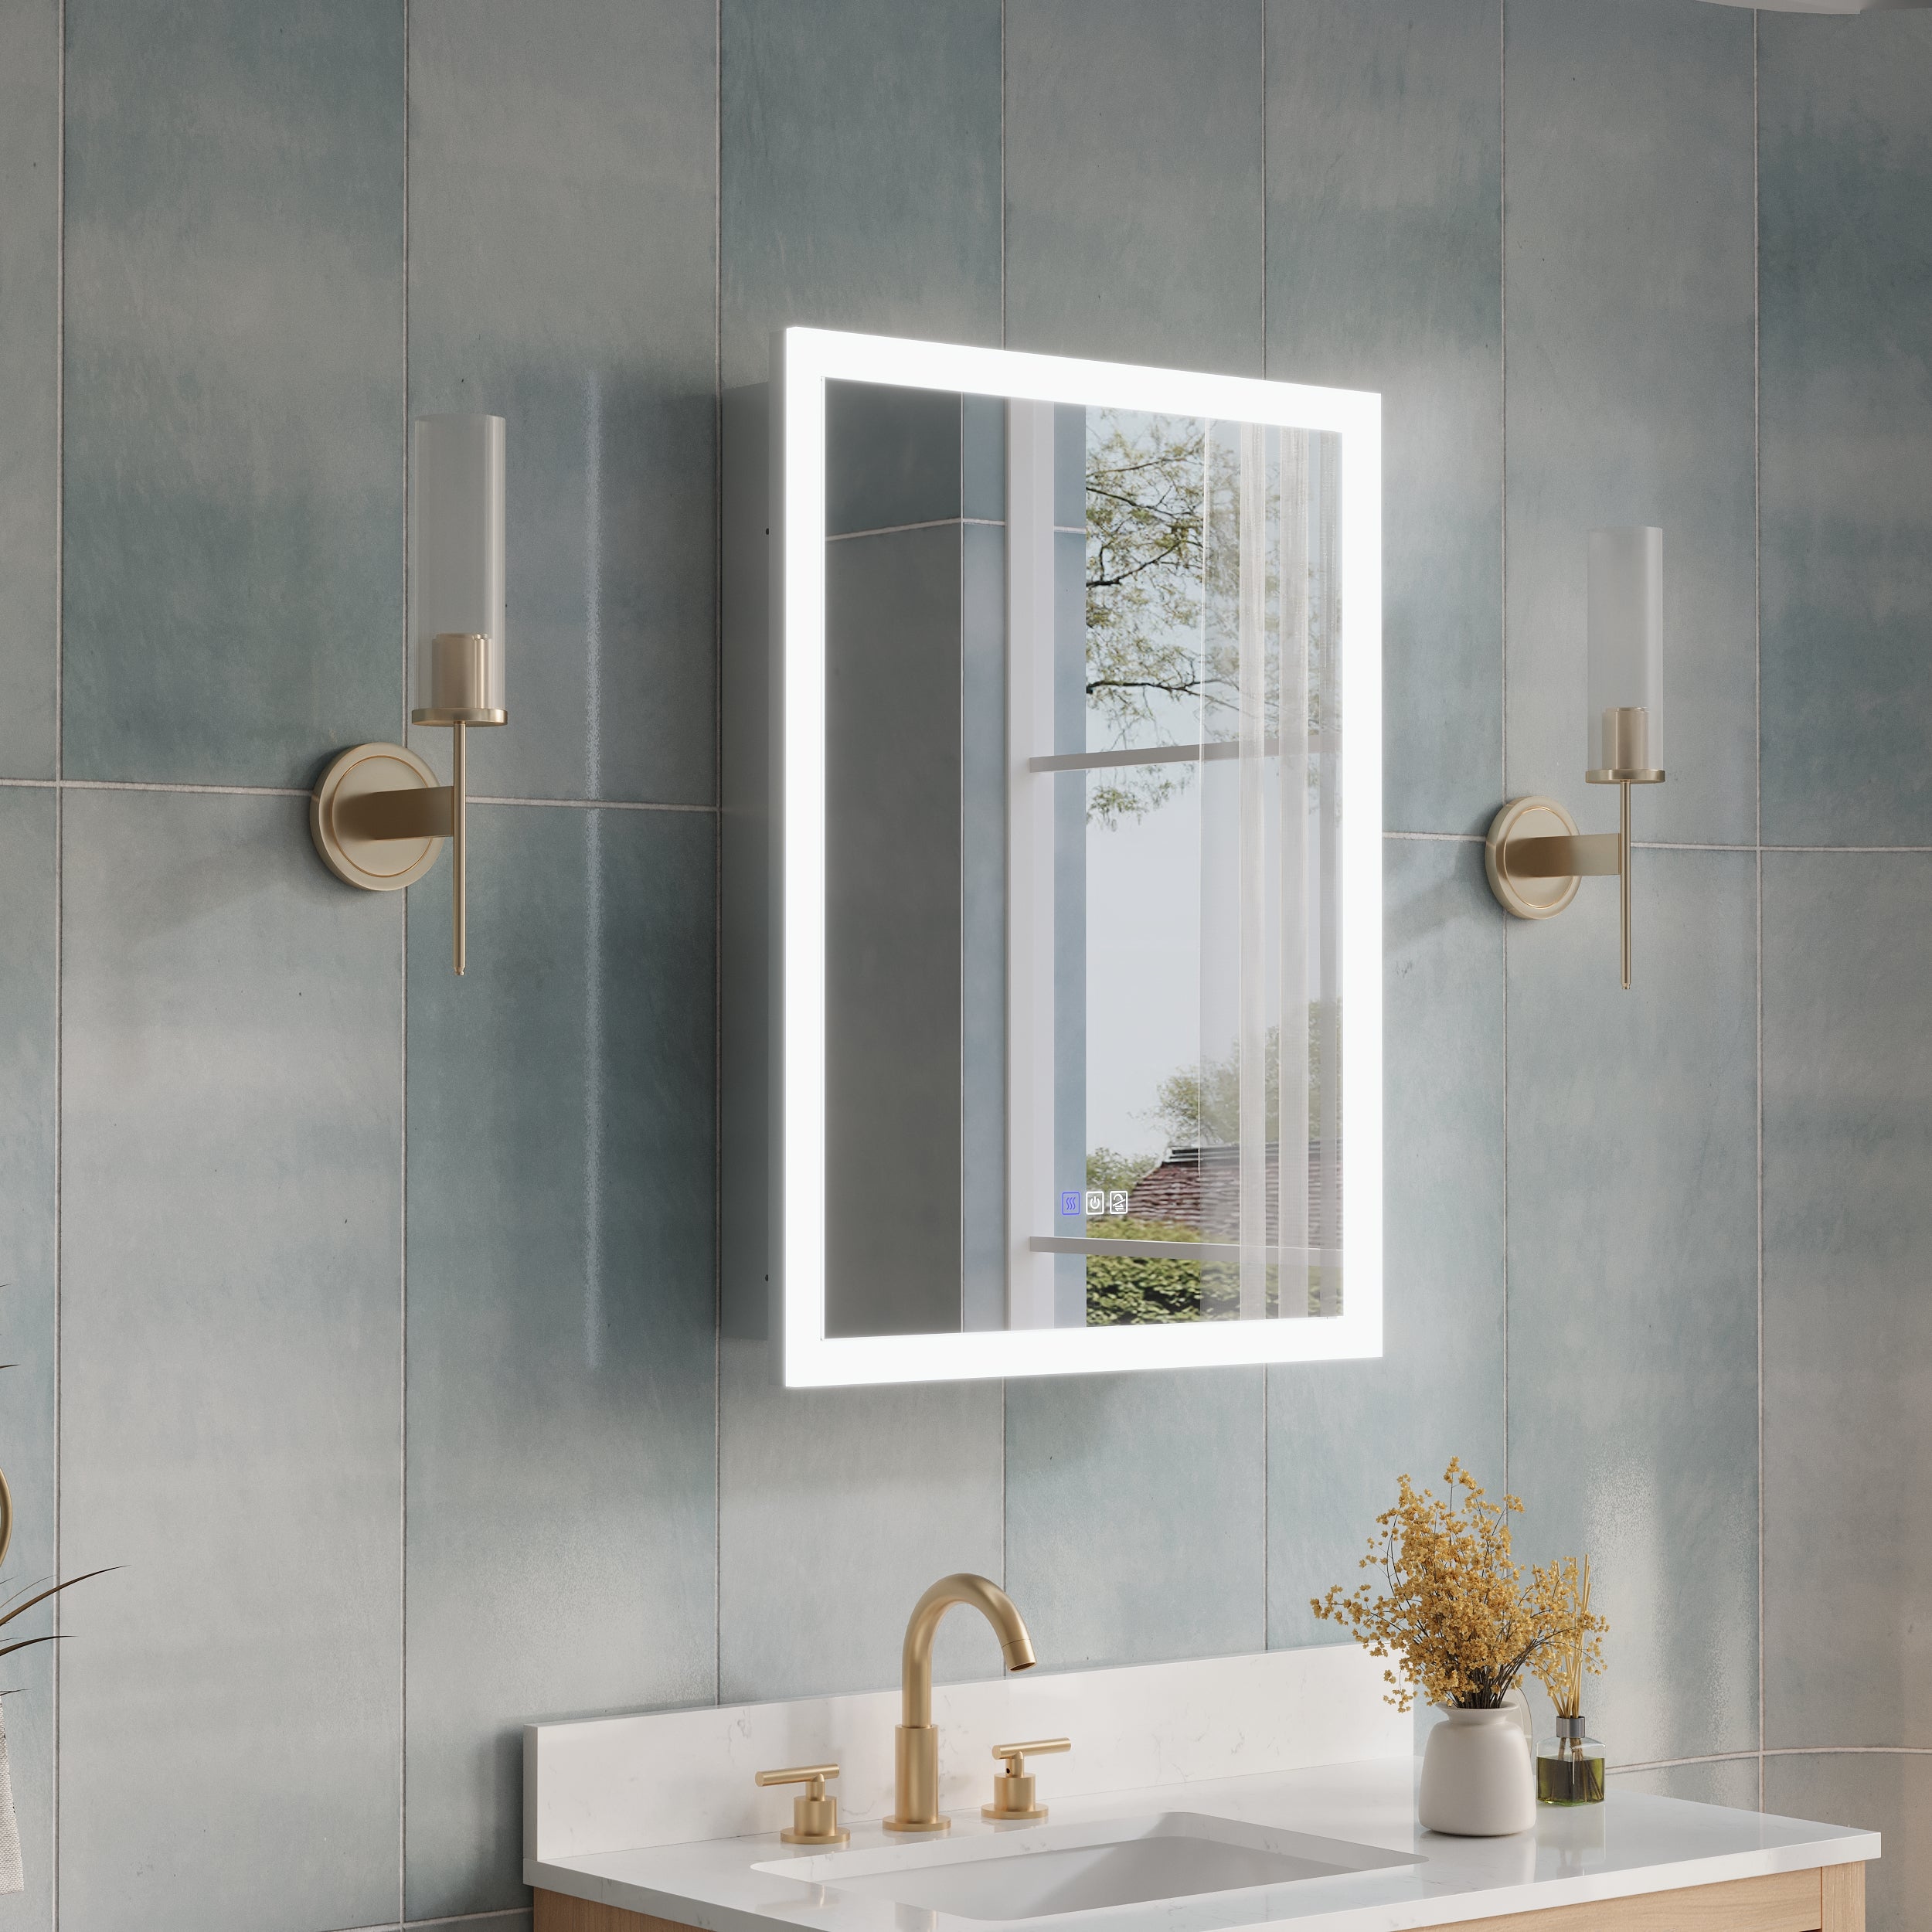
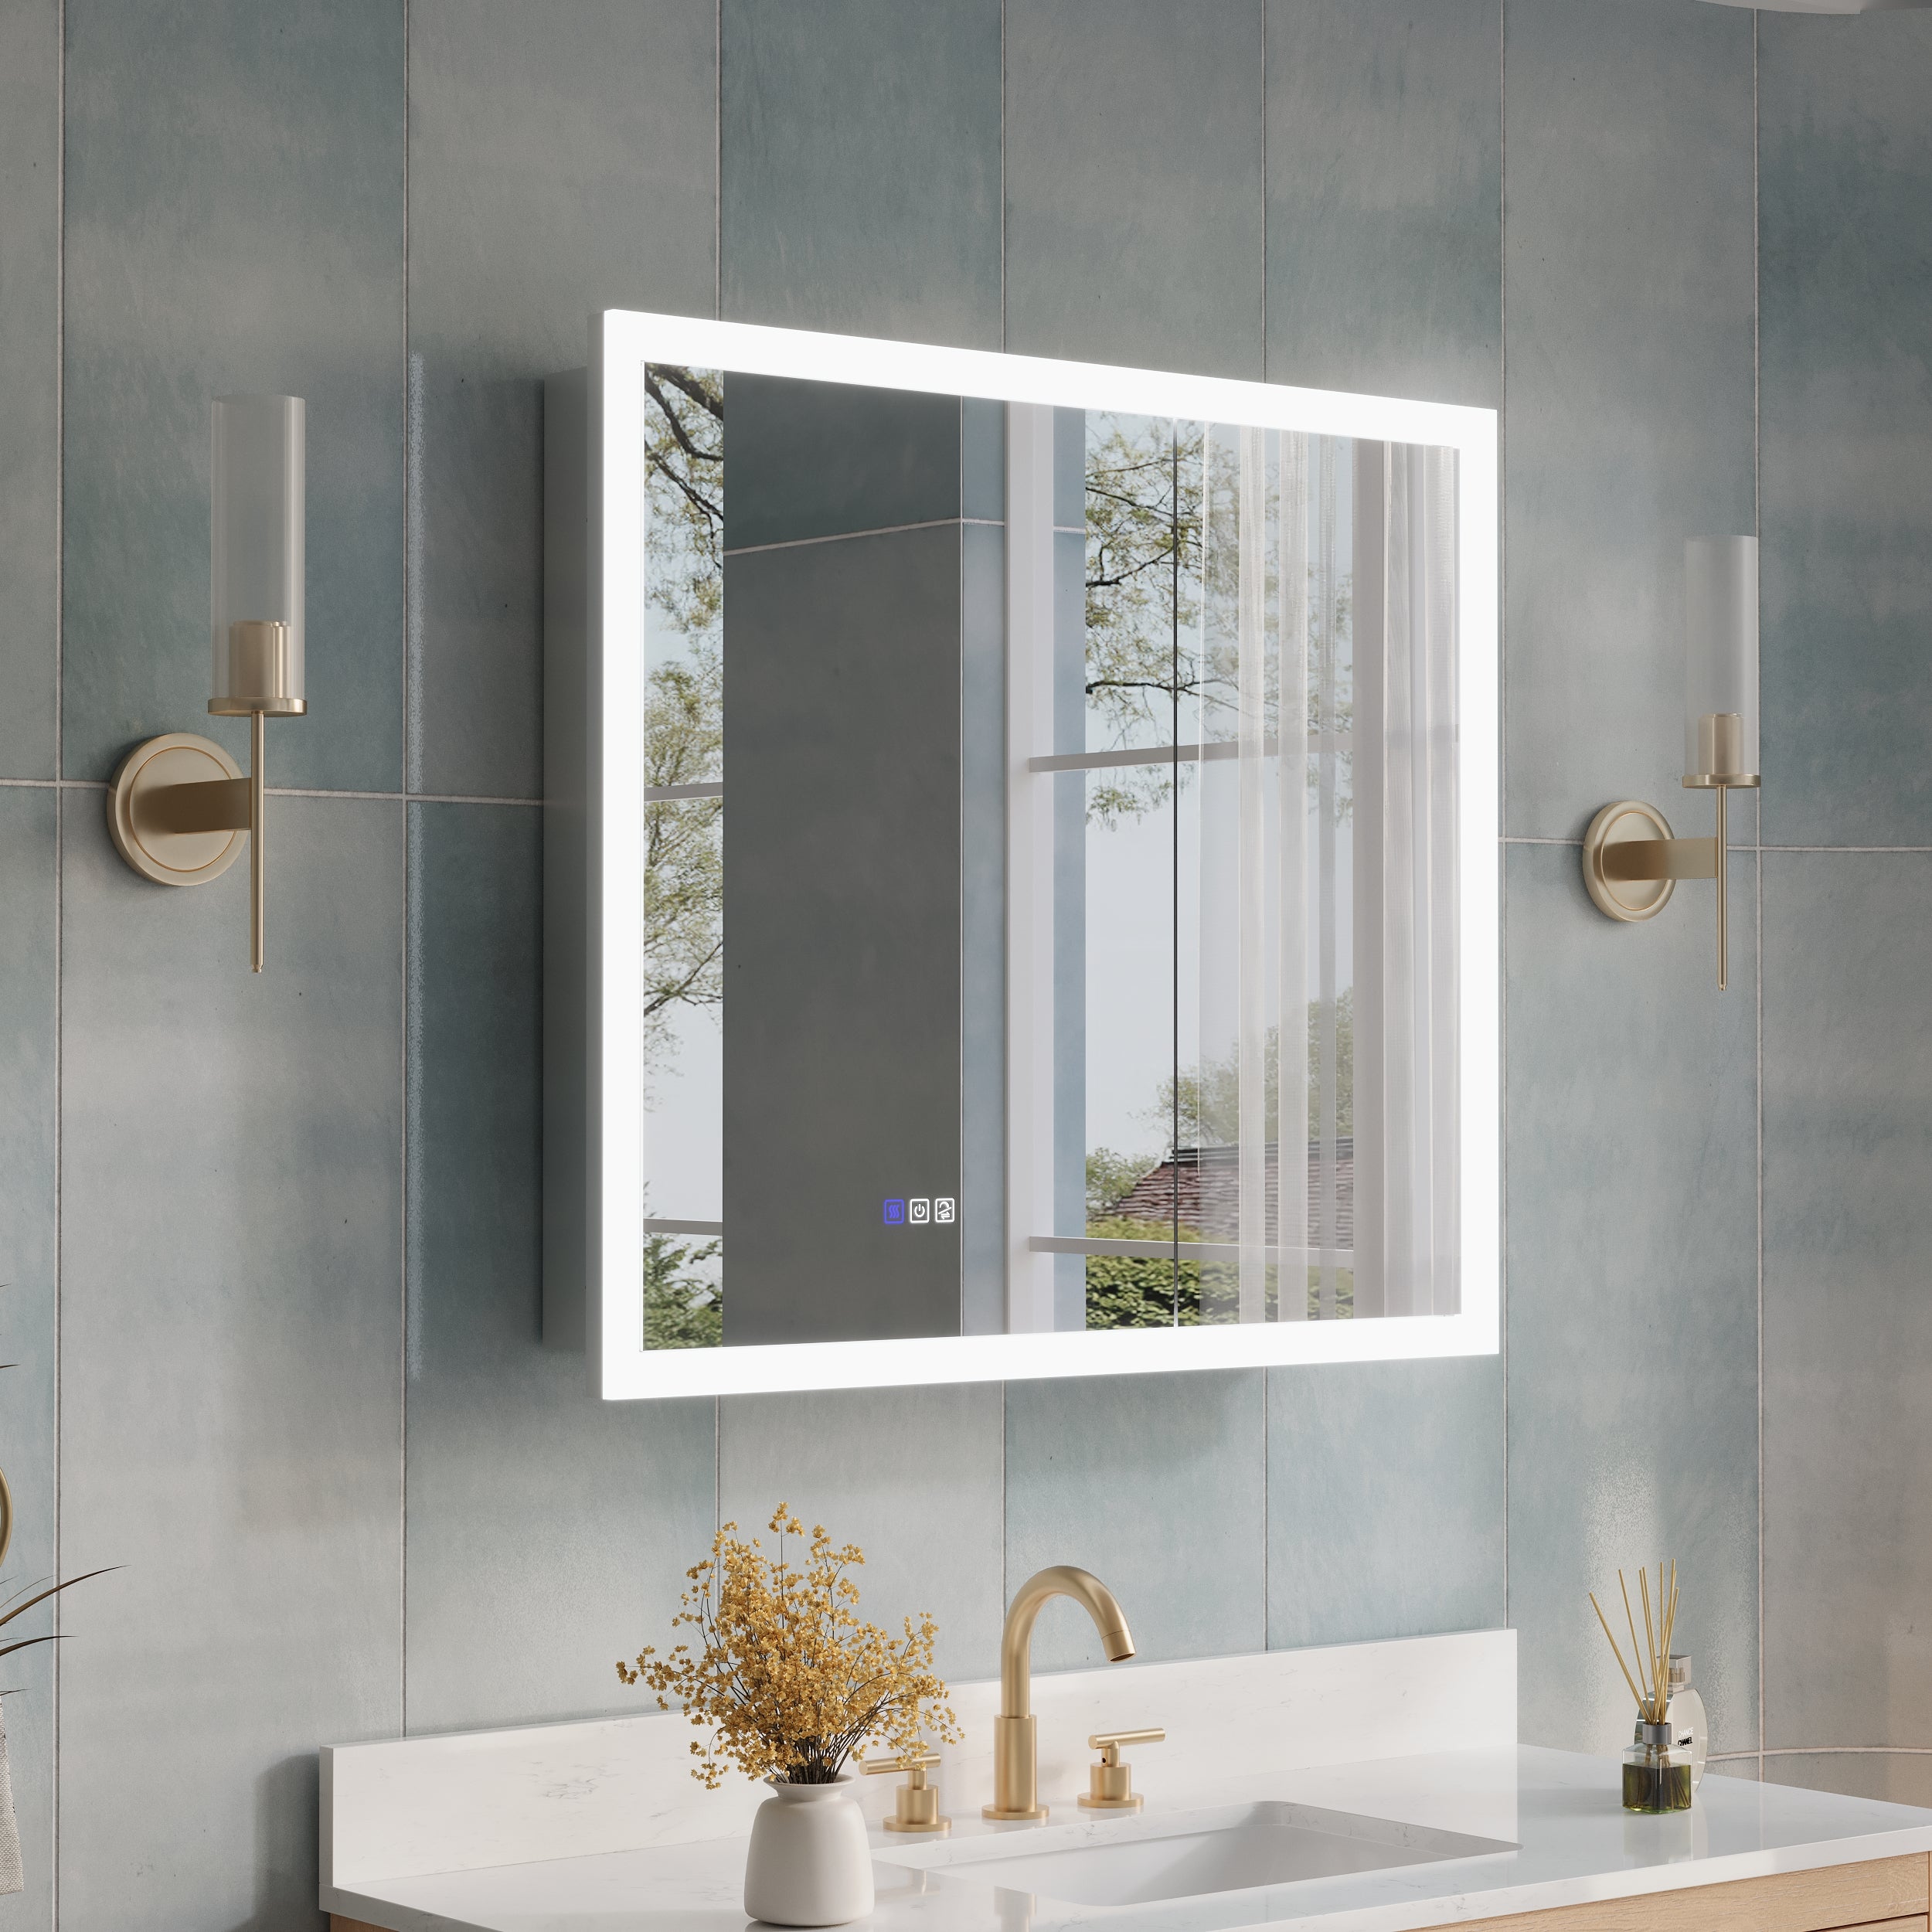
Enhanced Lighting: LED mirrors provide soft, even light, ideal for tasks like applying makeup or shaving. Unlike traditional lighting, they reduce harsh shadows and improve visibility. Some premium options, like those from Wellfor, even have adjustable brightness and color tones.
Energy Efficiency: LEDs consume significantly less energy than traditional bulbs, helping you save on electricity bills.
Modern Design: Their sleek and elegant look is perfect for contemporary bathrooms and vanity areas.
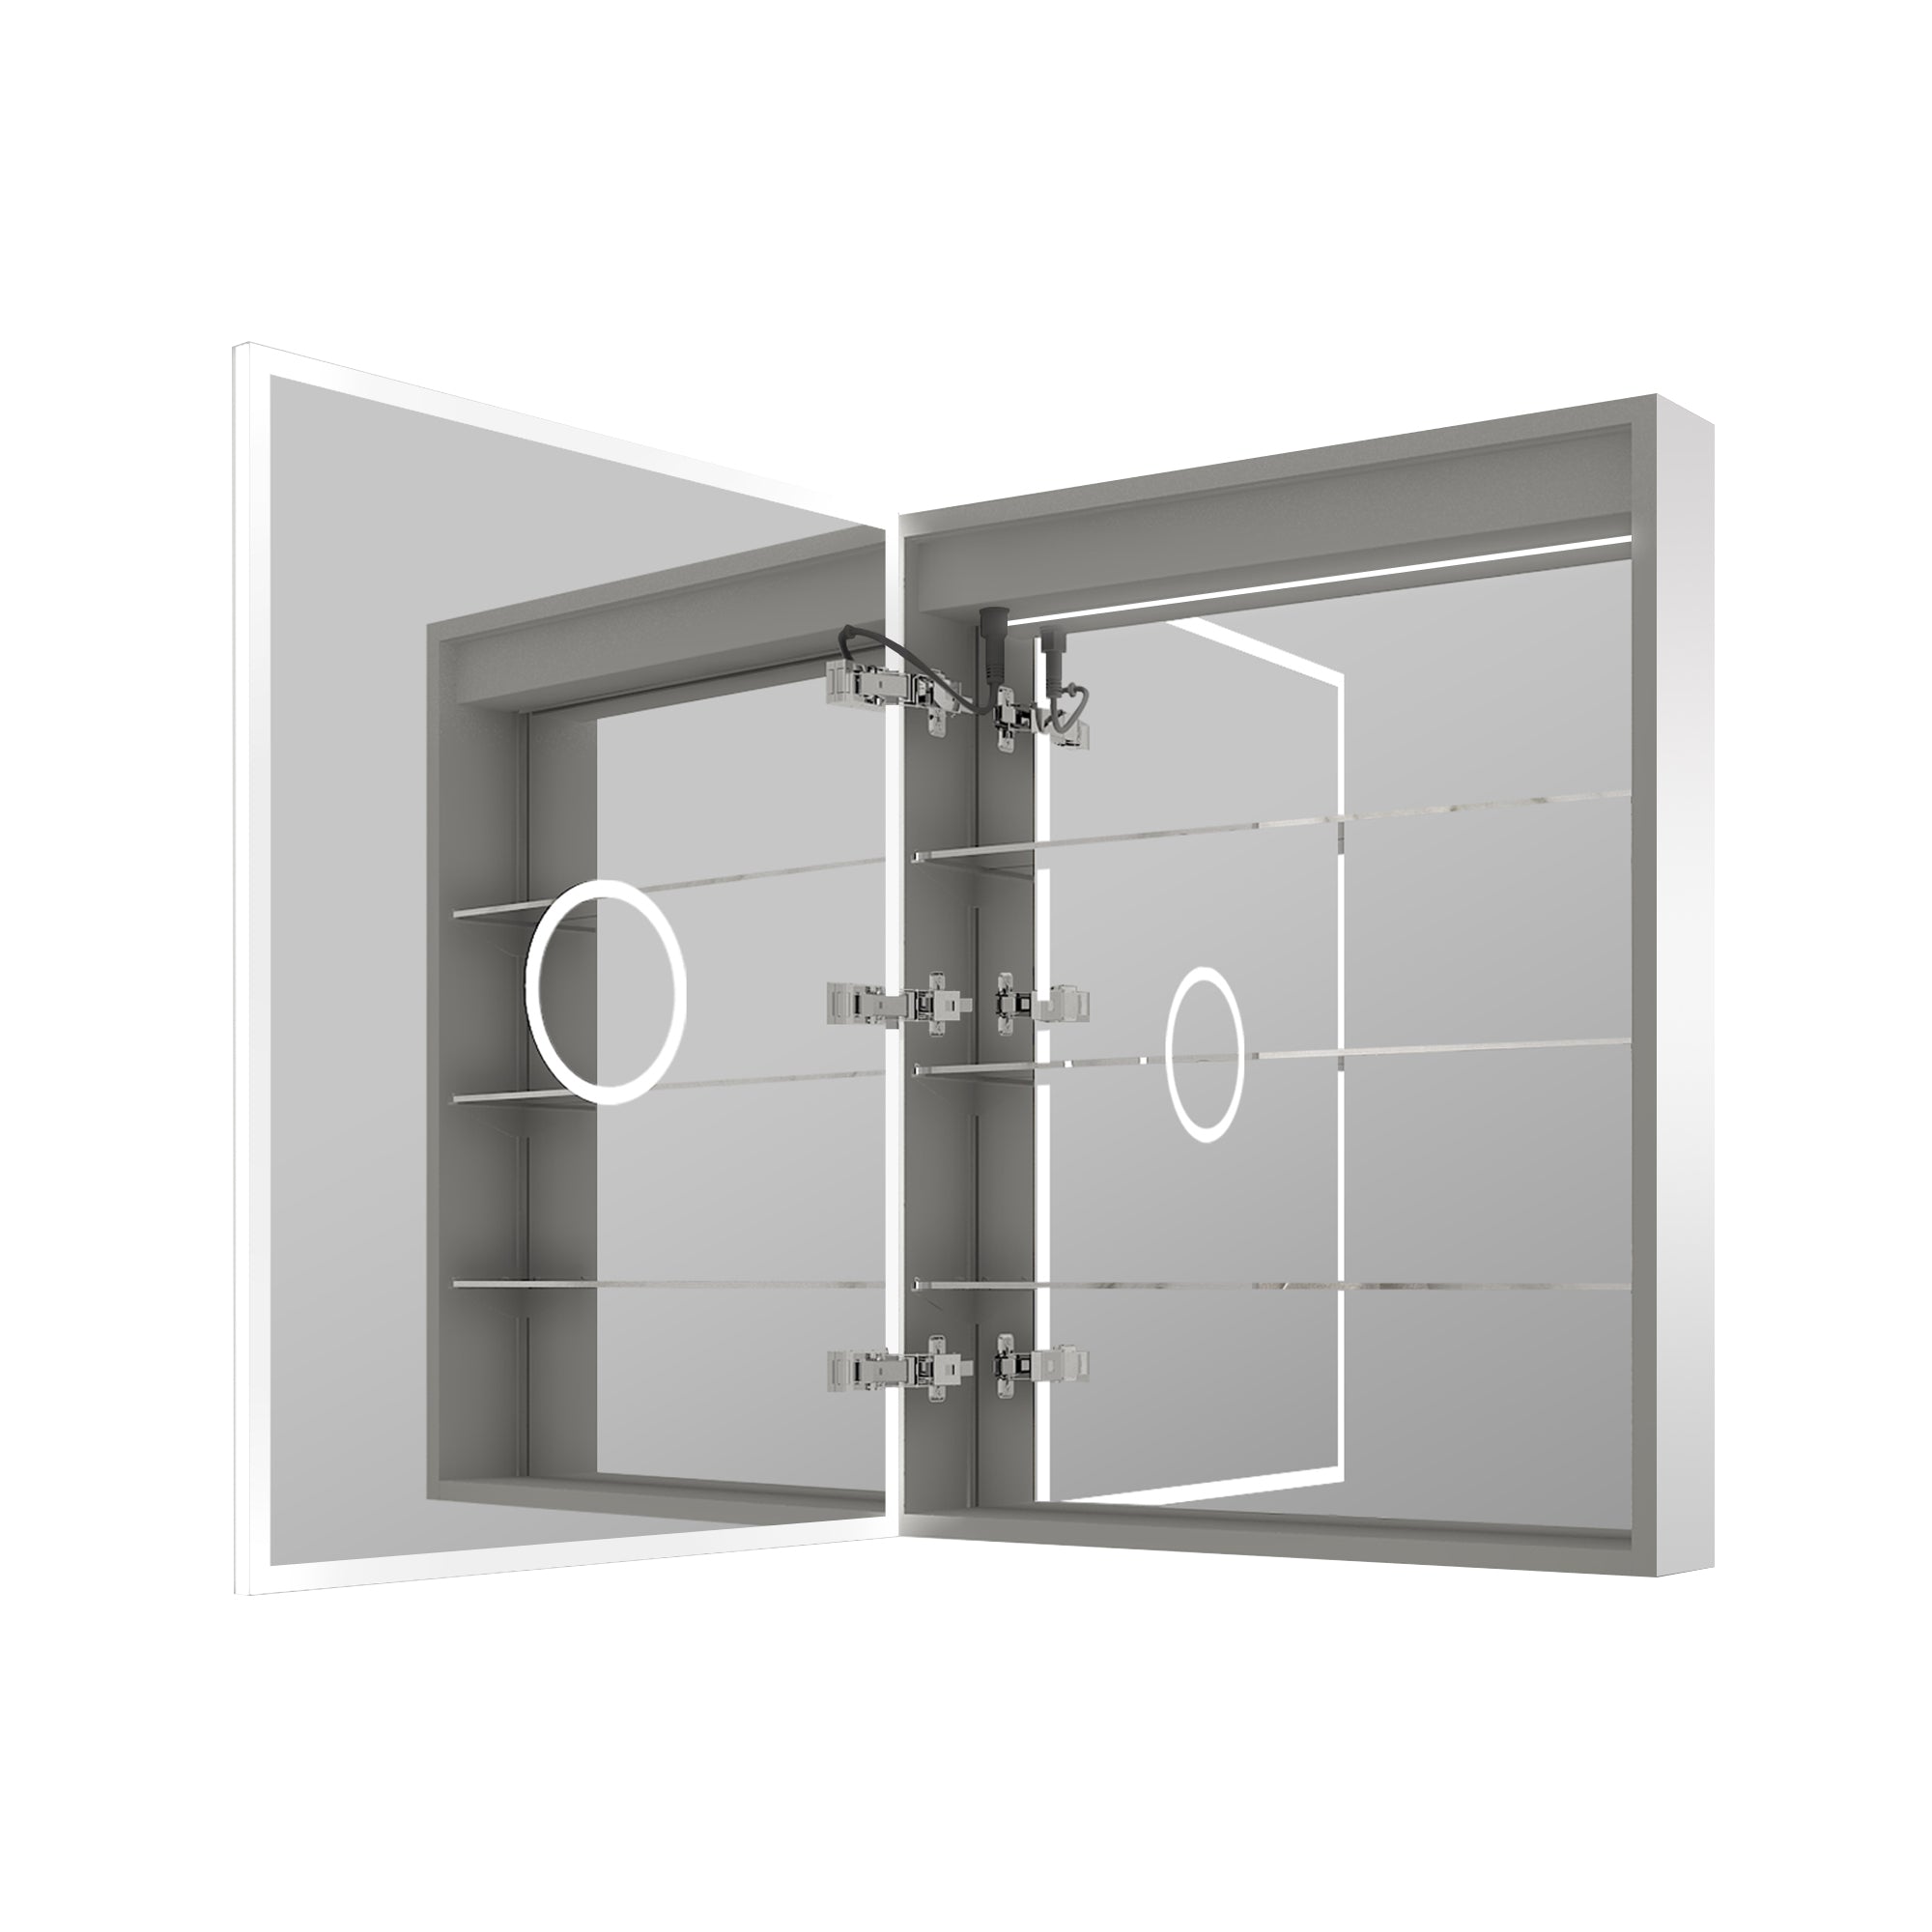
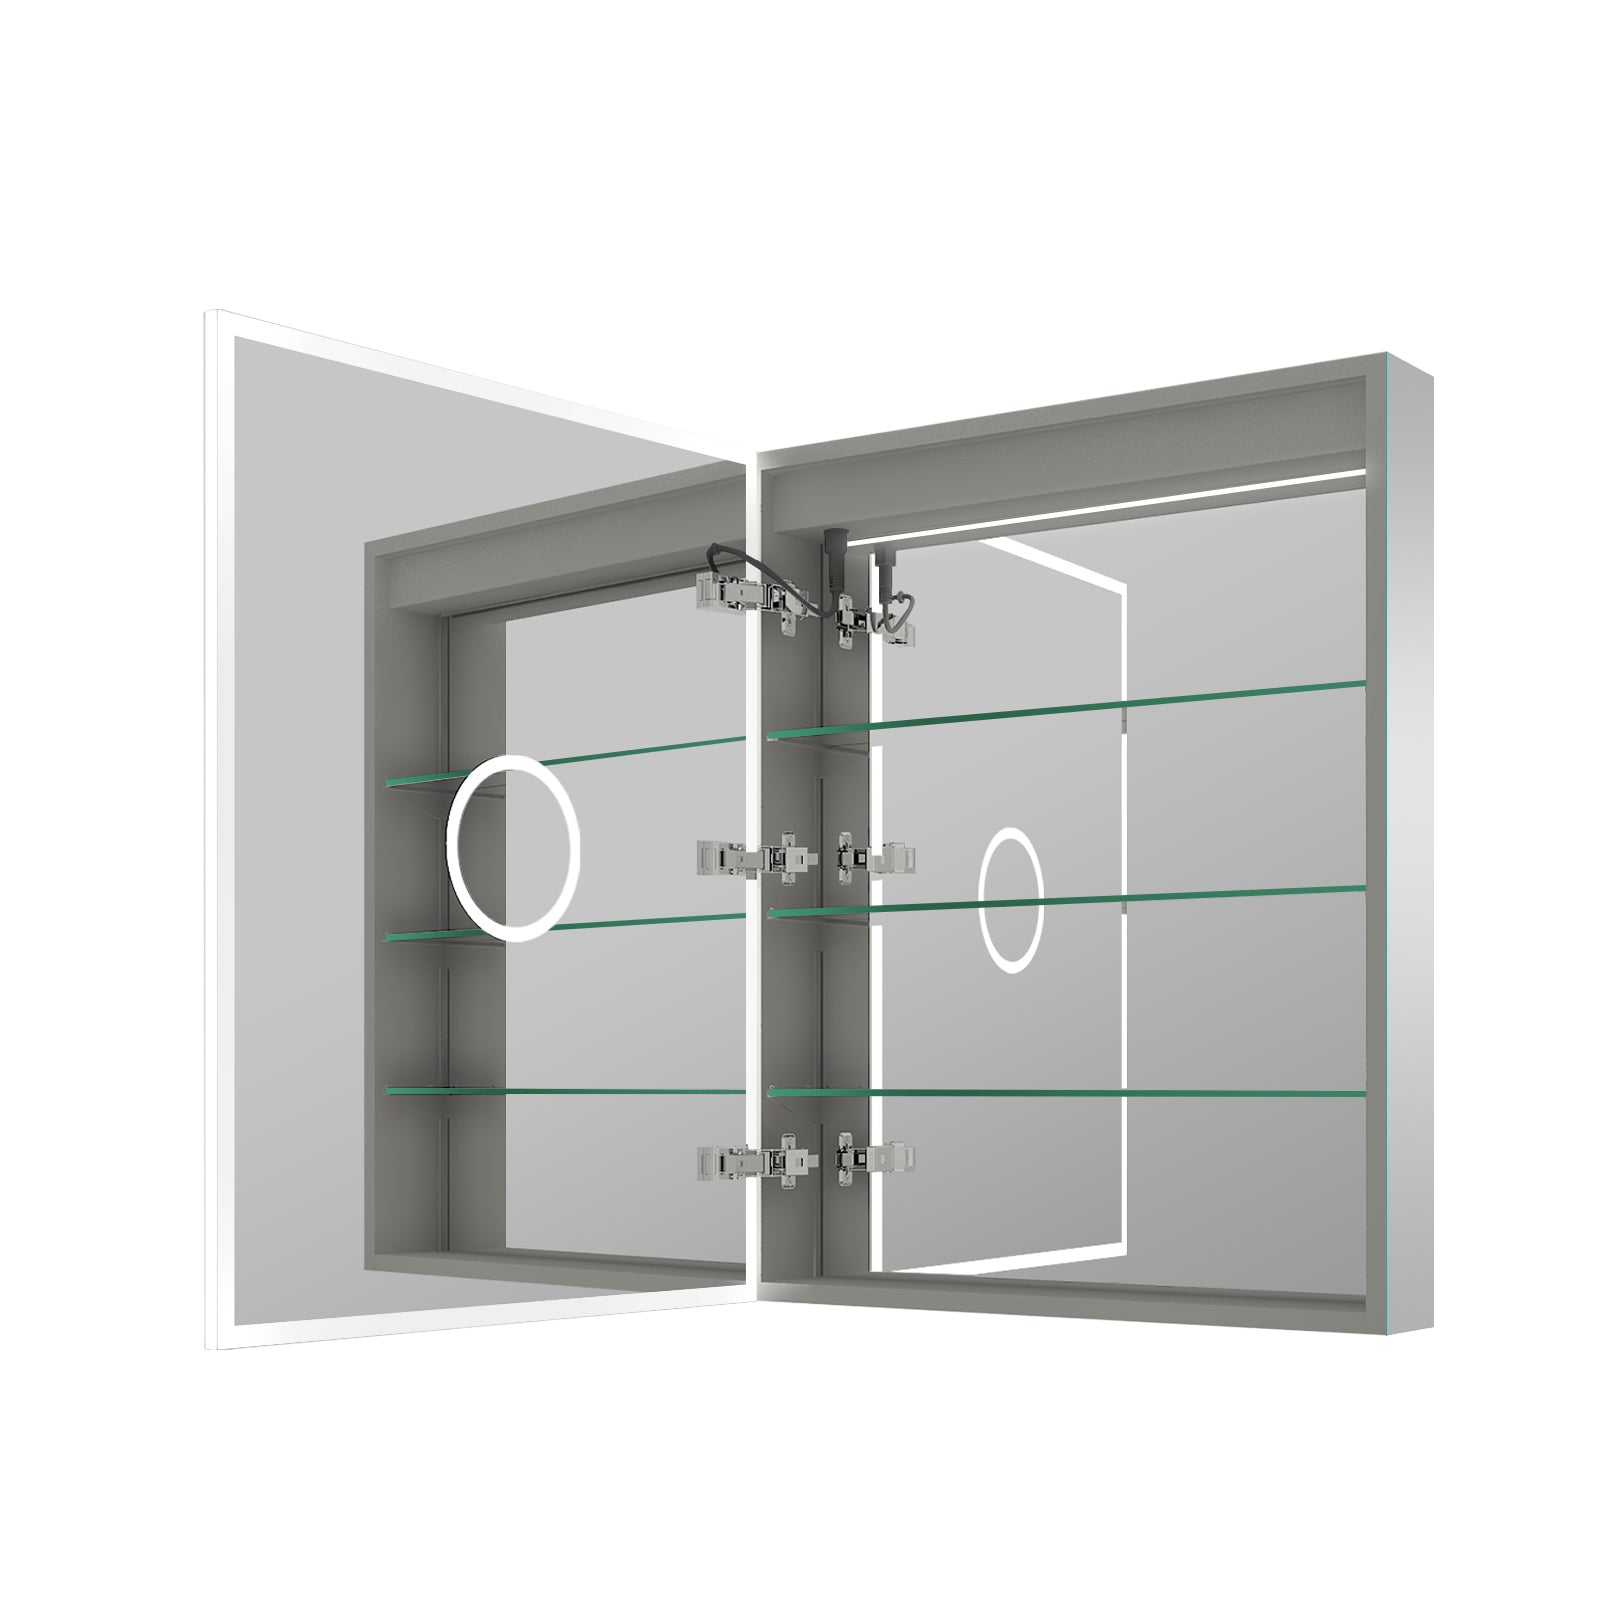
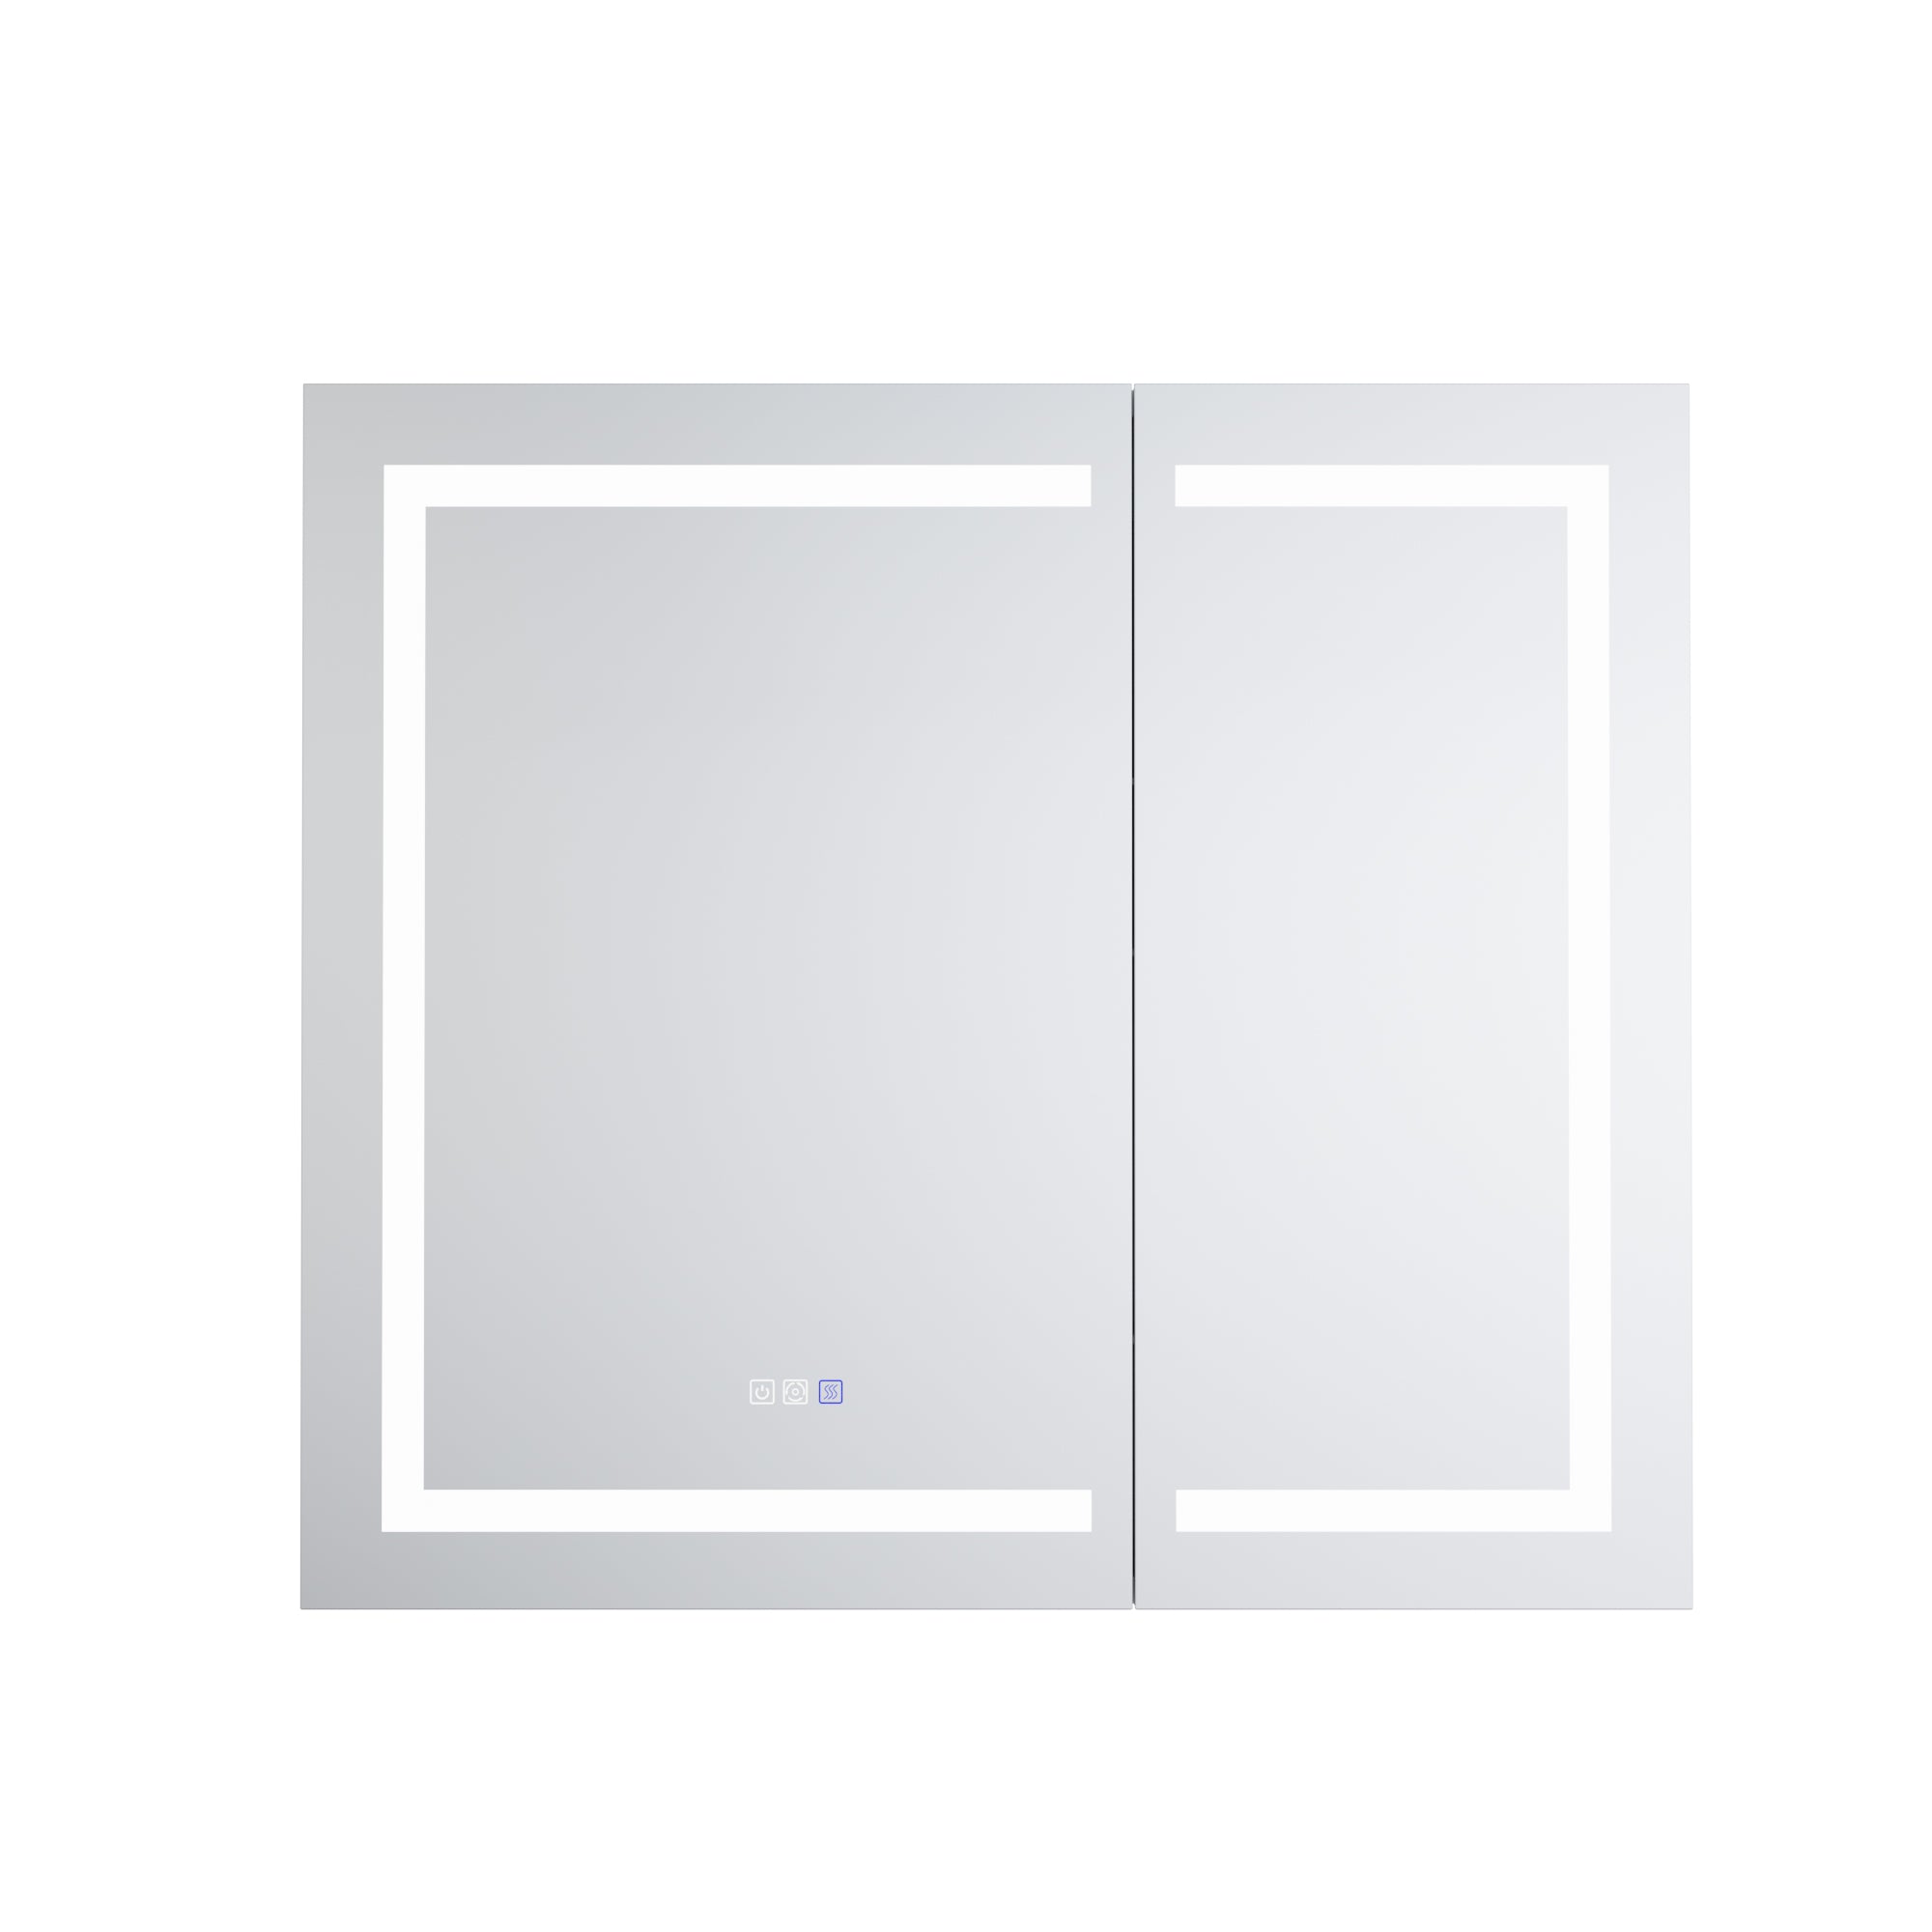
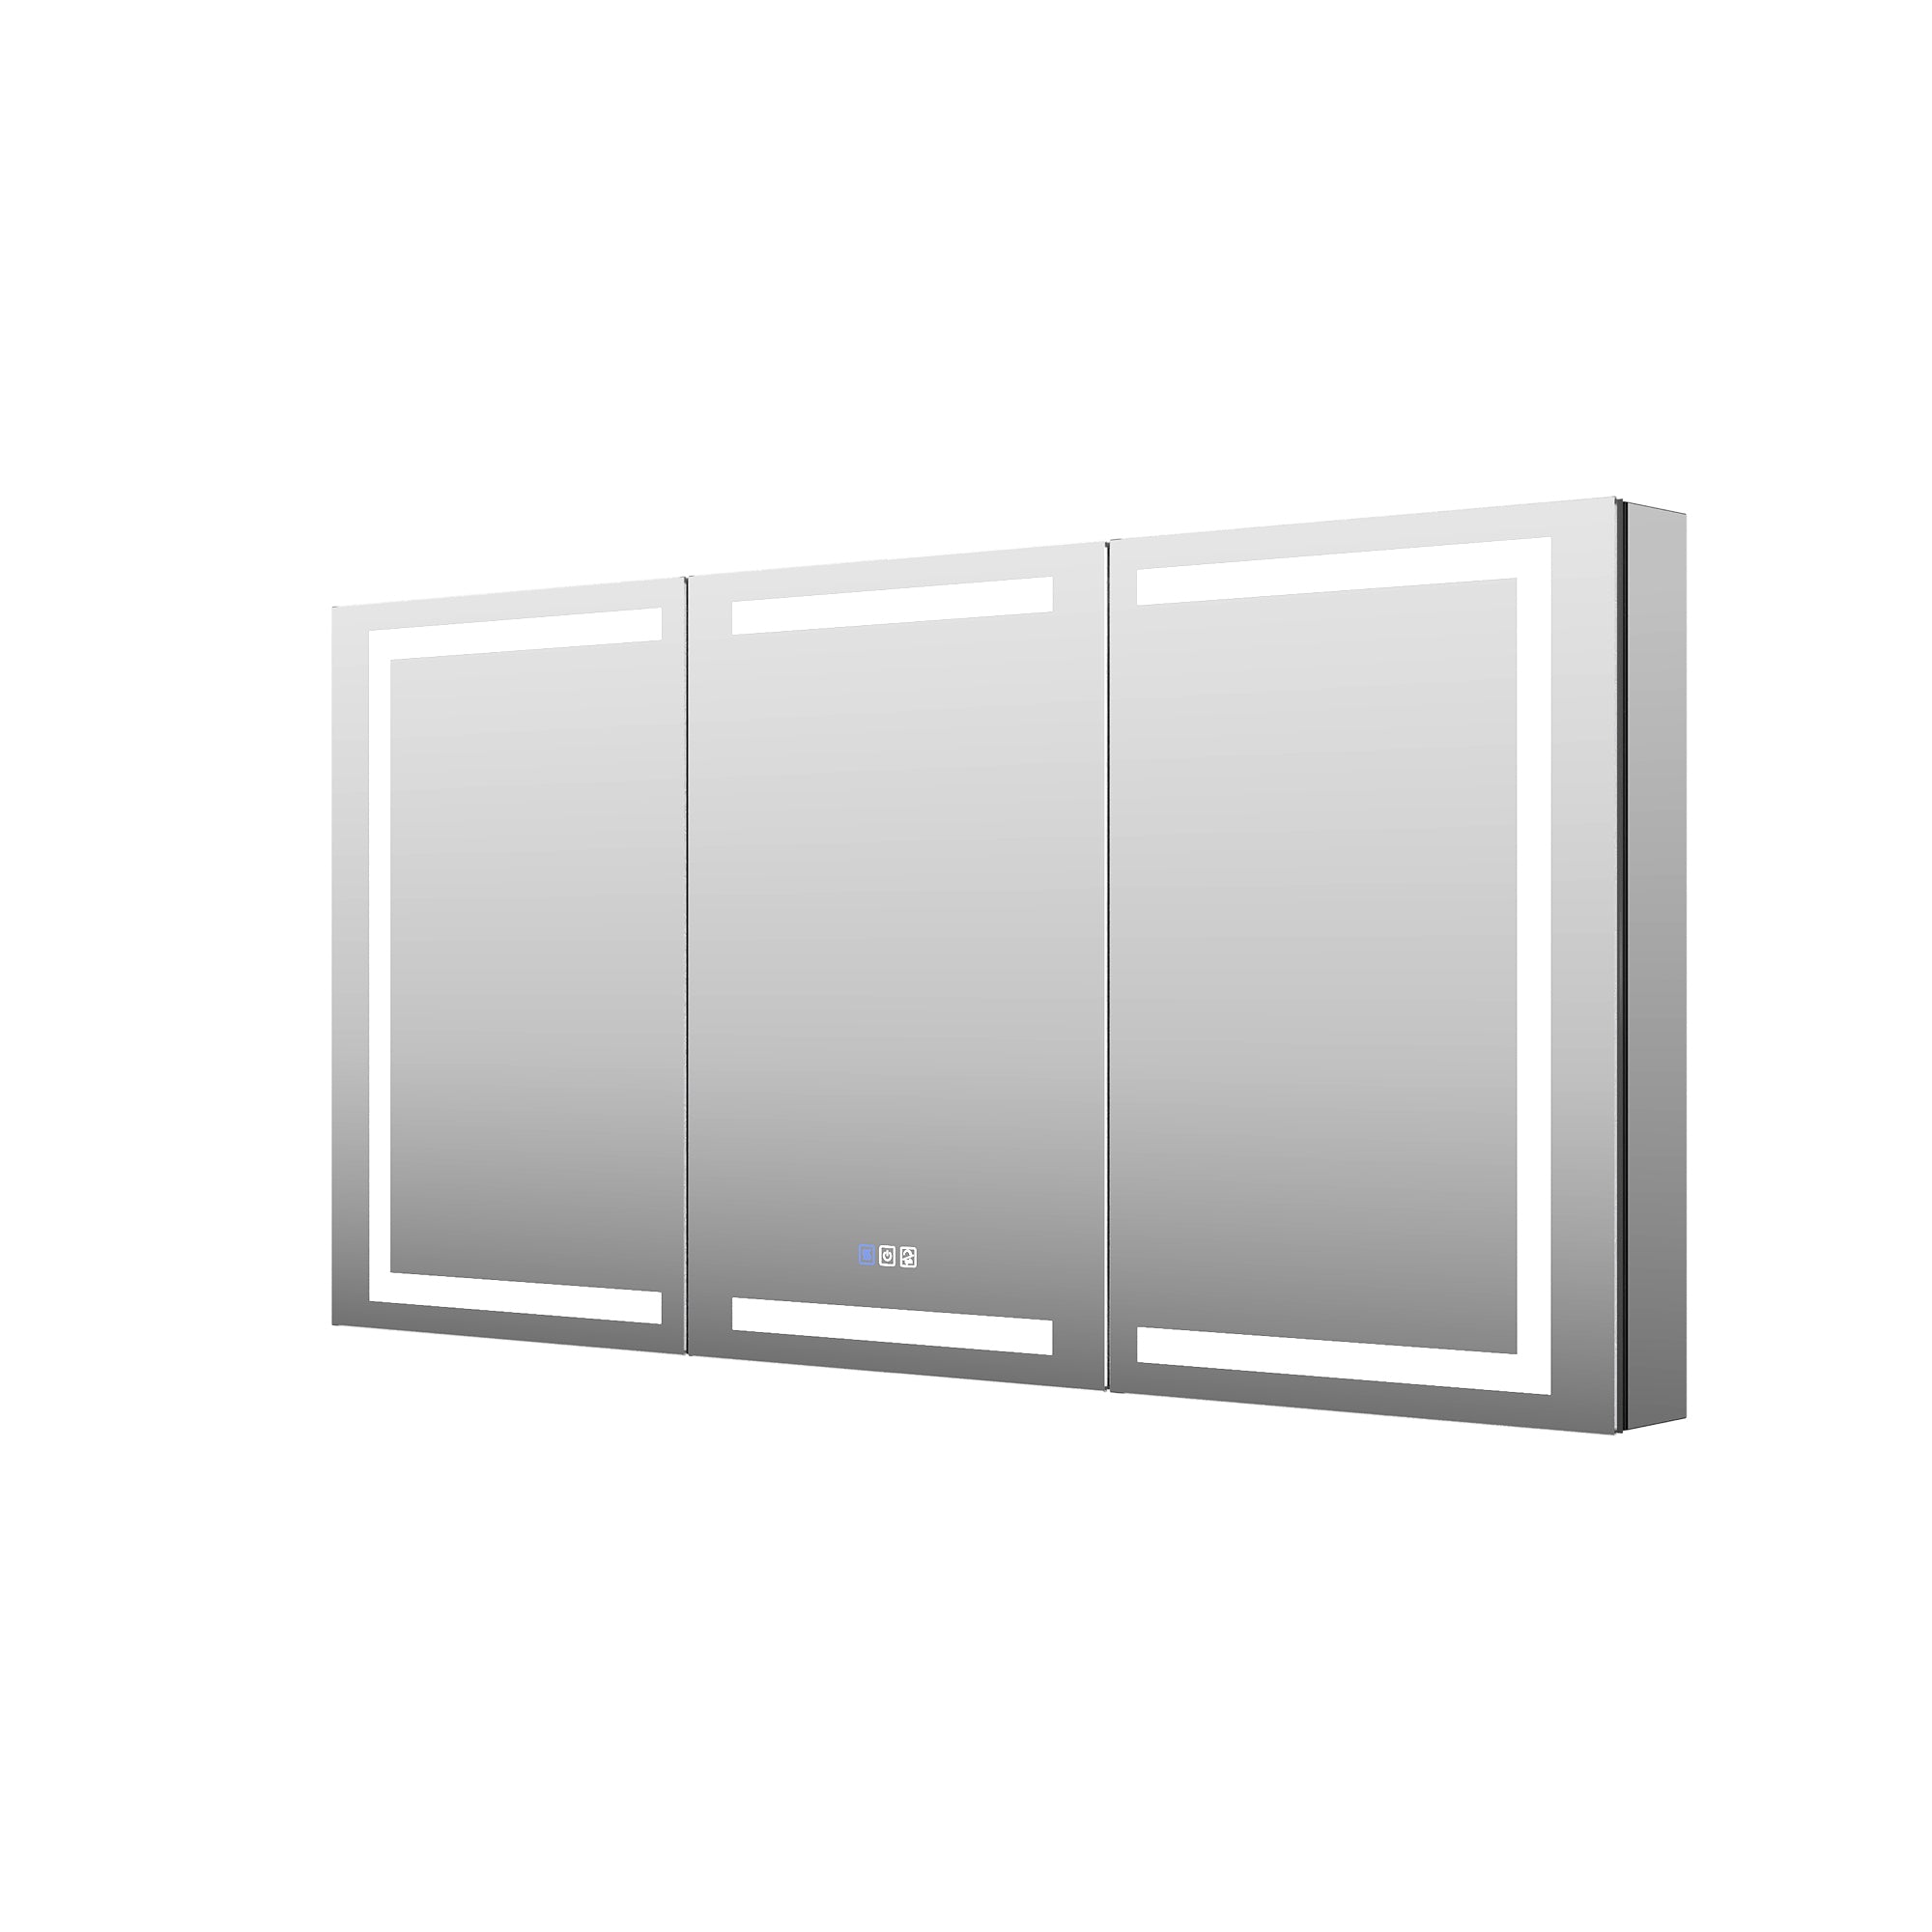
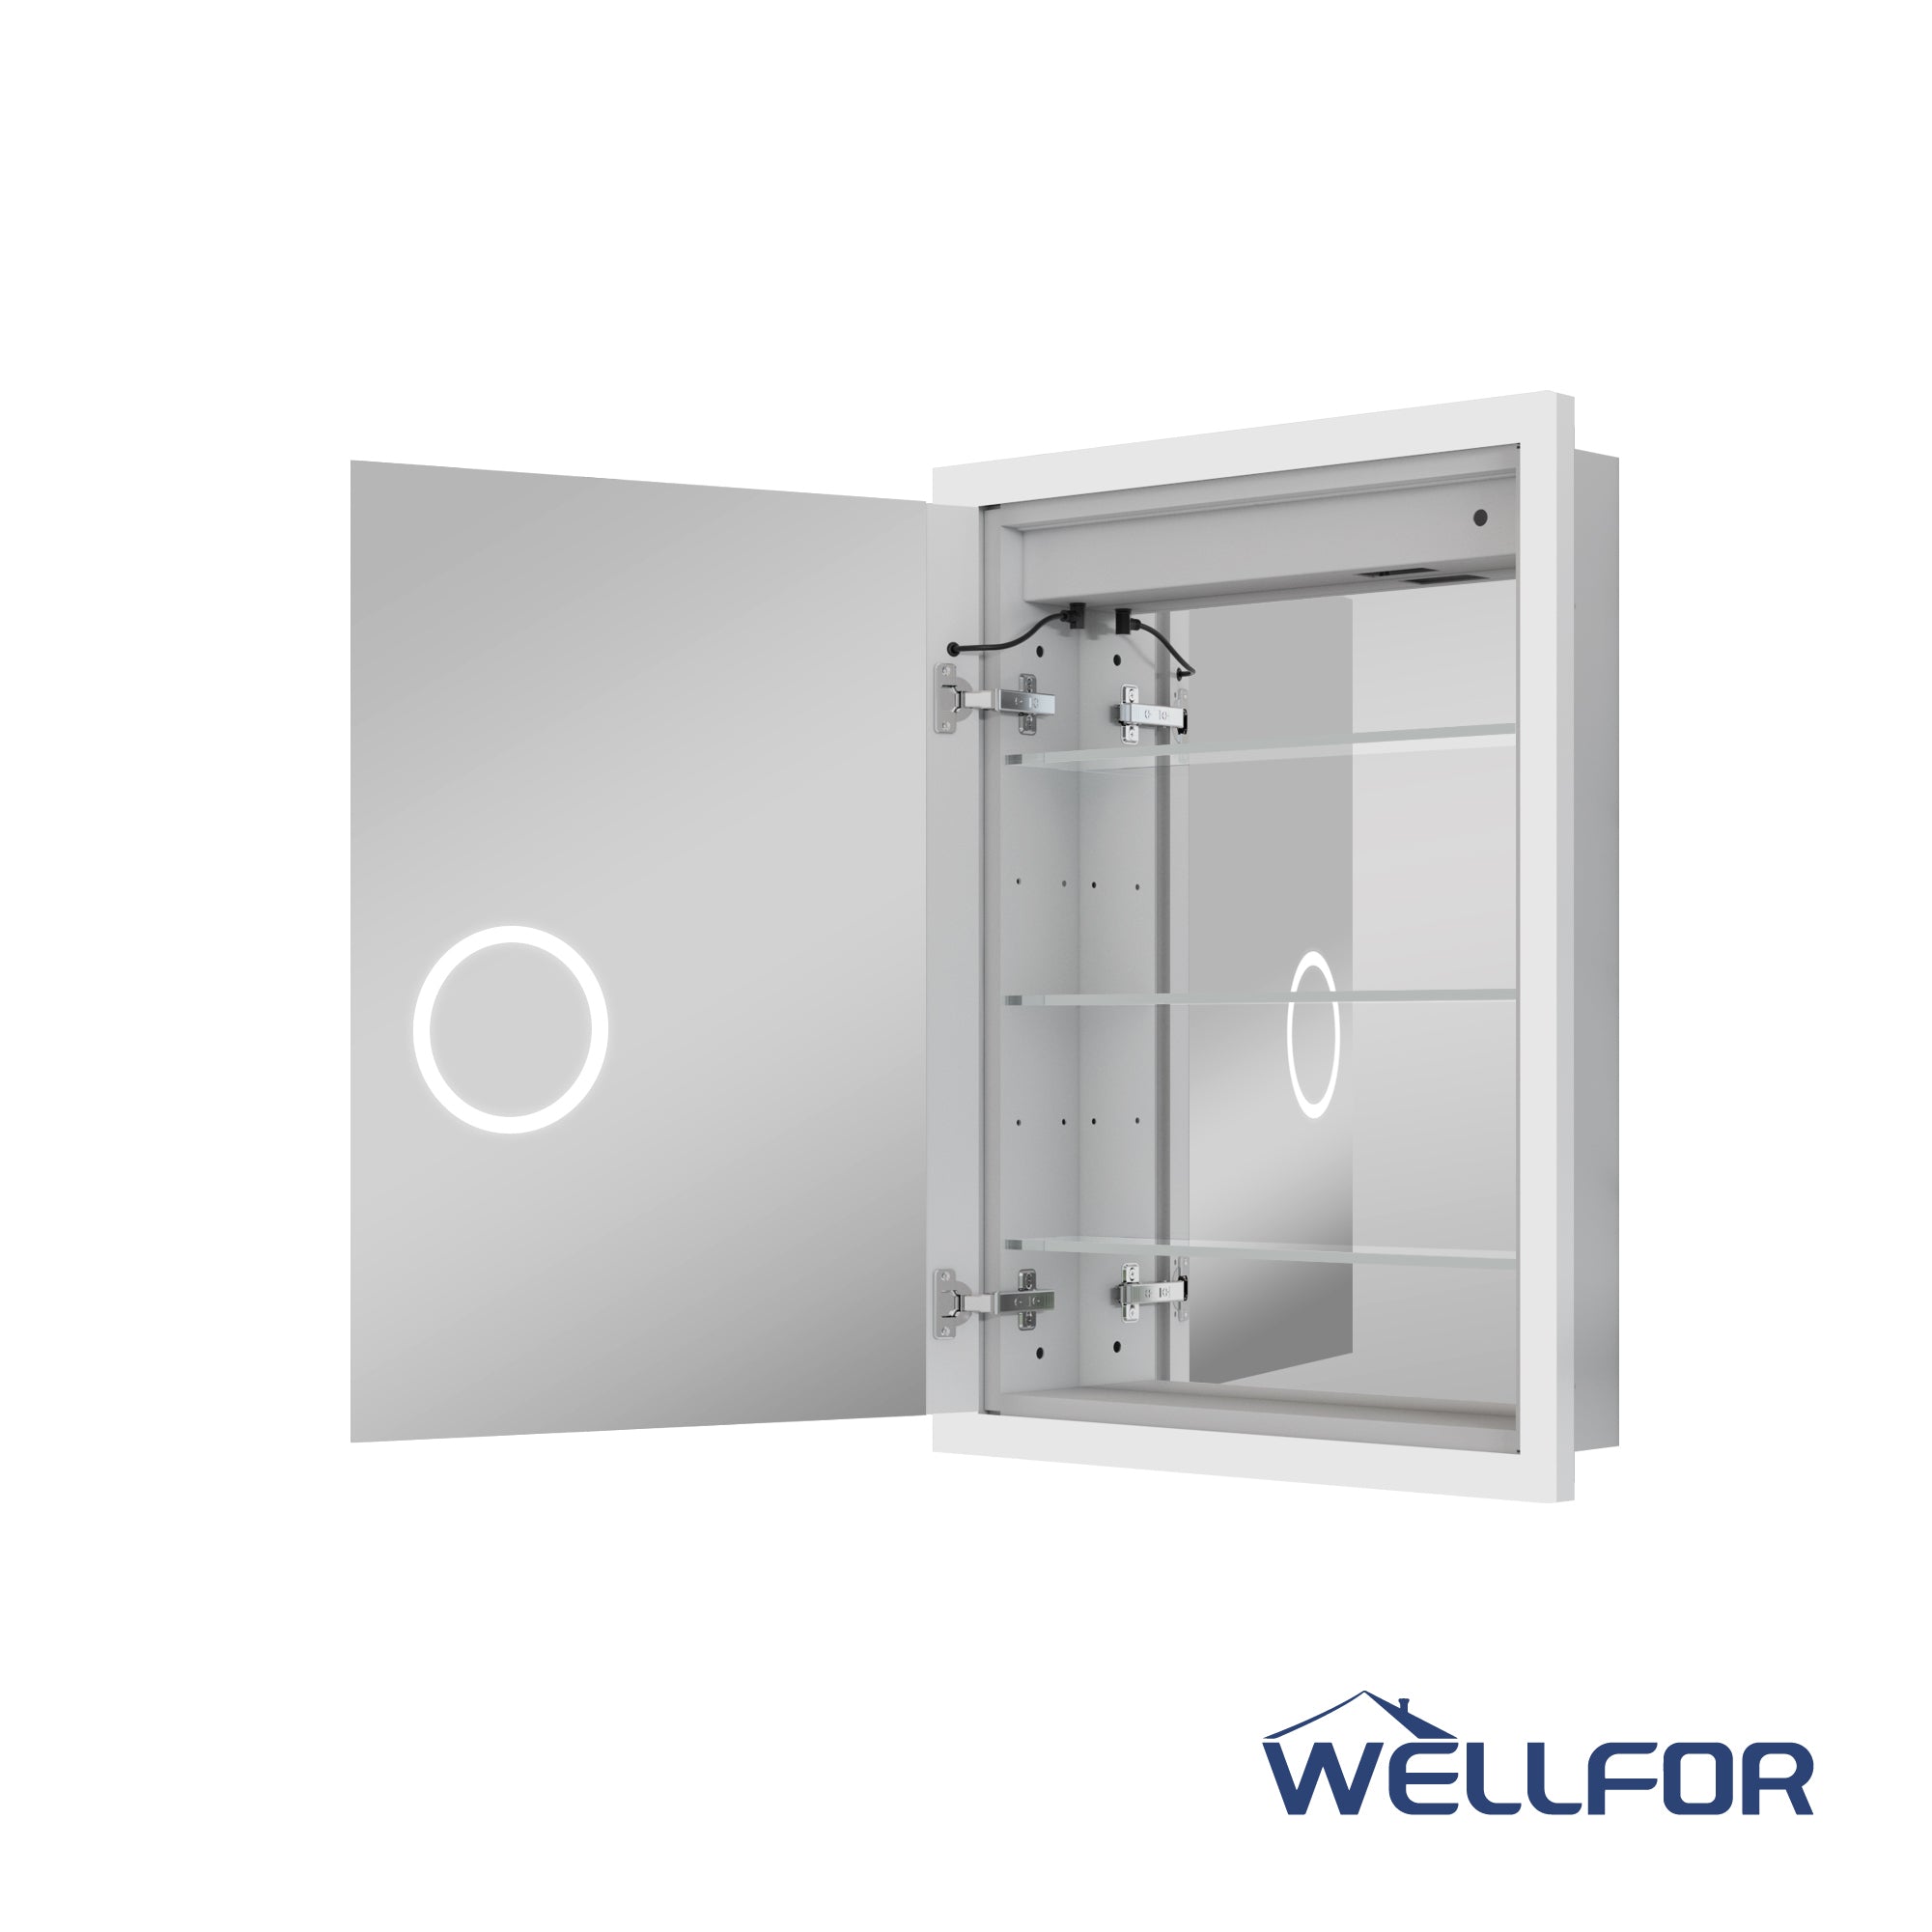
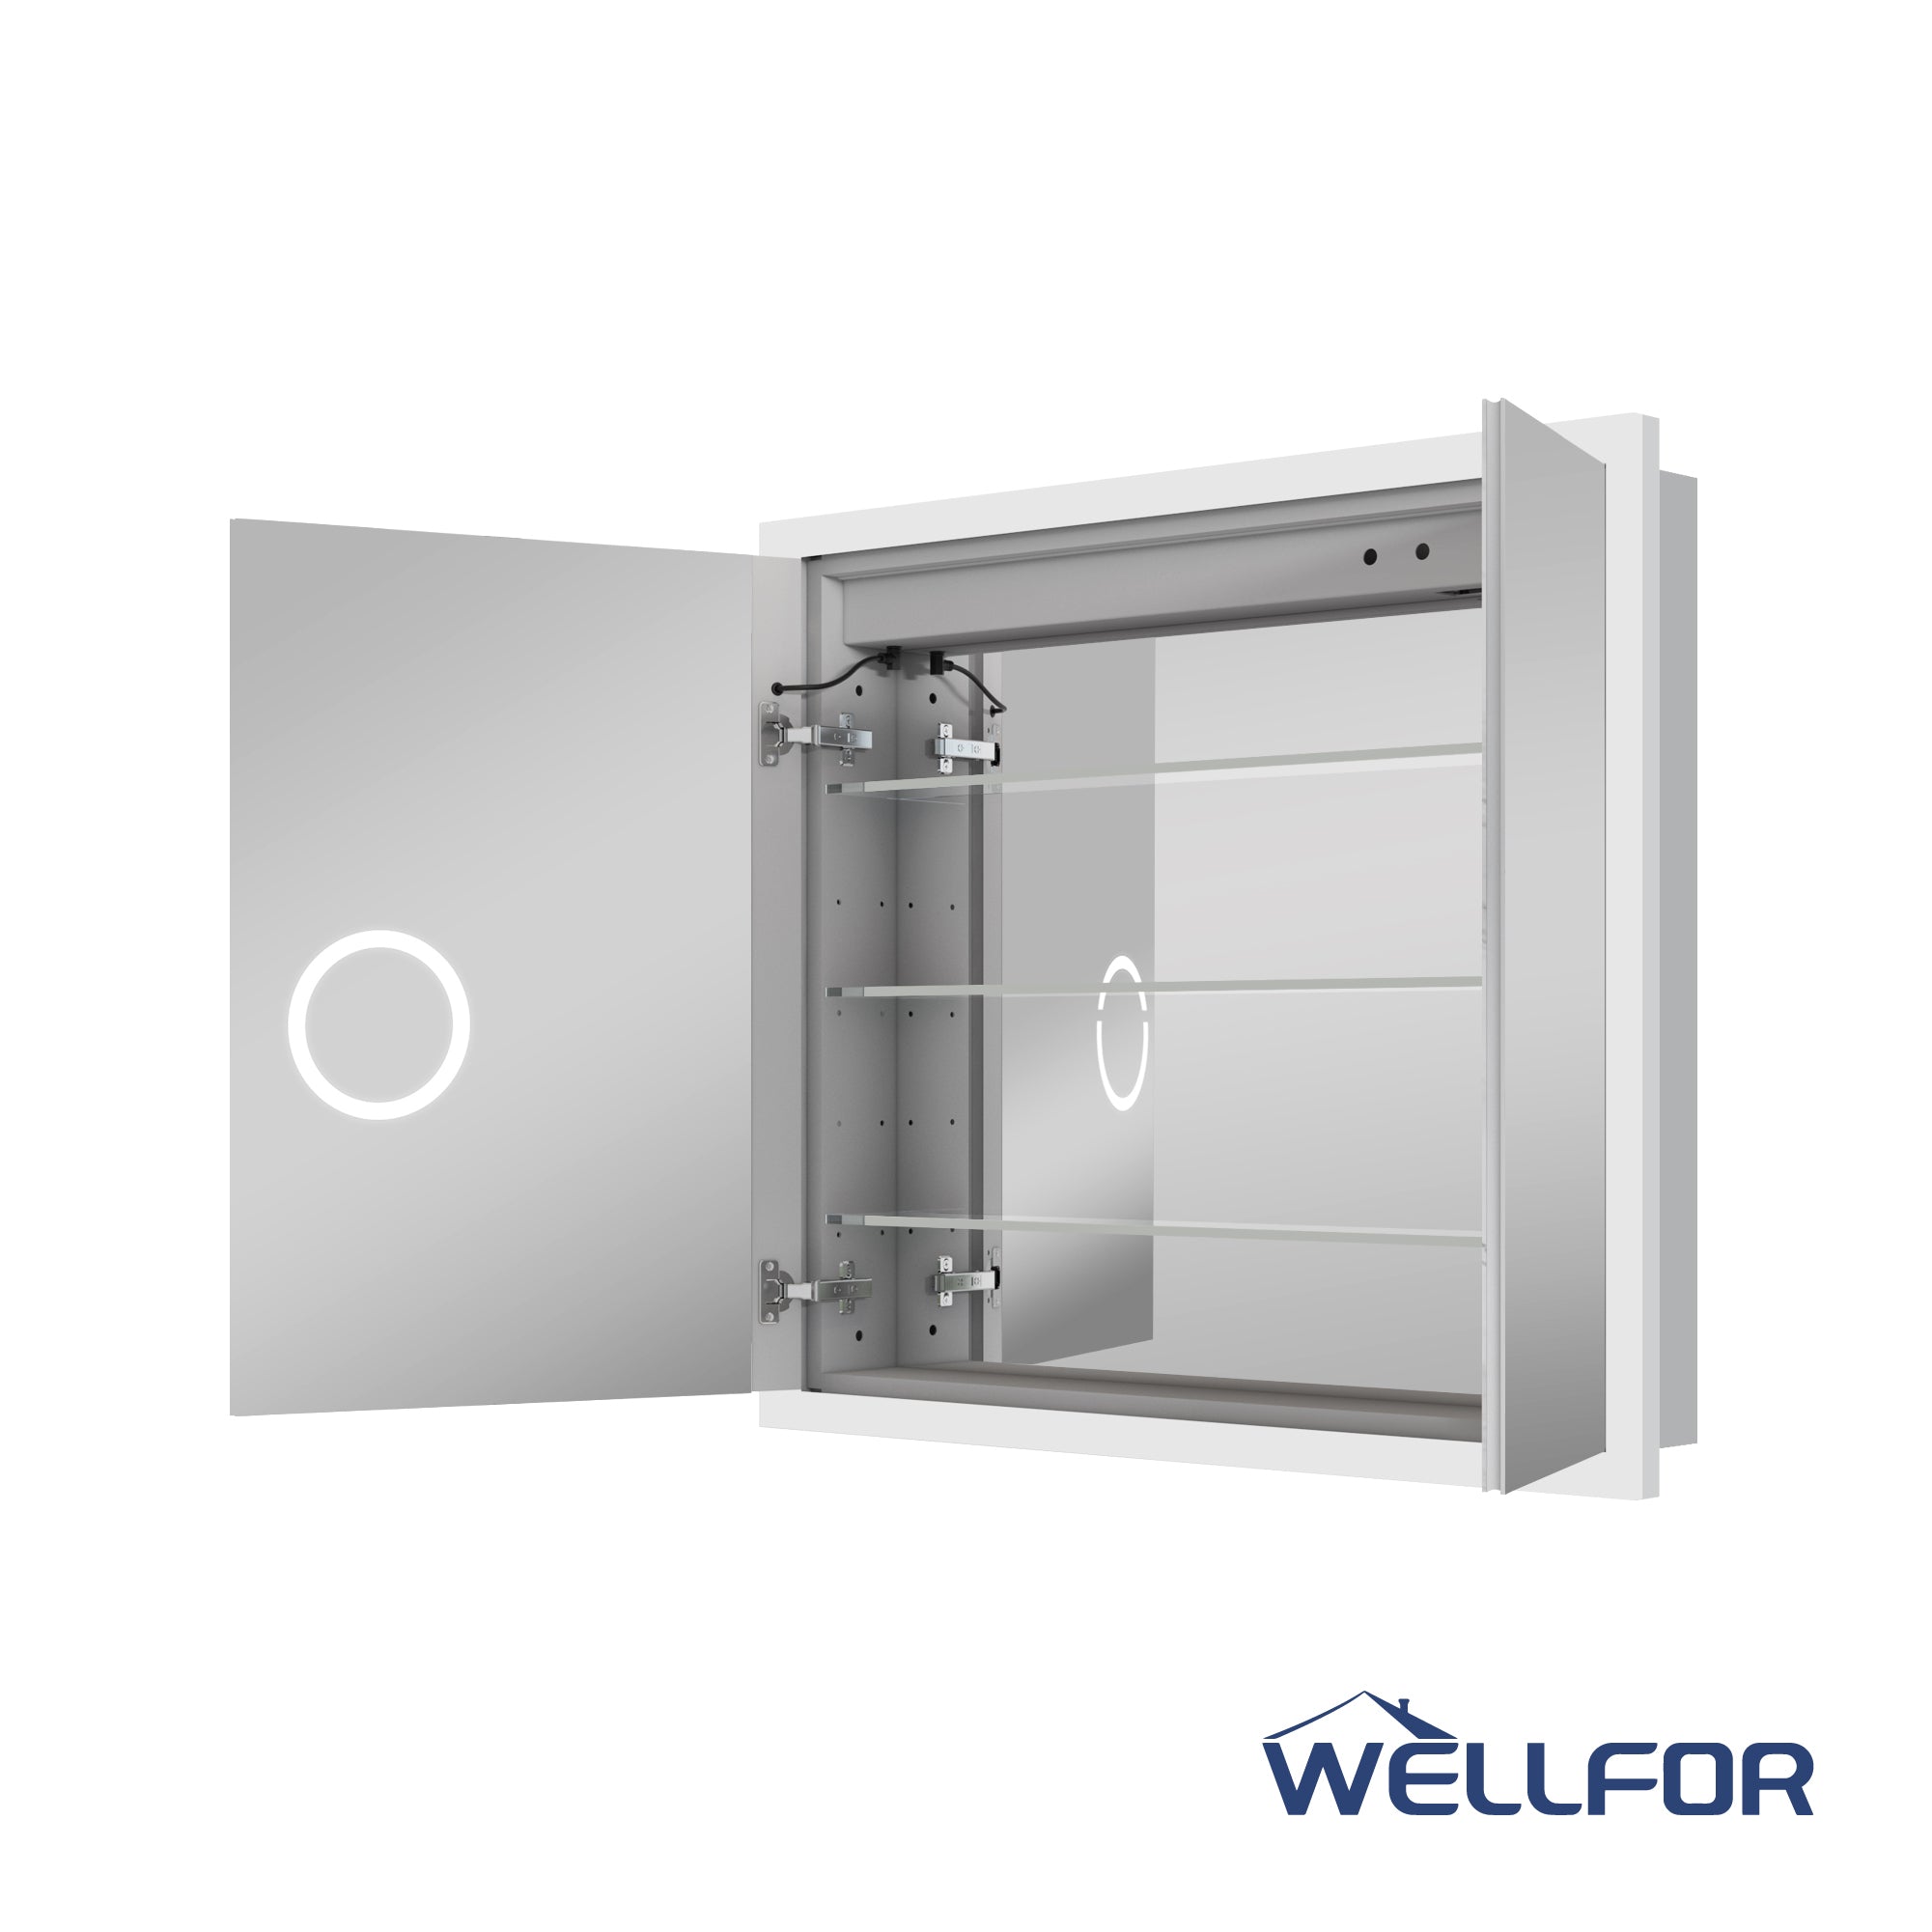
Versatility: Many LED mirrors feature smart technology like touch sensors, anti-fog capabilities, and Bluetooth speakers.
Now that we’ve established why LED mirrors are a worthwhile upgrade, let's focus on how to wire one without needing professional help.
Tools and Materials You’ll Need
Before starting, gather the necessary tools and materials. Having everything ready will make the process smoother and more efficient. Here's what you'll need:
· An LED mirror (like those from Wellfor for exceptional quality)
· Screwdrivers (Flathead and Phillips)
· Wire strippers
· Voltage tester
· Electrical tape
· Wall anchors and screws (usually included with the mirror)
· A spirit level
· A power drill
· Safety gloves and goggles
· A junction box (if one isn’t already in place)
· Electrical wires (if additional wiring is required)
Pro Tip: Always read the instruction manual provided with your LED mirror. While this guide offers general steps, manuals often provide model-specific details.
Preparing for Installation
Safety is the top priority when dealing with electricity, so never skip the preparation phase. Here’s what you need to do:
1. Turn Off the Power
Locate the circuit breaker for the room where you’ll install the LED mirror and turn off the power. Use a voltage tester to confirm there’s no current flowing to the wires you’ll work with.
2. Choose the Perfect Spot
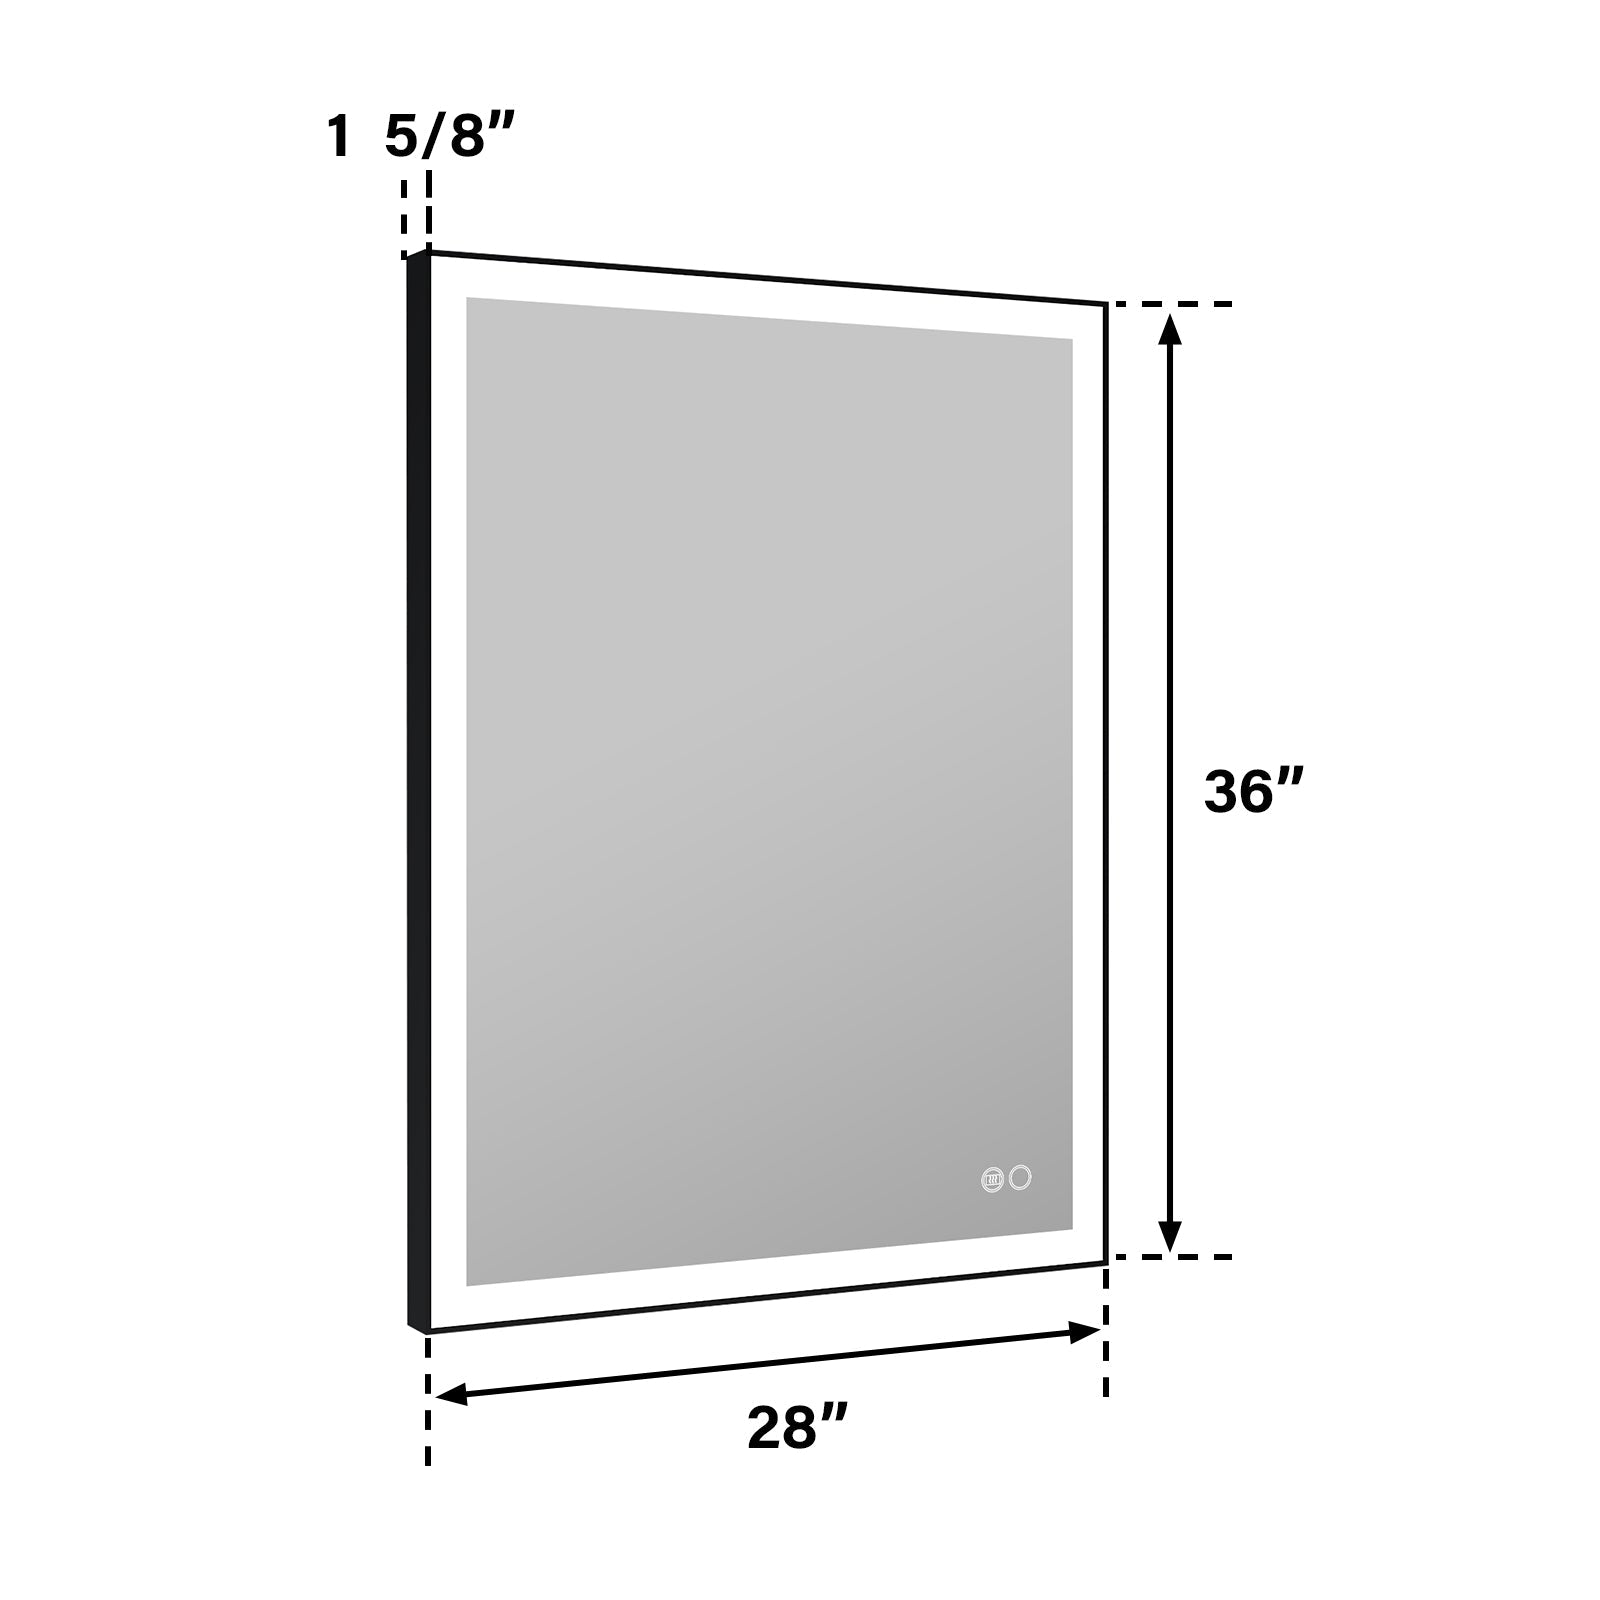
Decide where you want to place the mirror. Make sure it’s near an electrical source and at a comfortable height for everyday use.
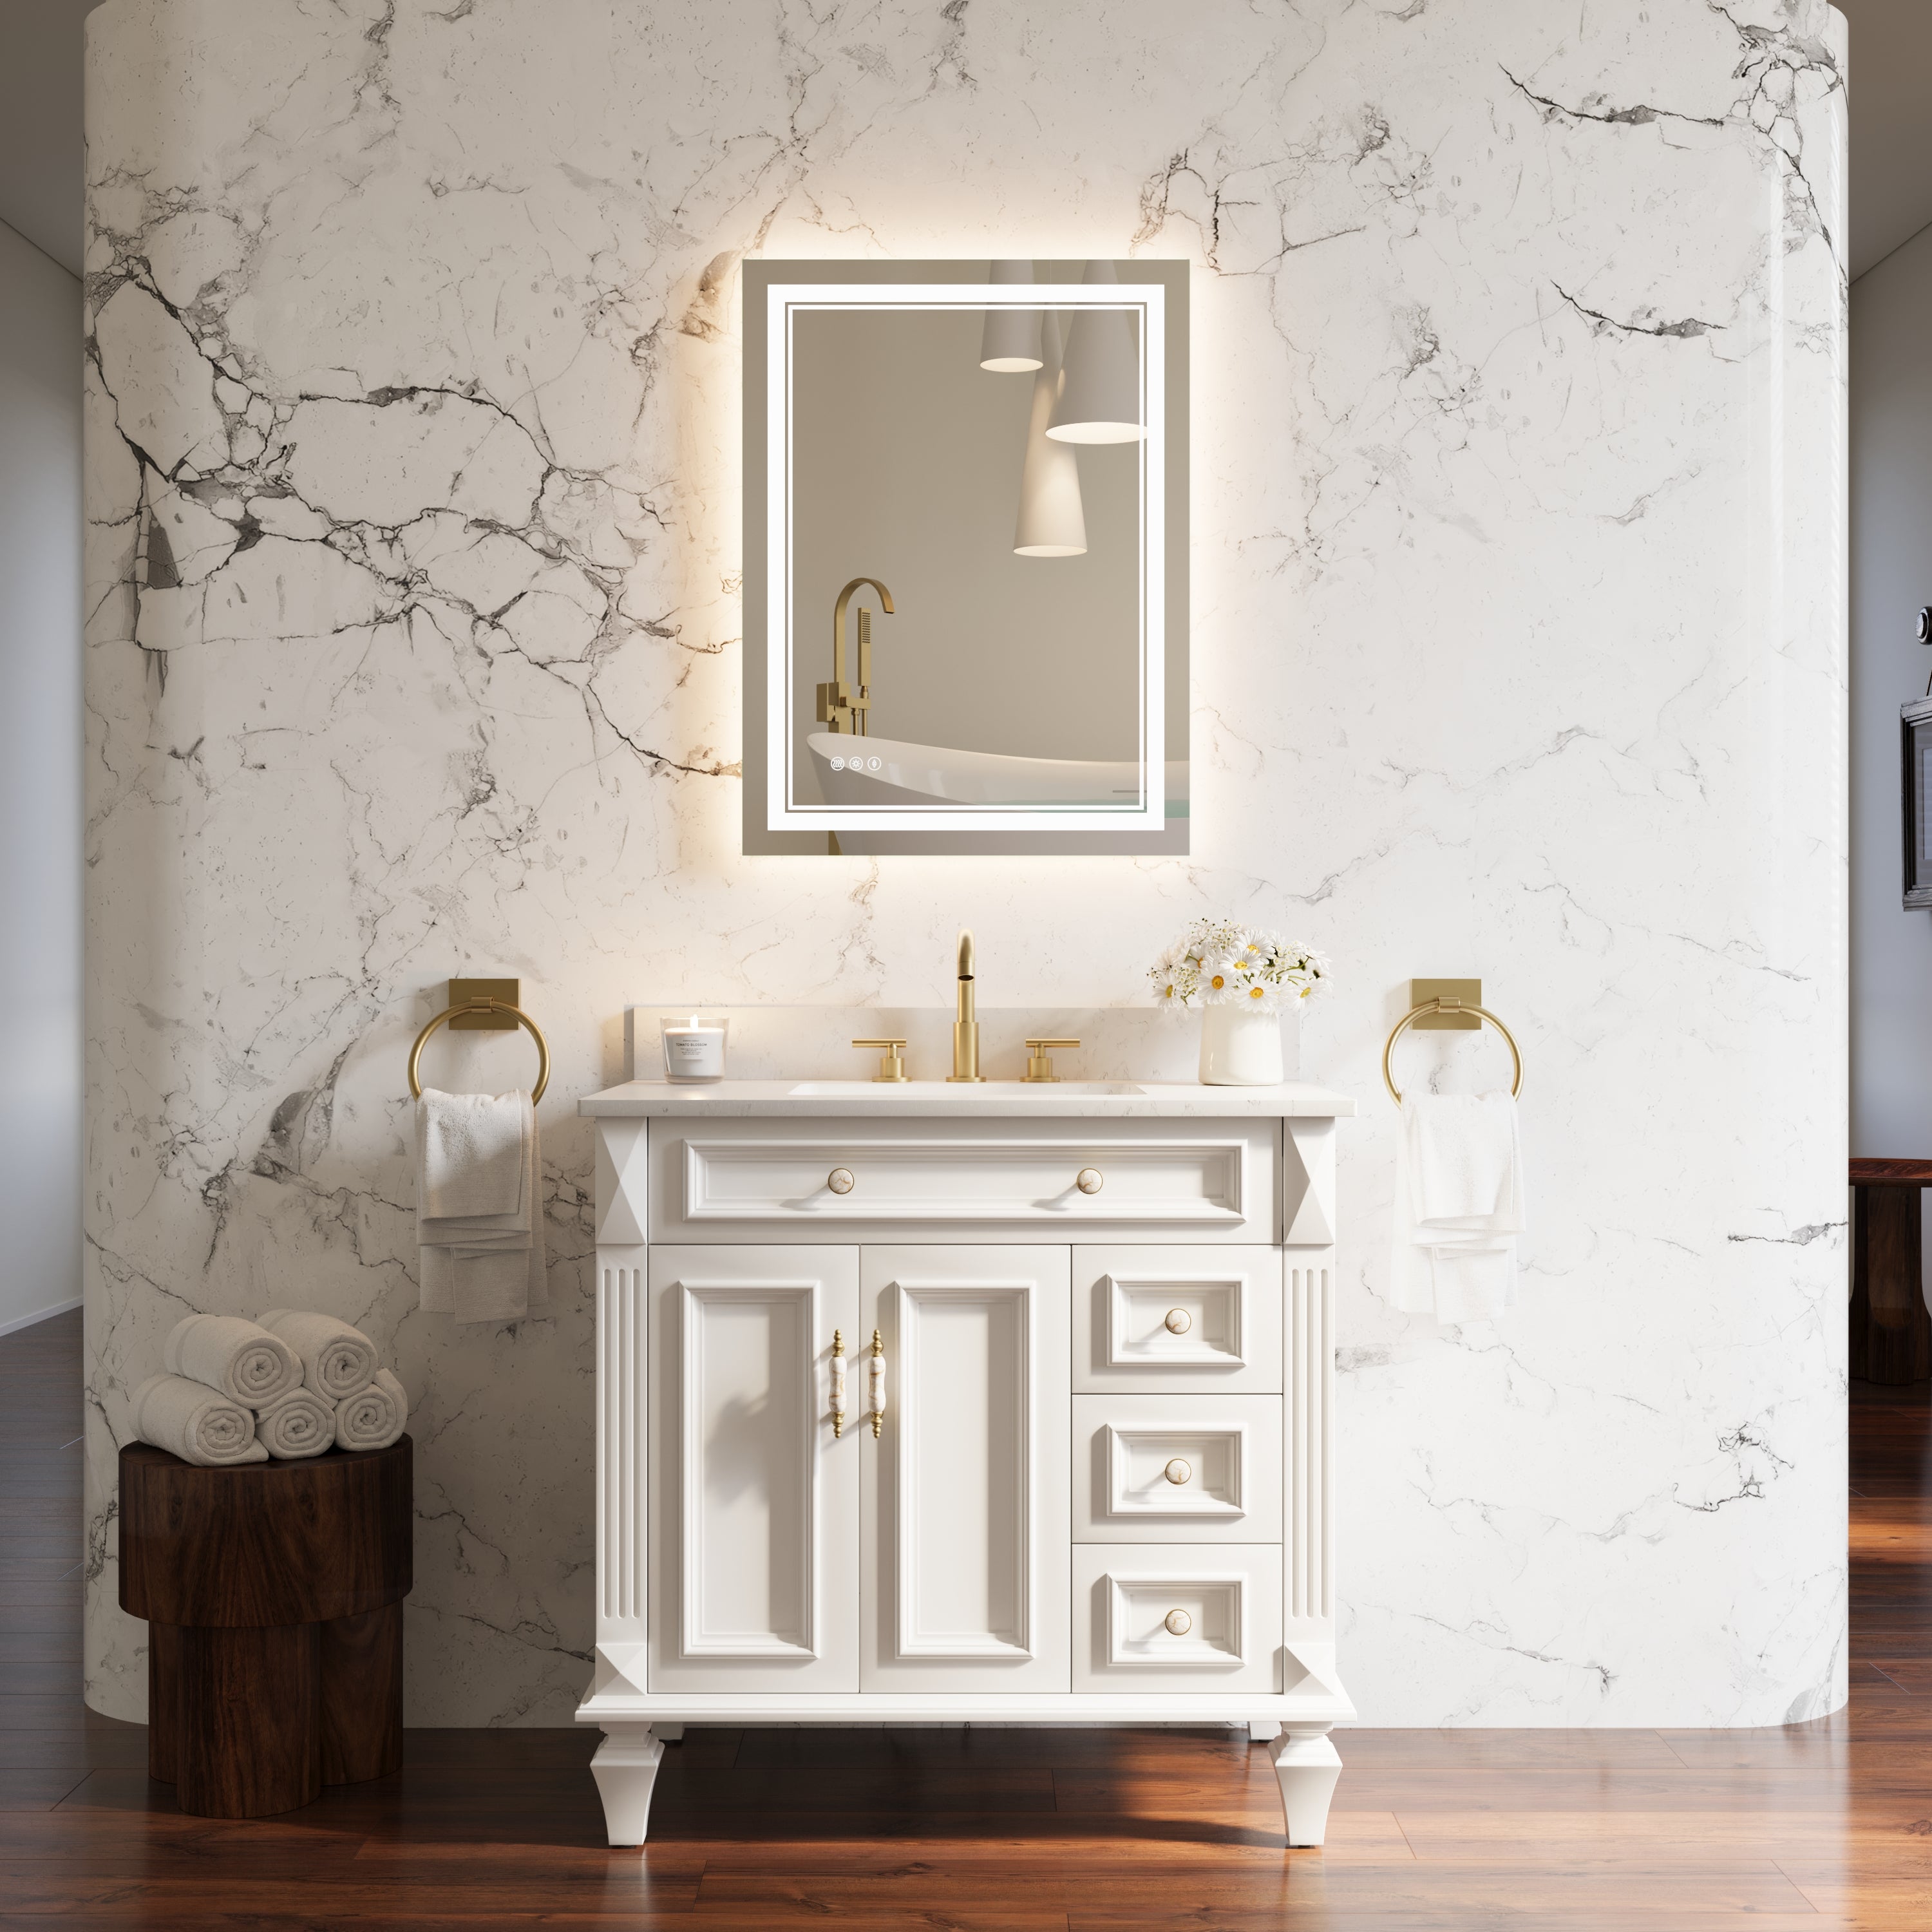
· Bathroom mirrors are usually hung 5-10 inches above the sink.
· Use a spirit level to position the mirror and mark where screws or anchors should go.
3. Prepare the Junction Box
If the mounting area doesn’t already have a junction box, you’ll need to install one. The junction box houses the wires and ensures proper connections.
· Cut a hole in the wall to fit the box, if necessary.
· Make sure to secure it tightly to avoid movement or electrical hazards.
Once these steps are complete, you're ready to wire the LED mirror.

How to Wire the LED Mirror
Now comes the part that seems tricky but is entirely manageable if you follow these steps carefully:
1. Understand the Wiring Configuration
Most LED mirrors come with a simple three-wire setup:
· Live Wire (usually black or brown): Carries electrical current.
· Neutral Wire (usually white or blue): Returns current back to the source.
· Ground Wire (usually green or bare): Provides a return path to prevent electrical shocks.
Check your LED mirror’s manual to confirm the color coding.
2. Connect the Wires
· Strip about half an inch of insulation off the ends of the live, neutral, and ground wires using a wire stripper.
· Match each wire on the mirror to the corresponding wire from the power source:
o Live wire to live wire.
o Neutral wire to neutral wire.
o Ground wire to ground wire.
· Twist the matching wires together tightly and secure them with wire connectors or caps.
3. Secure the Connections
Wrap each connection with electrical tape to ensure they’re insulated and won’t come loose over time. Tuck the wires neatly into the junction box.
4. Mount the Mirror
With the electrical connections complete, mount the LED mirror onto the wall. Most mirrors come with a mounting bracket that makes this step easy:
· Use the screws and anchors provided to attach the bracket securely to the wall.
· Hang the mirror onto the bracket. Double-check to make sure the mirror is stable and level.
5. Test the Mirror
Once the mirror is securely installed, turn the power back on at the circuit breaker. Switch on the mirror to confirm everything works properly. If it doesn’t light up, turn the power off again and double-check your wiring.
Key Safety Tips to Keep in Mind
Wiring an LED mirror is straightforward, but mistakes can be dangerous. Follow these safety guidelines:
· Always turn off power at the breaker box before working with wires.
· Avoid working with wet hands or while standing in water.
· Use insulated tools to reduce the risk of electric shocks.
· If you’re unsure about any part of the process, consult with a professional electrician.
Why Wellfor LED Mirrors Are a Great Choice
If you want to ensure a smooth installation process and enjoy long-lasting quality, choosing a reliable brand matters. Wellfor offers a wide range of LED mirrors known for their durability, energy efficiency, and modern features.
Their mirrors often come with user-friendly installation guides, which make wiring even easier. Many models are also designed with added safety measures, such as anti-fog systems and eco-friendly LED lights, that make them perfect for bathrooms and vanities.
Troubleshooting Common Issues
Even with careful installation, you might encounter hiccups. Here are solutions to common LED mirror problems:
· The Mirror Won’t Turn On: Double-check the wiring connections and ensure the circuit breaker is on.
· Light Flickering: This could be caused by loose wires or voltage fluctuations. Tighten the connections or use a voltage stabilizer.
· Anti-Fog Feature Isn’t Working: Ensure the feature is enabled via the touch sensor or switch (if available).
If issues persist, consult the mirror’s manual or contact customer support. For Wellfor mirrors, their customer service team is known to be helpful and responsive.
Final Thoughts
Wiring an LED mirror might seem like a daunting task, but with proper guidance and some patience, it’s a project you can confidently tackle yourself. By following the steps outlined in this guide and taking appropriate safety precautions, you can enjoy the elegant touch and practicality of an LED mirror without the cost of hiring a professional.
Whether you’re upgrading your bathroom or creating a luxurious vanity area, LED mirrors are a worthwhile investment. For reliable and stylish options, Wellfor offers a variety of LED mirrors that seamlessly blend functionality with design.
Now it’s time to roll up your sleeves, grab your tools, and enhance your home with a stunning LED mirror!















Leave a comment
This site is protected by hCaptcha and the hCaptcha Privacy Policy and Terms of Service apply.