


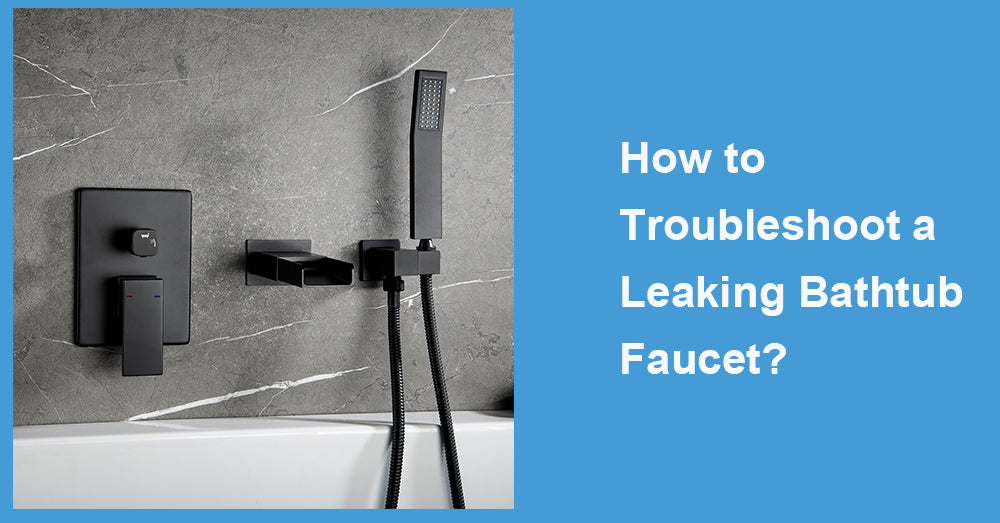
A drip from a leaking bathtub faucet can be a frustrating problem in the home. Not only can it lose gallons of water over the course of weeks or months, the incessant dripping noise can also be a major nuisance. Repairing a leaky faucet can be intimidating, now you don’t have to put up with the slow drip from a seemingly worn out faucet. This article is a step by step guide that will enable you resolve this computer problem, thank me later. Read on to learn how!
Signs Your Bathtub Faucet Is Leaking
Before you grab your toolbox, it’s essential to confirm if your faucet is indeed leaking or if another issue is at play. Watch for these signs:
· Constant dripping, even when the faucet is fully turned off.
· Water pooling around the faucet.
· Higher-than-usual water bills.
· Persistent moisture or mold near the bathtub.
If you notice one or more of these issues, it’s time to take action.
What Causes a Bathtub Faucet to Leak?
Understanding the root cause of a leaking bathtub faucet is the first step toward fixing it. Several culprits might be at fault:
Worn-Out Washers or Cartridges
Over time, the rubber washers or cartridges responsible for sealing the faucet wear out, causing water to leak.
Loose or Damaged Handles
Handles that are loose or have cracks may fail to shut off the water completely.
Corroded Valve Seats
The valve seat connects the faucet to the spout. Corrosion in this area can result in leaks.
Improper Installation
If the faucet components were not installed correctly, leaks might occur over time.
Water Pressure Issues
High water pressure can strain your faucet’s components, leading to leaks.
Tools and Materials You’ll Need
Before starting the troubleshooting process, gather the following tools and materials:
· Screwdriver (flathead and Phillips)
· Adjustable wrench or pliers
· Replacement washers, cartridges, or O-rings
· Plumber’s tape
· Bucket or bowl
· Cleaning solution (vinegar works well for removing mineral deposits)
· Towel or rag
If your bathtub faucet is a Wellfor model, make sure to reference their user manual or reach out to the brand for replacement part recommendations.

Step-by-Step Guide to Fix a Leaking Bathtub Faucet
Step 1: Turn Off the Water Supply
The first step is to stop the water flow to avoid any mess. Most bathtubs have a water shut-off valve located near the faucet. If you can’t find it, you may need to turn off the main water supply to your house.
· Locate the water shut-off valve.
· Turn the valve clockwise until it is fully closed.
· Open the bathtub faucet to drain any remaining water from the pipes.
Step 2: Remove the Faucet Handle
The faucet handle needs to be removed to access the inner components. Here’s how to do it:
1. Locate the screw holding the handle in place. You might need to pop off a decorative cap to find it.
2. Use a screwdriver to remove the screw.
3. Gently pull the handle off. If it’s stuck, apply some gentle back-and-forth pressure or use a wrench for additional grip.
Step 3: Inspect the Cartridge or Washer
Once the handle is off, you’ll see the cartridge or washer assembly. Carefully inspect these parts for signs of wear or damage:
· For compression faucets (with separate handles for hot and cold water), look for worn washers.
· For cartridge faucets, check if the cartridge is cracked or damaged.
If you notice any defects, these components need replacement.
Step 4: Replace the Damaged Part
1. Remove the old washer, O-ring, or cartridge using a wrench or pliers.
2. Clean the area thoroughly to remove debris and mineral deposits. You can use vinegar to dissolve stubborn buildup.
3. Install the new part by following the manufacturer’s instructions. Ensure it’s seated properly to prevent future leaks.
For Wellfor faucets, replacement washers or cartridges can be ordered directly from their website for a precise fit and optimal performance.
Step 5: Reassemble the Faucet
Once the new parts are in place:
1. Reattach the handle and tighten the screw securely.
2. Replace any decorative caps you removed earlier.
Step 6: Test the Faucet
Turn the water supply back on and test the faucet. Ensure:
· The water flow stops when the faucet is off.
· There is no dripping or leakage around the handle.
If the faucet continues to leak, recheck the installation or consider consulting a plumber.
Tips to Prevent Future Faucet Leaks
To extend the life of your faucet and minimize wear and tear, follow these maintenance tips:
· Avoid overtightening the handles, as it can damage internal components.
· Clean your faucet regularly to prevent mineral buildup.
· Replace worn washers or cartridges as soon as you notice signs of wear.
· Regulate water pressure to avoid putting excessive strain on the faucet.
Why Fixing a Leaking Faucet Matters
Even a small leak can have significant consequences if left unchecked:
Water Waste
A single dripping faucet can waste hundreds of gallons of water annually.
Higher Utility Bills
A leak can lead to noticeable increases in water costs over time.
Damage to Surrounding Areas
Persistent leaks may cause water damage to walls, floors, or the bathtub itself.
Environmental Impact
Conserving water by addressing leaks contributes to a more sustainable future.
When to Call a Professional
While most leaks can be fixed with DIY methods, some situations may require expert help. Call a plumber if:
· The leak persists after replacing the necessary parts.
· Your faucet is leaking from multiple areas.
· You notice water damage around the bathtub or on adjacent walls.
Choosing the Right Replacement Parts
High-quality replacement parts ensure a successful repair and prevent future leaks. Wellfor offers a range of durable faucet components designed to match their products seamlessly. Investing in reliable parts helps maintain the integrity of your faucet for years to come.
Final Thoughts
A leaking bathtub faucet is something you can fix yourself following these steps, which will save you the time, money, and hassle of calling a plumber. With the help of this guide, you should have all the tools to write an excellent response to the challenge. Just bear in mind that if you have a Wellfor faucet, always buy the replacement parts with them in order to achieve the ideal solution. Happy troubleshooting!


Leave a comment
This site is protected by hCaptcha and the hCaptcha Privacy Policy and Terms of Service apply.