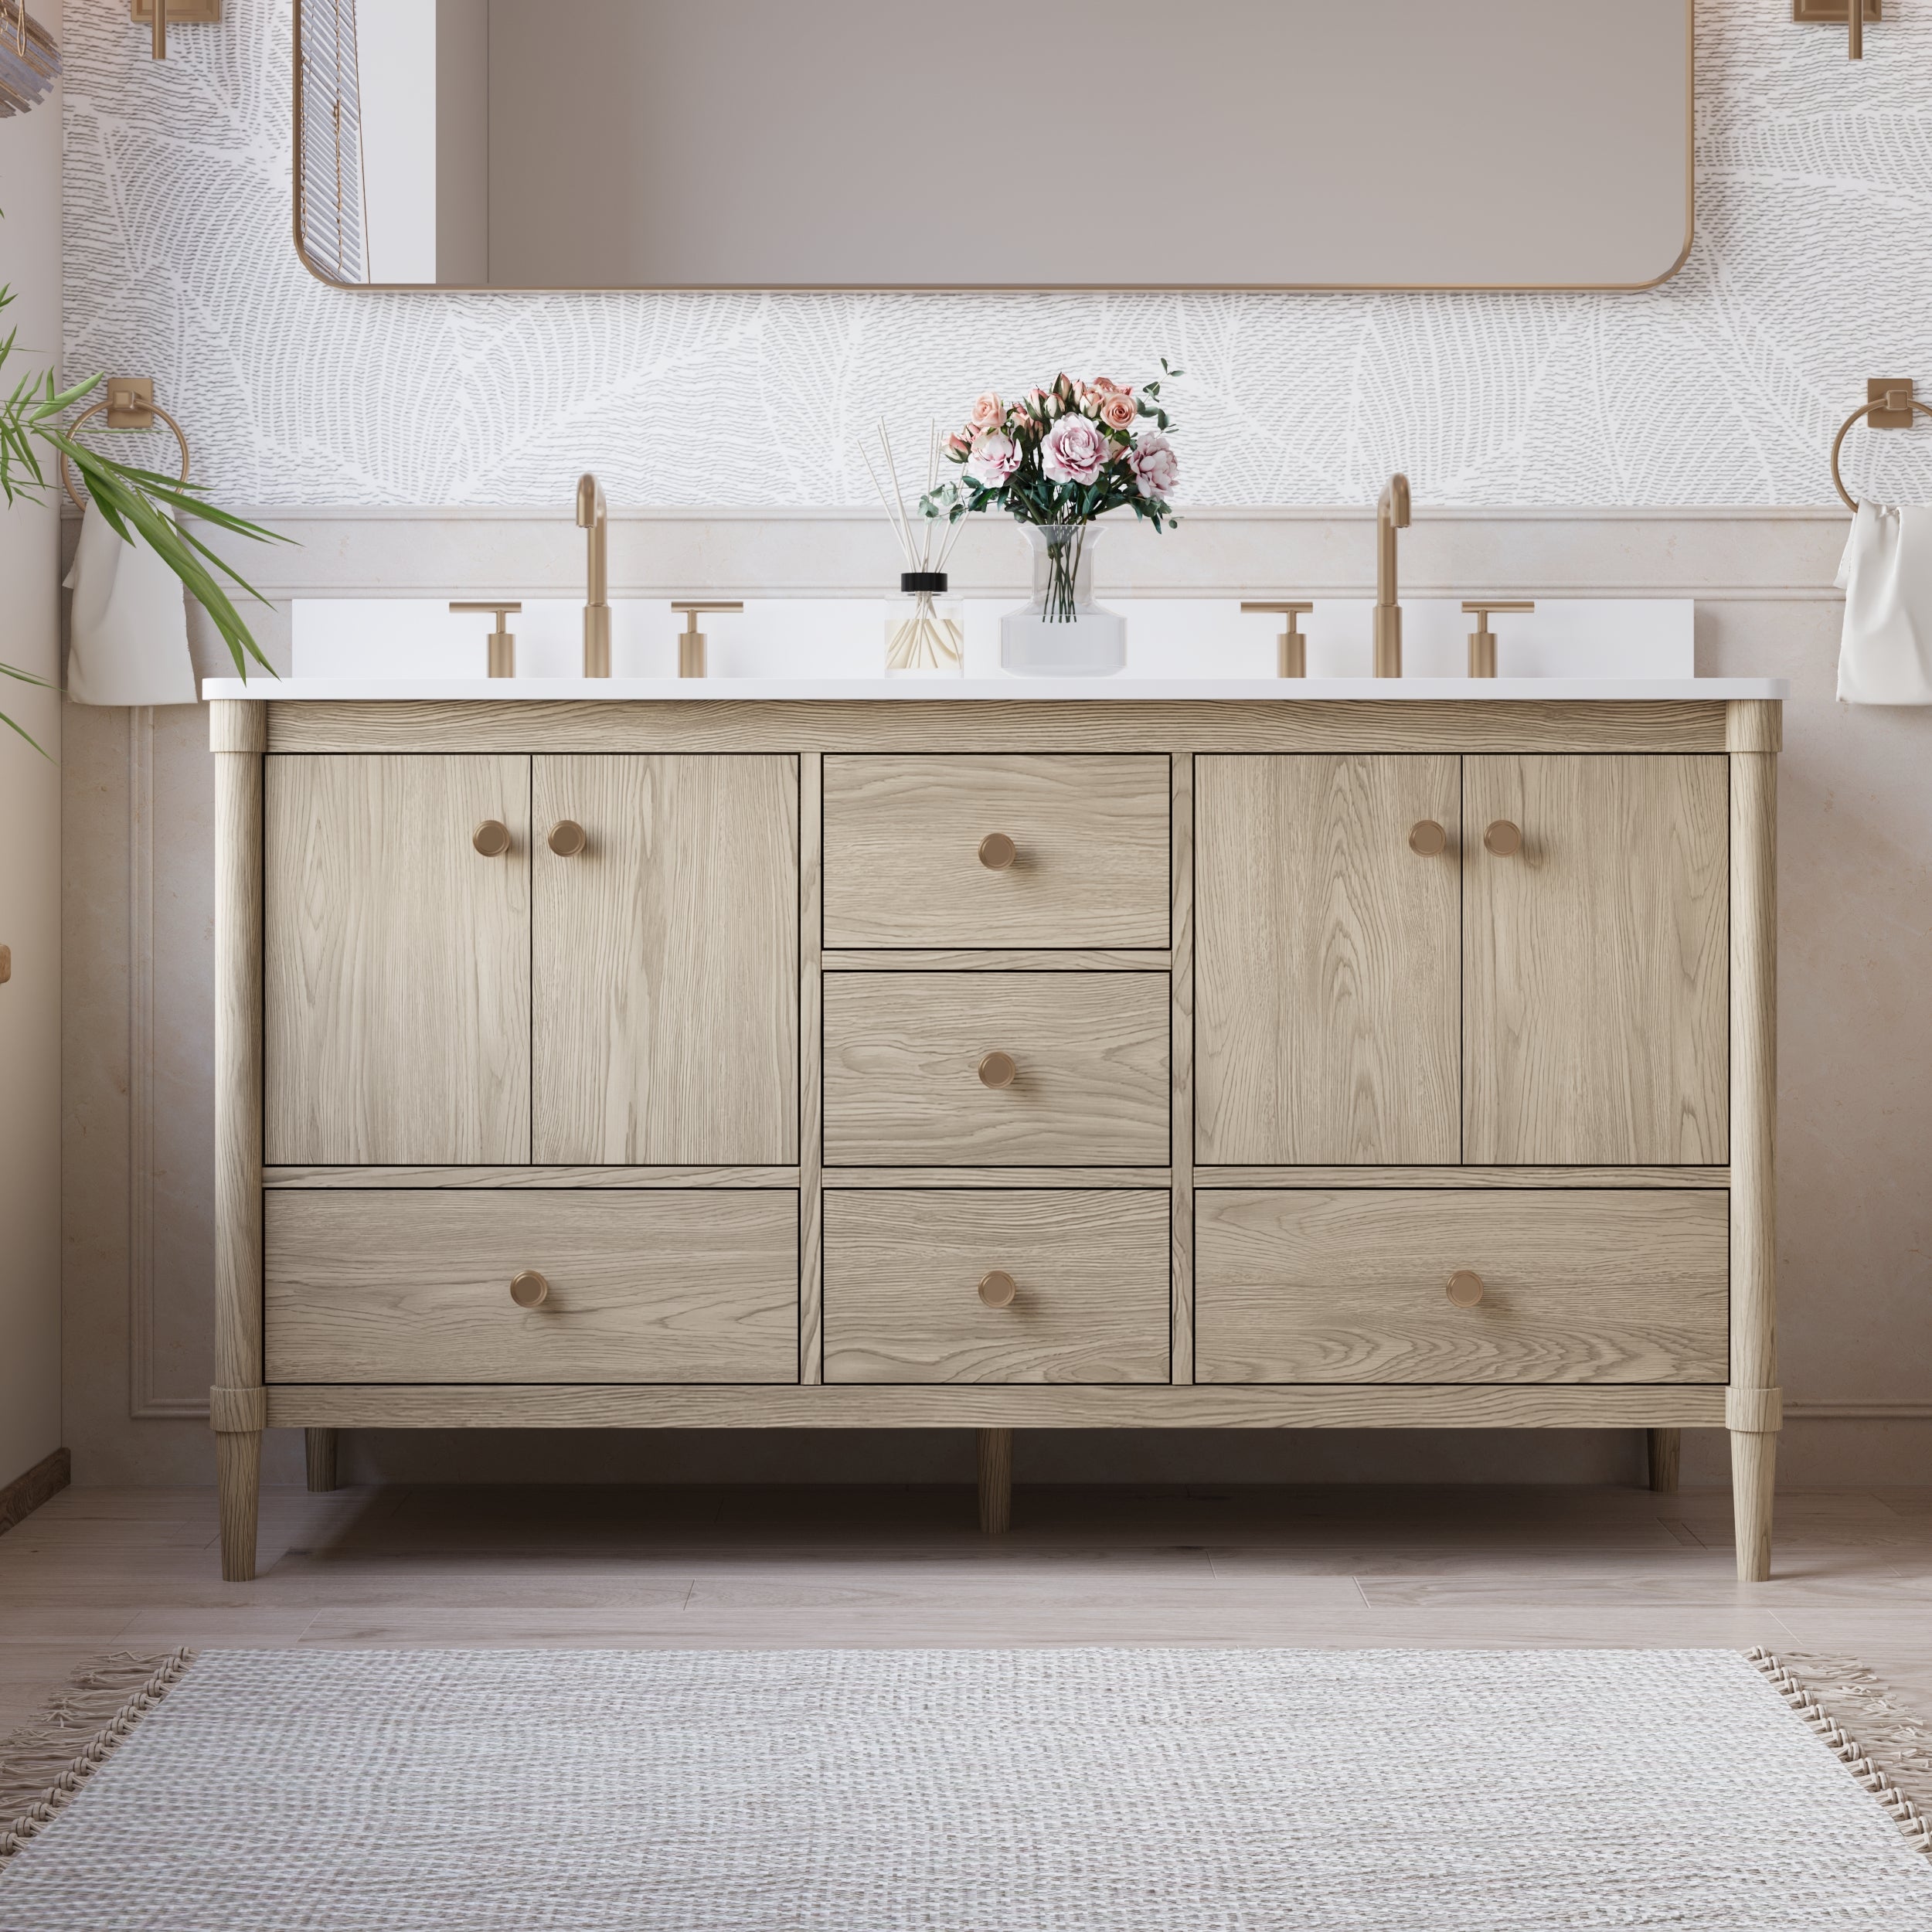
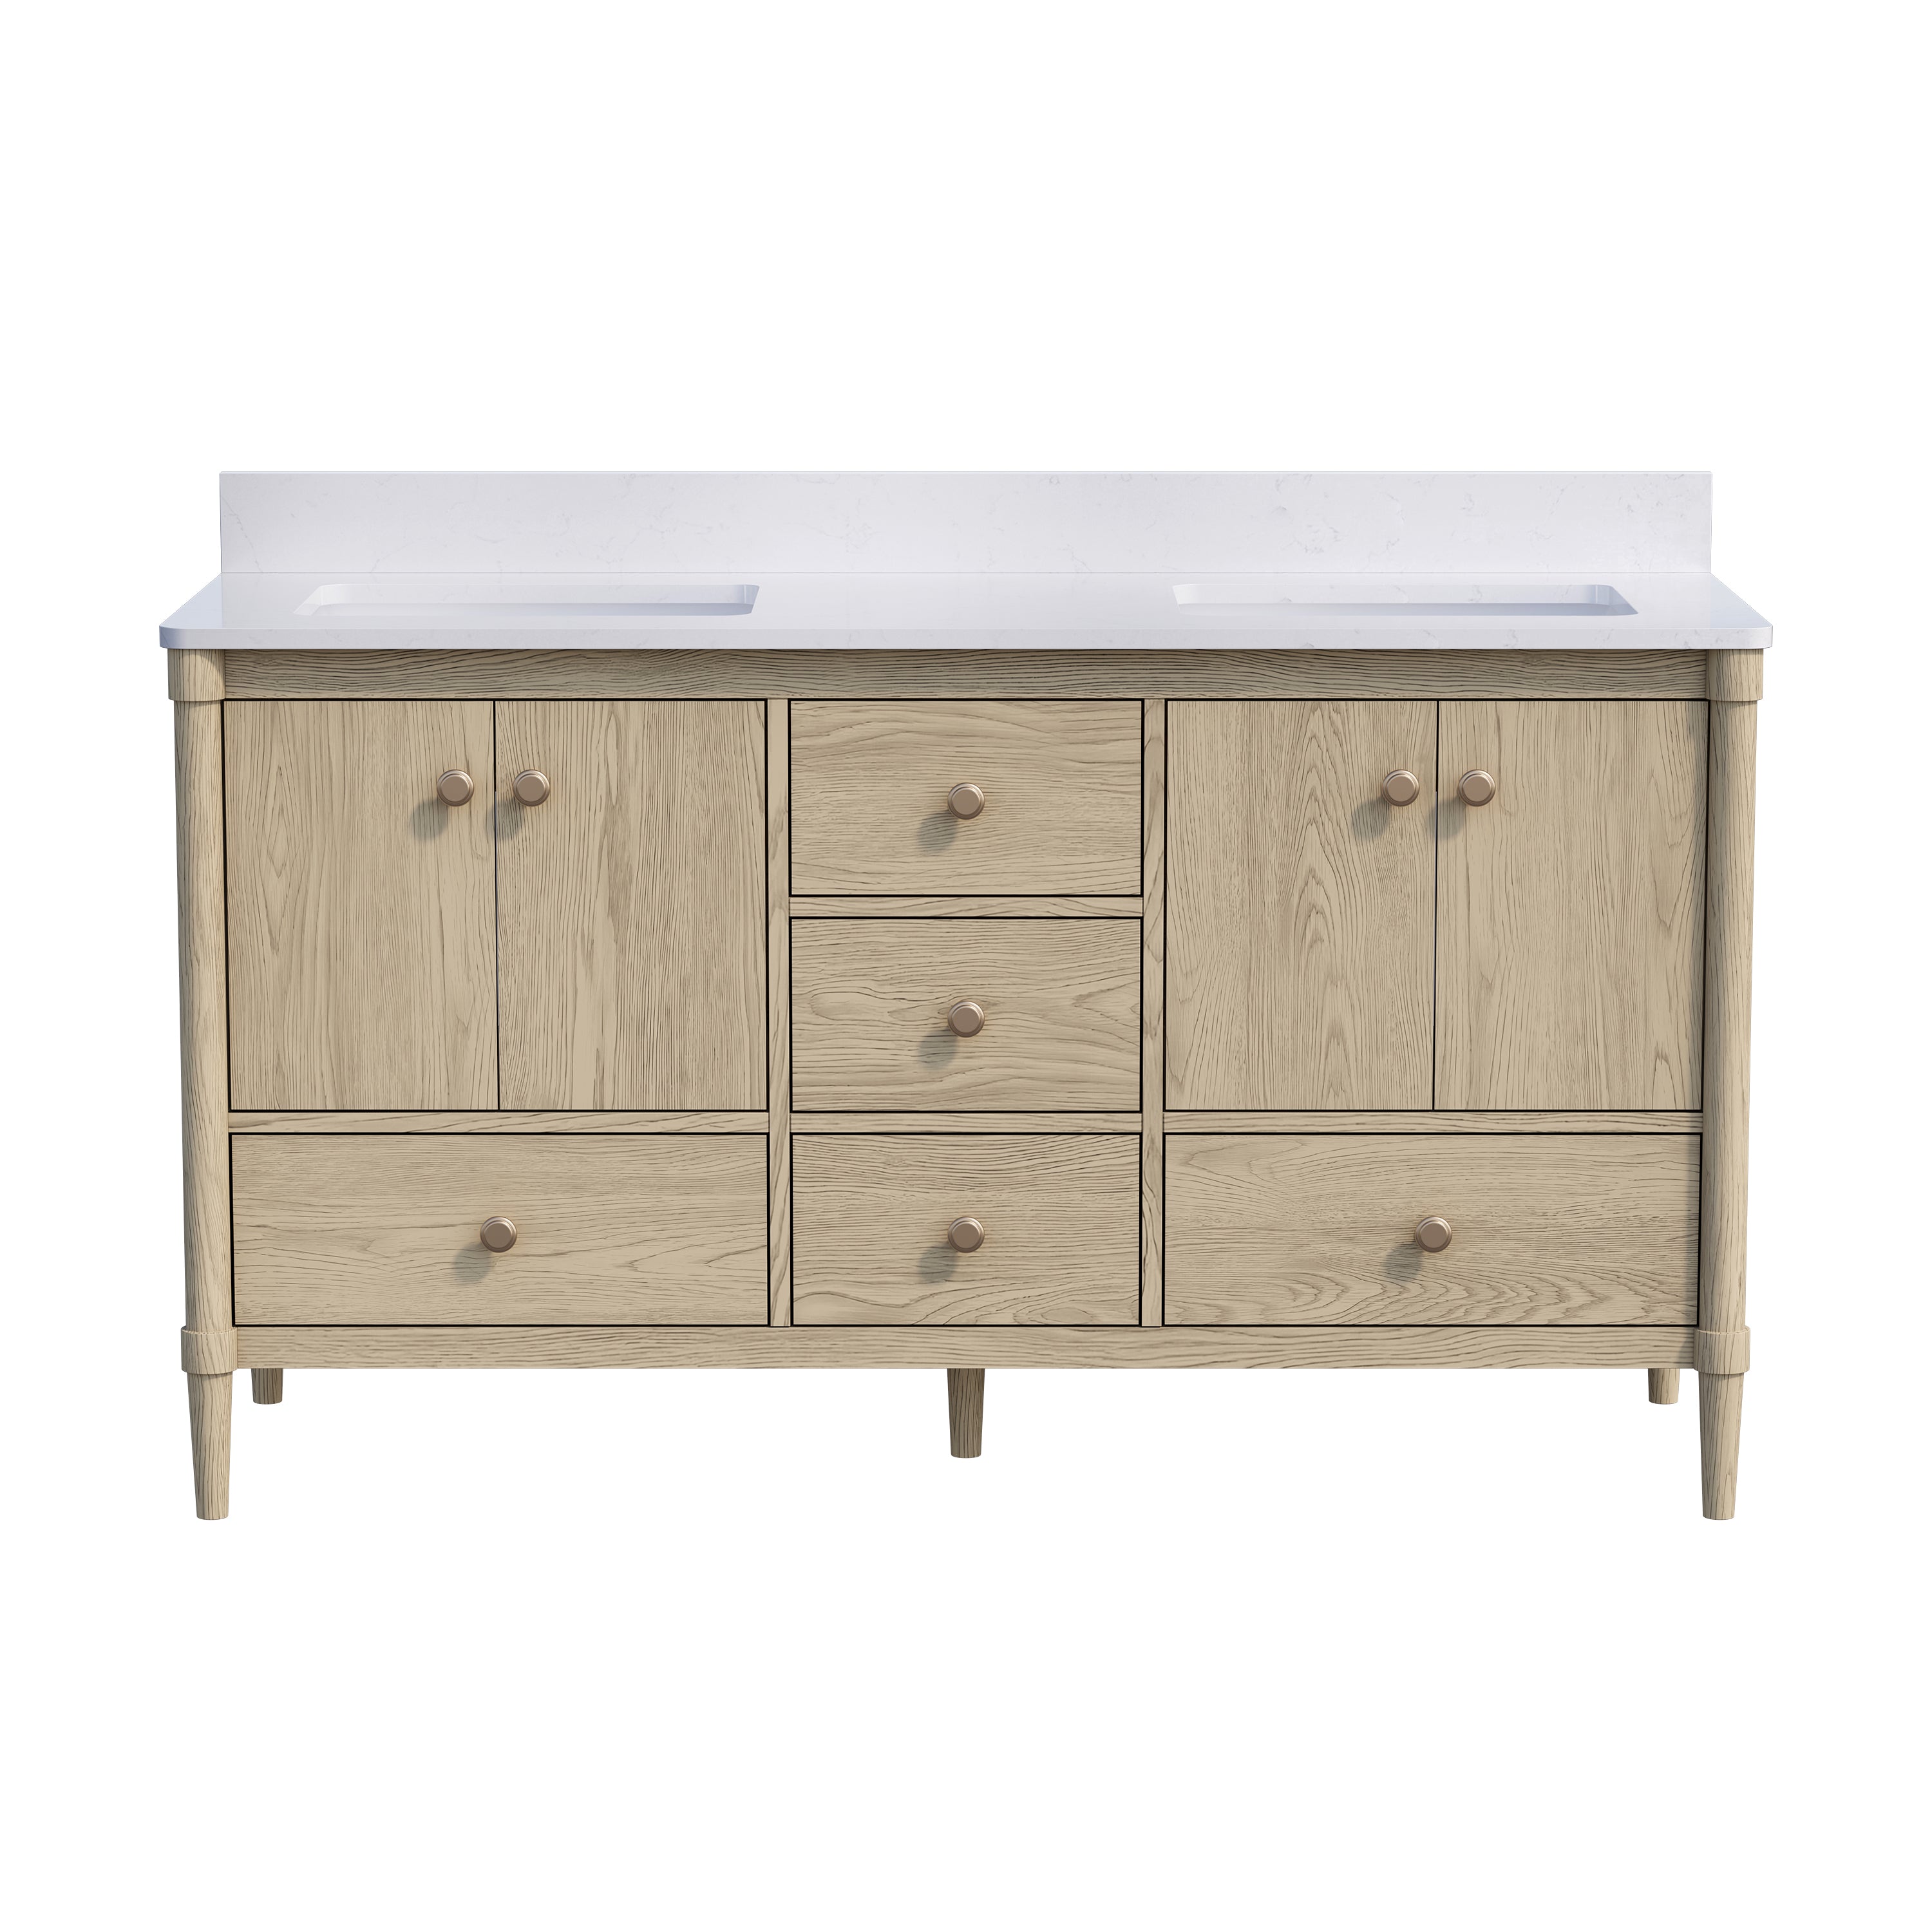
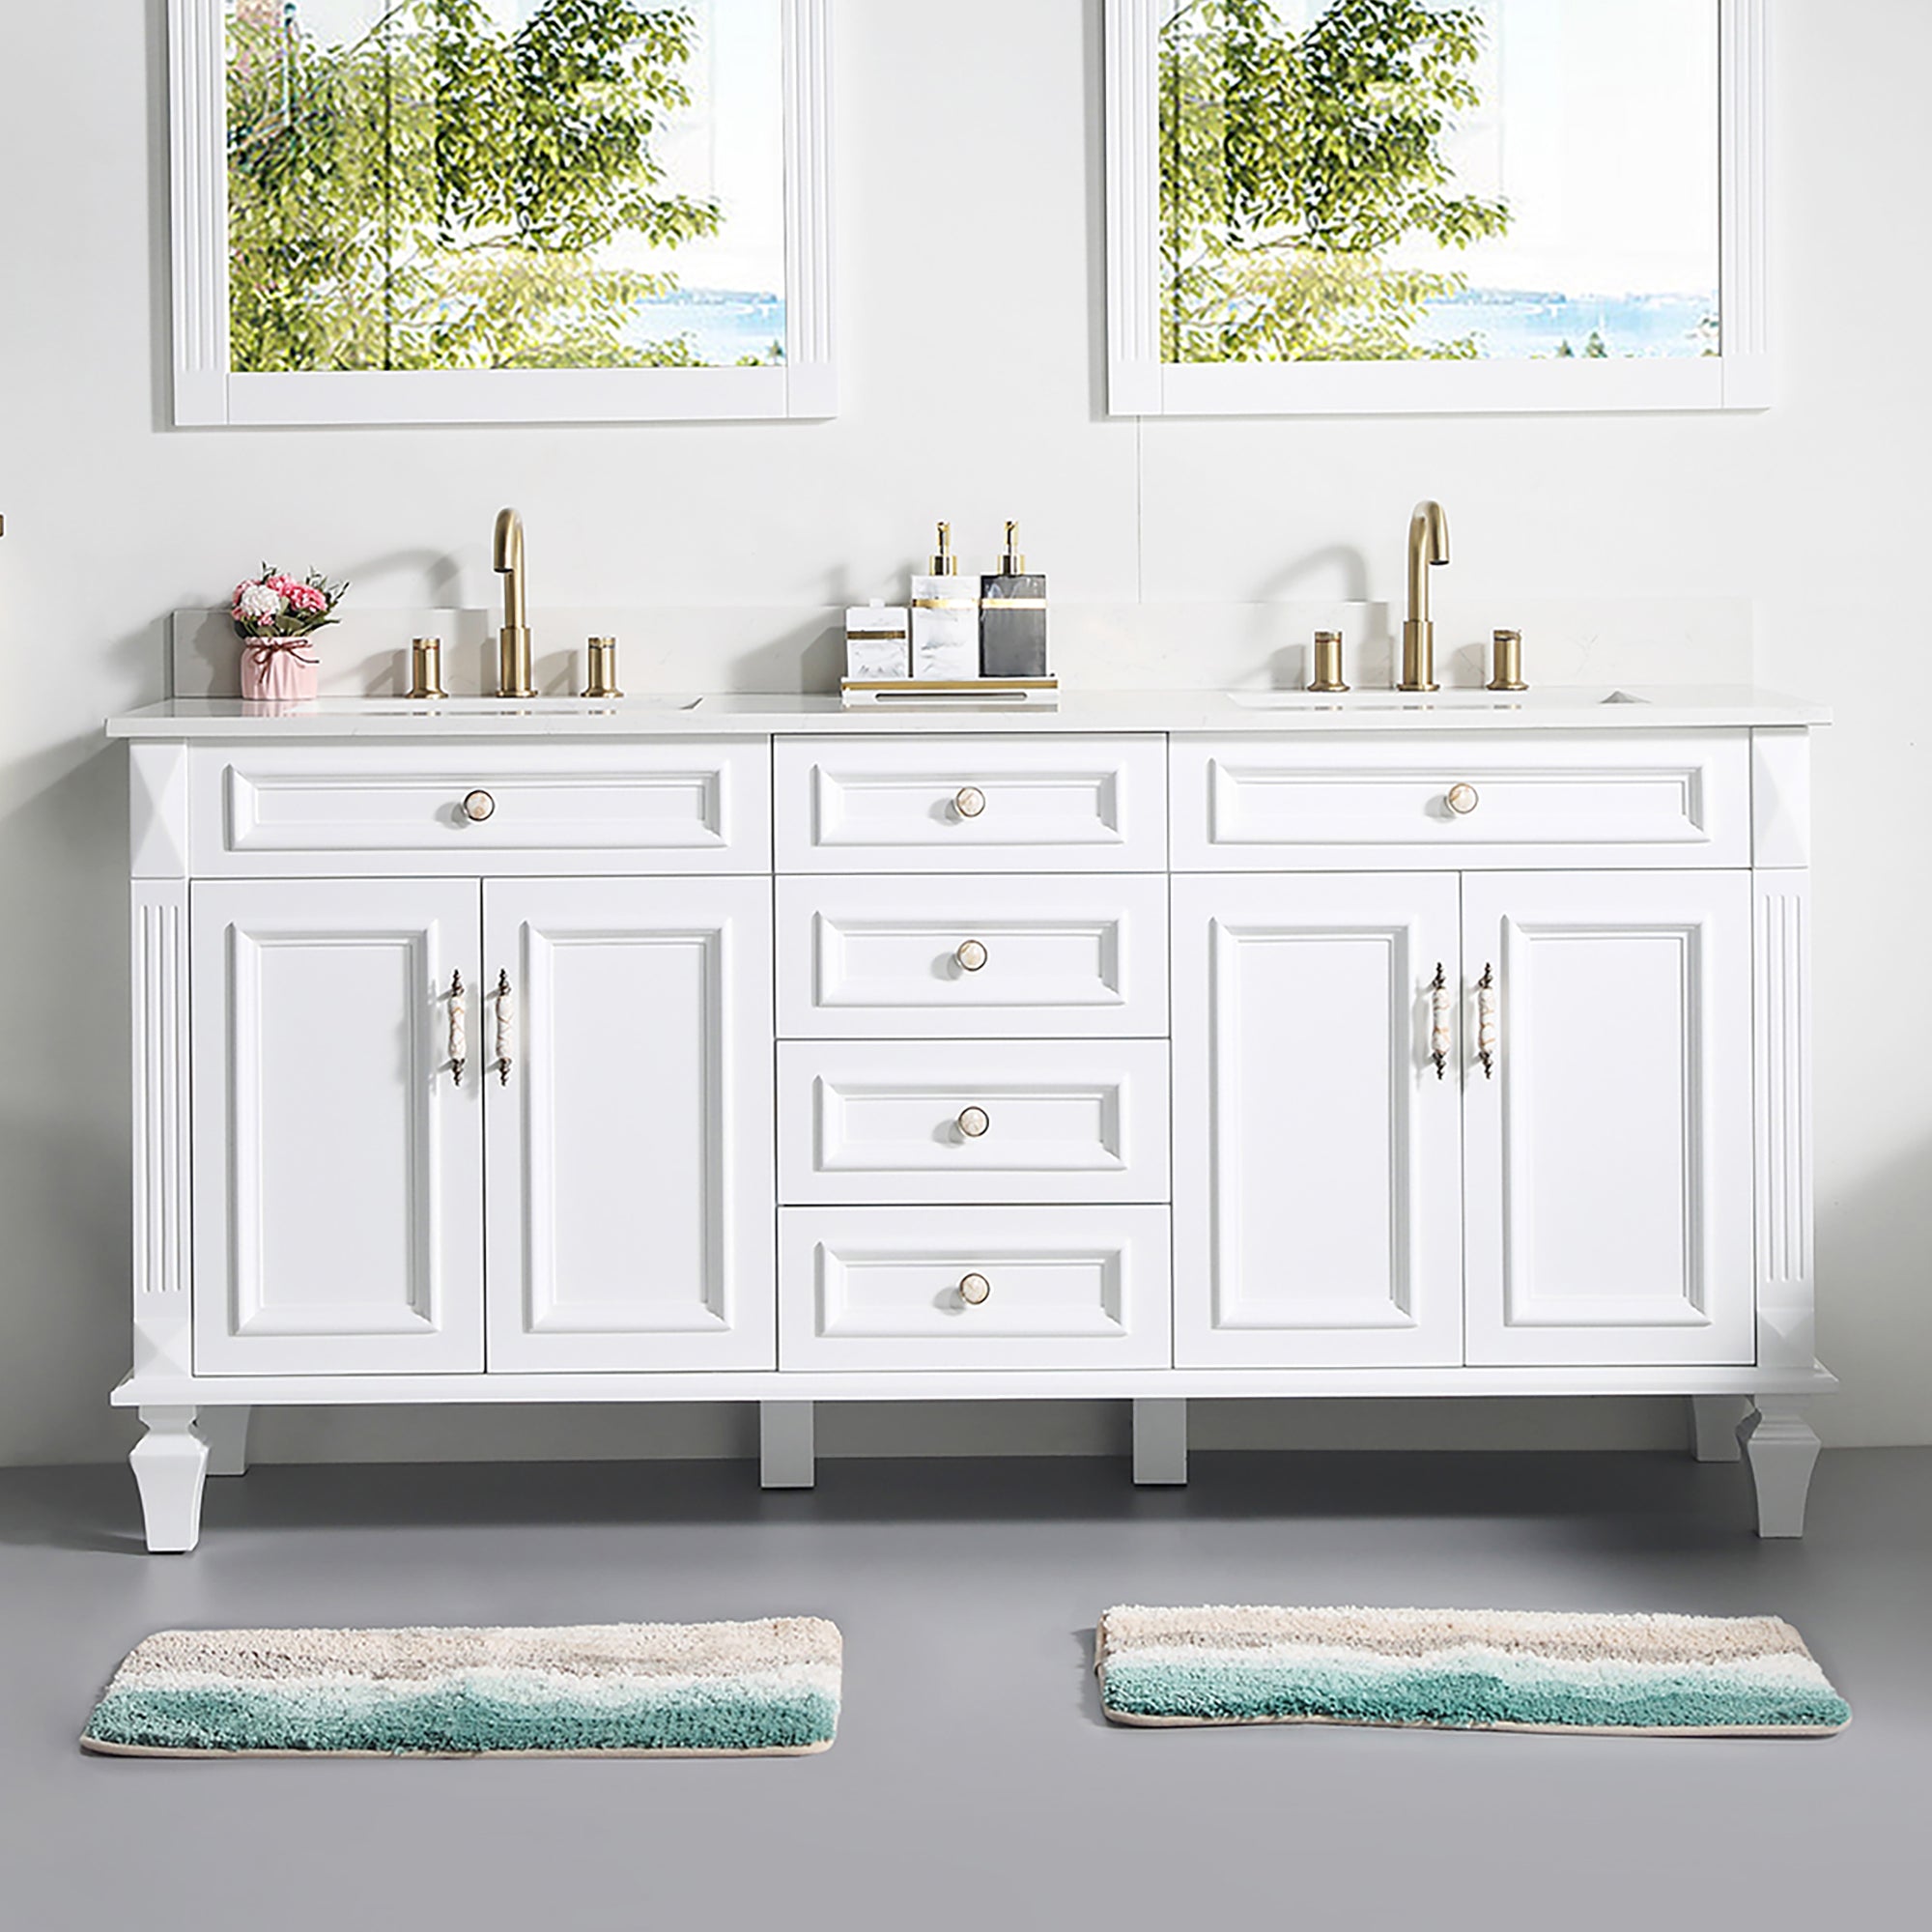
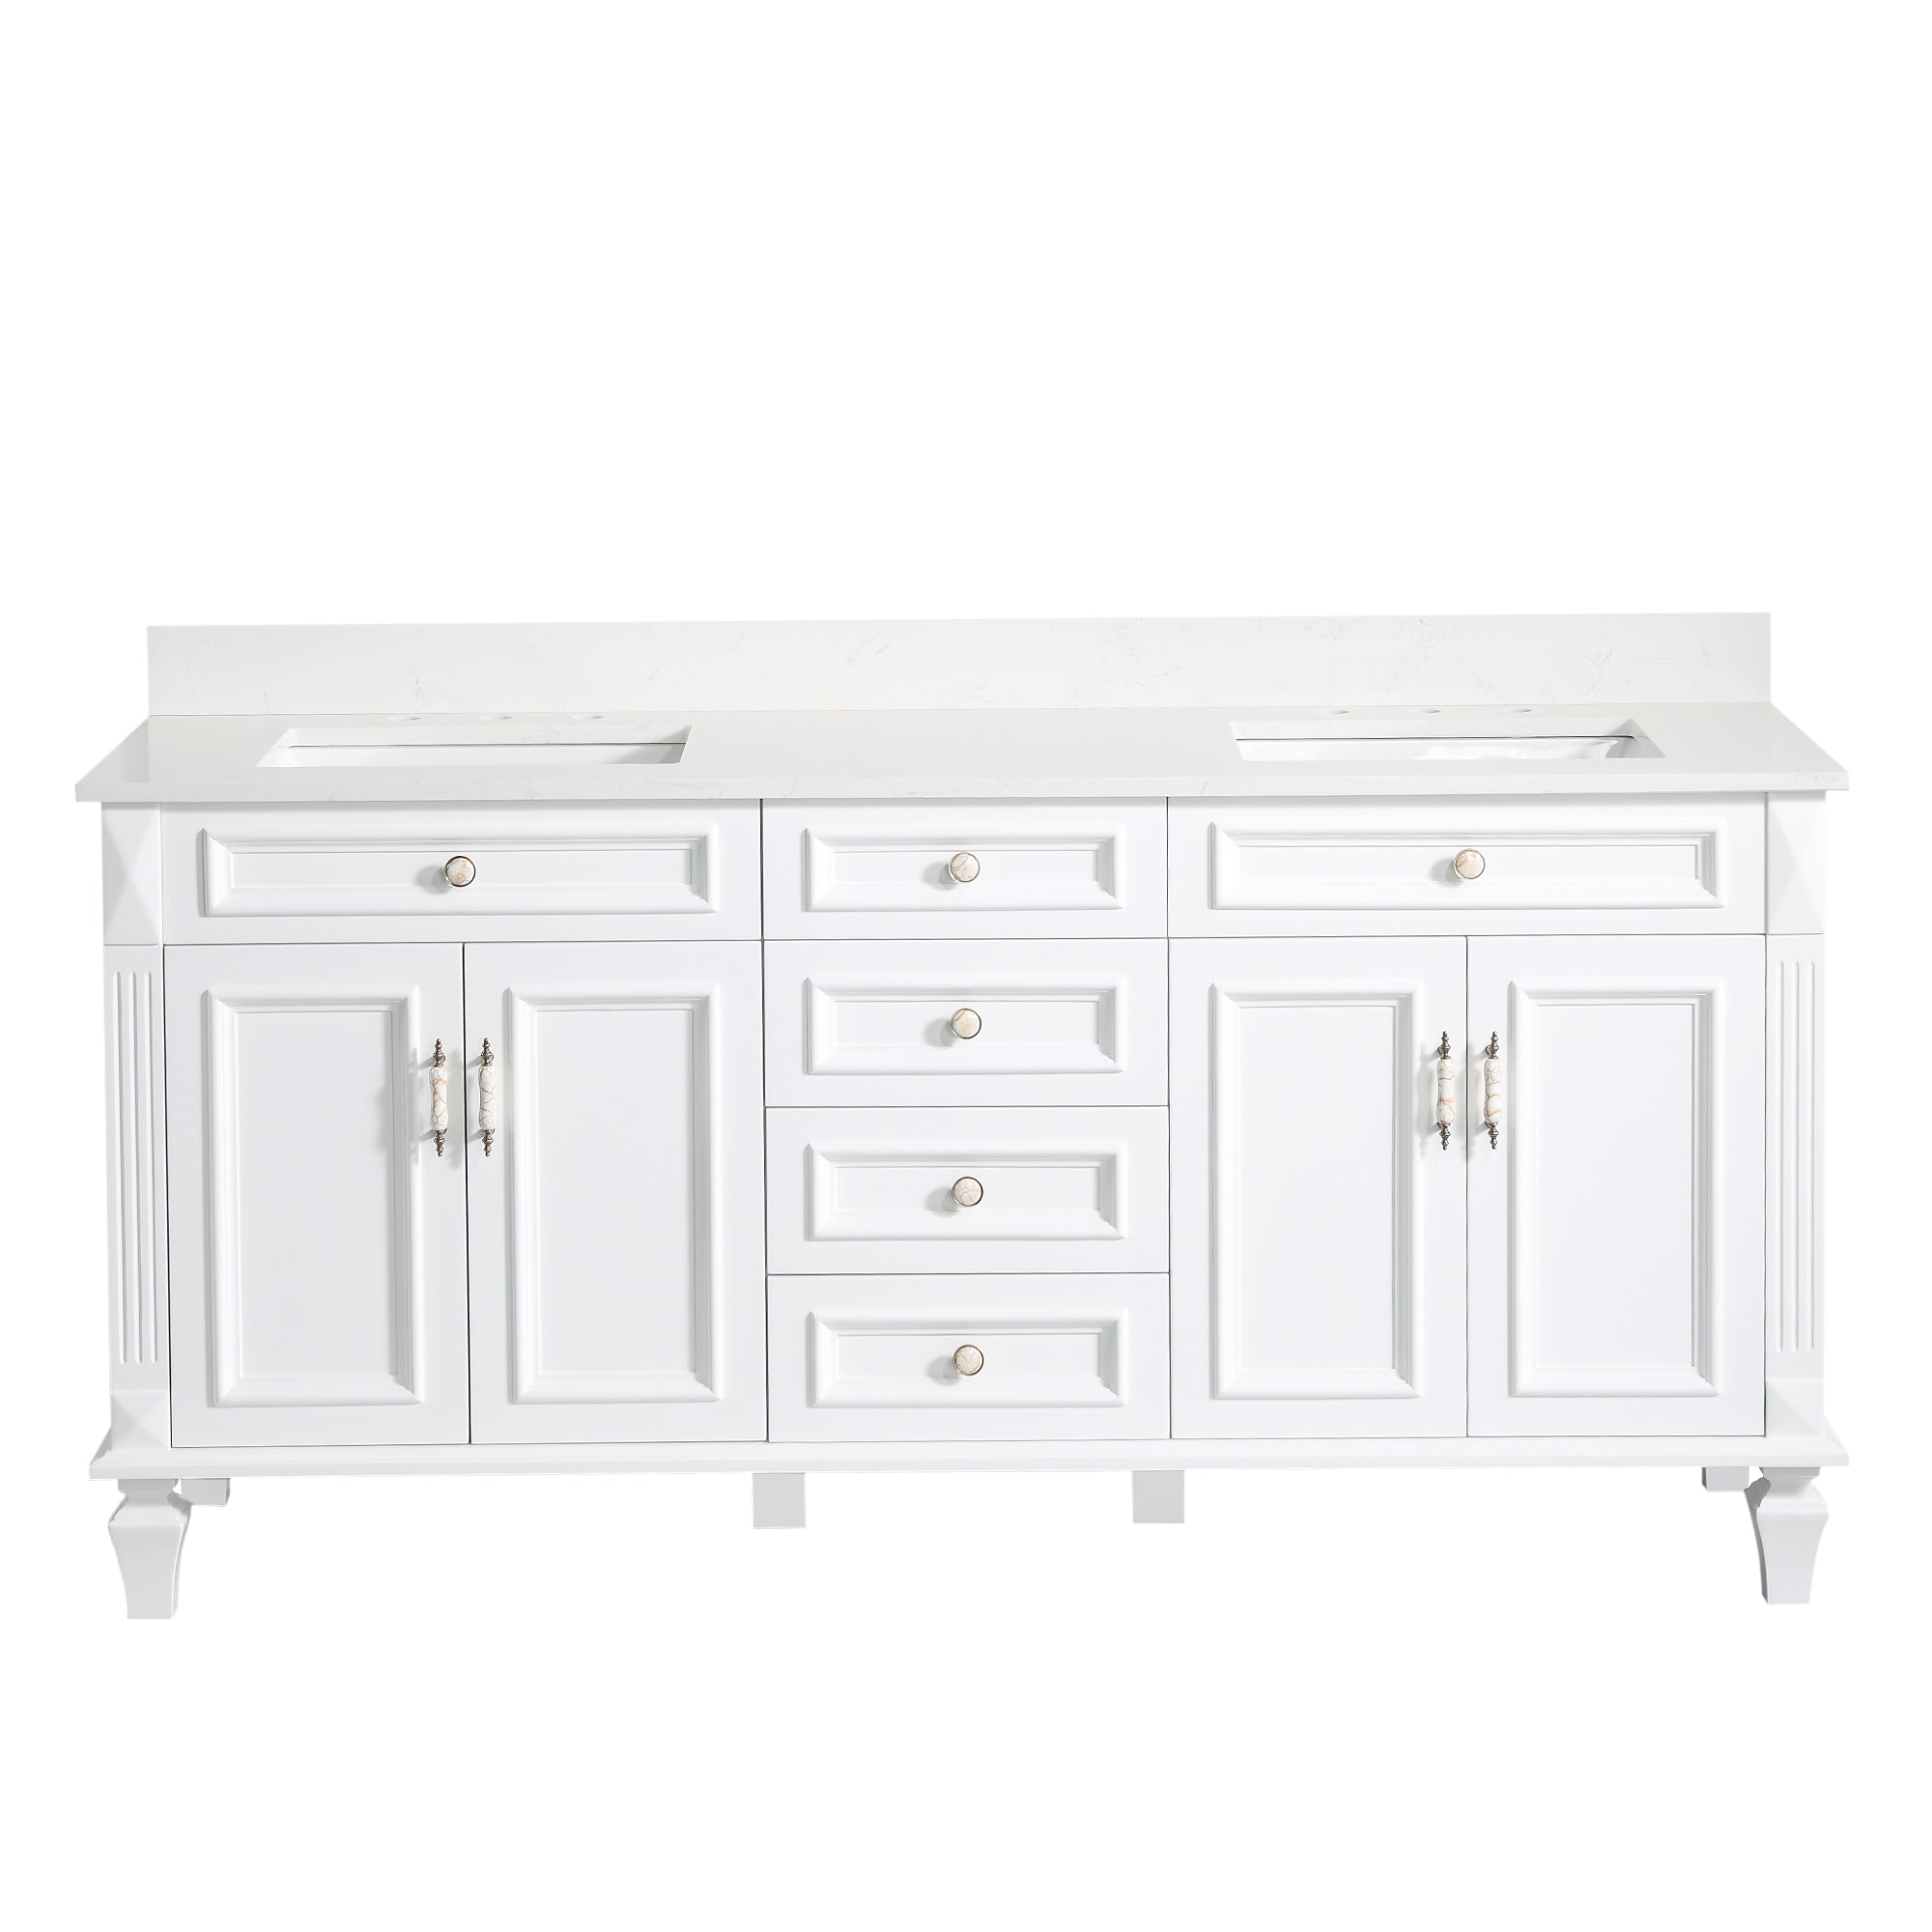
A wooden bathroom vanity can bring warmth and charm to your space, but over time, it might start looking worn or outdated. Instead of replacing it, a fresh coat of paint can give your vanity new life. Refinishing a wood bath vanity is not only cost-effective but also a rewarding DIY project. In this guide, we’ll show you how to refinish your wood vanity, transforming it into a stylish and modern white bath vanity that can completely refresh your bathroom’s look. Whether you’re an experienced DIYer or a beginner, these steps will make the process smooth and easy to follow.
Why Refinish Your Wood Bath Vanity?
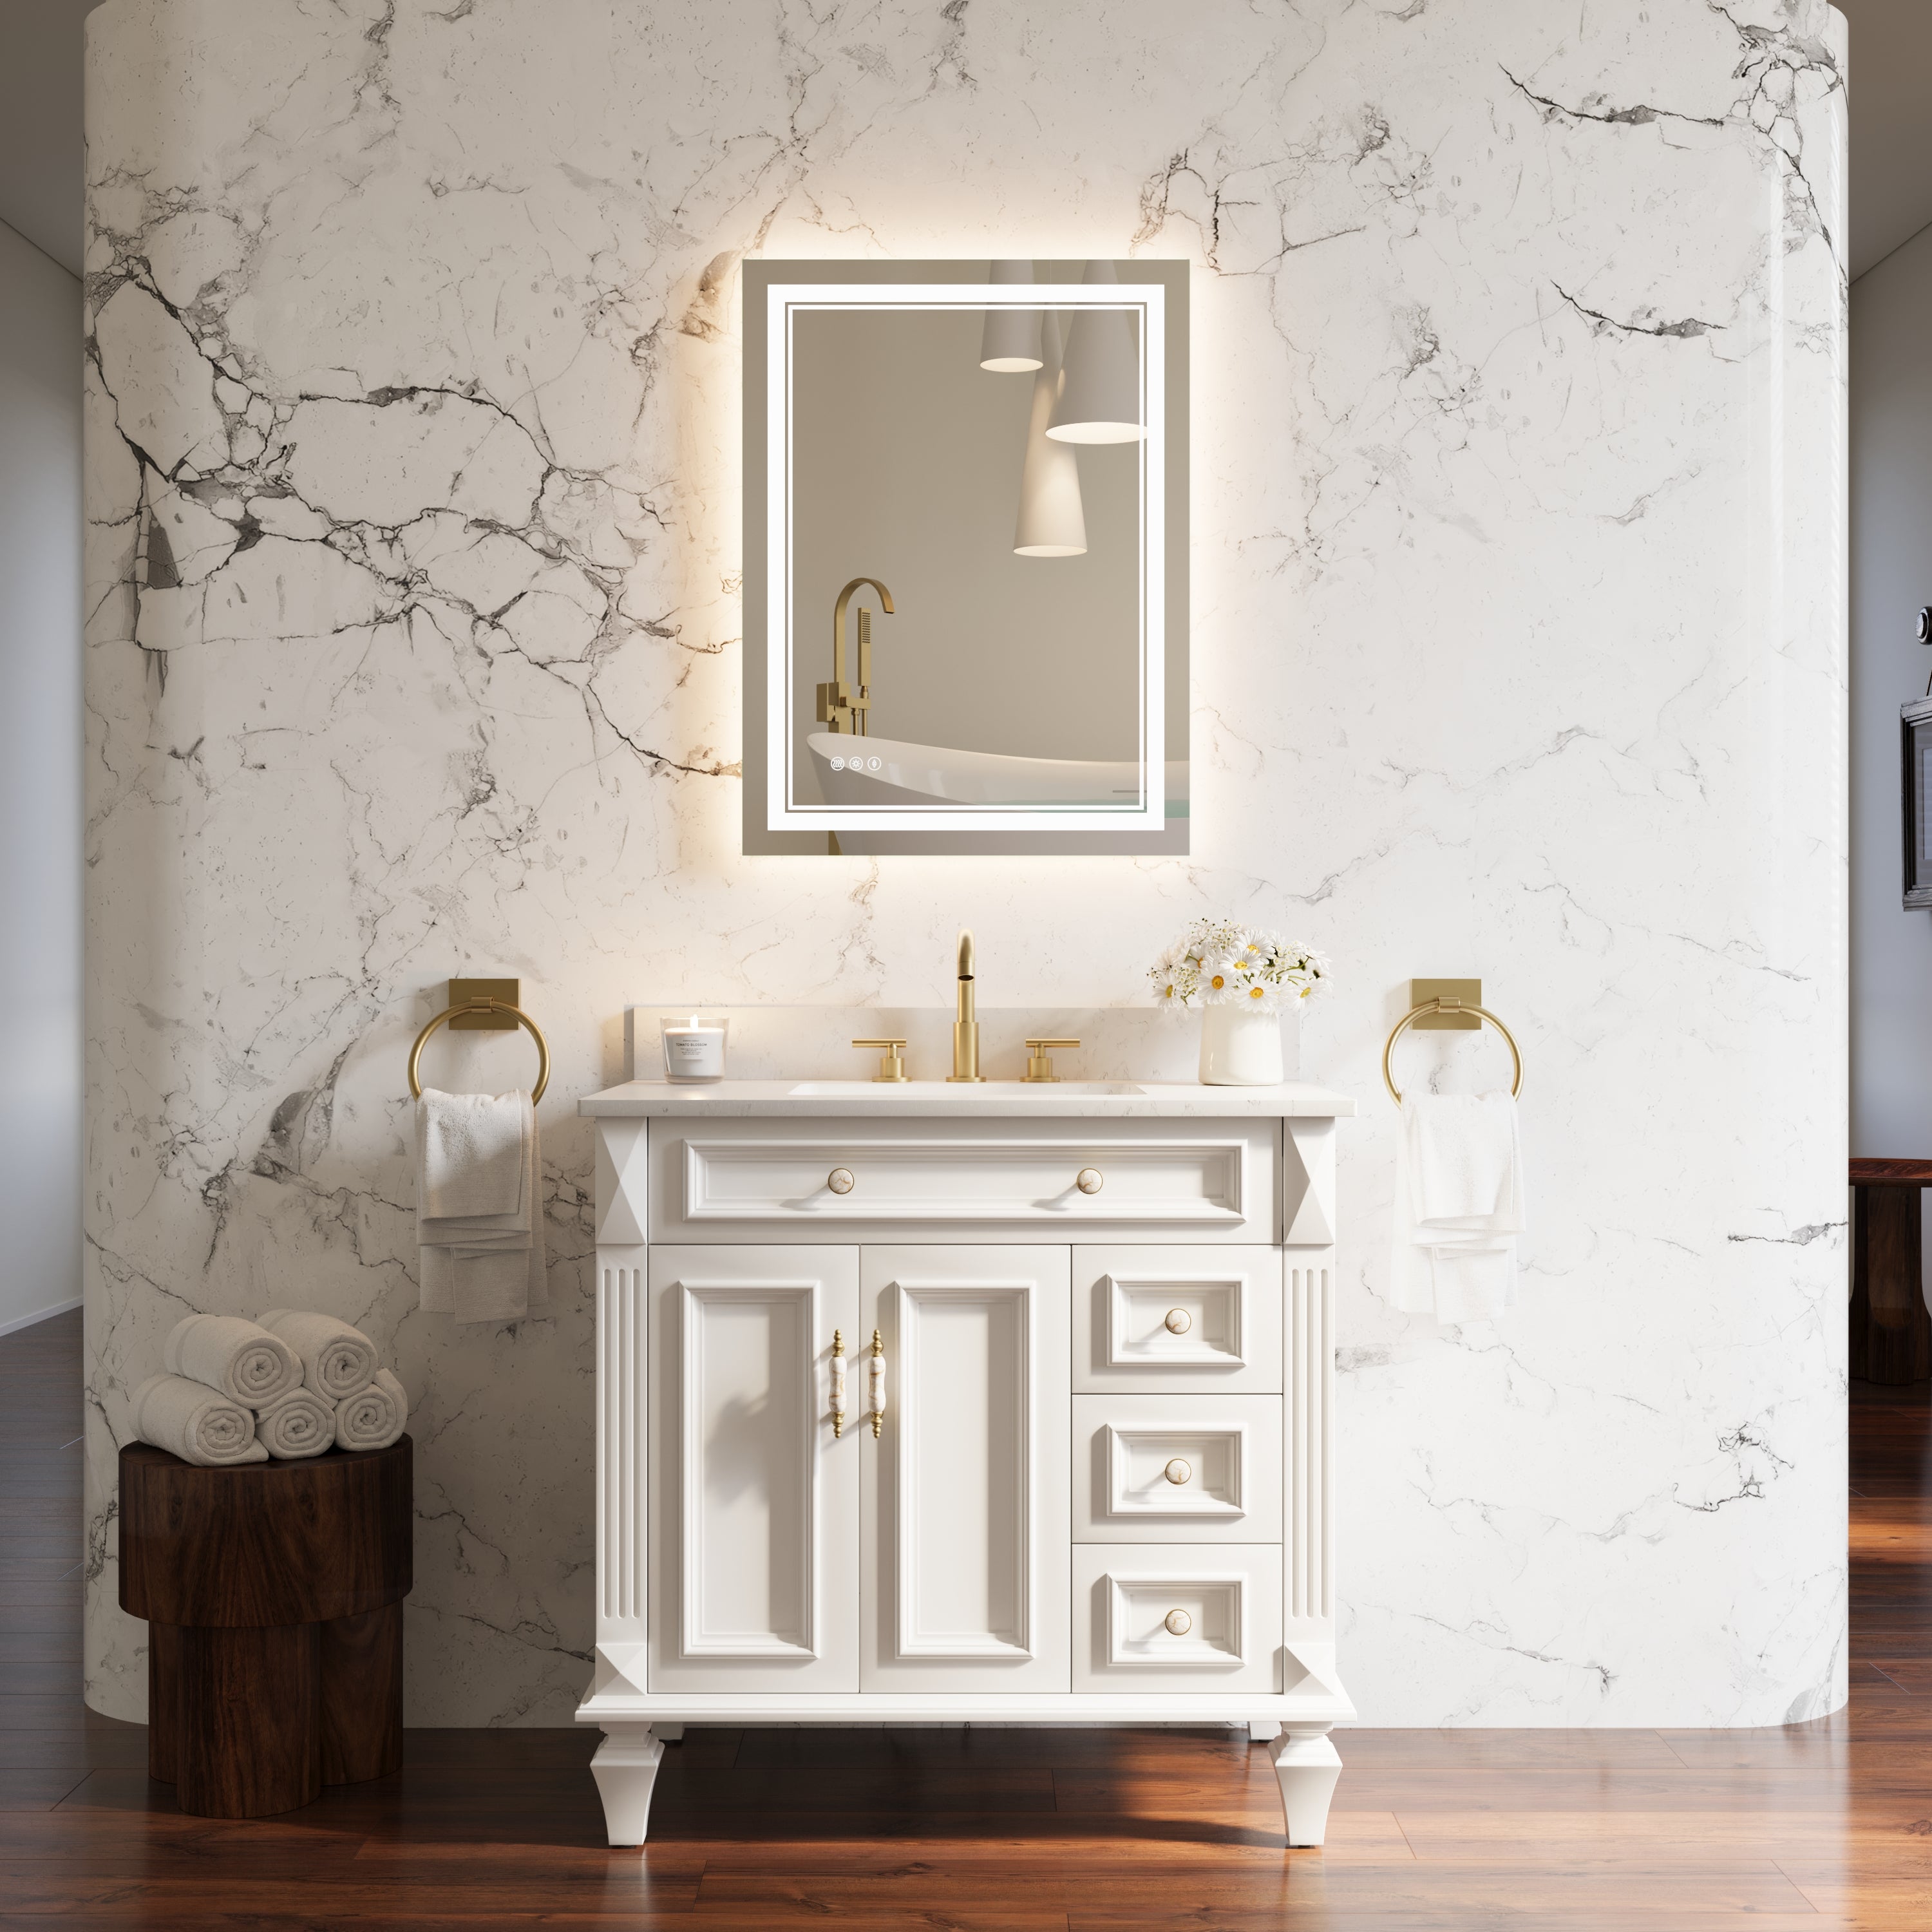
Refinishing a wooden bath vanity is an excellent way to update the look of your bathroom without spending a lot of money. Choosing a white finish for your vanity can add brightness to your space, making the room feel larger, cleaner, and more modern. Plus, a white bath vanity pairs effortlessly with a wide range of bathroom décor, from traditional to contemporary styles.
1. Gather Your Materials and Tools
Before starting, make sure you have all the tools and materials needed for the job. Having everything prepared will make the process quicker and more efficient. Here’s a list of what you’ll need:
Materials:
- Paint (high-quality furniture or cabinet paint in white)
- Primer (stain-blocking primer for wood)
- Sandpaper (grits 120, 220, and 320)
- Wood filler (if needed for repairs)
- Painter’s tape
- Drop cloths
- Tack cloth or microfiber cloth
- Clear topcoat or sealer (optional for added durability)
Tools:
- Screwdriver (to remove hardware)
- Paintbrushes (angled brush for corners, straight brush for flat areas)
- Paint roller (for larger surfaces)
- Electric sander (optional but recommended)
- Putty knife (if using wood filler)
- Paint tray
Once you’ve gathered your tools, you're ready to begin.
2. Prepare the Vanity for Painting
Preparation is key to achieving a smooth, professional-looking finish. Follow these steps to get your vanity ready for painting:
Remove Hardware and Doors
Start by removing all the cabinet doors, drawers, and hardware (handles, knobs, and hinges) from the vanity. This will allow you to paint each component separately and ensure that you don’t accidentally get paint on any hardware. Use a screwdriver to carefully detach everything, and keep all the screws and hardware organized.
Clean the Vanity
Next, thoroughly clean the surface of the vanity. Over time, bathroom vanities accumulate dust, grime, soap scum, and oils that can prevent paint from adhering properly. Use a gentle cleaner or a mixture of water and mild soap to wipe down the entire vanity. Allow it to dry completely before moving on to the next step.
3. Repair and Sand the Vanity
Now that your vanity is clean and free of hardware, it’s time to address any imperfections and prepare the wood for painting.
Fill Any Holes or Cracks
Inspect the vanity for any dents, cracks, or holes. Use wood filler to repair these imperfections, applying it with a putty knife. Once the wood filler dries, sand it smooth to match the surrounding surface. If you plan to change the hardware and need to fill old screw holes, do so at this stage.
Sand the Vanity
Sanding is a crucial step to help the primer and paint adhere better. Start with a 120-grit sandpaper to remove the old finish or rough up the surface. If the vanity has a glossy finish, this step is especially important.
After the initial sanding, move on to a finer grit (220 or 320) to smooth the surface further. For the best results, use an electric sander for flat surfaces, and sandpaper by hand for detailed areas like trim or corners. Wipe away dust with a tack cloth or a microfiber cloth once you’re done sanding.
4. Apply Primer to the Vanity
A good primer sets the foundation for your new white bath vanity. Priming helps seal the wood and prevents stains or tannins from bleeding through the paint.
Choose the Right Primer

For wood vanities, use a stain-blocking primer designed for wood surfaces. If your vanity has a dark finish or stains, a white primer will help provide a solid base for the white paint.
How to Apply Primer
Using a paintbrush or roller, apply an even coat of primer to all surfaces of the vanity, including the cabinet doors and drawers. Pay special attention to corners and edges. Let the primer dry according to the manufacturer’s instructions, typically around 1-2 hours.
Once the primer is dry, lightly sand the surface again with fine-grit sandpaper (320 grit) to smooth out any bumps or brush marks. Wipe off any dust with a tack cloth before proceeding to the next step.
5. Paint the Vanity
Now comes the fun part—painting your vanity! Follow these tips to achieve a flawless white bath vanity finish.
Choose the Right Paint
For bathroom vanities, it’s important to use a high-quality furniture or cabinet paint that is durable and moisture-resistant. Satin or semi-gloss finishes are ideal for bathrooms because they provide some sheen and are easier to clean than matte finishes.
How to Apply Paint
Start by painting the inside edges and details with an angled brush. Then, use a roller for the larger flat surfaces like the front of the vanity, doors, and drawer fronts. For the smoothest finish, apply thin coats of paint and allow each coat to dry completely before adding another. Most vanities will require 2-3 coats of paint for full coverage.
As you paint, be mindful of drips or uneven spots, and correct them immediately. Lightly sand between coats with a fine-grit sandpaper (320) to remove any imperfections.
6. Seal the Paint (Optional)
If you want to add extra durability to your painted vanity, consider applying a clear topcoat or sealer. This step is particularly useful in high-traffic bathrooms where the vanity will be exposed to moisture and frequent use. A satin or semi-gloss polyurethane topcoat can protect the paint from chipping and make it easier to clean.
Apply the topcoat with a clean brush, following the grain of the wood. Let it dry fully before reassembling the vanity.
7. Reattach Hardware and Doors
Once the paint (and topcoat, if applied) has fully dried, it’s time to reassemble your vanity. Reattach the doors and drawers using the original screws and hardware, or install new hardware if you decided to update it.
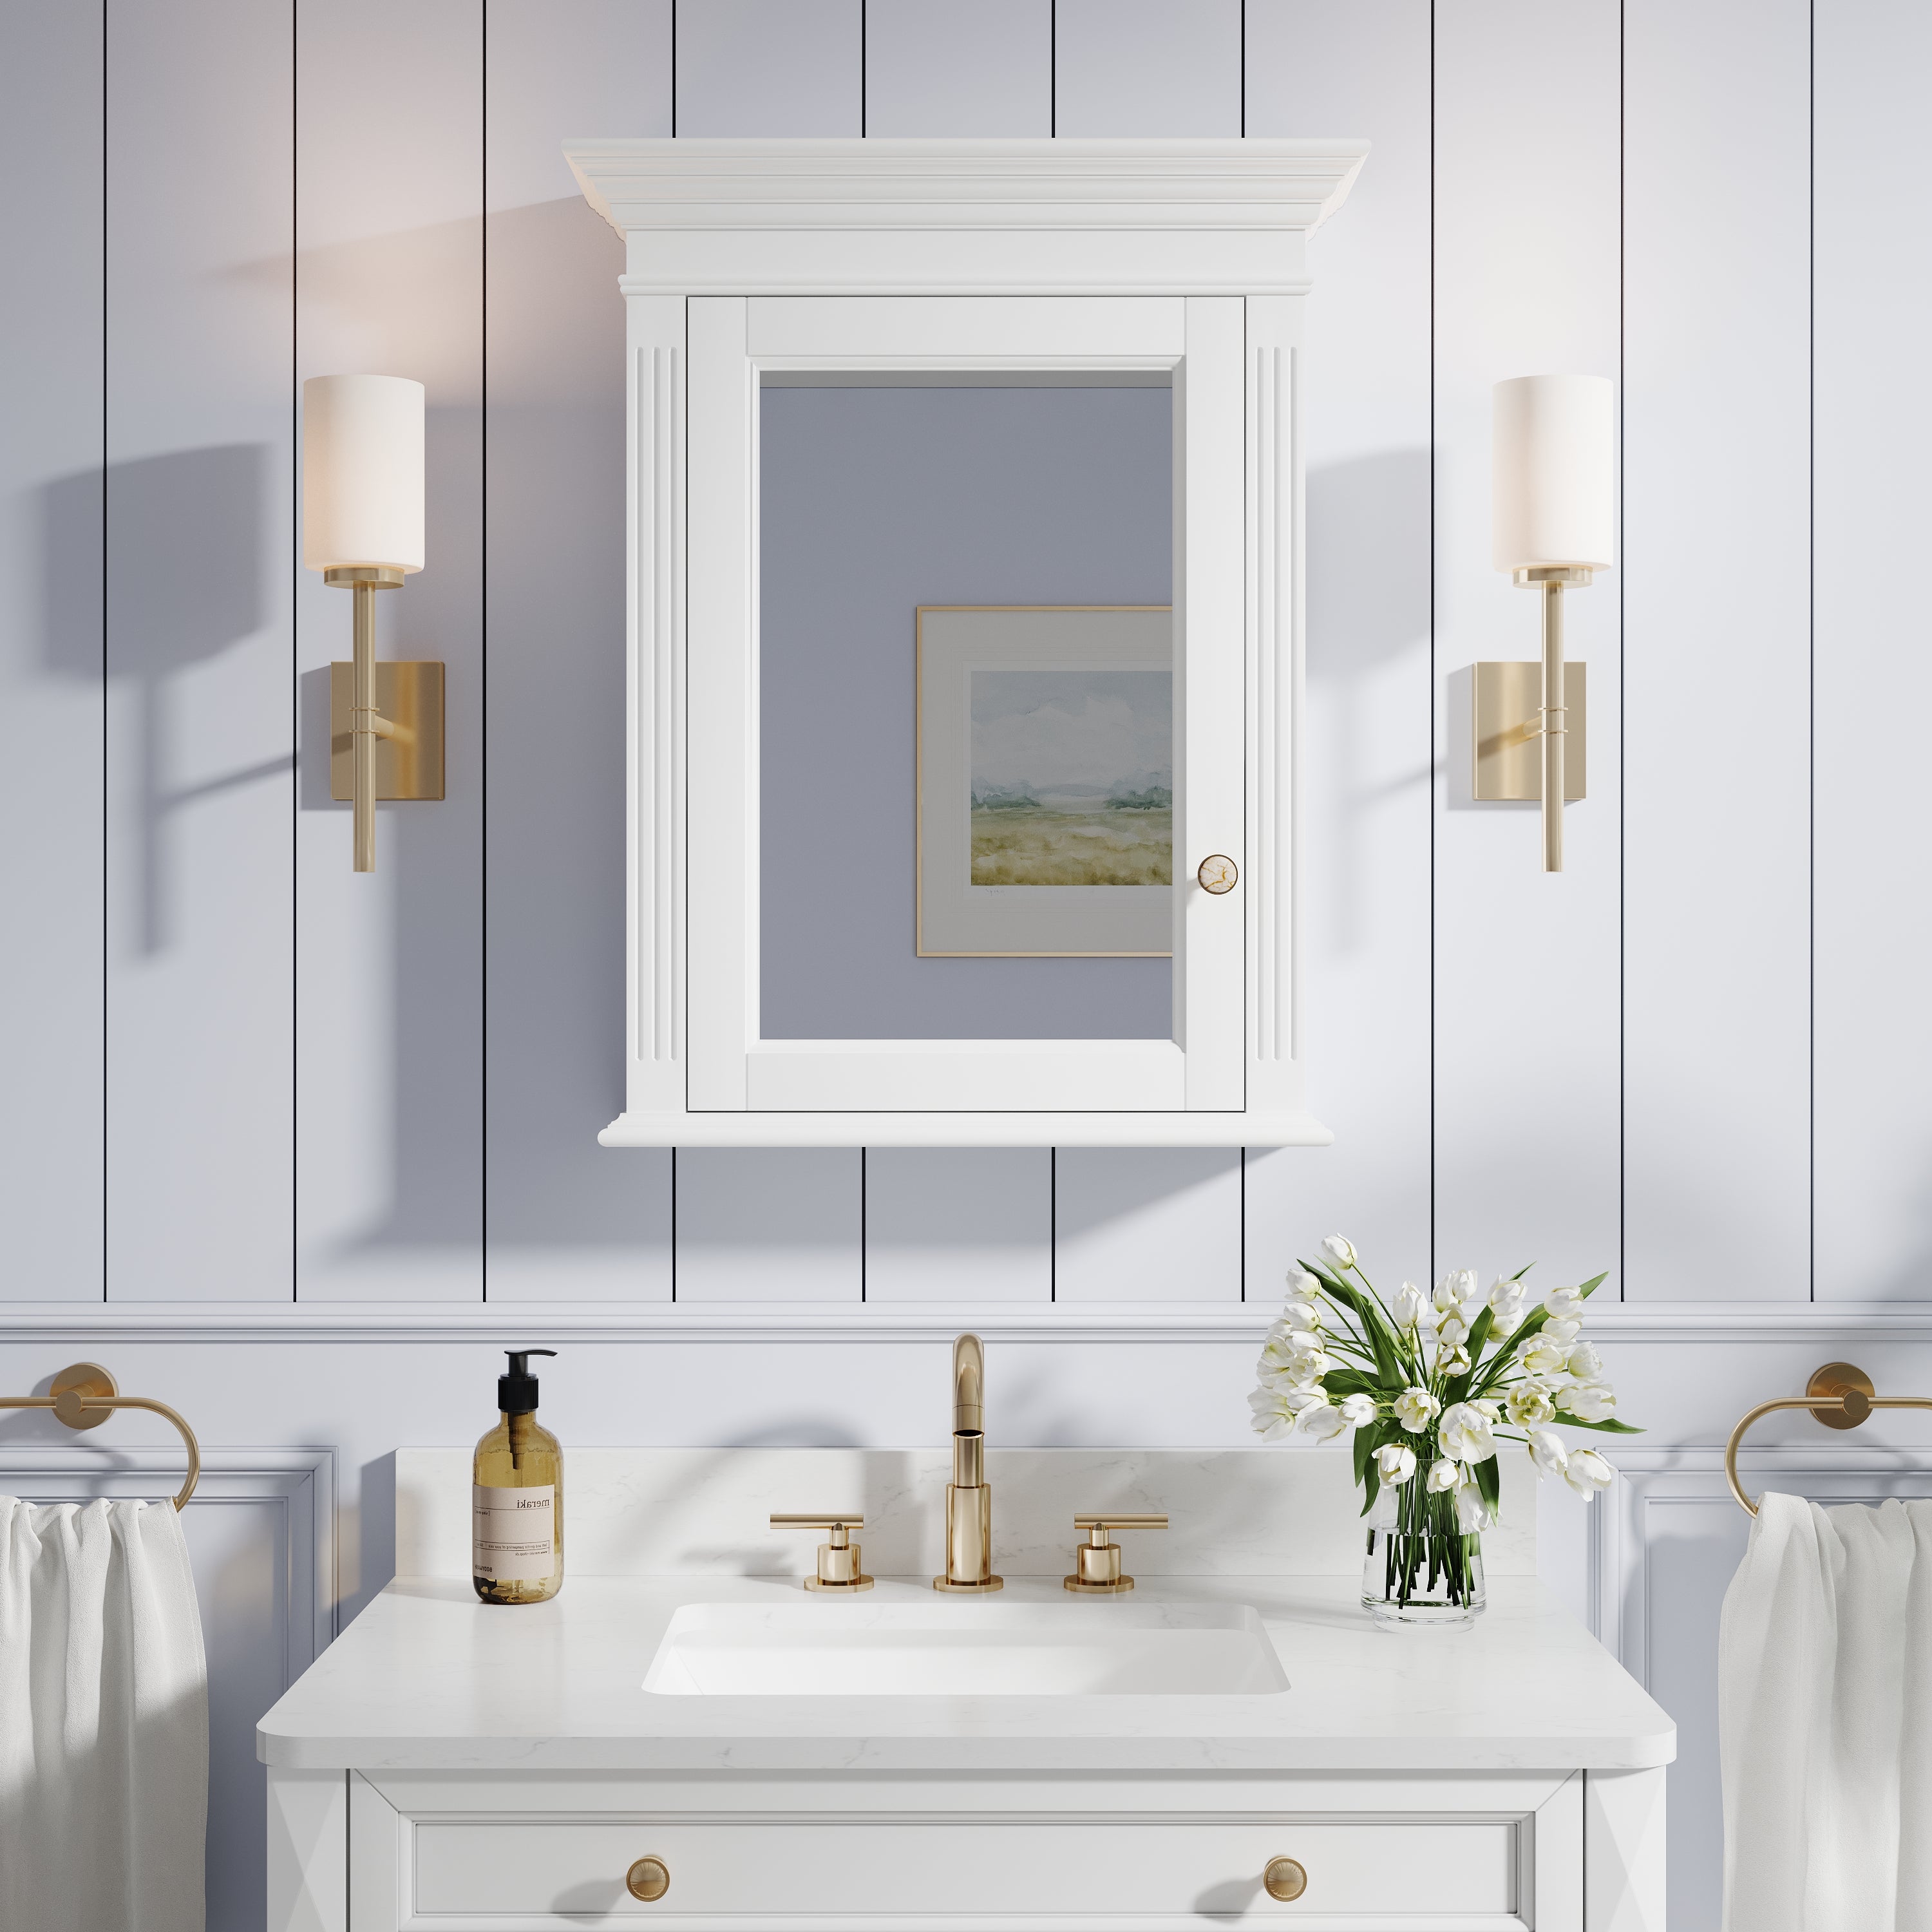
Choose hardware in finishes like brushed nickel, gold, or black to complement your new white bath vanity. These small details can add a touch of sophistication and complete the look.
Takeaway: A Fresh New Look for Your Bathroom
Painting your wood bath vanity is among the simplest and most effective ways to give your bathroom a face-lift. You are going to get that old, dingy vanity replaced with a chic white bath vanity, brightening it up and adding a modern touch by following these steps:. With just the right materials and a bit of patience, this DIY project will yield a brilliant vanity that looks new. You'll save money refacing instead of replacing, with the added satisfaction of a job well done.






















Leave a comment
This site is protected by hCaptcha and the hCaptcha Privacy Policy and Terms of Service apply.