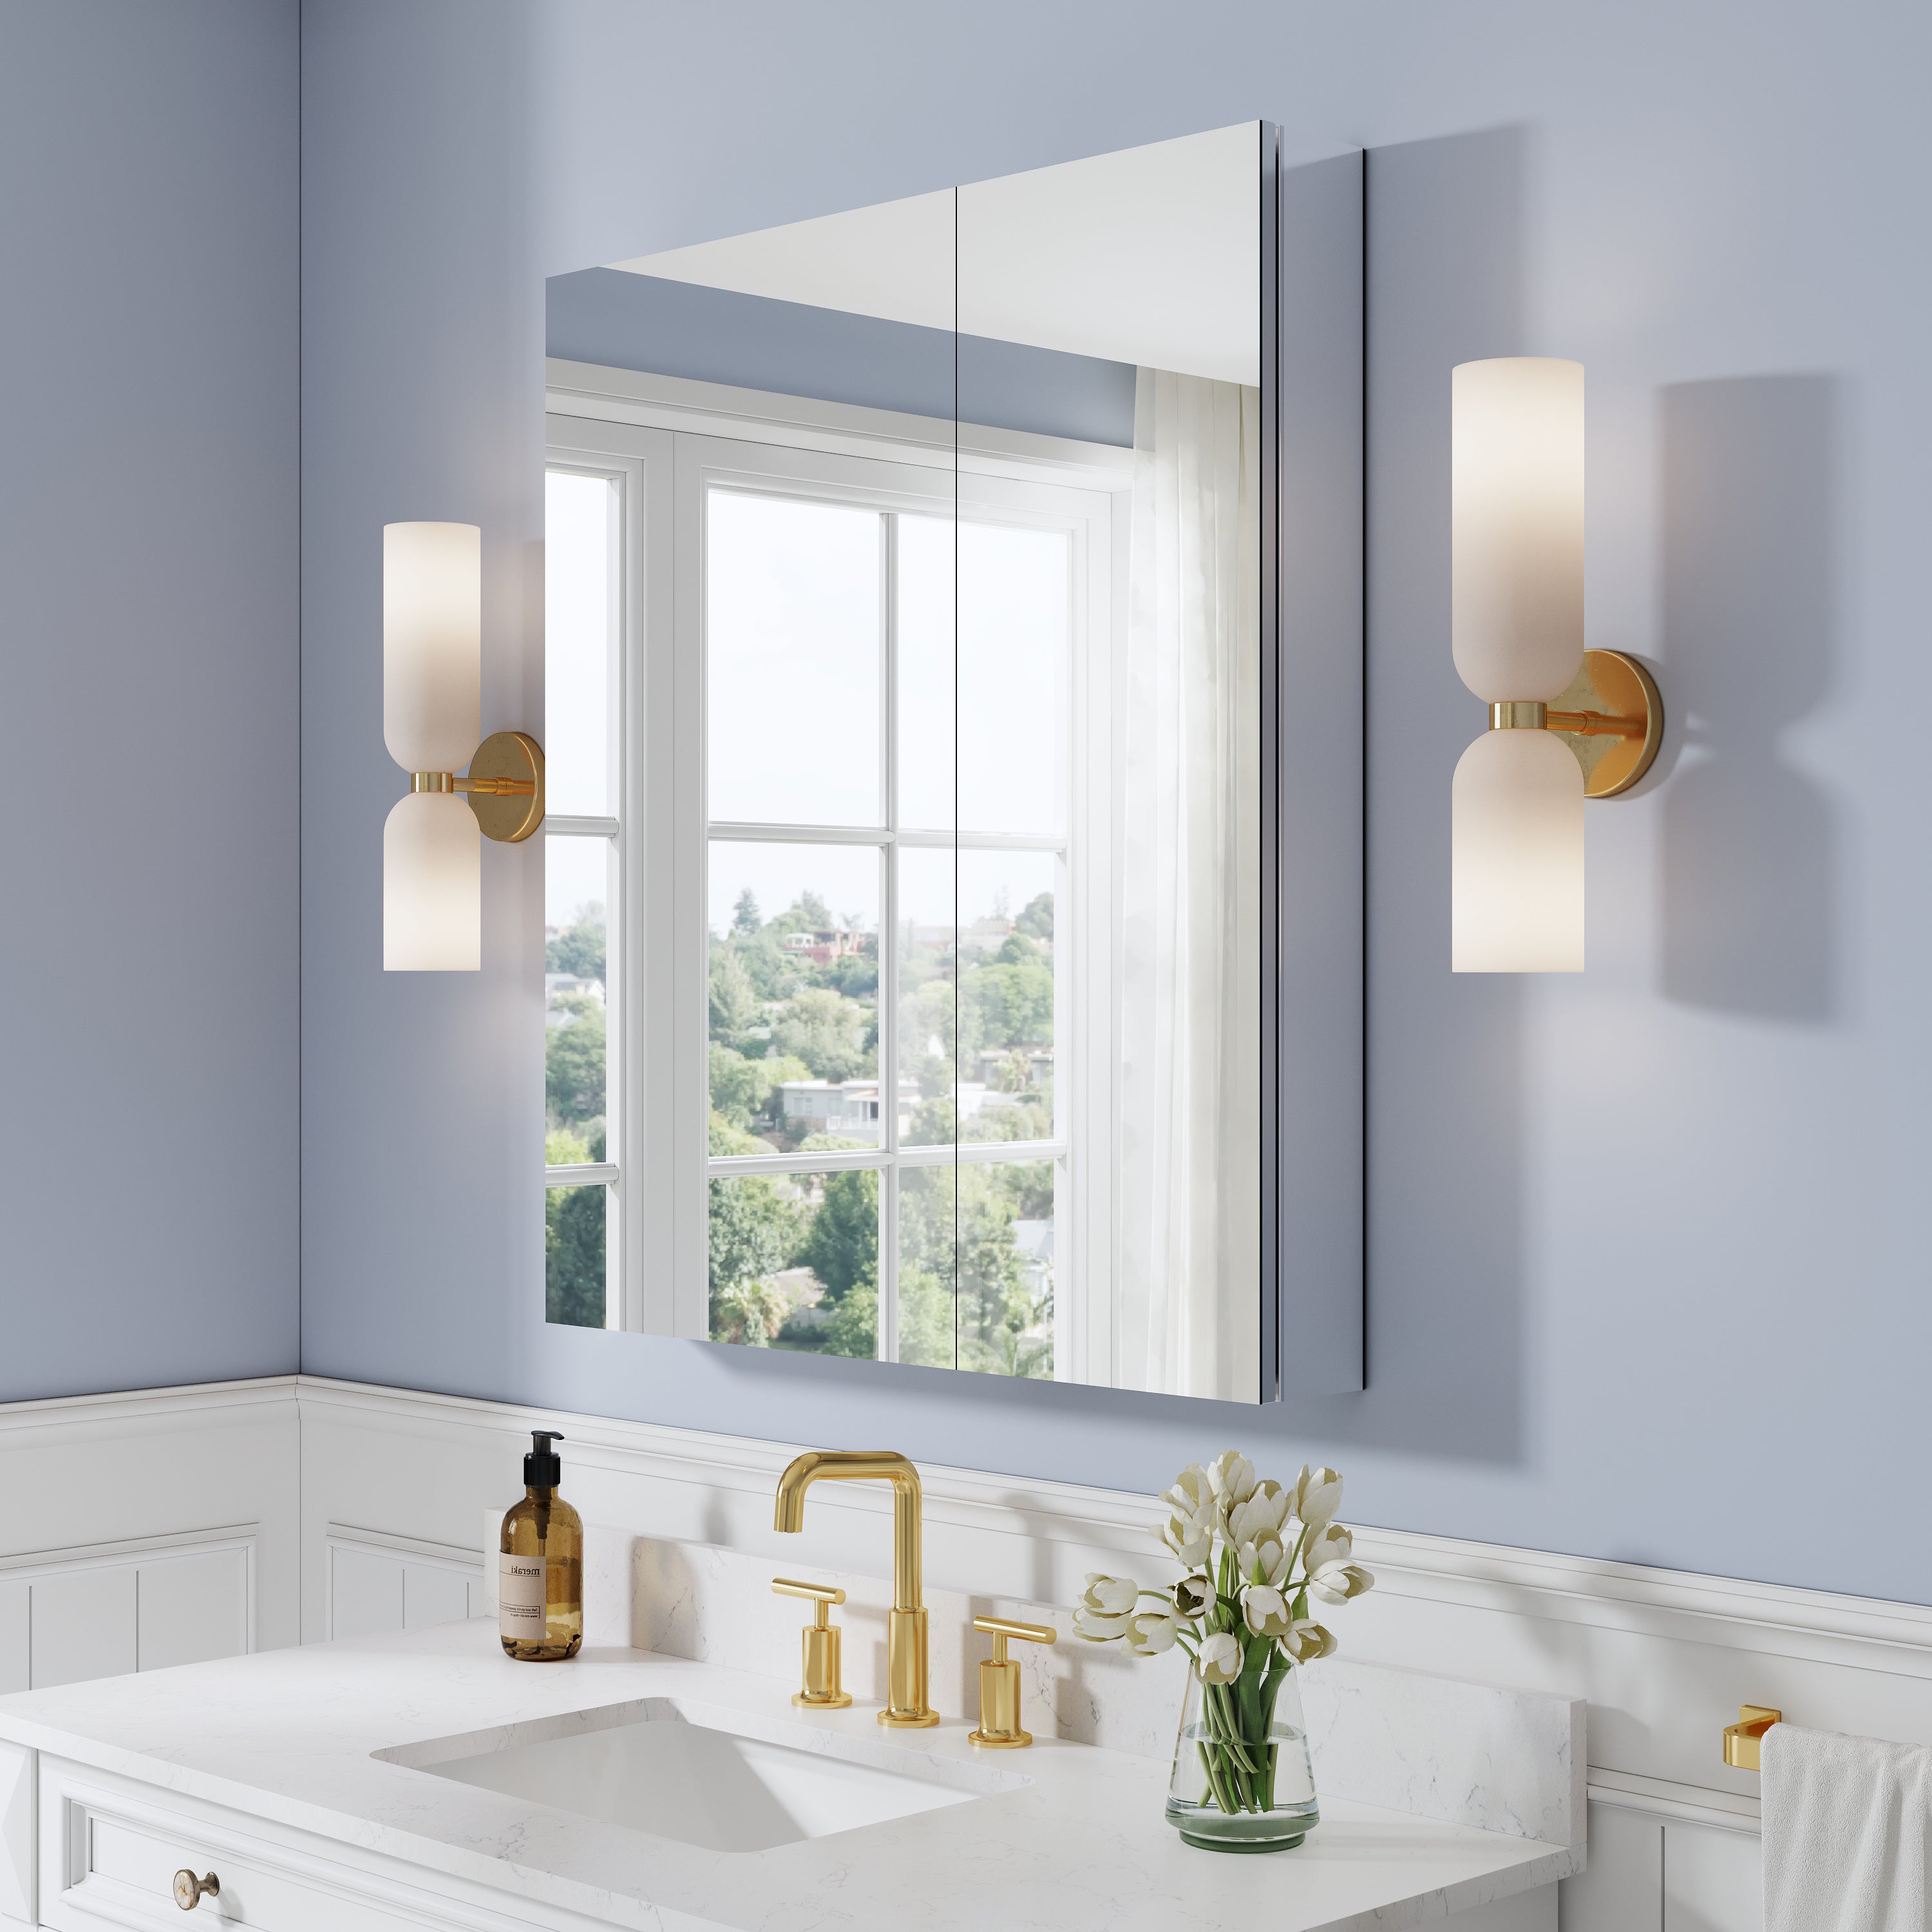
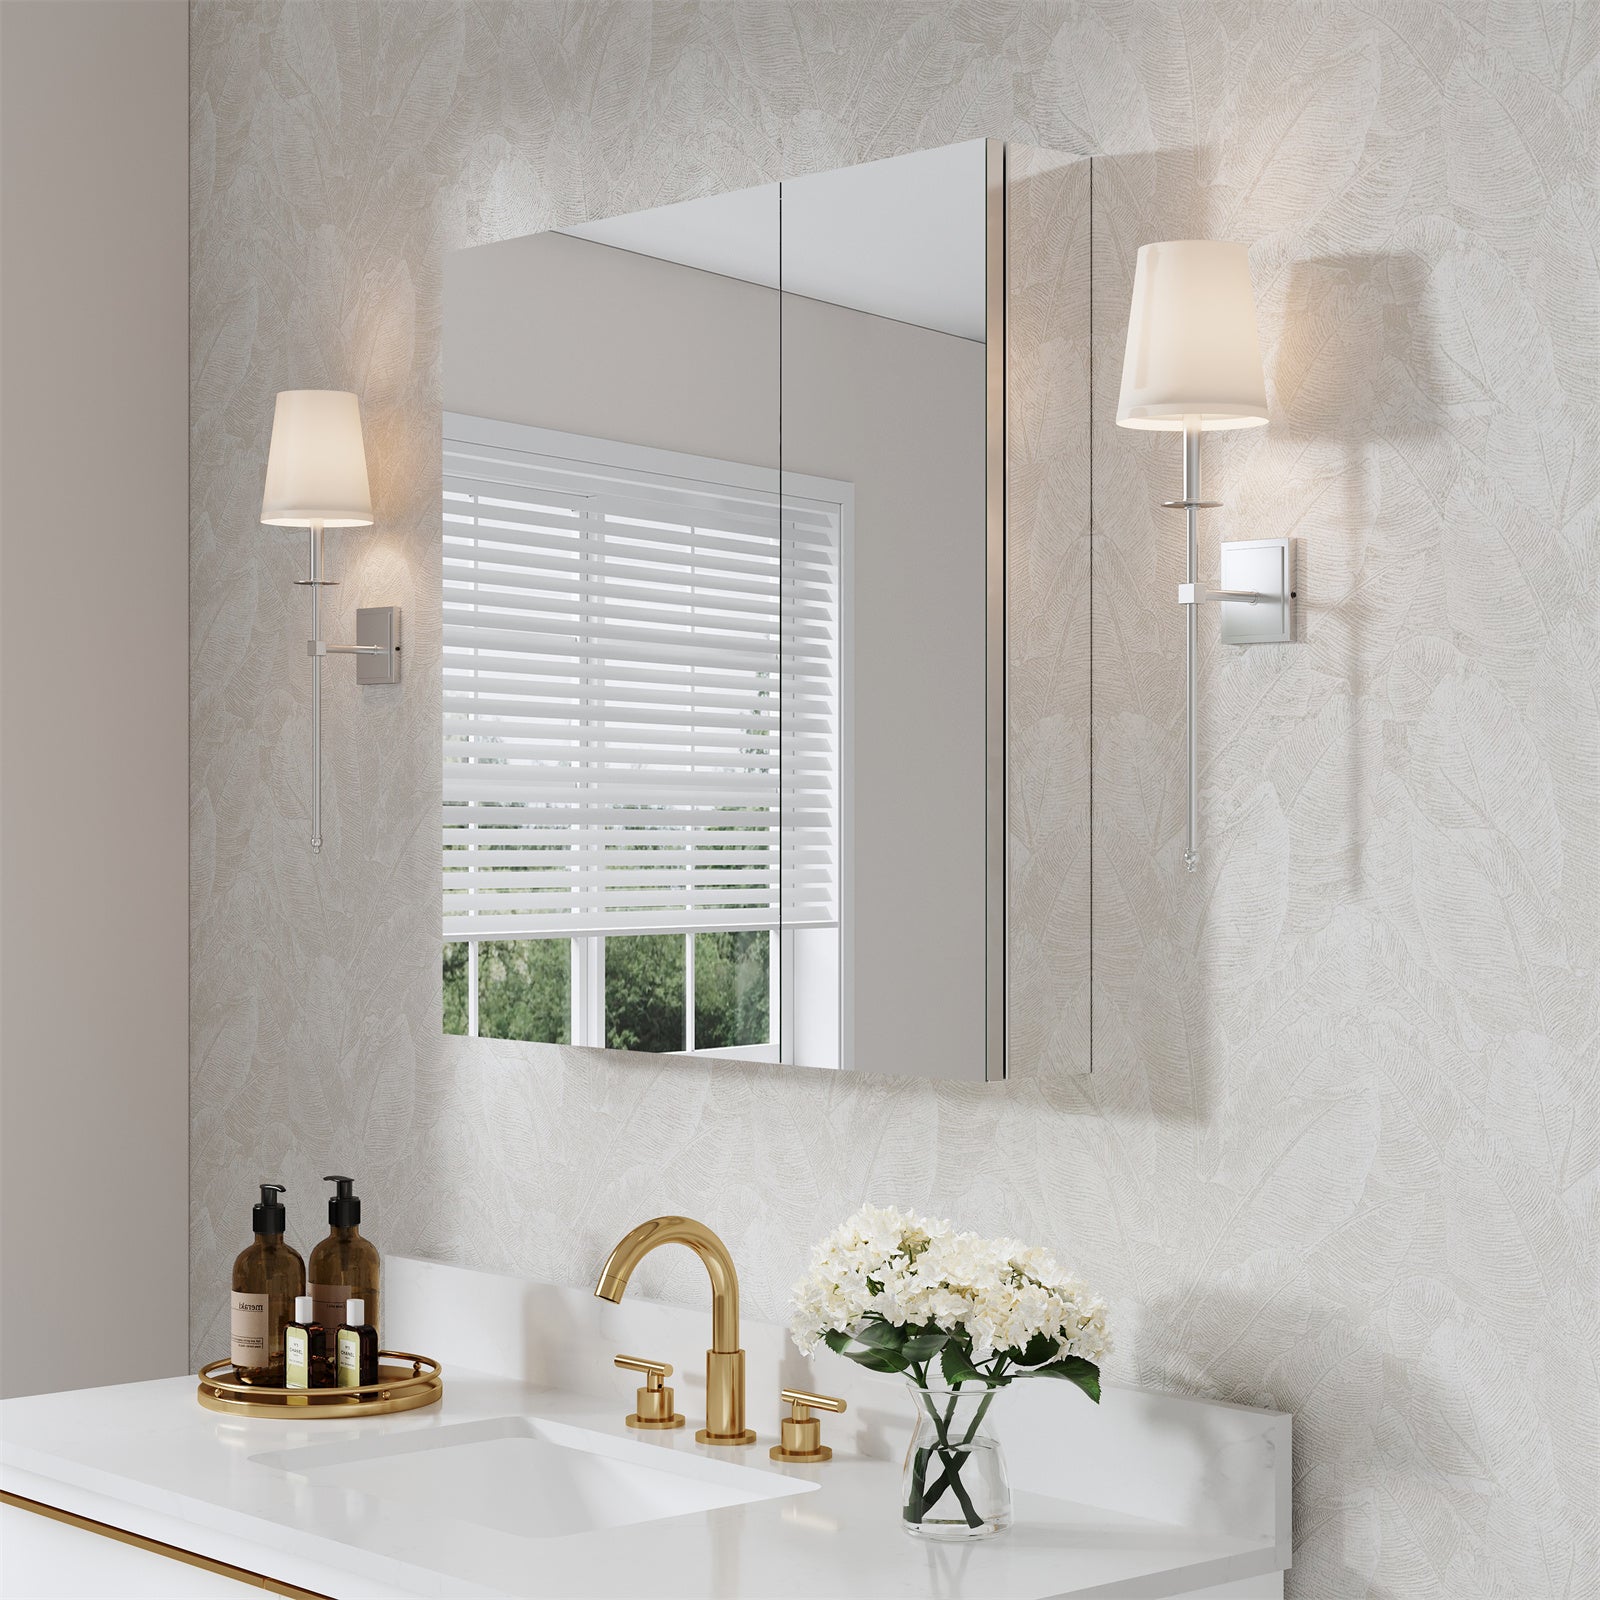
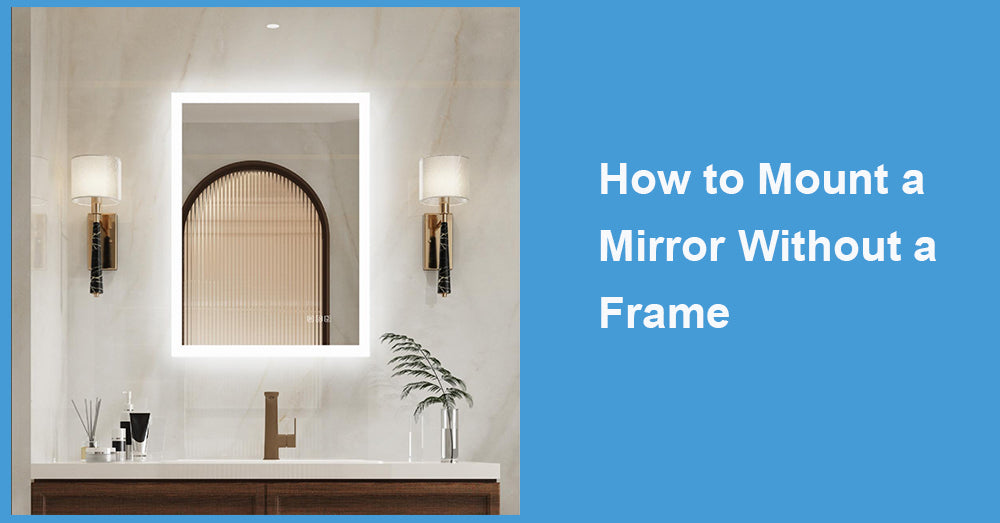
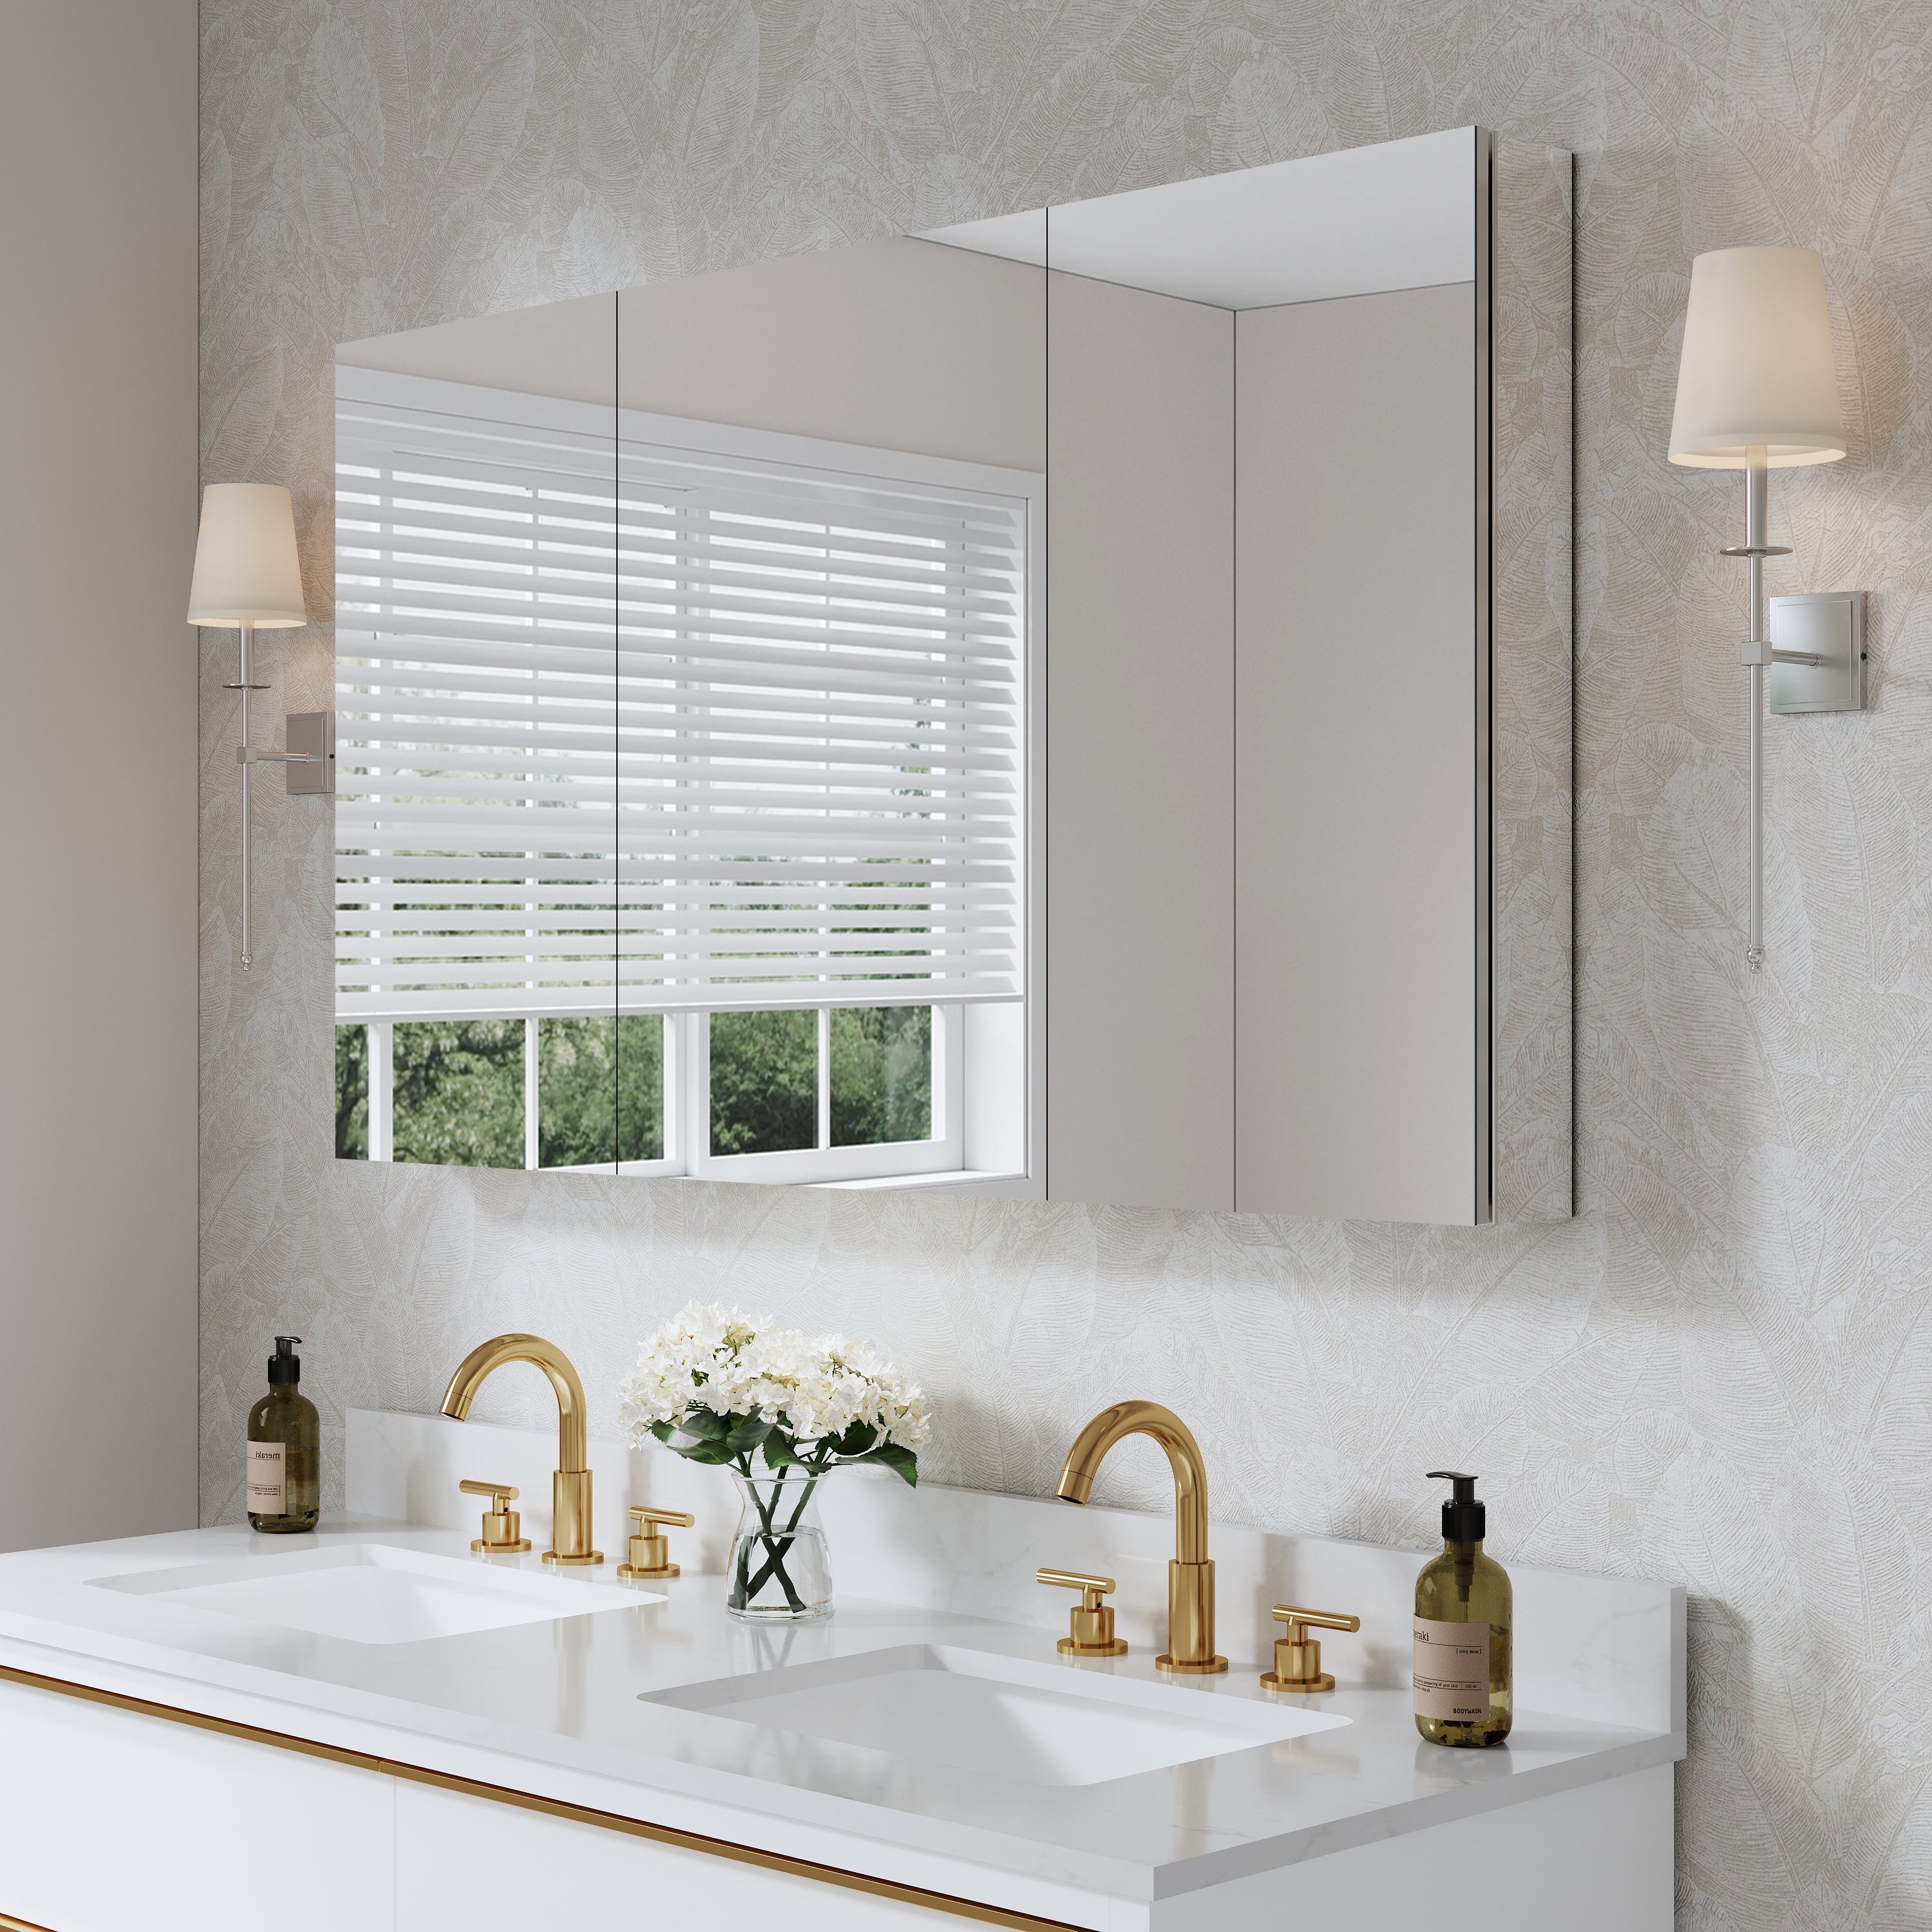
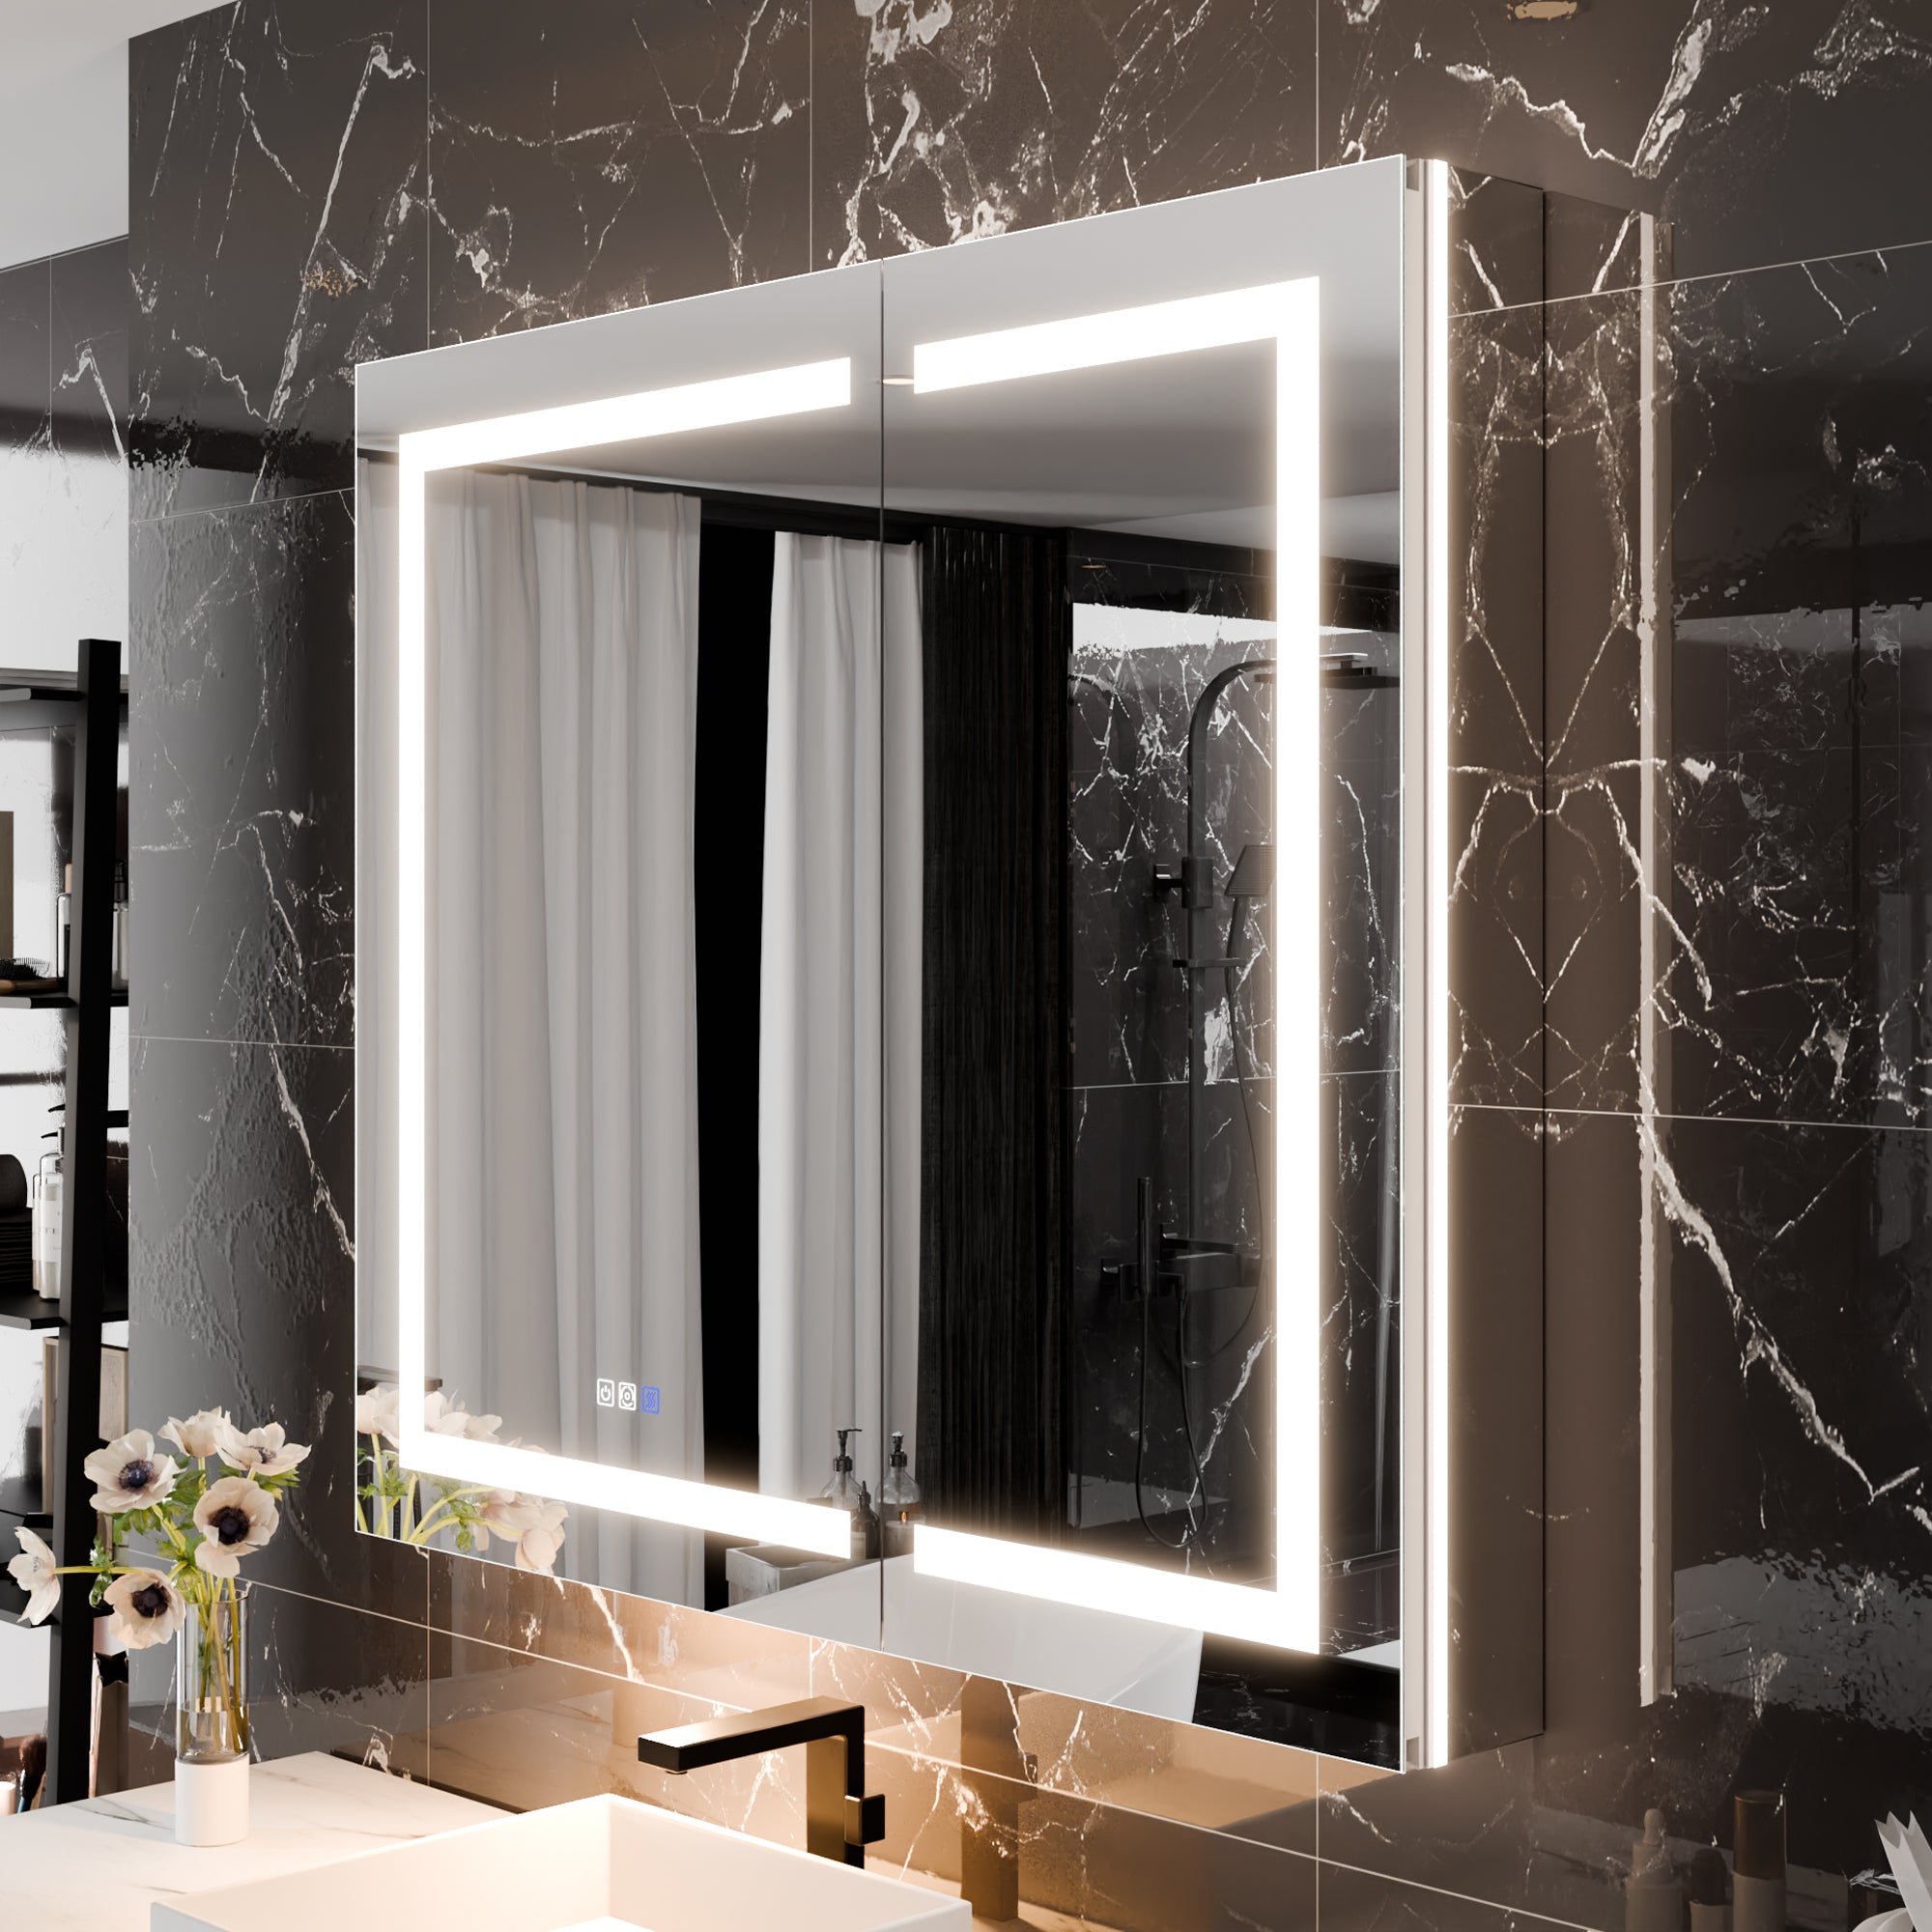
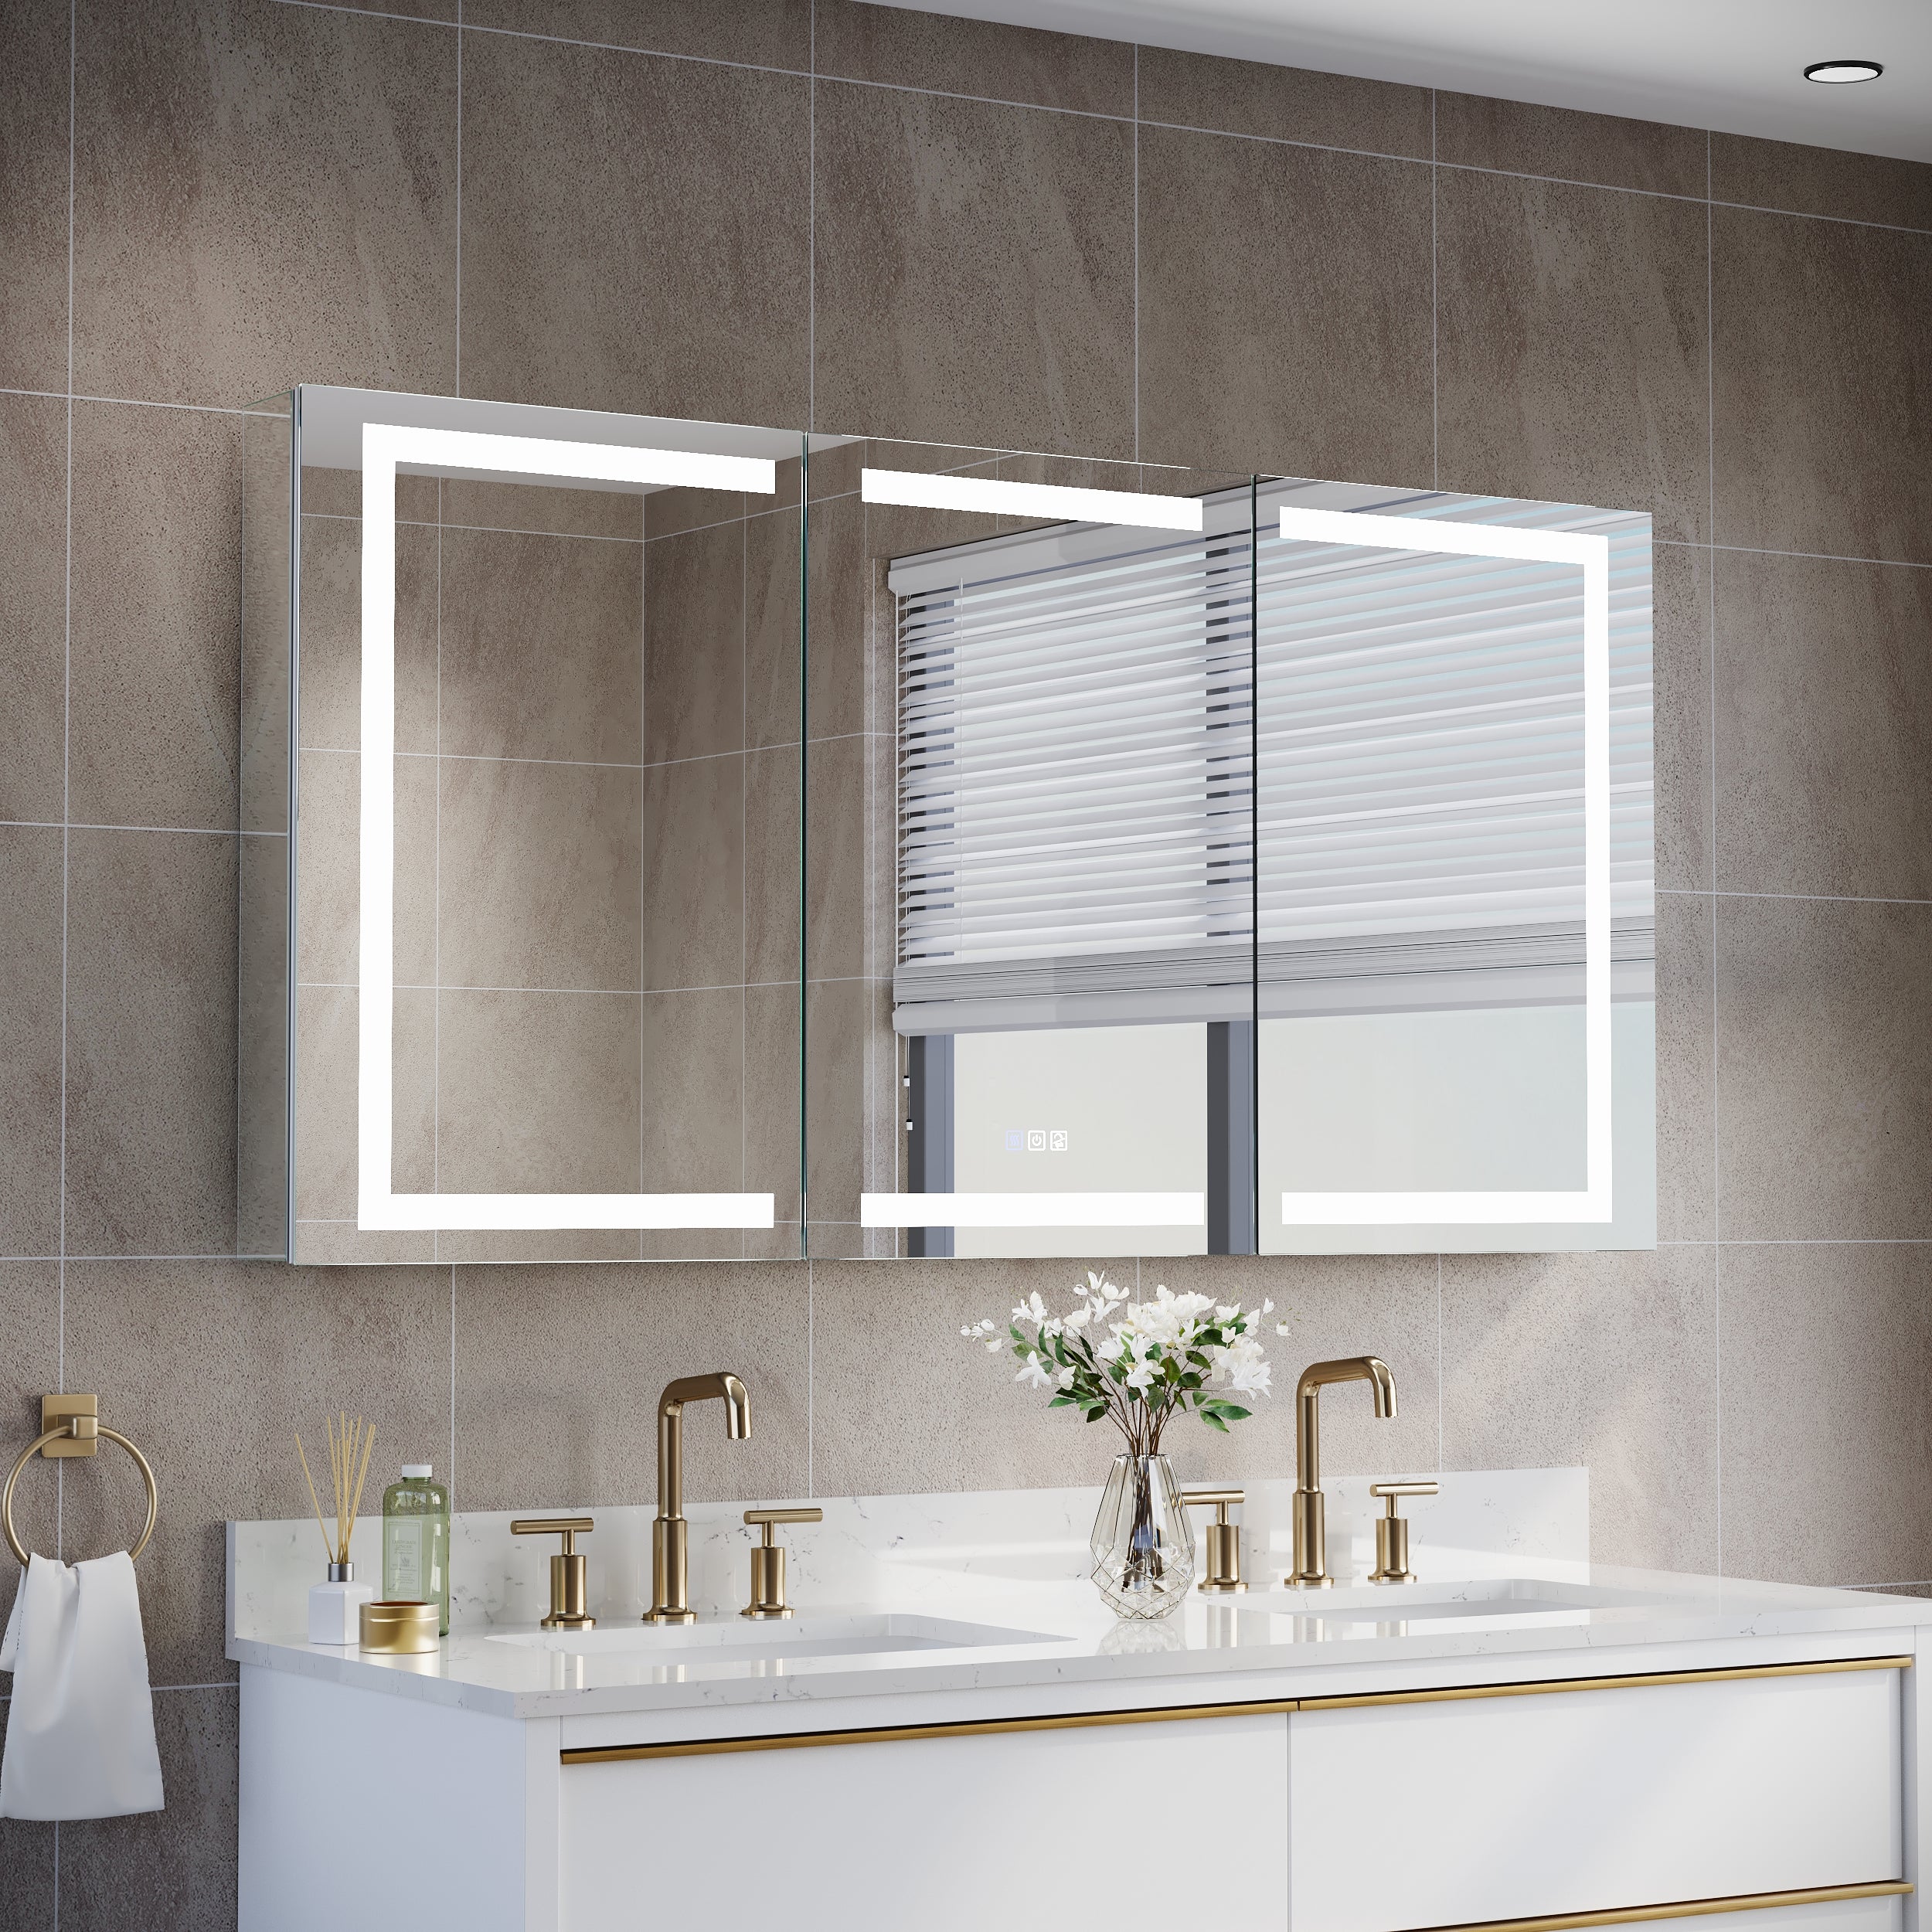
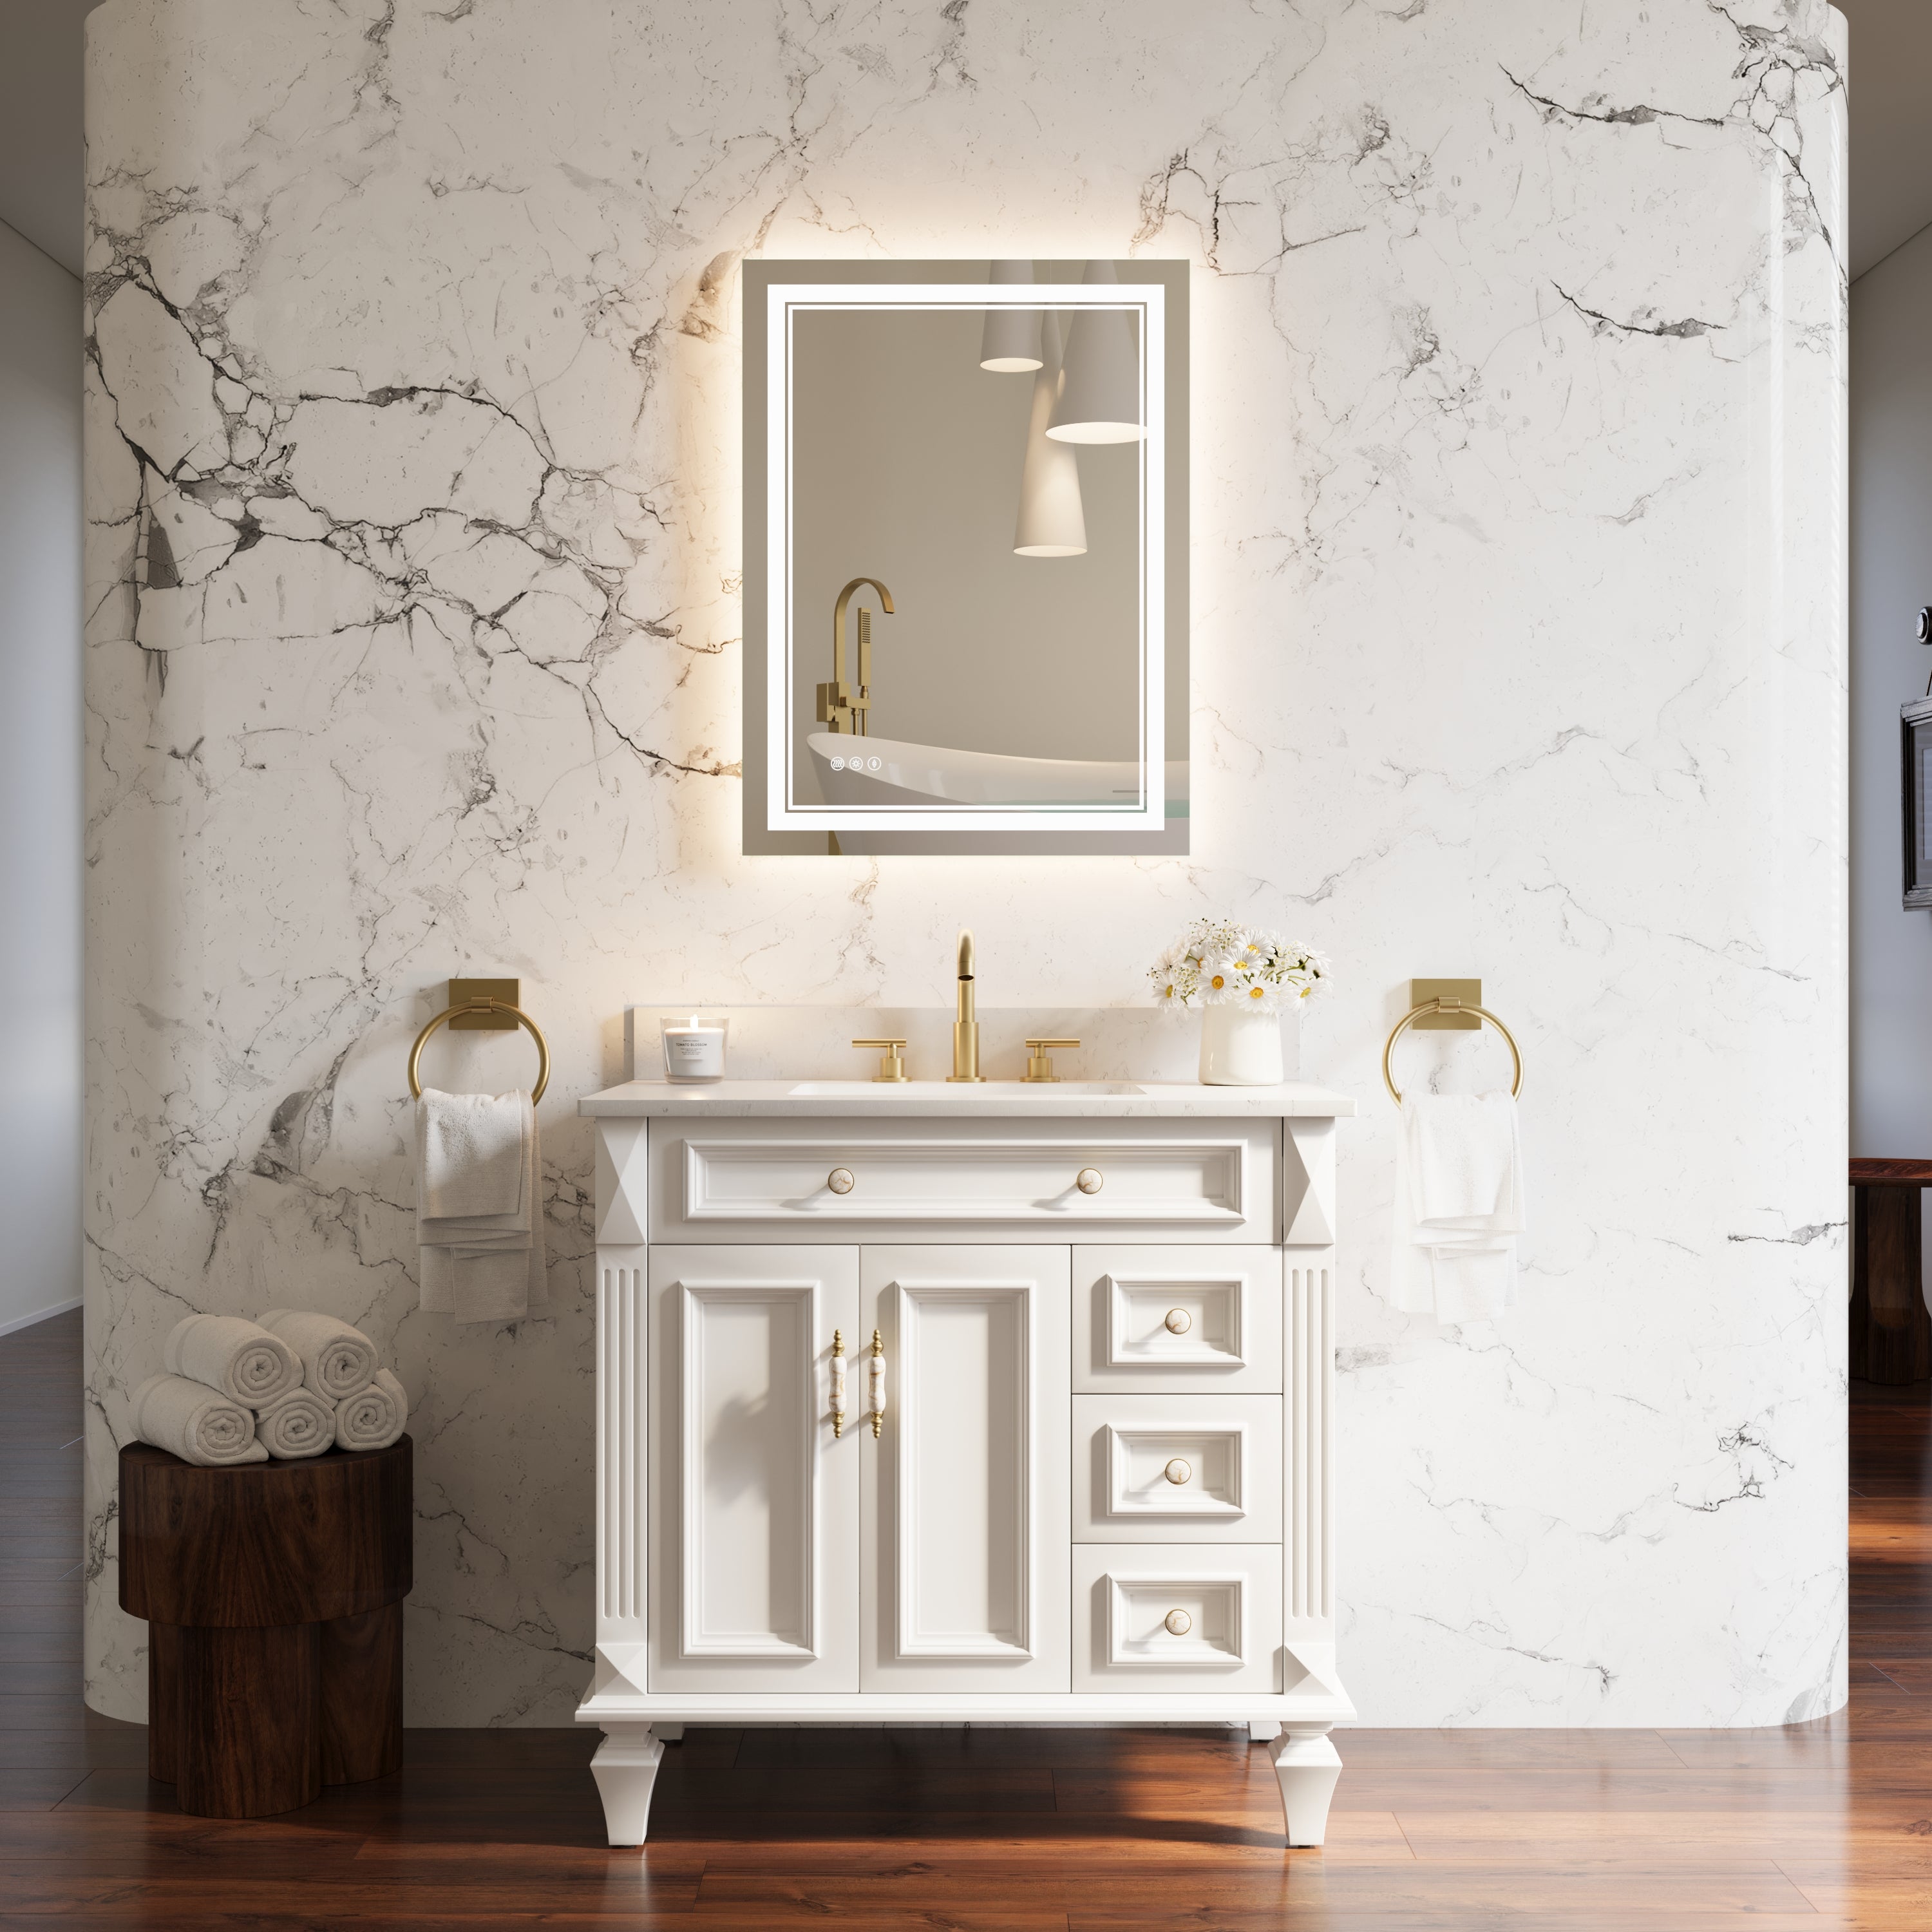
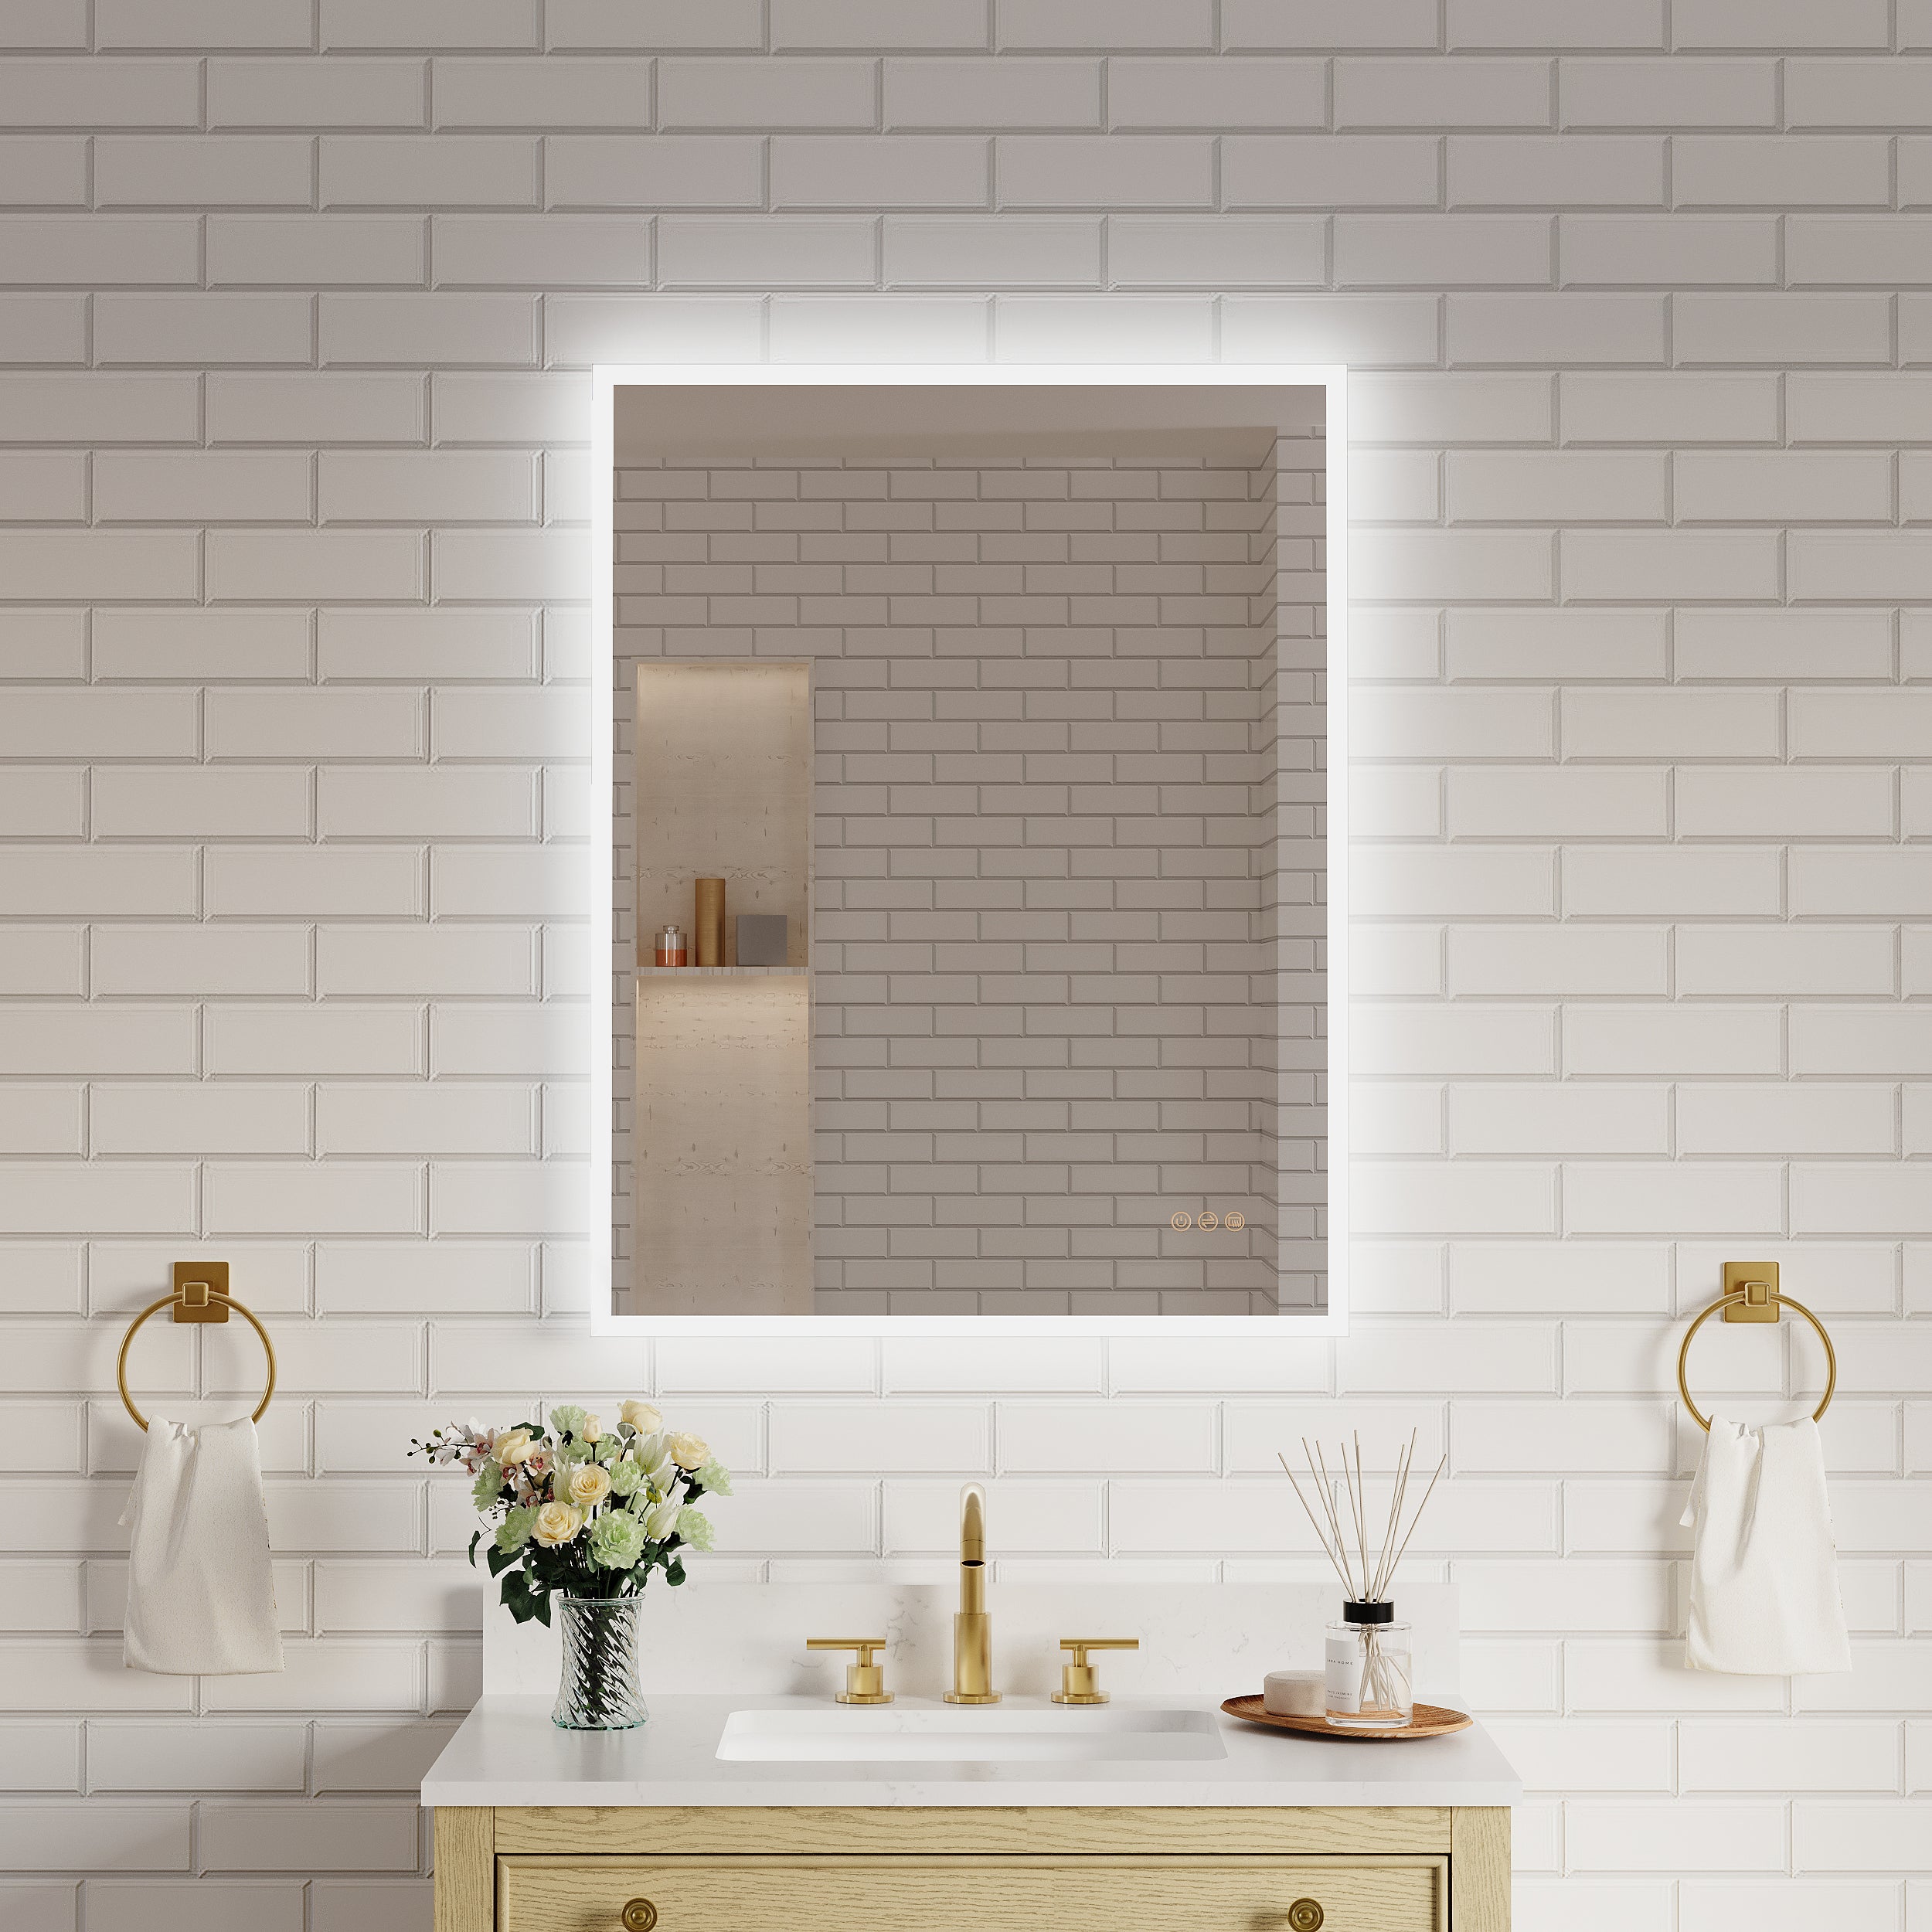
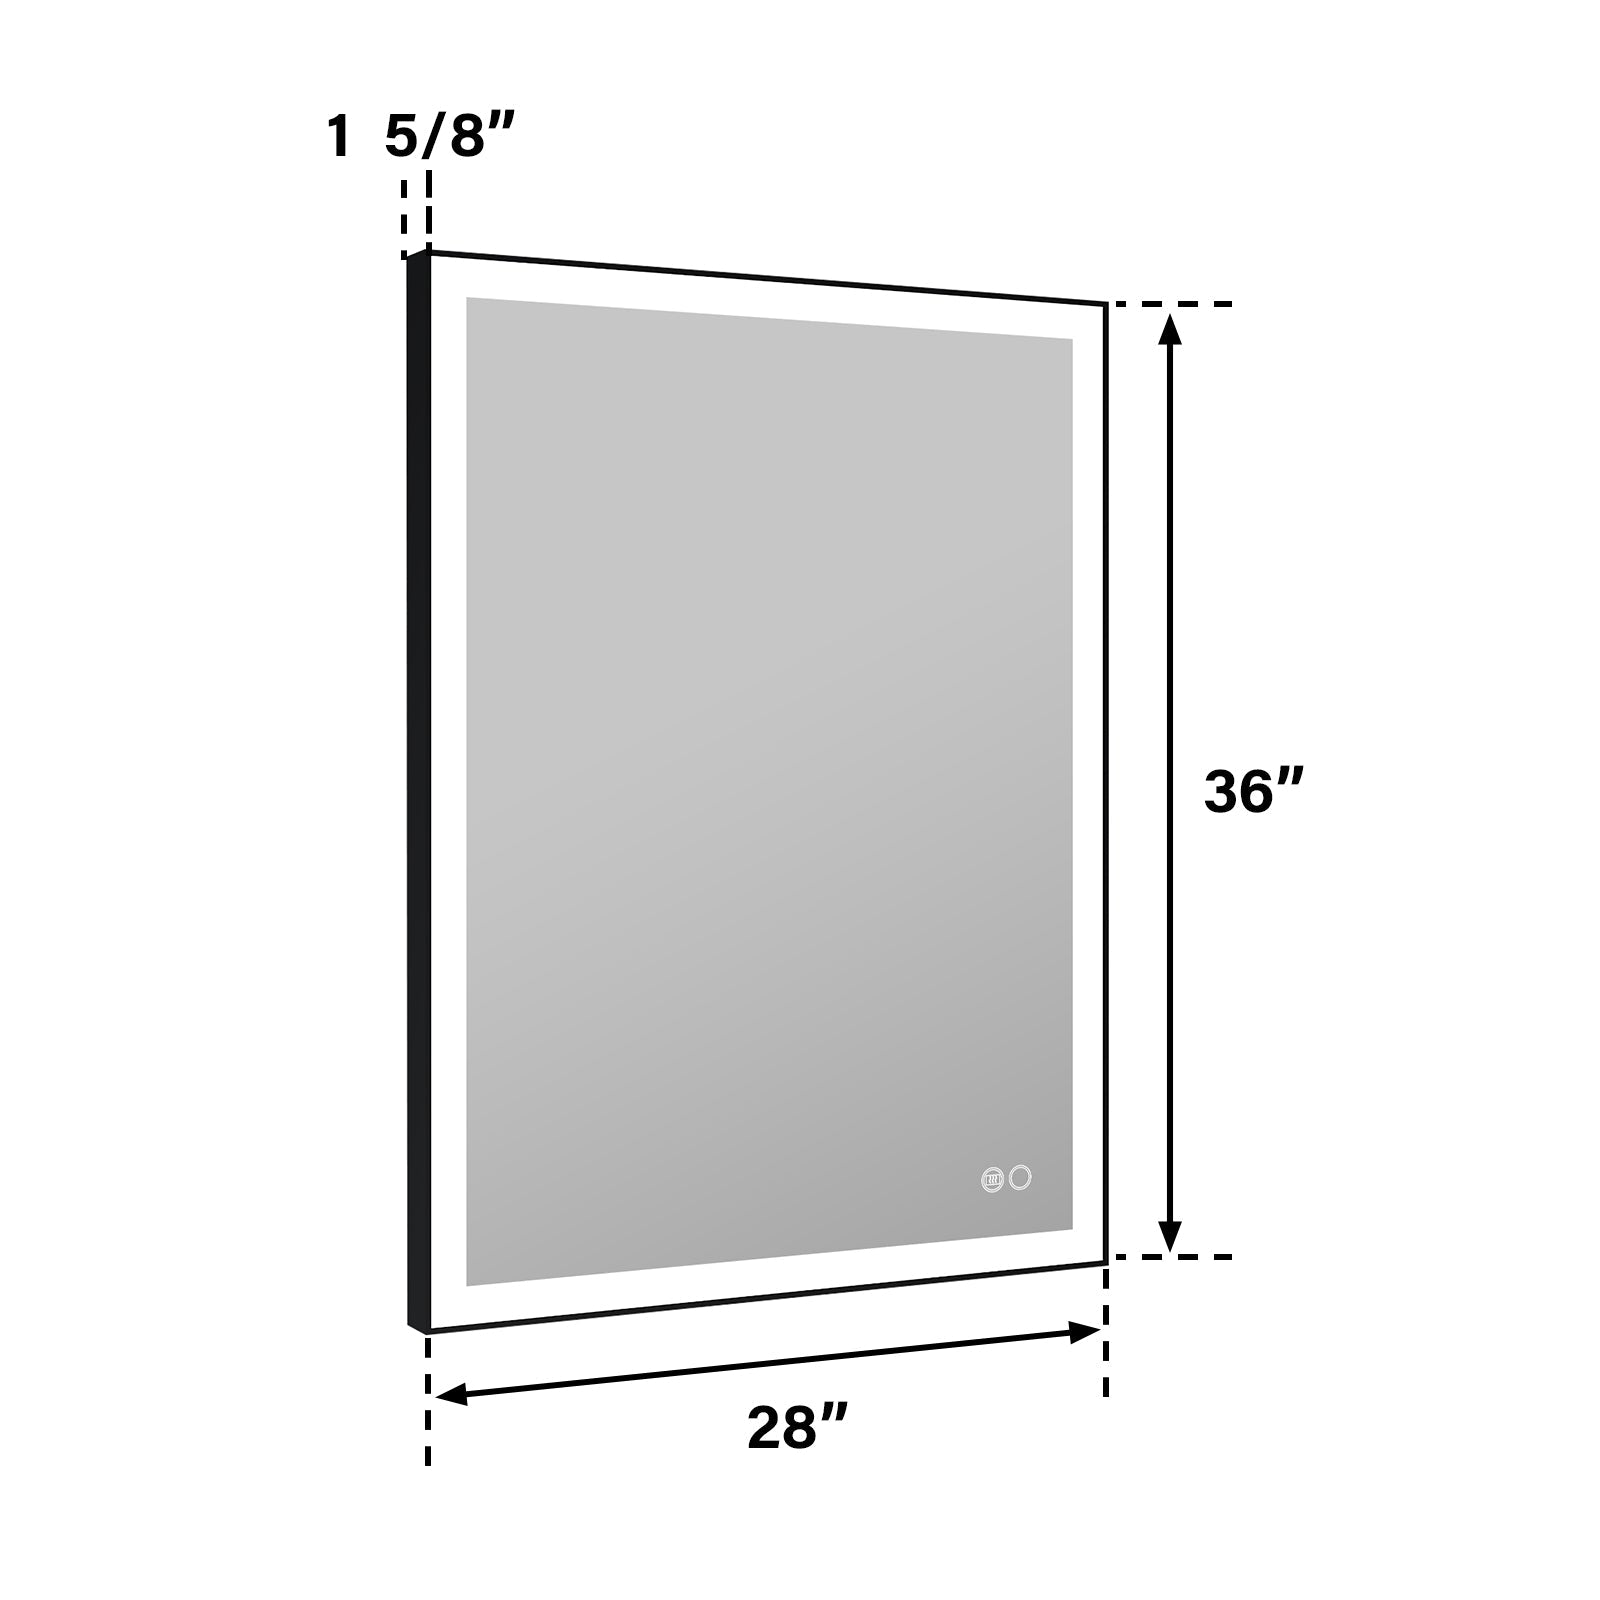
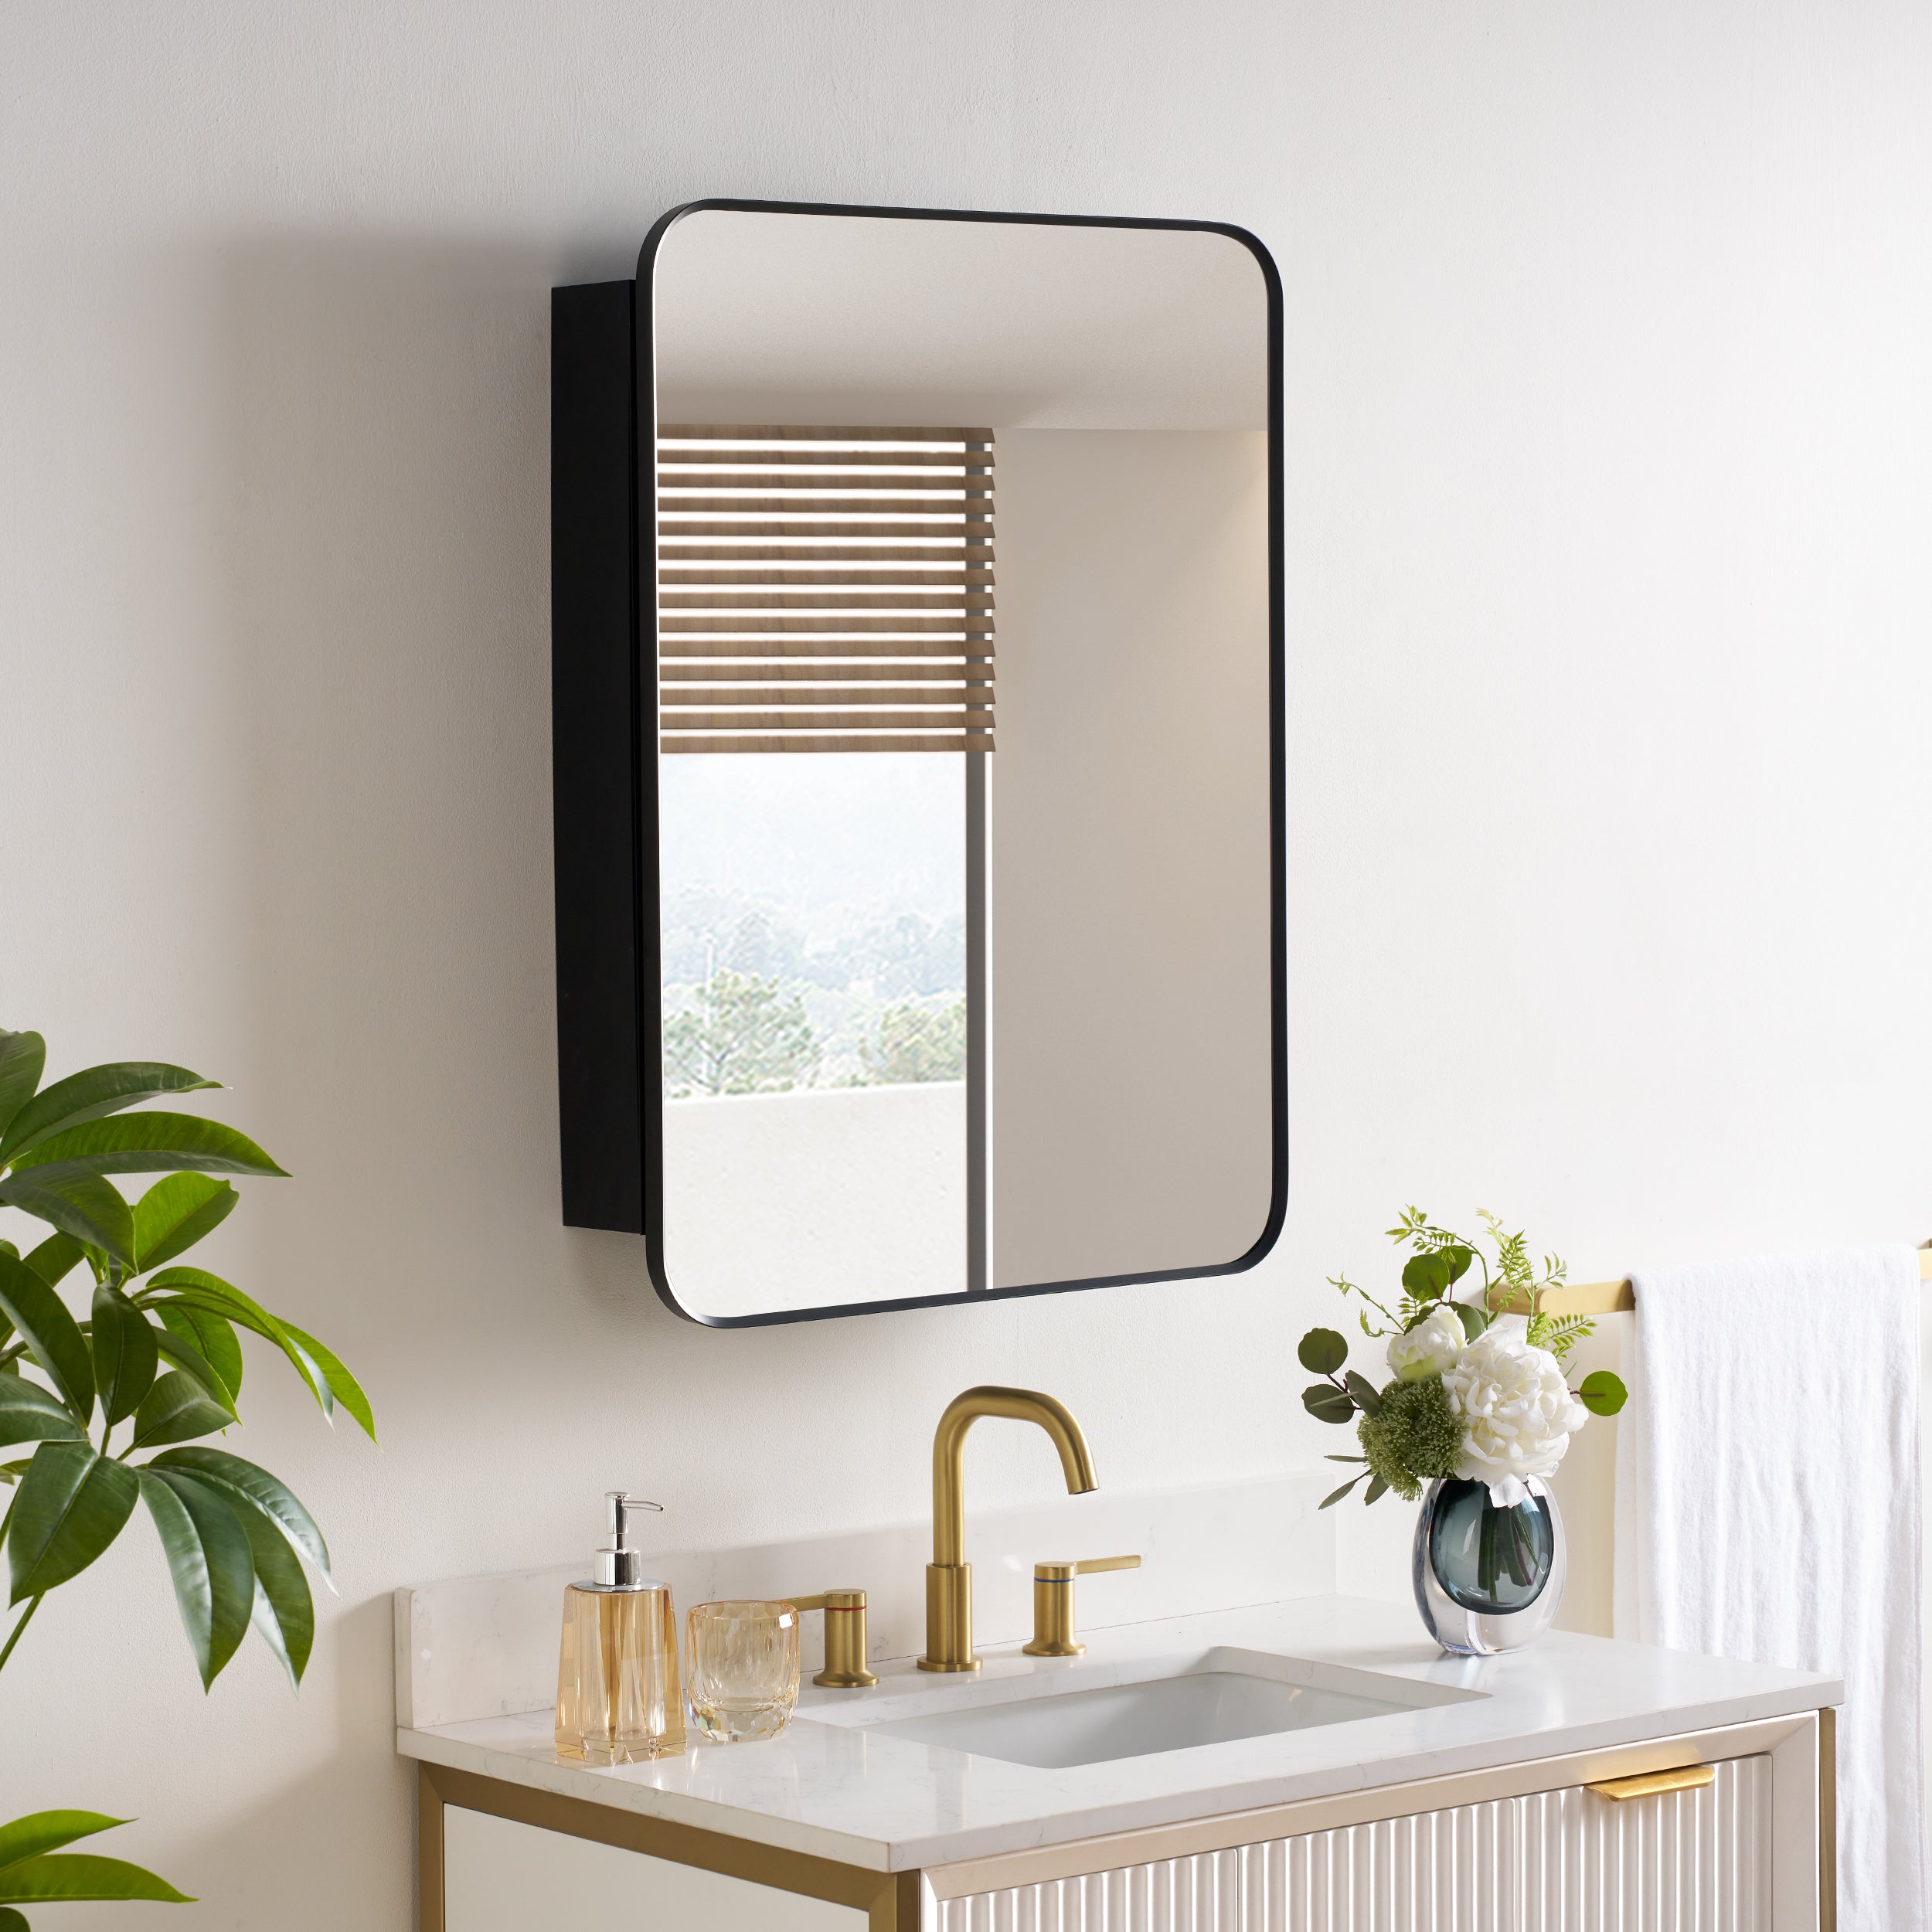
Frameless mirrors remain sleek, modern additions to any bathroom. Their minimalist design creates the illusion of space and fits well with a wide variety of décor styles. However, if you are left thinking about how to mount a mirror without a frame, you have reached the right place. We will take you through a step-by-step process in this article on how best to install a no frame mirror for bathroom securely and stylishly.
Why Choose a Frameless Mirror?
Before diving into the mounting process, it’s essential to understand why frameless mirrors are popular choices for bathrooms.
-
Modern Aesthetic: Frameless mirrors offer a clean, contemporary look that suits modern and minimalist bathrooms.
-
Versatility: With no borders, these mirrors work well with any color scheme or style, making them versatile for different bathroom designs.
-
Easy to Clean: Without a frame, there's no risk of mold or dirt accumulating in cracks, making cleaning a breeze.
-
Space Enhancing: Frameless mirrors reflect light more efficiently, making smaller bathrooms feel more spacious.
Tools and Materials You’ll Need
Mounting a frameless mirror requires a few specific tools. Before you start, gather the following materials:
-
Mirror mounting clips or adhesive strips (depending on your preferred method)
-
Measuring tape
-
Level
-
Pencil
-
Wall anchors (if mounting on drywall)
-
Screws
-
Power drill
-
Glass cleaner and microfiber cloth
Step-by-Step Guide to Mounting a Frameless Mirror

Now that you’ve got your materials ready, here’s a detailed guide to help you mount your no frame mirror for the bathroom.
Measure and Mark the Placement
The first and most important step is to decide where to place your mirror. Here's how to do it right:
-
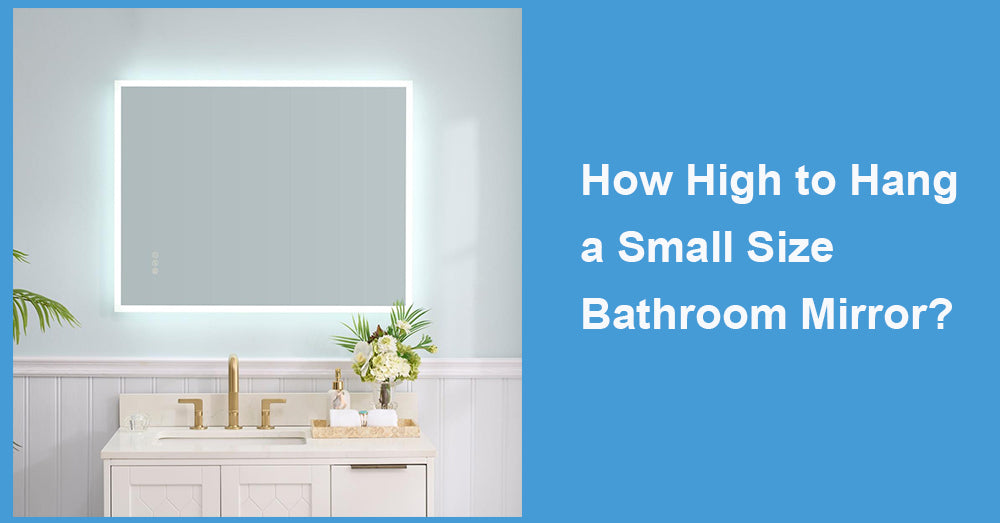
Height: Consider who will be using the mirror and ensure it’s placed at eye level. For most people, this means the center of the mirror should be roughly 57 to 60 inches above the floor.
-
Position: If mounting above a vanity, leave a gap of at least 4-6 inches between the bottom of the mirror and the top of the sink or countertop.
-
Mark the Spots: Use a pencil and level to mark where the top and bottom edges of the mirror will go. This ensures the mirror will be straight.
Choose Your Mounting Method: Clips or Adhesive?
When it comes to mounting a frameless mirror, there are two primary methods—using mirror clips or adhesive. Here’s how to choose between the two:
-
Mirror Clips: These are small, unobtrusive clips that attach to the wall and hold the mirror in place. They're ideal if you want a secure, yet removable, solution.
-
Adhesive: This method uses double-sided tape or mirror adhesive to stick the mirror directly onto the wall. It provides a flush, seamless look but is more permanent.
Let’s walk through both methods.
Mounting a Frameless Mirror with Clips
If you’ve chosen mirror clips, follow these steps:
-
Mark Holes for the Clips: Measure the distance between the bottom of the mirror and where the clips will sit. Most frameless mirrors need at least two clips at the bottom and two at the top. Some may require clips on the sides as well.
-
Drill Holes: Using a drill, make holes where you marked the placement for the clips. If you’re mounting on drywall, insert wall anchors to ensure the screws hold.
-
Attach the Clips: Secure the clips to the wall using screws. Ensure they are tight, but leave enough room for the mirror to slide in.
-
Slide in the Mirror: Carefully slide the mirror into the bottom clips. Once in place, secure the top clips to hold the mirror in position.
-
Check for Stability: Ensure the mirror is level and doesn’t wobble. Tighten any loose screws if necessary.
Mounting a Frameless Mirror with Adhesive
For those opting for a more seamless look, adhesive mounting is a great option. Here's how:
-
Prepare the Surface: Clean the wall and the back of the mirror thoroughly with glass cleaner to remove dust and debris. This ensures the adhesive sticks well.
-
Apply Adhesive: Use double-sided mirror tape or mirror adhesive, applying it in vertical strips on the back of the mirror. Be sure to leave small gaps between the strips for air to escape, which will help the adhesive bond properly.
-
Position the Mirror: Carefully align the mirror with the marks on the wall and press it firmly into place. Start from the bottom and work your way up to avoid air bubbles.
-
Hold in Place: If using adhesive, you may need to hold the mirror in place for a few minutes to ensure a strong bond. You can also use temporary supports, like painter’s tape, to hold the mirror as the adhesive sets.
Final Checks and Adjustments
Once the mirror is mounted, take a moment to ensure everything is secure and level.
-
Check the Level: Use your level to make sure the mirror is straight. Adjust if necessary.
-
Secure the Edges: If you’re using clips, ensure all are tightened securely. For adhesive mirrors, gently press the mirror in place to ensure full contact with the wall.
Maintenance Tips for Frameless Mirrors
Frameless mirrors, especially in bathrooms, are prone to fogging and water spots. Here’s how to keep your mirror looking pristine:
-
Clean Regularly: Wipe the mirror with a microfiber cloth and glass cleaner to prevent buildup from water spots, soap, and grime.
-
Anti-Fog Spray: Apply an anti-fog spray to the mirror if your bathroom tends to get steamy. This prevents condensation from sticking to the surface, keeping it clear.
-
Avoid Harsh Chemicals: Stick to glass-safe cleaning products to avoid damaging the mirror surface or the wall.
Final Thoughts: Enjoy Your Sleek, Frameless Mirror
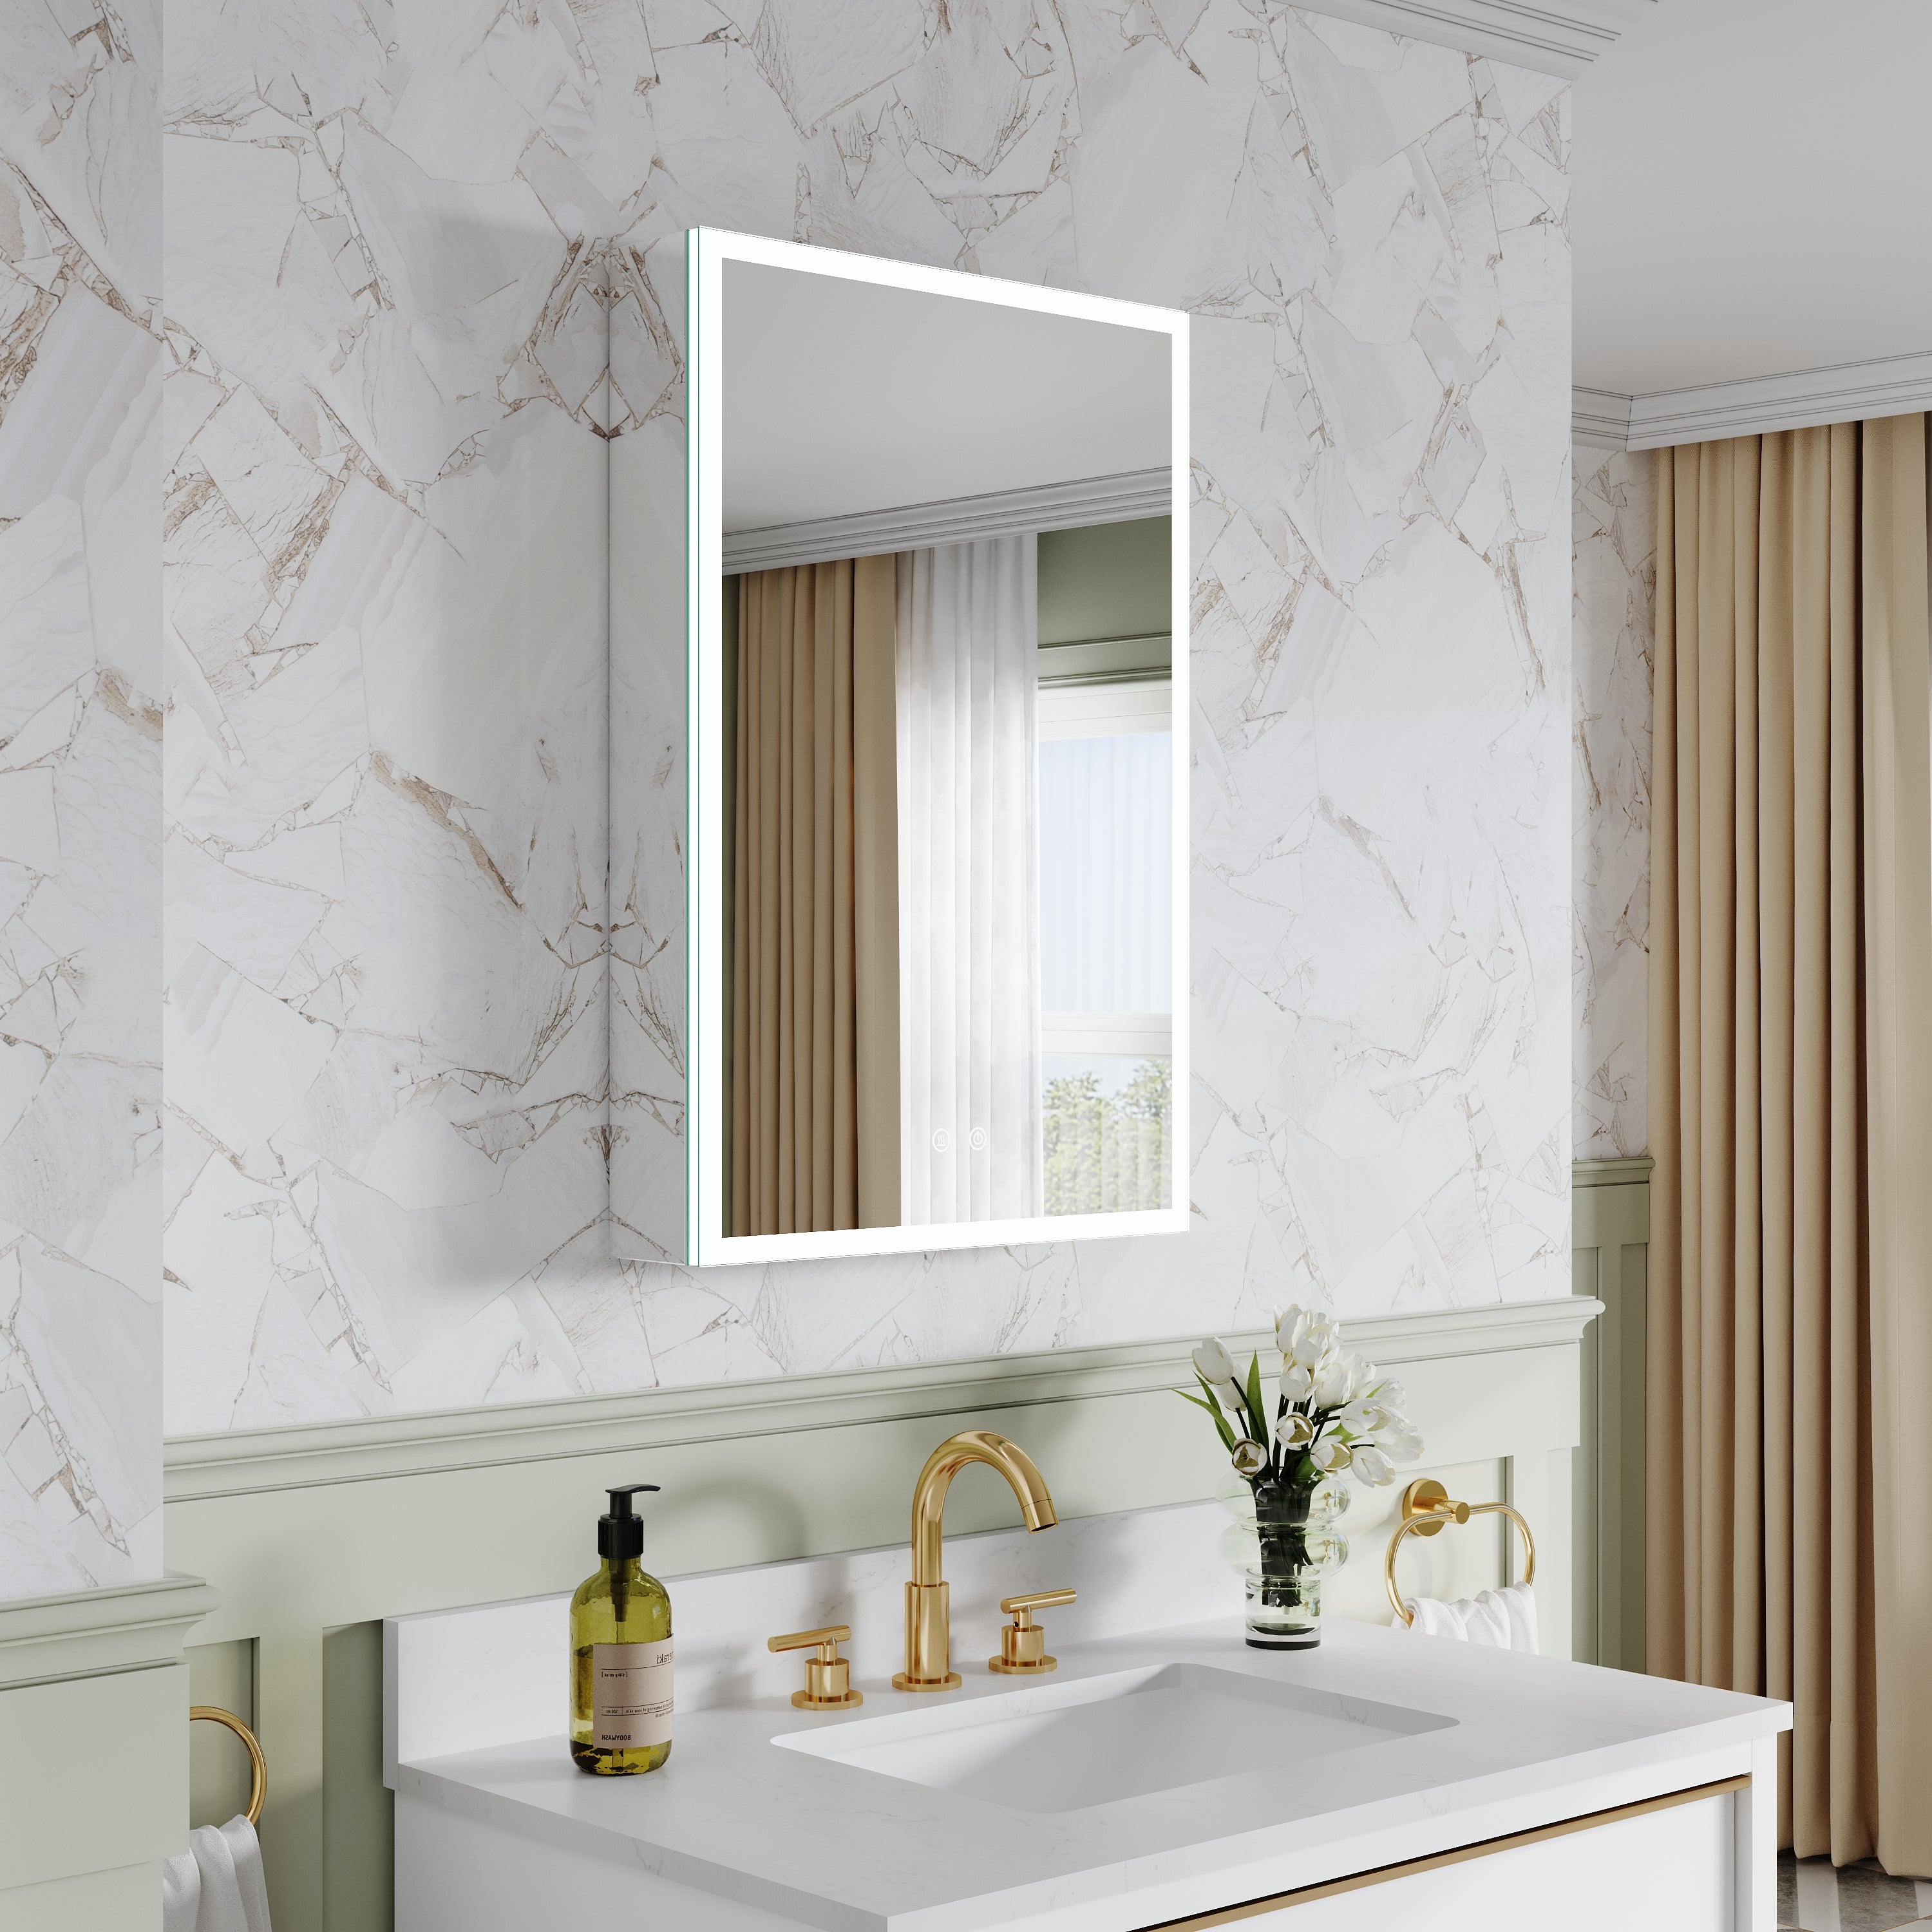
Mounting a no frame mirror for your bathroom doesn’t have to be complicated. Whether you opt for mirror clips or adhesive, the key is to plan ahead, measure carefully, and follow the proper steps to ensure a secure, long-lasting installation. A frameless mirror adds a touch of modern elegance to your bathroom, creating a clean, polished look that enhances your space.











Leave a comment
This site is protected by hCaptcha and the hCaptcha Privacy Policy and Terms of Service apply.