


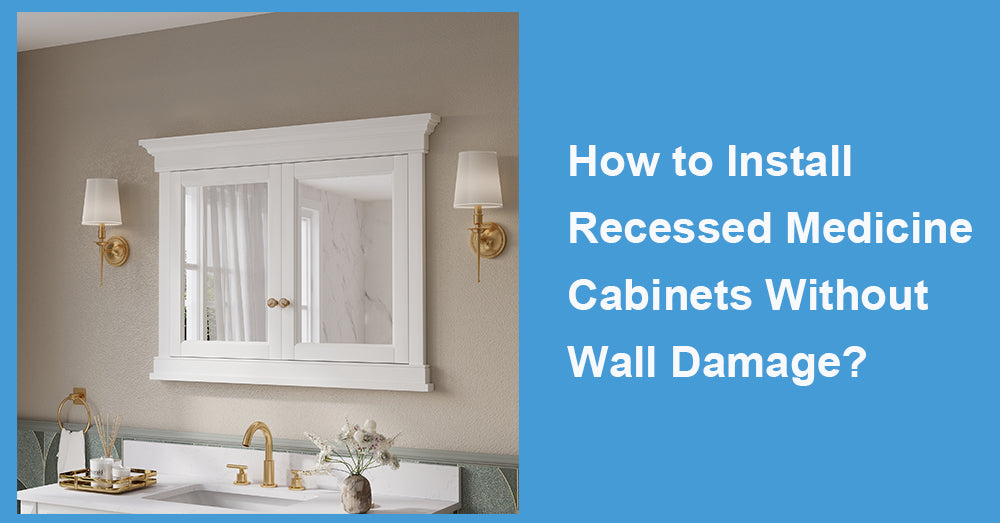
Adding a recessed medicine cabinet to your bathroom is a great way to add storage and style without taking away any floor space and can drastically change the look of the room. But hanging one can feel intimidating, particularly if you’re worried about ruining your walls. The good news? The good news is that you can install a recessed medicine cabinet without damaging your walls if you tackle the project correctly.
This guide will take you through every step, with practical tips and tricks so you can enjoy the benefits of a slick, functional medicine cabinet without the risk of expensive repairs.
What is a Recessed Medicine Cabinet?
A recessed medicine cabinet is built into the wall so it sits flush with the surface, hiding most of the unit inside the wall. Compared to surface-mounted cabinets, recessed styles offer a cleaner, more streamlined look, making them a popular choice for modern bathroom designs. This type of cabinet is perfect for bathrooms with limited space or for anyone who wants an uncluttered aesthetic.
Why Avoid Wall Damage During Installation?
Damaging your walls isn’t just inconvenient; it can be expensive to fix. You might have to deal with cracked drywall, exposed insulation, or structural issues if the installation isn’t done carefully. Knowing how to avoid these problems will save you time, money, and frustration. Plus, a careful installation process ensures your new cabinet is securely placed and safe to use.
Tools and Materials You’ll Need
Before installing your recessed medicine cabinet, gather the right tools and materials. Having everything ready will streamline the process. Here's what you’ll need:
· Measuring tape
· Stud finder
· Level
· Pencil or marker
· Drywall saw
· Screwdriver or drill
· Construction adhesive
· Wood shims (if adjustments are needed)
· Safety goggles and gloves
· Wellfor recessed medicine cabinet (or another high-quality brand)
If you don’t already have tools at home, consider borrowing or renting them to save costs. Wellfor, for instance, offers lightweight, easy-to-mount options if you're a beginner.
Step-By-Step Guide to Install a Recessed Medicine Cabinet Without Wall Damage
Step 1: Choose the Right Location
Selecting the perfect spot for your recessed medicine cabinet is crucial. Keep the following tips in mind:
· Locate a wall free of pipes or electrical wiring.
· Use a stud finder to identify wall studs and avoid cutting into them unless absolutely necessary.
· Ensure the cabinet is easily accessible but out of the reach of children (if applicable).
Once you’ve chosen the location, use a pencil to mark the area for the cutout.
Step 2: Measure and Mark the Cutout
Next, measure the dimensions of your recessed medicine cabinet. Use these measurements to outline the cutout on your wall. The outline should be slightly larger than the cabinet to allow for adjustments.
· Double-check your measurements to avoid cutting an oversized hole.
· Use a level to ensure your lines are straight.
Pro Tip: Many Wellfor recessed medicine cabinets come with templates to simplify this step.
Step 3: Check for Obstacles Behind the Wall
Before cutting into the drywall, confirm there are no obstructions behind the wall. Use your stud finder to locate nearby studs and scan for pipes or wiring. If the wall contains obstacles, you may need to adjust your location.
Step 4: Cut the Drywall
When you’re ready to cut, use a drywall saw and work carefully along your outlined markings. To prevent unnecessary damage:
· Apply light pressure with the saw to avoid cracking the drywall.
· Cut slowly and evenly for clean edges.
If you're installing a Wellfor recessed medicine cabinet, the lightweight material makes insertion easier, so you don’t have to worry about forcing it into place.
Step 5: Prep the Wall Opening
Once the cutout is done, smooth the edges with sandpaper. You’ll also need to inspect the opening to ensure it’s free of debris and fits the dimensions of your cabinet. Adjust the size with careful trimming if necessary.
Step 6: Assemble and Insert the Cabinet
Follow the manufacturer’s instructions to assemble the cabinet (if required). For many recessed cabinets, including Wellfor’s options, minimal assembly is required to make the process user-friendly.
· Carefully insert the cabinet into the wall opening. You want a snug fit without forcing it.
· Use wood shims to help level the cabinet if the opening isn’t perfectly even.
Step 7: Secure the Cabinet Without Damaging the Wall
Now it’s time to secure the cabinet. This is a critical step that determines the strength of your installation:
· Use construction adhesive to strengthen the bond between the cabinet and the wall.
· Screw the cabinet into place using pre-drilled holes provided by the manufacturer.
· Tighten screws gradually to avoid cracking the drywall.
Step 8: Finishing Touches
With the cabinet secured, you can install the door or mirror. Adjust any hinges to ensure proper alignment and smooth operation. Finally, wipe the frame clean to remove dust and fingerprints.

Tips for a Damage-Free Installation
· Opt for a lightweight cabinet: Brands like Wellfor offer lightweight designs that are easier to handle and less likely to put stress on your walls.
· Practice caution with cutting: Always err on the side of making a smaller cut. You can expand it later if needed.
· Use a professional installer: If you're unsure about your skills or tools, hire a contractor to avoid DIY mishaps.
What to Do If You Encounter Obstructions
Sometimes, you may find studs, pipes, or wires in your chosen wall. Here’s how to manage these obstacles:
· For studs: Reframe the opening by cutting and reinforcing the studs with horizontal blocks.
· For pipes or wires: Move the location of your cabinet or hire a professional to reroute the piping or electrical components.
Maintenance Tips for Your New Recessed Medicine Cabinet
Once you’ve installed your cabinet, maintenance is minimal but essential:
· Clean the interior shelves and exterior mirror (if applicable) regularly.
· Avoid overloading the cabinet with heavy items to prevent strain on the wall.
· Check the screws and hinges occasionally to ensure they remain tight.
Why Choose Wellfor Recessed Medicine Cabinets?
If you’re in the market for a reliable and stylish recessed medicine cabinet, Wellfor offers a variety of options designed for easy installation. Their cabinets are durable, lightweight, and available in various styles to suit any bathroom decor. Whether you need a simple mirrored cabinet or one with additional features like LED lighting, Wellfor is a great choice for both beginners and experienced DIYers.
Final Thoughts
With proper planning and careful execution, you can install a recessed medicine cabinet without damaging your walls. By picking the right tools, following the steps outlined above, and choosing a quality product like Wellfor, this project can be a stress-free, rewarding way to upgrade your bathroom.
Now that you’re ready to take on this DIY challenge, grab your tools and get started. Your sleek, space-saving new cabinet is just a few steps away!


Leave a comment
This site is protected by hCaptcha and the hCaptcha Privacy Policy and Terms of Service apply.