


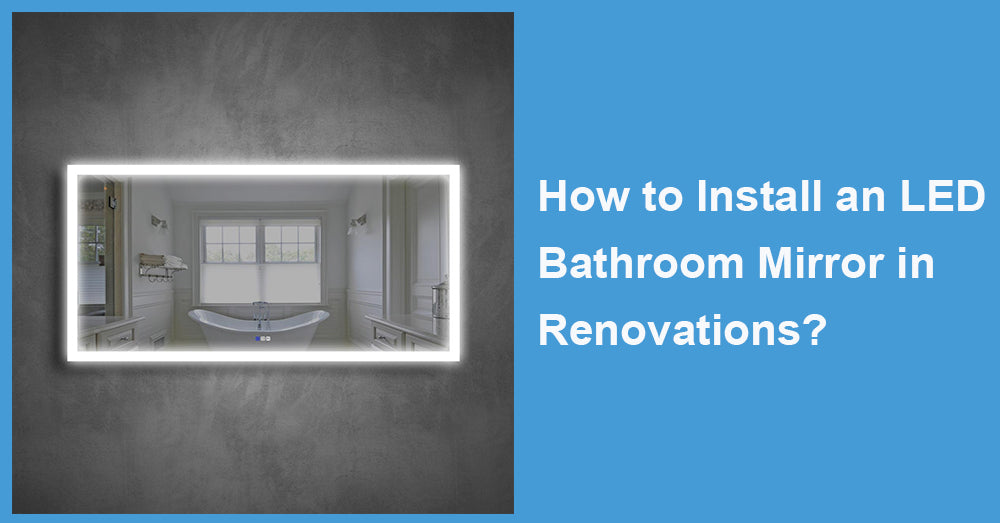
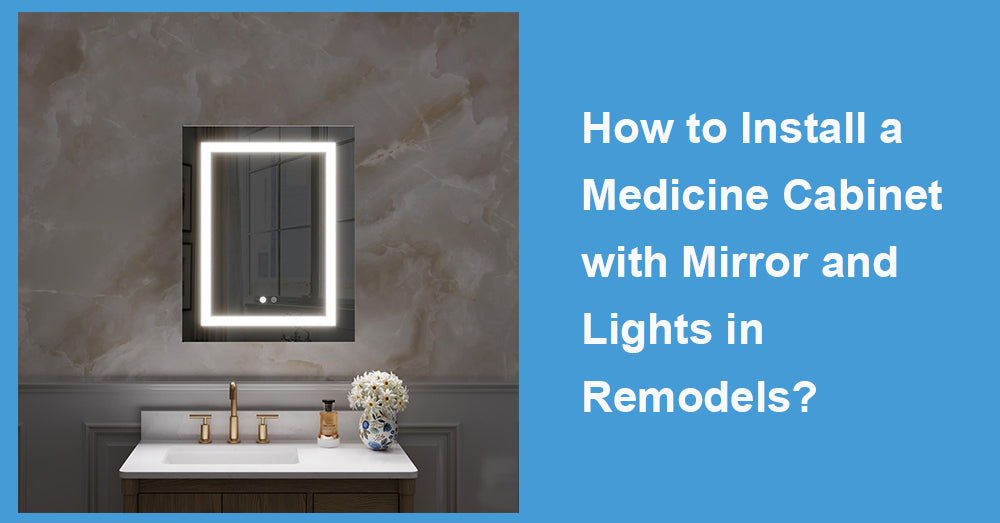
With the increasing demand for functionality and aesthetics in modern bathroom decoration, LED bathroom mirror have become the preferred product for high-end and mid-range decoration projects. It not only provides sufficient lighting to improve daily makeup and shaving experience, but also visually enhances the sense of space, injecting a sense of technology and modernity into bathroom design. However, for decorators and designers, knowing how to scientifically and safely install LED bathroom mirrors is the key to ensuring their functionality and service life.
According to the Illuminating Engineering Society (IES), the ideal illuminance in the bathroom mirror area should be 400-500 lux to meet daily needs, such as applying makeup, shaving, and skincare. LED bathroom mirrors can provide a uniform and adjustable light source, making the light softer and reducing shadows and glare. This article will provide a comprehensive analysis of the installation points of LED bathroom mirrors from four key aspects: preparation work, installation steps, precautions, and future trends.
1. Preparation before installation
1.1 Measurement and positioning
Accurate measurement is the first step before installing LED bathroom mirrors.
Mirror size: Select a mirror with a width and height that match the sink's length and the bathroom's overall space.
Installation height: It is generally recommended that the top of the mirror be 65-70 inches above the ground, and the centre of the mirror be slightly higher than eye height to accommodate different height requirements.
Wall flatness: Ensure that the wall is dry, flat, without protrusions or cracks; otherwise, installation may cause the mirror to tilt or uneven force on the LED light strip.
1.2 Power Planning
LED bathroom mirrors typically require an independent power supply. The National Electrical Code (NEC) recommends that bathroom outlets be protected with a Ground Fault Circuit Interrupter (GFCI) to prevent the risk of electric shock.
Power supply location: Plan the wiring direction and usually arrange it behind or beside the mirror.
Voltage and power: Check the rated power of the mirror; most LED mirrors are designed for 12-24V DC or 120V AC. If it is designed for low voltage, a transformer is required.
1.3 Preparation of Tools and Materials
Common tools include:
Horizontal ruler and tape measure
Electric drill and screwdriver
Expansion screws and bolts
Waterproof sealant
Ensure that all tools and materials meet the standards for use in damp bathroom environments.

2. Analysis of installation steps
2.1 Fixed bracket installation
Most LED bathroom mirrors are equipped with wall brackets or backboards to secure them in place.
Determine the horizontal line: Use a level ruler to mark the position of the wall bracket, ensuring that the mirror is level after installation.
Drilling and expansion screws: Drill holes according to the bracket hole position and insert expansion screws to enhance the fixing force.
Bracket installation: Fix the wall bracket to the wall surface with screws to ensure stability.
Industry data indicate that mirror sliding or falling due to improper fixation accounts for approximately 15% of bathroom decoration safety issues. Therefore, the installation of the bracket must be precise.
2.2 Power Connection
Power-off operation: Ensure the bathroom main power is turned off before wiring.
Wiring: Connect the power cord to the reserved mirror wire, usually using plug-in or screw terminal connections.
Waterproof treatment: Wrap the wiring with waterproof adhesive or insulating tape to avoid short circuits caused by humid environments.
2.3 Mirror Hanging Installation
Hang the LED mirror on the fixed bracket and gently adjust its position to ensure it is level both up and down.
Check the uniform gap between the mirror and the wall to avoid cracking caused by uneven stress.
Fill the gap between the mirror and the wall with waterproof sealant to improve moisture resistance.
2.4 Functional testing
Turn on the power and check if the LED strip lights up normally.
Adjust brightness and colour temperature to ensure uniform lighting and avoid glare or shadows.
Test the anti-fog function (if the mirror has a heating film) to ensure that the mirror surface remains clear in a steam environment.
3. Key precautions during installation
3.1 Security
Avoid direct wiring on damp walls, and power cords should be routed through dry channels or protected with waterproof conduit.
Using LED mirror products that comply with UL or CE certification can ensure fire, moisture, and safety standards.
3.2 Lighting Design
To avoid conflicts between single-colour temperature lights and overhead lights, it is recommended that the colour temperature of LED mirror lights be between 3000 K and 5000 K, which is suitable for daily makeup and shaving.
Adjustable brightness mirrors offer greater flexibility, catering to the diverse needs of various scenes.
3.3 Coordination between Space and Aesthetics
The ratio of mirror size to washbasin should maintain a visual balance of 2:3 or 3:4.
LED light sources should be hidden or softened to avoid exposing the light strip and damaging the overall design aesthetic.
3.4 Maintenance and lifespan
The lifespan of LED lights is generally 25,000-50,000 hours, and long-term use does not require frequent replacement.
Regularly clean the mirror and light strip to prevent damage to the LED light source from cosmetics, water stains, or cleaning agents.
4. Industry data and trends
4.1 Market Growth
According to Statista statistics, the annual growth rate of LED bathroom mirror products is between 10% and 12%, indicating a steady increase in their market penetration rate.
Small apartments and modern-style bathrooms often utilise LED mirrors to conserve space and enhance the visual experience.
In the high-end customisation market, the demand for mirrors with touch, Bluetooth, and multi-colour temperature adjustment is growing rapidly.
4.2 Trends in Intelligence
Intelligent LED mirrors that integrate voice control, app linkage, and human body sensing switches are becoming popular.
Anti-fog, warm light, and night light modes have become standard features to meet the needs of all-weather use.
4.3 Sustainability and Energy Efficiency
LED mirrors are approximately 70-80% more energy-efficient than traditional mirror headlights, aligning with the concept of green building.
The advantages of a long lifespan and low power consumption enable it to save a significant amount of energy costs over the long term.
5. Summary
In bathroom decoration, installing LED bathroom mirrors serves not only aesthetic purposes but also as an important means to enhance spatial functionality, user experience, and energy-saving benefits. The correct installation steps and safety regulations are crucial for ensuring the long-term, stable use of mirrors. From measuring and positioning, fixing brackets and power wiring, to hanging and debugging, every step requires professional operation and meticulous planning.
With the popularisation of intelligence and energy-saving concepts, LED bathroom mirrors are gradually becoming a standard configuration in modern bathrooms. It demonstrates irreplaceable value in terms of functionality, visual effects, and long-term cost-effectiveness. In the future trend of decoration, bathroom mirrors with LED lights will not only serve as lighting equipment, but also symbolise a high-quality bathroom lifestyle.


Leave a comment
This site is protected by hCaptcha and the hCaptcha Privacy Policy and Terms of Service apply.