


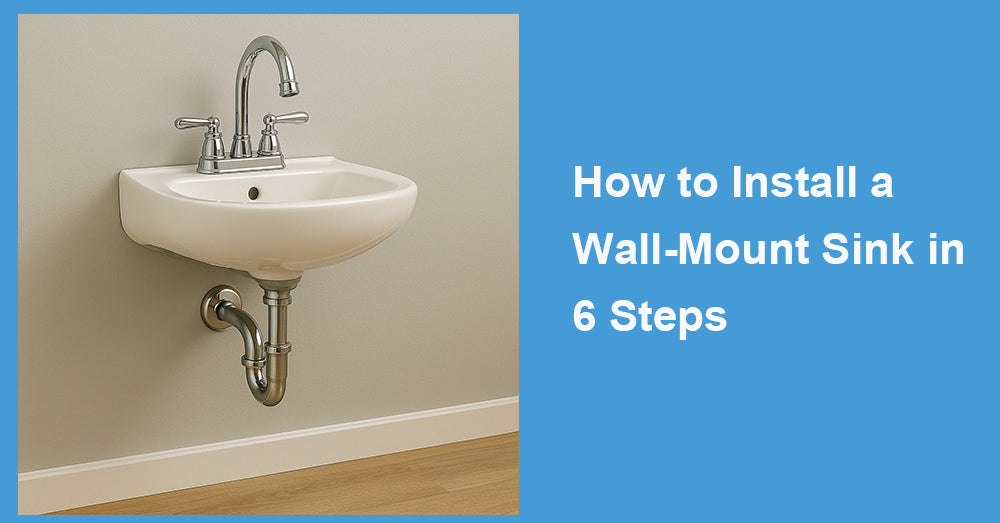
A wall-mounted sink is a small renovation that can make the bathroom look brand new. It saves space, has a simple appearance, and makes cleaning work easier. Many people think "wall-mounted installation" is complicated when they hear it, but in fact, as long as the steps are correct and the tools are complete, it can be done easily. Next, we will explain, step by step, how to install a wall-mounted sink at home —from preparation to final edge sealing —in just six steps.
Step 1: Prepare tools and materials
Prepare all necessary tools and parts before starting. This can avoid having to stop work in the middle to find materials.
Required tools:
Electric drill (with concrete drill bit)
Level gauge, tape measure
Adjustable wrench and screwdriver
Silicone Gun and Anti-mold Silicone
Hanging bracket, expansion bolt
Inlet pipe, drainage pipe, and accessories
Tip:
Before installation, read the manual for the sink. The size and load-bearing requirements of different hanger brands may vary. If your wall is made of lightweight walls or hollow bricks, it is best to first install wooden boards or steel plates for reinforcement, and then drill holes.
Step 2: Determine the height and position
The installation height is the key to comfortable use. Generally speaking, the distance between the upper edge of the sink and the ground is 31-33 inches, but it can be slightly adjusted according to the height of family members.
Operation Method:
Measure the ideal height with a tape measure and draw a reference line on the wall.
Use a spirit level to ensure that the lines are completely horizontal.
Mark the bolt hole positions and water pipe interface positions according to the instructions.
Note:
Even a slight tilt will appear noticeable after the sink is installed, so the measurement must be accurate.
Step 3: Install the hanger or support bolts
This step determines whether the sink can be securely hung on the wall.
Drill a hole at the marked location, with a depth slightly greater than the length of the expansion bolt.
Insert the expansion bolt and gently tap it tightly with a hammer.
Secure metal hangers or bolts and tighten with a wrench.
After completion, gently shake the hanger to ensure it does not loosen. If there is shaking, it indicates that the wall has insufficient load-bearing capacity or the hole position is not correct, and should be adjusted immediately.
Step 4: Hang the main body of the sink
It is best for two people to cooperate when hanging the sink to avoid accidental slipping.
Carefully hang the washbasin on the rack to ensure alignment.
Use a spirit level to check if it is level.
After adjusting to the appropriate angle, tighten the nut or fixing screw.
Reminder:
Do not tighten the screws too forcefully, as ceramics are prone to cracking due to uneven pressure. Check the balance multiple times during the installation process.
Step 5: Connect the water pipe to the drainage system
After fixing the sink, the piping can be connected.
Install the faucet and drainage components first, preferably before installing the sink.
Connect the hot and cold water inlet pipes and ensure that the interface is tight.
Install drainage pipes and connect them to the drainage outlets inside the wall.
Test all interfaces for water leakage after connecting the water source. If there is water seepage, tighten or reinstall the sealing ring appropriately.
Step 6: Edge banding and finishing
The final step is to seal and organize the edges to make the overall appearance more beautiful and waterproof.
Apply a circle of anti-mold silicone at the junction of the sink and the wall.
Gently smooth with wet fingers or a scraper to keep the edges clean.
Wait for 24 hours for the silicone gel to completely dry before use.
Clean up the tools and wall dust, and the installation part is complete. Now, you can enjoy a clean, tidy, and modern new handwashing area.

Daily maintenance and inspection
Installation is just the beginning, and maintenance in the later stages is equally important.
Regularly check whether the bolts are loose. The wall-mounted sink has a concentrated load-bearing capacity and may sink slightly after prolonged use.
Keep it dry. The bottom and corners of the sink are prone to mold growth and can be wiped regularly.
Use mild cleaning agents. Avoid cleaning with strong acids, alkalis, or steel wire balls to avoid scratching the glaze surface.
Check the sealant. If cracking or blackening occurs, promptly remove the old adhesive and reseal the edges.
Good daily maintenance can significantly extend the service life of the sink, keeping it always white and bright.
The advantages of wall-mounted washbasins
Compared to traditional floor-standing designs, wall-mounted sinks provide a lighter visual effect. The ground is entirely open, providing a stronger sense of space and making cleaning easier. It is particularly suitable for small-sized bathrooms and performs well in modern, minimalist, or industrial style decoration.
Of course, if the wall is thin or the water pipe layout is complex, professional installers can also be hired to assist. Proper installation not only makes it more secure but also avoids problems such as water seepage and loosening in the future.
Conclusion
Installing a wall-mounted sink is not as difficult as imagined. As long as you plan and follow the steps, you can make an ordinary bathroom look brand new. It combines practicality and aesthetics, enhancing the overall design and comfort of the space.
Every step from measurement, drilling, to edge sealing is an interaction with space. After completing this' small project 'with your own hands, the sense of achievement will be unforgettable. Whether it's to save space or pursue a minimalist style, a properly installed wall-mounted sink will make life cleaner and of higher quality.


Leave a comment
This site is protected by hCaptcha and the hCaptcha Privacy Policy and Terms of Service apply.