


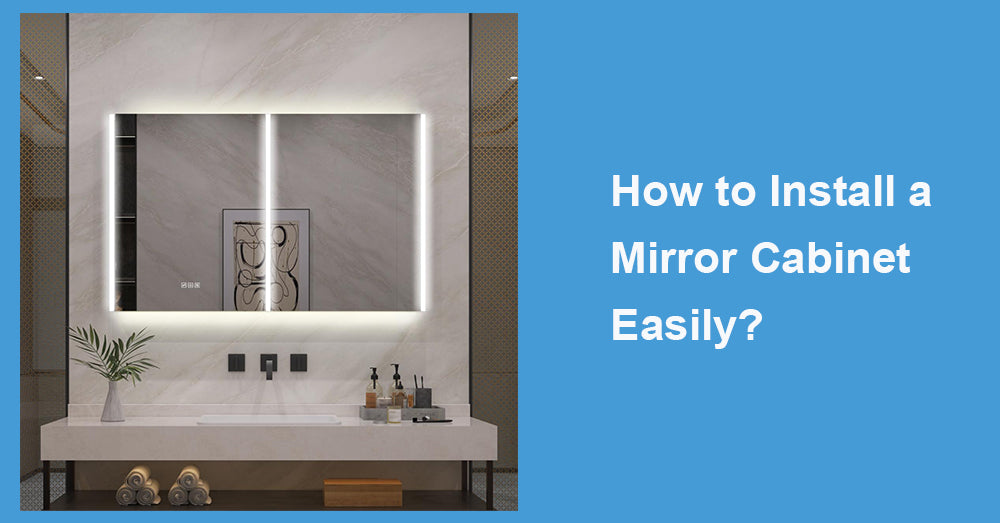
1. Introduction
Many families hesitate to install a mirror cabinet when renovating their bathroom. Indeed, compared to a regular wall-mounted mirror, installing a mirror cabinet requires more steps, such as securing it with wall brackets, wiring power (if it's an illuminated model), and waterproofing. However, with the right approach, even a DIY novice can complete the installation in an afternoon.
This practical guide details each stage, from preparation to alignment to final edge sealing. We emphasise safety, tool selection, and precise measurements to ensure not only a "perfect installation" but also a "stable and long-lasting installation."
The following content is divided into four sections: Preparation, Bracket Installation, Main Cabinet Attachment, Power Connection and Testing, and Edge Sealing and Cleaning. It applies to both built-in and wall-mounted mirror cabinets. At every step, I'll emphasise details and precautions to ensure a truly "easy-to-use, low-risk, and high-quality" installation.
Ø Part 1: Preparation (Ensuring Safety and Accuracy)
1. Measurement and Positioning
Measure the wall height and depth: When determining the installation height of the mirror cabinet, generally start with the centre of the cabinet approximately 55–59 in from the floor, adjusting the height based on the user's height. Also, measure the wall thickness and locate the studs accurately to avoid gaps in the nailing area.
Mark the fixing points: Use a level and pencil to draw horizontal and vertical lines on the wall to form a rectangular installation boundary. Perform multiple calibrations to ensure accurate markings and prevent the cabinet from tilting after installation.
Pre-install a cardboard or paper sample: Tape the back of the mirror cabinet to the wall. Verify that the door opens smoothly, the handles are positioned appropriately, and that the edges do not touch the ceiling or sink.
2. Tool and Material Preparation
Required tools: Electric drill (with impact function), level, tape measure, pencil, screwdriver set, wall expansion bolts (for hollow walls), wood screws (for solid wood studs), caulking gun, sealant (waterproof neutral silicone), insulating tape, fishing line hook (for wiring), and soft rag.
Materials: One mirror medicine cabinet central unit, bracket assembly (hanging plate), illuminated electrical panel (if applicable), conduit cover (if wiring is required), plastic pads or foam vibration dampeners, disposable gloves, and safety glasses.
3. Safety Check and Rehearsal
Power-off Operation: For models with lights, be sure to turn off the main power switch for the corresponding circuit first. Verify that the power hole location is consistent with the design to avoid damaging the wiring on the back wall when drilling the hole.
Check the wall material: Choose the appropriate expansion bolts or wood screws for plasterboard, brick, or concrete walls. To ensure a secure fit, drive the bolts as deep as possible into the studs. If there are excessive bubbles in the hollow wall, reposition the anchor points.
Mock Installation: Temporarily align the bracket or mounting plate with the wall, check for levelness with a level, and simulate hanging the main cabinet to confirm the desired position and height.

Ø Part 2: Bracket Installation (Mirror Cabinet Foundation Support Installation)
4. Securing the Mounting Plate or Bracket
² Drilling Along the Marked Lines: Use an electric drill to drill holes at the previously marked fixing points. It is recommended to test the holes with a small drill bit first, then enlarge the holes with a larger drill bit that matches the diameter of the expansion bolts.
² Installing Expansion Bolts or Screws: Insert the bolts into the wall holes and tighten gently. If using wood screws, screw them directly into the solid wood studs. At this point, the mounting plate should be firmly against the wall and should not wobble.
² First Levelling Check: Place a level on the mounting plate to confirm levelness before tightening the second round of screws to ensure the entire mounting rail remains precisely level.
5. Reinforcement and Vibration Test
Gently pull on the mounting plate to confirm stability: This action simulates the pressure on the wall when the mirror cabinet is hung. If there is any wobble or it becomes loose after pulling, address it immediately and consider replacing it with a larger expansion bolt.
Add anti-vibration pads: If the wall is thin or the installation location is near plumbing, thin rubber pads or foam strips can be placed at the contact point between the cladding and the cabinet body to absorb vibration and prevent friction between the metal and the wall.
Ø Part 3: Mirror Cabinet Main Body Installation (Wall Mounting and Alignment)
6. Hanging the Mirror Cabinet Main Unit
Work together on the wall: One person holds the central unit aligned with the cladding slots, while the other gently pushes it in from the bottom. An audible click indicates successful installation.
Measure overall horizontality and verticality: After hanging the central unit, use a level to measure the top, left, and right sides of the main cabinet. If there is any deviation, adjust the hook position or cladding screws appropriately.
7. Front Door Opening Test and Clearance Check
Smooth Door Opening and Closure: Double-door mirror cabinets with left and right doors should be checked for smooth opening and closing, ensuring they do not scrape against the wall or overhead beams.
Check for uniform gaps: Maintain a uniform gap between the door and the cabinet, typically about 2–3mm, to prevent long-term friction and maintain visual symmetry.
8. Secure the bottom support points (if required by the design)
Bottom screw or clip installation: Some models have auxiliary fixing points on the bottom of the cabinet. Use small screws or plastic clips to secure the bottom of the cabinet to the wall gently. This step improves stability and prevents the bottom from falling off during long-term use.
Recheck overall stability: Gently push the cabinet in different directions to confirm there is no looseness or shaking. The central installation is now basically complete.


Leave a comment
This site is protected by hCaptcha and the hCaptcha Privacy Policy and Terms of Service apply.