


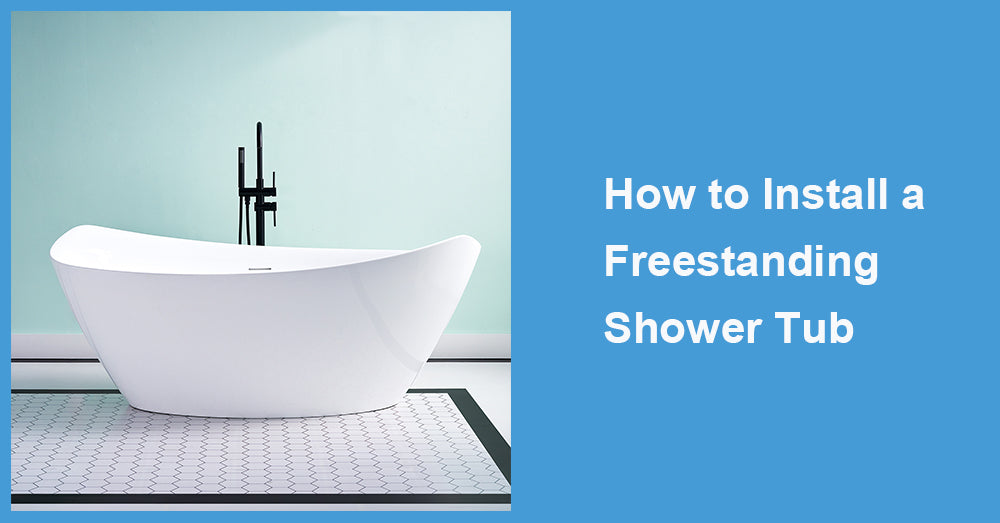
A freestanding shower tub is a perfect blend of elegance and functionality. It combines the practicality of a shower with the luxury of a freestanding tub, giving your bathroom a spa-like feel. Whether you're remodeling your space or designing from scratch, installing one can become a game-changer for your home's aesthetic.
This guide will lead you through the step-by-step process of installing a freestanding shower tub effectively. With a little preparation and the right tools, you can transform your bathroom into a relaxing retreat.
Why Choose a Freestanding Shower Tub?
Before we dig into the installation process, it’s worth understanding why freestanding shower tubs are becoming a favorite.
· Versatility in Design
They come in sleek and stylish options that work with modern, rustic, or traditional bathrooms.
· Space Optimization
Perfect for bathrooms with limited space, combining a bathtub and shower saves room while offering dual functionality.
· Luxury Appeal
A freestanding tub adds a sense of grandeur to the bathroom, elevating its look and feel.
· Ease of Cleaning
Without built-in nooks and borders, it’s easier to clean around a freestanding tub.
If you’re ready to add this practical yet luxurious feature to your home, read on to learn how to install one.
Pre-Installation Checklist
Before jumping into the installation process, make sure to gather the following essentials and prepare your bathroom.
Tools and Materials Needed
To install your freestanding shower tub, you’ll need the following tools and materials:
· Adjustable wrench
· Measuring tape
· Level
· Pipe wrench
· Screwdriver
· Plumber’s tape
· Silicone sealant
· Drain assembly kit
· Tub filler and hose (if not already included)
Prep Your Space
Measure Your Bathroom
Make sure the area you plan to install the freestanding shower tub can accommodate it. Measure thoroughly to ensure no surprises down the line.
Check Plumbing Connections
Confirm that your existing water lines and drain align with the tub’s requirements. If adjustments are needed, consult a professional plumber for assistance.
Ensure Proper Flooring
Freestanding tubs are heavy, especially when filled with water. Confirm that your flooring is strong enough to support the tub and water weight.
Turn Off Water Supply
Before beginning, shut off the water supply to avoid leaks or mishaps.
Step-by-Step Installation Guide
Follow these steps to install your freestanding shower tub seamlessly.
Step 1. Position the Tub
Once your space is ready, unpack the freestanding tub carefully. Place it roughly where you want to install it, ensuring a visual check for spacing against walls or other fixtures. This will help avoid last-minute adjustments.
Use a level tool to confirm that the tub is sitting flat. Uneven placement can cause water drainage or stability issues. Adjust the tub’s feet if needed to create a stable position.
Step 2. Install the Drain Assembly
The drain assembly will connect your tub to the bathroom's plumbing system. Here's how to do it:
1. Attach the drain flange to the bottom of the tub.
2. Apply plumber’s tape to the threads for a secure fit.
3. Secure the drainpipe to the tub’s drainage point.
4. Connect the drain to the bathroom floor's plumbing system.
This step is crucial for avoiding leaks later on, so double-check all connections for a tight and secure fit.

Step 3. Connect the Tub Filler
The tub filler (or faucet) is what supplies water to your freestanding shower tub. Many modern tubs, including those from Wellfor, come equipped with a matching filler. If yours doesn’t, ensure you select one that complements the design of your room.
1. Place the filler on its mounting base.
2. Connect the water supply hoses to their respective hot and cold water lines.
3. Make sure to seal any gaps with plumber’s tape or silicone for leak prevention.
Test the filler to ensure water flows through smoothly, adjusting for temperature and pressure.
Step 4. Secure the Tub
Most freestanding shower tubs are heavy enough to stay in place, but securing them can add extra safety. You can use silicone sealant around the tub's base to prevent sliding.
Step 5. Test for Leaks
Once everything is connected, turn on the water supply and test for leaks in the drain and filler assembly. Look under and around the tub for any water seepage. If you find leaks, tighten connections or reapply sealant as necessary.
Enhancing Your Freestanding Shower Tub
Now that you’ve successfully installed your tub, it’s time to maximize its functionality and aesthetics.
Add a Shower Fixture
If your freestanding tub doesn’t already come with a shower unit, consider installing a freestanding showerhead. Opt for one with adjustable height and spray settings to enhance the versatility of your tub.
Invest in Accessories
Accessorize your freestanding shower tub with the following for added comfort and practicality:
· Bath caddies for holding your toiletries
· Anti-slip bath mats for safety
· Hand showers for added reach
· Stylish curtains or glass enclosures
Regular Maintenance
Freestanding tubs are relatively easy to maintain. Wipe down the surface after each use to prevent stains and buildup. Periodically check the drain and filler for any clogs or leaks.
Common Mistakes and How to Avoid Them
Installing a freestanding shower tub can seem daunting, but being aware of potential pitfalls will make your work smoother.
Mistake 1. Improper Drain Alignment
Solution: Measure and align the drain precisely before securing the tub.
Mistake 2. Uneven Placement
Solution: Use a level and adjustable feet to ensure stable placement.
Mistake 3. Ignoring Water Pressure
Solution: Test the water pressure early in the process to avoid surprises.
Why Choose a Wellfor Freestanding Shower Tub?
Looking for a reliable brand? Wellfor offers top-quality freestanding shower tubs known for their durability, functionality, and elegant designs. With Wellfor, you can enjoy a refined soaking experience coupled with modern shower features, all designed for long-lasting performance.
Final Thoughts
Installing a freestanding shower tub is a rewarding project that can elevate your bathroom's style and functionality. With proper preparation, reliable tools, and attention to detail, you can enjoy a seamless installation process.
Happy soaking! Now it’s time to grab your favorite bath salts and enjoy your new freestanding shower tub.


Leave a comment
This site is protected by hCaptcha and the hCaptcha Privacy Policy and Terms of Service apply.