


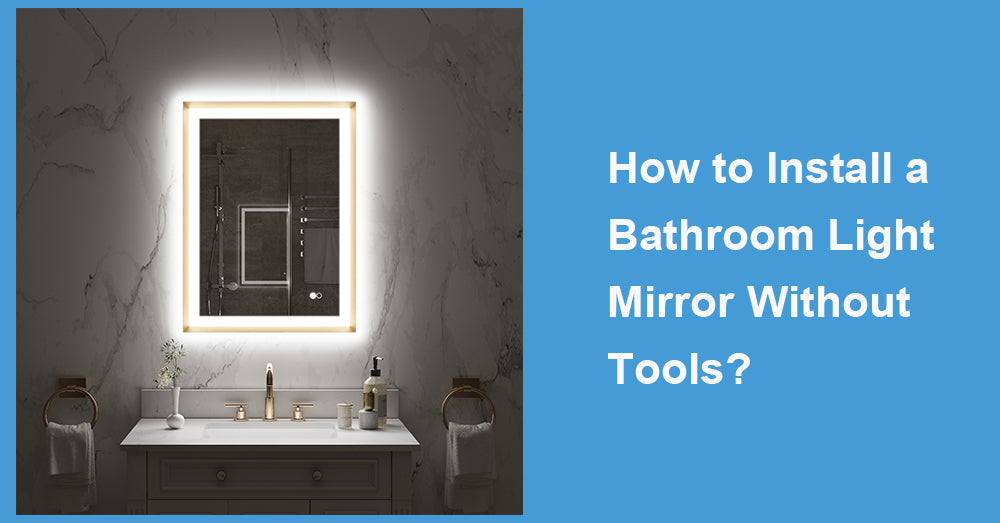
Adding a bathroom light mirror to your space can elevate its style and functionality. Whether updating your bathroom or creating a more polished look, a lighted mirror is an excellent addition. But what if you don't have access to tools or want a quick, hassle-free installation process? Don't worry—we've got you covered.
This step-by-step guide will show you how to install a bathroom light mirror without tools. Plus, we'll throw in some handy tips to make the process as smooth as possible.
Let's get started and bring new light to your bathroom (literally)!
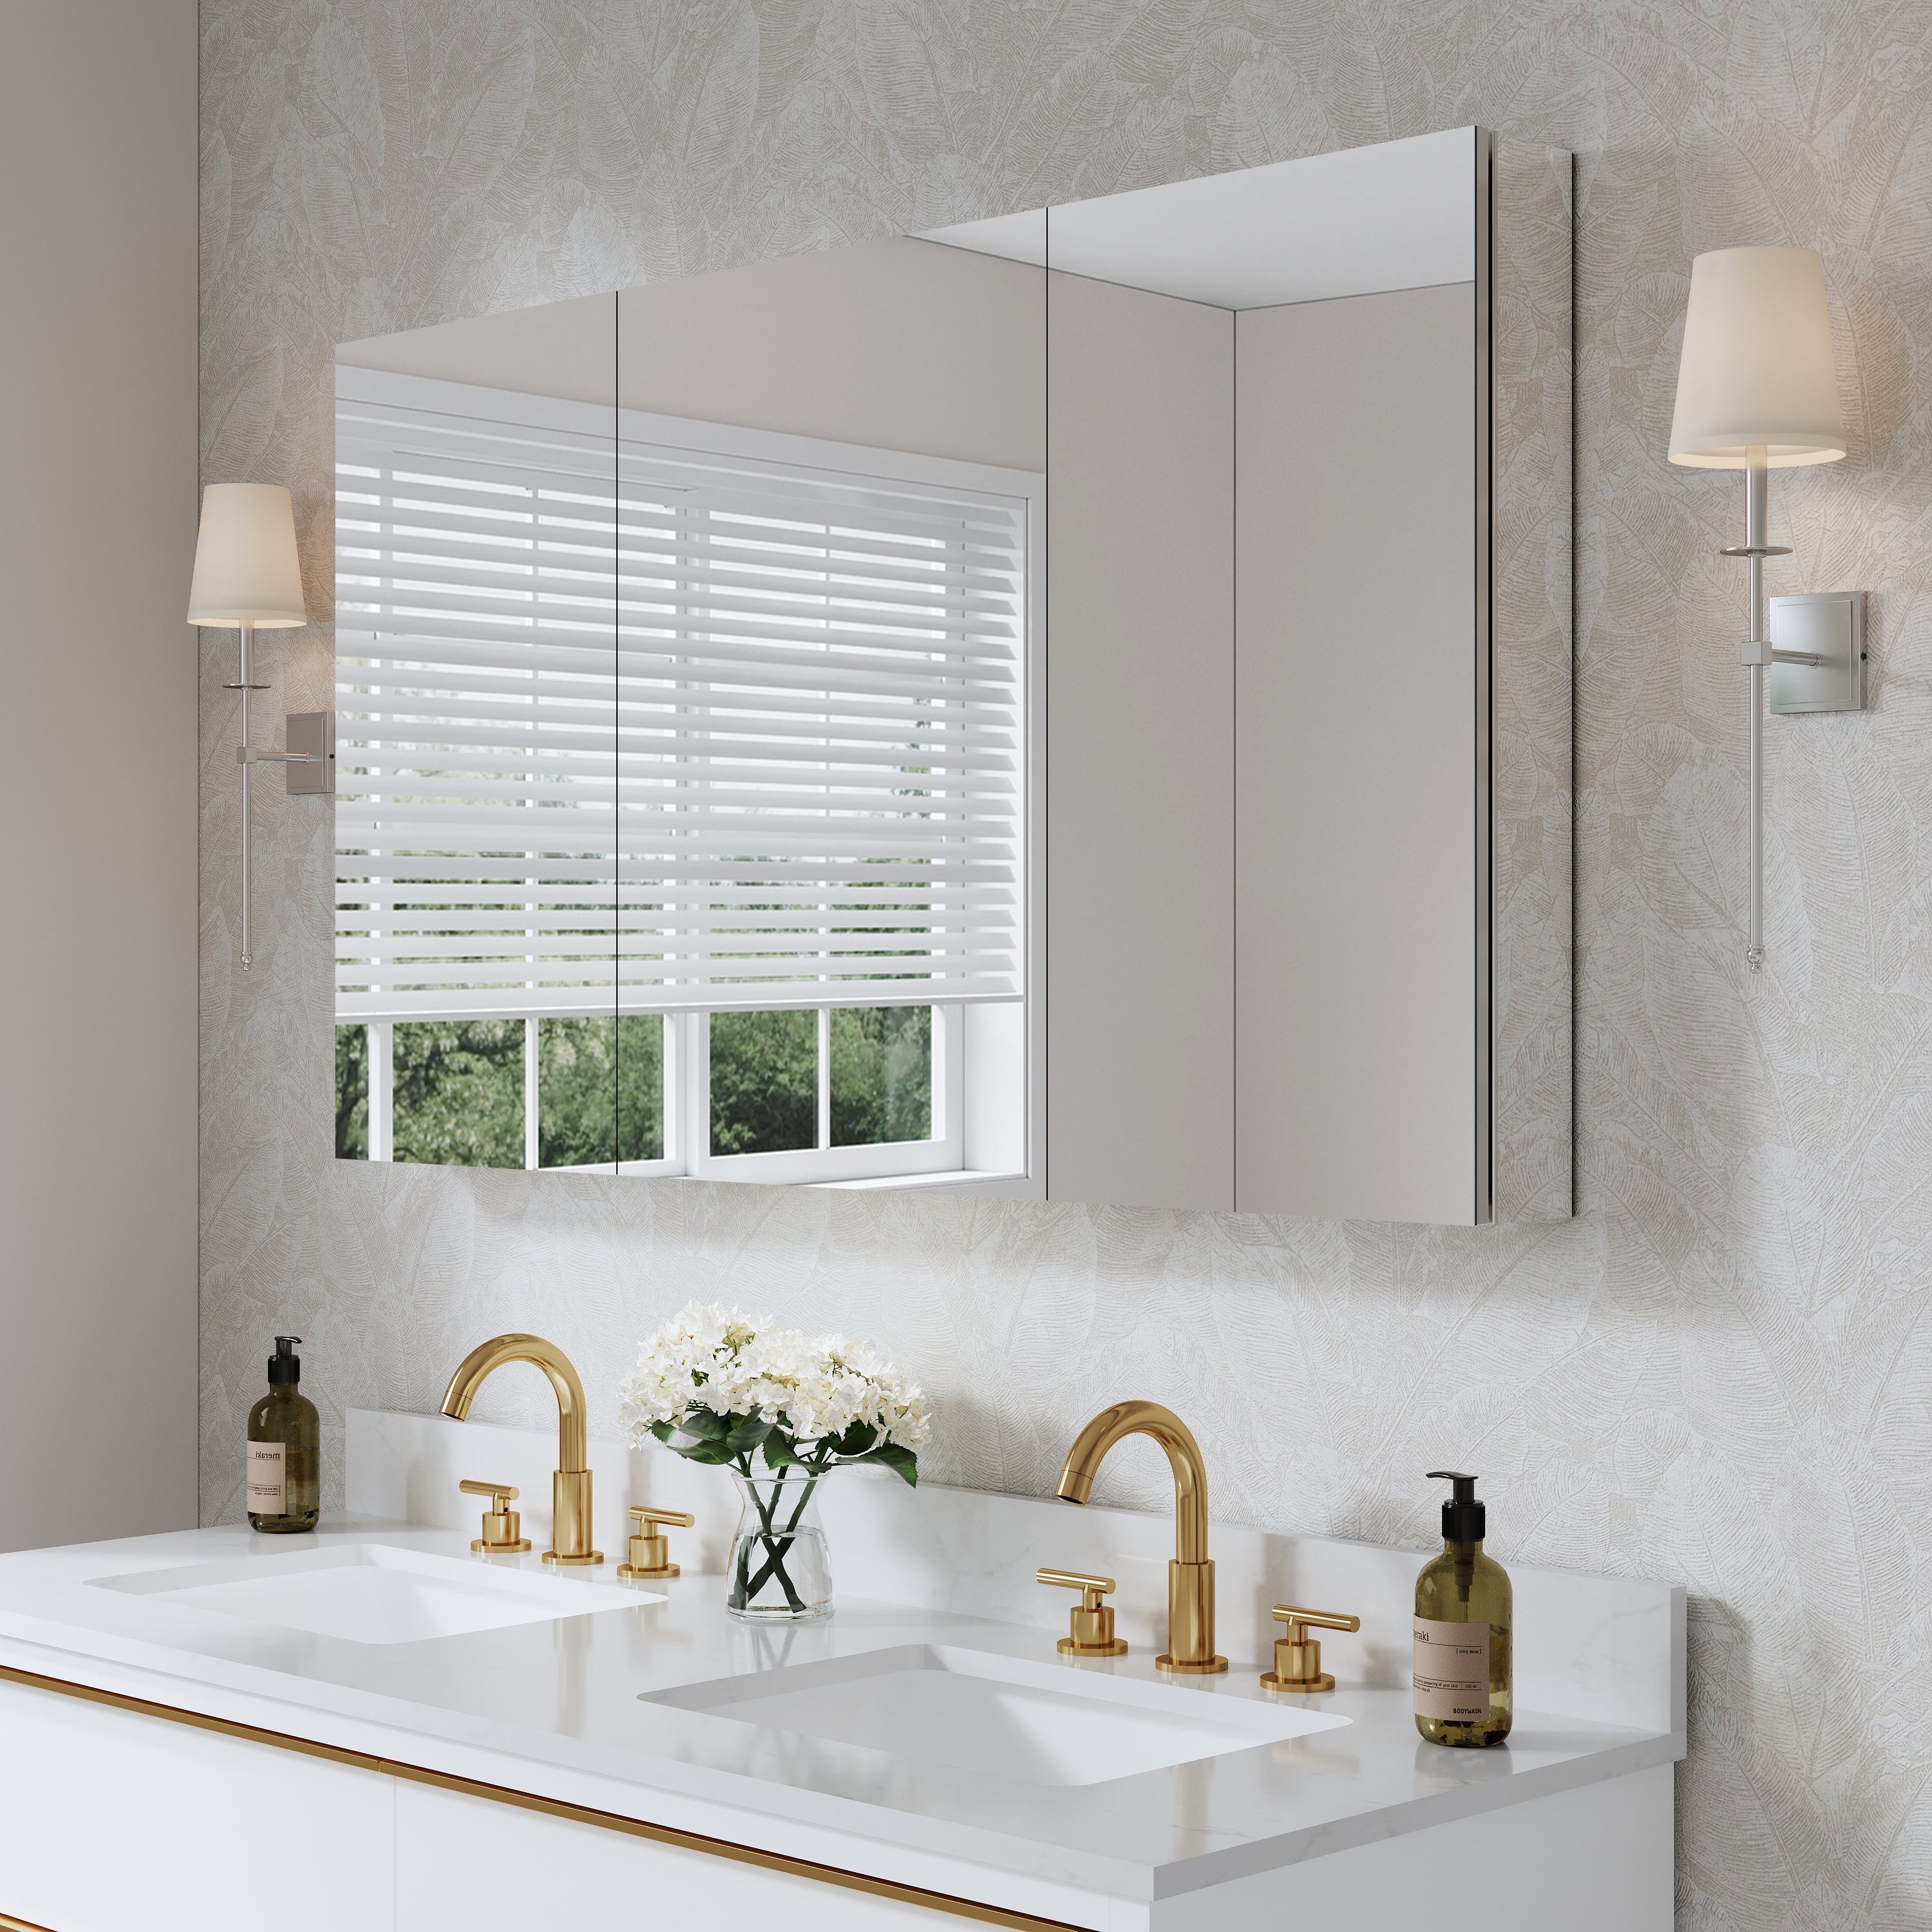
Why Choose a Bathroom Light Mirror?
Bathroom light mirrors are more than just functional fixtures; they serve multiple purposes that improve your daily routine and the overall look of your bathroom. Here's why they're such a great choice:
· Improved visibility: The backlit glow enhances lighting, making grooming tasks like shaving or makeup application effortless.
· Modern aesthetics: Lighted mirrors elevate a bathroom's style, giving it a sleek and contemporary feel.
· Energy efficiency: LED bathroom light mirrors often use less energy, helping you save on electricity bills.
· Space-saving design: A two-in-one mirror and light solution keep your bathroom clutter-free.
Now, you're probably excited to get started. But how can you install one without any tools? Keep reading for a stress-free method.
Things to Consider Before Installation
Before installing your bathroom light mirror, plan to ensure the outcome meets your expectations. Here are some factors to keep in mind:
1. Pick the Right Mirror
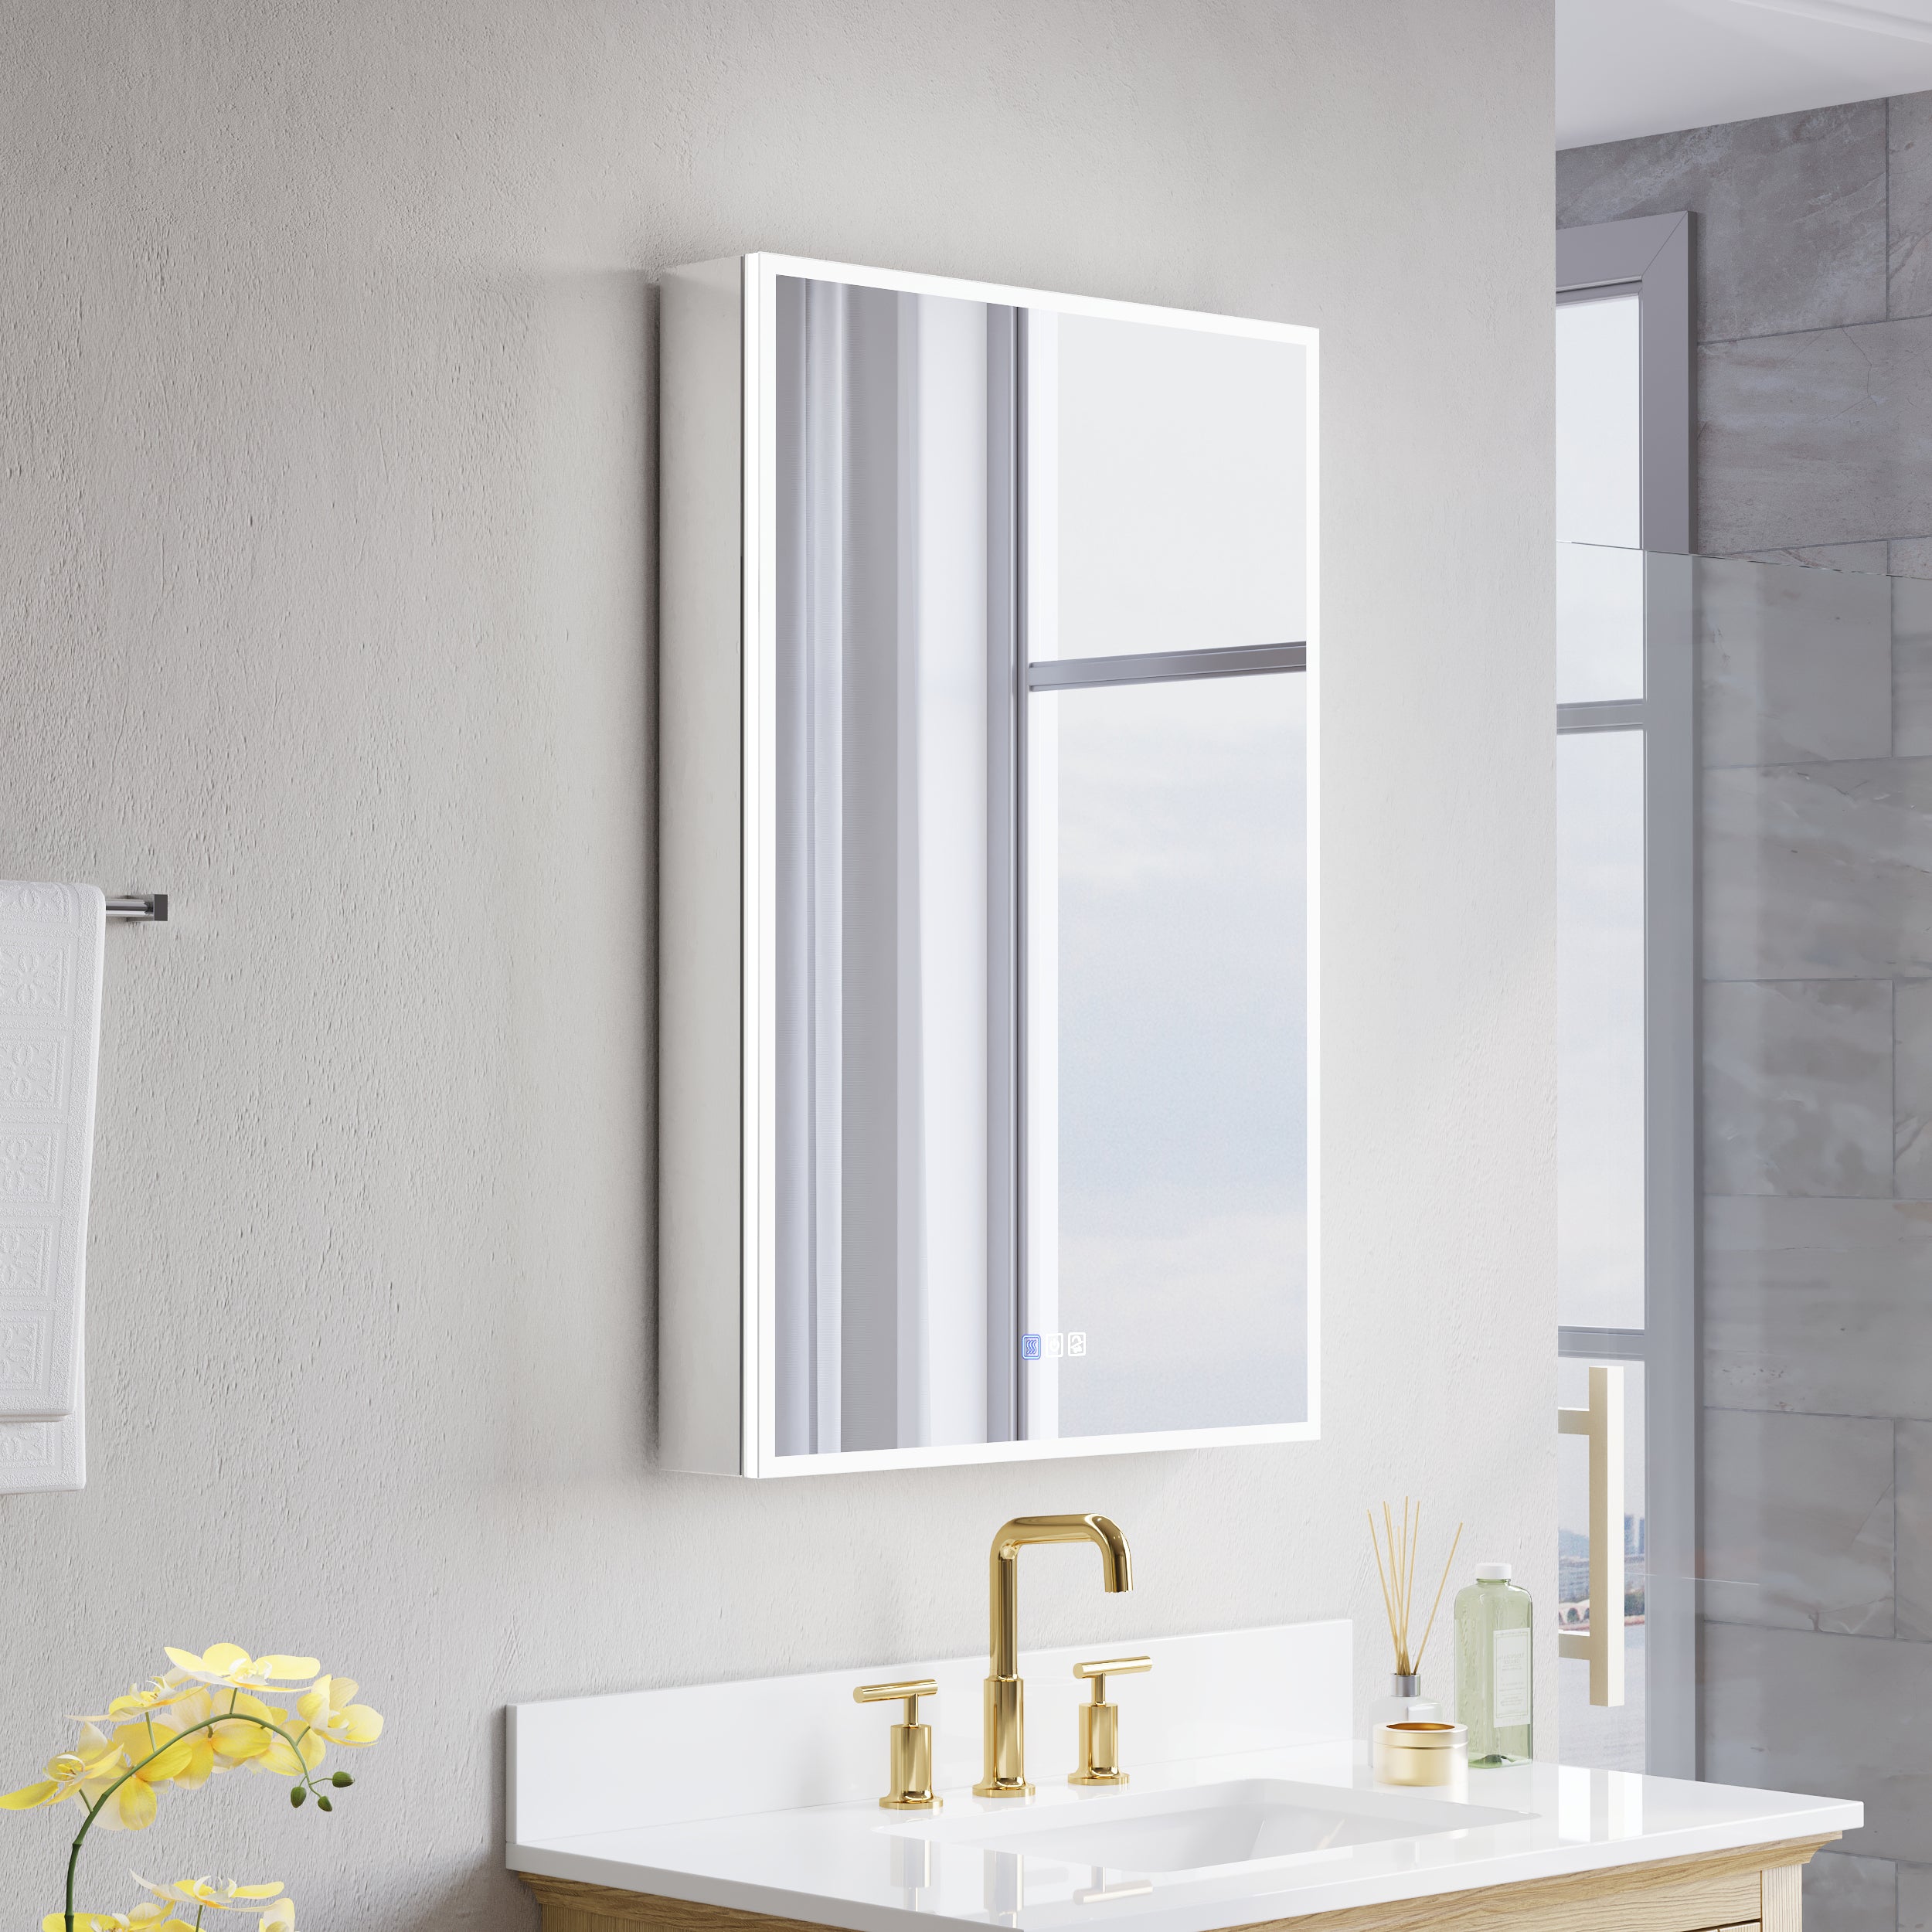
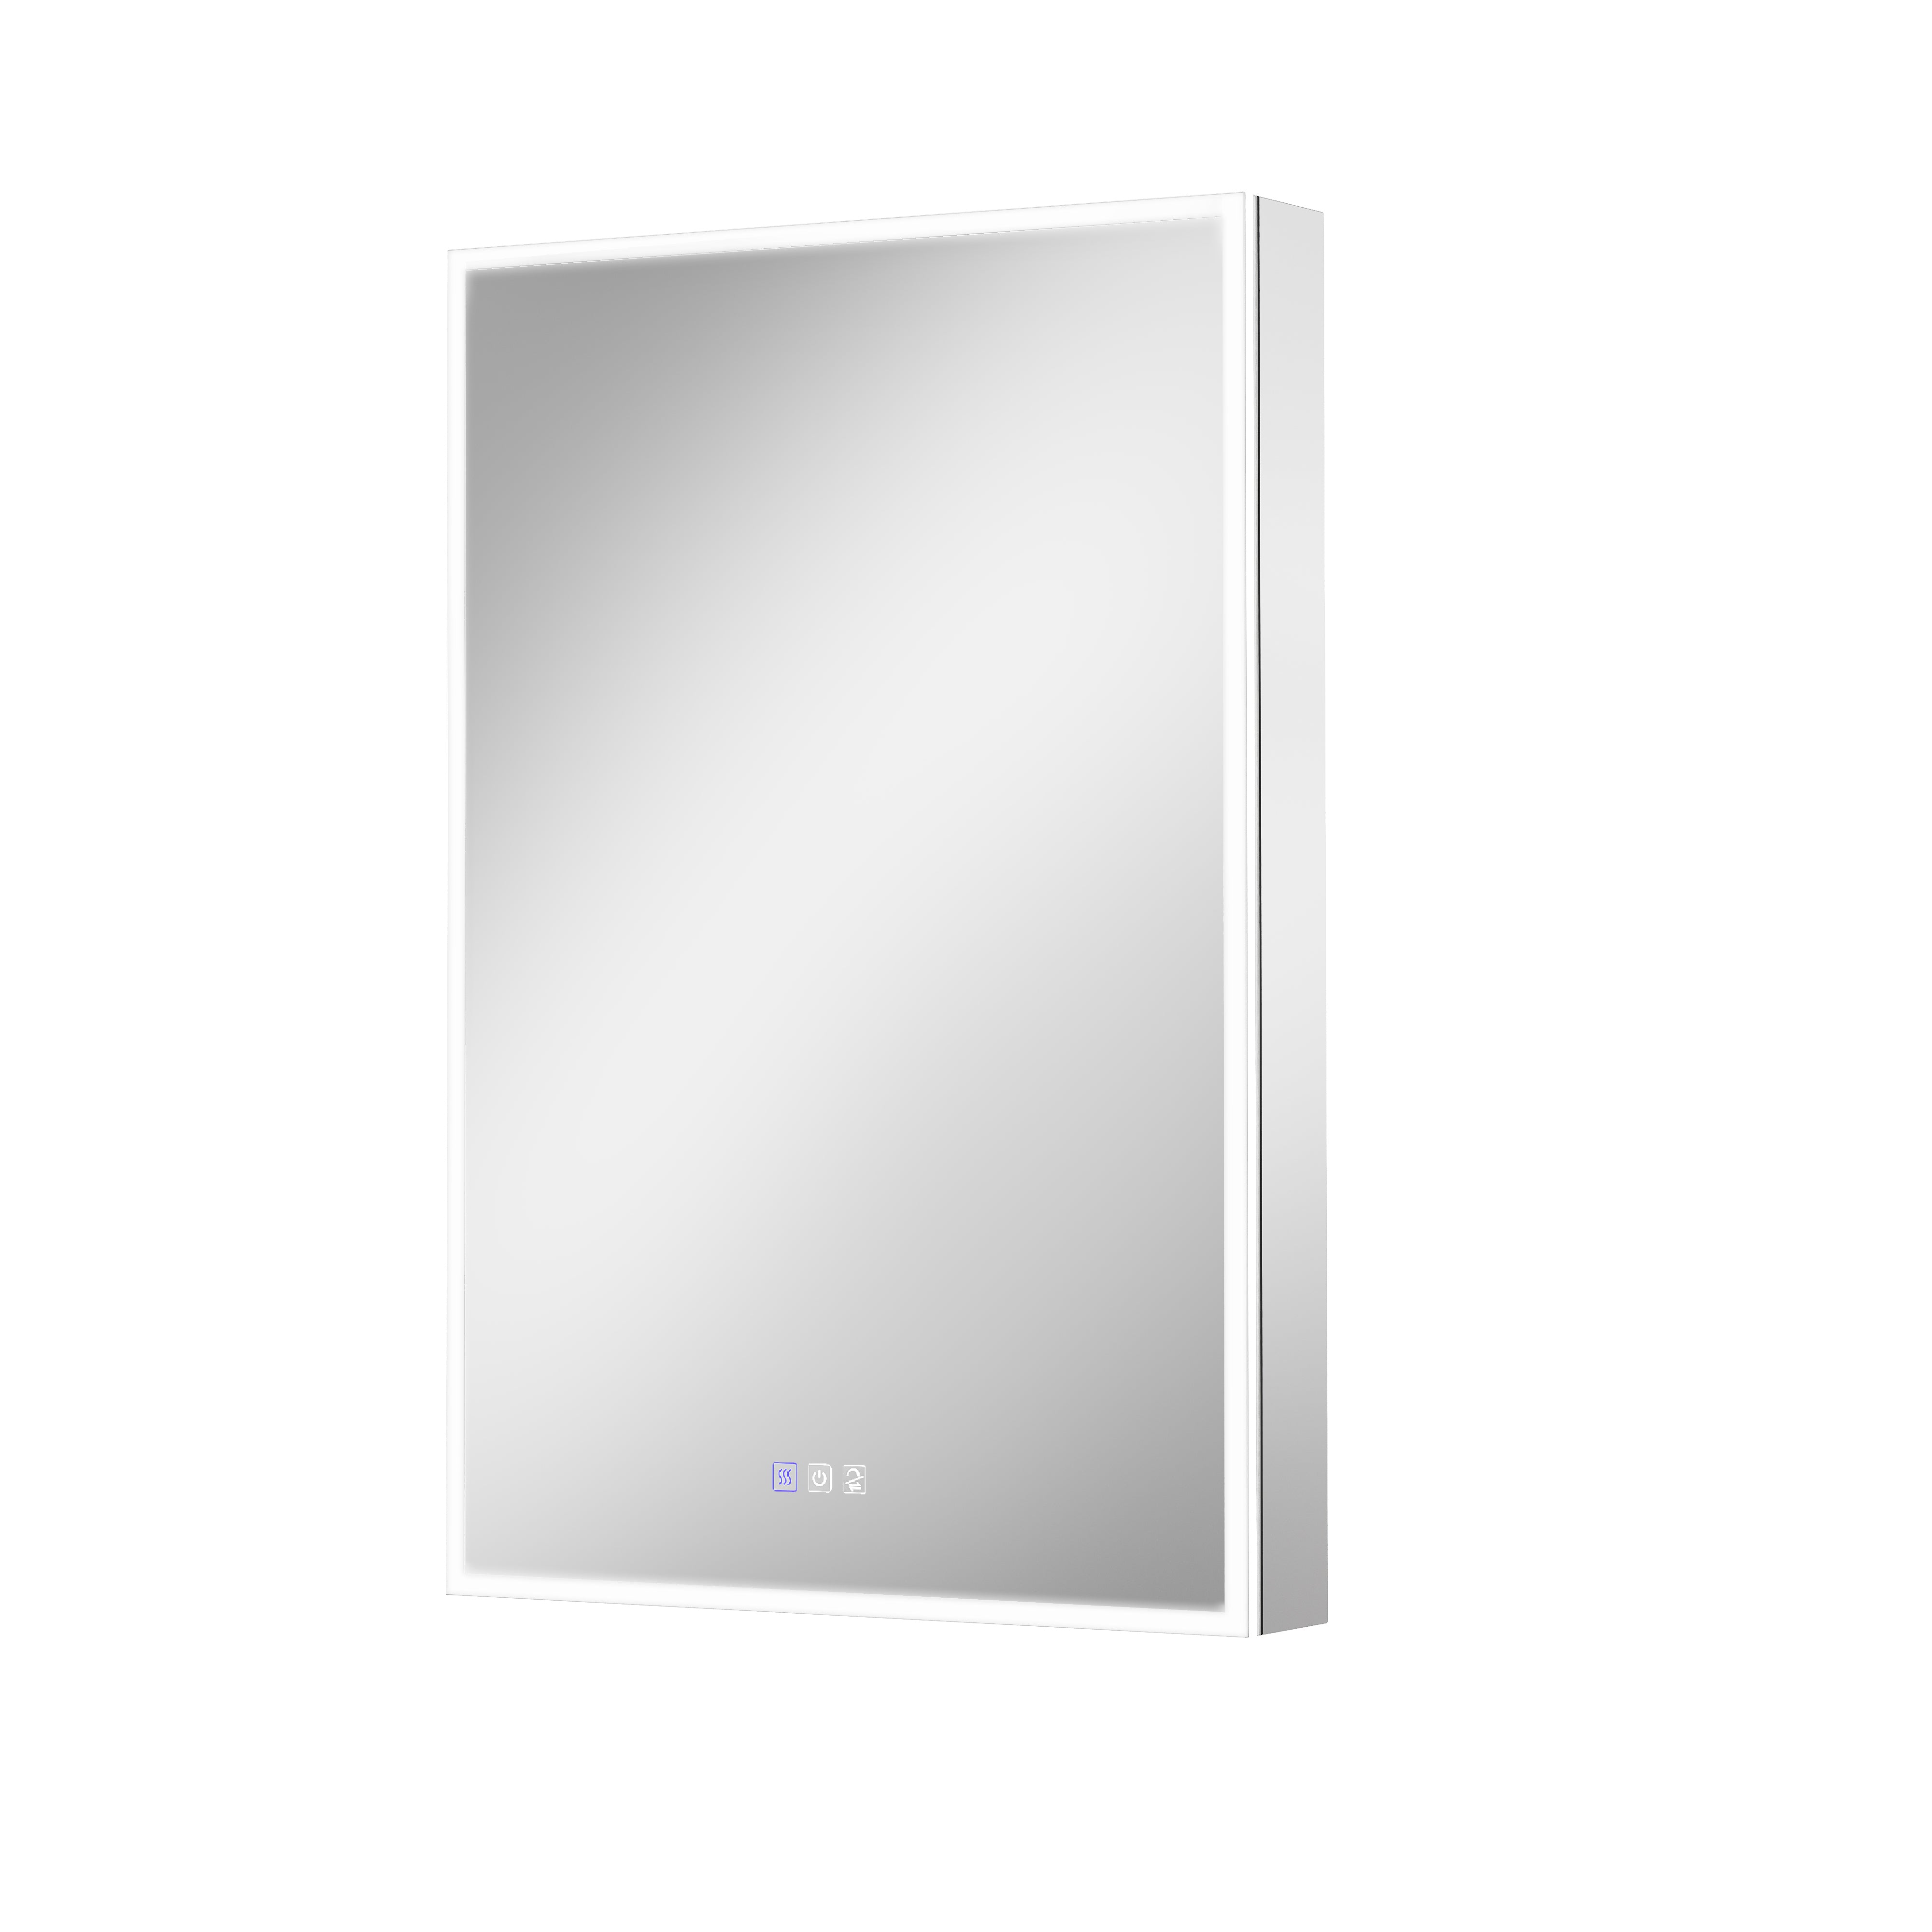
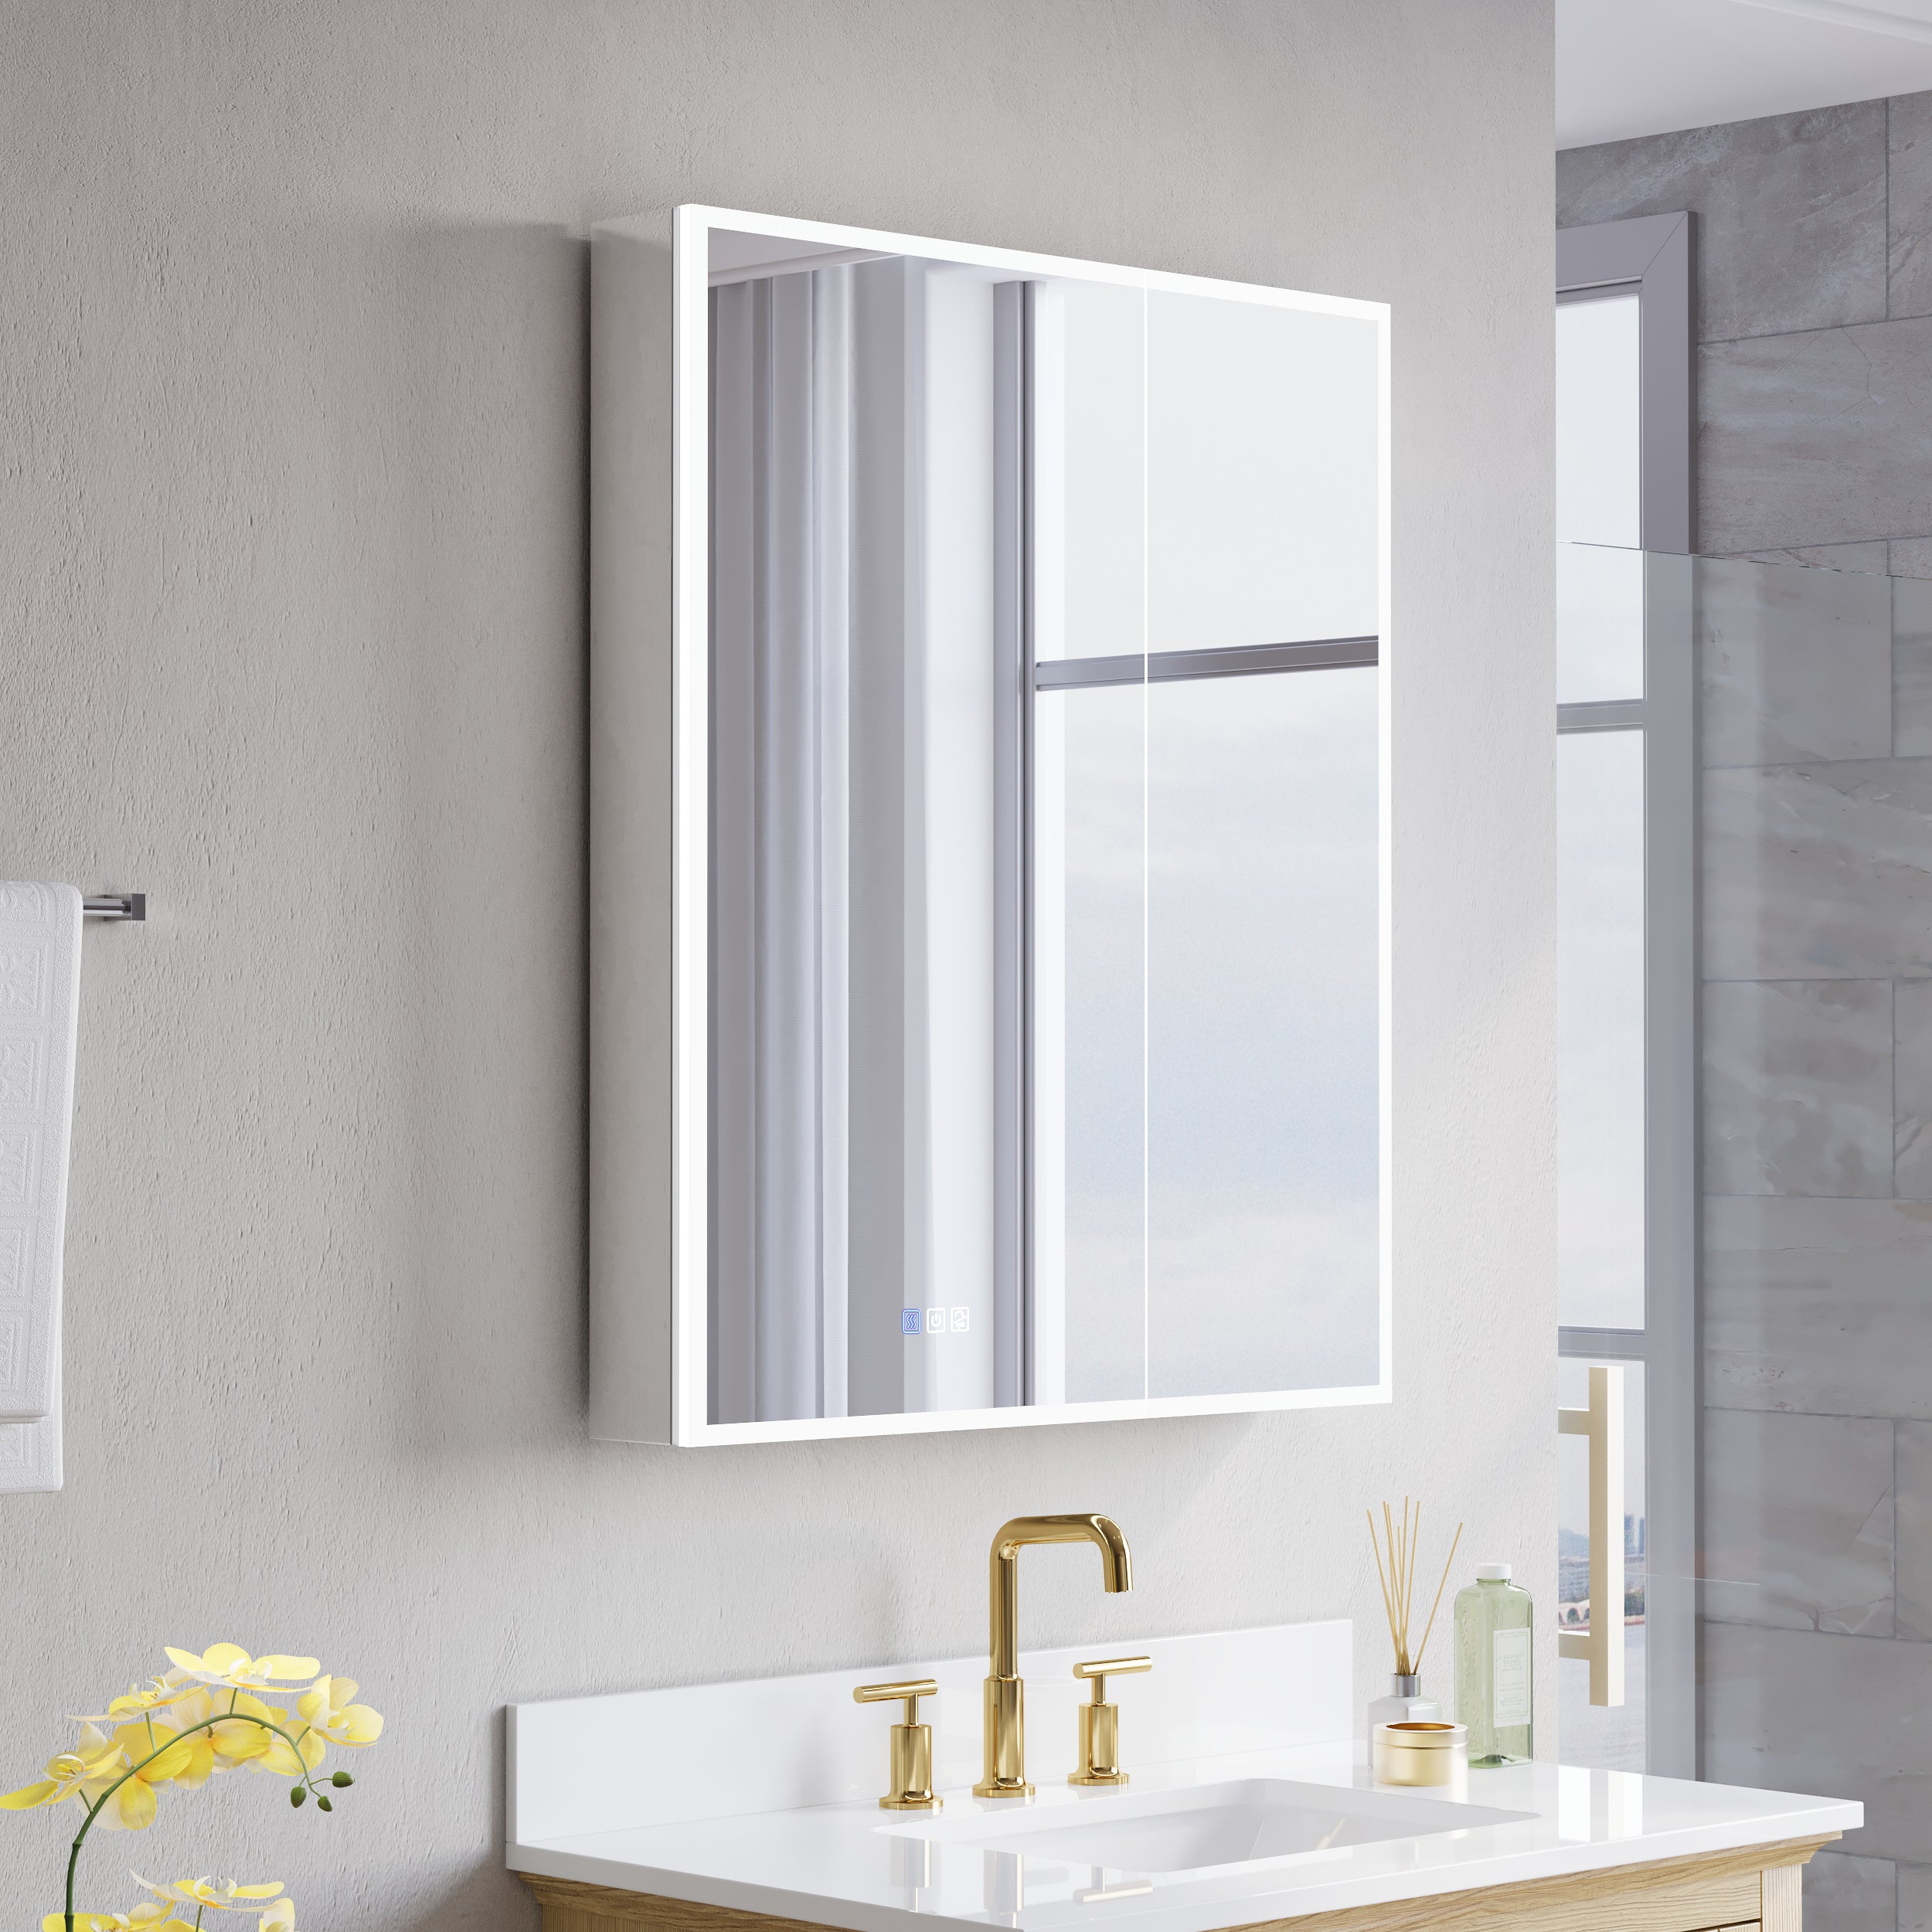
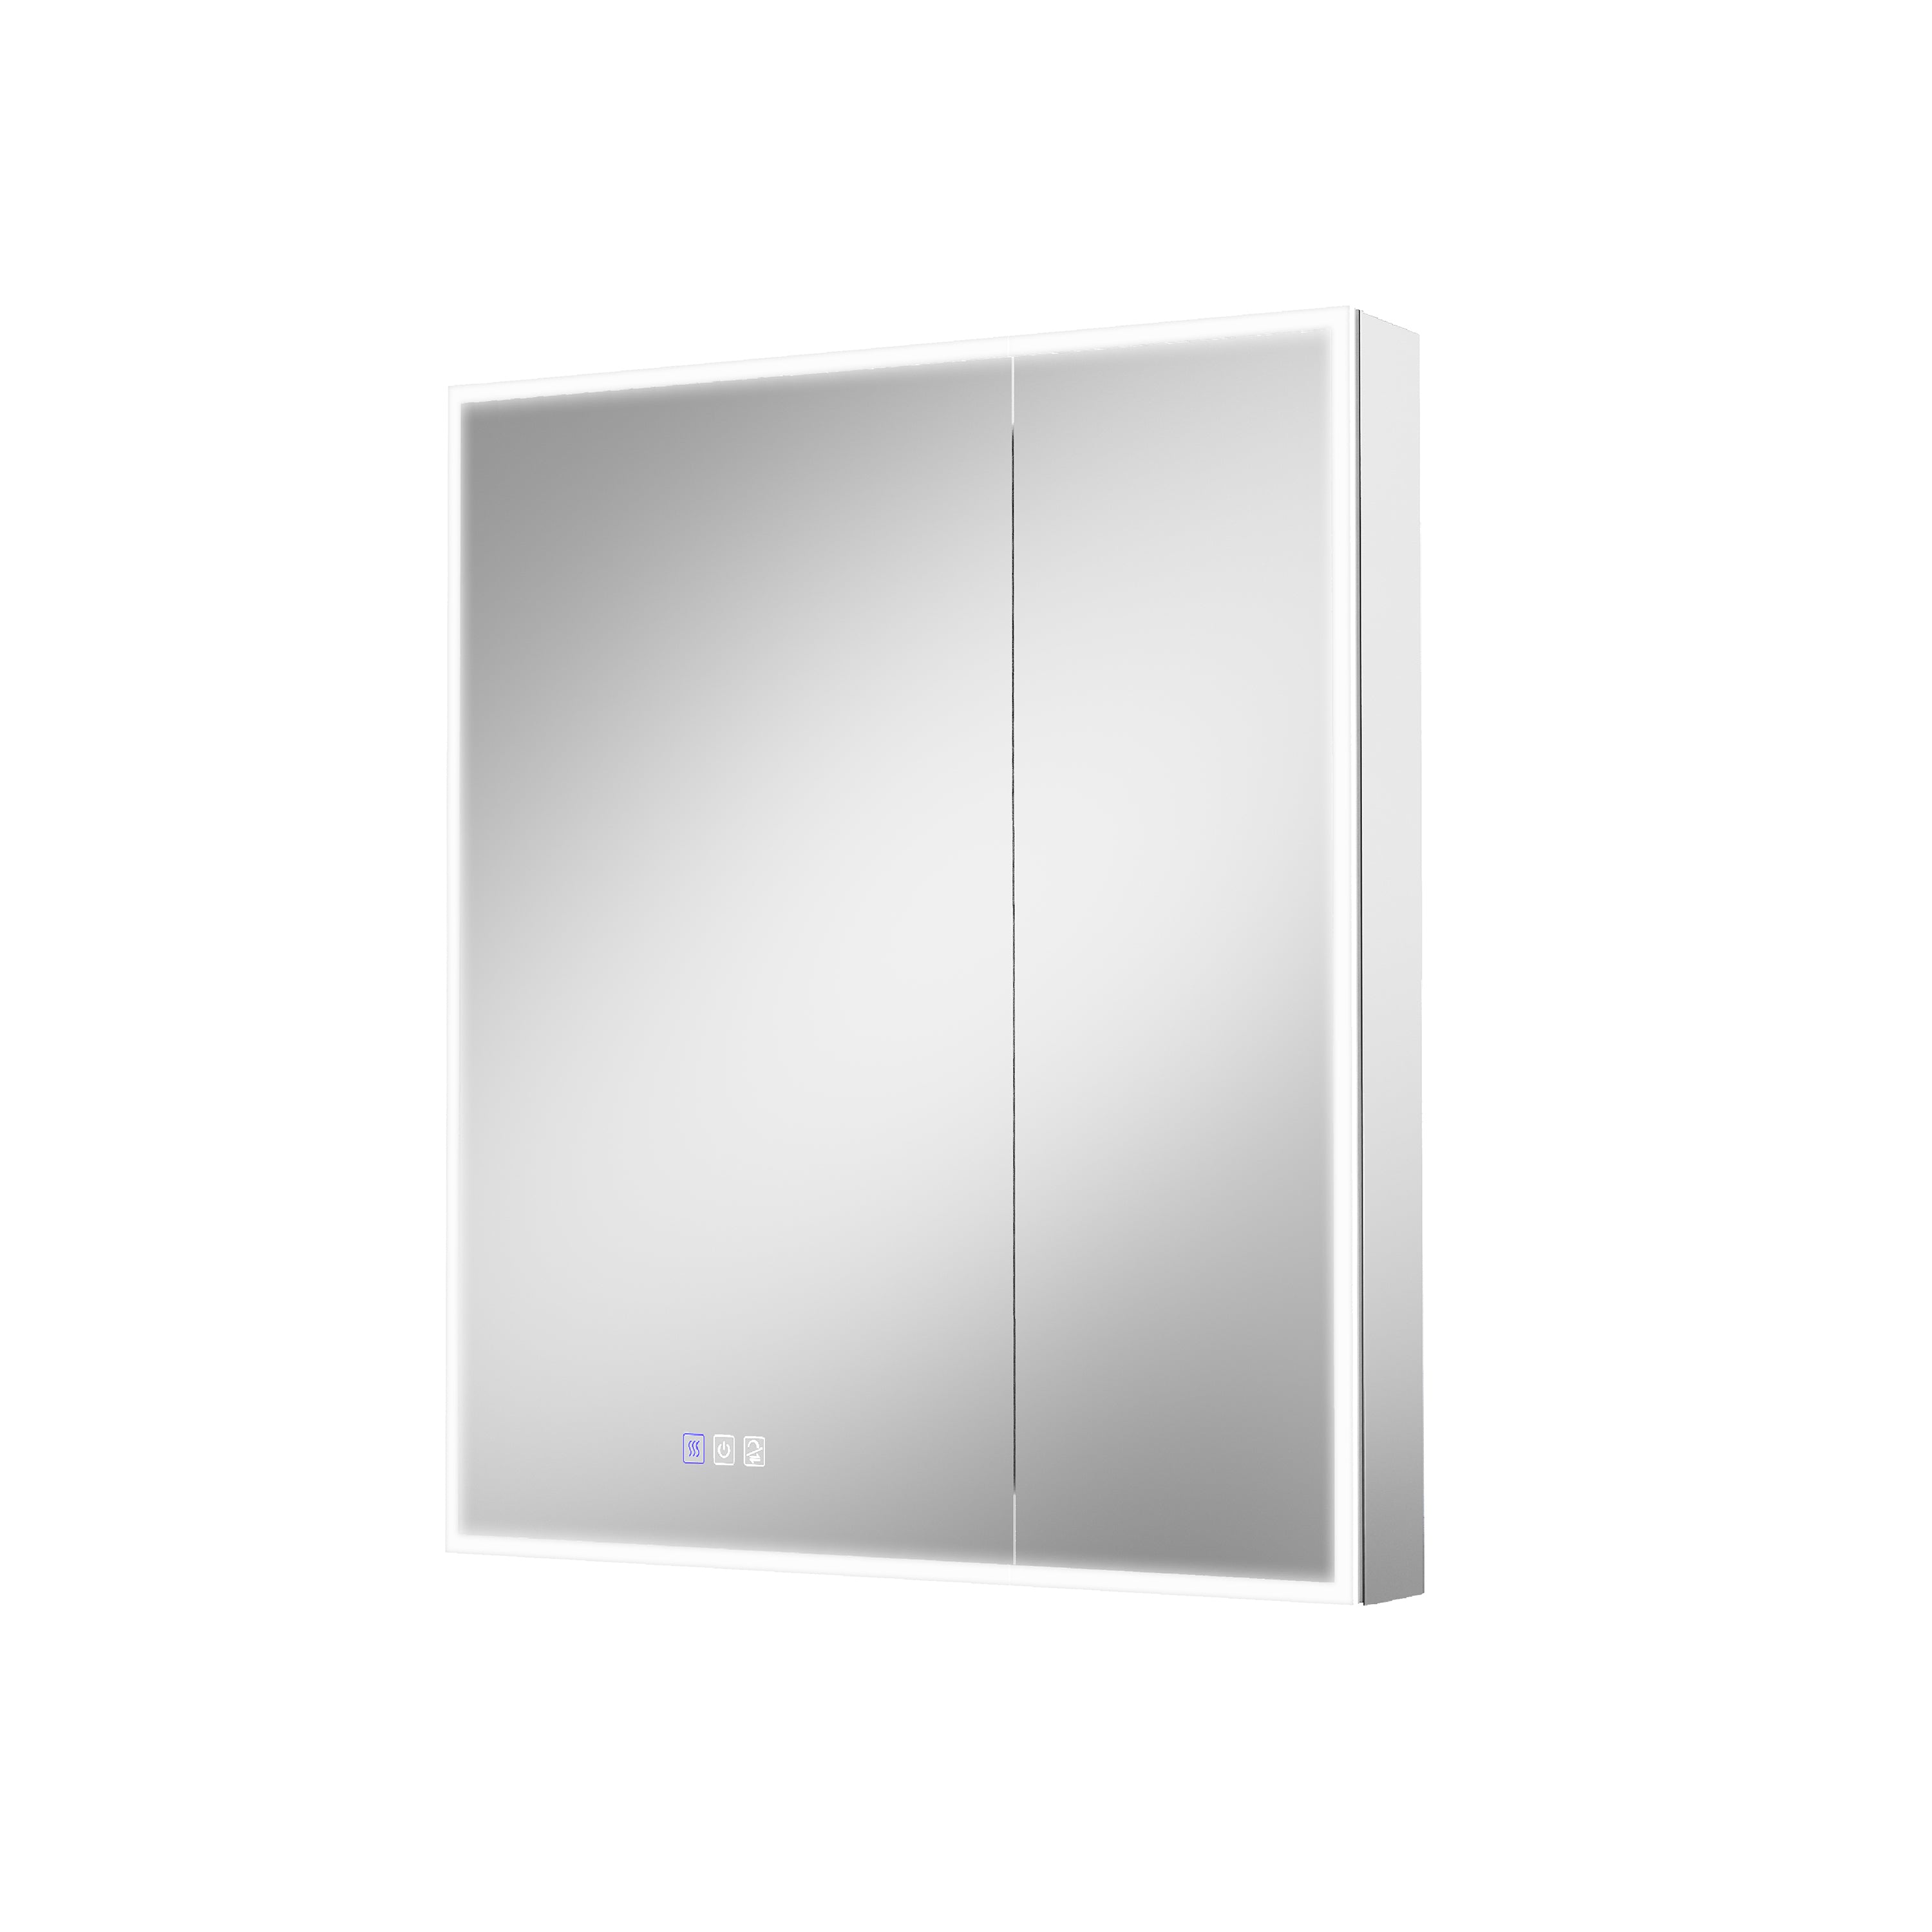
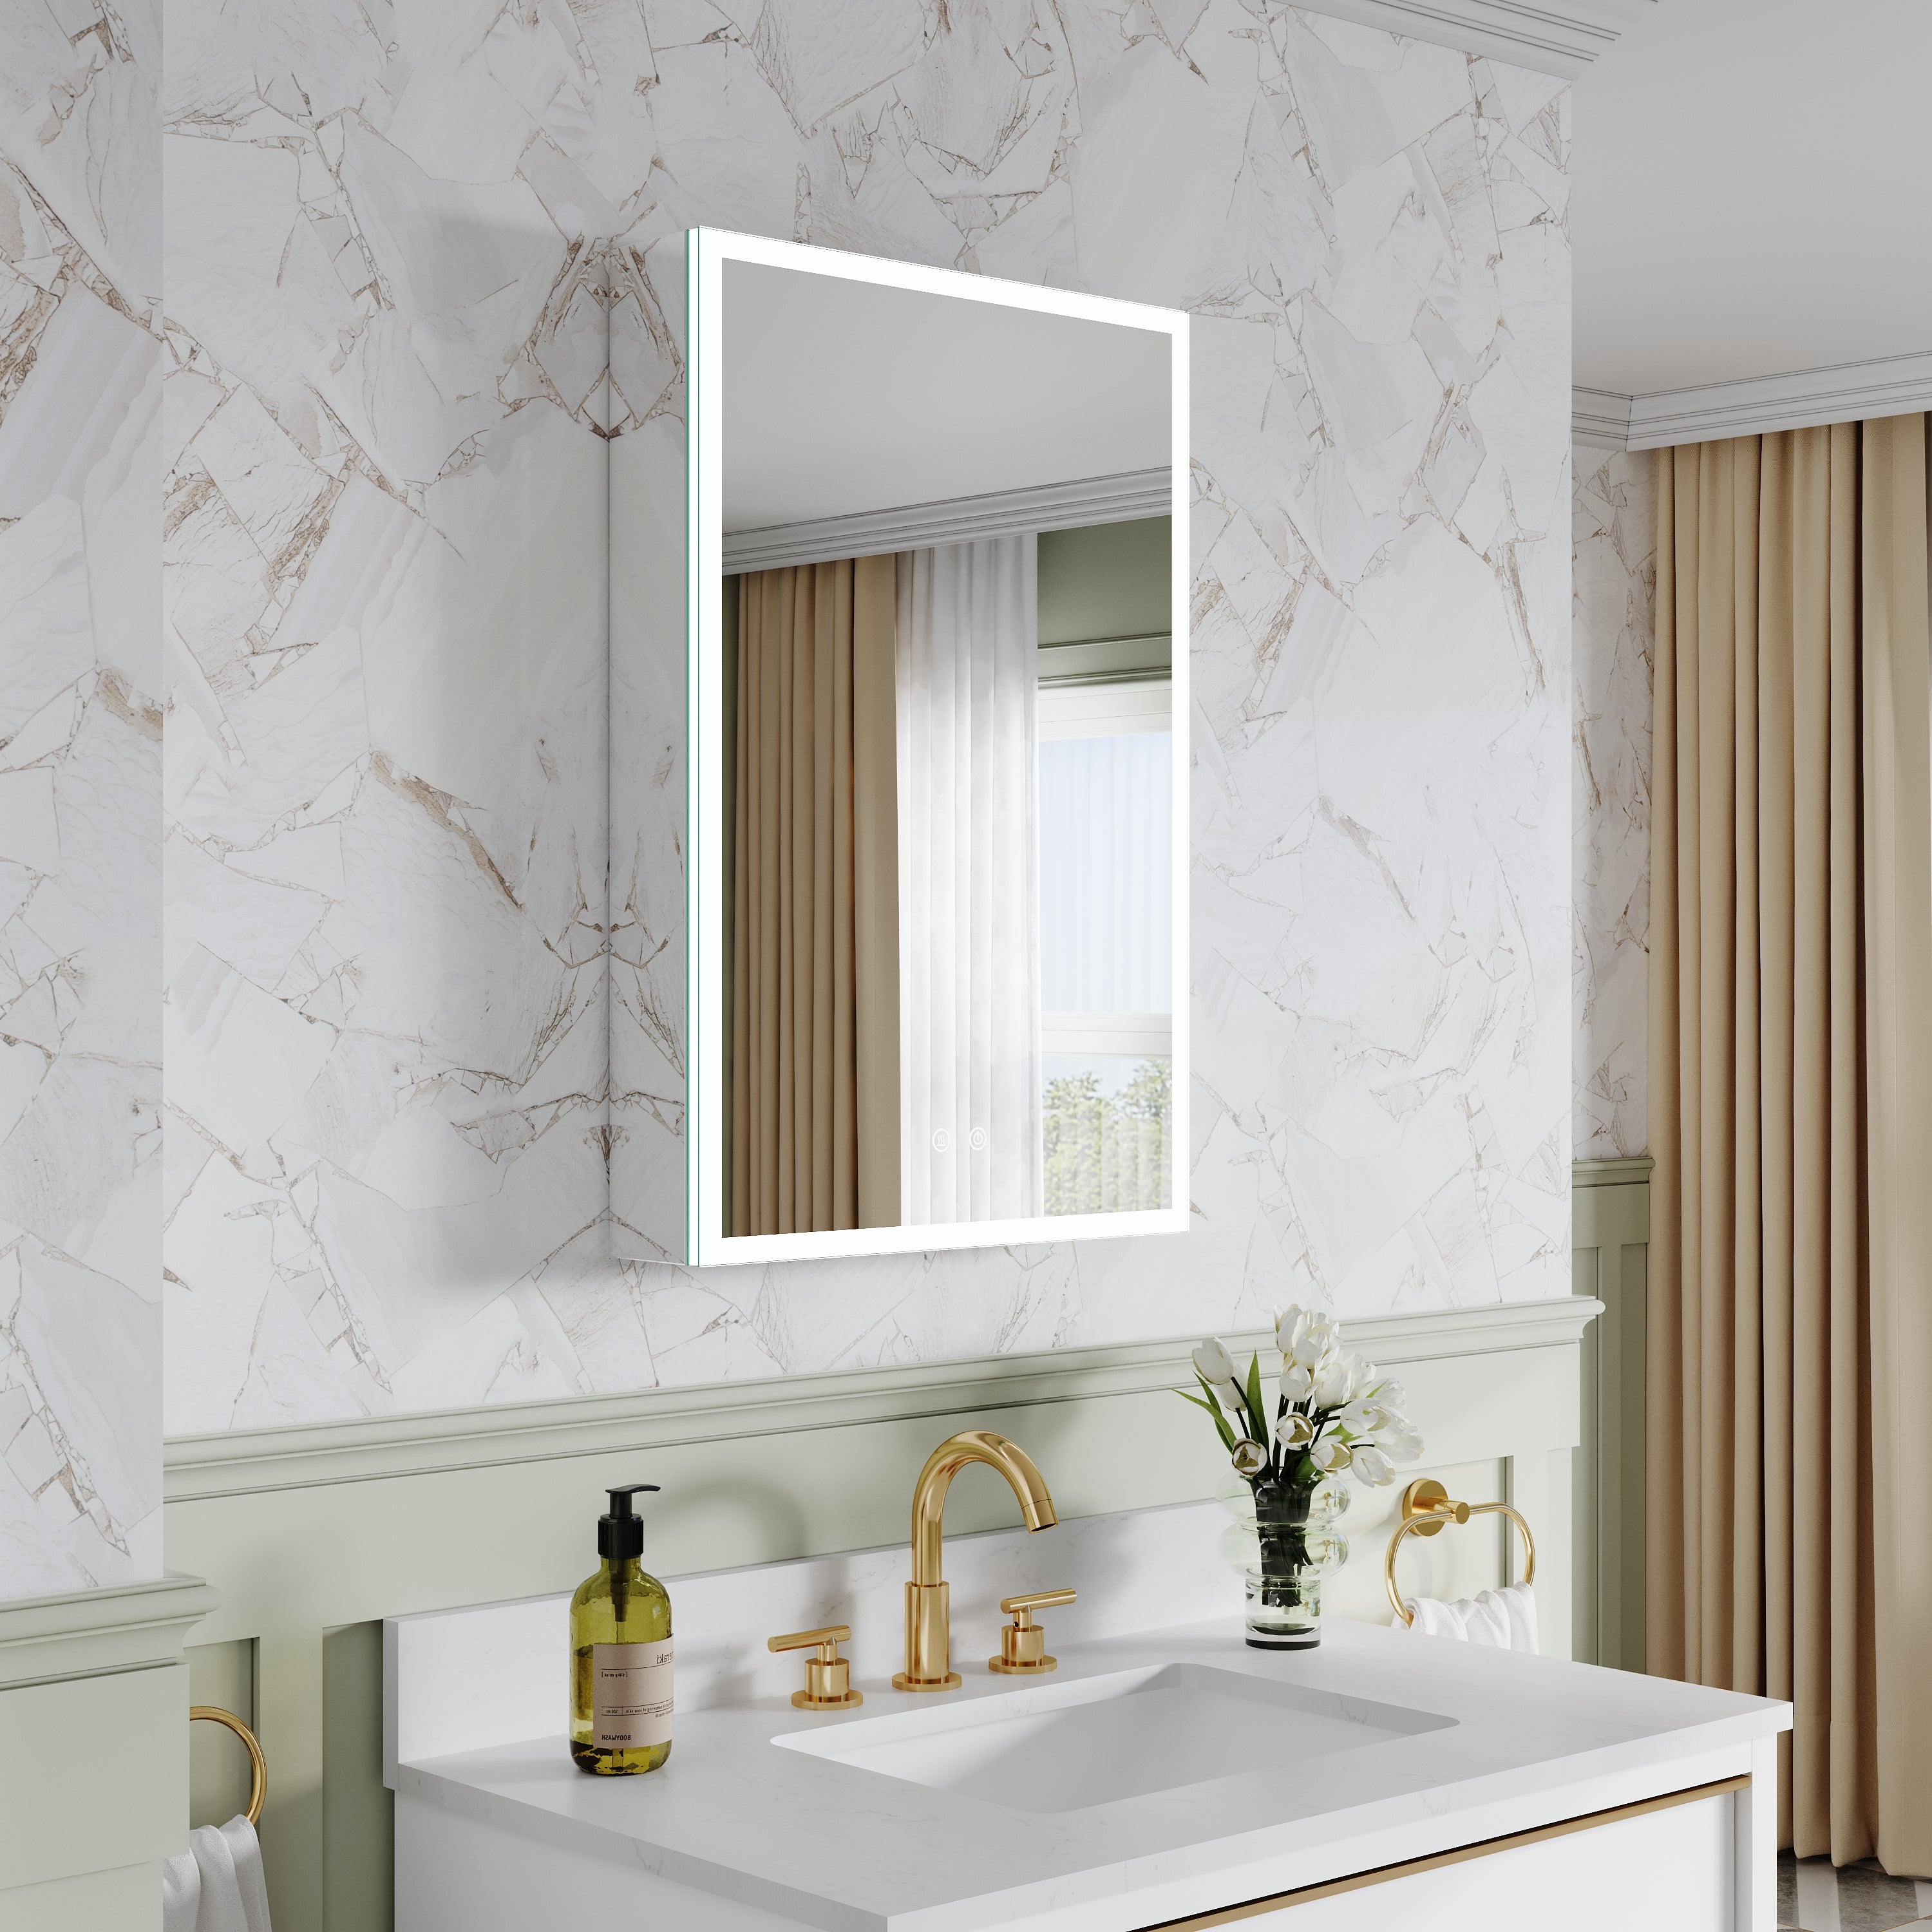
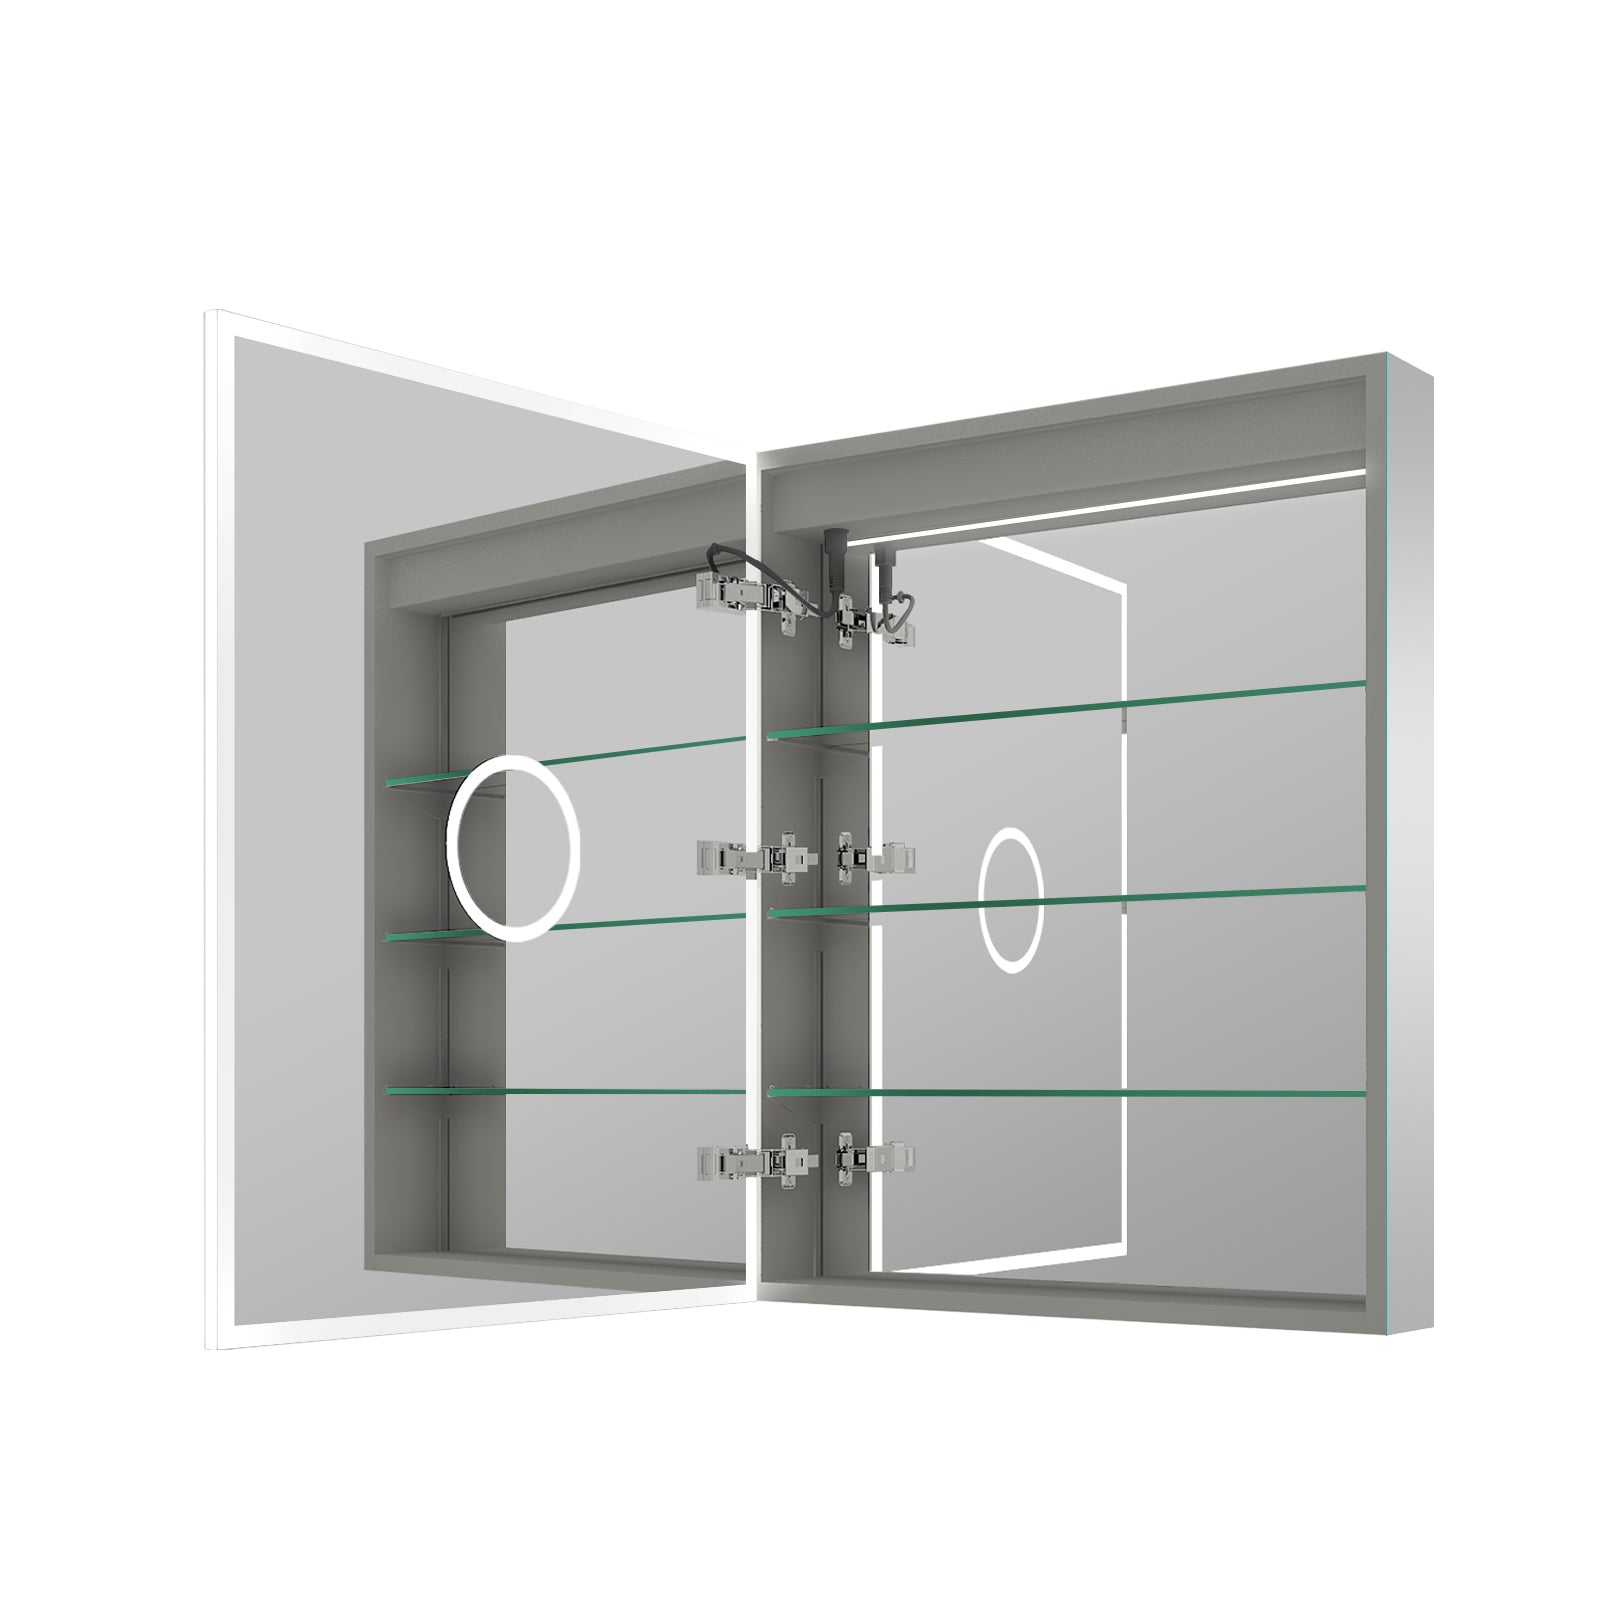
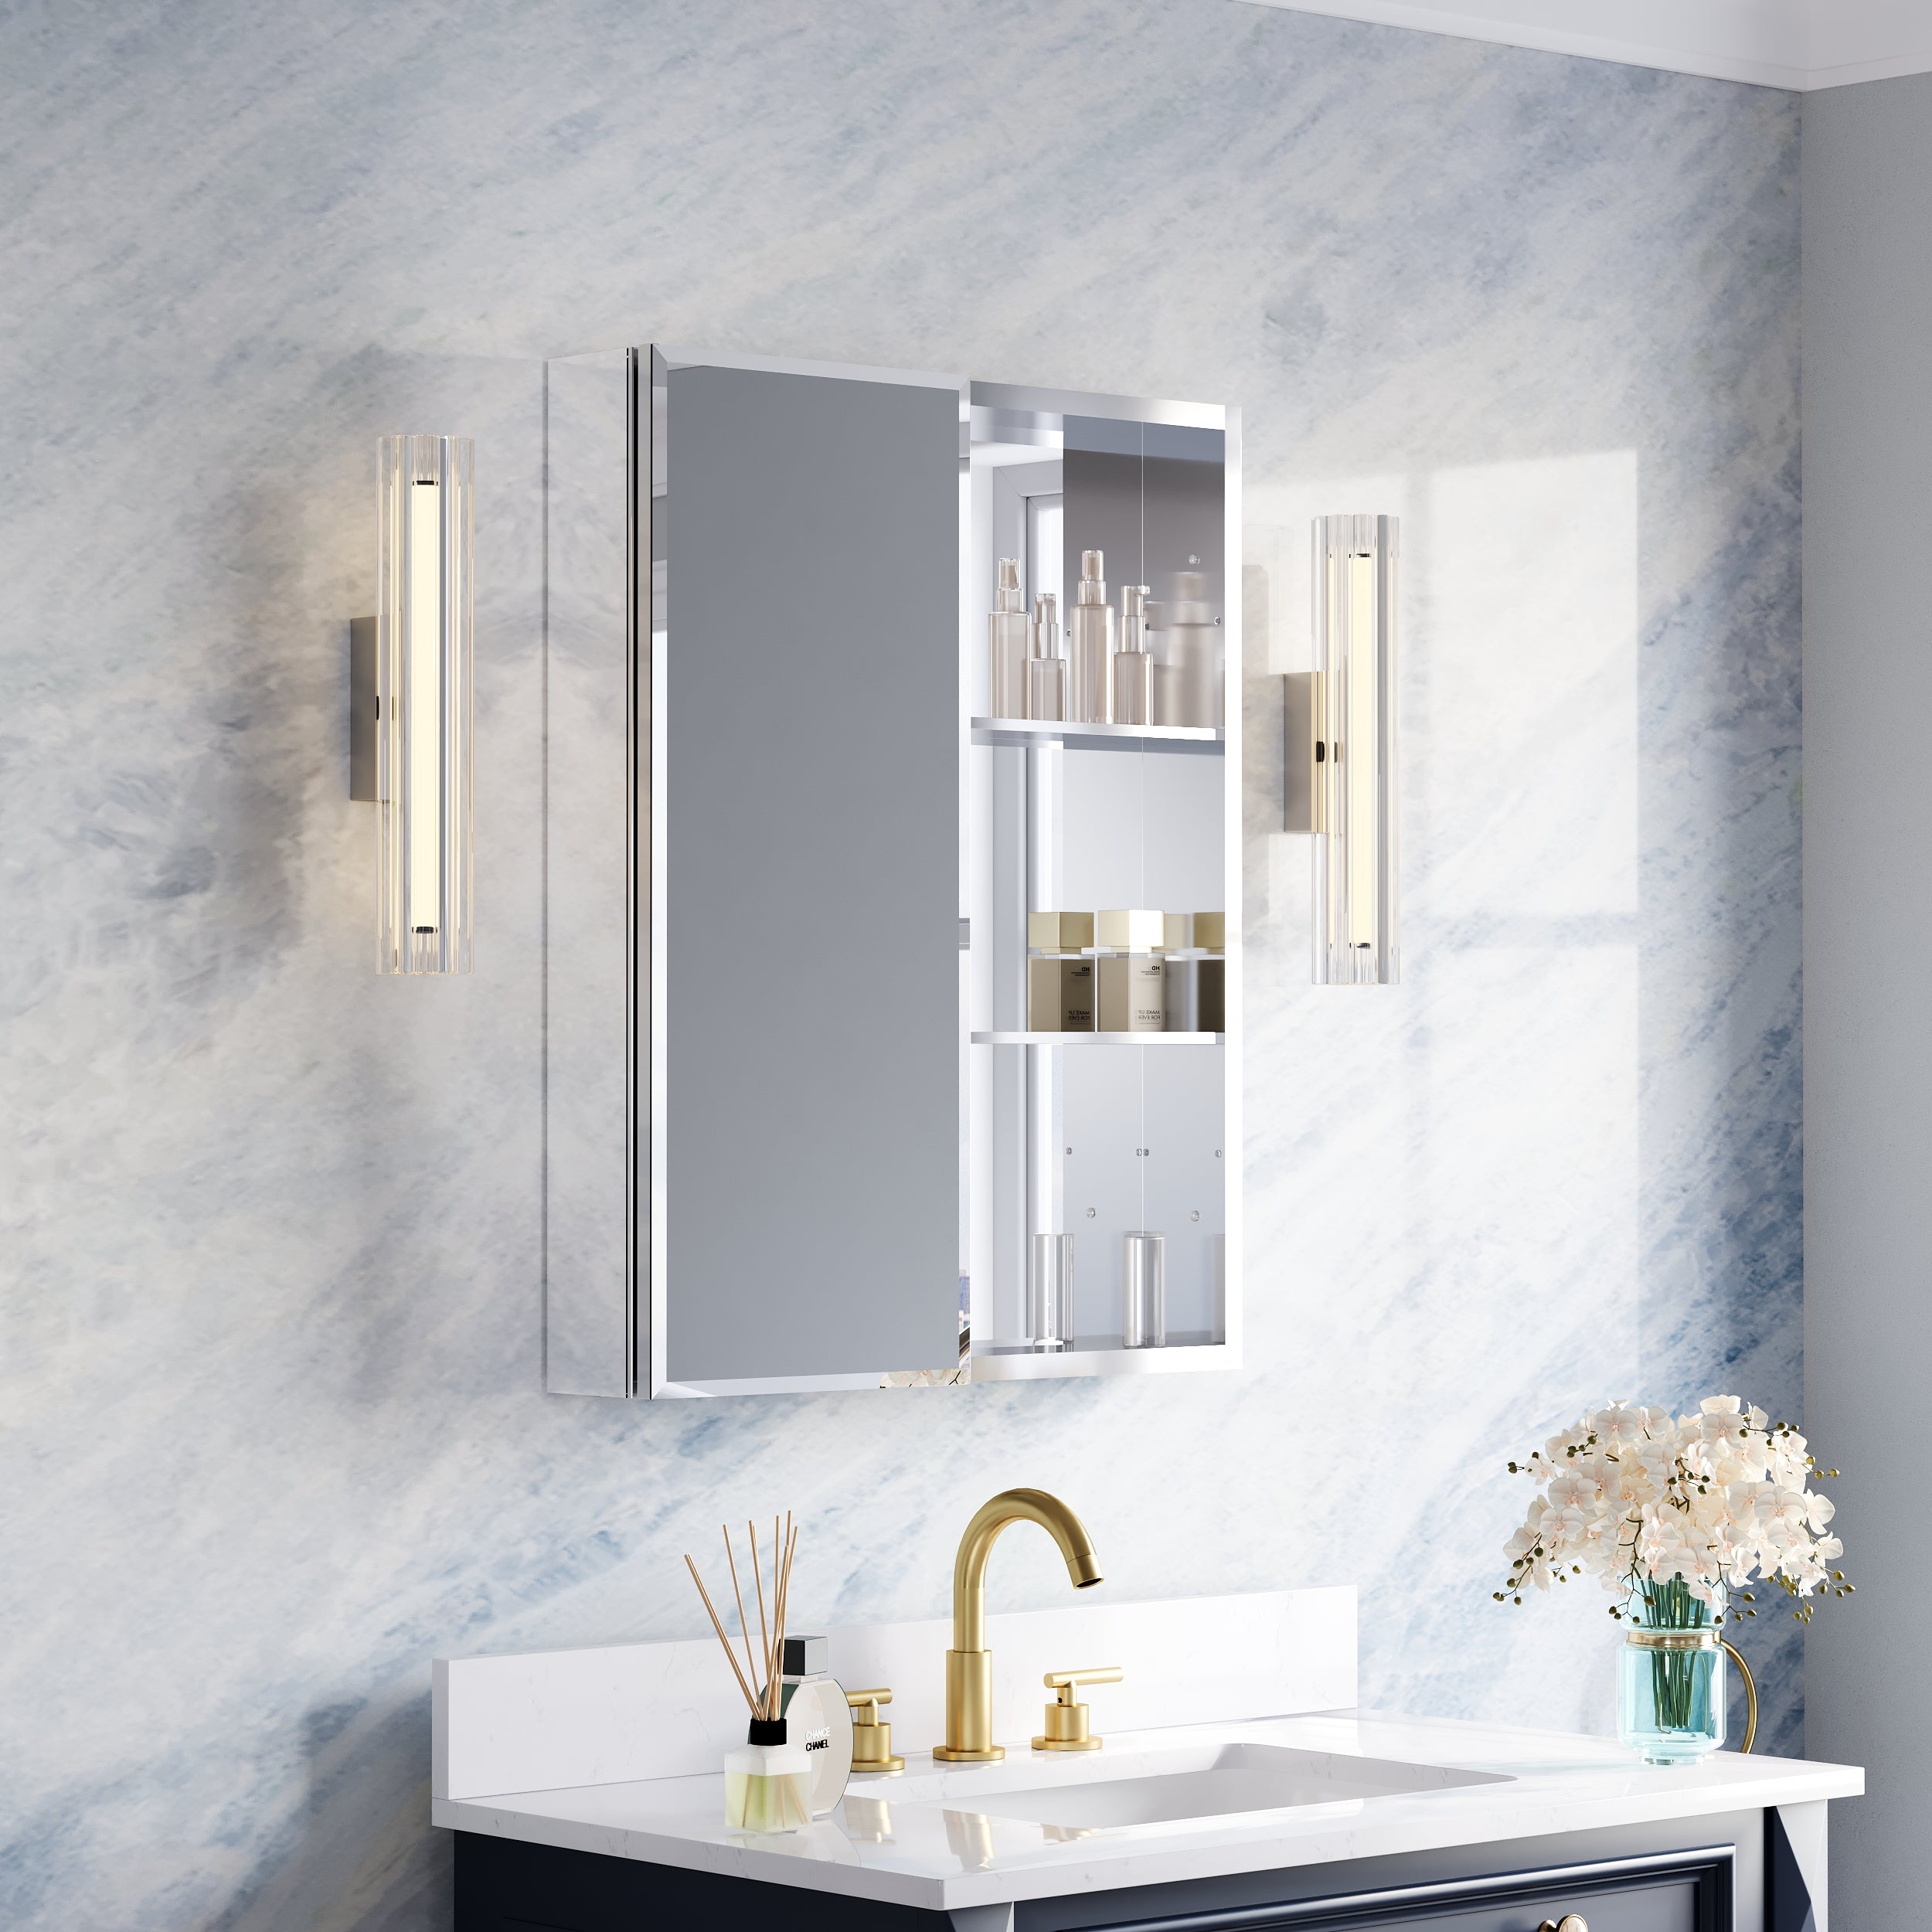
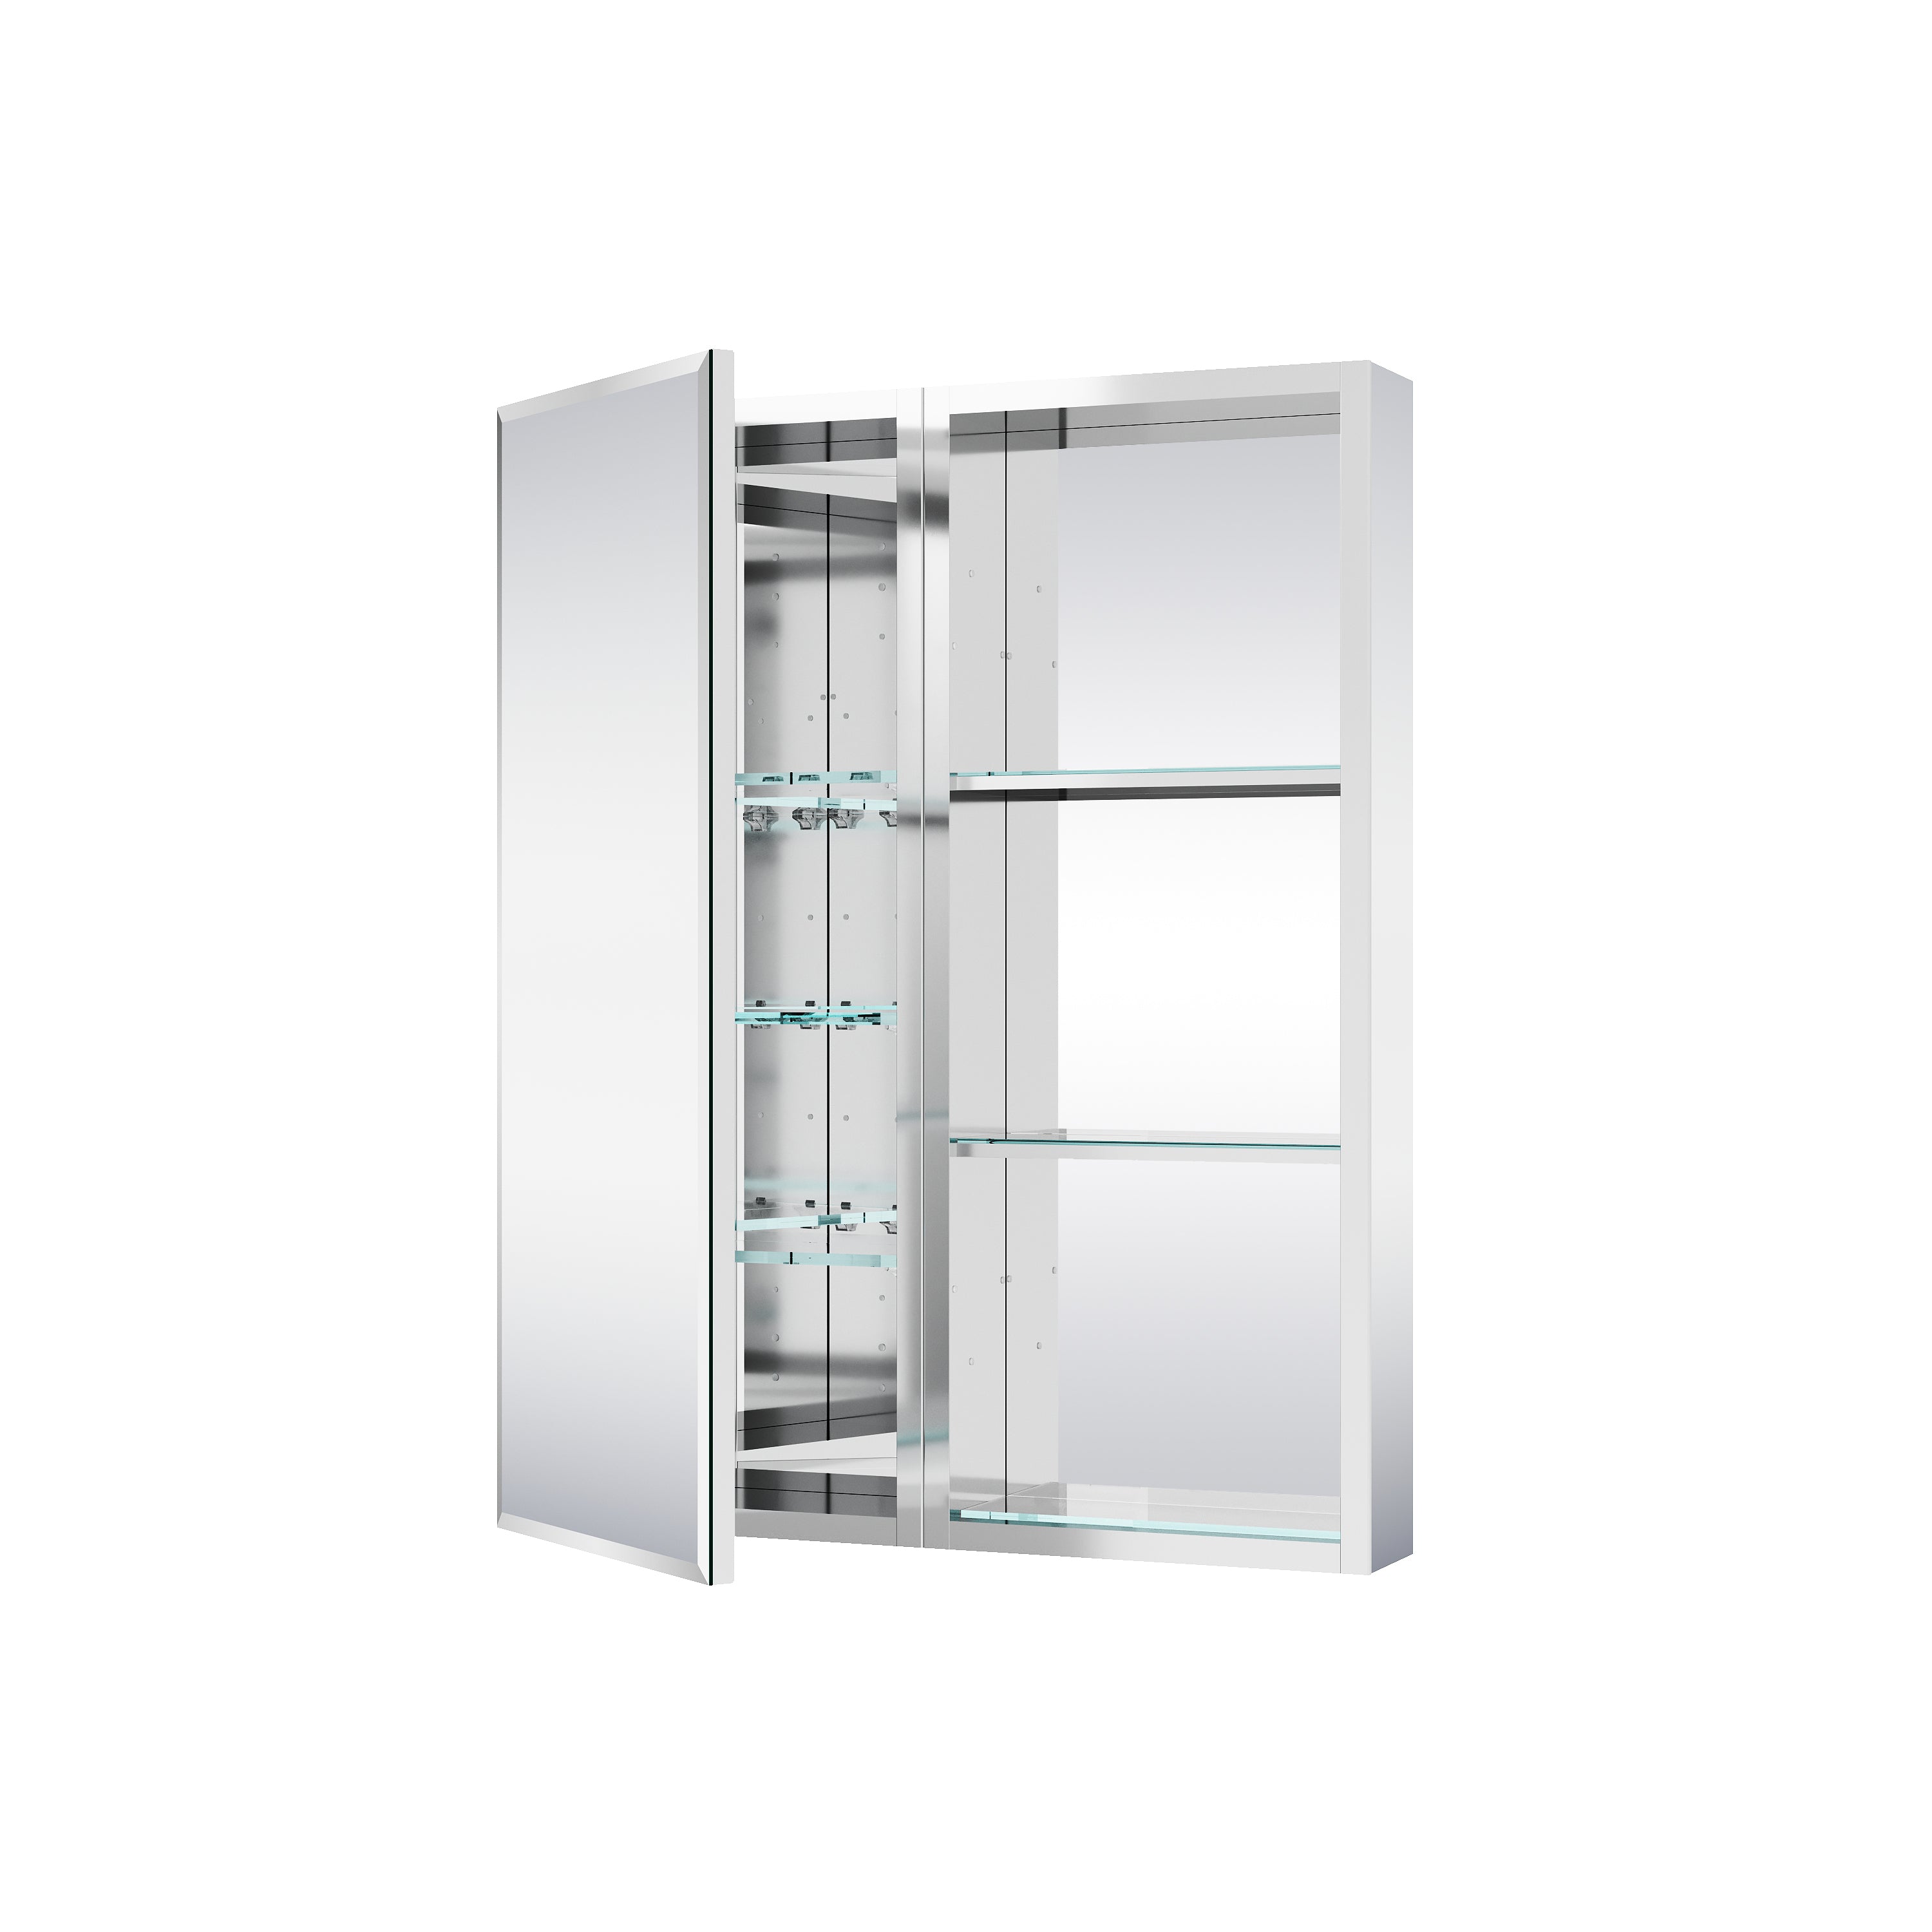
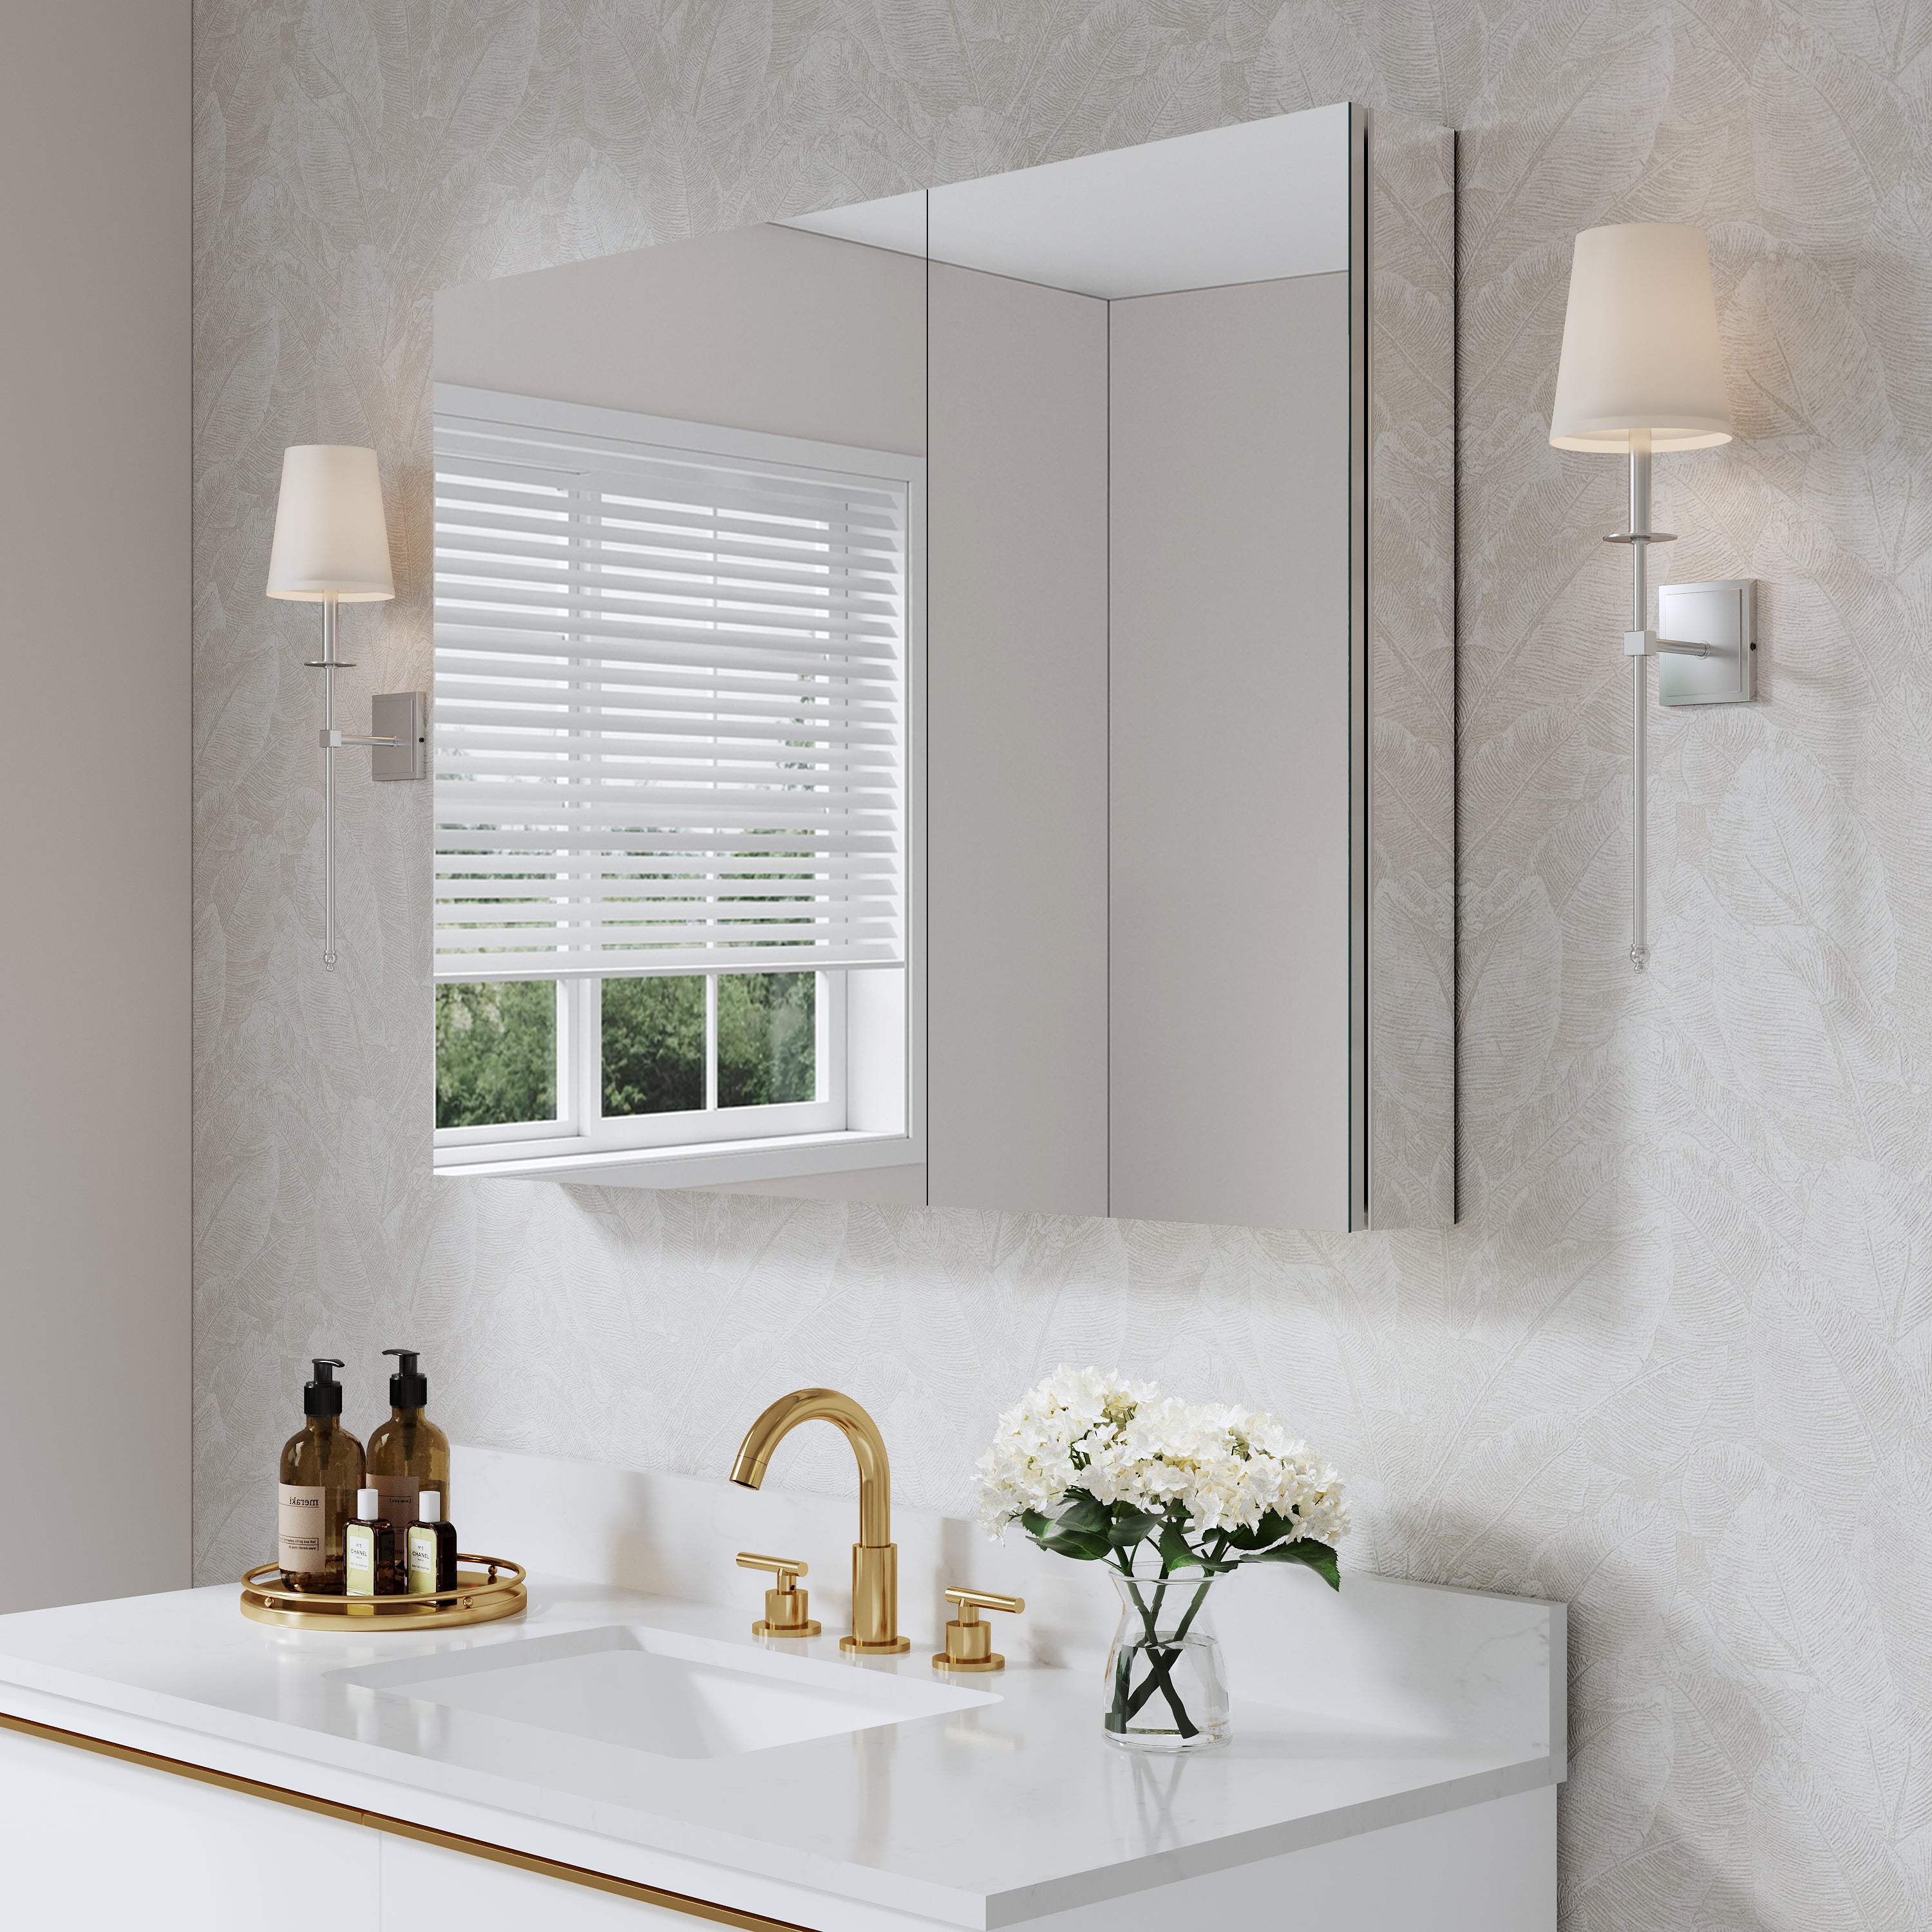
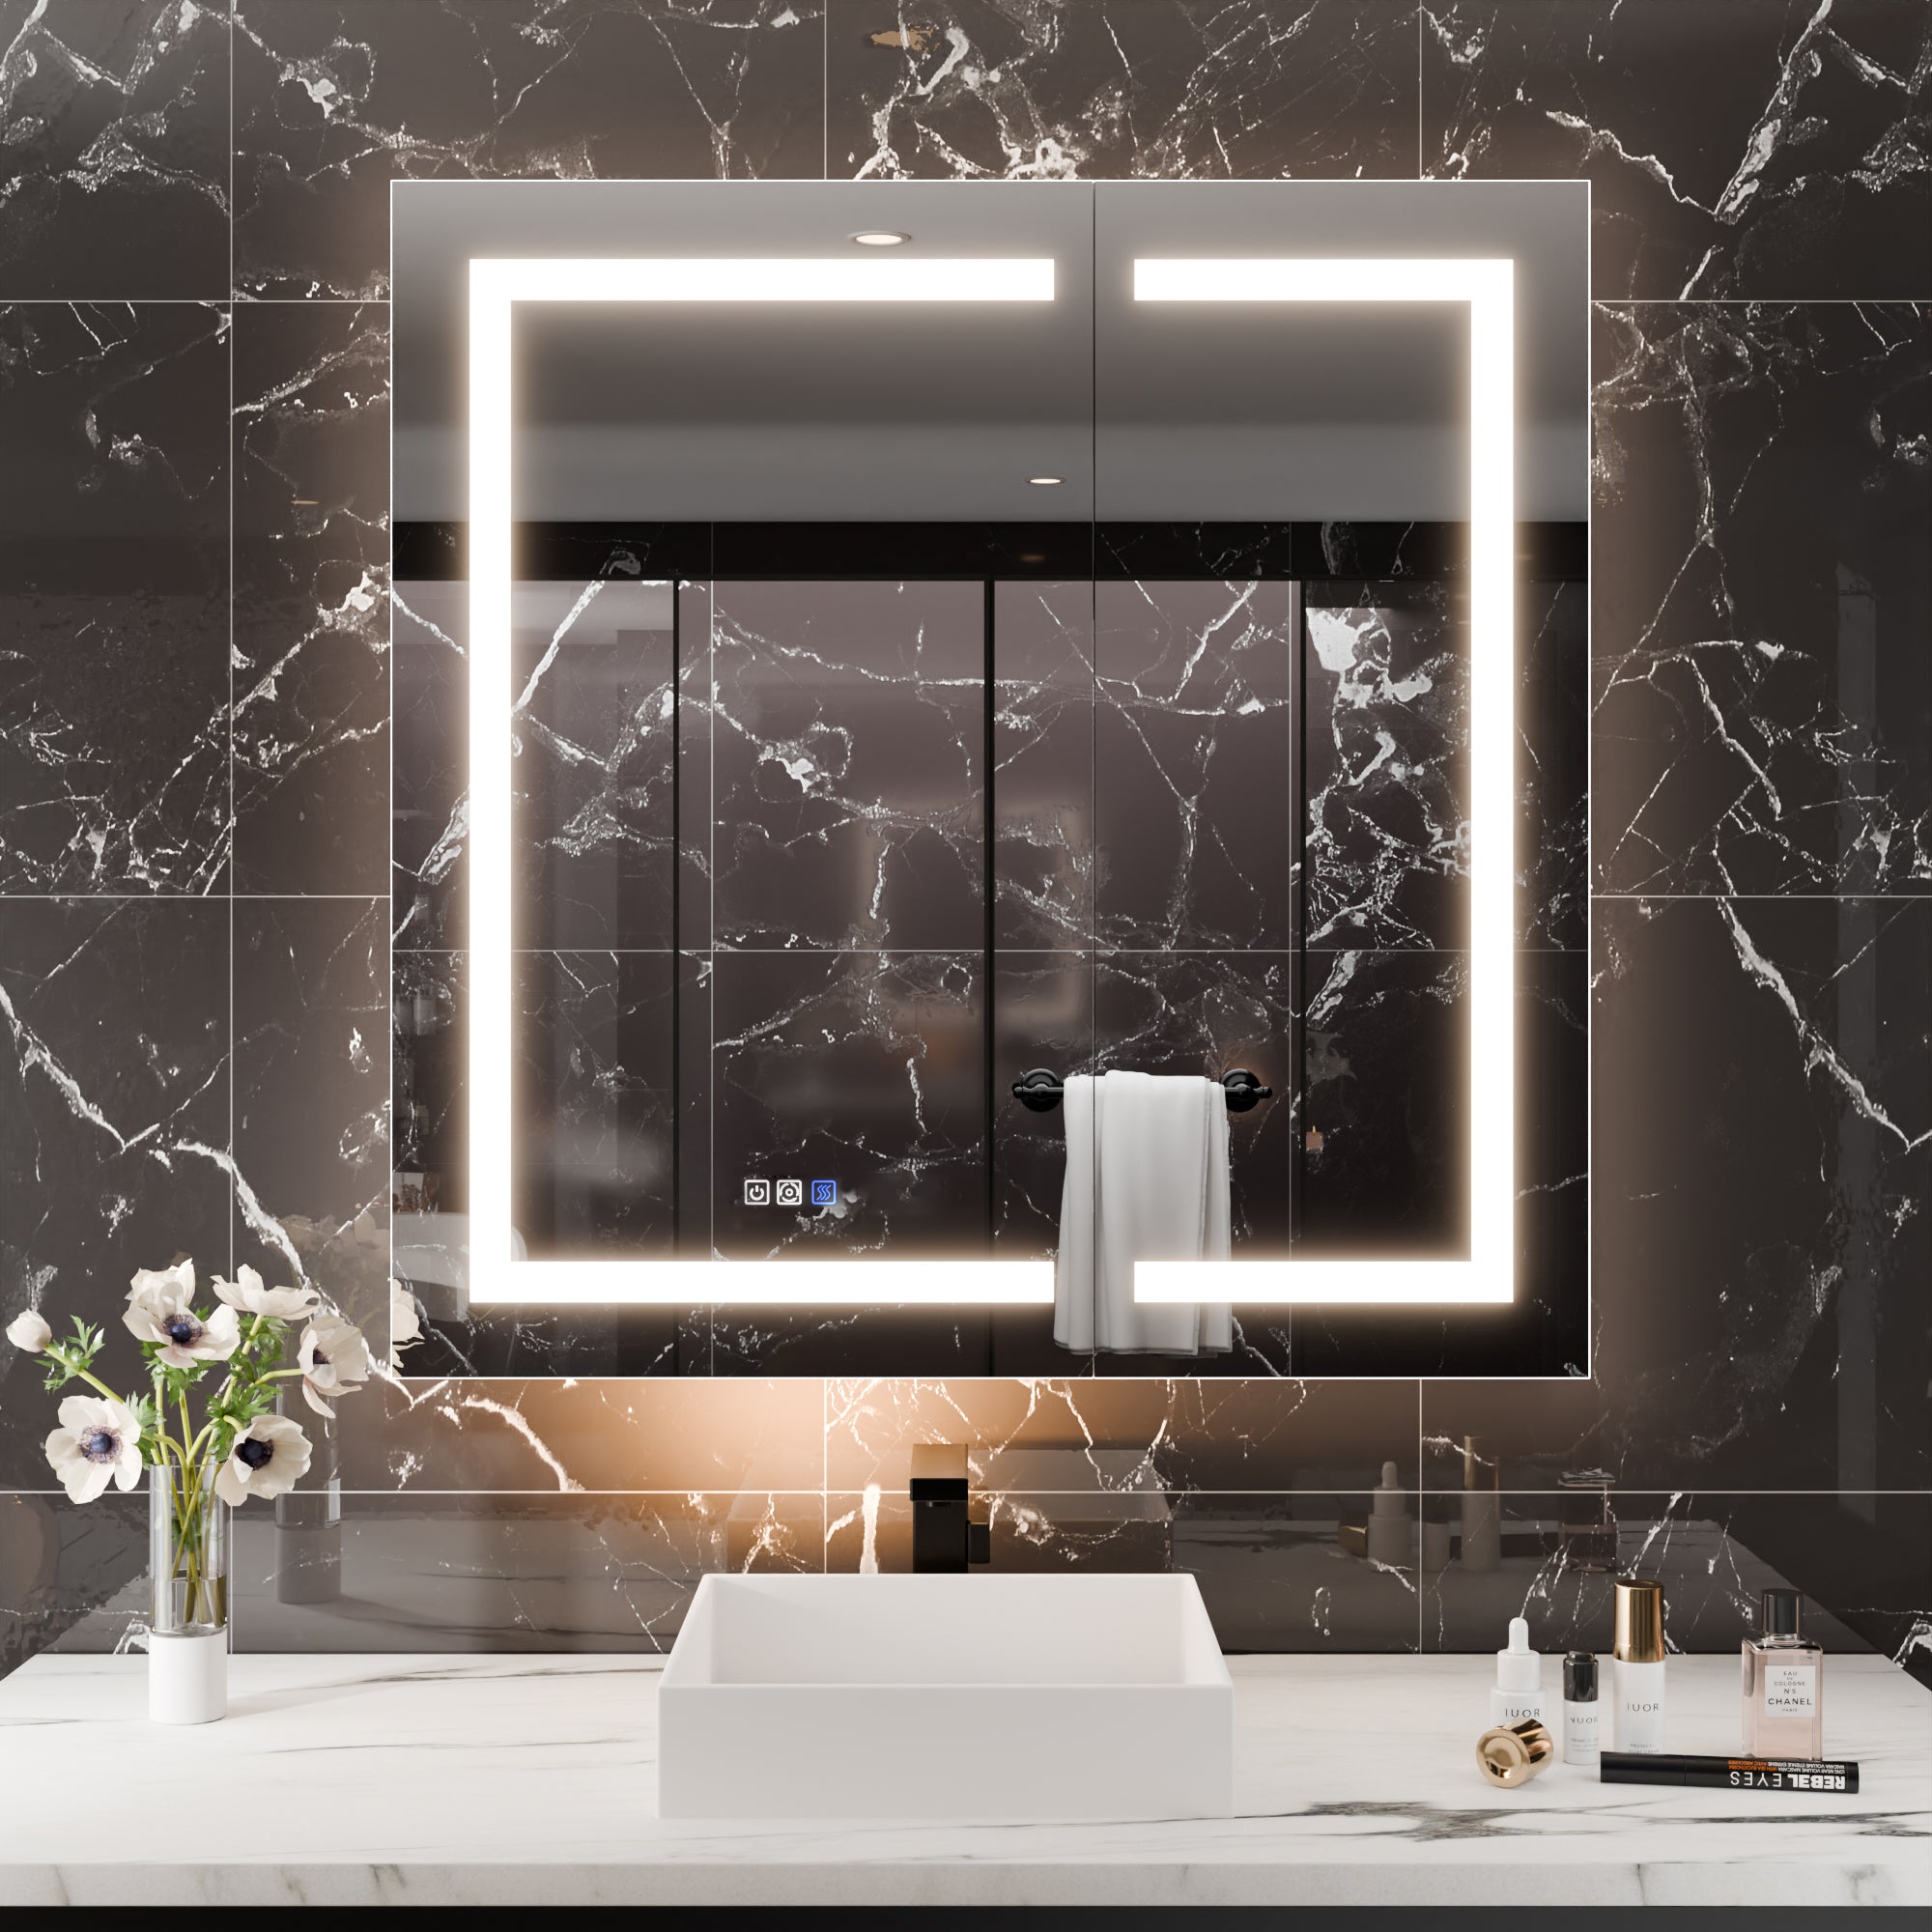
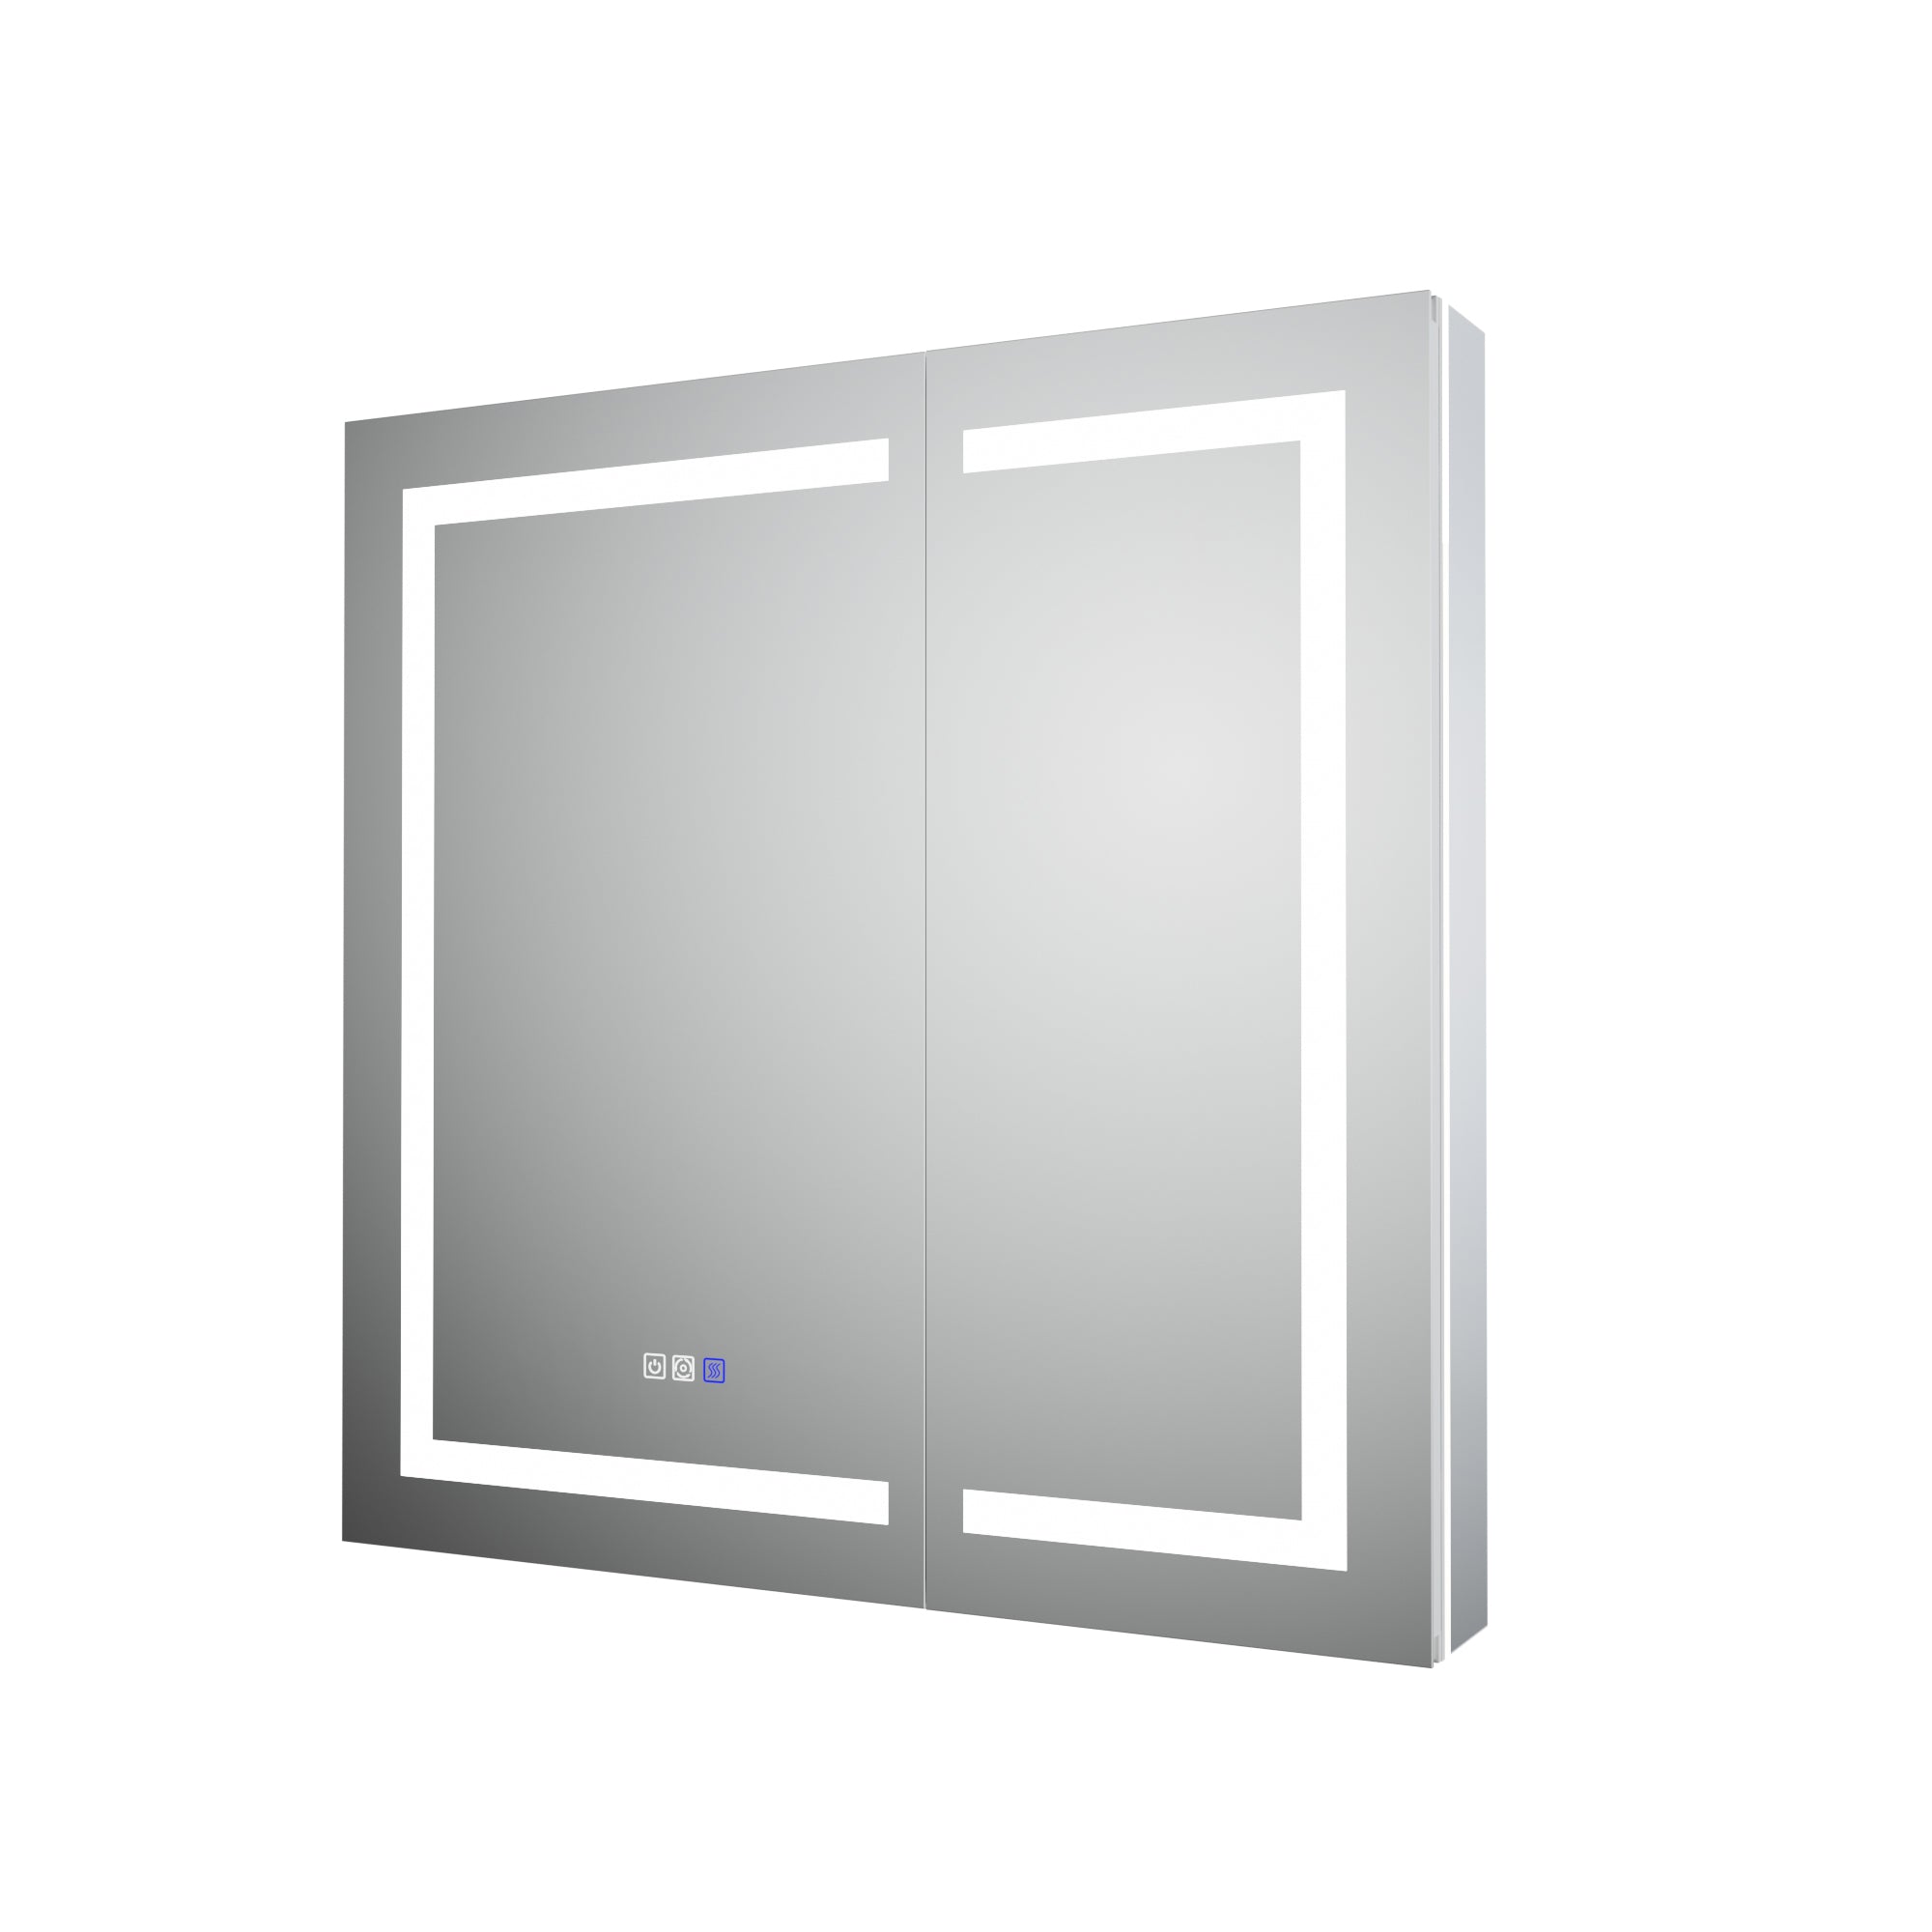
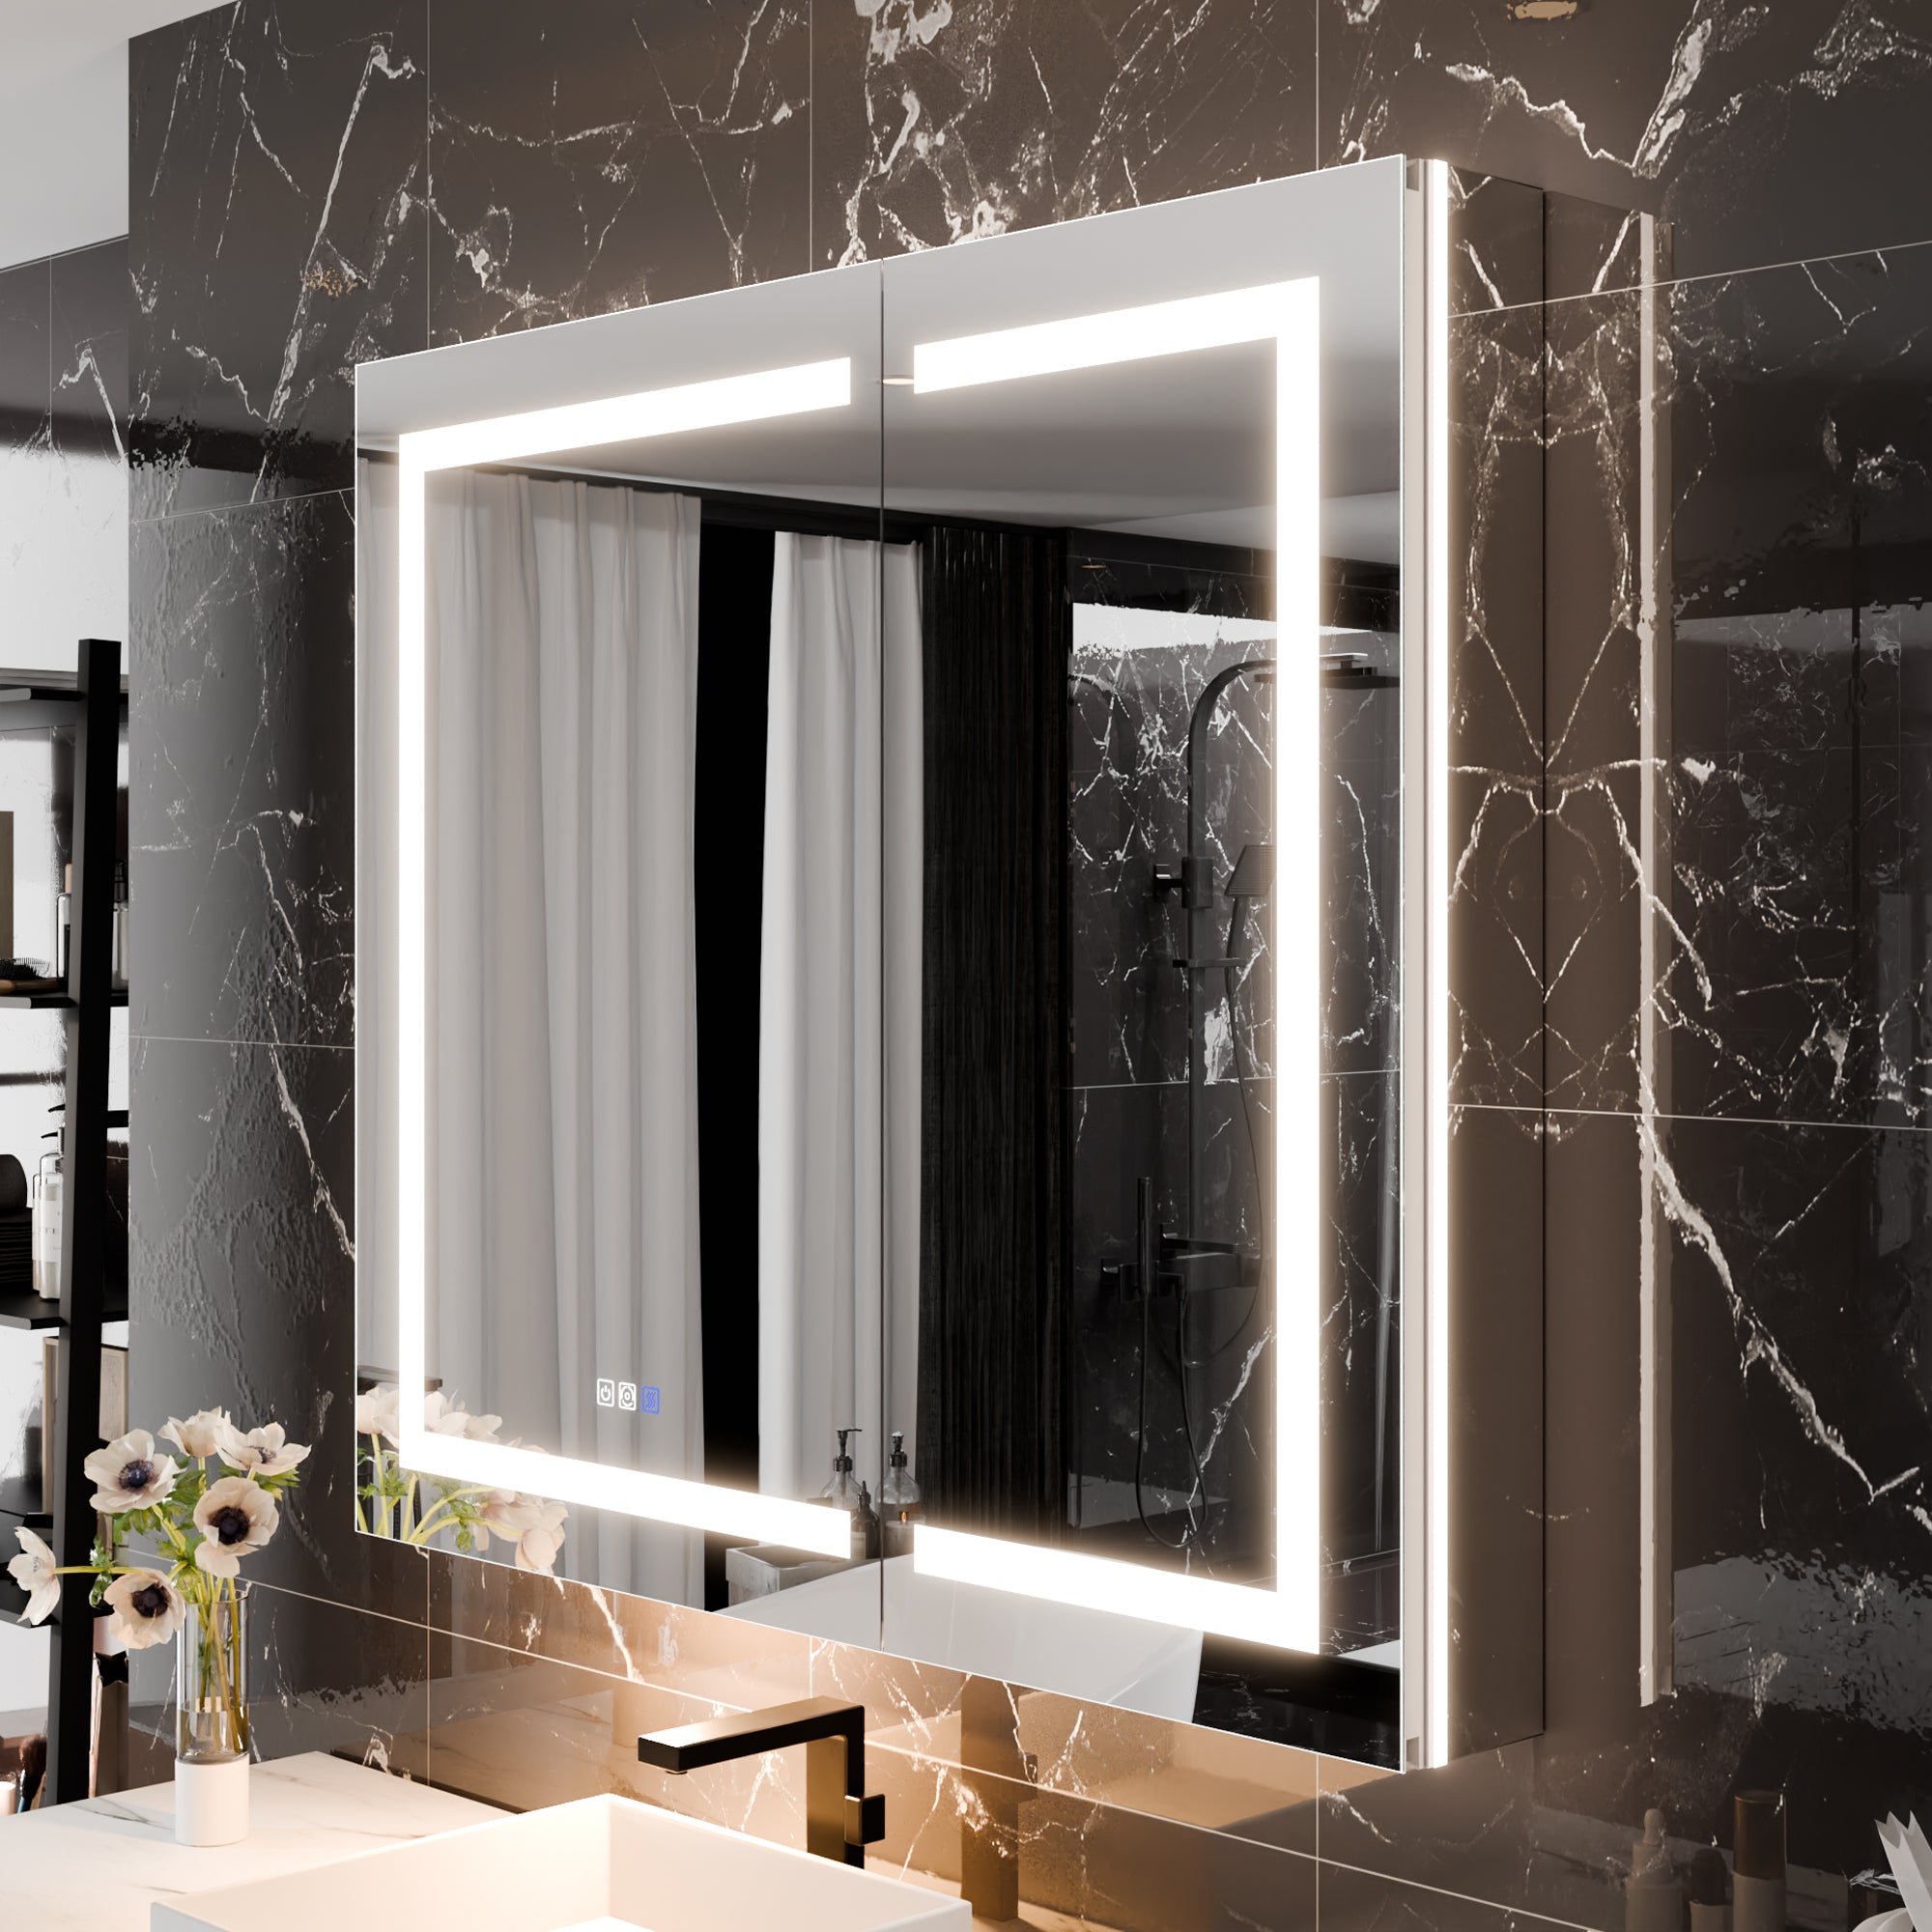
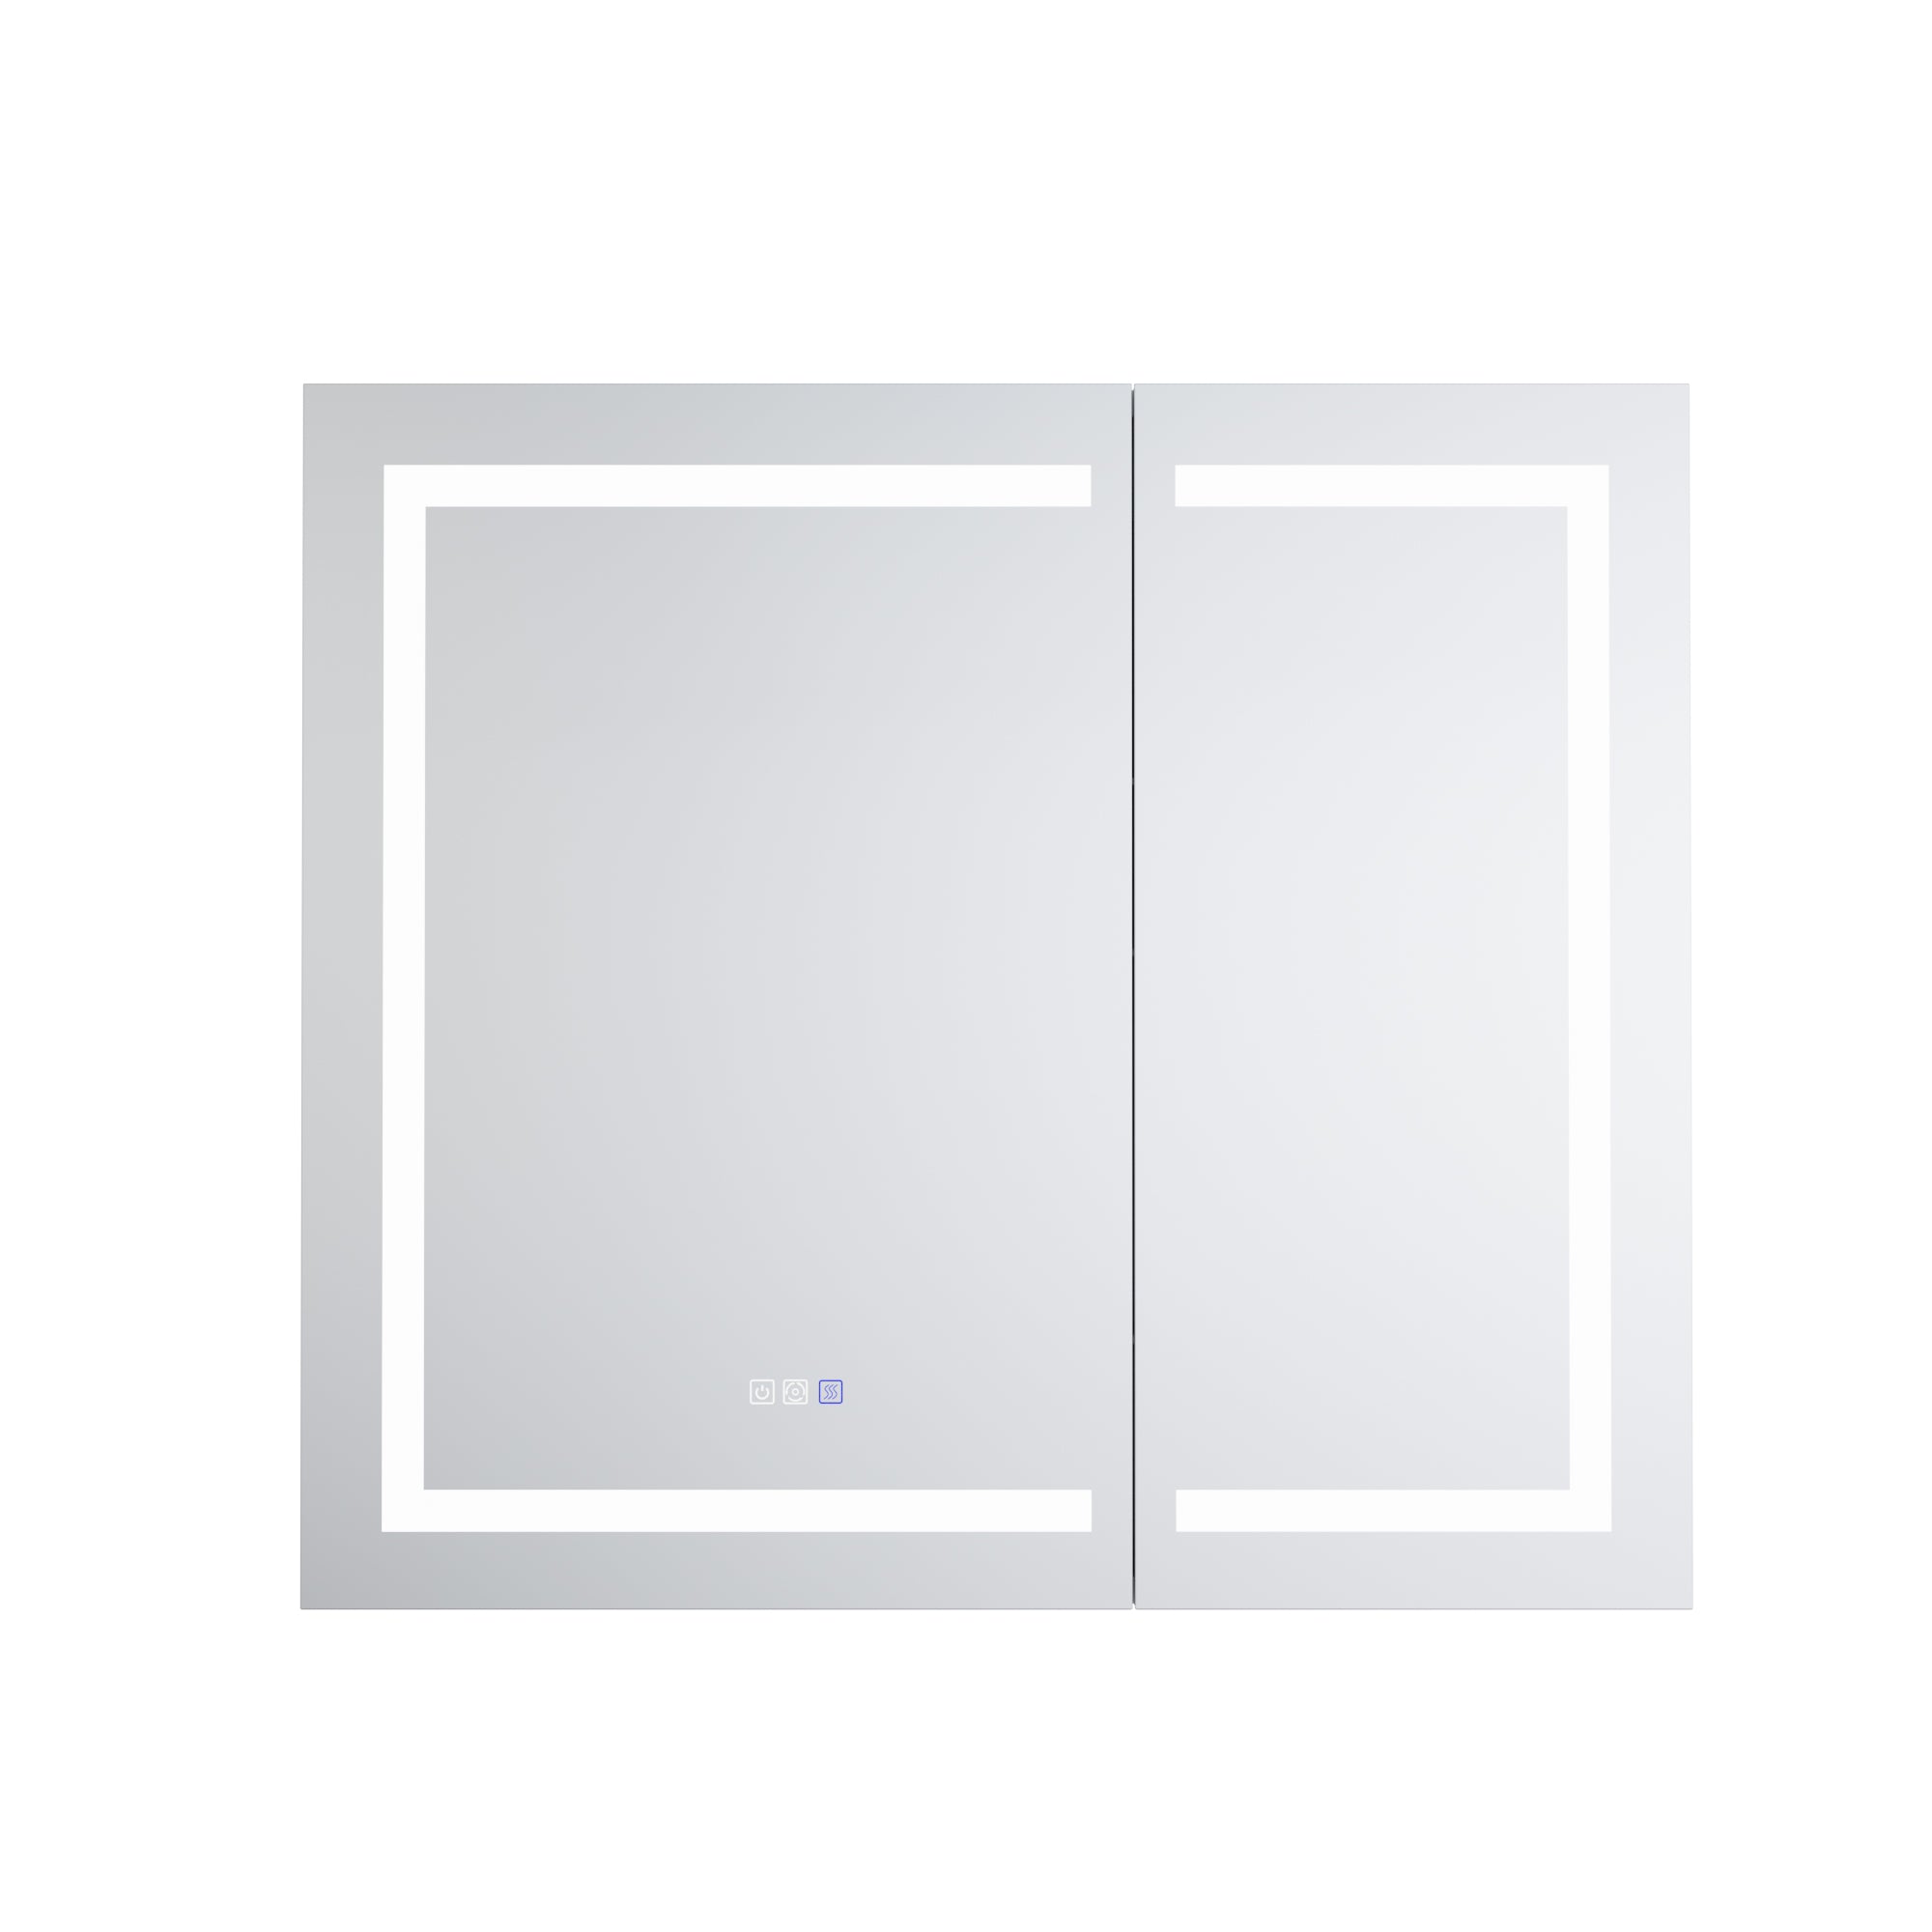
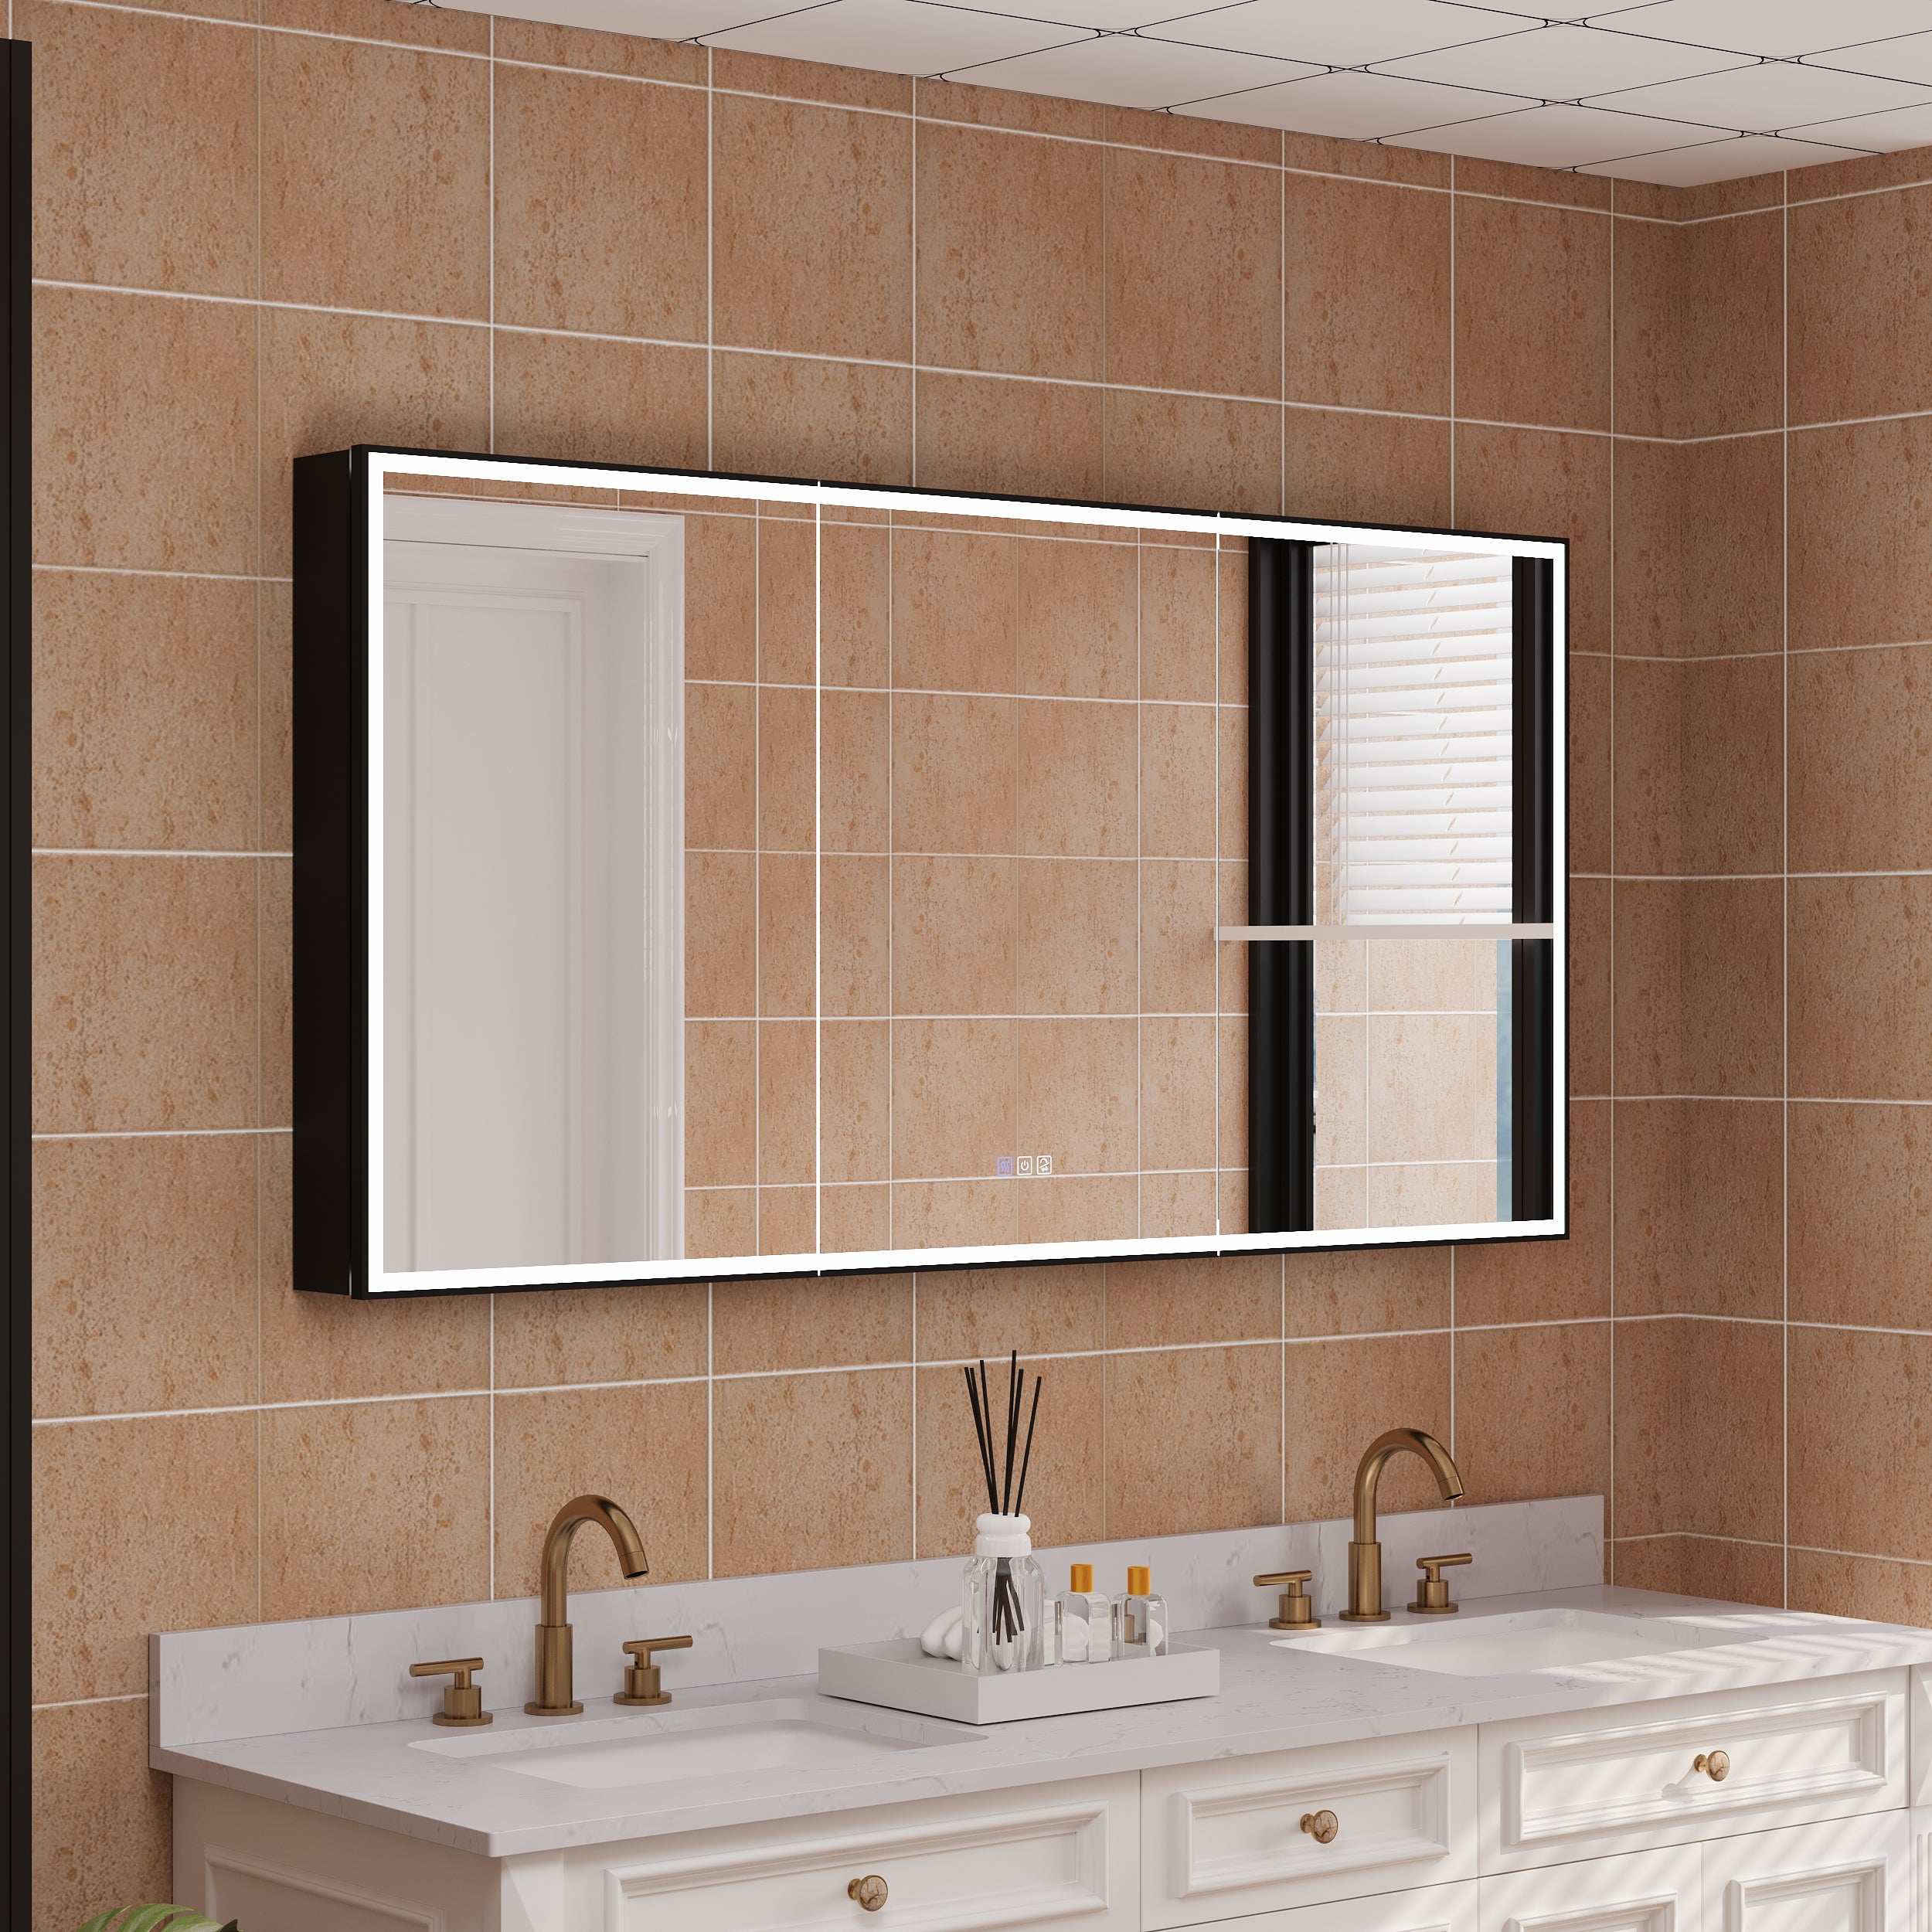
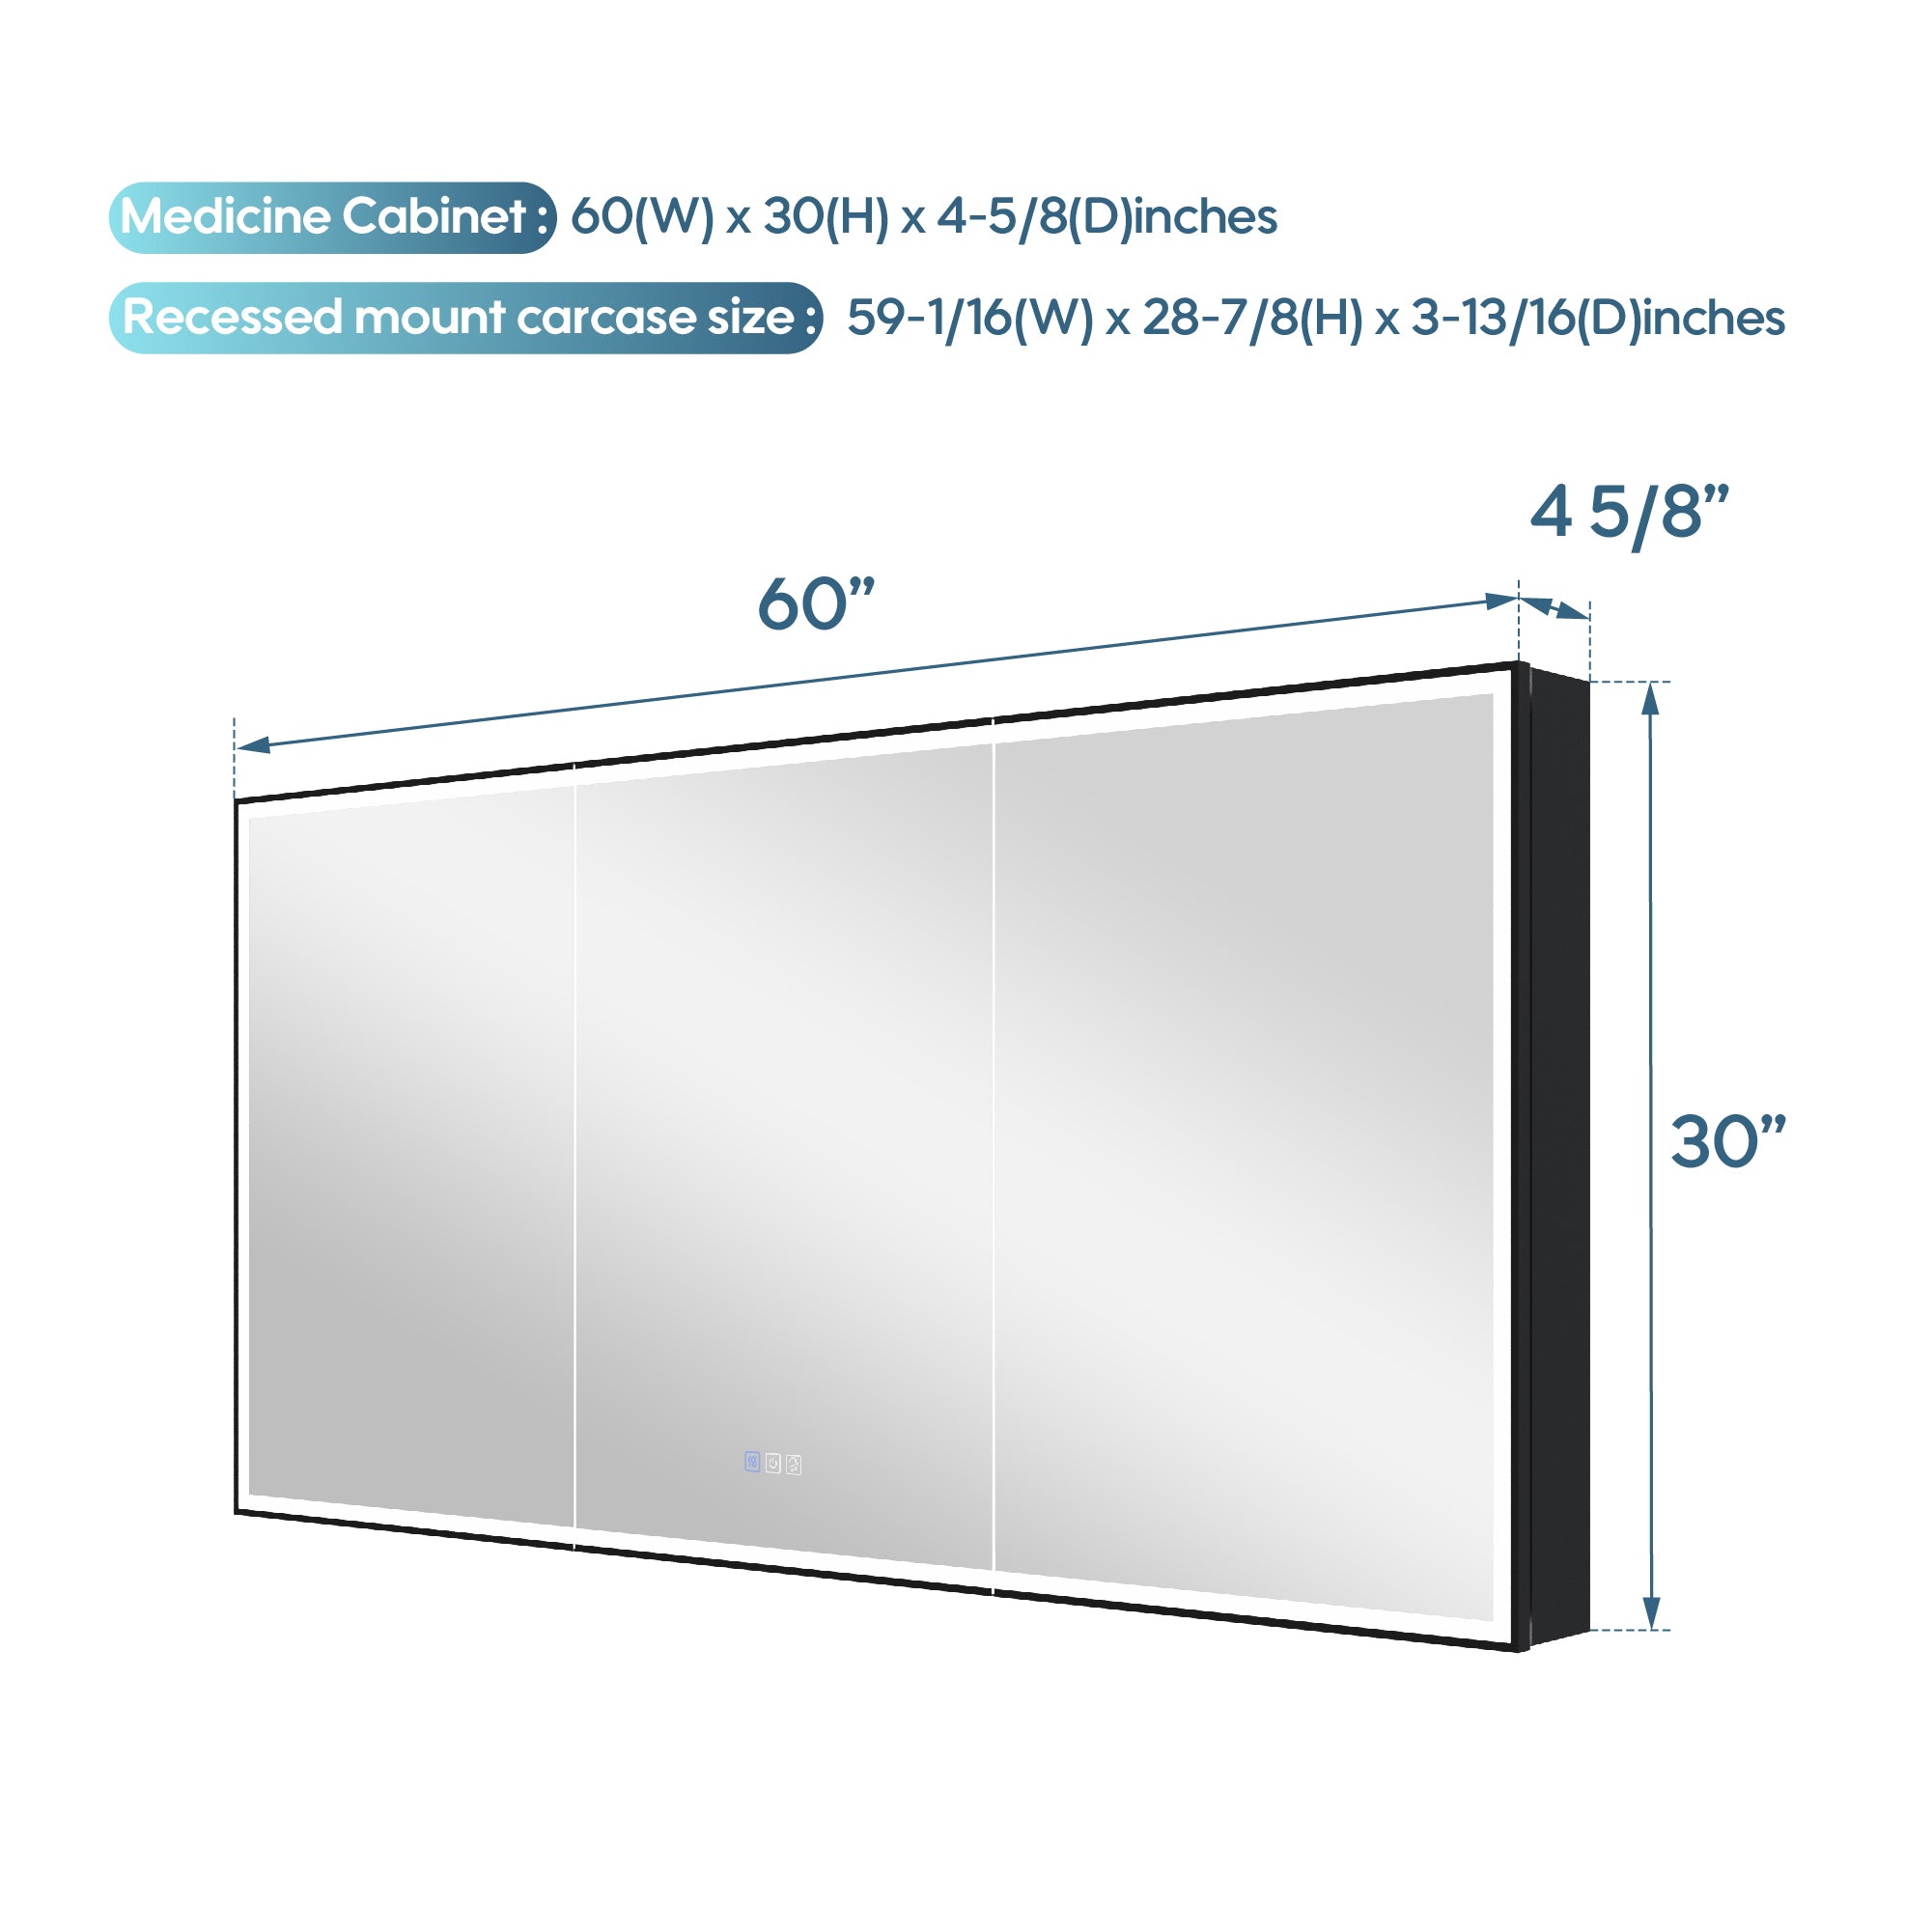
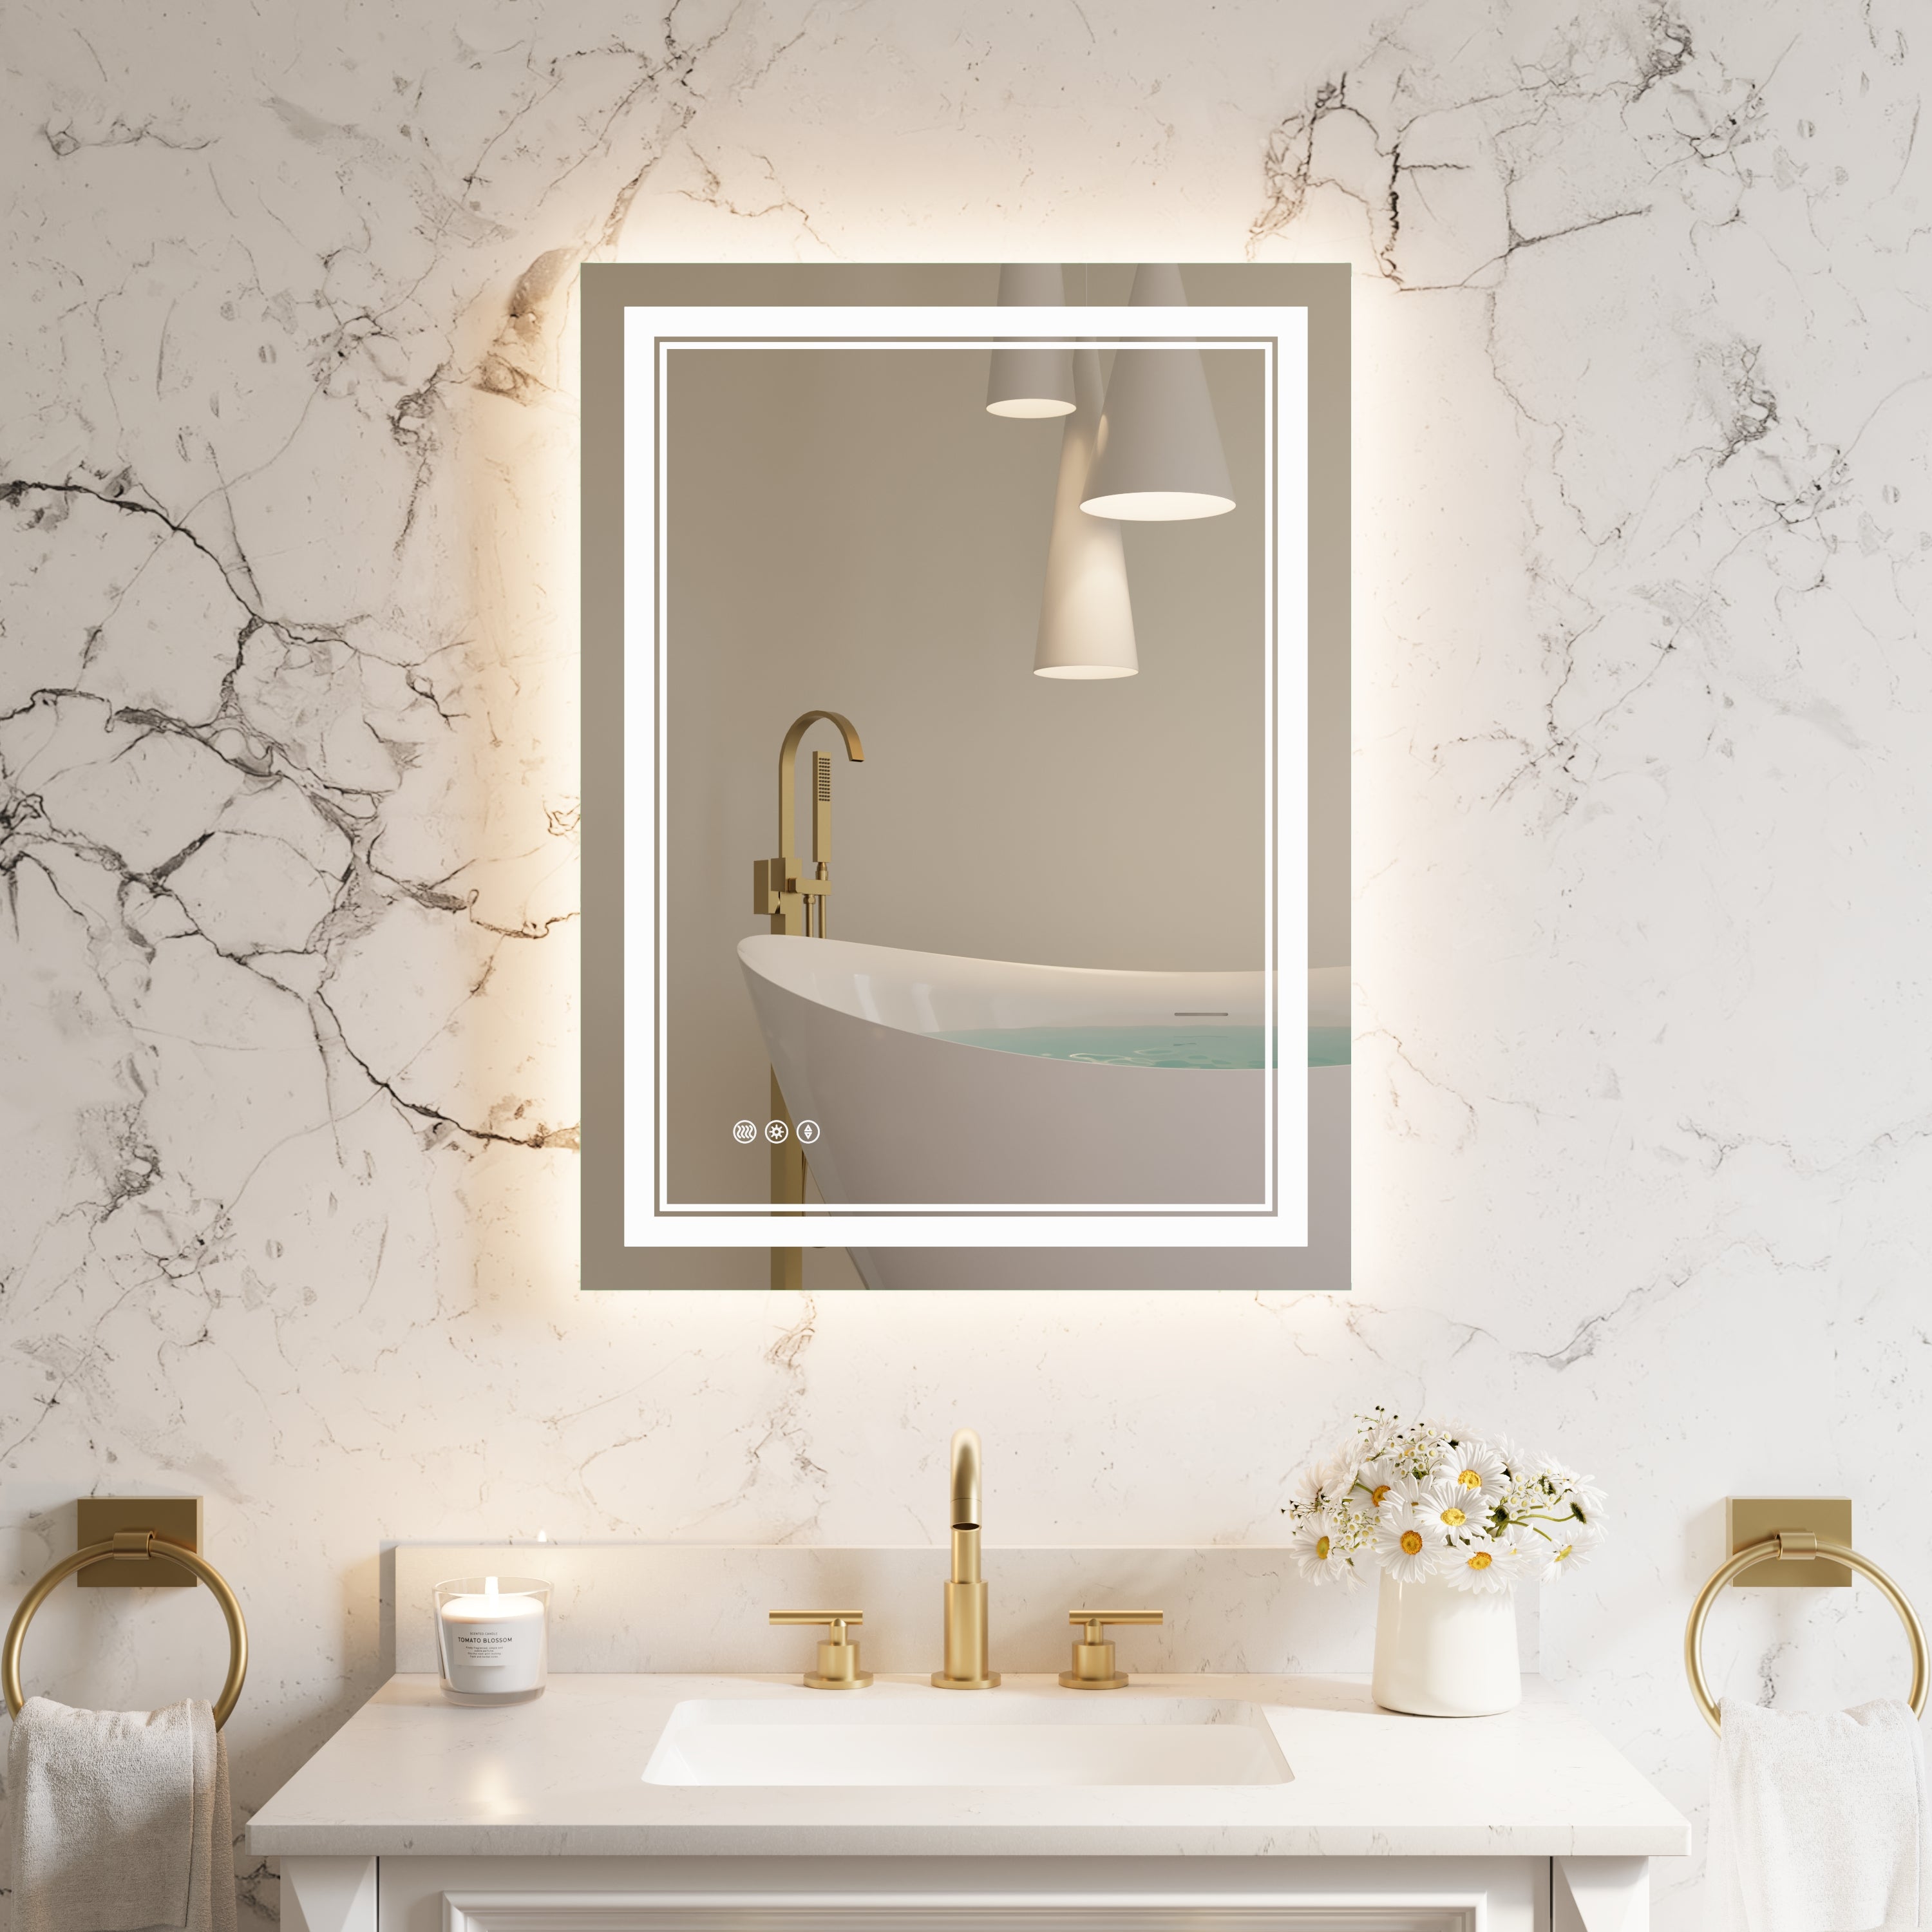
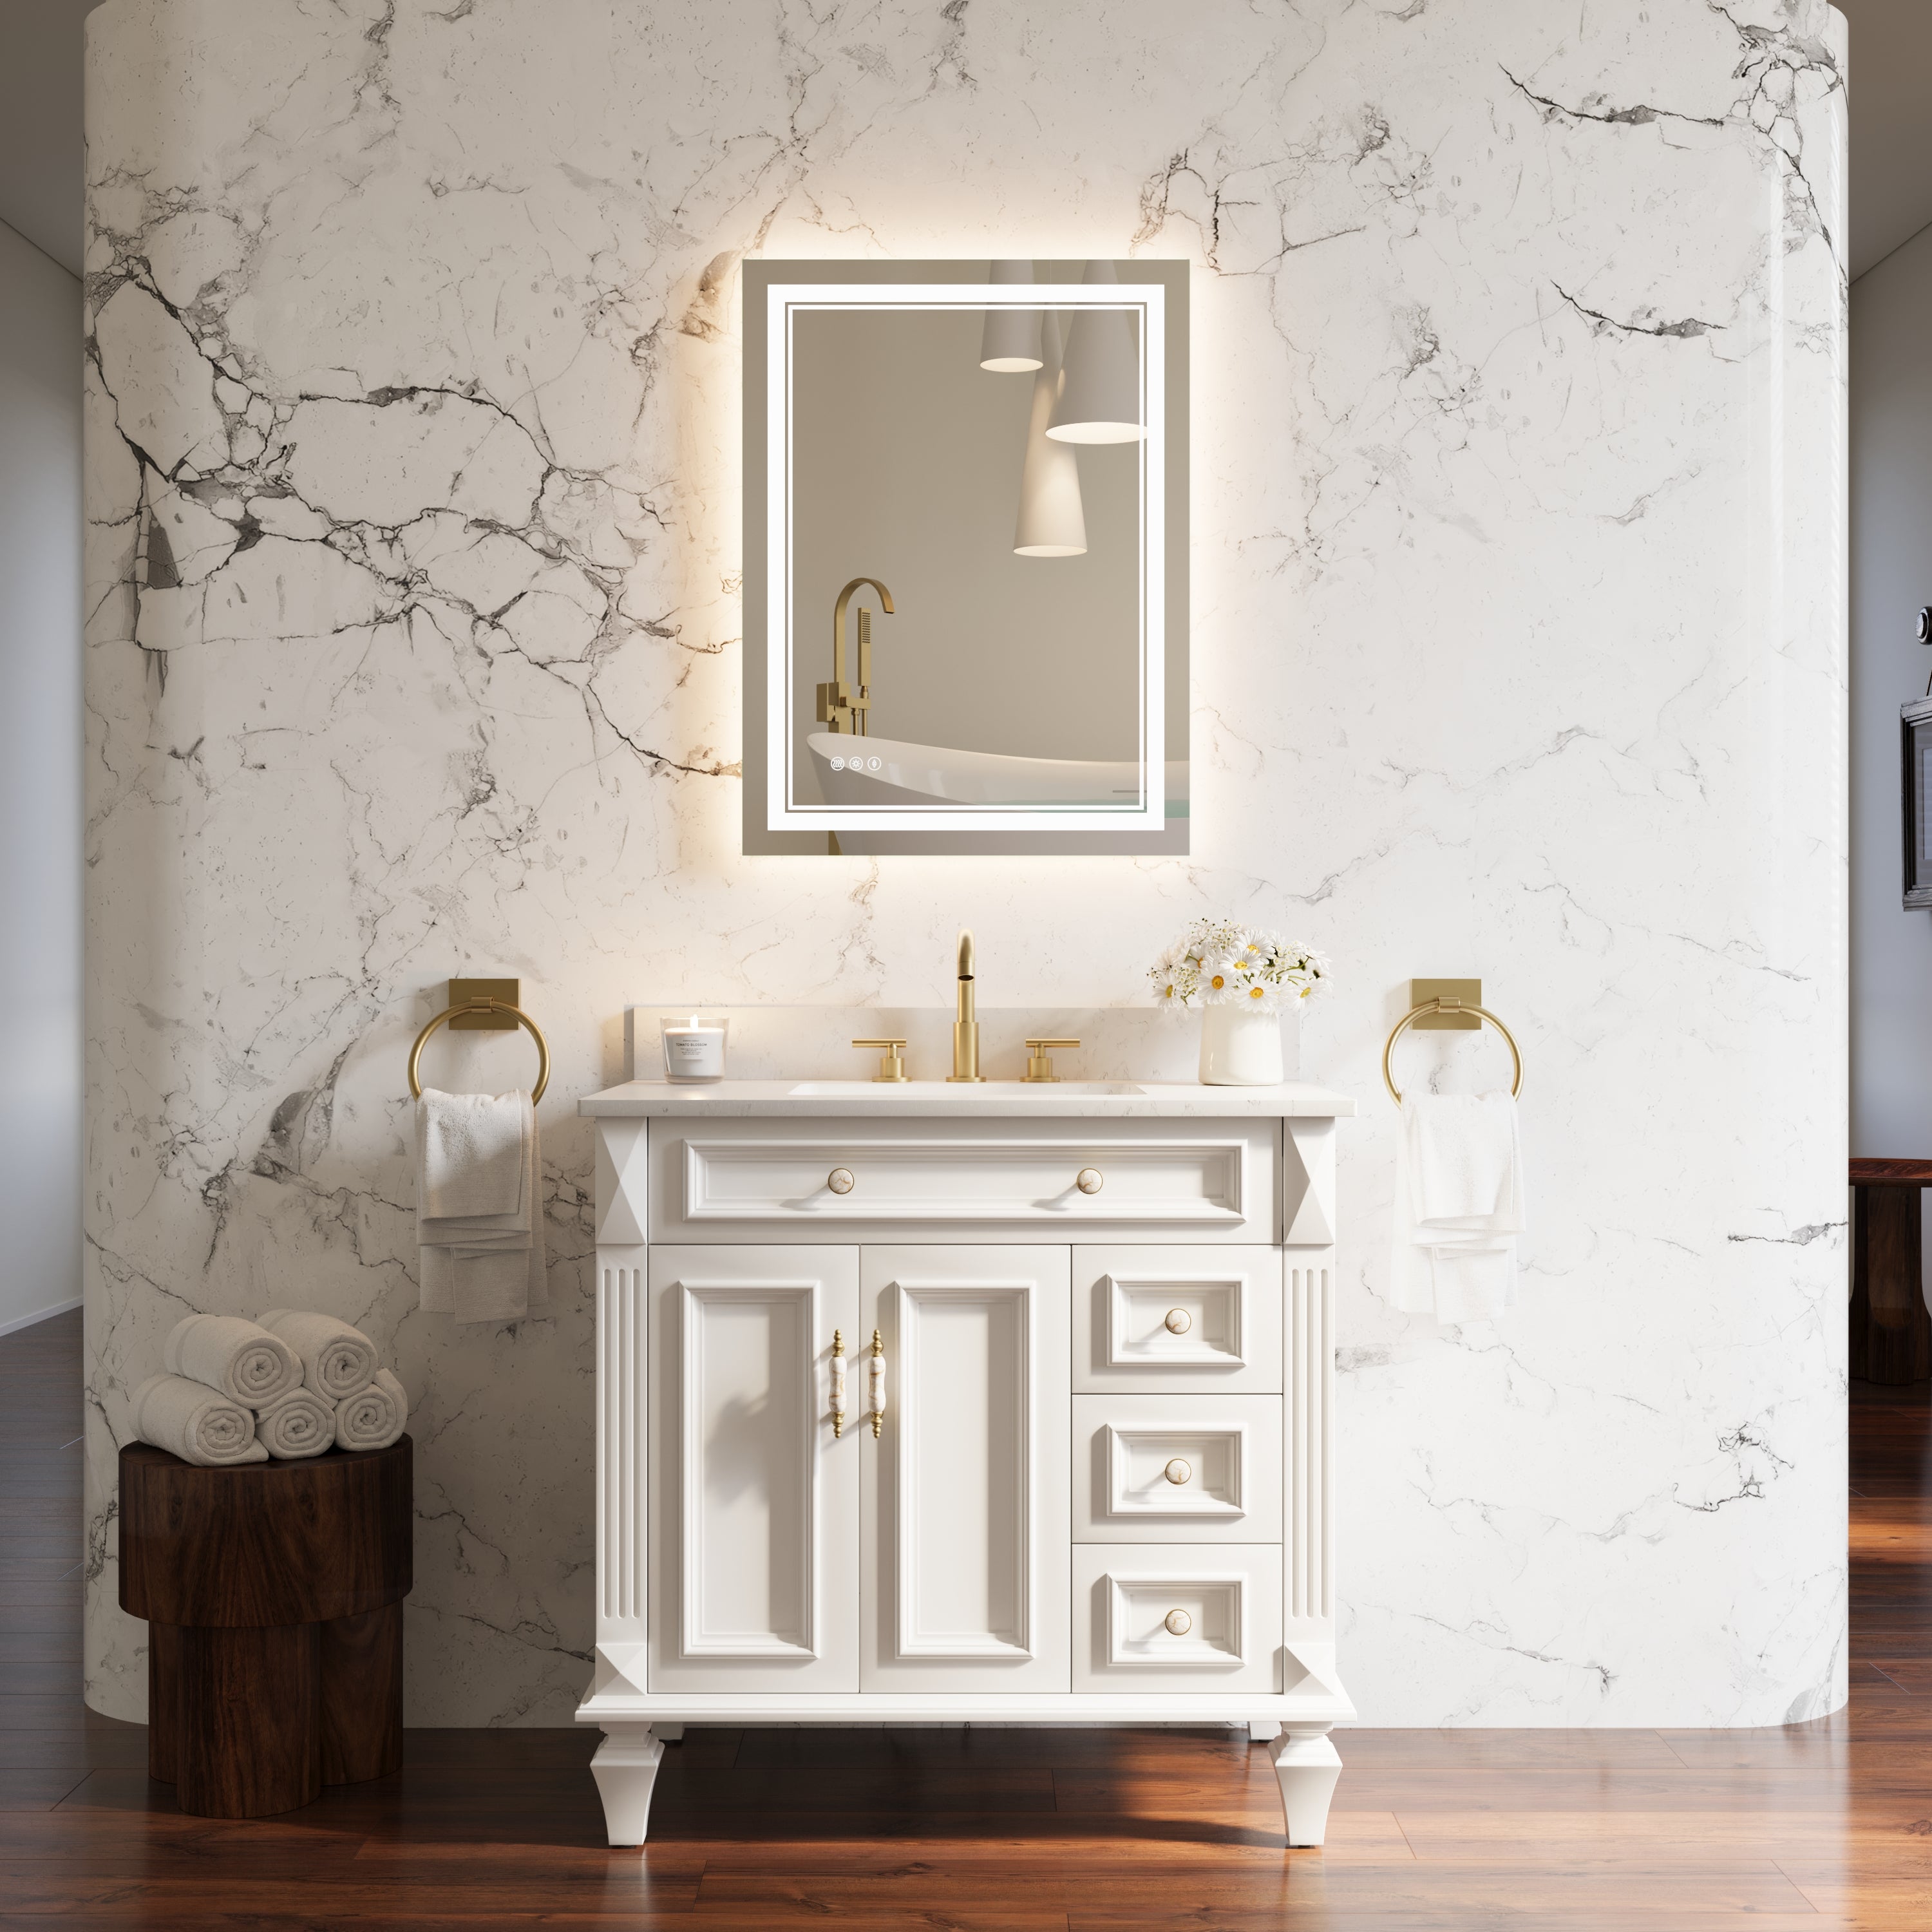
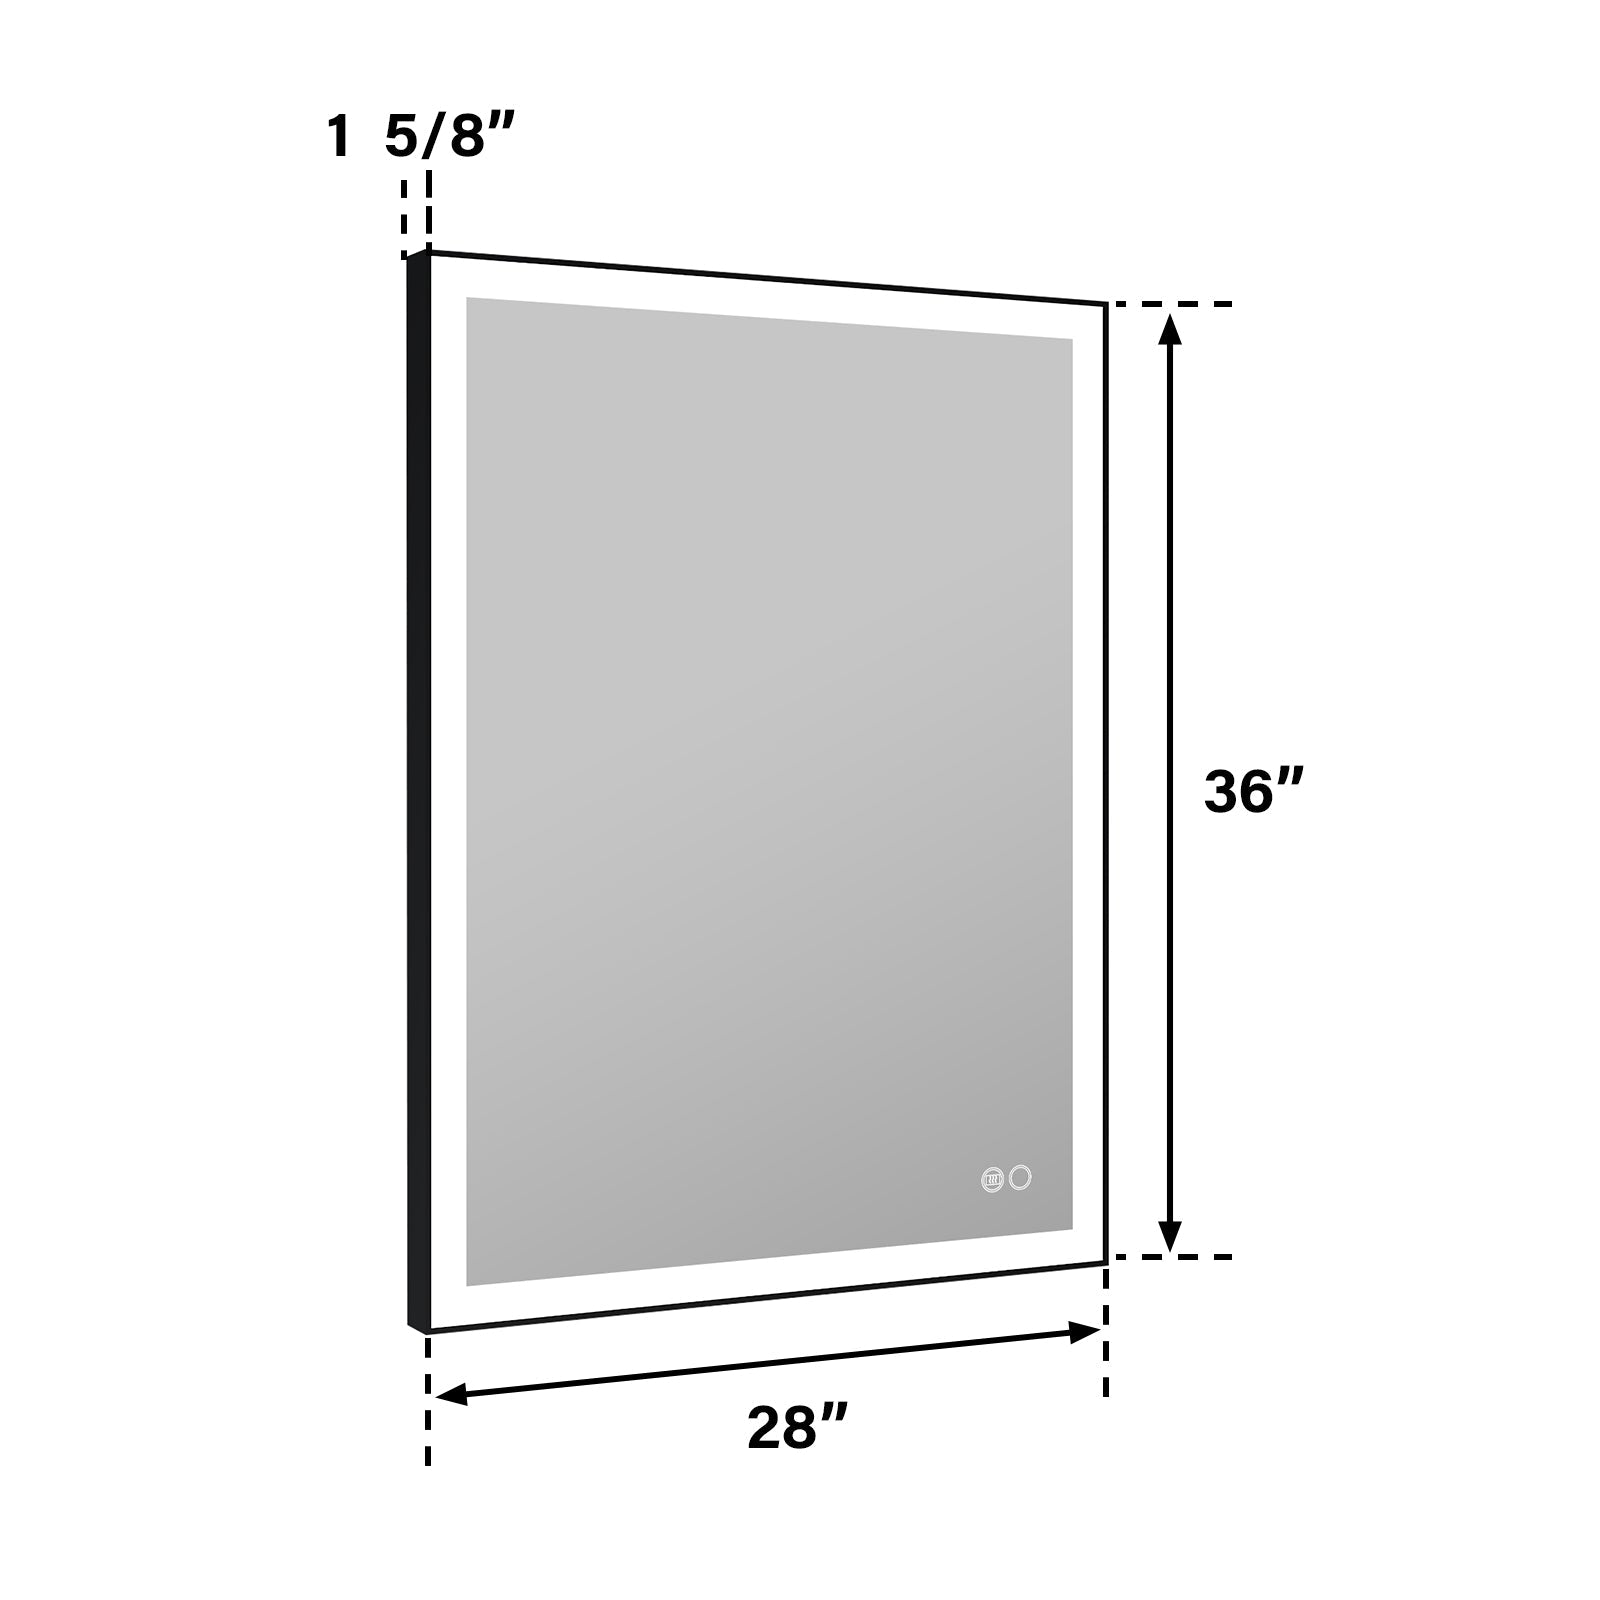
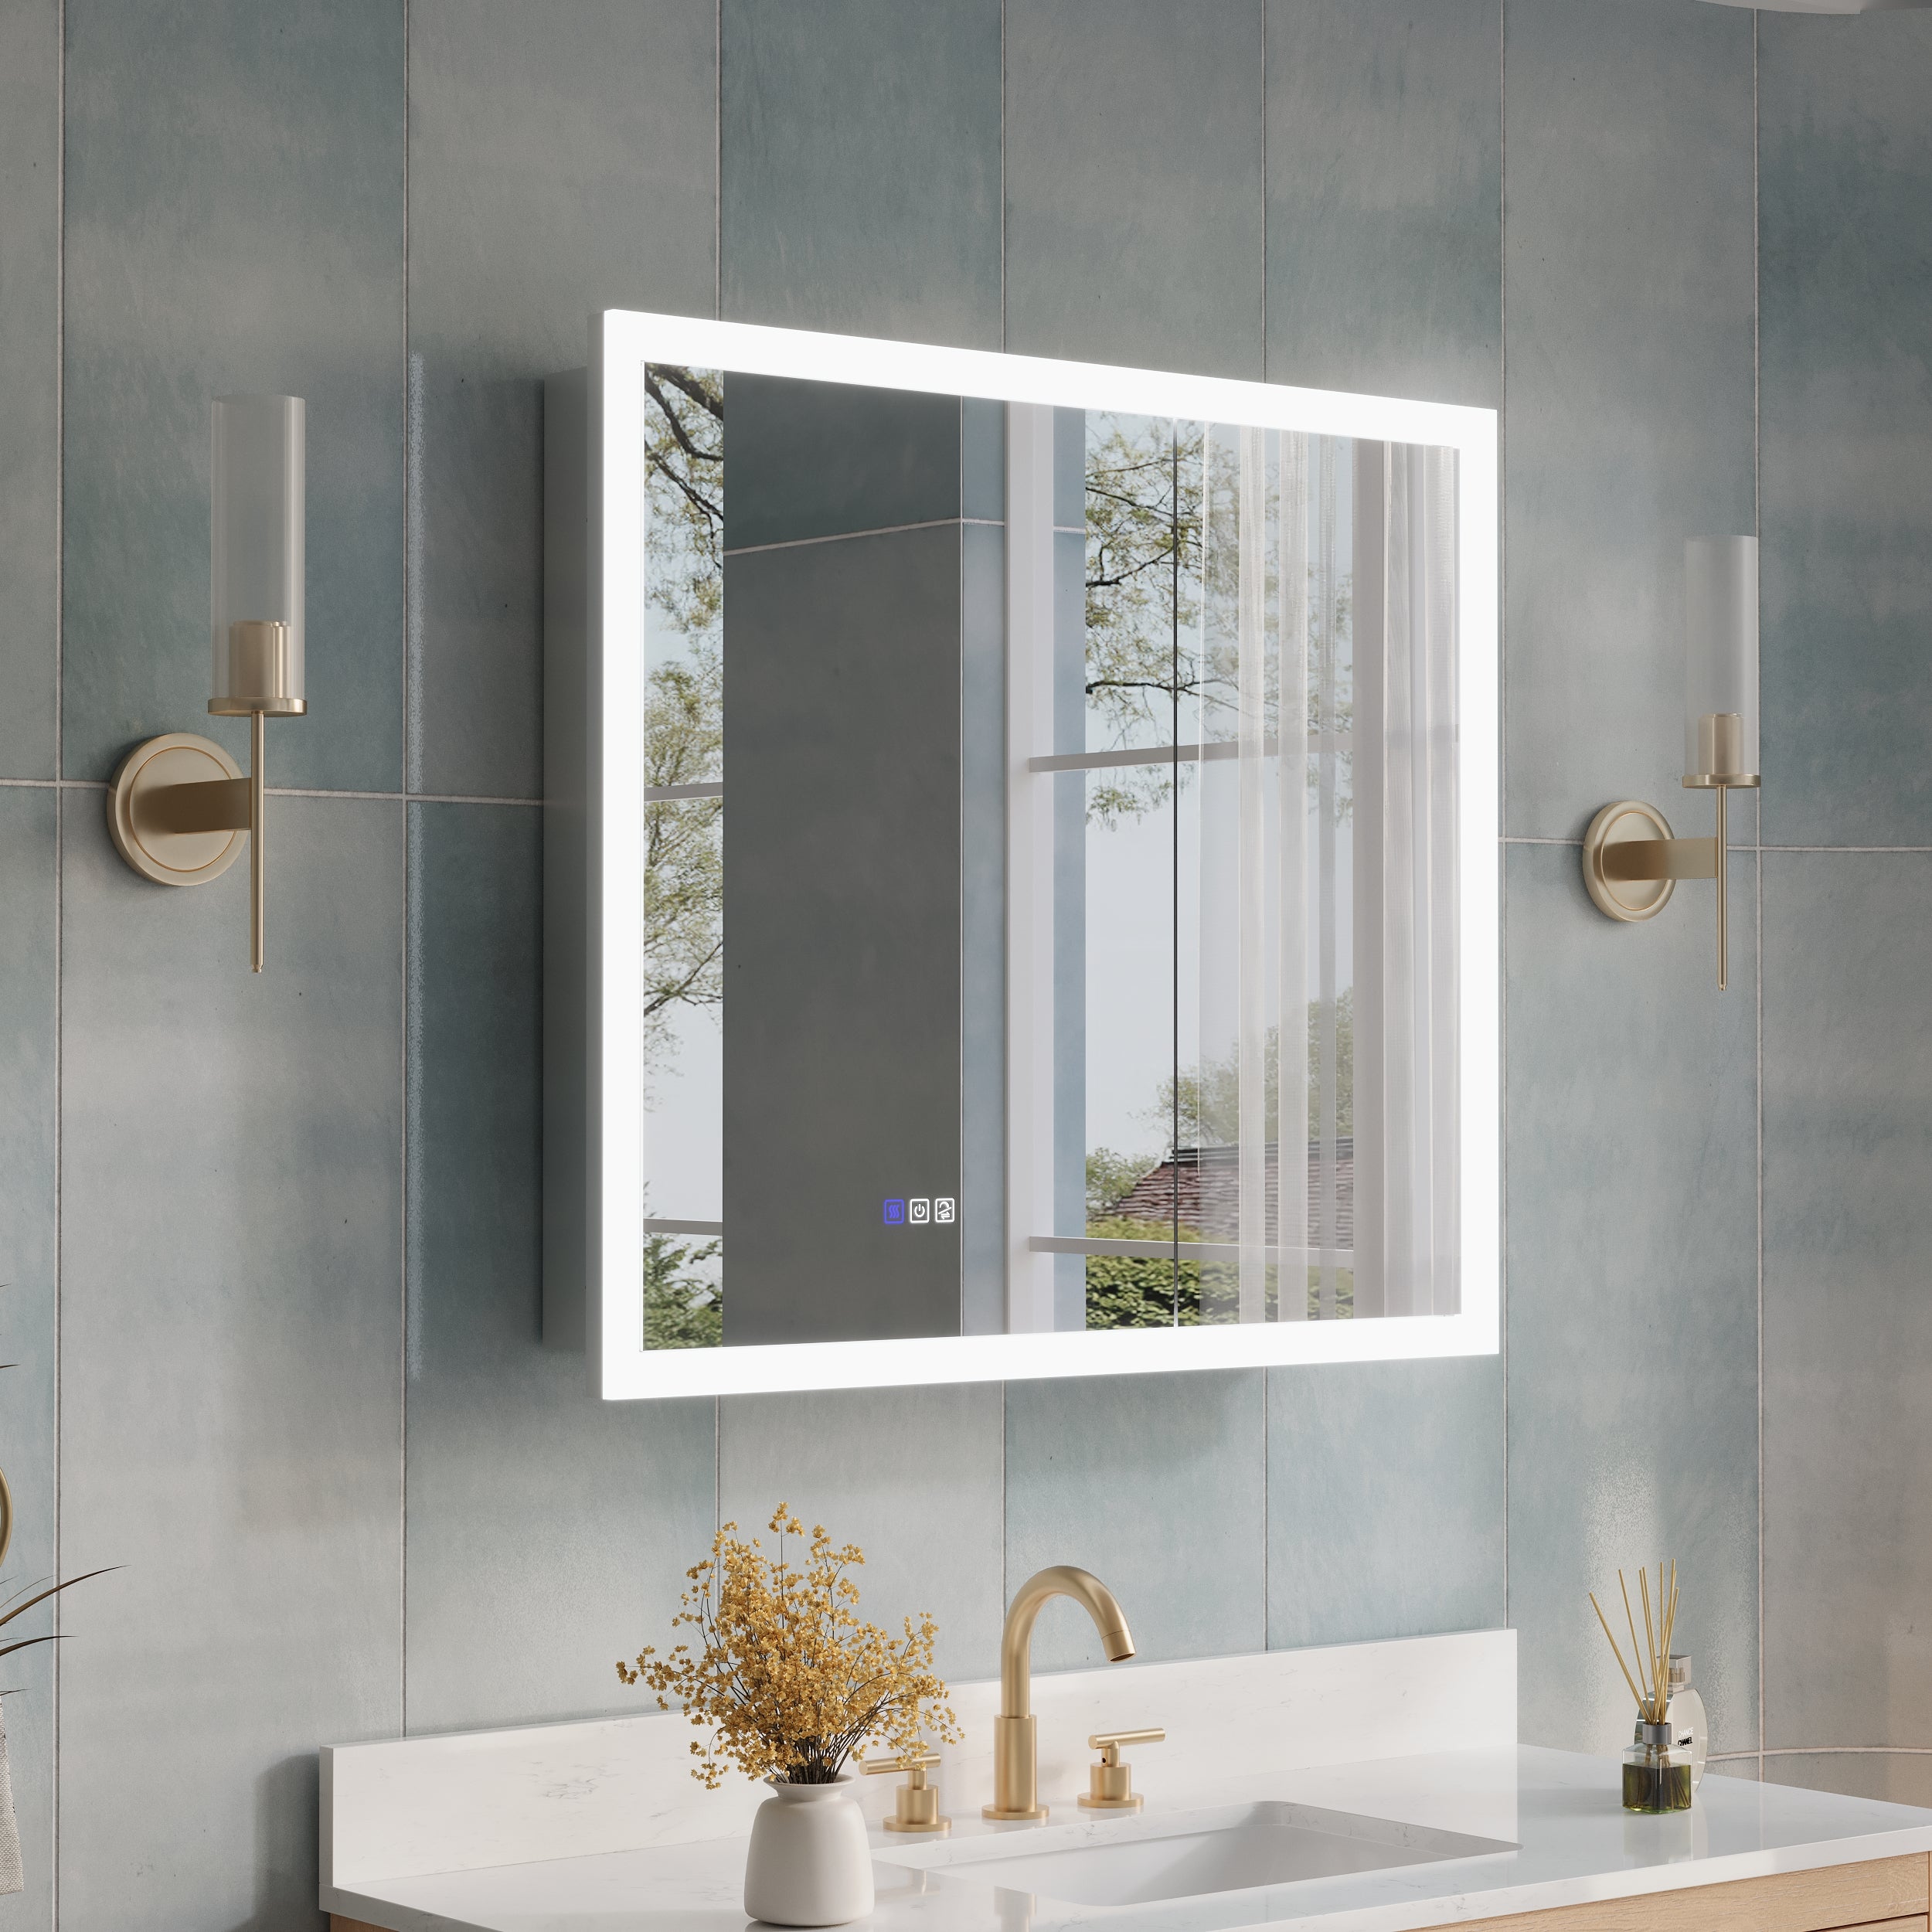
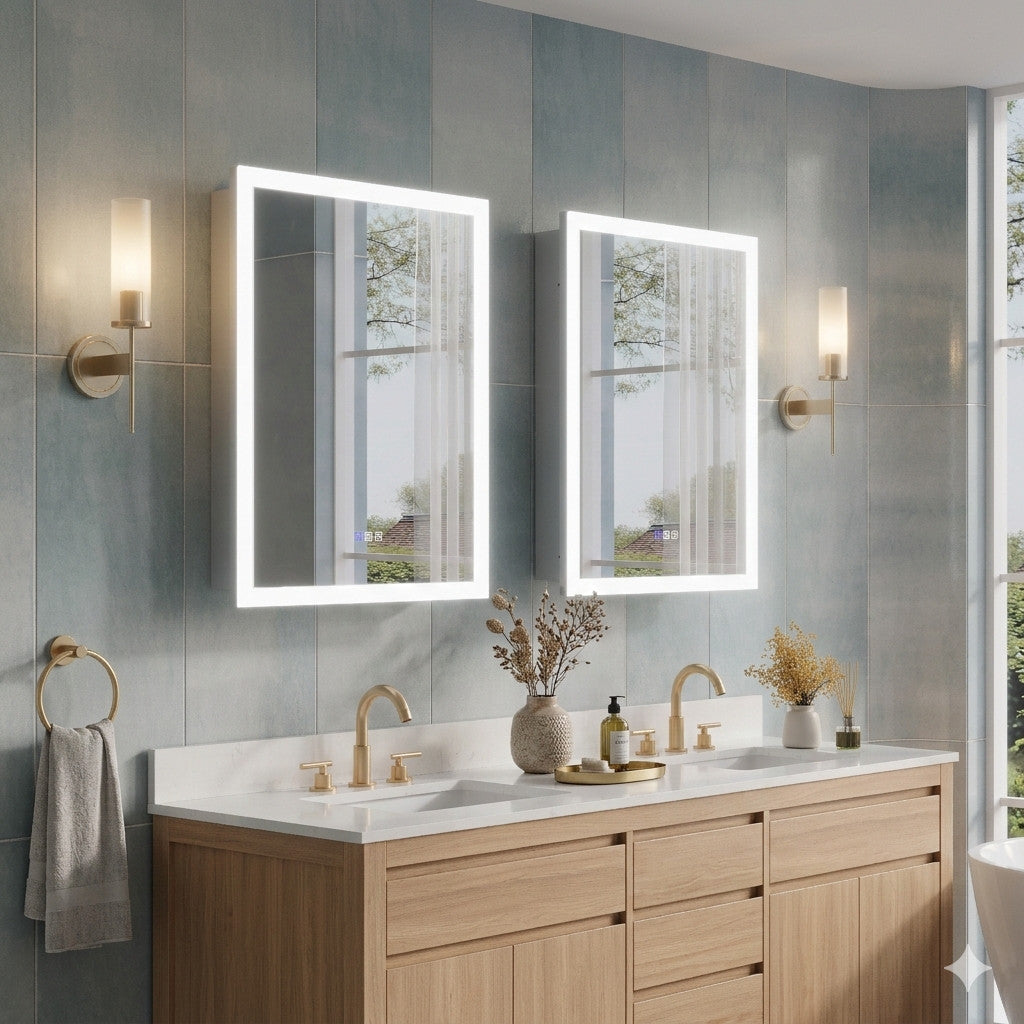
Pick one lightweight and designed for easy installation when shopping for a bathroom light mirror. The Wellfor bathroom light mirrors are excellent options known for their simplicity and sleek designs, making them perfect for tool-free setups.
2. Choose the Ideal Spot
Think about where you want your mirror to go. Popular choices include above the sink or vanity. Ensure there's a power outlet nearby for lighted mirrors that need electricity.
3. Check Wall Surface
Smooth, clean surfaces like tiles or flat paintwork make installation easier. Make sure the wall is dry and free from dust or grime.
4. Have Adhesive Strips or Mounting Tape
You'll rely on heavy-duty adhesive mounting solutions to skip the need for tools. Look for durable, double-sided adhesive strips made for mirrors or bathroom fixtures.
5. Measure Twice
Measure the space on the wall to ensure the mirror fits perfectly. Accurately done measurements can save you from headaches later.
Once you've handled your prep work, you're ready to move on to the installation.
Step-by-Step Guide to Installing a Bathroom Light Mirror Without Tools
Follow these steps carefully for a tool-free installation.
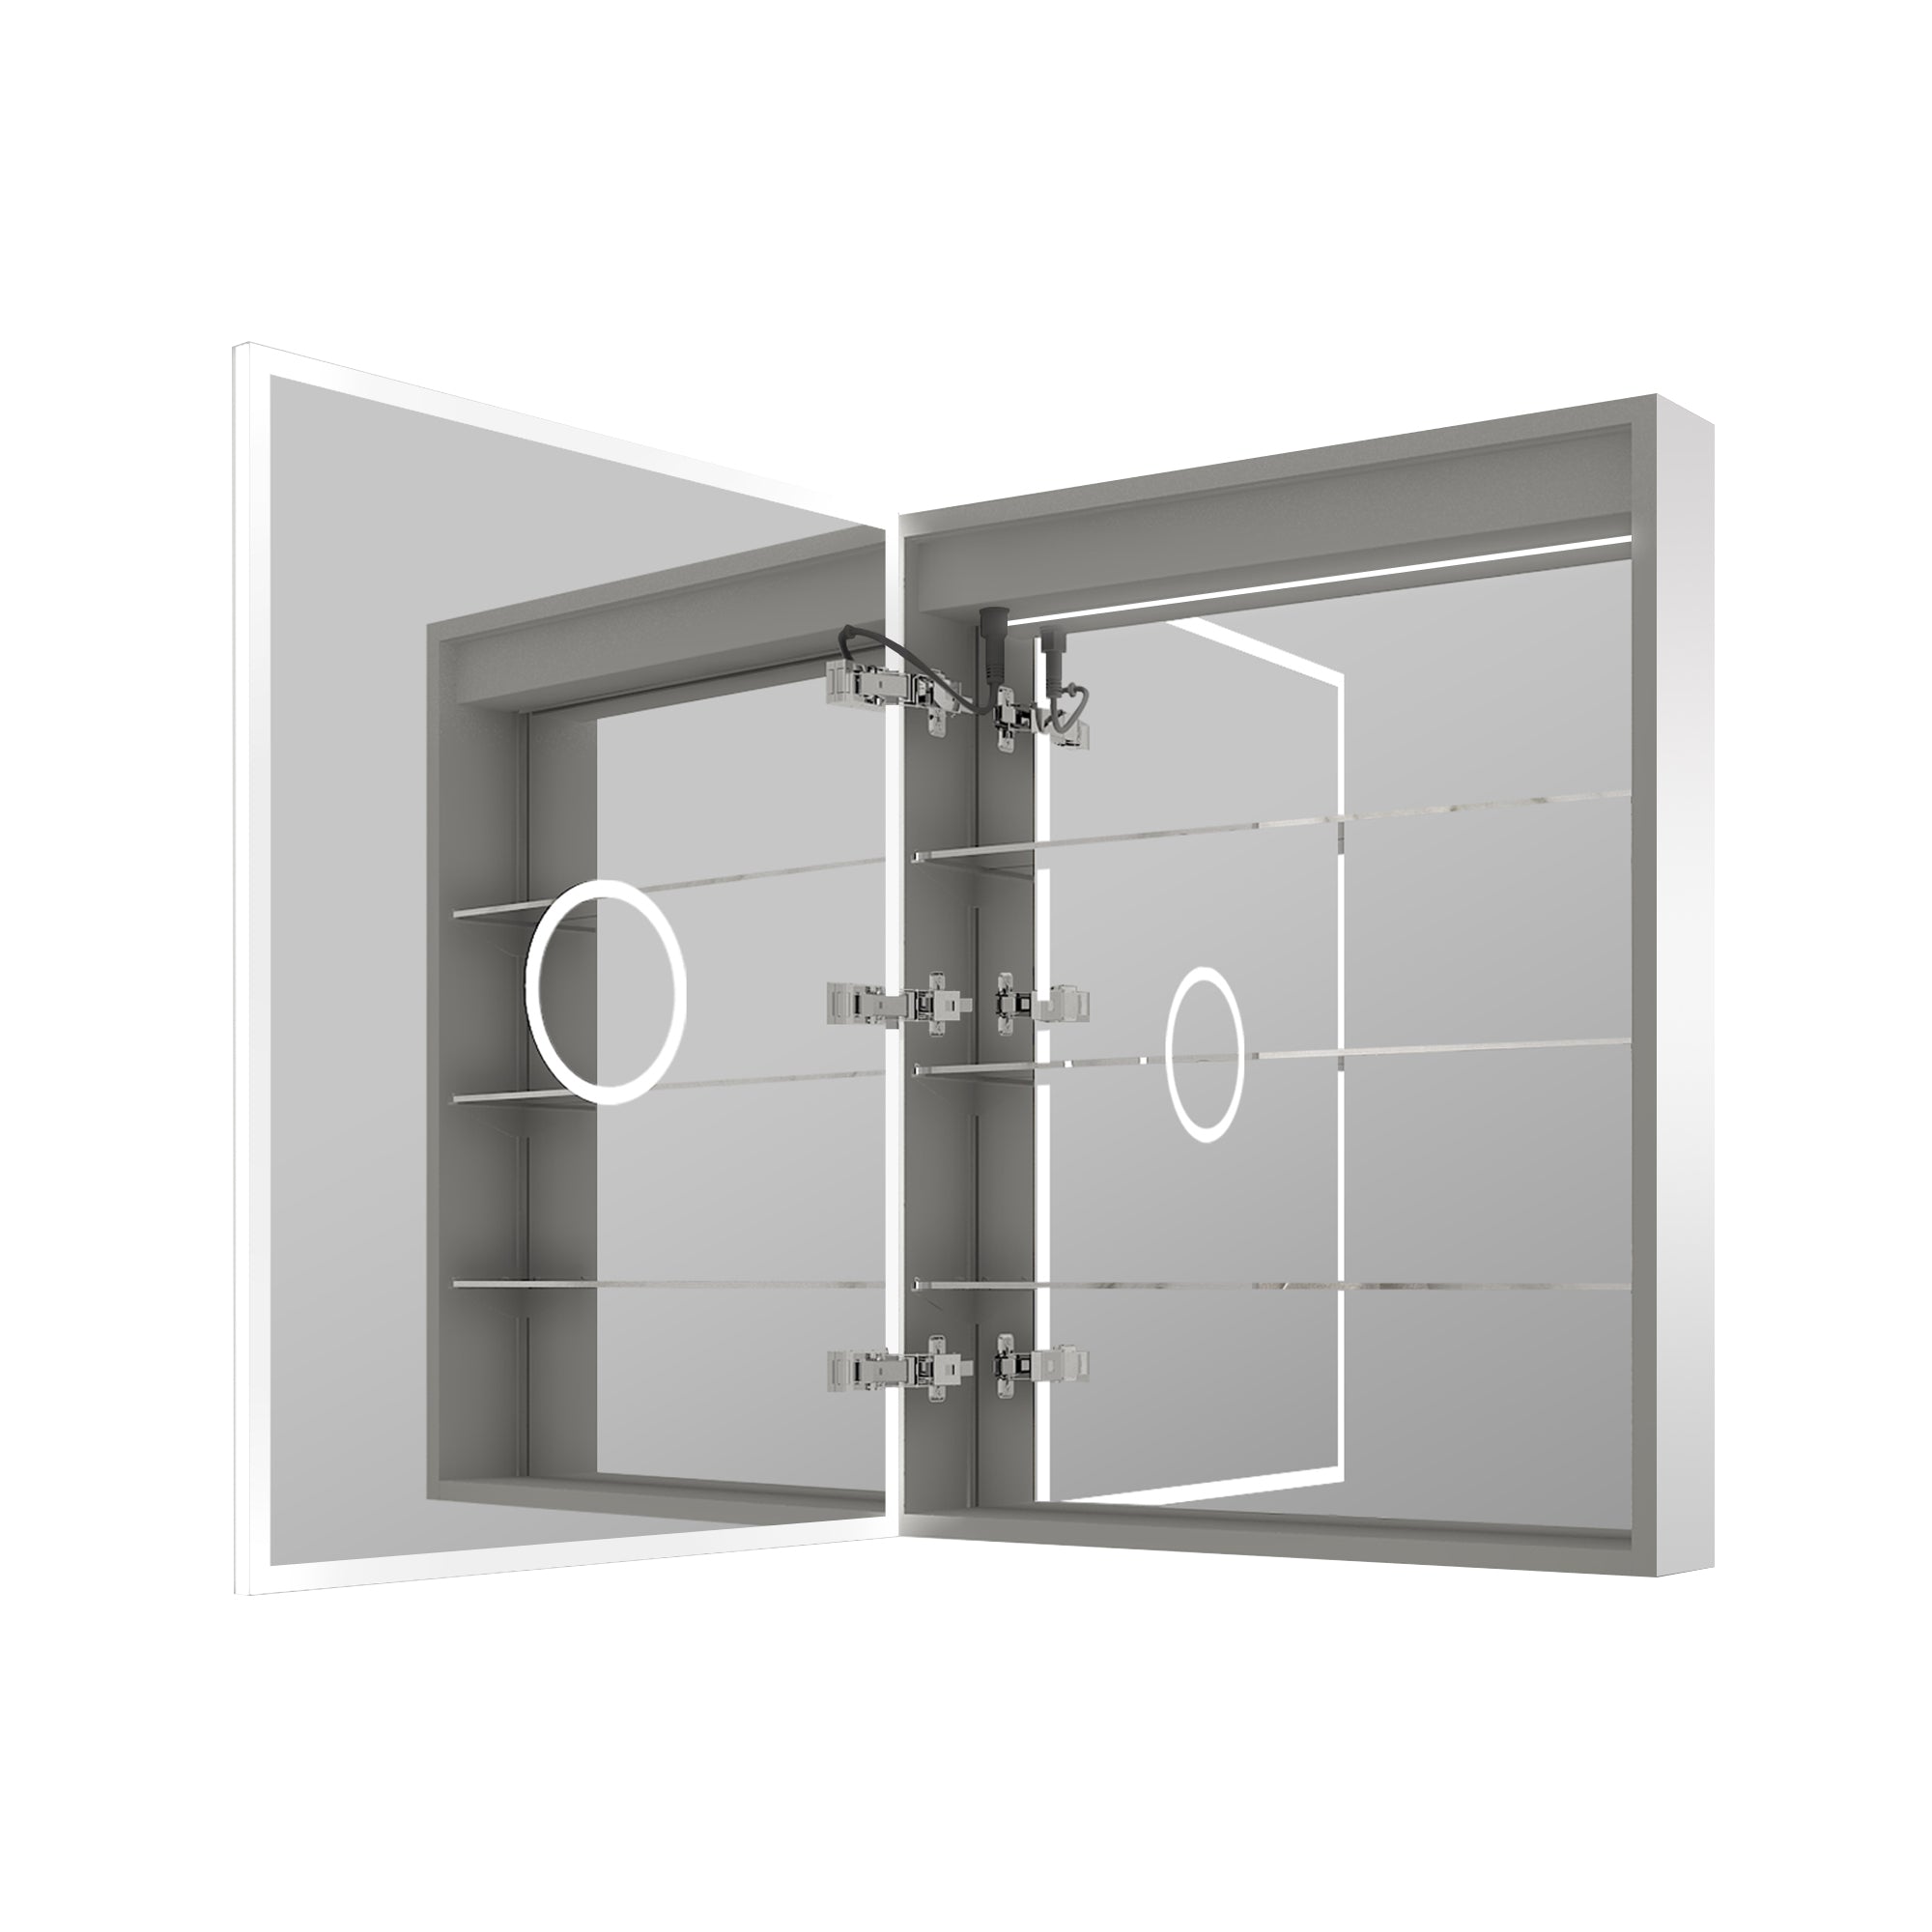
1. Unbox Your Mirror and Inspect It
Carefully remove your lighted mirror from its packaging. Check that it's free from scratches, cracks, or other damage. Refer to the instruction manual to understand the specific model's features, especially if you've chosen a product like the Wellfor LED bathroom light mirror.
2. Gather Your Supplies
Although we're ditching the tools, there are still a few items you'll need for installation:
· Heavy-duty adhesive strips (capable of holding the mirror's weight)
· Microfiber cloth for cleaning
· Level (optional, but helps ensure the mirror hangs straight)
3. Clean the Wall and Back of the Mirror
Use a damp cloth to clean the wall and the mirror's backside. This step ensures there's no dust interfering with the adhesive strips. Allow the surfaces to dry thoroughly before attaching anything.

4. Attach the Adhesive Strips
· Cut the adhesive strips if they're too long.
· Apply one-half of the strip to the back of the mirror. Press firmly for about 30 seconds to ensure a secure bond.
· Space the adhesive strips evenly, especially on the top and bottom sections of the mirror.
5. Mark the Wall
Hold the mirror up to the spot where you want to hang it. Use a pencil or masking tape to mark the corners of the mirror's position lightly.
6. Mount the Mirror
· Remove the protective backing from the side of the adhesive strips that will attach to the wall.
· Carefully align the mirror with the wall markings.
· Press the mirror firmly against the wall for at least 1 minute, applying even pressure to ensure adhesion.
7. Plug in the Light (If Applicable)
Plug the cord into the nearest outlet for LED bathroom light mirrors like the Wellfor range. Test the light functionality to confirm everything is working as it should.
And just like that, your bathroom mirror installation is complete!
Maintenance Tips for Your Bathroom Light Mirror
Now that your mirror is securely in place, it’s essential to maintain it for optimal performance. Follow these tips:
· Clean regularly: Wipe the surface with a microfiber cloth to prevent smudges.
· Avoid harsh chemicals: Use gentle cleaners made for mirrors or glass.
· Inspect adhesive strips occasionally: If you notice any shifting, replace the adhesive strips to keep the mirror securely mounted.
By taking care of your bathroom light mirror, you can enjoy its benefits for years to come.
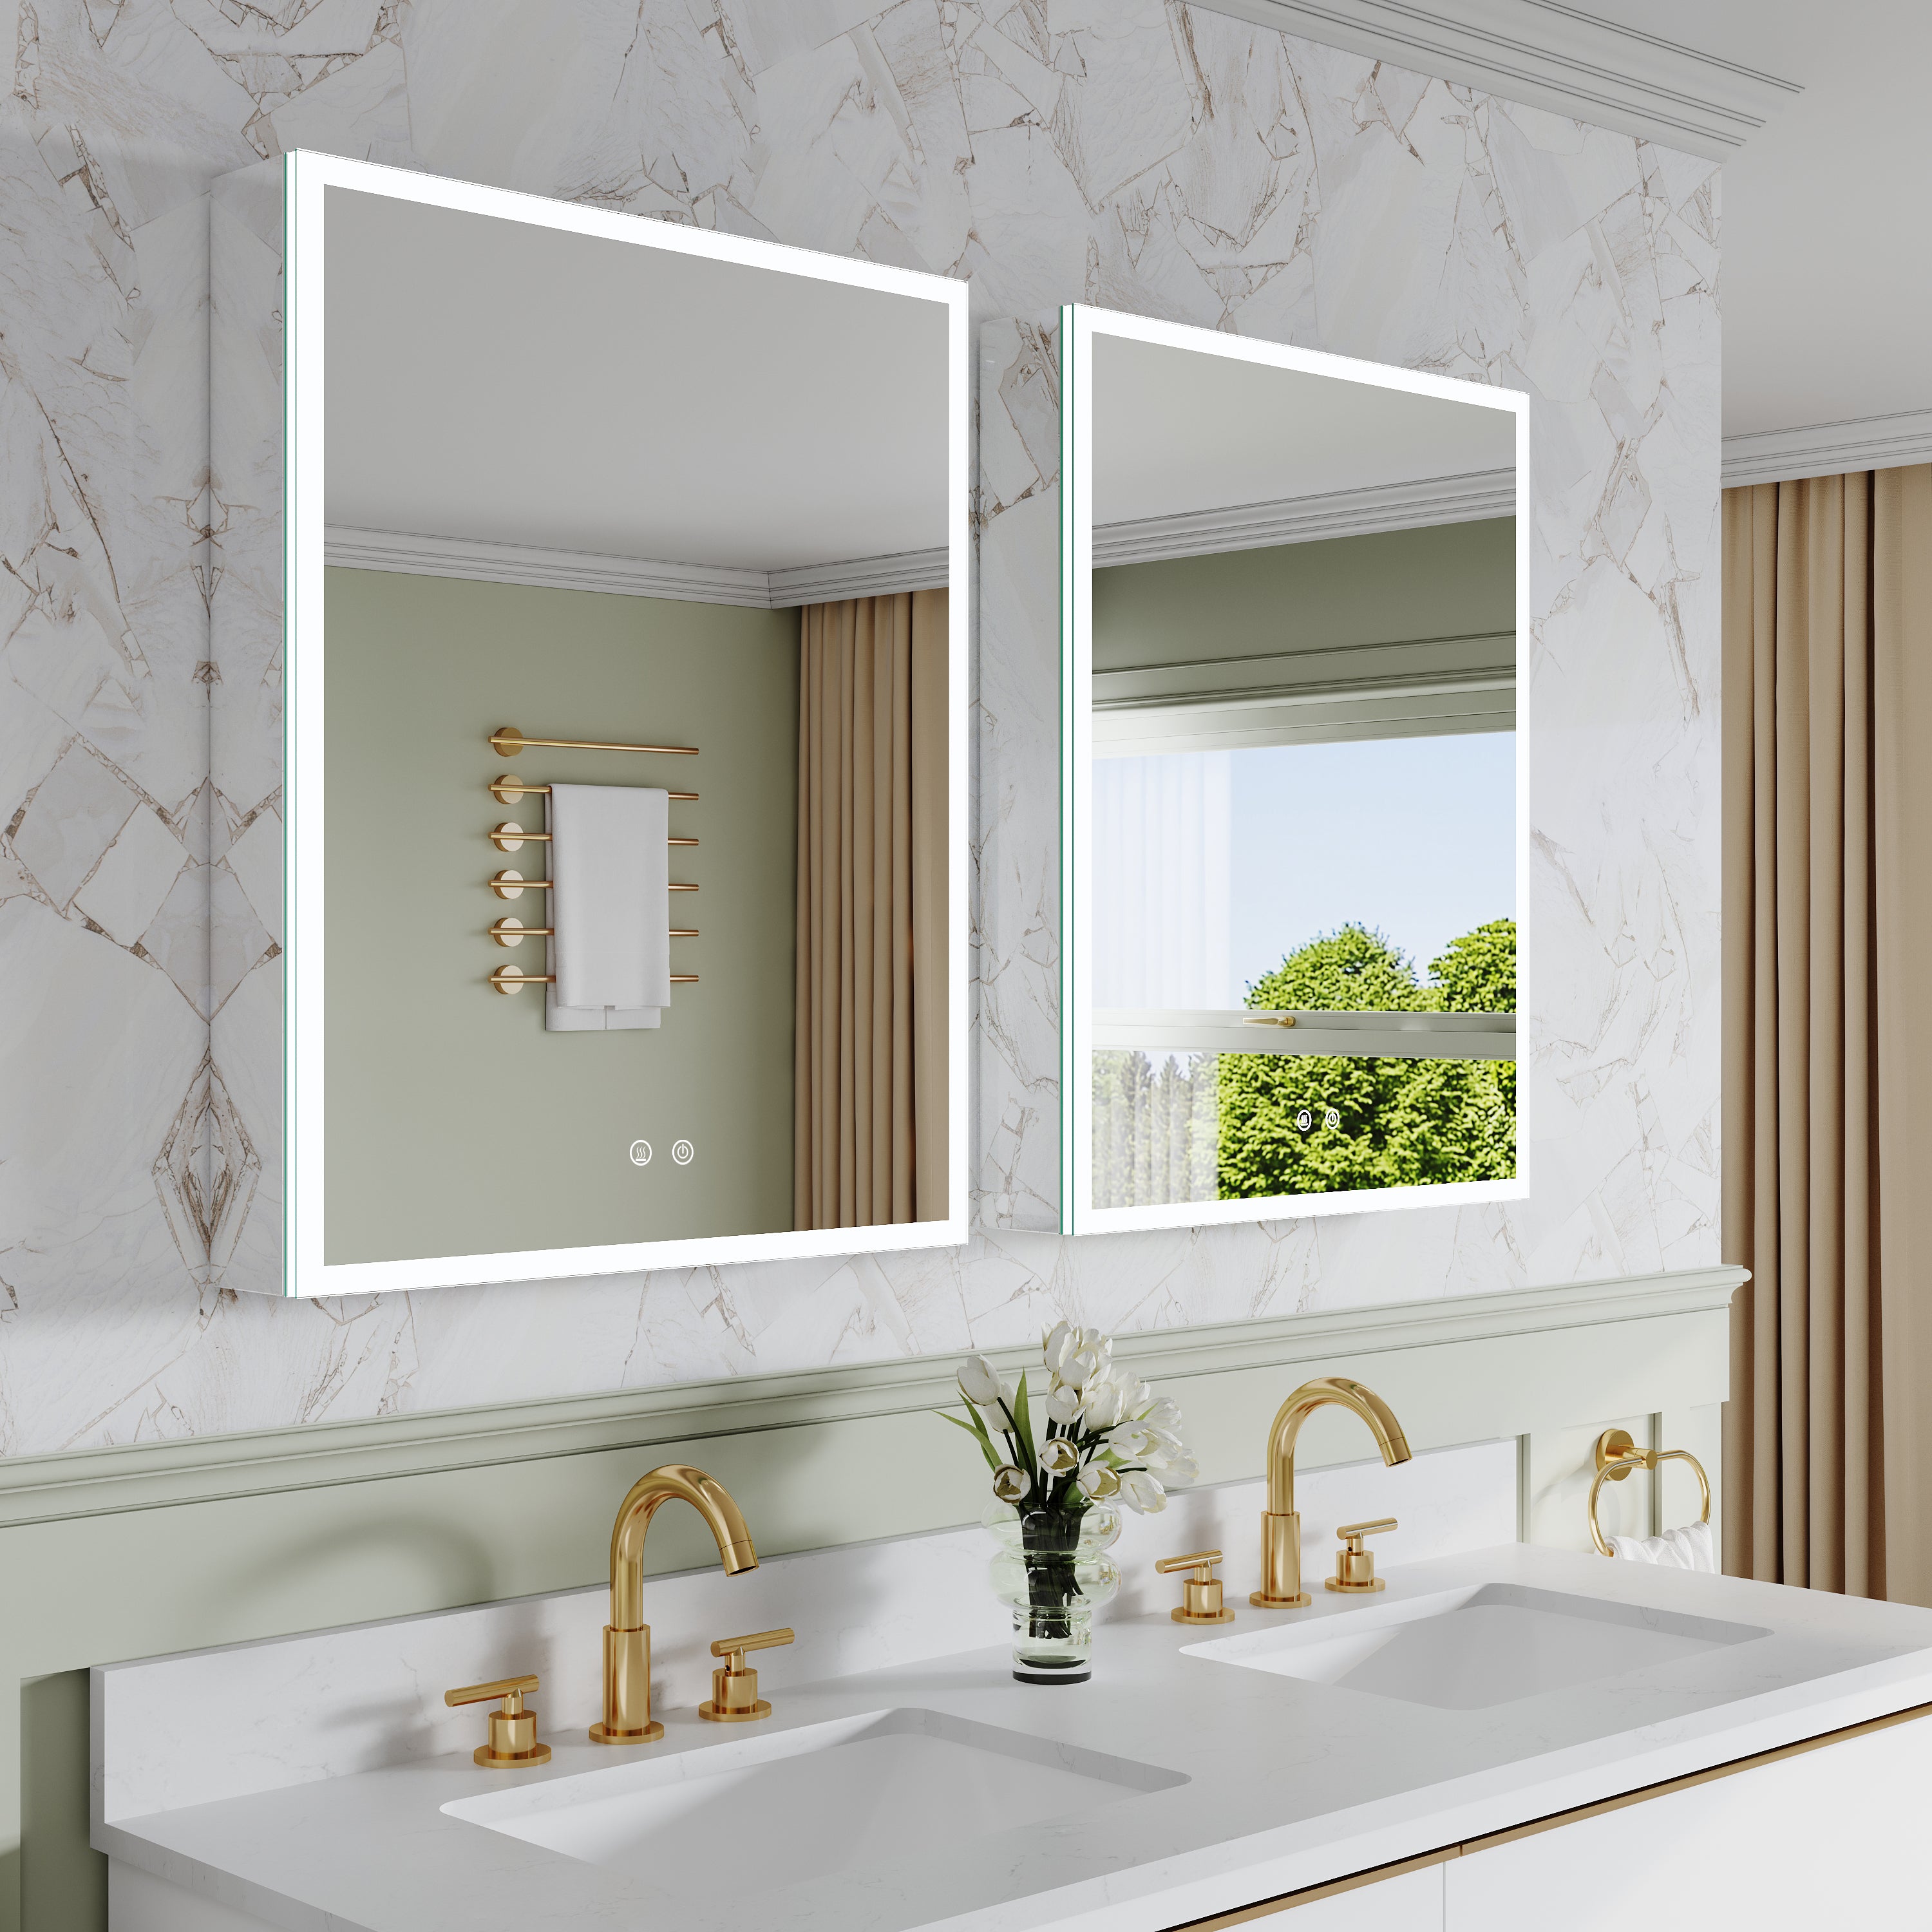
Why Wellfor Bathroom Light Mirrors Are a Great Choice
If you're in the market for a stylish and practical bathroom light mirror, consider Wellfor products. Not only are they designed for easy installation (even without tools), but they also offer additional perks:
· Built-in LED lighting: Provides bright yet soft illumination that’s ideal for morning routines.
· Fog-free designs: Some models come with anti-fog coating, perfect for steamy showers.
· Durability: Built with premium materials, these mirrors are designed to last.
· Energy efficiency: Wellfor mirrors use LED technology to reduce power consumption.
Choosing the right mirror can make all the difference, and Wellfor’s selection is sure to meet your aesthetic and functionality needs.
Frequently Asked Questions
Q: Will adhesive strips hold the weight of my bathroom mirror?
A: Yes, but it depends on the type of strips you use. Look for heavy-duty adhesive strips designed for mirrors or similar objects. Check the weight limit on the packaging to ensure it’ll work for your mirror.
Q: Can adhesive-mounted mirrors damage walls?
A: Adhesive strips are designed to be removable without causing damage. Ensure you follow the removal instructions provided by the strip manufacturer.
Q: What if my wall isn’t smooth?
A: Uneven or textured walls may not offer strong adhesion. Consider using suction-based mounting hooks instead of adhesive strips if the surface isn’t ideal.
Q: How do I prevent the cord from looking messy?
A: Use cord clips or fabric cord covers to keep the power cord neatly tucked away.
Final Thoughts
Installing a bathroom light mirror without tools isn’t just possible; it’s easy and stress-free. With the right adhesive strips and proper planning, you’ll have your new mirror up in no time, no drills or hammers required. Plus, if you opt for a high-quality brand like Wellfor, you’ll enjoy added advantages like LED lighting and modern designs.
Why wait? Start transforming your bathroom with an elegant lighted mirror today. It’s a quick upgrade that adds luxury and functionality to your space.


Leave a comment
This site is protected by hCaptcha and the hCaptcha Privacy Policy and Terms of Service apply.