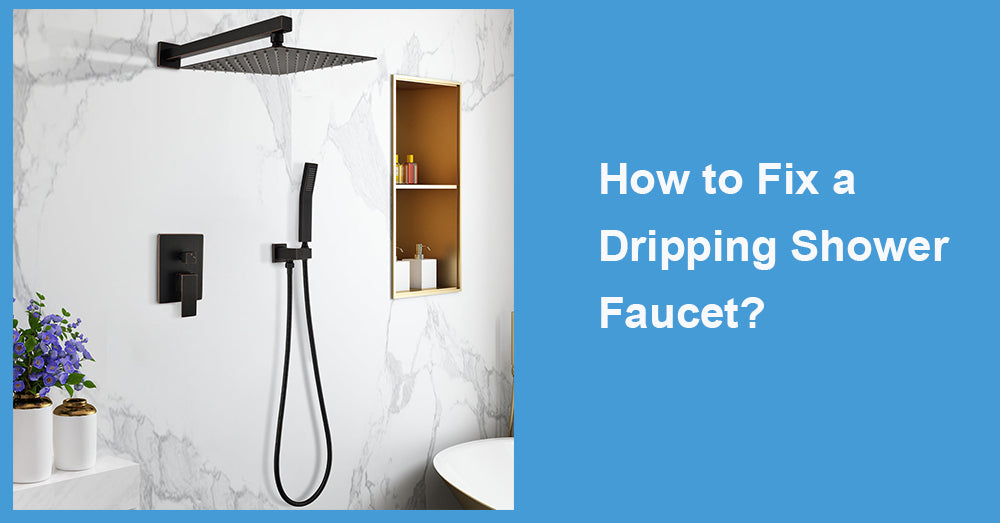
A dripping shower faucet is annoying and may just be wasting gallons of water, increasing your water bills, and impacting the environment. Luckily, these are relatively easy fixes, especially for a shower faucet wall mount. Herein, we show you how to fix a dripping faucet and restore your bathroom.
Why Is Your Shower Faucet Dripping?
Before trying to fix the problem, it is good to understand why your shower faucet wall mount may be leaking. The general reasons this occurs include worn-out washers or O-rings that affect the seal in your faucet. As time passes, these can deteriorate, allowing water to leak even when the faucet is turned off. This clogged faucet might also drip due to mineral buildup or damage to the valve seat. Being able to identify the problem will help you select the right solution.
Tools You'll Need
To fix your dripping shower faucet wall mount, gather the following tools:
-
Adjustable wrench
-
Phillips head screwdriver
-
Flathead screwdriver
-
Replacement washers, O-rings, or cartridges (depending on your faucet type)
-
Plumber's tape
-
A towel or cloth
Step 1: Turn Off the Water Supply
The first and most crucial step is to turn off the water supply to your shower. The shut-off valve is usually near the water heater or in a utility area. If you can't find the specific valve for the shower, turn off the main water supply to the house. This ensures you won't have a flood of water while repairing the faucet.
Step 2: Remove the Faucet Handle
Once the water is off, you'll need to remove the handle of your shower faucet wall mount. Most handles are secured with a screw, which you'll need to remove using a Phillips head screwdriver. The screw is usually hidden under a decorative cap, so use a flathead screwdriver to gently pry off the cap before removing the screw.
With the screw out, pull the handle straight off the faucet assembly. If it's stuck, wiggle gently or use a handle puller if necessary.
Step 3: Access the Cartridge or Valve
After removing the handle, you'll see a metal cover plate. Use your flathead screwdriver to remove this. Underneath, the cartridge or valve controls the water flow in your shower faucet wall mount.
Using an adjustable wrench, carefully loosen and remove the cartridge or valve. Pay close attention to its position; you'll need to install the replacement similarly.
Step 4: Inspect the Cartridge or Washer
With the cartridge or valve removed, inspect it for damage or wear. If the washer or O-ring is worn out, cracked, or flattened, that's likely the culprit behind the dripping faucet. Sometimes, the entire cartridge may need to be replaced if it's damaged.
Take your worn part to a hardware store and find an exact replacement. If you're unsure what cartridge, washer, or O-ring you need, the store staff can help you choose the right part for your shower faucet wall mount.
Step 5: Install the New Cartridge, Washer, or O-Ring
Once you have the replacement parts, it's time to install them. If the washer or O-ring was the issue, begin by replacing it. If you need to replace the entire cartridge, slide the new cartridge into the valve opening, ensuring it's oriented the same way as the old one. Use your adjustable wrench to secure the cartridge.
Before you finish, wrap some plumber's tape around the valve's threads to prevent future leaks.
Step 6: Reassemble the Faucet
Now that you've installed the new parts, it's time to reassemble the faucet. Start by putting the metal cover plate back in place, followed by the faucet handle. Tighten the screw securely and snap the decorative cap back on to cover it.
Step 7: Turn On the Water Supply and Test
With everything reassembled, it's time to test your work. Turn the water supply back on and run the shower faucet. Check for any leaks or drips. If the faucet no longer drips, congratulations! You've successfully fixed your shower faucet wall mount.
Double-check that all the components are seated properly and tightened if it's still dripping.
Preventing Future Drips

Now that you've fixed the issue, it's worth taking some steps to prevent future problems:
-
Regularly clean your faucet: Mineral buildup can damage the seals in your shower faucet wall mount, so keeping it clean can extend the life of the parts.
-
Don't overtighten the faucet handle: Turning the handle too tight can wear out the washers and cartridges more quickly, leading to drips.
-
Schedule routine maintenance: A yearly inspection of your bathroom plumbing can help catch small issues before they become bigger.
When to Call a Professional
While replacing a leaking shower faucet wall mount is one of the easiest tasks, it sometimes requires the right professional intervention. If anything after the repair makes the faucet still leak, or if you are comfortable taking on plumbing issues, consider calling a plumber. That way, he can fix everything to work correctly with no more water damage or waste.
Conclusion
Fixing a dripping shower faucet wall mount is a manageable DIY task that can save money on water bills and prevent waste. You can restore your shower to proper working order with just a few tools and some patience.
Following the steps outlined in this guide, you can stop that annoying drip and enjoy a quiet, efficient bathroom again.














Leave a comment
This site is protected by hCaptcha and the hCaptcha Privacy Policy and Terms of Service apply.