


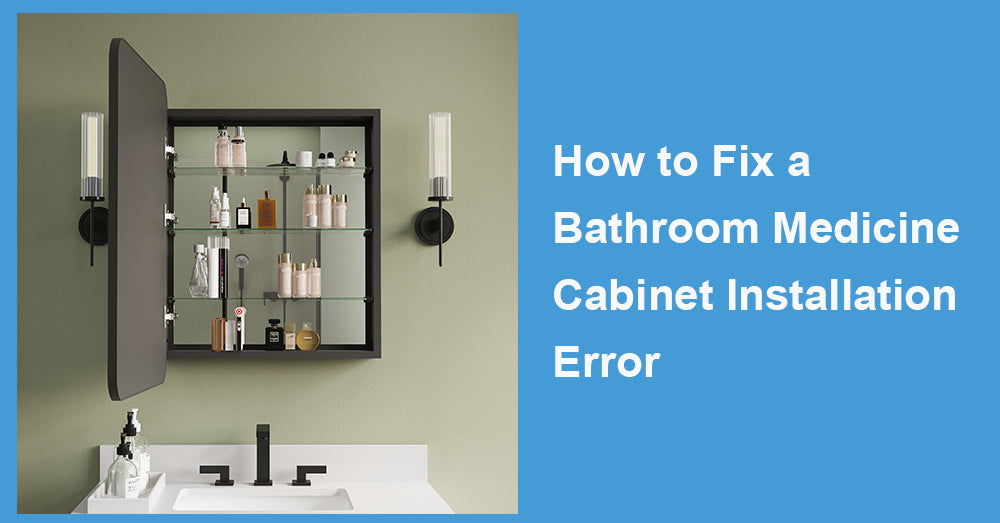
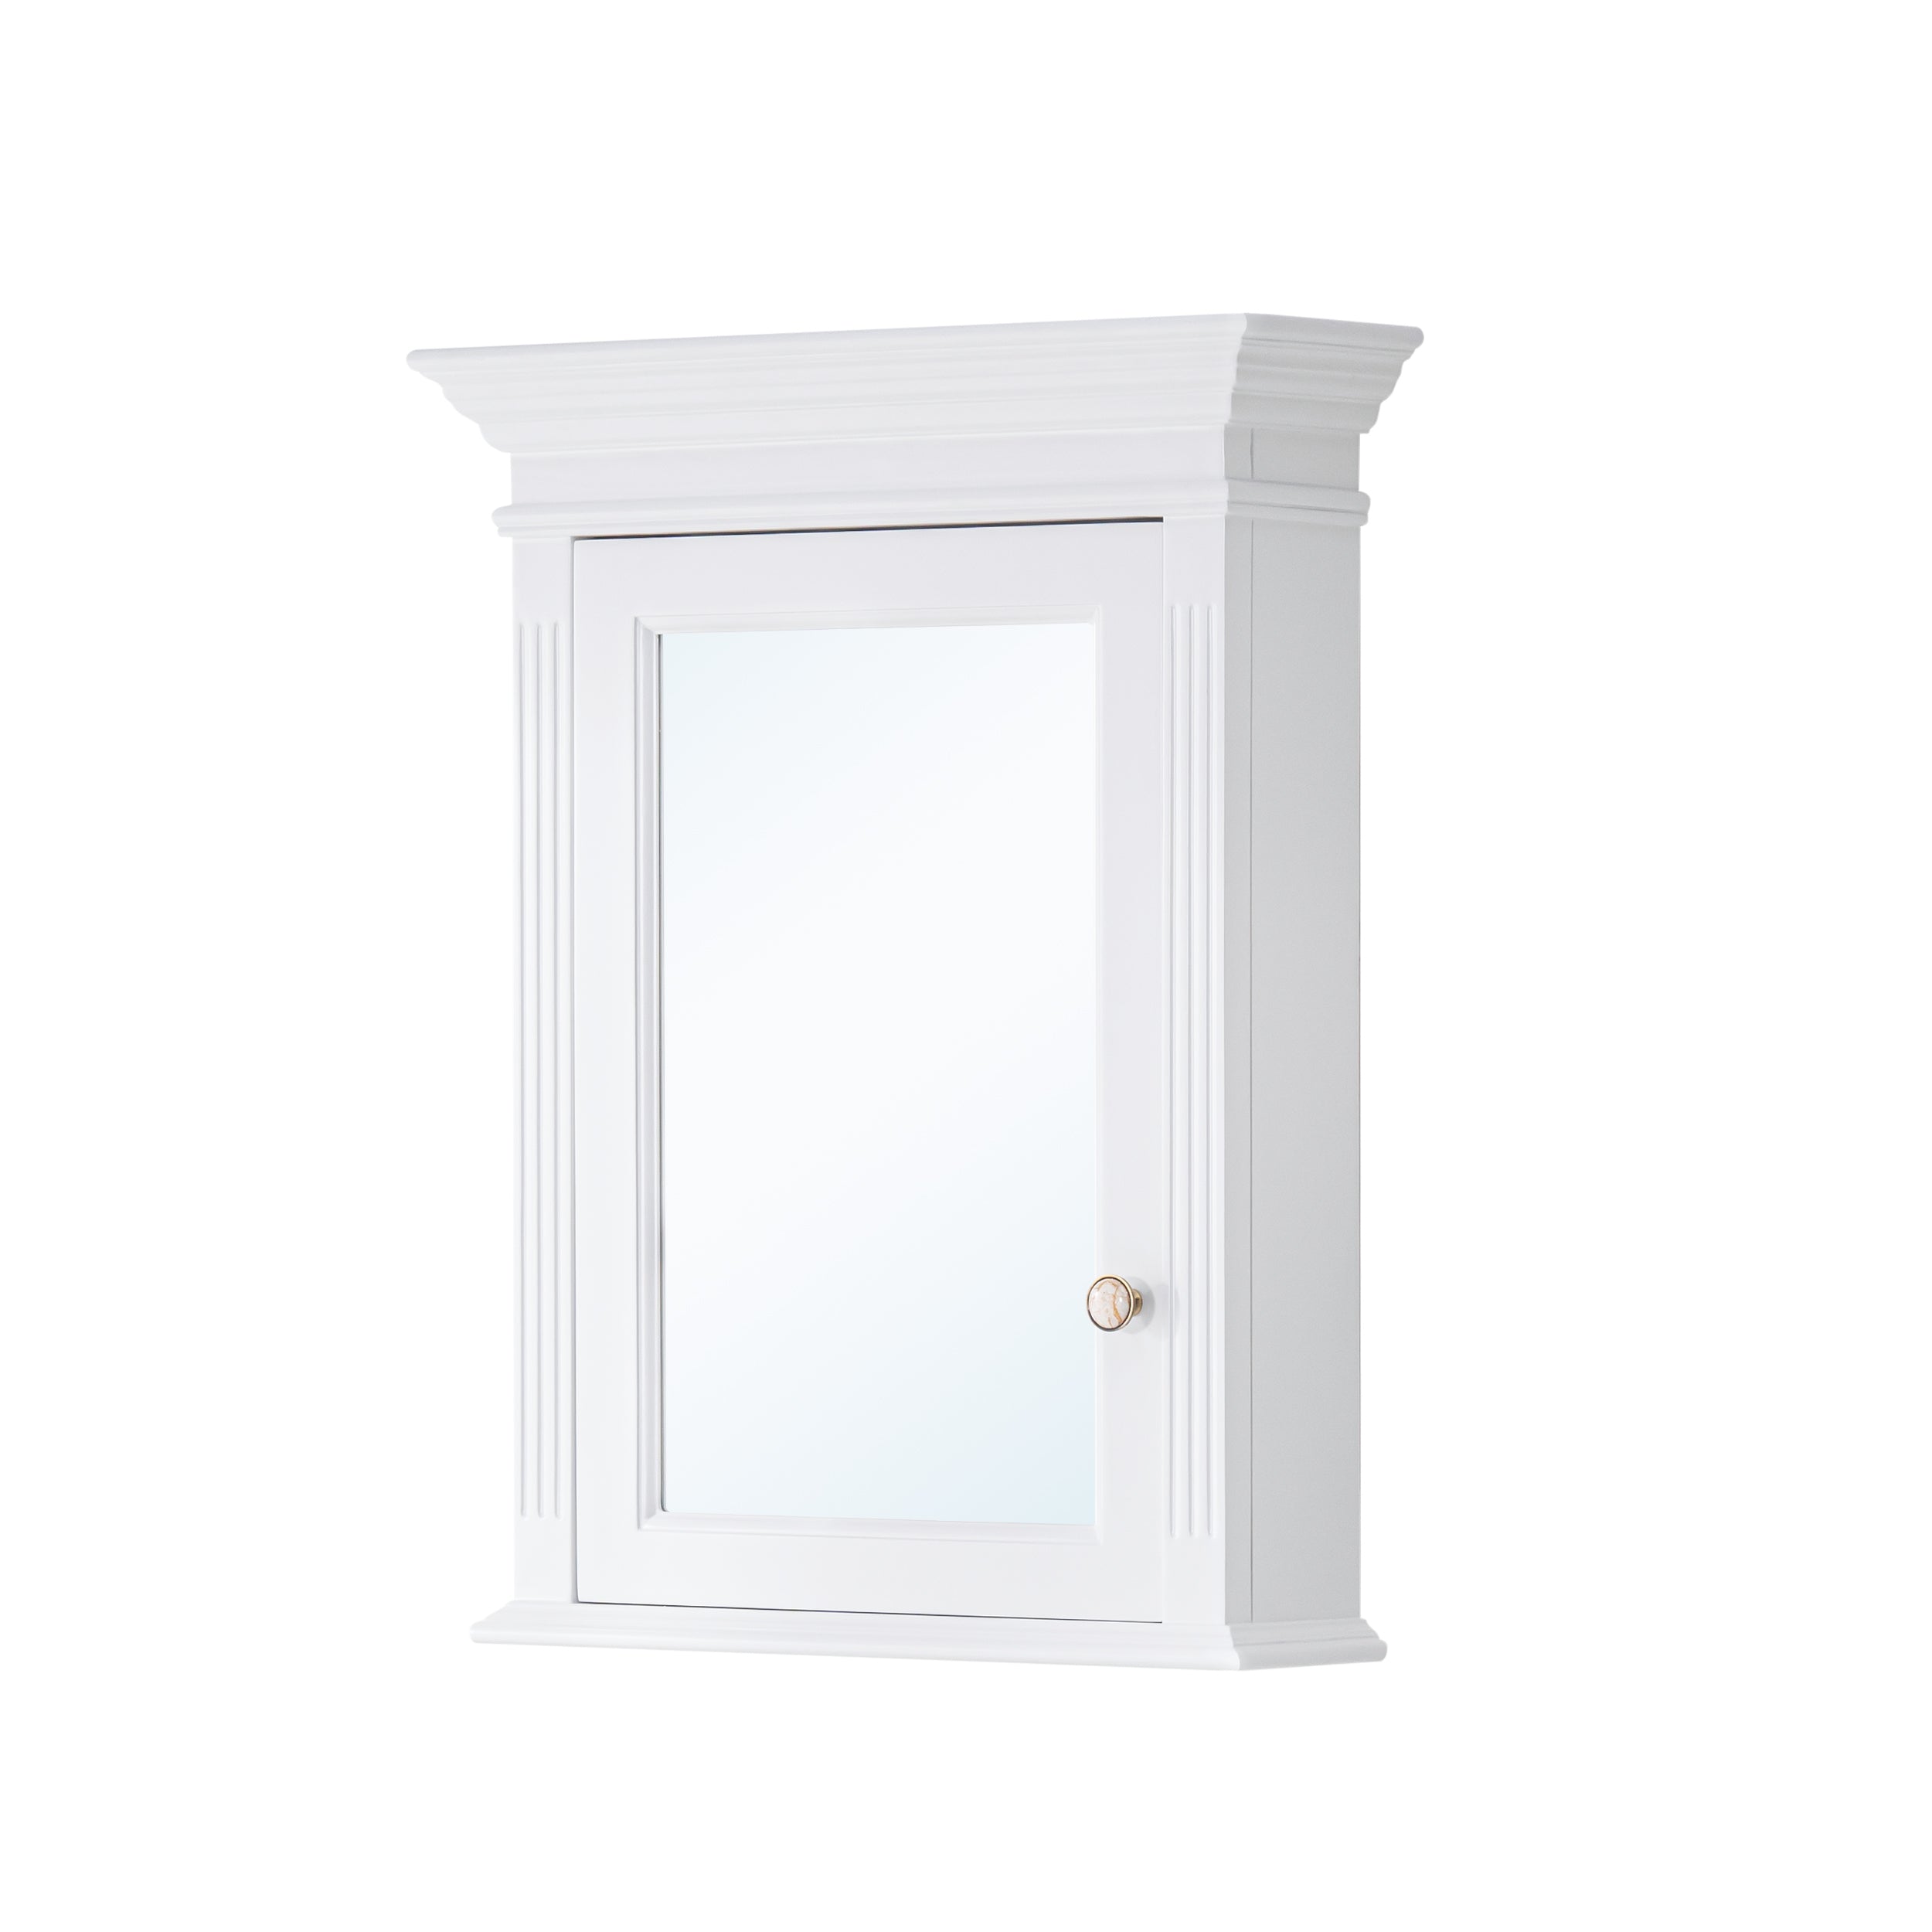
Installing a bathroom medicine cabinet may seem straightforward, but a small error during installation can create functional or aesthetic issues. Fixing these errors is easier than you may think, but knowing how to troubleshoot efficiently is key. Whether you’re dealing with uneven alignment, loose screws, or improper placement, this guide will walk you through practical solutions.
At Wellfor, we believe that a properly installed medicine cabinet not only enhances your bathroom's functionality but also adds a polished, organized look to the space. That’s why we’ve broken down the process to help you resolve common installation issues without the stress.
Common Bathroom Medicine Cabinet Installation Errors
Before jumping into solutions, it’s important to recognize the common mistakes that occur when installing a bathroom medicine cabinet. Here are the most frequent issues homeowners face:
· Crooked or Uneven Cabinet: The cabinet isn’t level, making it both unsightly and impractical.
· Cabinet Sits Too High or Low: Incorrect placement can make the cabinet tough to use.
· Doors Not Closing Properly: Misalignments during installation may cause doors to stick or fail to close completely.
· Loose or Wobbly Cabinet: This happens when screws aren’t properly secured into the wall studs or anchors.
· Wall Damage: Over-tightening screws or poorly planned installation may crack or damage bathroom walls.
· Mismatched Aesthetics: An improperly placed cabinet can clash with your bathroom's layout and aesthetics.
Identifying the error is the first step, so inspect your installation carefully before proceeding.
Tools You’ll Need to Fix Installation Errors
Before grabbing that screwdriver, double-check that you have all the tools required for the job. Most fixes can be handled with a DIY approach, but the right tools will make the process smoother:
· Level
· Screwdriver (Phillips or flathead, depending on your cabinet)
· Drill and appropriate drill bits
· Stud finder
· Tape measure
· Wall anchors (if studs aren’t available)
· Painter’s tape
· Pencil or marker
· Spackle or wall repair kit (for patching holes)
· Touch-up paint (optional, but can help restore the area)
Now that we’ve prepped, it’s time to get your bathroom medicine cabinet back in shape.
Step-By-Step Solutions for Common Installation Errors
1. How to Fix an Uneven or Crooked Cabinet
If your cabinet appears tilted or uneven, this is one of the simplest fixes.
· Tools Required: Level, screwdriver or drill, and painter’s tape.
· Steps:
1. Place a level on top of the cabinet to confirm the degree of unevenness.
2. Loosen the screws holding the cabinet to the wall.
3. Adjust the cabinet and check the leveling bubble again.
4. Once aligned, tighten the screws while ensuring the cabinet stays level.
5. Use painter’s tape to temporarily secure the cabinet during reinstallation.
By re-leveling the cabinet, you’ll restore its appearance and functionality instantly.
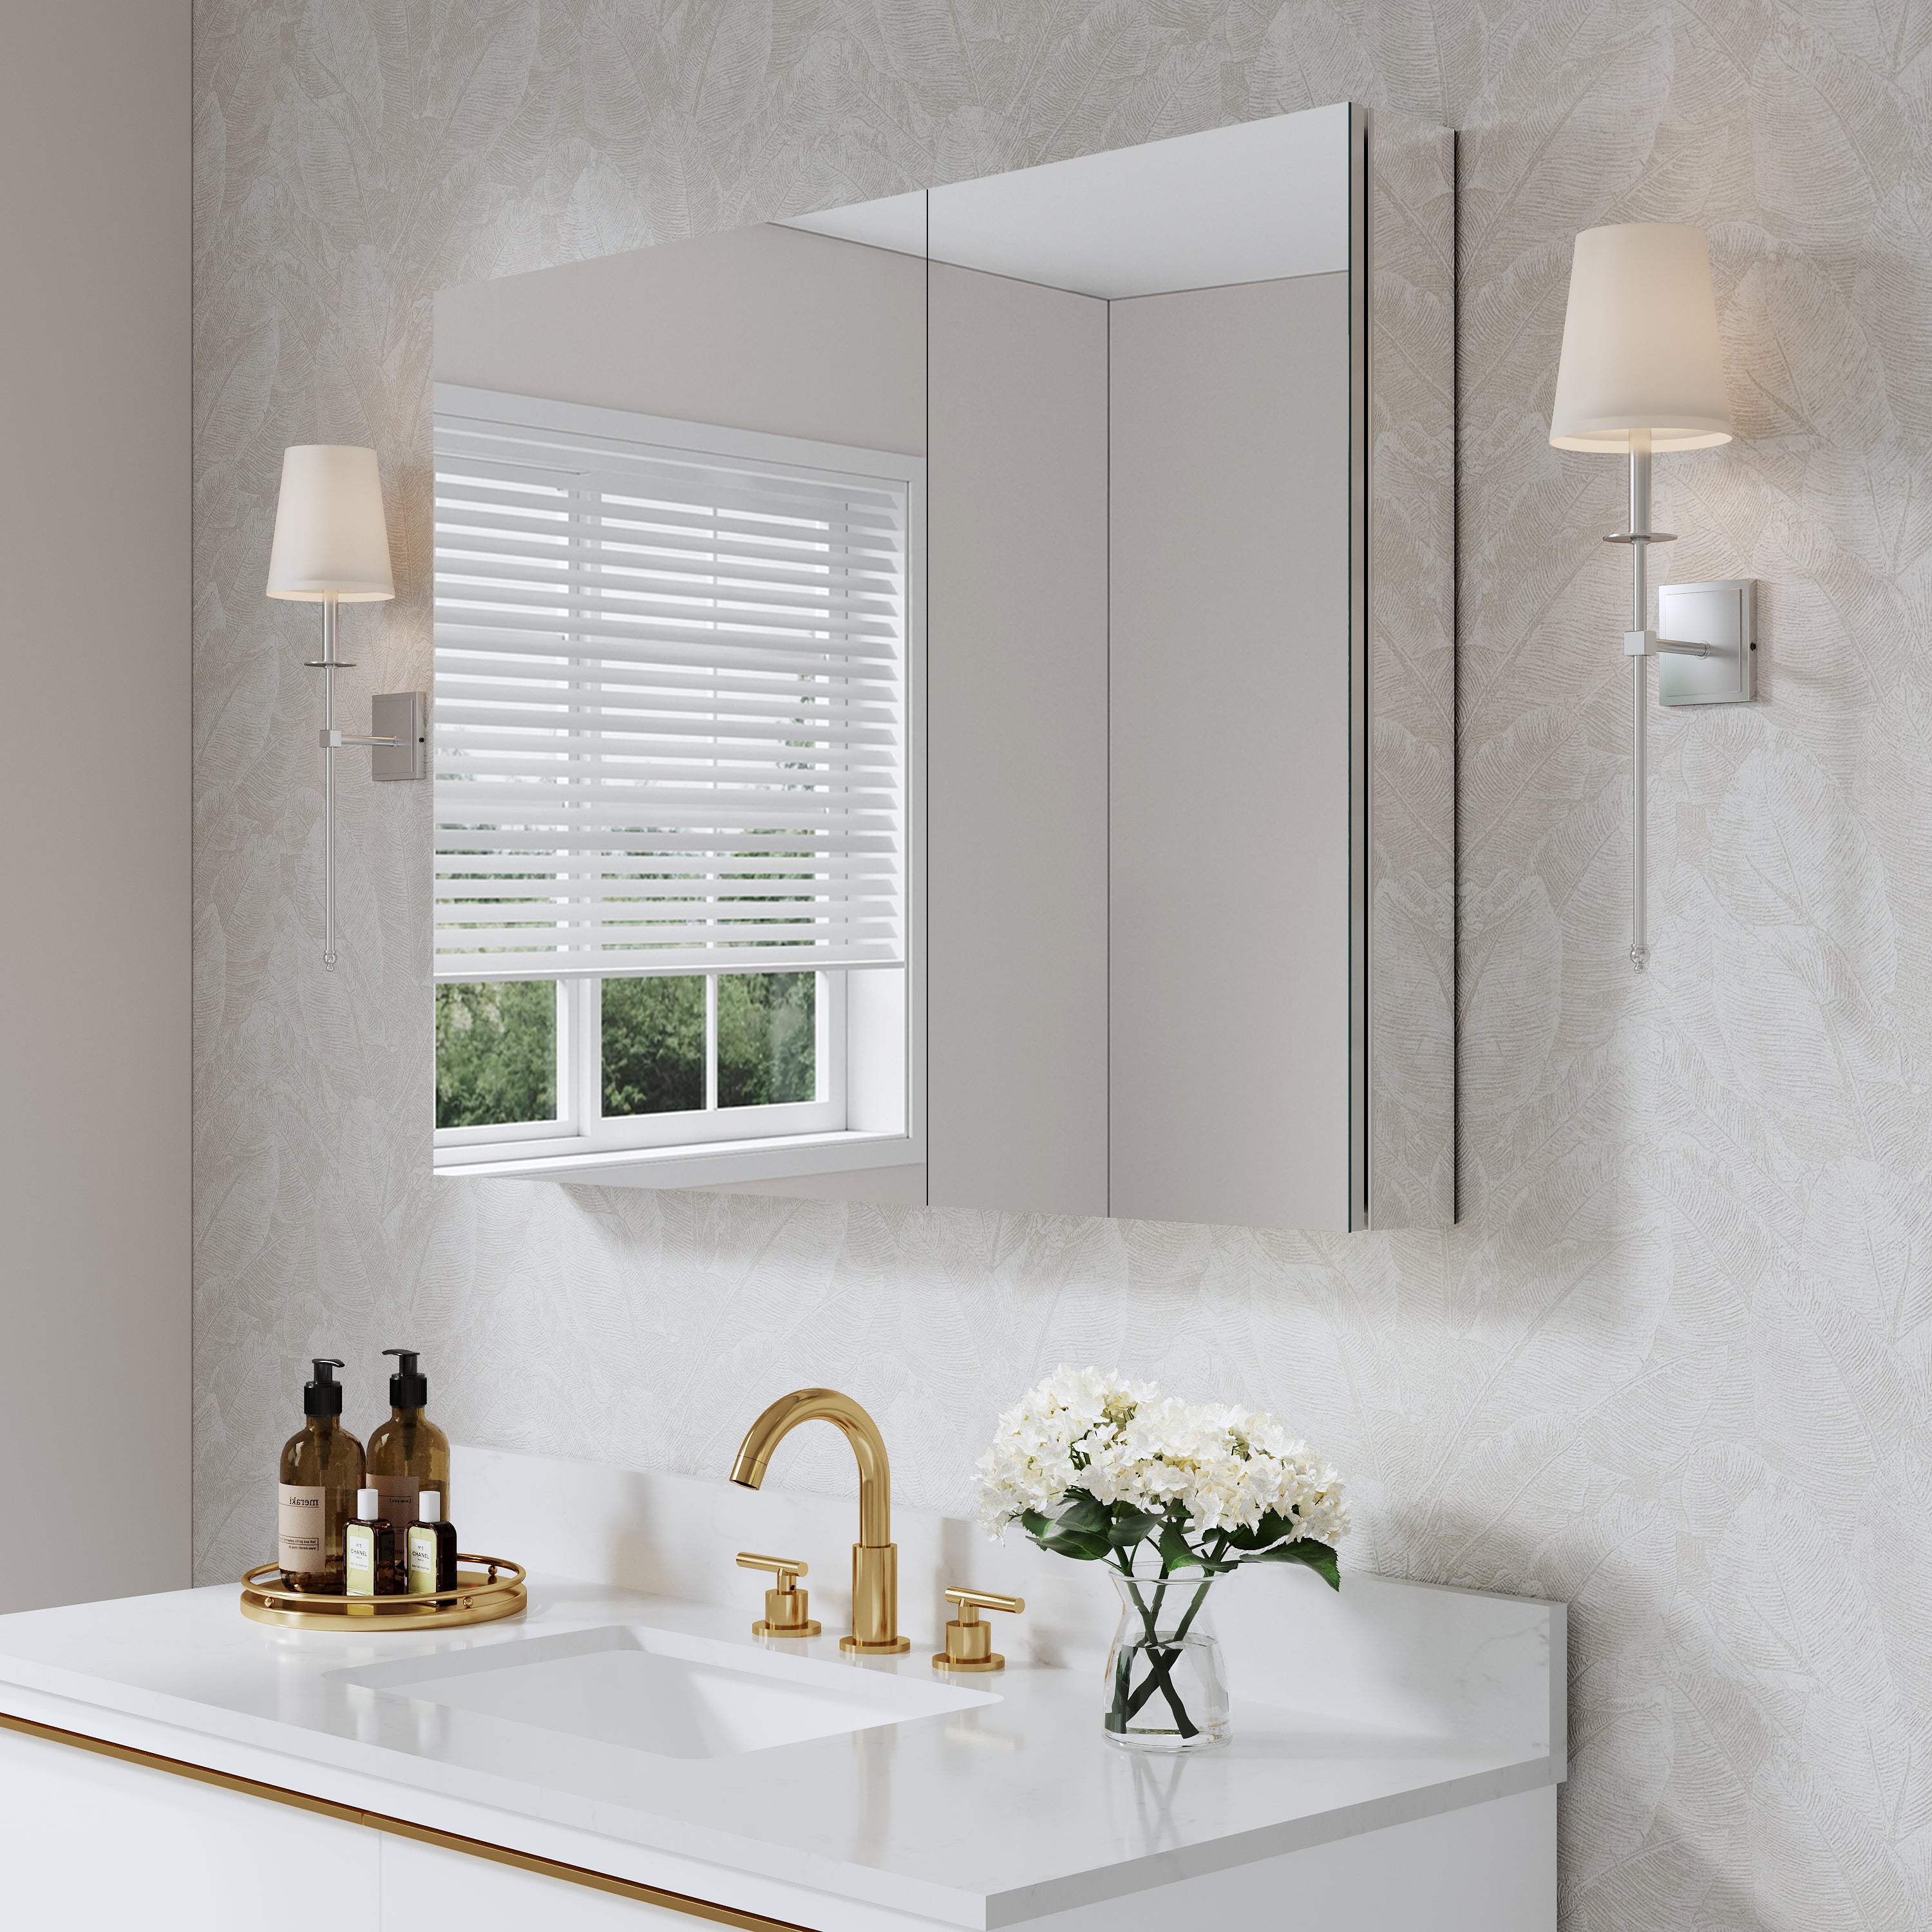
2. Adjusting the Height of a Bathroom Medicine Cabinet
A cabinet that is installed too high or too low can create ergonomic issues.
· Signs of Improper Height:
o The cabinet is hard to reach.
o The cabinet interferes with your bathroom mirror or other fixtures.
· Solution:
1. Mark the Desired Height: Use a tape measure and pencil to mark the correct height (usually 5.5 to 6 feet from the floor, depending on user preferences).
2. Remove the Cabinet: Carefully unscrew the cabinet from its existing position.
3. Locate Wall Studs or Install Anchors: Use a stud finder to ensure solid mounting points, and add wall anchors if no studs are available.
4. Re-Mount the Cabinet at the Correct Height: Align the cabinet and secure it with screws or wall anchors in its new position.
Taking a little extra time to ensure the optimal height will make your cabinet comfortable and practical to use.

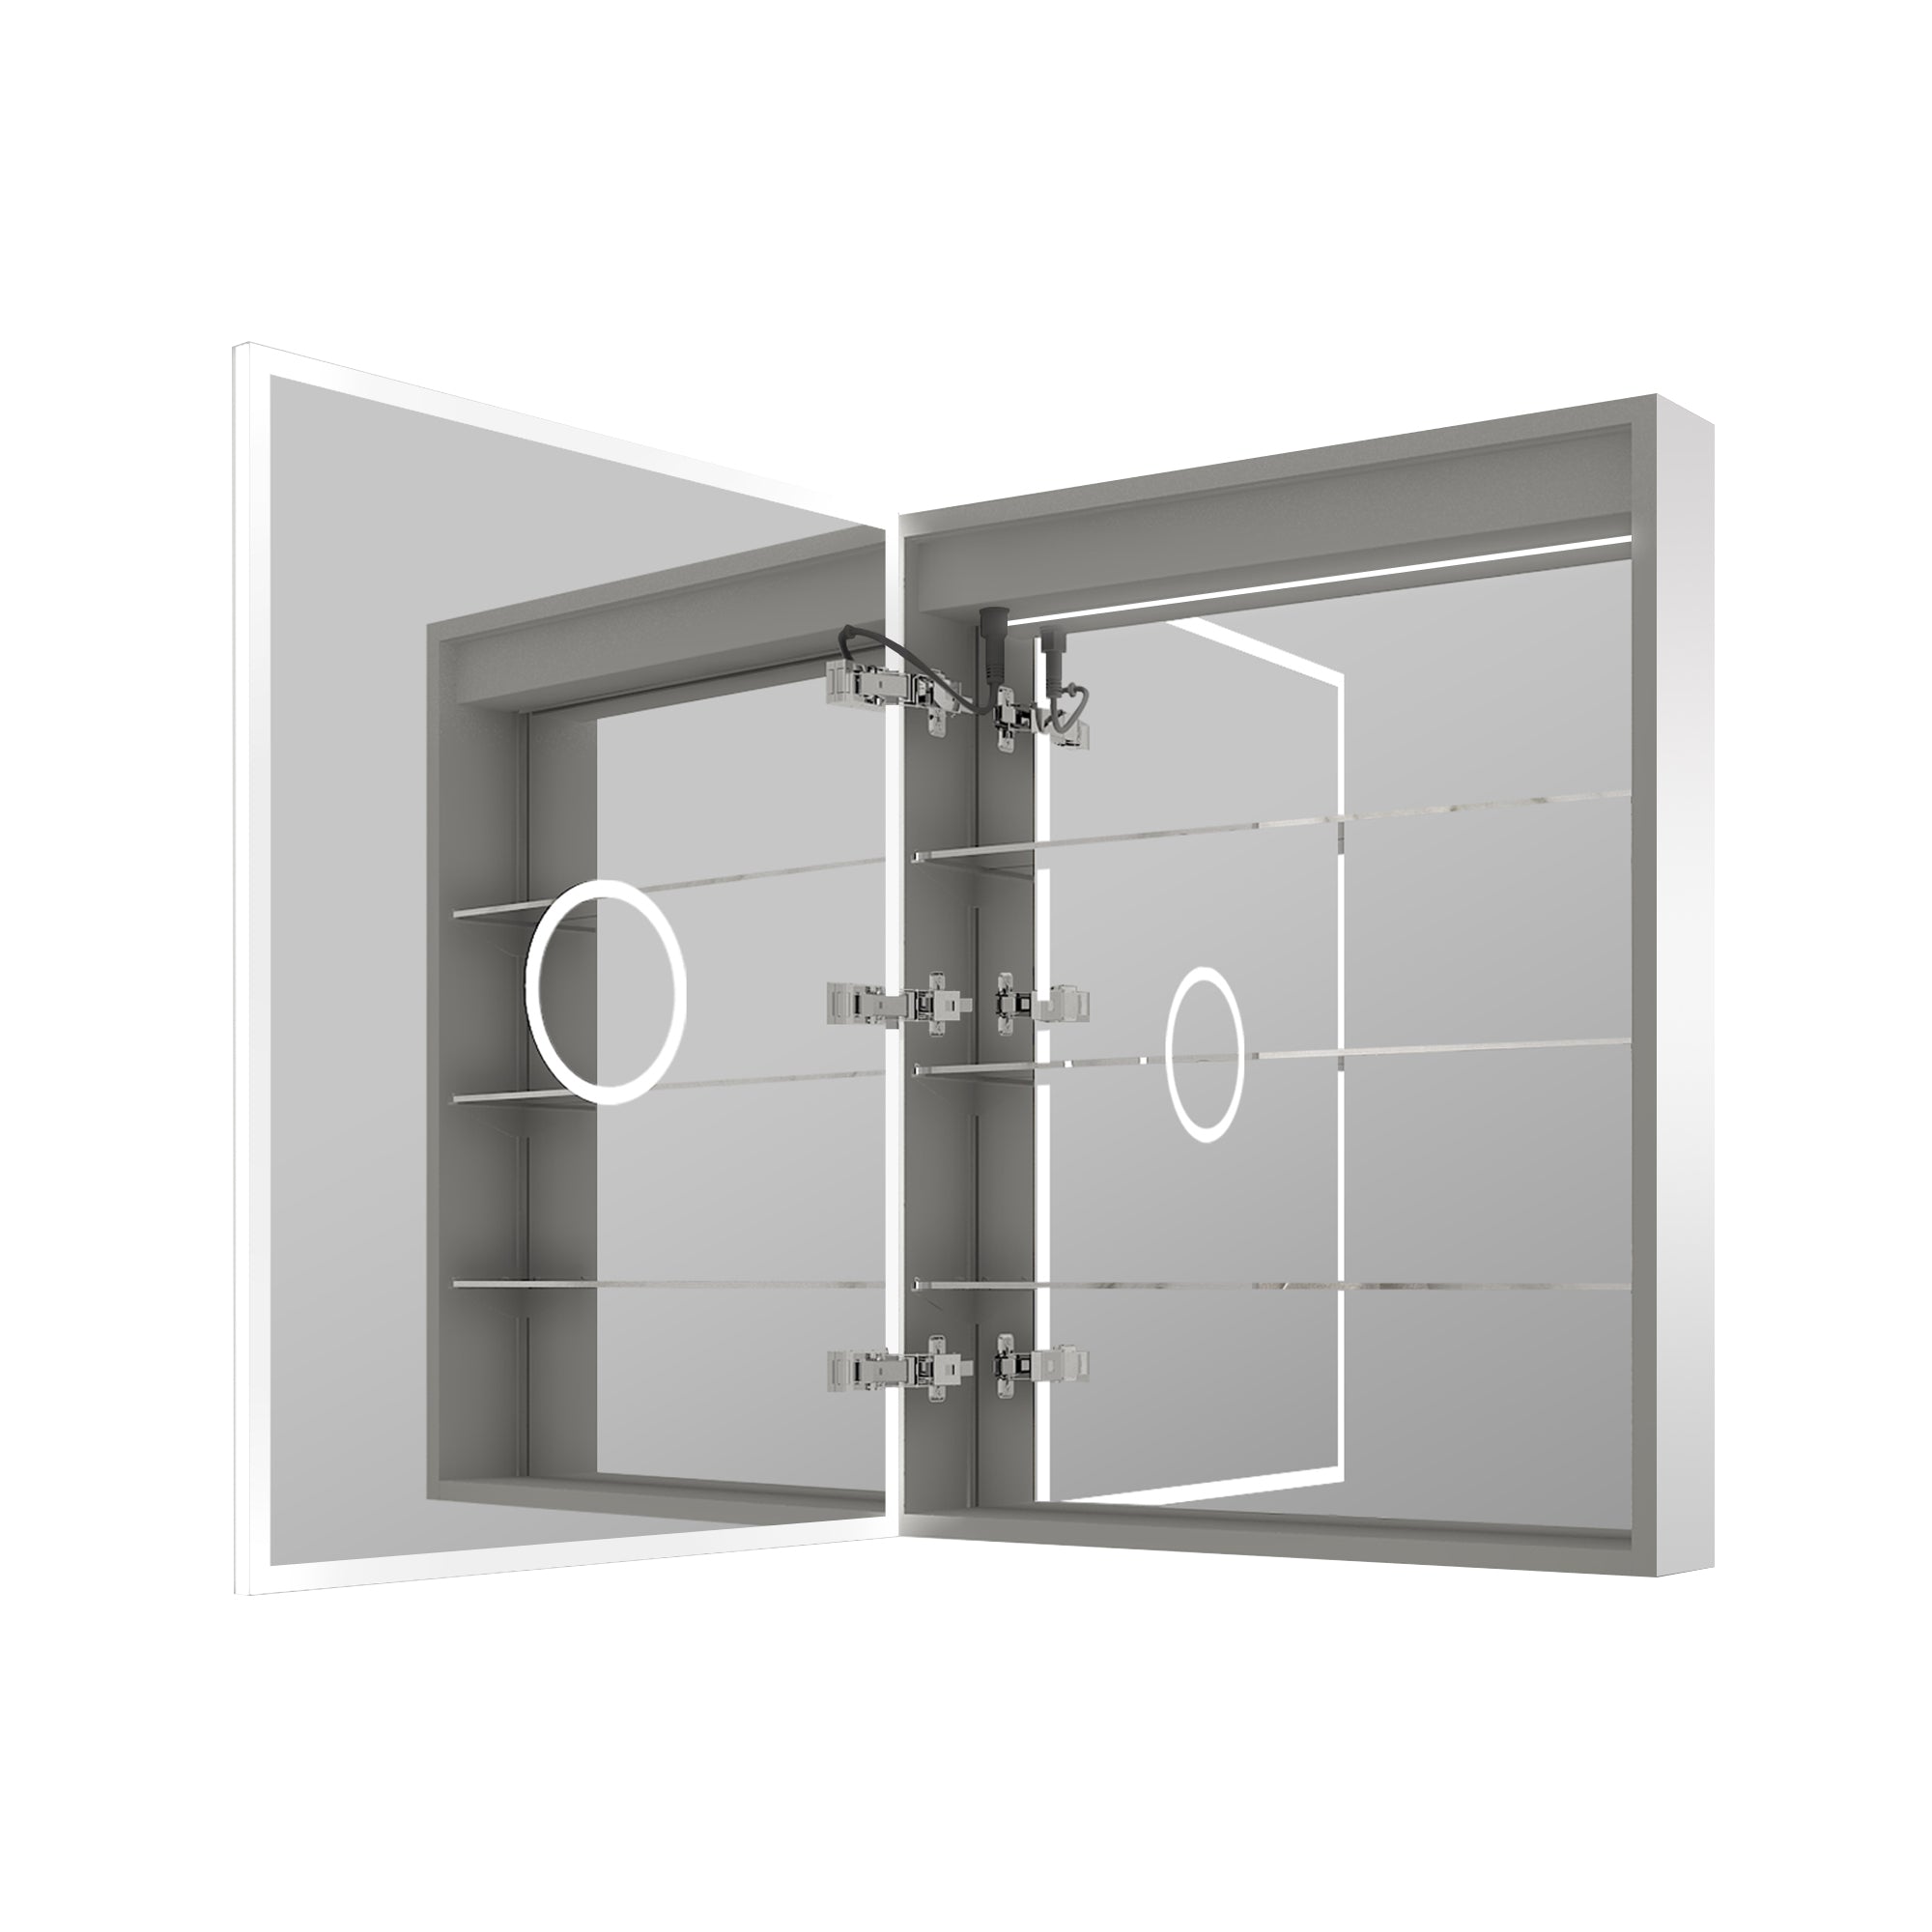
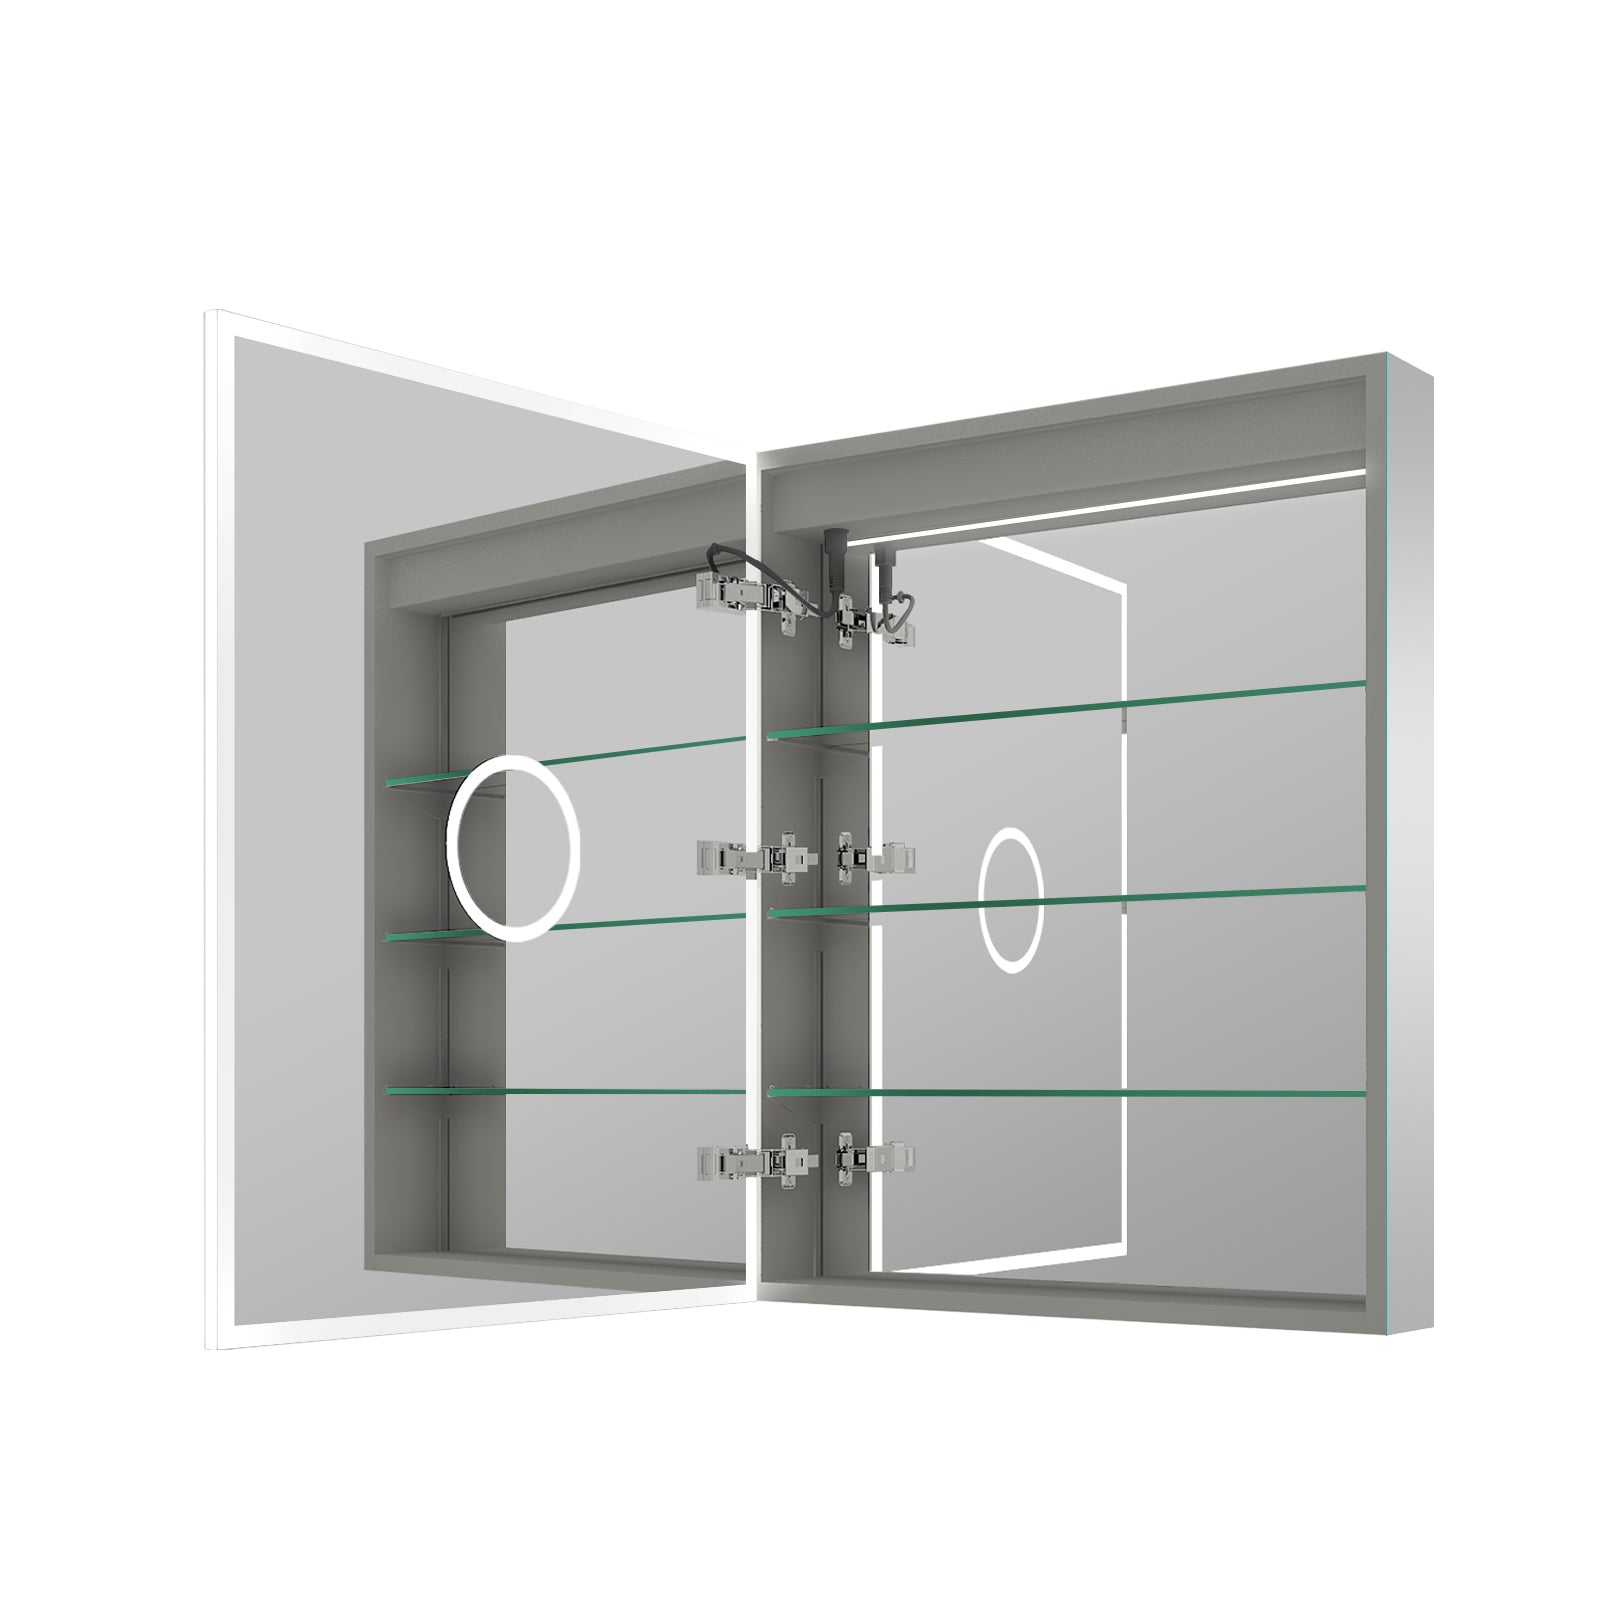
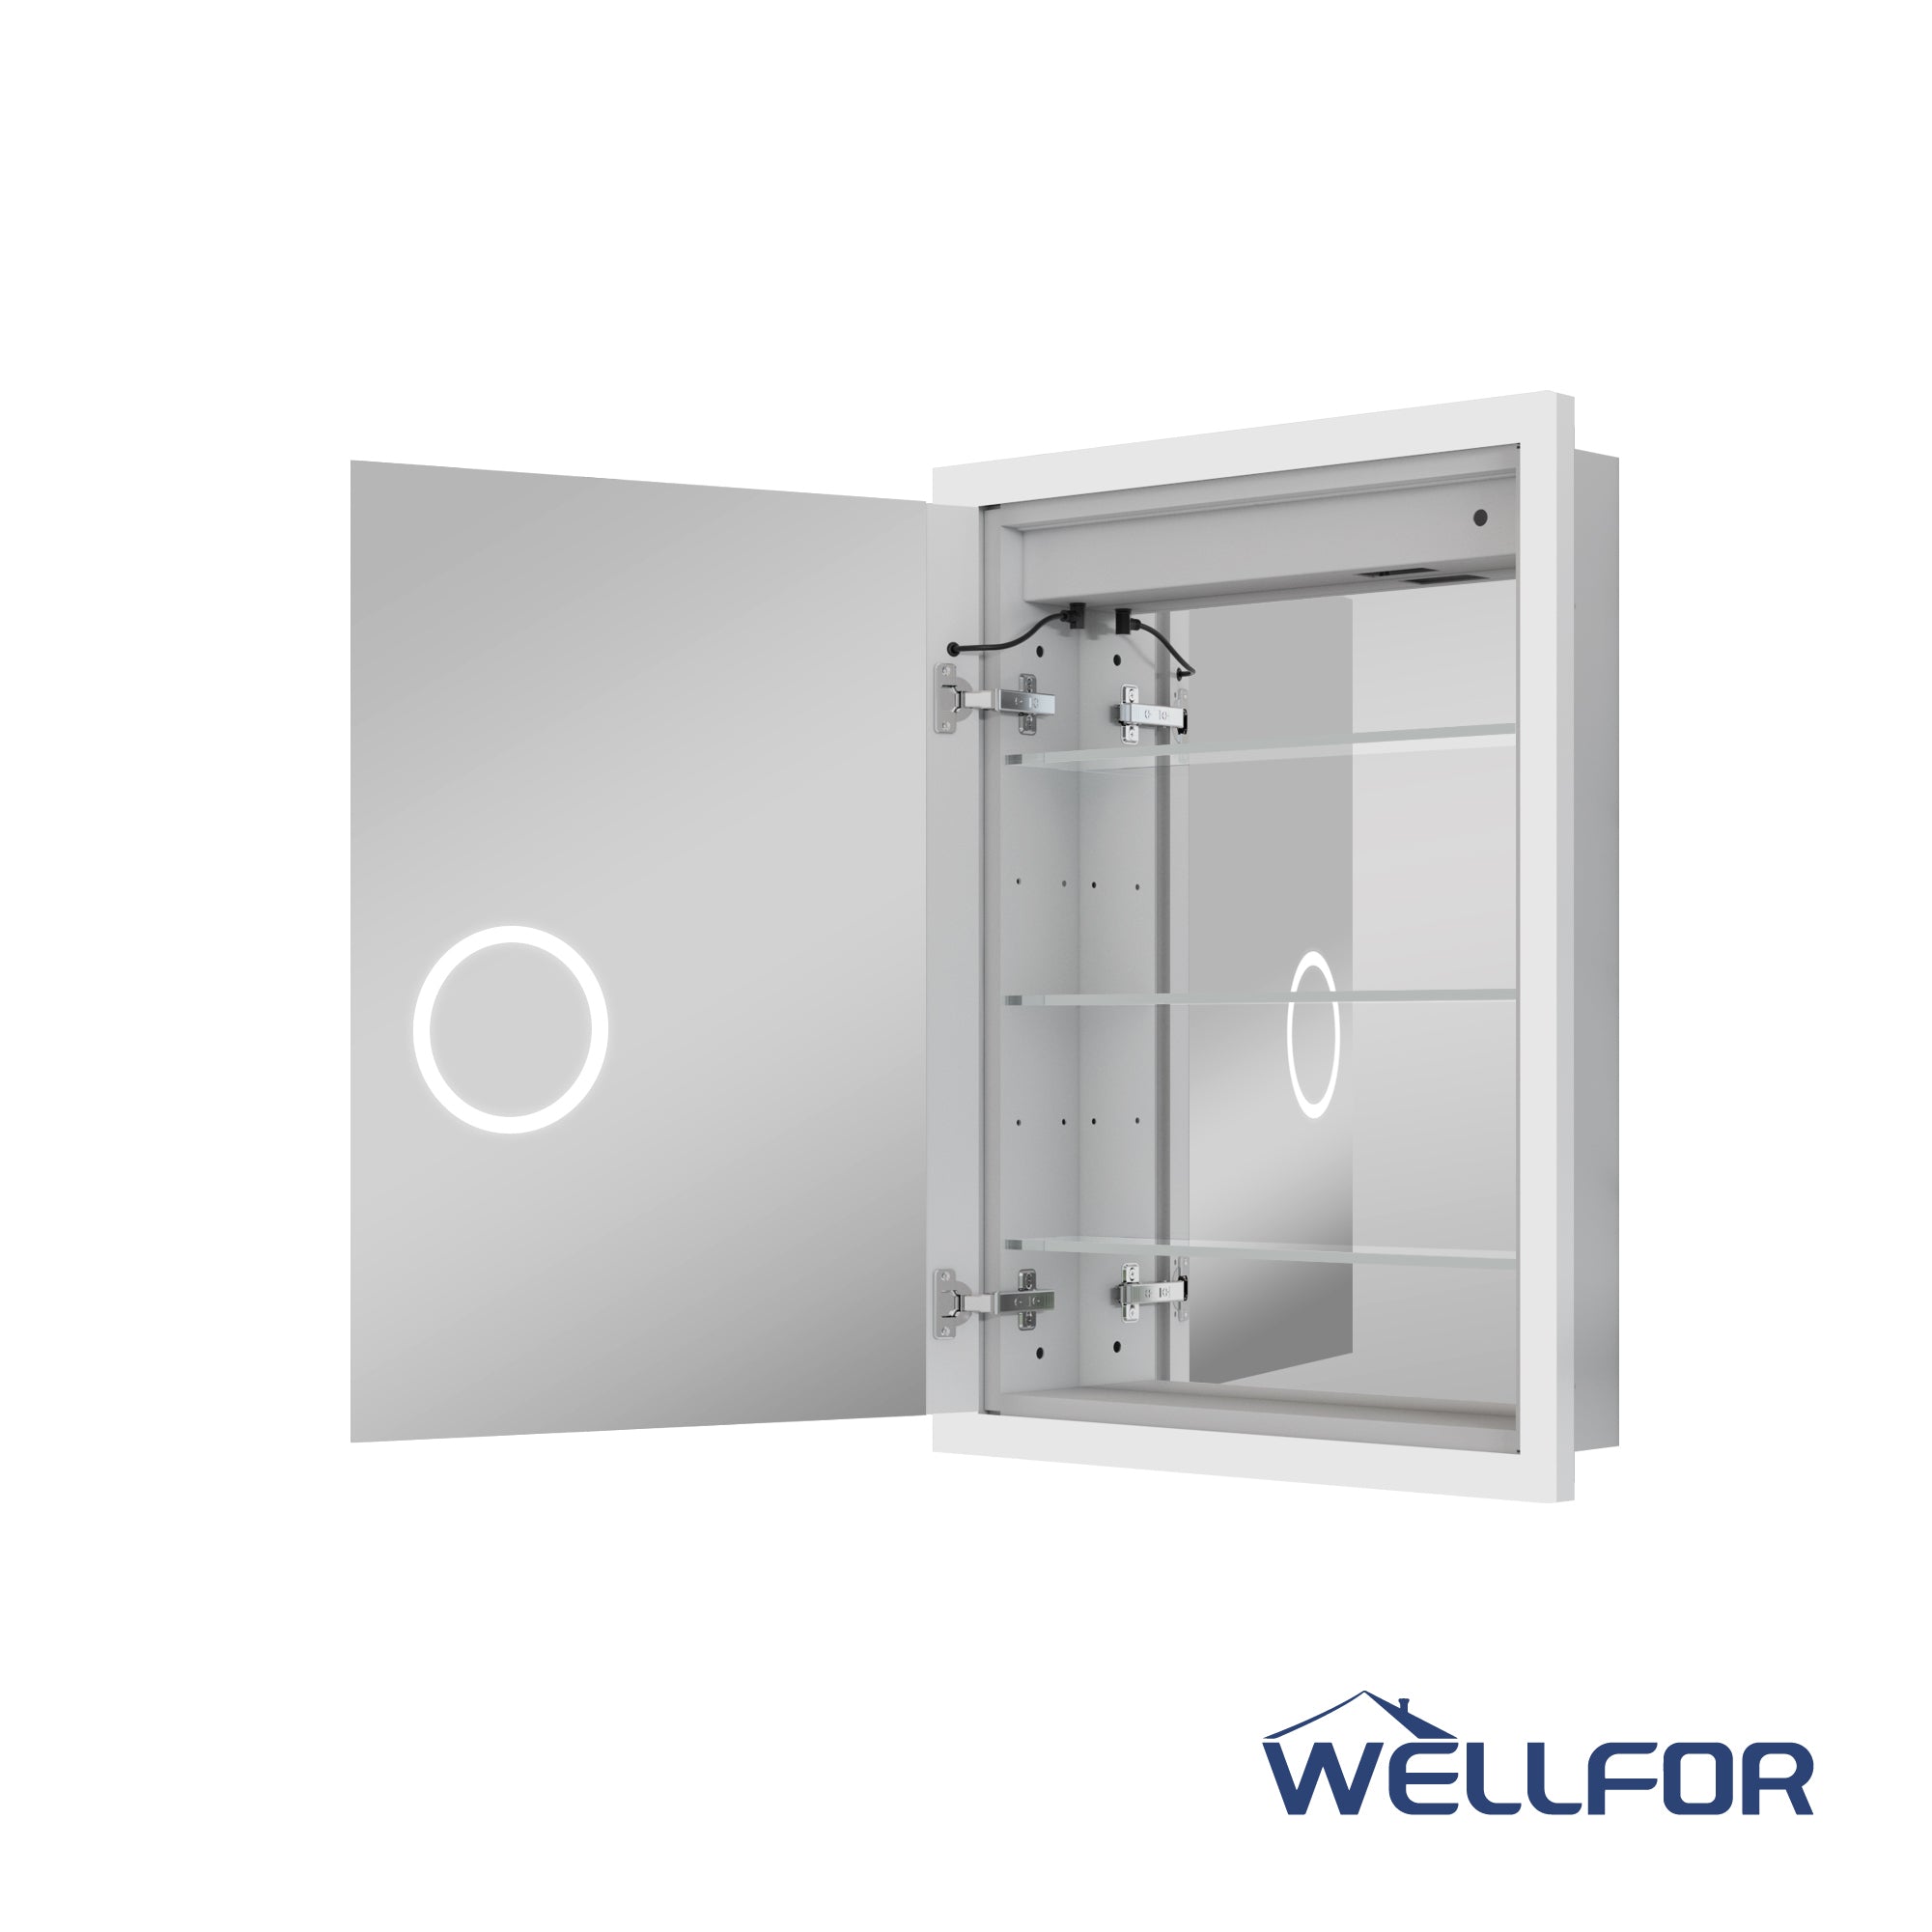
3. Fixing Doors That Don’t Close Properly
If your cabinet doors seem misaligned or fail to close fully, incorrect hinge placement is the likely culprit.
· Steps to Fix Door Alignment:
1. Open the cabinet and locate the hinges.
2. Check if the existing screws are loose. Tighten them gently to see if this resolves the problem.
3. If the doors are still misaligned, adjust the hinges. Some cabinets, like those from Wellfor, come with adjustable hinges. Using a screwdriver, tweak the hinge screws to achieve a flush, smooth closure.
4. Retest the door closure after adjustments.
Pro long-term tip? Always check door alignment while installing the cabinet to save time later.
4. Securing a Wobbly or Loose Cabinet
A wobbly cabinet not only looks unsteady but poses a serious safety risk.
· Steps to Fix a Wobbly Cabinet:
1. Use a stud finder to verify whether the cabinet is anchored into studs.
2. If screws were inserted into drywall without proper anchors, remove the cabinet temporarily.
3. Install heavy-duty wall anchors and reattach the cabinet, ensuring screws are properly tightened.
4. Test the stability by applying gentle pressure to confirm it’s securely mounted.
For peace of mind, durable brackets or Wellfor wall-mounting solutions can offer additional support for heavy cabinets.
5. Repairing Wall Damage During Installation
Wall damage is typically caused by over-tightened screws or misaligned drill holes.
· Repair Process:
1. Clean the damaged area and remove any debris.
2. Apply spackle or wall repair compound to the hole or crack. Smooth it with a putty knife.
3. Once dry, sand the surface to make it smooth and apply touch-up paint if needed.
4. Reassess your spacing and alignment before re-drilling holes.
Taking the time to repair wall damage will ensure your bathroom remains visually appealing.
Tips for a Flawless Bathroom Medicine Cabinet Installation
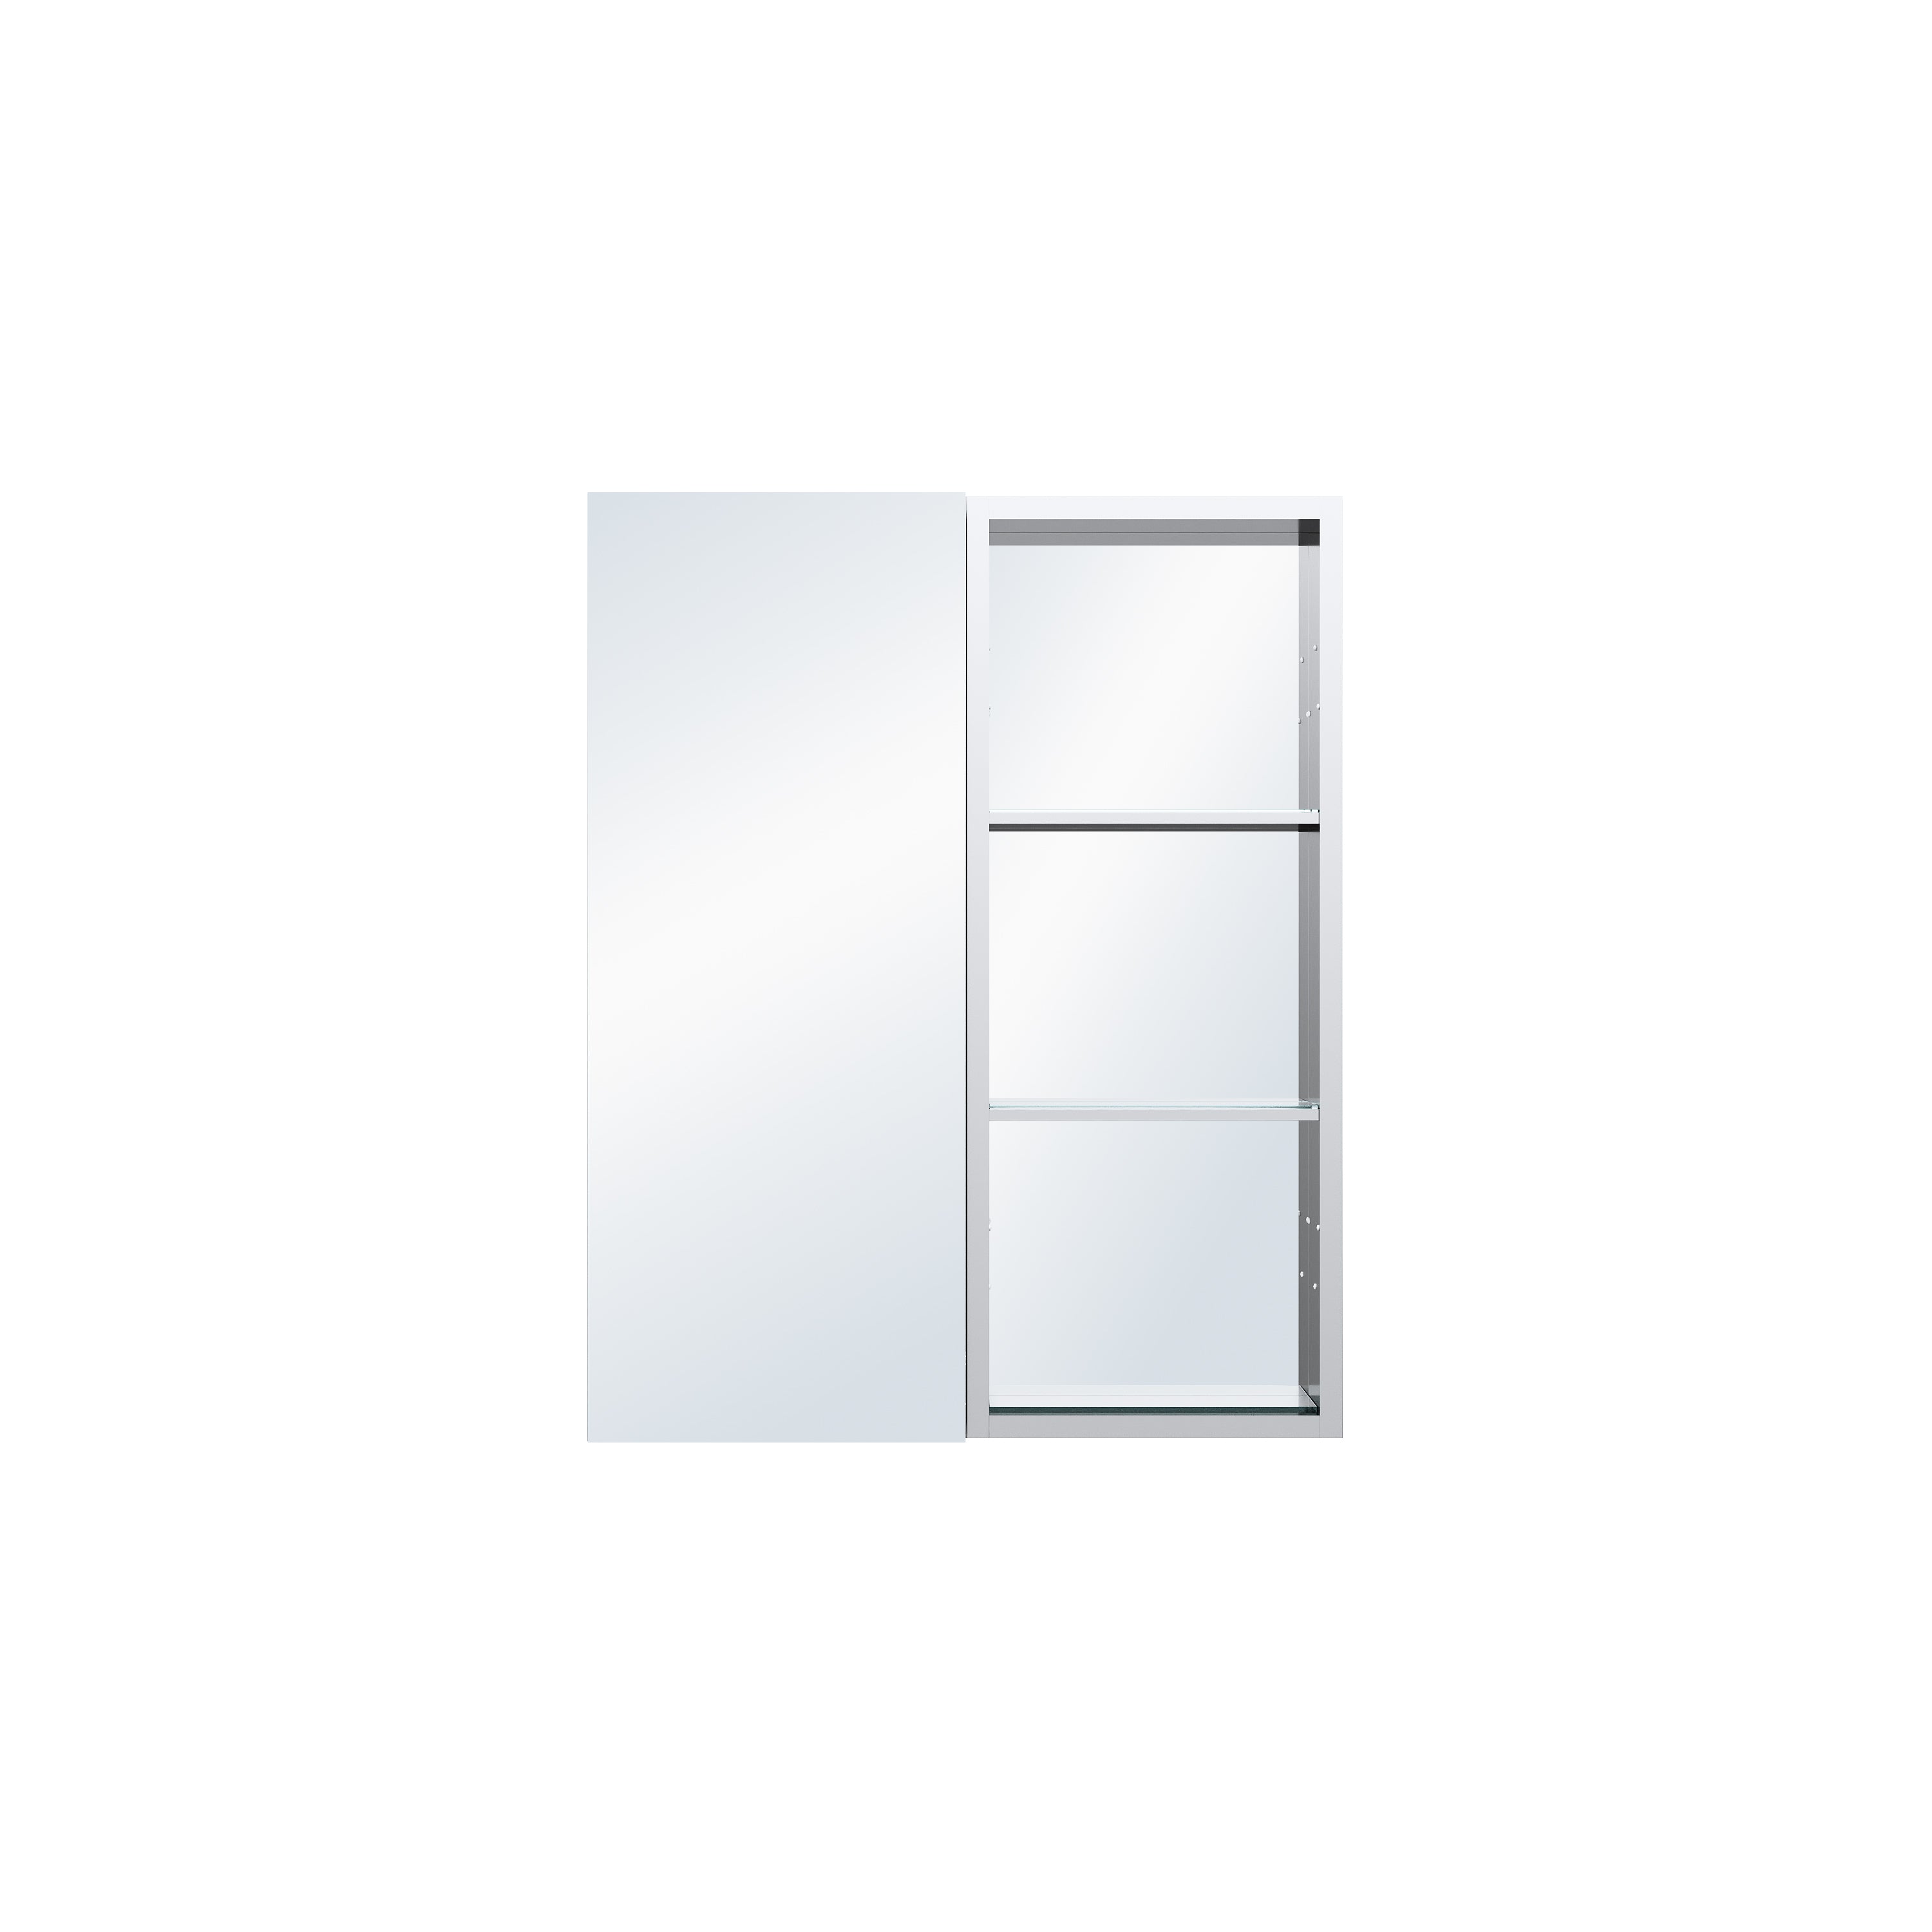
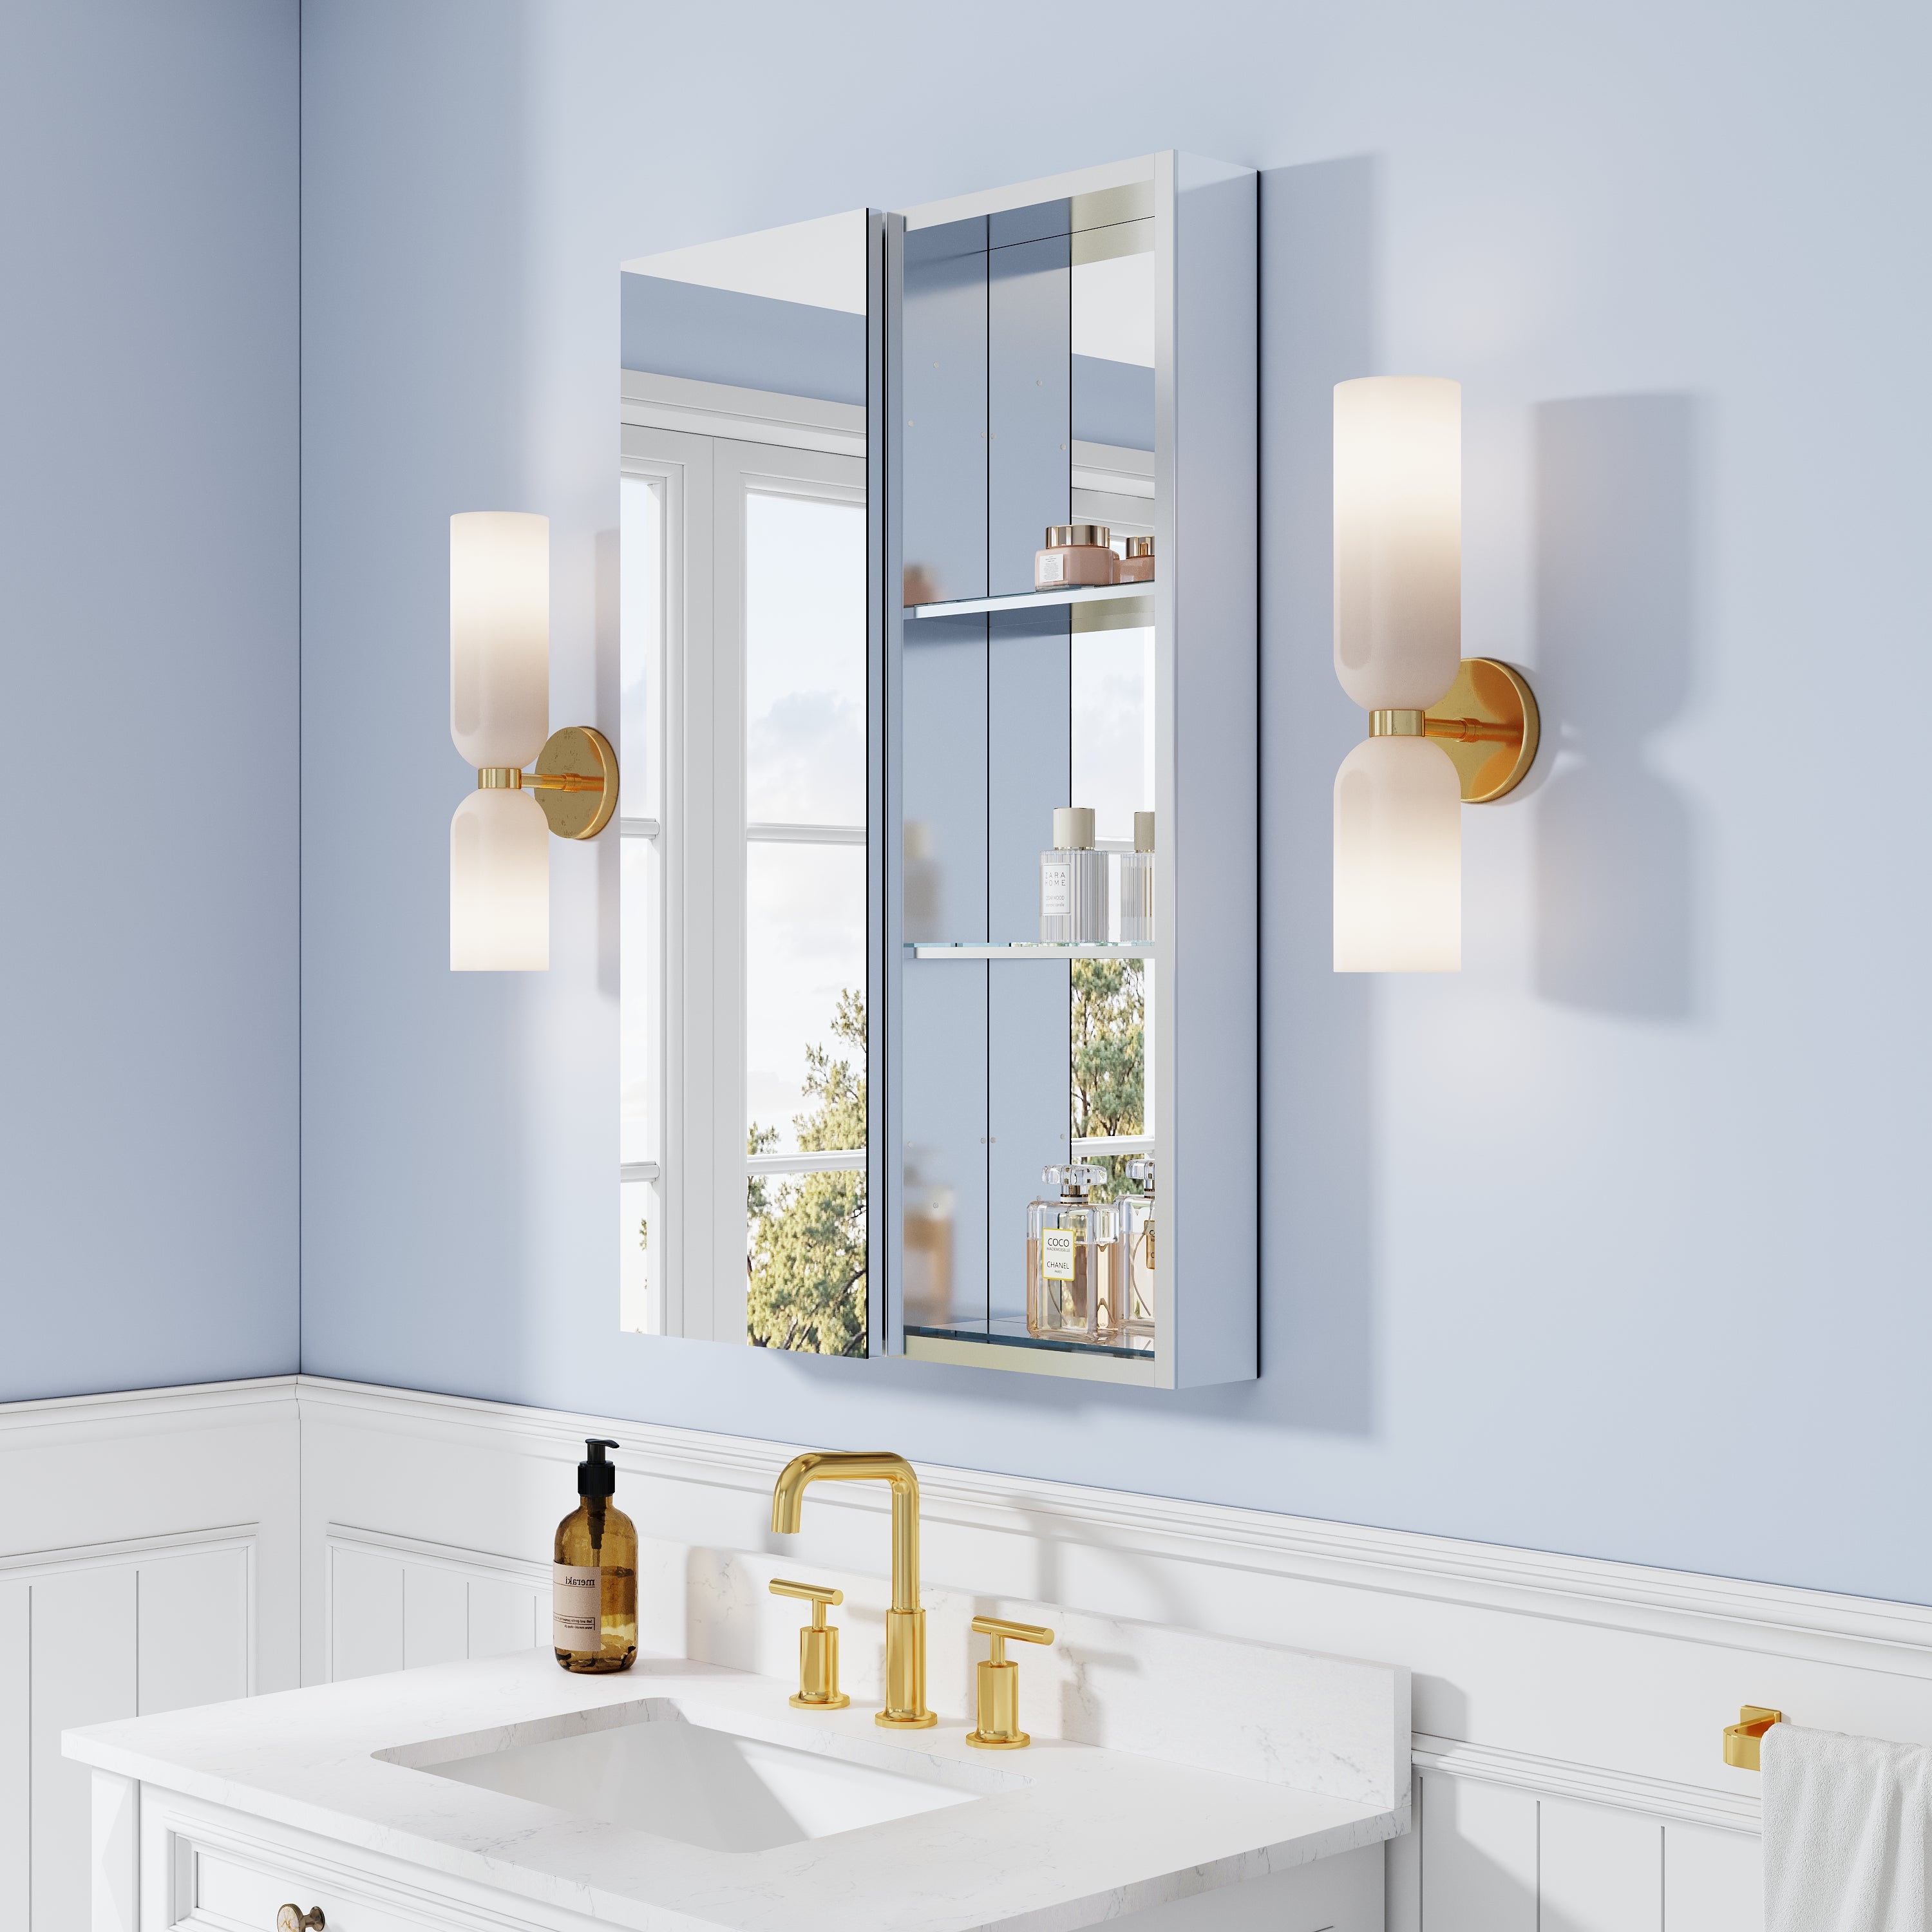
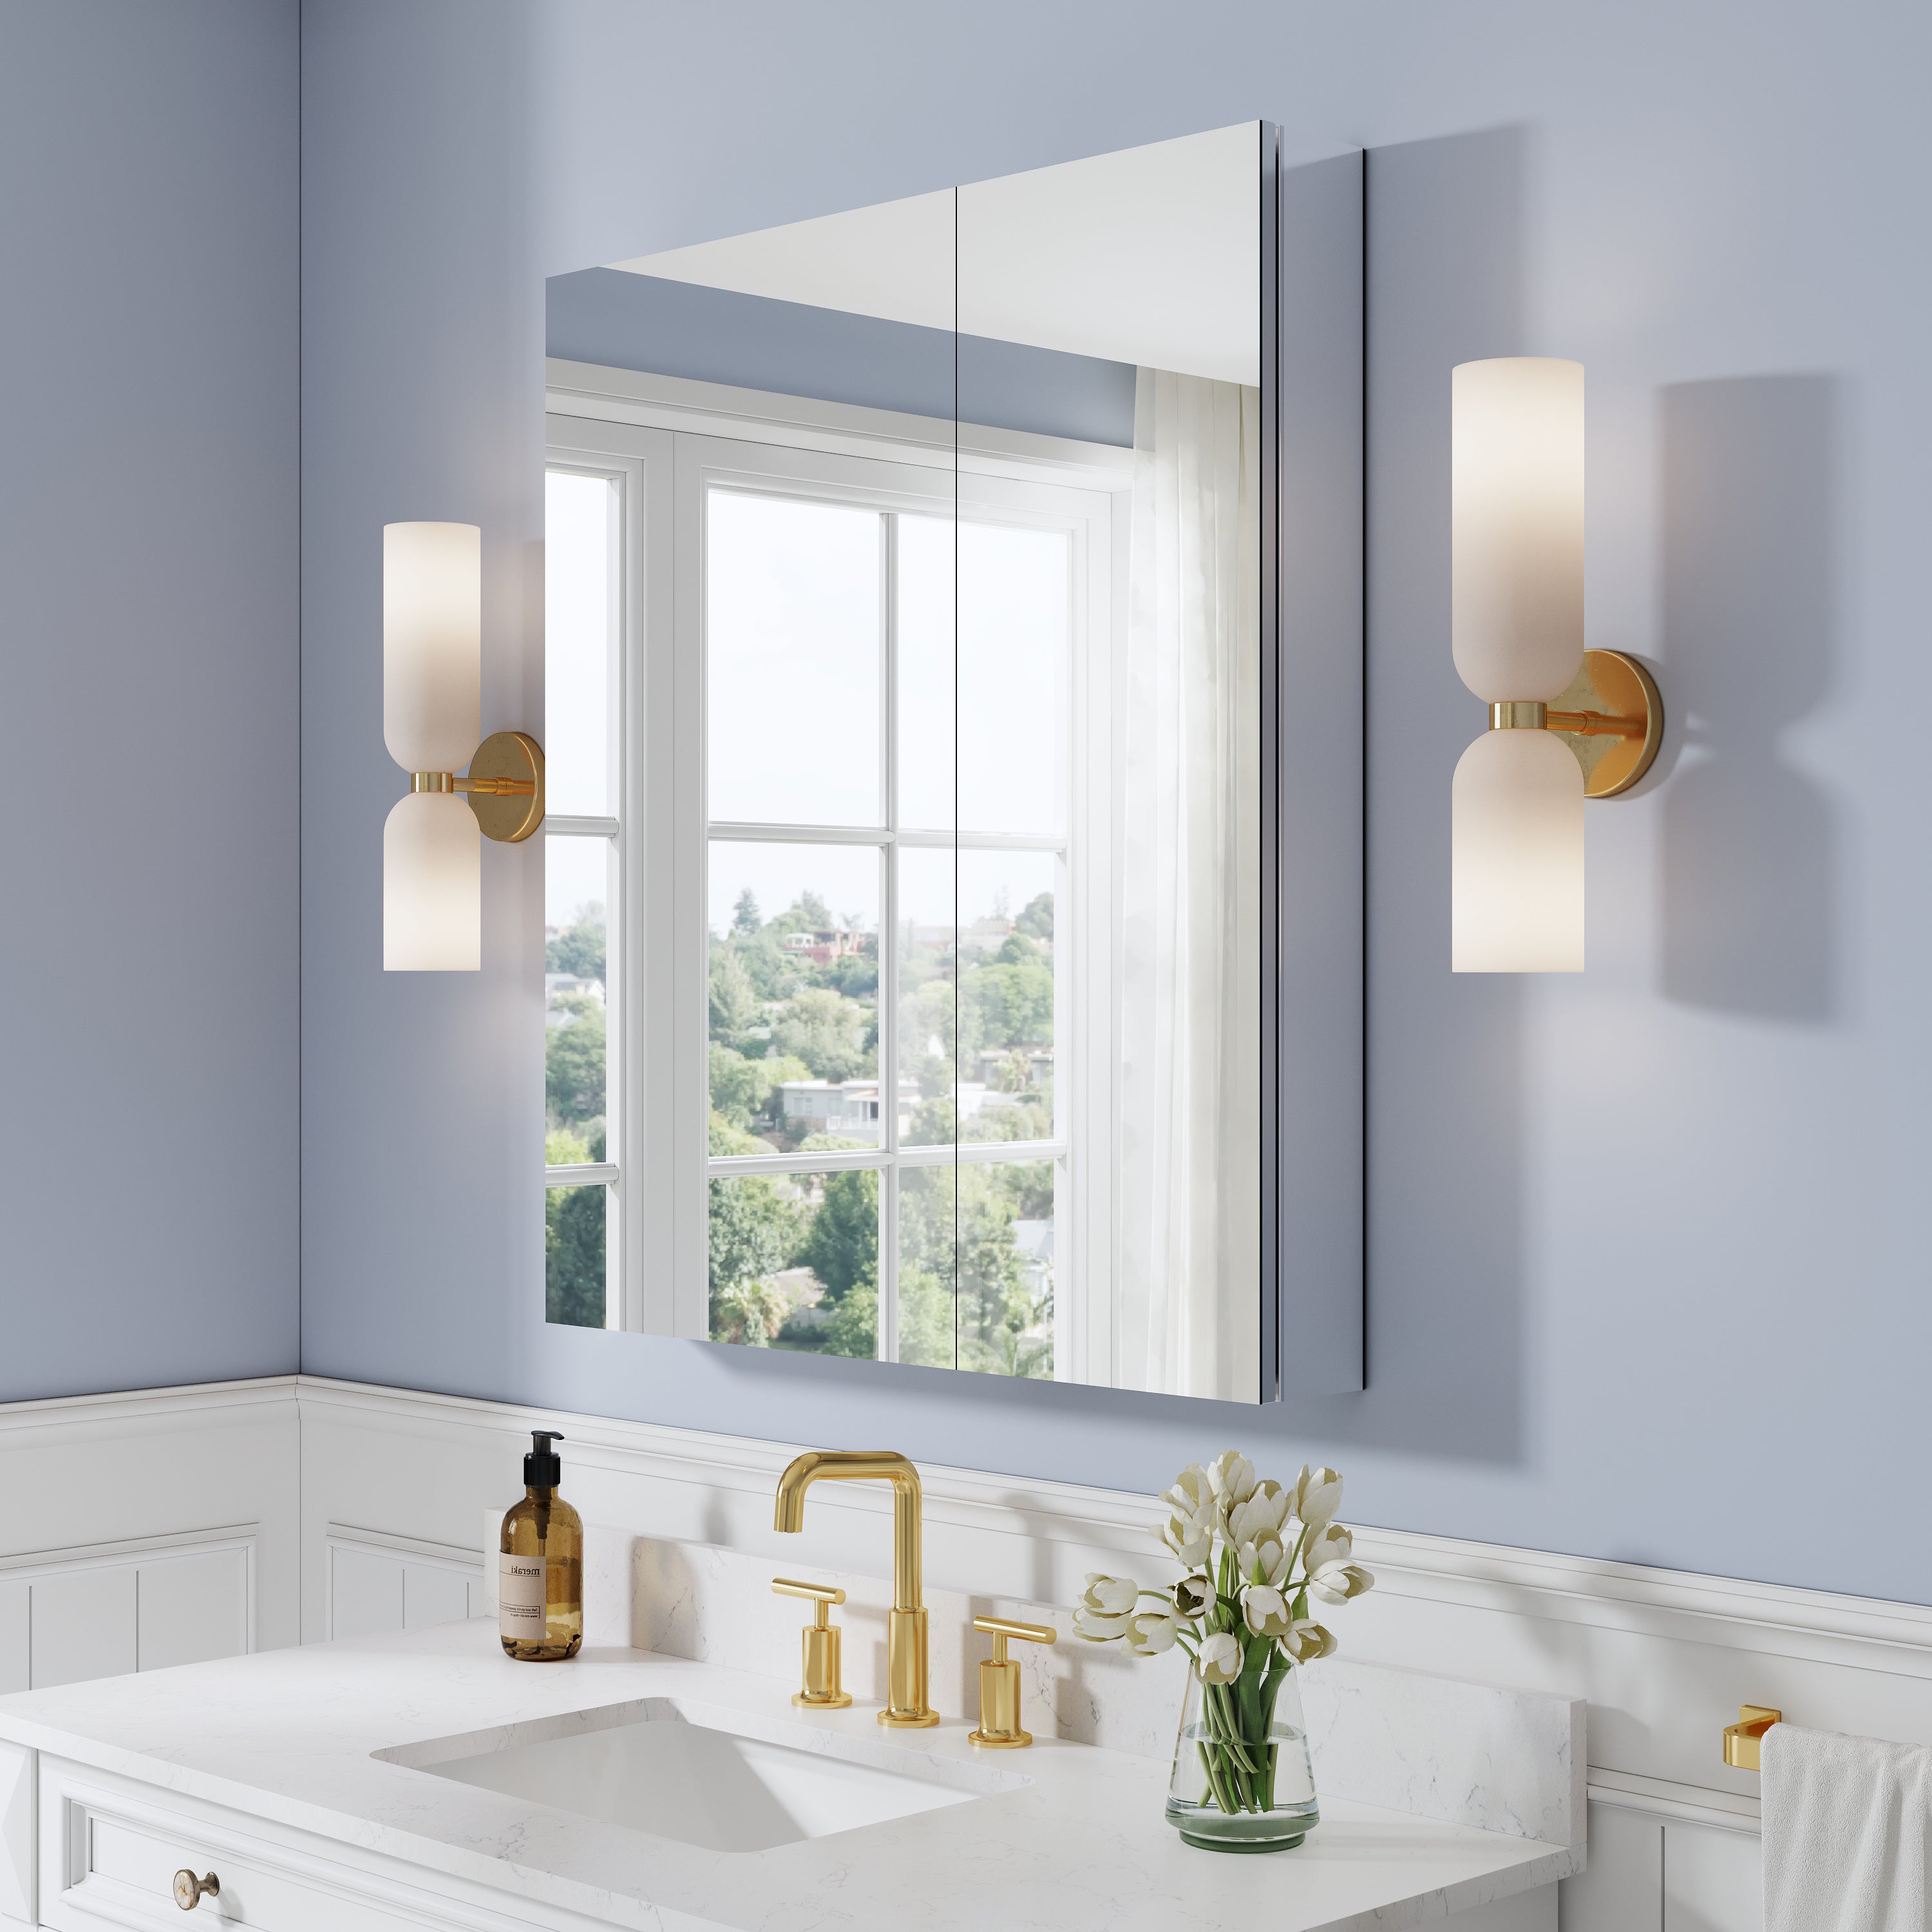
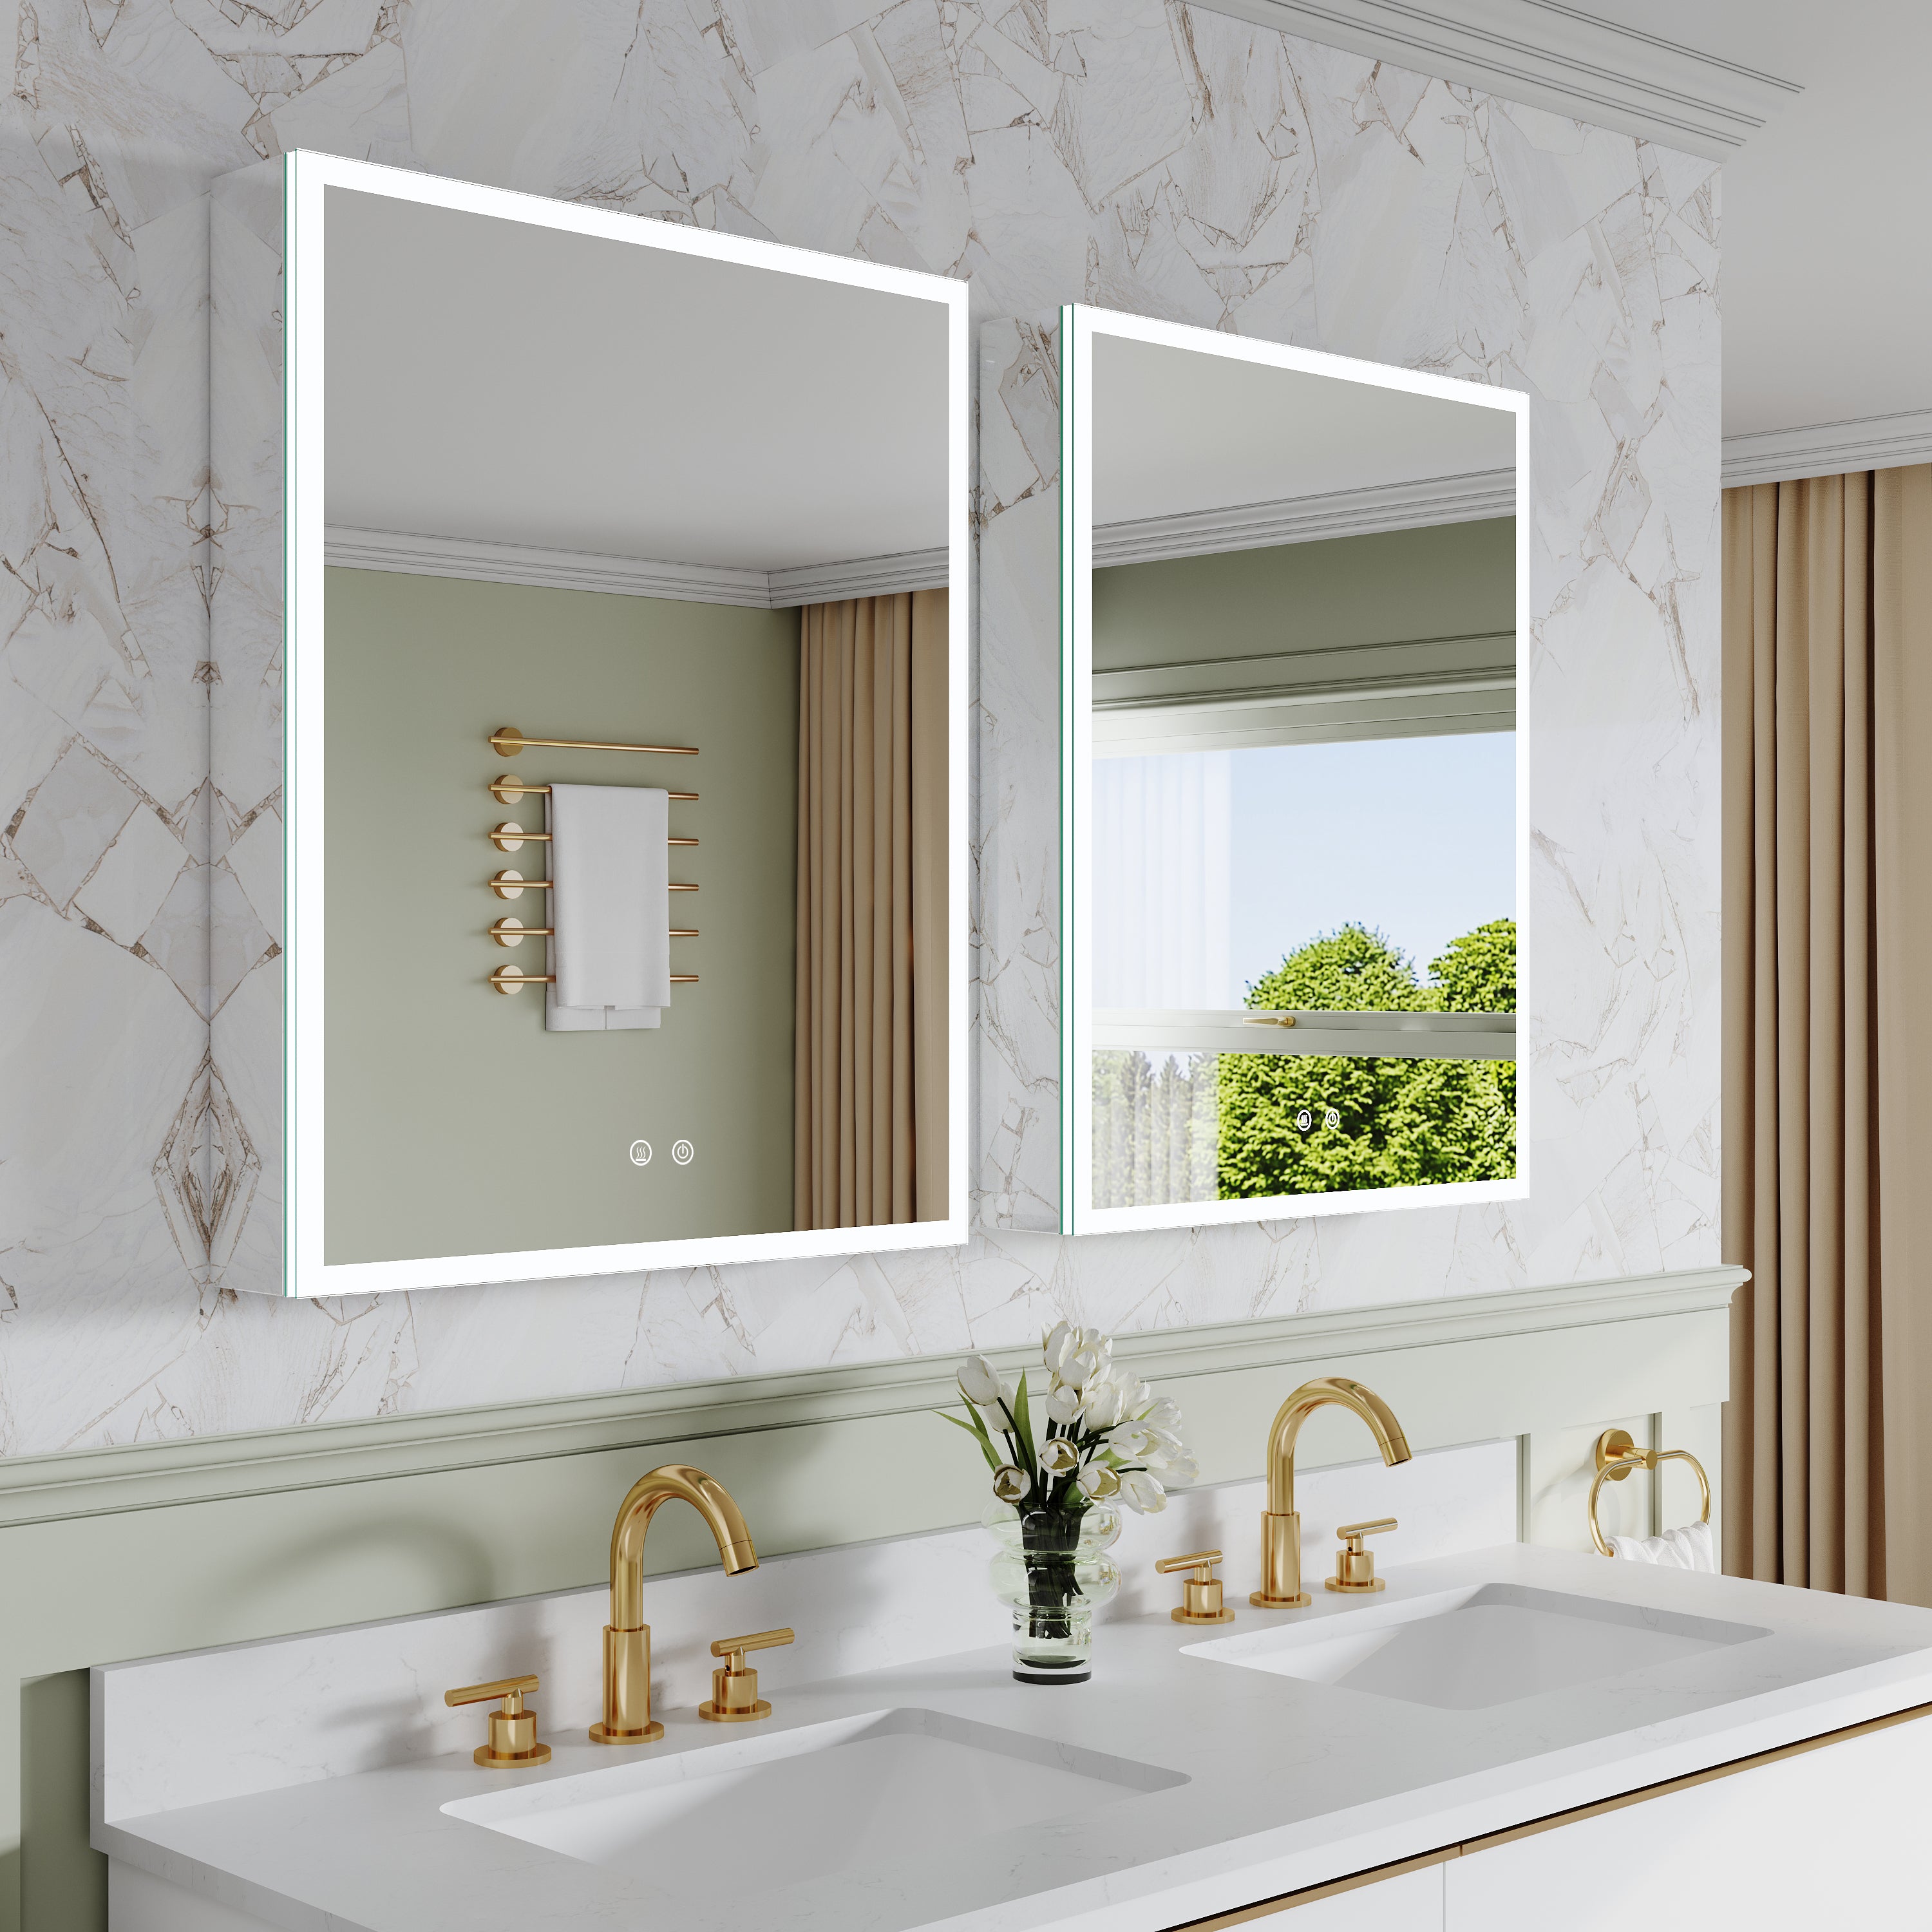
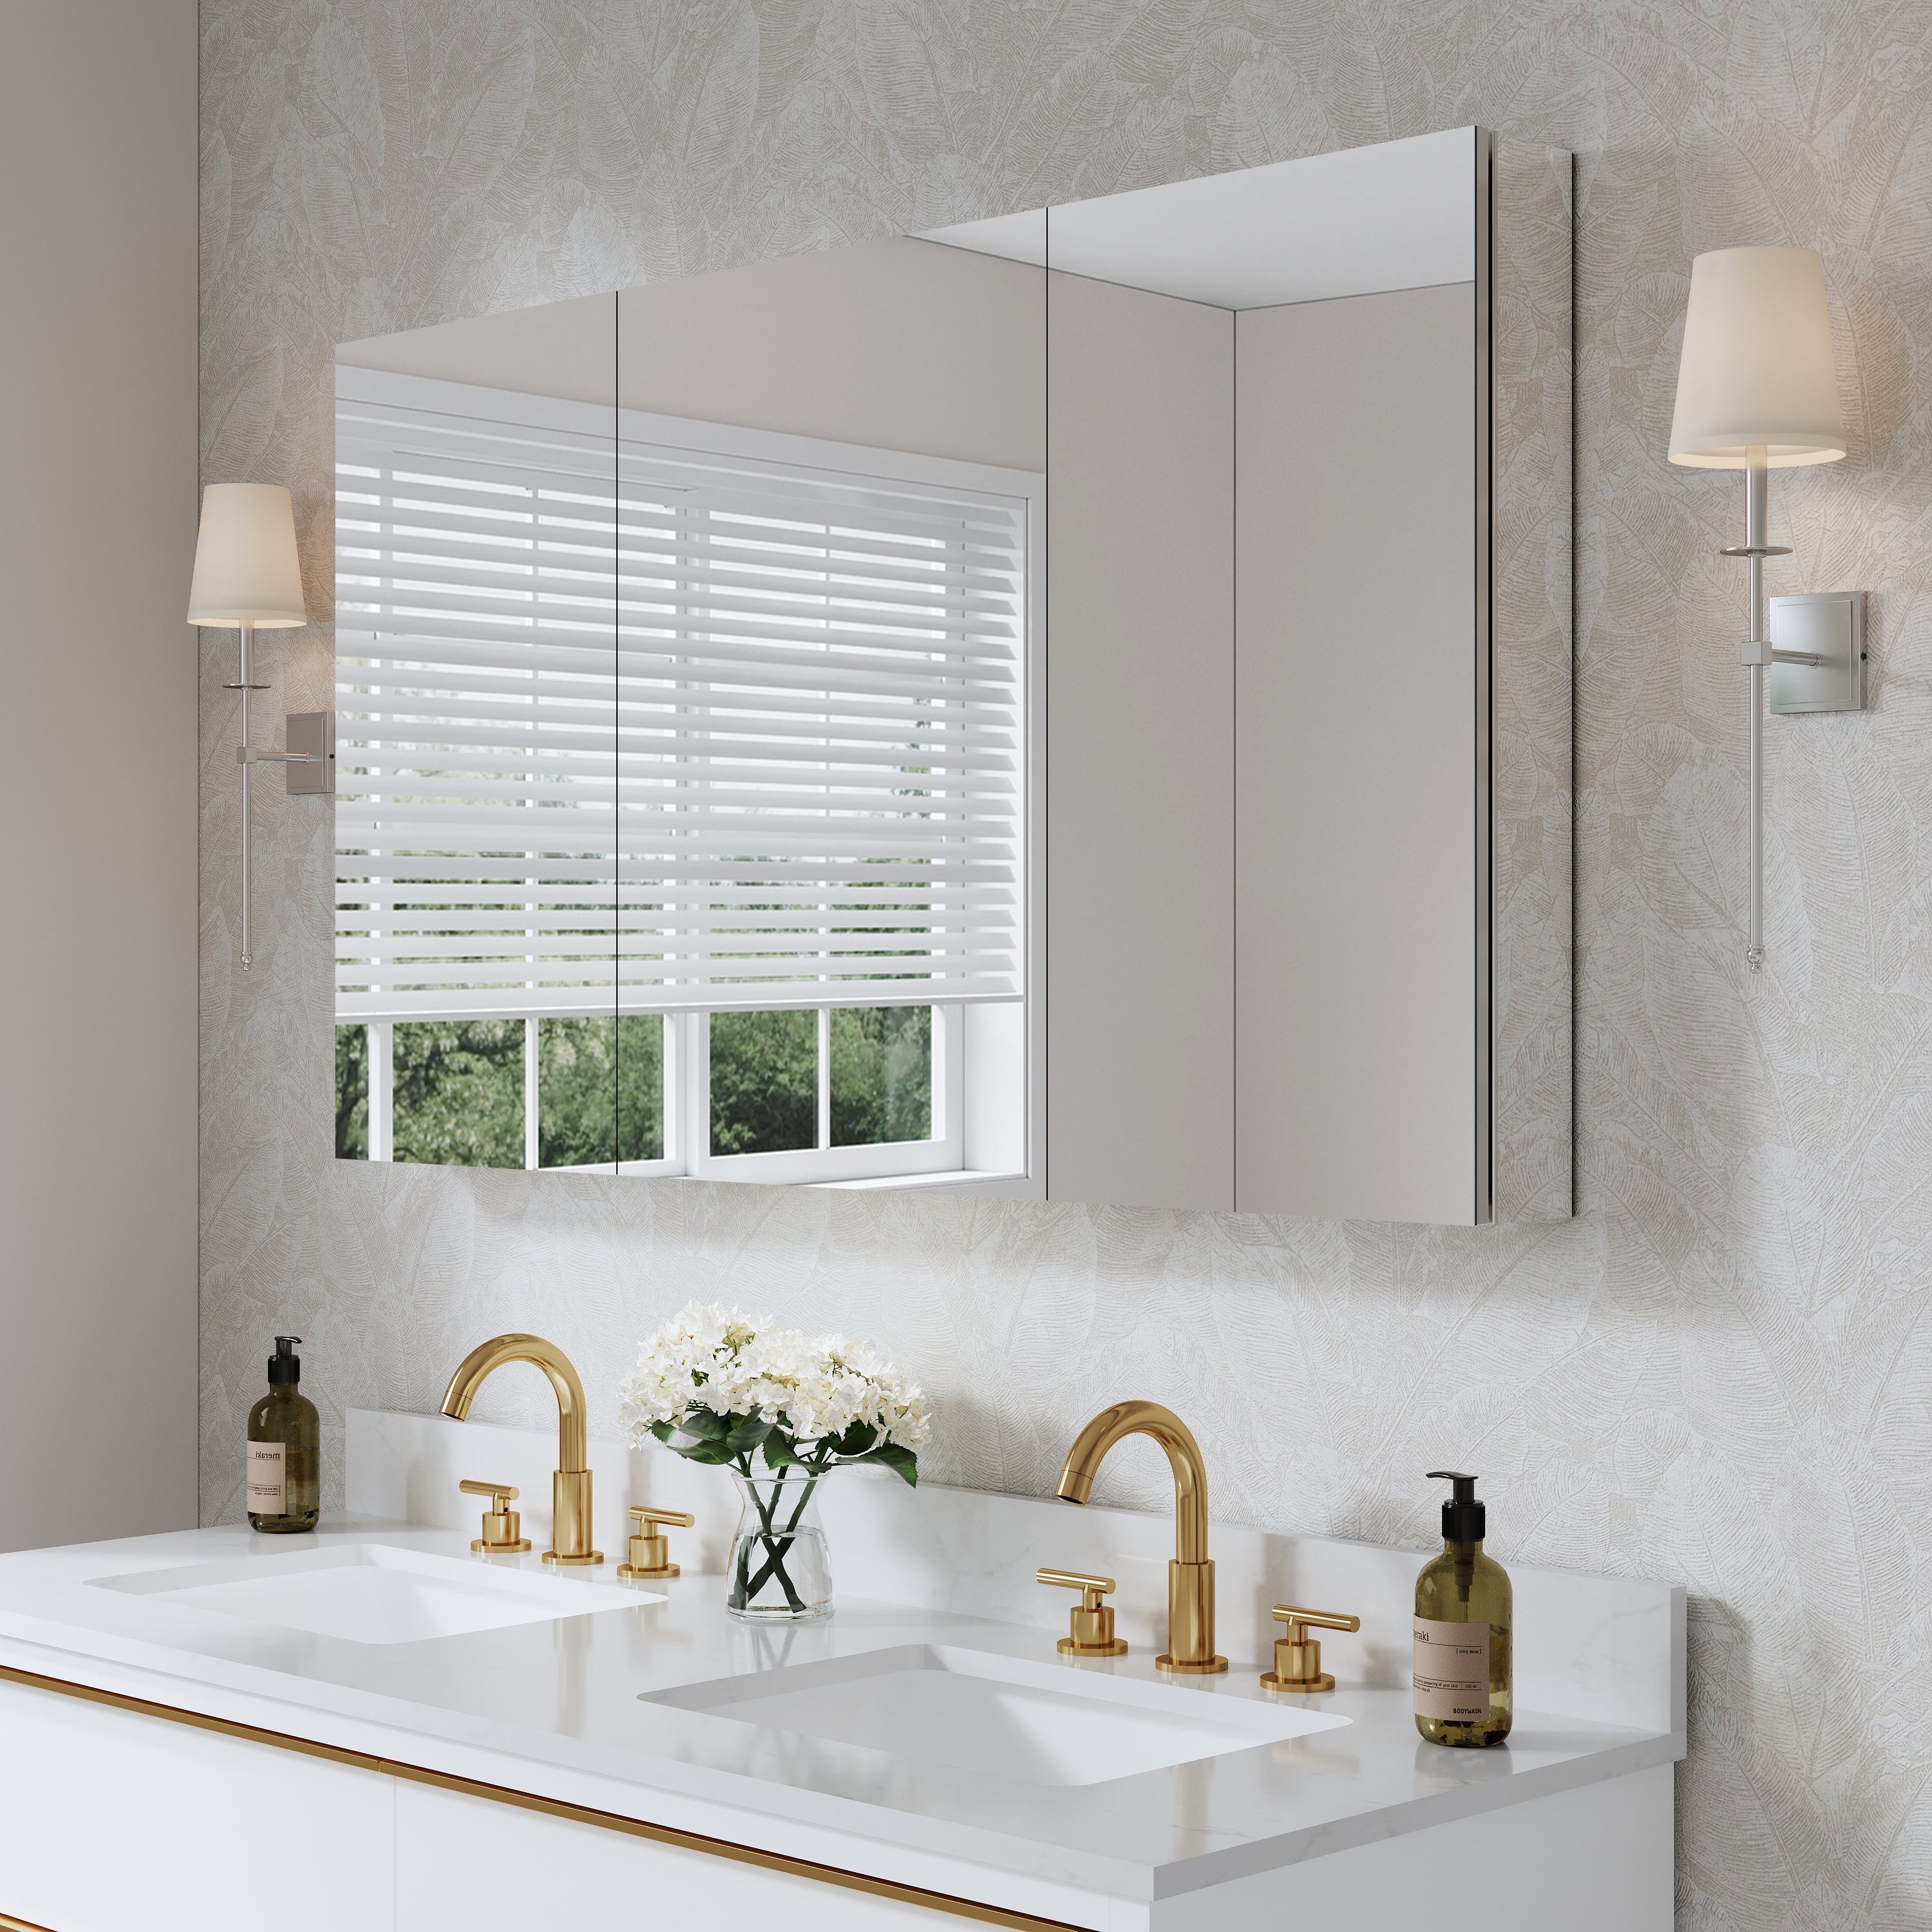
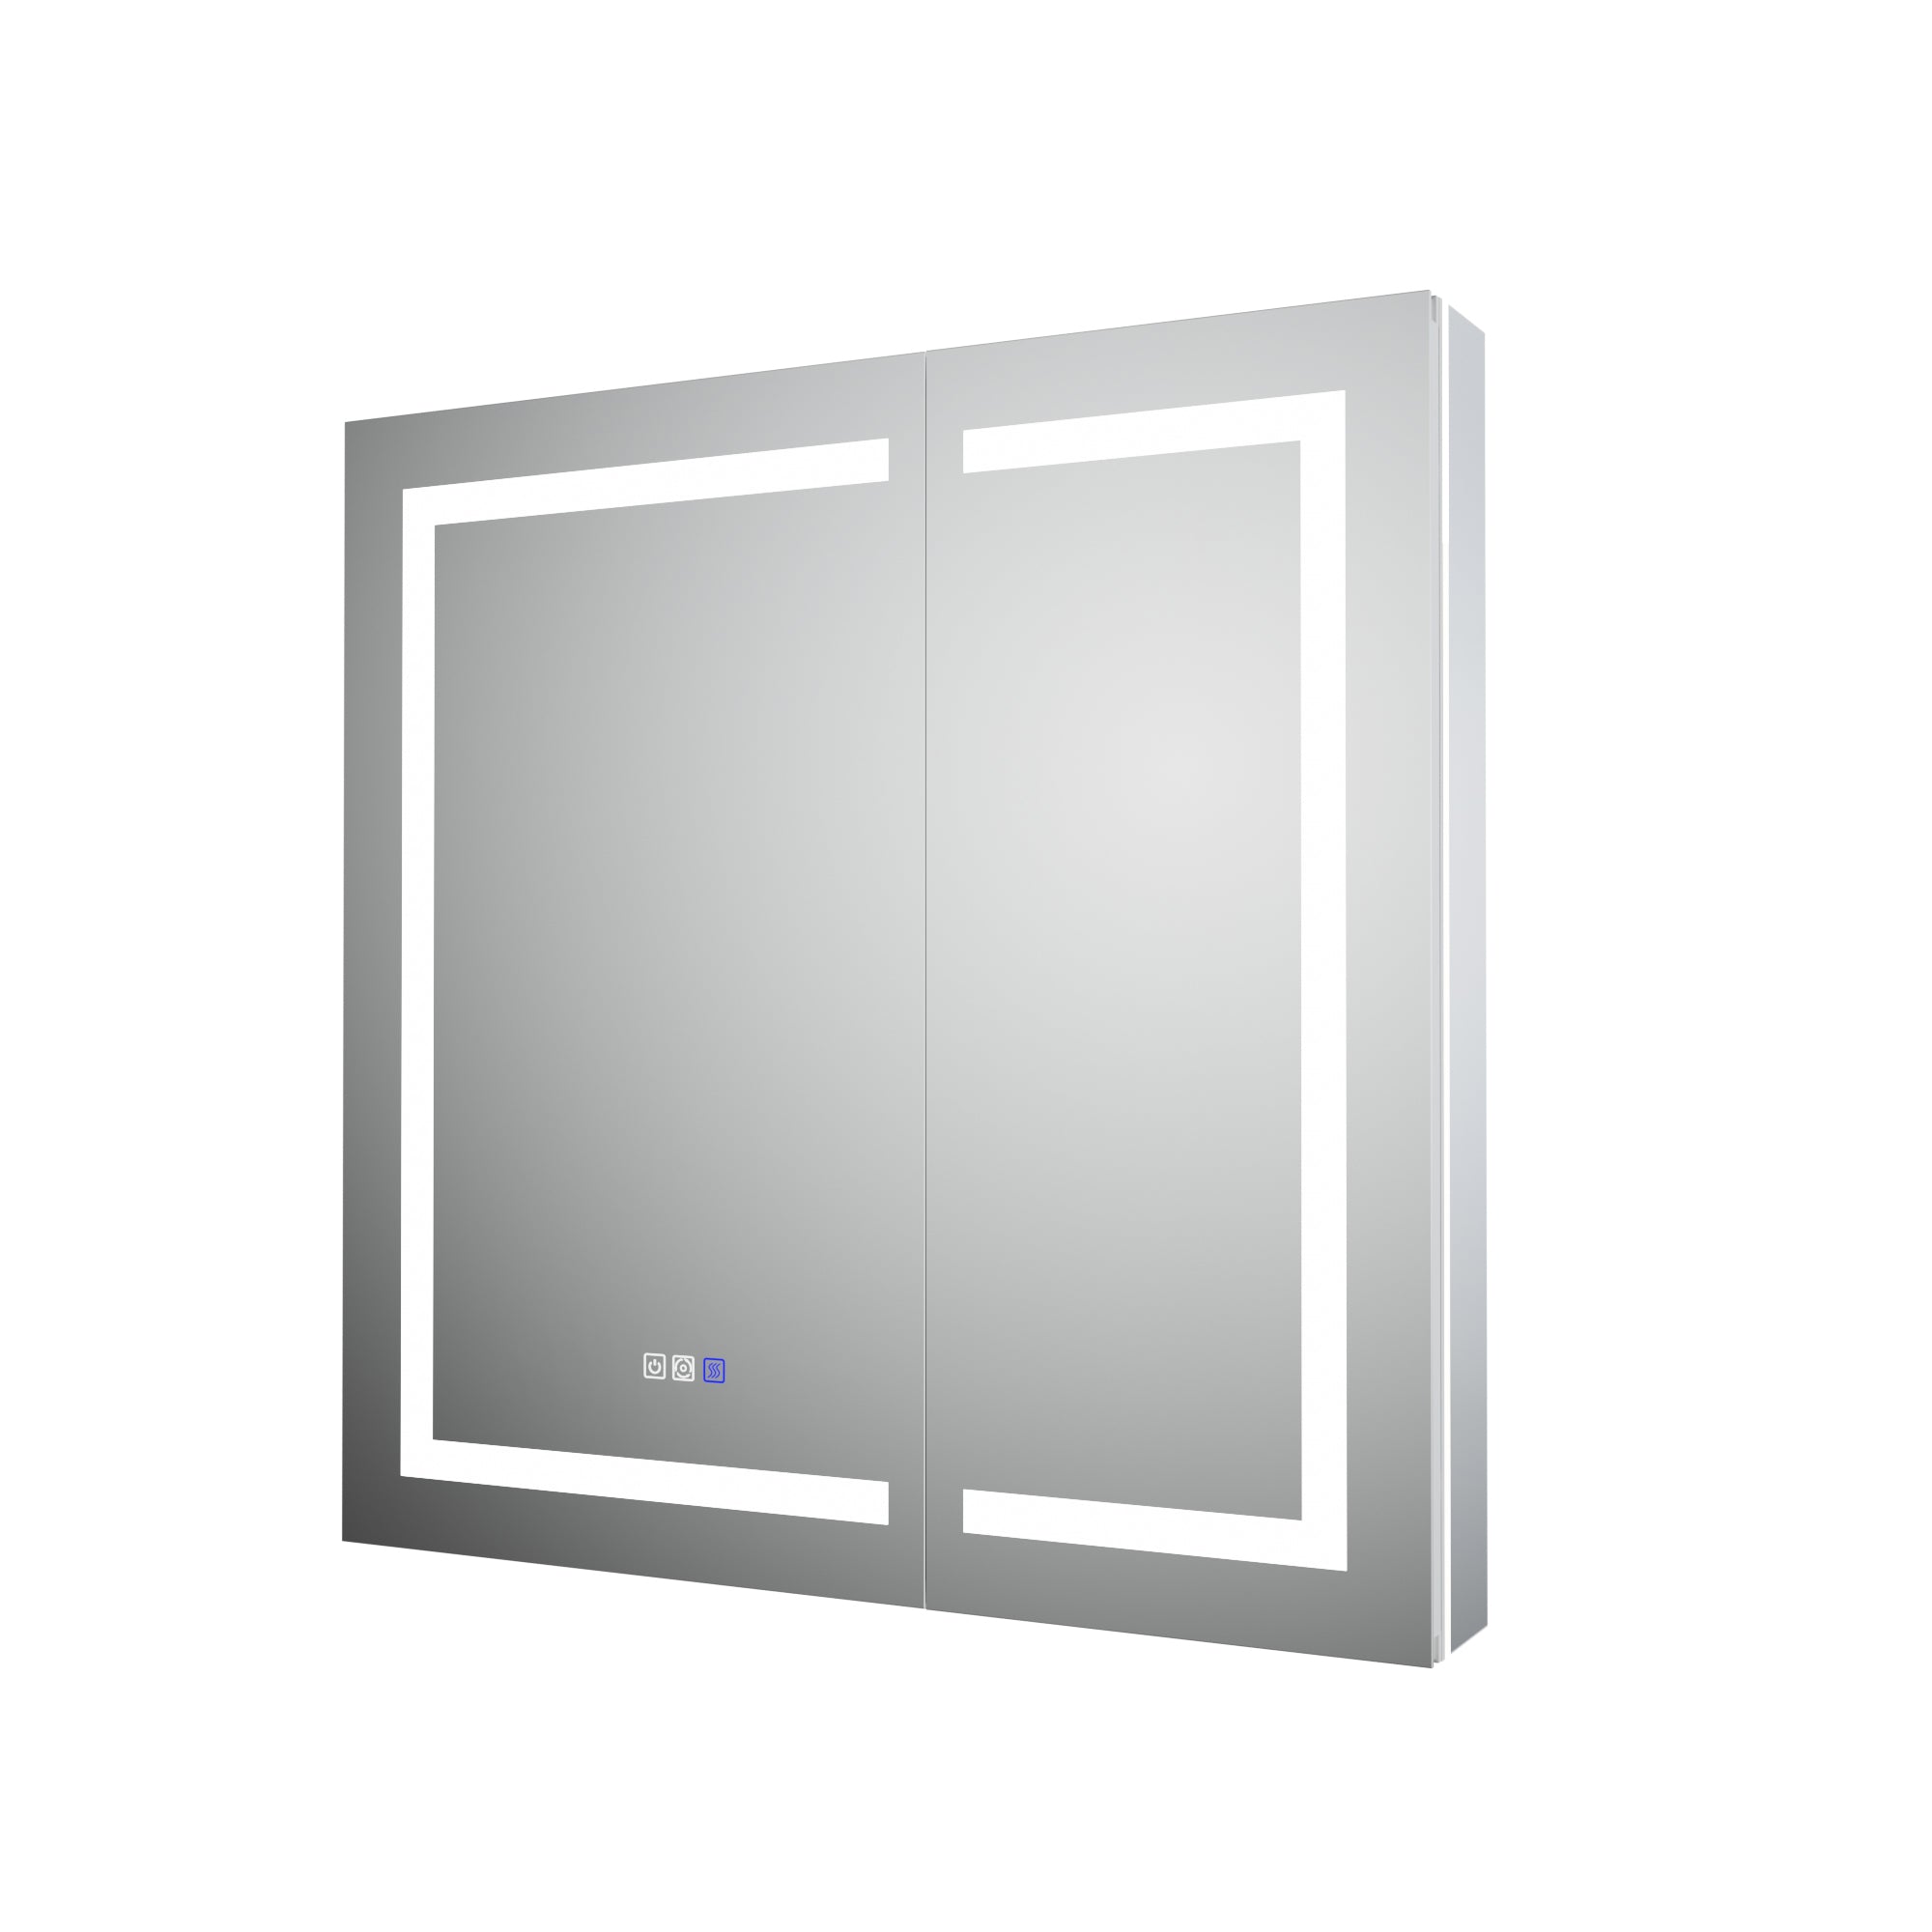
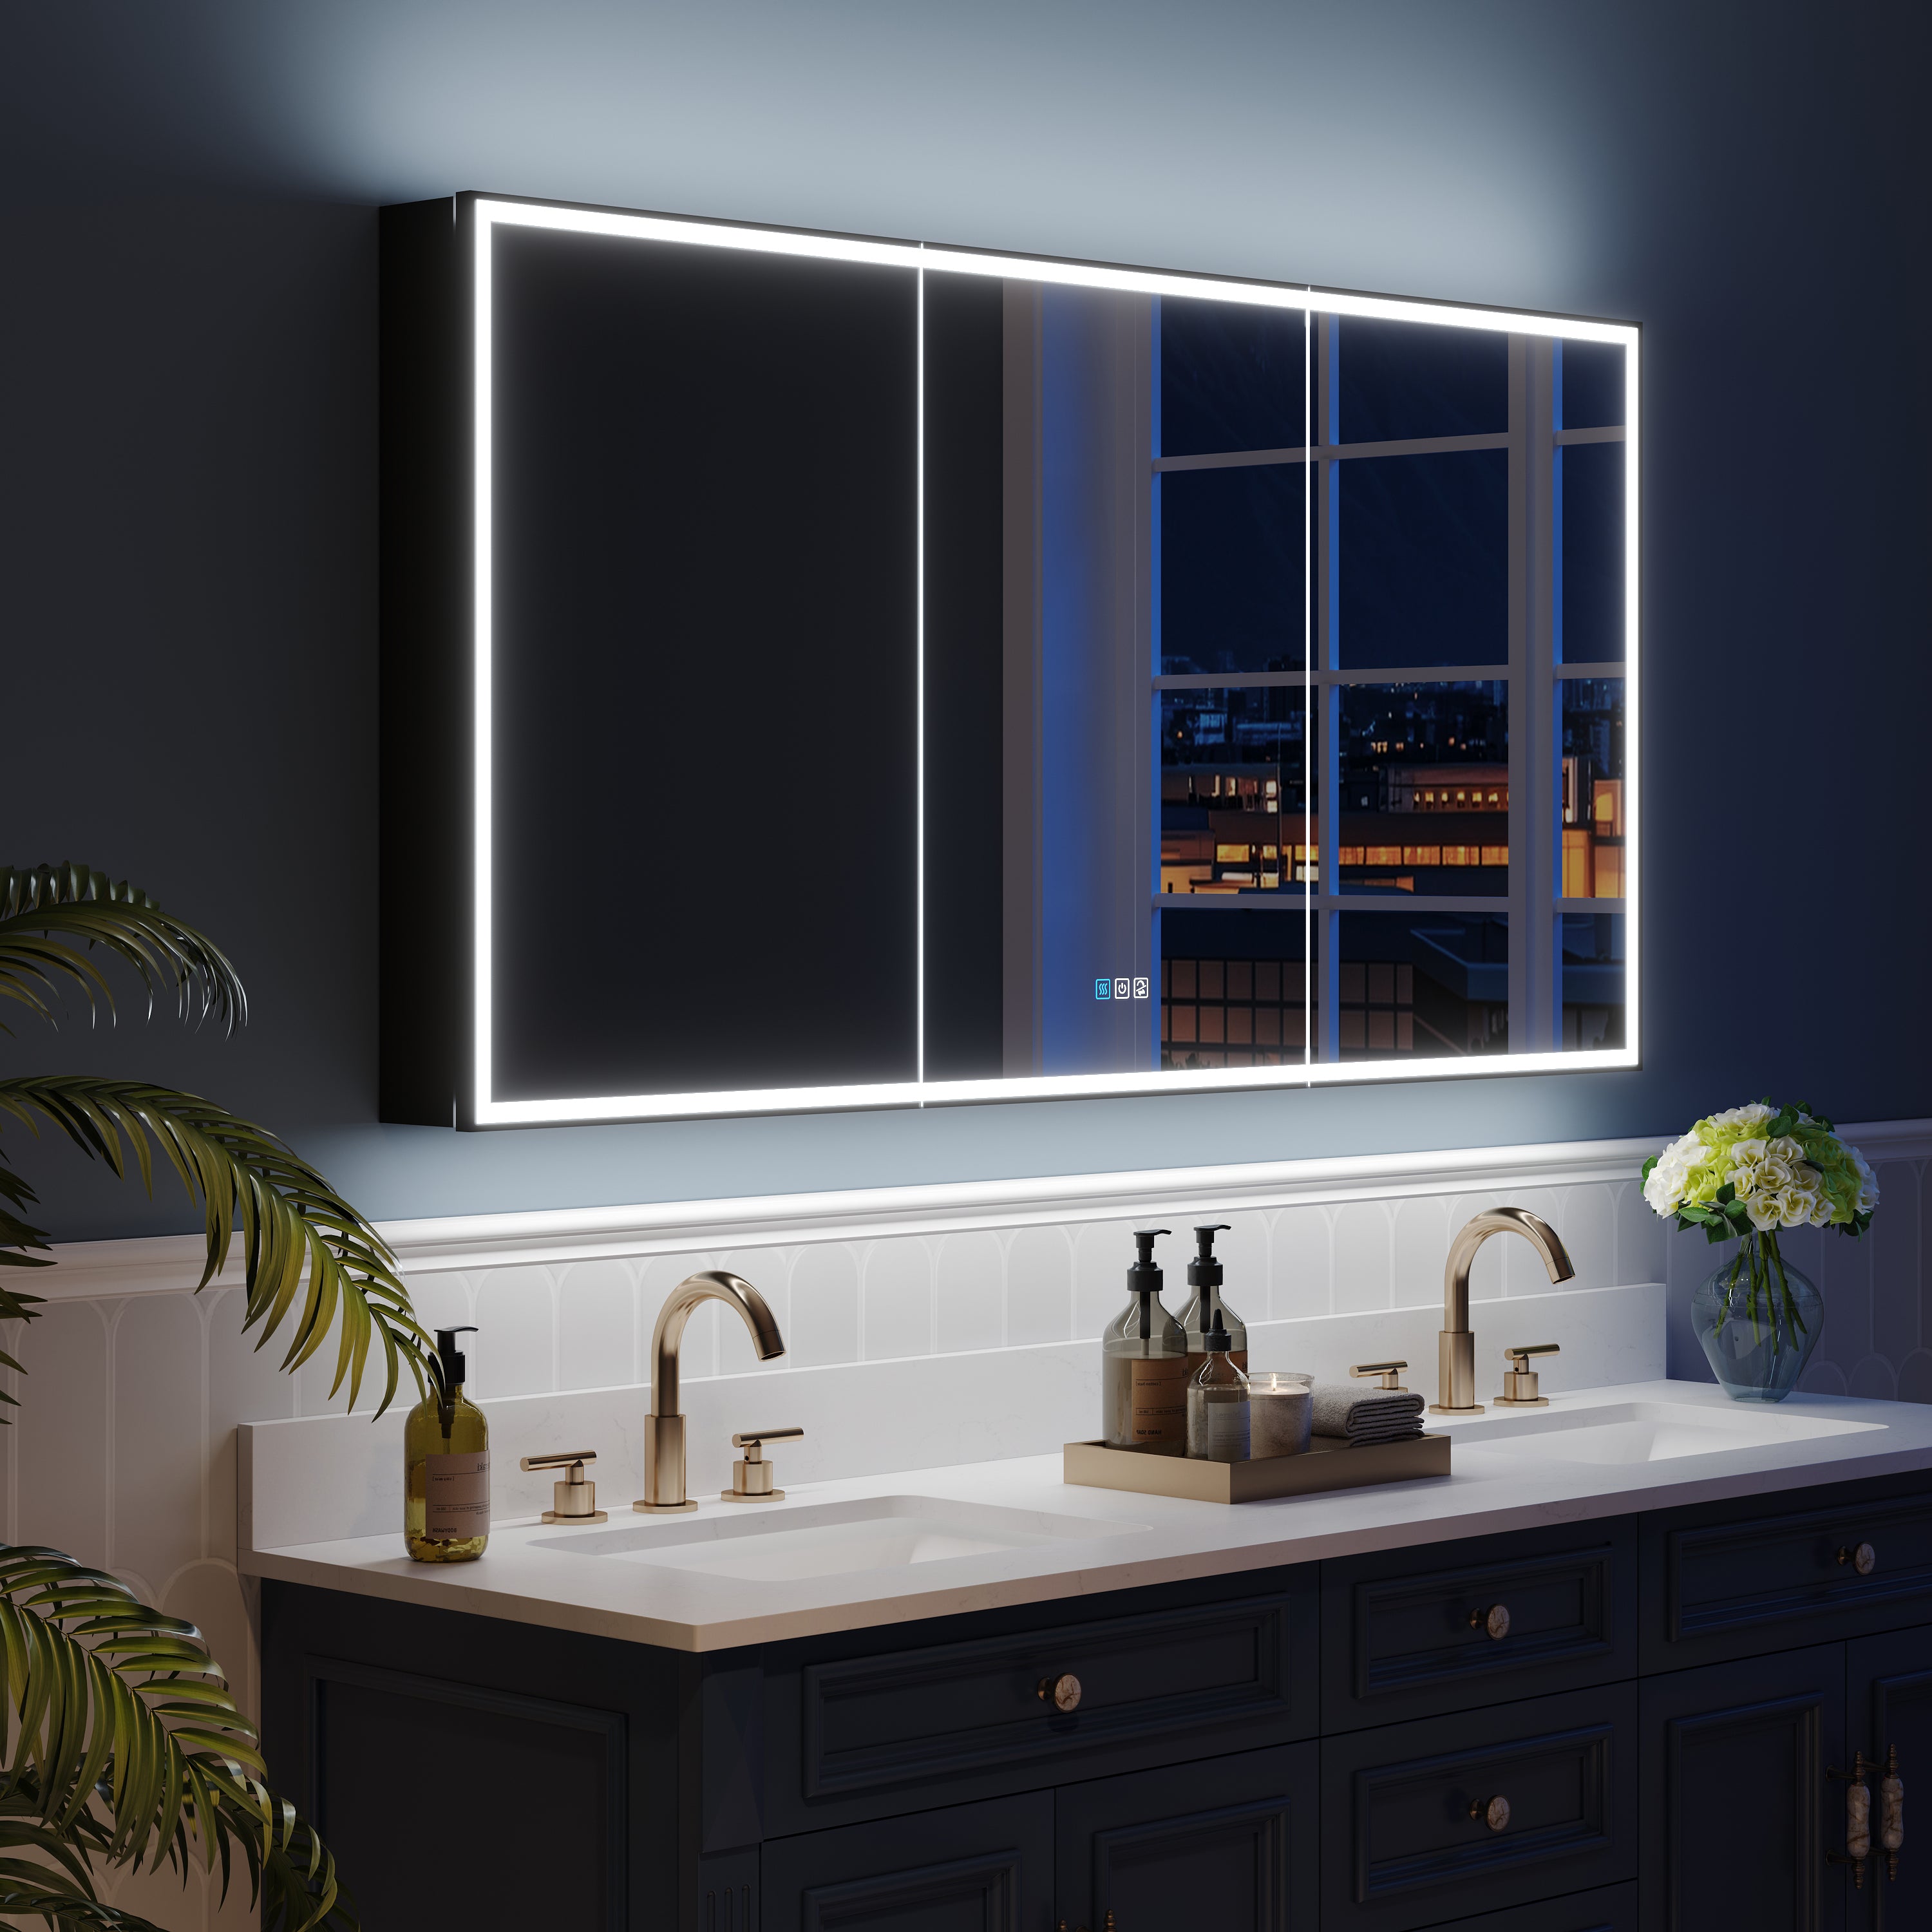
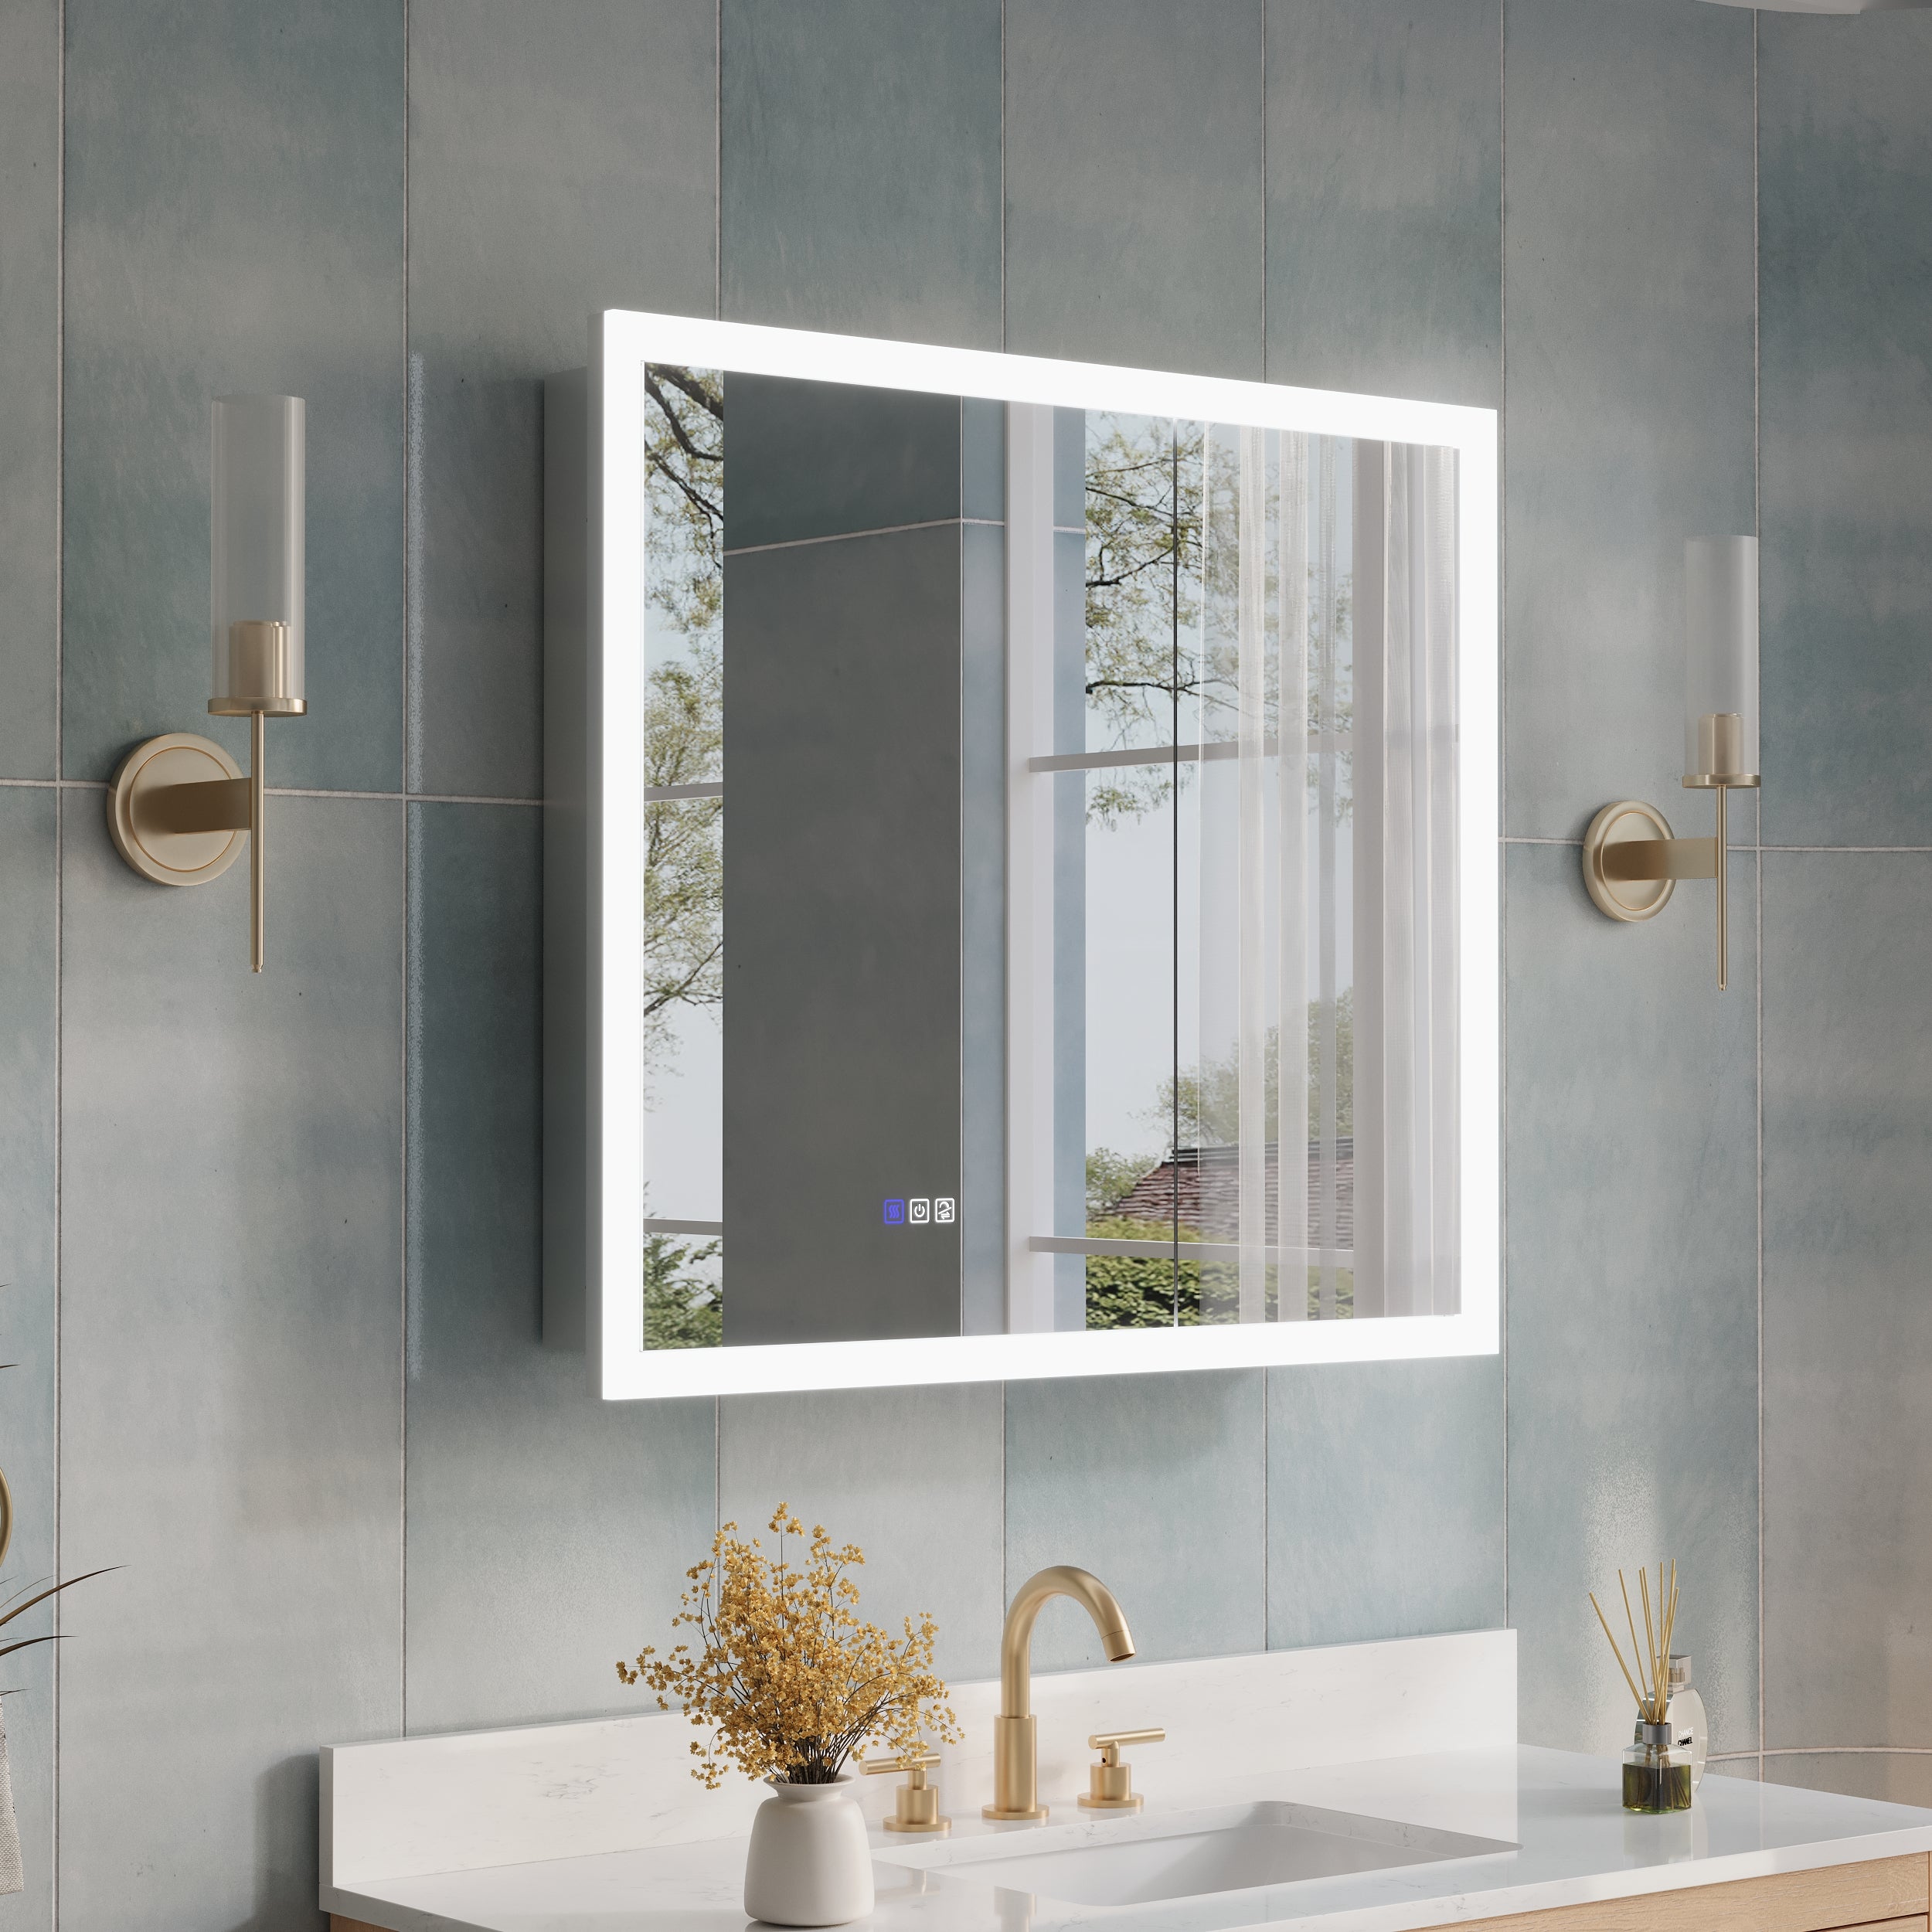
· Invest in Quality Cabinets: Choosing a high-quality brand like Wellfor ensures easy installation and fewer post-installation issues.
· Always Measure Before Installation: Surprisingly, many errors occur because homeowners skip this step. Use a tape measure to verify dimensions and placement.
· Test Placement First: Hold and mark the cabinet in the desired location before drilling or attaching screws.
· Use the Right Anchors: Drywall anchors make a world of difference if you can’t attach the cabinet directly to studs.
· Follow Manufacturer Guidelines: High-quality brands like Wellfor include detailed installation instructions. Follow these closely to avoid most errors.
When to Call a Professional
Sometimes, no matter how much effort you put in, problems persist. Consider hiring a professional if:
· The cabinet is exceptionally heavy, like mirror-fronted or solid wood models.
· Extensive wall damage requires repair.
· Electrical work is required, such as incorporating lighting into your cabinet.
Final Thoughts
Mistakes happen, but fixing your bathroom medicine cabinet installation error doesn’t have to feel overwhelming. By following these practical steps, you’ll have your cabinet looking and functioning perfectly in no time.
For high-quality bathroom medicine cabinets that make installation easy, check out Wellfor’s stylish and practical range. Each product is designed with user-friendliness in mind, so you’ll spend less time troubleshooting and more time enjoying your beautifully organized bathroom.
Feeling stuck? Comment below with your installation challenges or connect with our team for expert advice. You’ve got this!


Leave a comment
This site is protected by hCaptcha and the hCaptcha Privacy Policy and Terms of Service apply.